Refitting an old yacht can be a tiring and never ending story. That´s what they´ve told me when I was proudly telling my story of having bought a 40 year old ship. And endless black hole. An ever hungry money-destroying machine. Well. To be honest, it is an ever hungry thing, but up to now I cannot say a single bad thing about a ship´s refit. May it be because I am sitting up to 10 hours in front of my computer screen staring at ones and zeroes – for compensation, at the weekends being absorbed completely by a work that demands real craft and hand´s work. I just love doing refit work on my ship. Just as last weekend, when I´ve finished another small milestone. Painting the interior completely white. I am so proud.
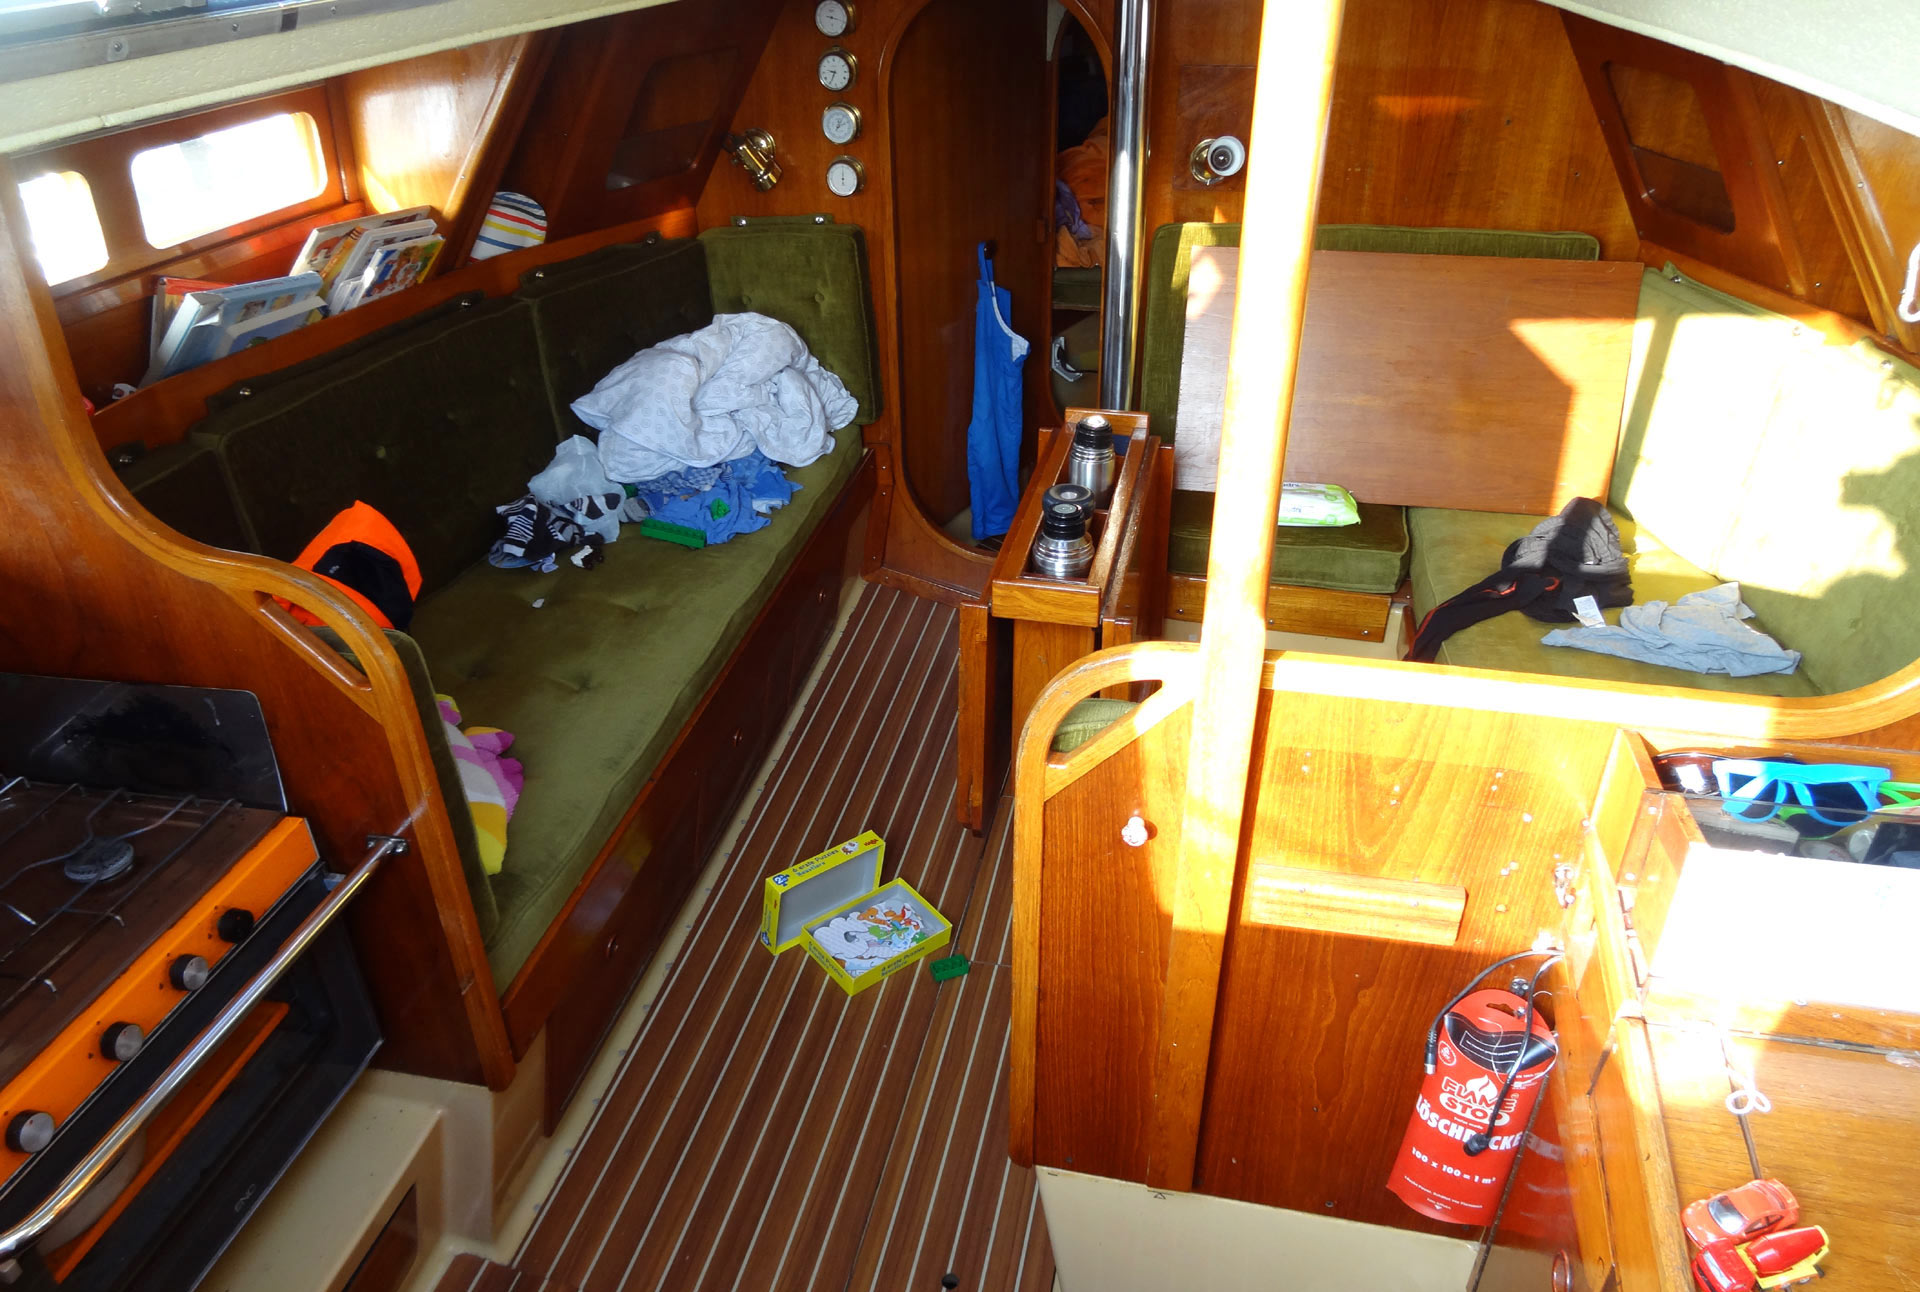
When I´ve bought her it was instantly clear to me that I would have to refurbish her interior due to the fact that no less than four previous owners had laid hands on the boat and over the time her internal outfitting was a bit worn off. Besides: When you move into a new flat, what´s the first thing you do? You paint the walls in fresh white. And that´s what I am working on since January for some 21 net hours of working. On Sunday I´ve made a huge leap forward: The first of three layers of yacht white has been applied.
Painting the internal Gelcoat Surfaces
Painting Gelcoat is a chunk of work. First step was to empty the boat and clean it thoroughly (here´s the complete article on that first milestone) and then it´s a backbreaking session to grind down the Gelcoat surface, break it up so that the new paint can find grip on the surface and sink in deeply to form a whole new hardened surface. Sanding the boat was a painstaking task since the production of hazardous fine dust poses a threat to one´s health (here´s my test of breathing masks) and it produces an awful lot of dust to get rid of afterwards.
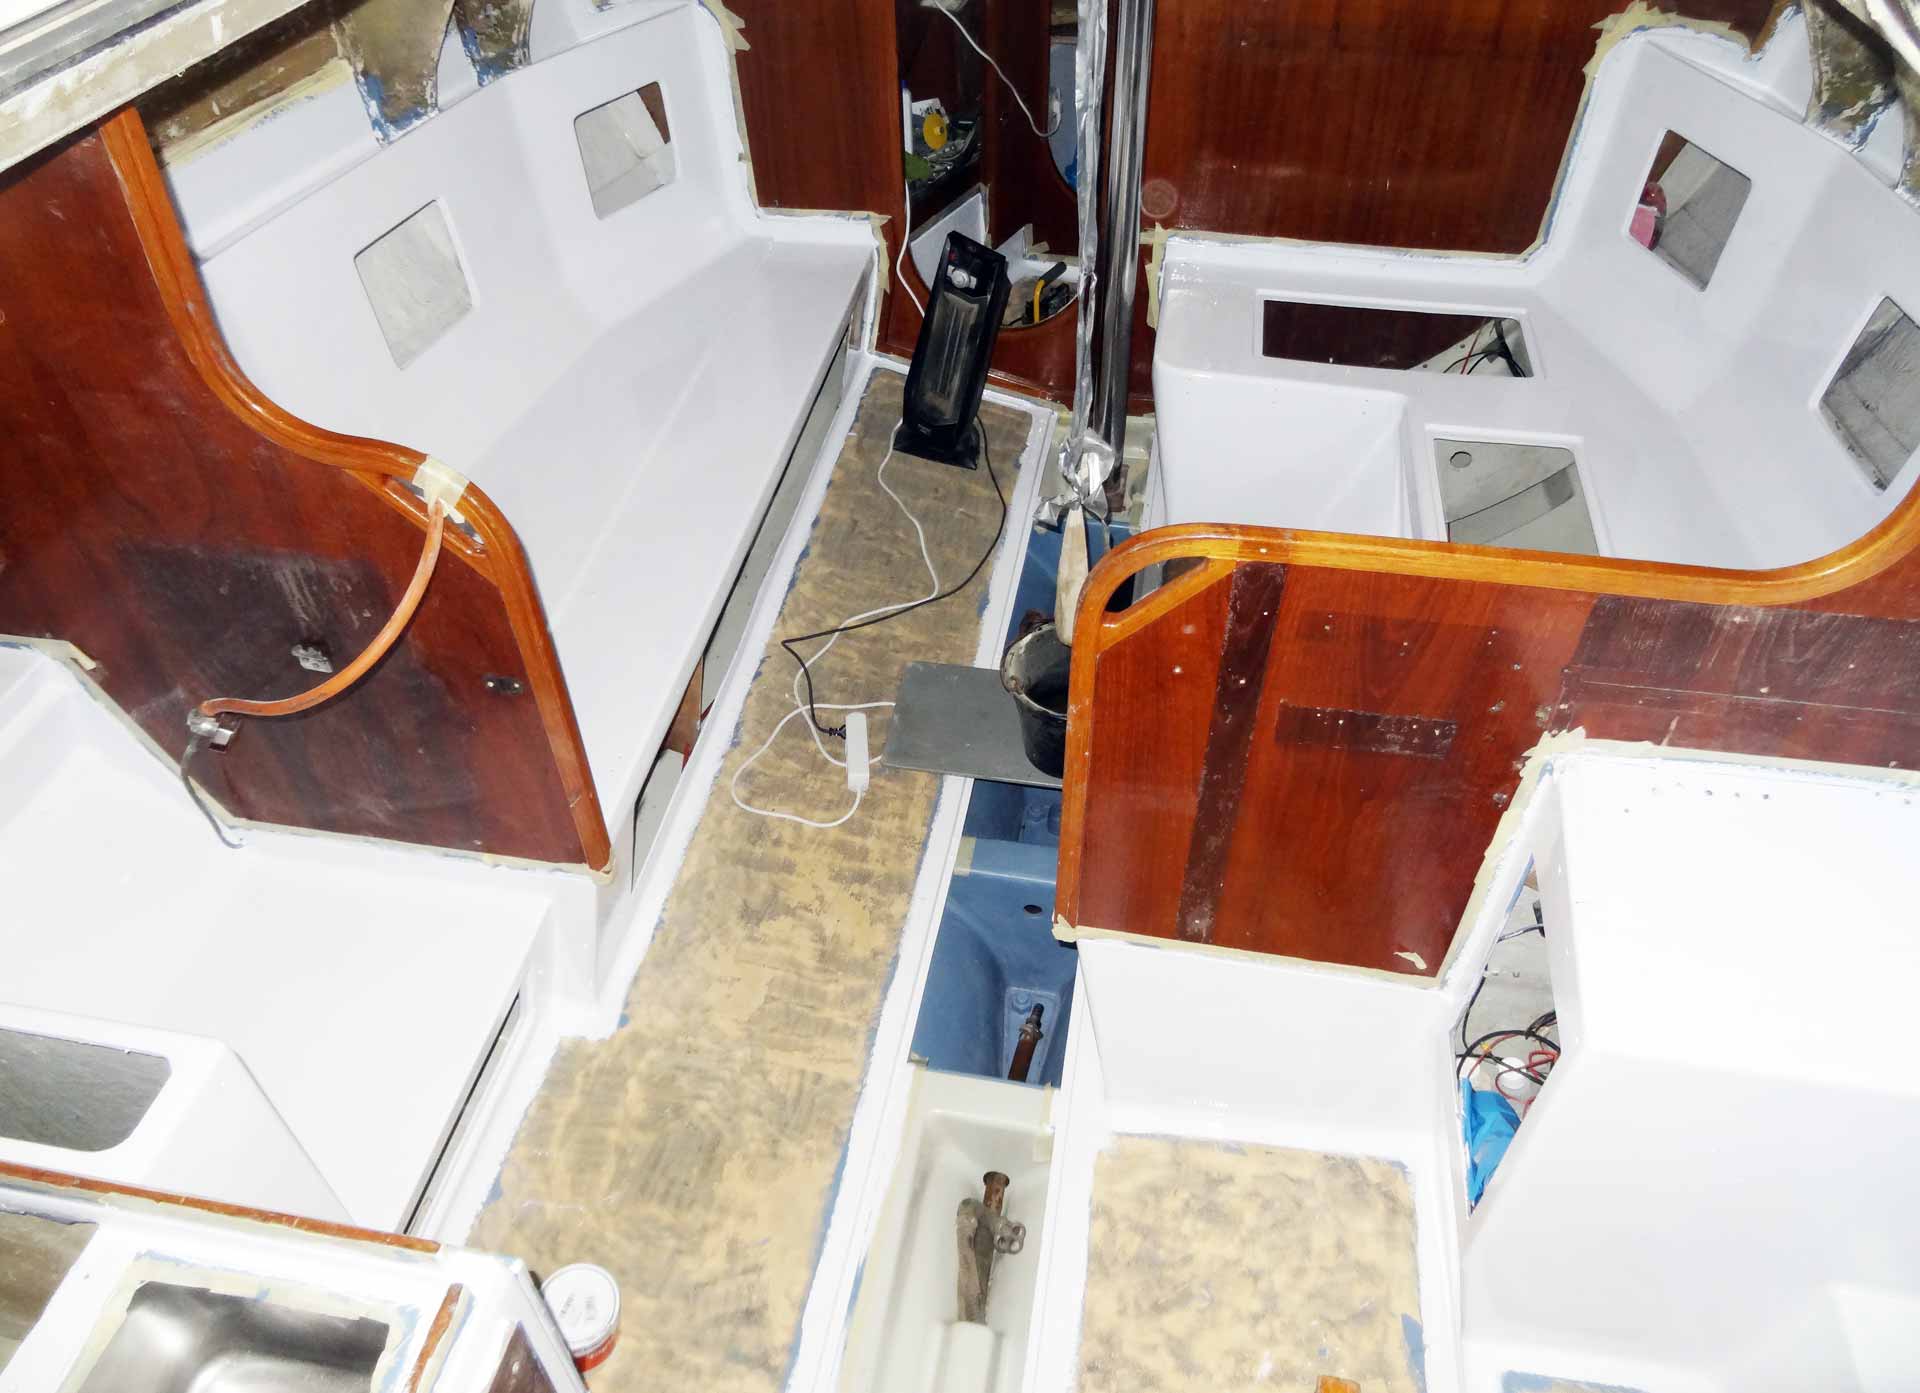
Nevertheless, after some weekend´s work it all was done and I was able to move to the next step: Priming. I don´t think it is that necessary when painting internal surfaces but I wanted a perfect finish so I opted to go the extra mile. Some three big cans of International´s Pre Kote (blue) went into the whole ship and it was not until I´ve had applied two layers of Pre Kote varnish and let it dry out properly when I could move on to finally paint the whole thing white. I was so excited to see the outcome of my work and after having accomplished that step too I can only say: I am so, so, so much proud, I can´t barely find words. Finally everything begins to fall into place.
Product Test: International Toplac
No experiments here and my product of choice was another can (five of them all in all) of International Toplac. As far as I know it is the omnipotent varnish for utilization both for the inside and the outside above waterline. I went for the high glossy finish. The linecard of Toplac comprises 21 colors all in all with three different shades of White. There´s White 001 which is a rather hard tone and suits an Emergency Room well, but not a yacht I think. Then there´s White 905 which has a rather pearl-like effect which reminded me personally of Eighties´ Lingerie Style and – in between – a shiny friendly and soft White 545 which I opted for.
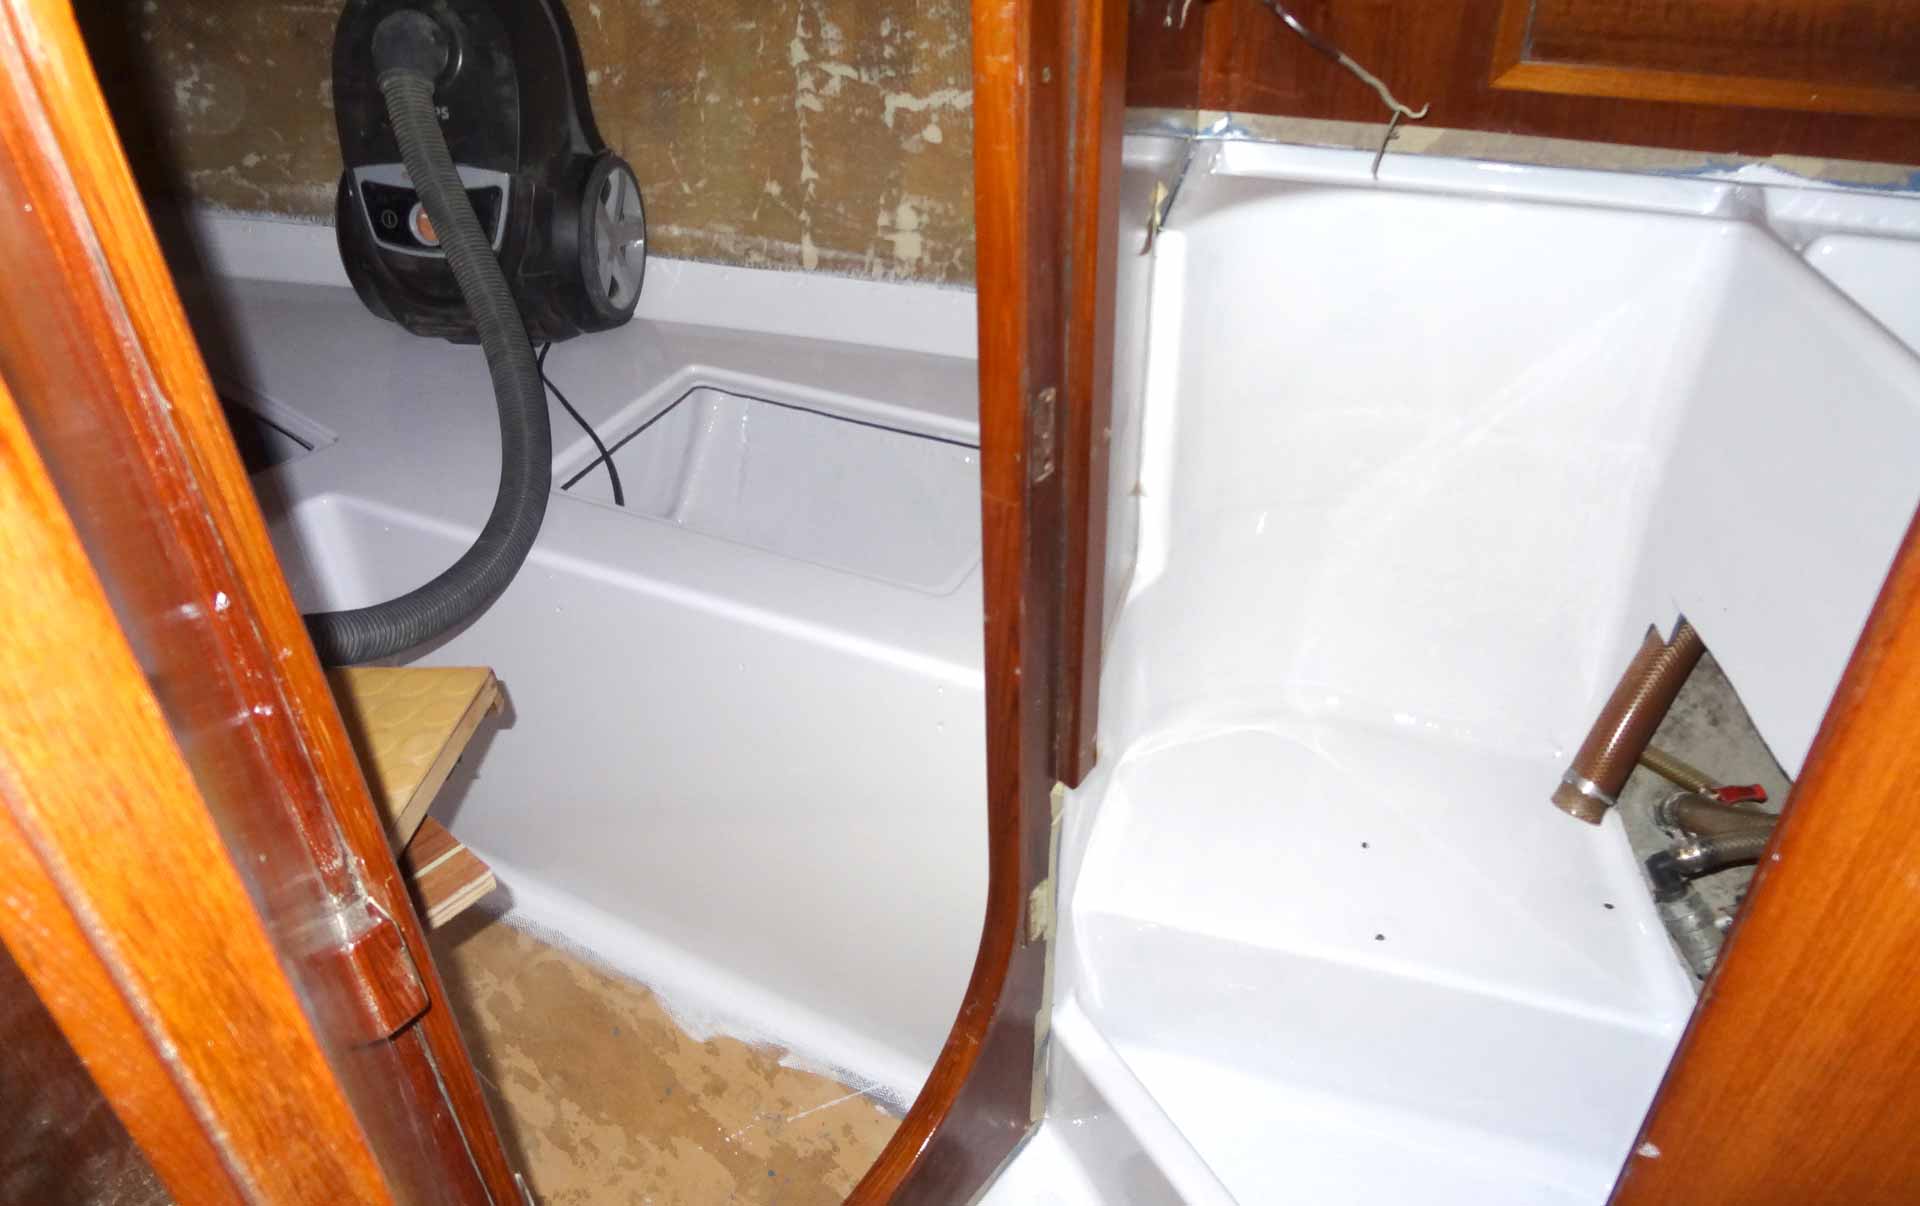
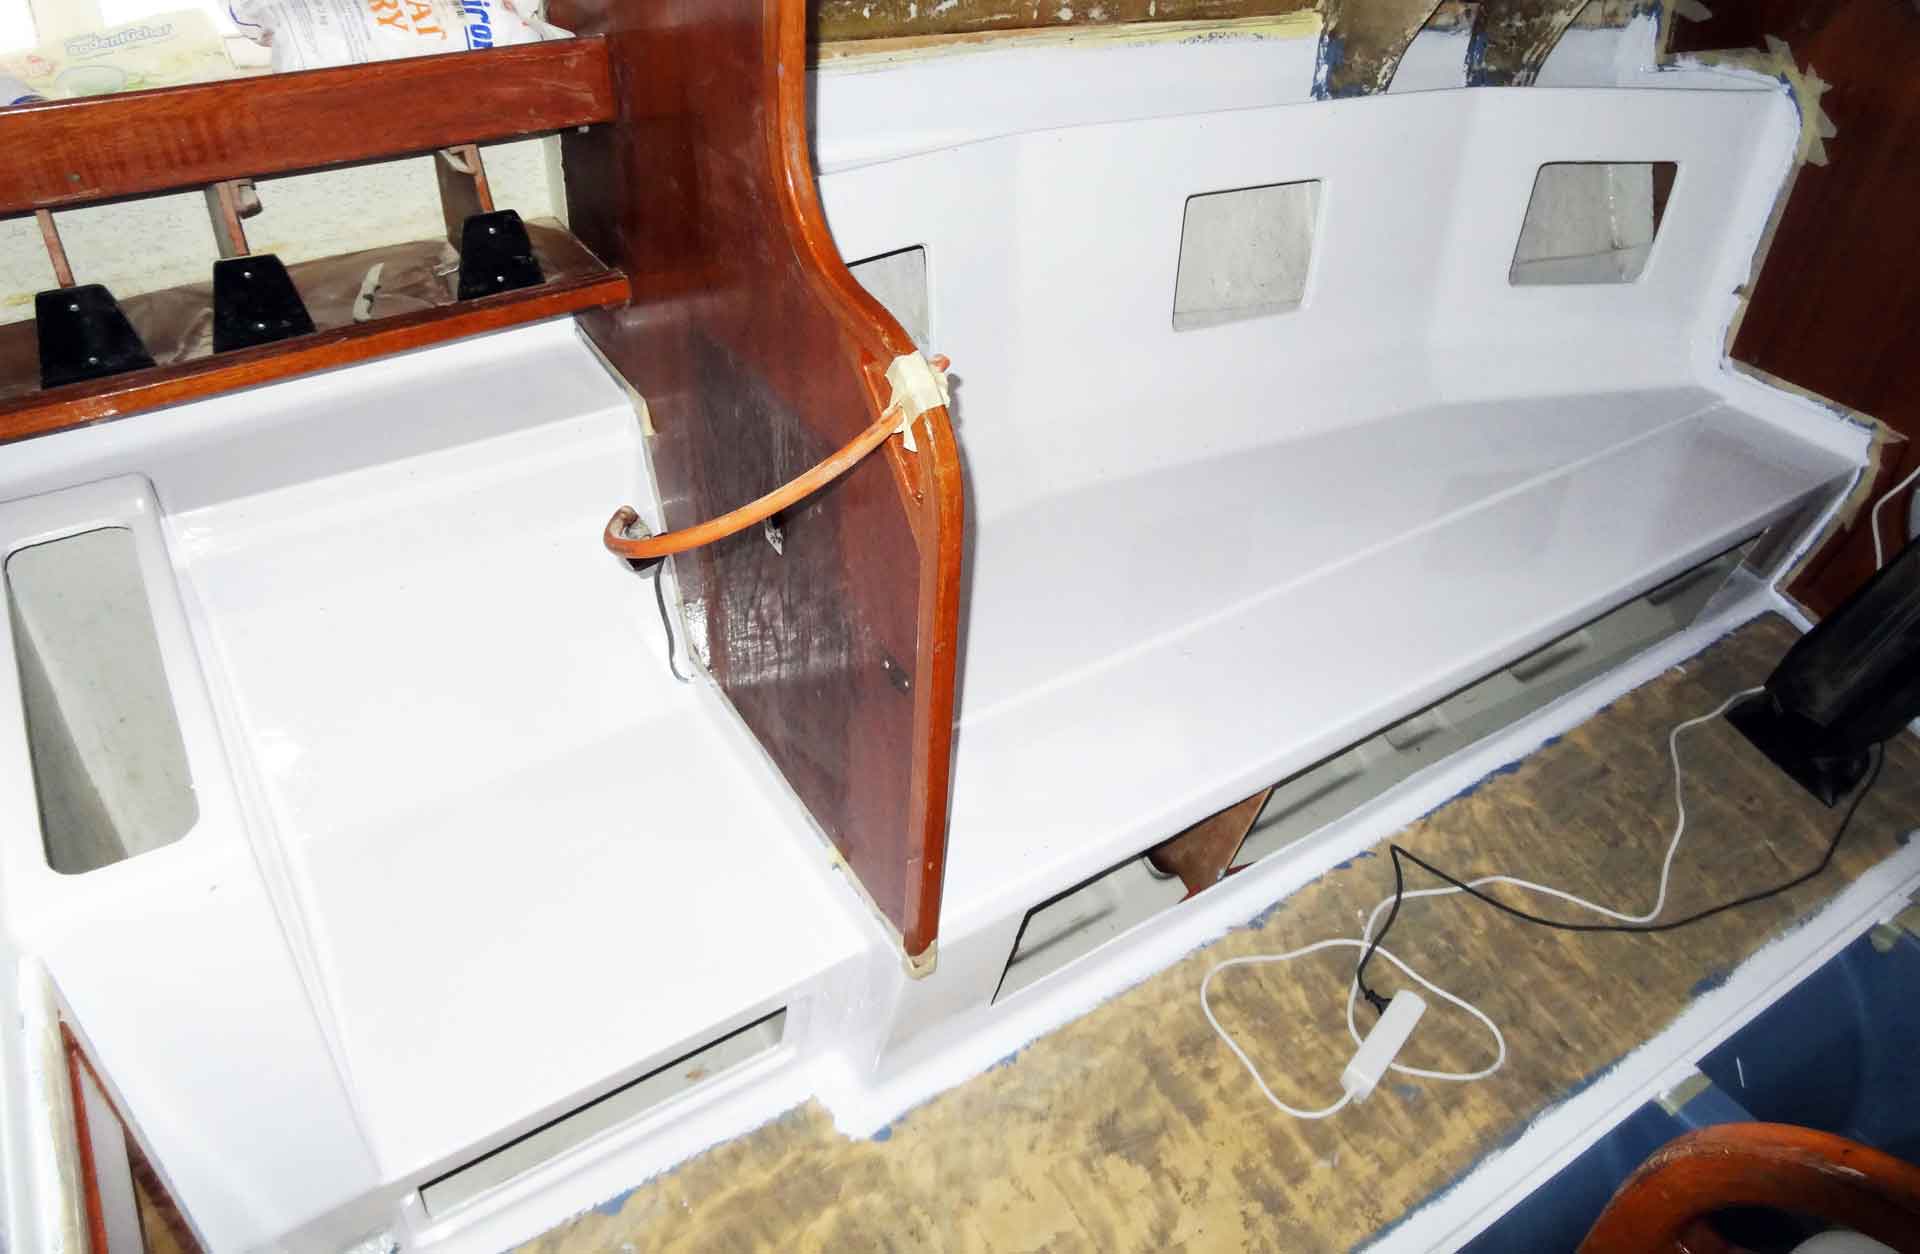
The big test was the fore cabin which I was priming and painting in white prior to the rest of the boat to have all my work tested here. Since all the Gelcoat surfaces of the forecastle will be covered either by upholstery or wood in the end, possible fails wouldn´t weigh in too much so it was good to have a trial of my craftsmanship and material here first. And what should I say? After having done two of three layers of white here, the outcome is just marvelous (besides, here´s an article on how I plan to go on with the fore cabin). Next up was the lavatory and the small entryway between saloon and fore cabin.
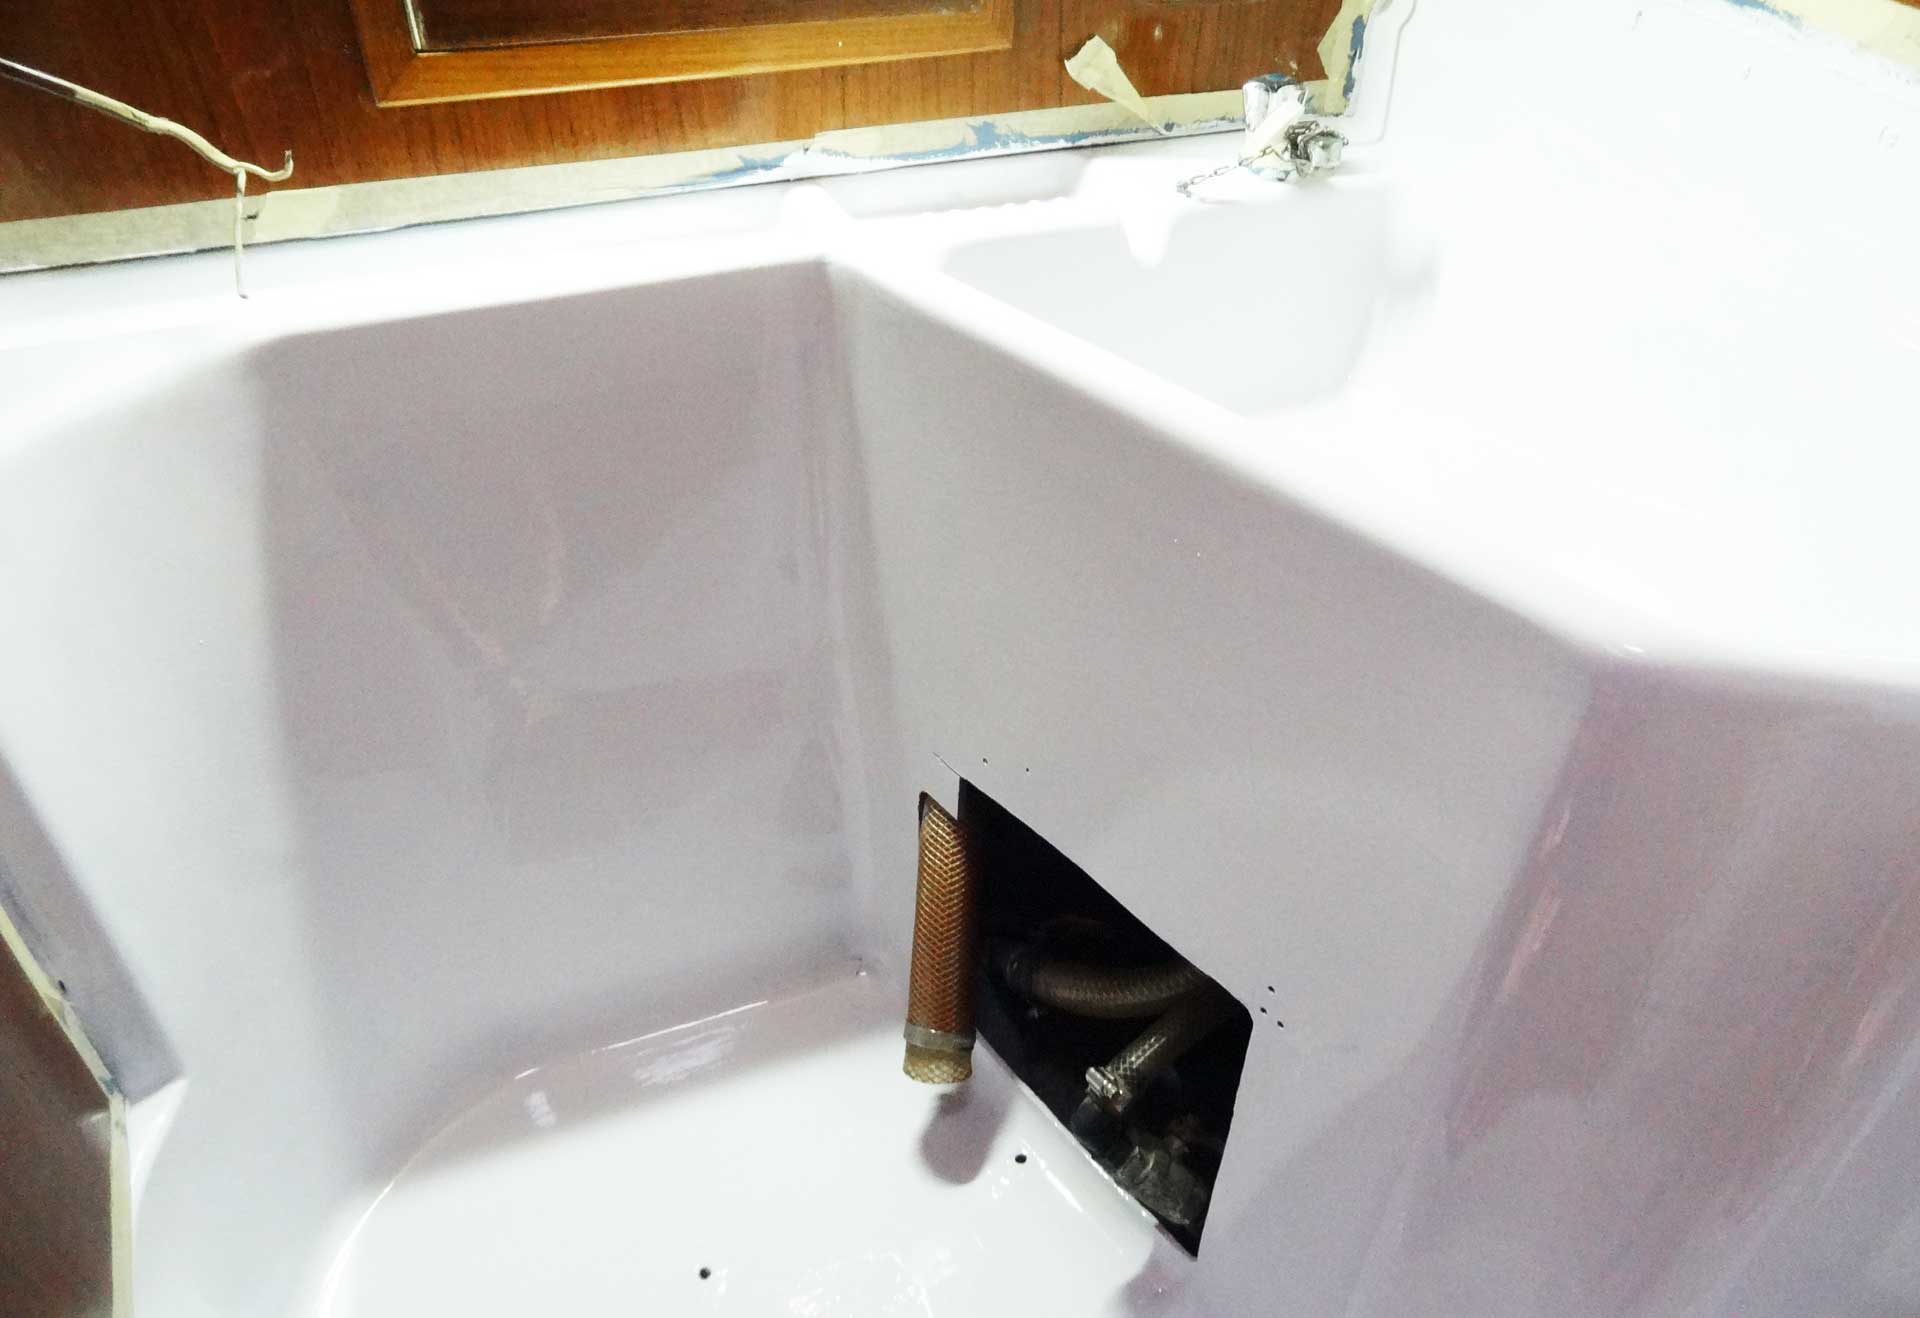
I may proudly state that the lavatory of my Kings Cruiser 33 is the smallest WC I´ve ever had the pleasure to put my butt onto. Nevertheless it´s a crucial part of the boat, especially when go sailing with my wife and children. So I was keen on getting a smooth and clean, yet inviting atmosphere here. Seeing it painted in white – without producing a single nose – is a big hit in my eyes. Can´t wait to see this room completed with a new pumping toilet, a solution for the then shut sink which will be converted into additional stowage, a new mirror and – if measurements will allow – a whole new (yet tiny) skylight. Speaking of noses …
Choosing the right Brush(-Sizes)
I don´t use a spray pistol since I think that´s a bit oversized for my project. Buying or renting equipment, getting it clean again for this relatively small area was too much work here for my personal taste. And I remember my first steps as a teenager when I was into modelling when I also tried to airbrush my Messerschmidts and Spitfires – it turned out to be a bad idea. I guess I am not the best sprayer in town. Nevertheless, it´s a different story with brushes. I do achieve quite satisfying results with just brushing the areas – with the help of the ease of flow of the paint itself. I could spot the tiny rills made by the bristles of the brush with the priming colors, but not so with the actual white paint. It´s a clean, smooth and spotless surface. Mostly.
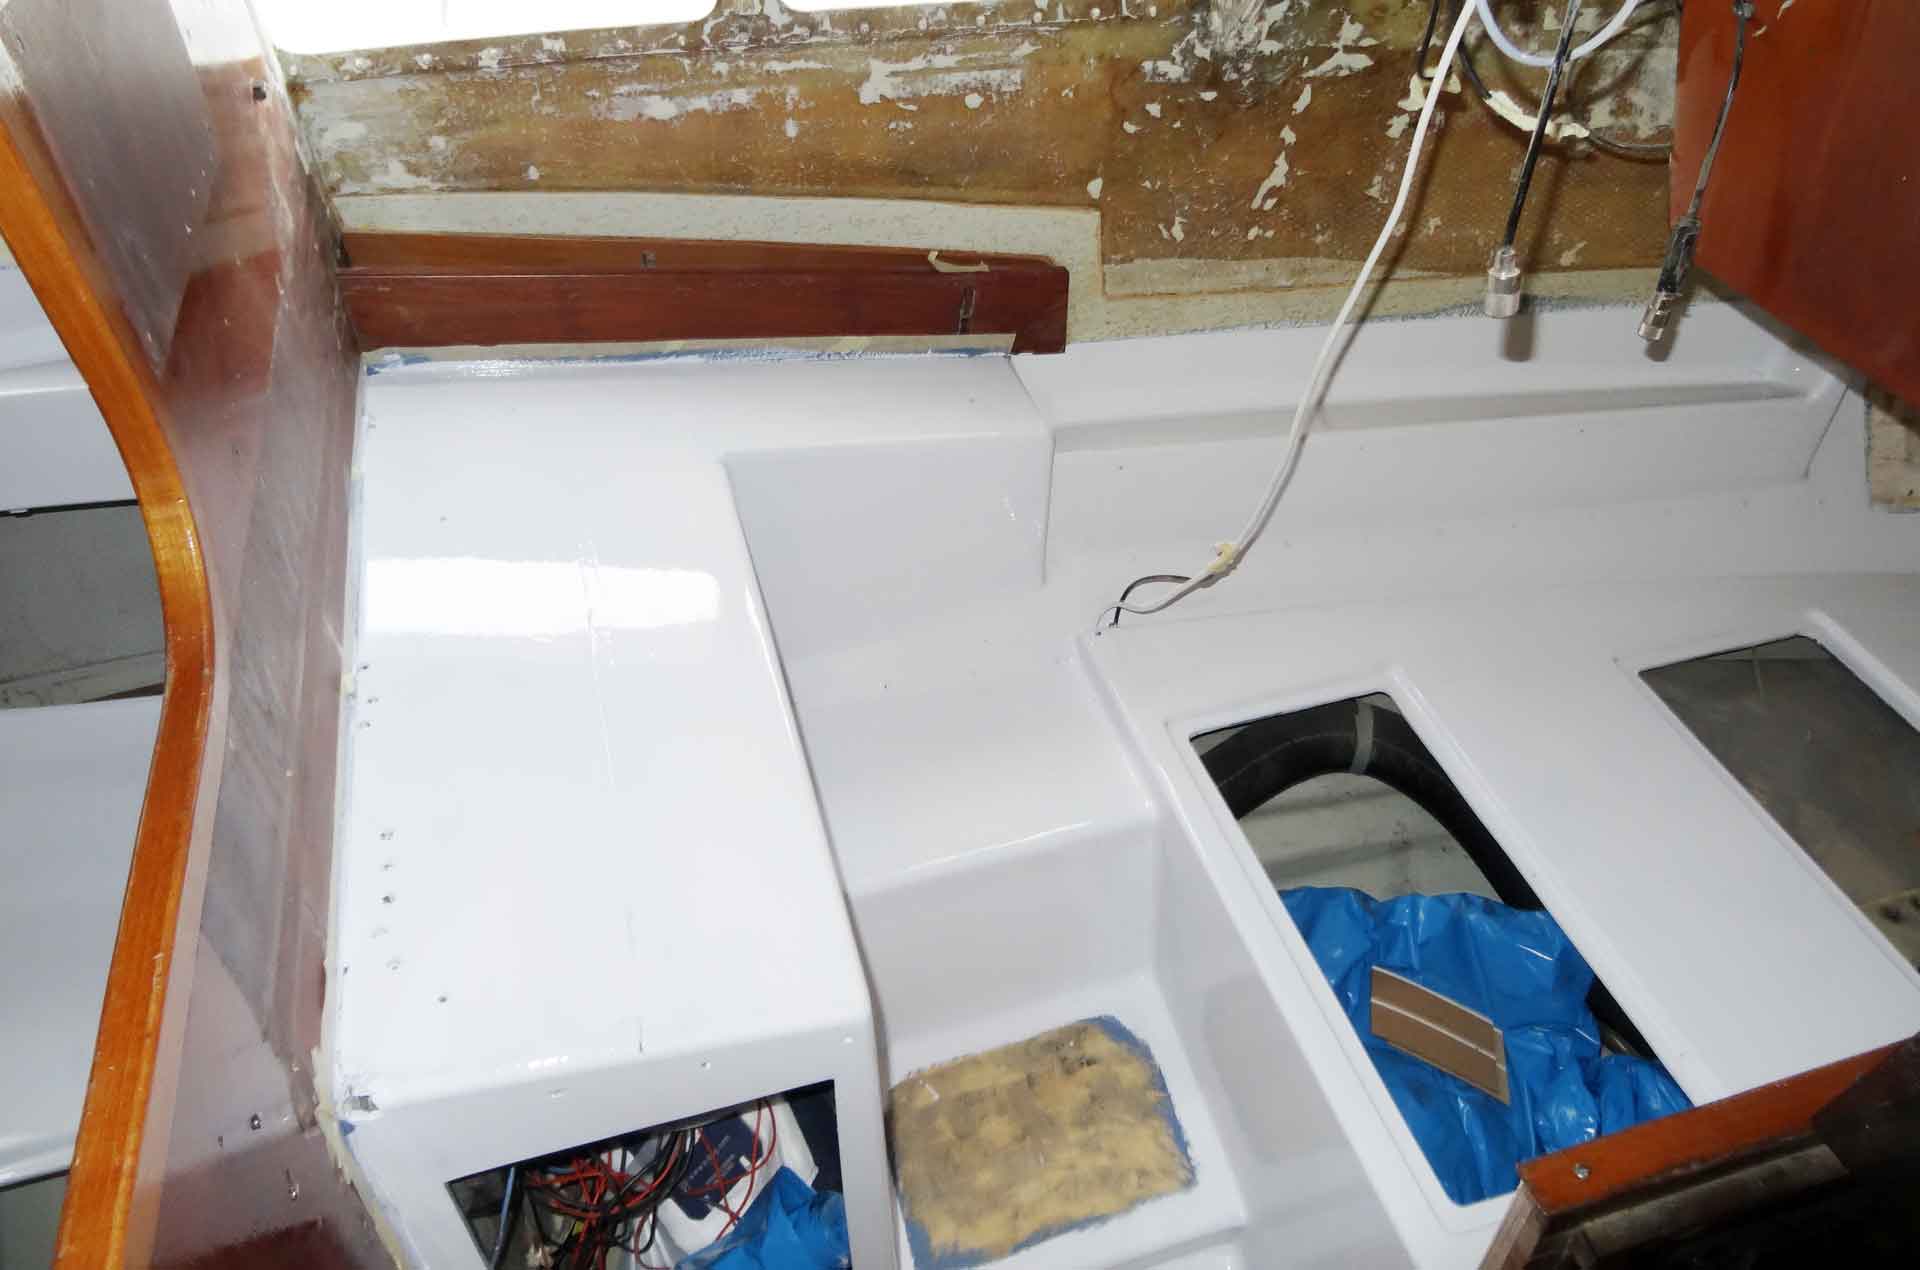
What I did discover too was that apparently slender brush sizes work better in terms of the quality of the finish. It seems that wide brushes do not produce smooth surfaces in the end although cutting working time. So I would recommend to go for the longer process and opt for a smaller brush (I chose a width of 1,5 centimeters) to achieve the best possible results here. Having painted the saloon completely and braking my back again in the pantry I cramped myself into the very aft edge of the quarter berth to apply the paint there as well. All was done after some 5 hours of work. Jeez! That back hurts now …
Painting two more Layers
I guess the best finish is achieved when Toplac is applied in three layers all in all. So after letting dry everything through thoroughly I will sand the surface off a bit, clean it again (with Acetone and sticky disposable tissue to collect the dust) and grab my brush to apply the second layer only to do the same – this time from fore cabin all the way down aft to the rear end of the quarter berth to paint the third and final layer. Then it´s done. I can´t believe another milestone will be reached!
My wife was asking me why I do invest so much work and time in this simple task. She is right from her standpoint: Most of the areas I am painting white now will be covered later, most of them by wood or cushion. But you know, I do know that under the seating everything is just fine. And that´s a feeling I do really, really, really enjoy.
Next steps in my Yacht Refit-Program
So what´s up for the upcoming steps? I recently started two projects here: The first one will be the new decking made of Teak imitation (here´s a complete article on that topic) and so I´m going to make the patterns and take measurements for the production of the new decking. Second is the re-wiring and complete refit of the electric system of my Kingscruiser, which will be done with the help of yacht electrician Thomas Tschechne (another fine article on that one here). Until then it´s some 12 working hours to go to get the shiny new white onto the Gelcoat (and the Danboline into the bilge as well). Stay tuned, cheers.