The hull-deck joint is one of the most important production steps of any boat in any shipyard. When mistakes are made, the structural integrity of the yacht itself might be compromised in the worst case, if lucky, it´s only the aesthetics suffering. This is why we take so much care and time to make it right. This article delves deep into the topic, how the new Omega 42 is thoroughly prepared for the big, big day and why precision is so important.
“Next week is the marriage”, what a strange sentence, right? No matter if you are married or not, it sounds a bit off in relation to a boat. But that´s only fair, because the mating of deck and hull is indeed one of the big, big days in the life of a yacht in the building sheds. Because now, a sheer shell and a “lid” are finally set to become a boat at last! The importance of this day cannot be over-exaggerated: If all goes right, the boat will have a bright sailing career. If it goes wrong, it might be compromised forever. Calling this production step the “marriage” underlines the outstanding importance. ALPHAs marriage is just four days away!
We´ve come a long way …

You cannot imagine how excited I am. Or can you? We´ve really come a long way, indeed. I remember so vividly when I saw the Omega 42 for the first time, almost nine years ago! Her lines would never stop to amaze me. Even when I had already made my decision to buy a new boat, she never stopped to appear in my dreams. And then, after finally deciding to go for this Peter Norlin all-time classic, it was still almost three years until I would finally be able to say: “We are nearly finished!”
Oh yes, it´s a long way since! The Omega 42 was literally an empty shell. I remember crawling into the hull after we´ve brought her into the building shed, crouching in her bow, looking down all the way to her stern. This sheer, sleek, elongated and elegant internal volume. It seemed never-ending, so full of opportunities and possibilities. And look at her now: Interiors finished (at least to 90% I´d say), everything´s painted and lacquered nicely, cables are running behind panels, furniture, a galley, a bathroom and a salon. It´s like looking at the first 3D-scan of your unborn child: It´s there, fully developed, but you cannot really grasp the full meaning of it all. Plus: You´re overflowing with happy hormones.
Preparing the hull for the marriage
So, what´s going on in the shipyard and how is a deck-joint prepared? There are multiple variants of bringing together a yacht´s deck and her hull. In most series production shipyards this is done with large quantities of a bonding agent. In fact I have a very detailed and absolutely stunning collection of pictures, depicting the marriage of a big Oceanis in the Beneteau-shipyard, but the company did not allow me to publish it. For my part, it´s almost the same code of conduct in any big shipyard and I don´t really see where there should be any proprietary “secrets” involved, but anyway, I obey of course.
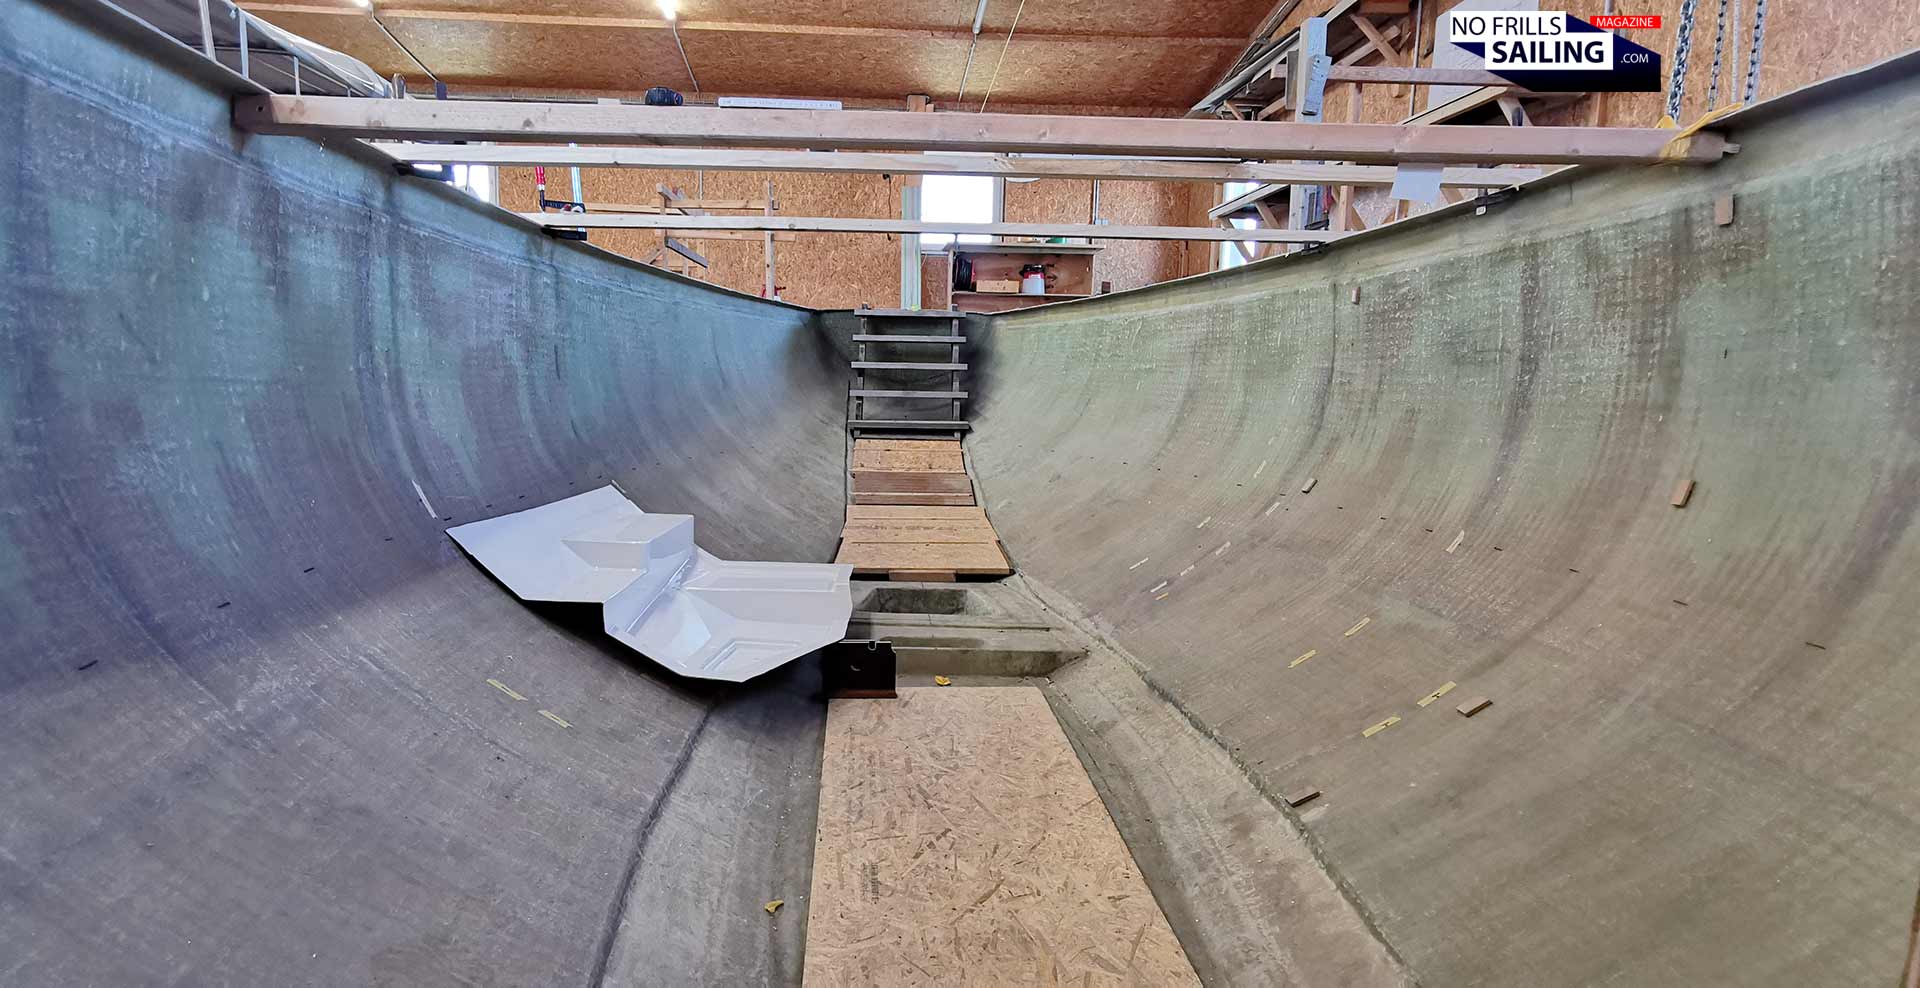
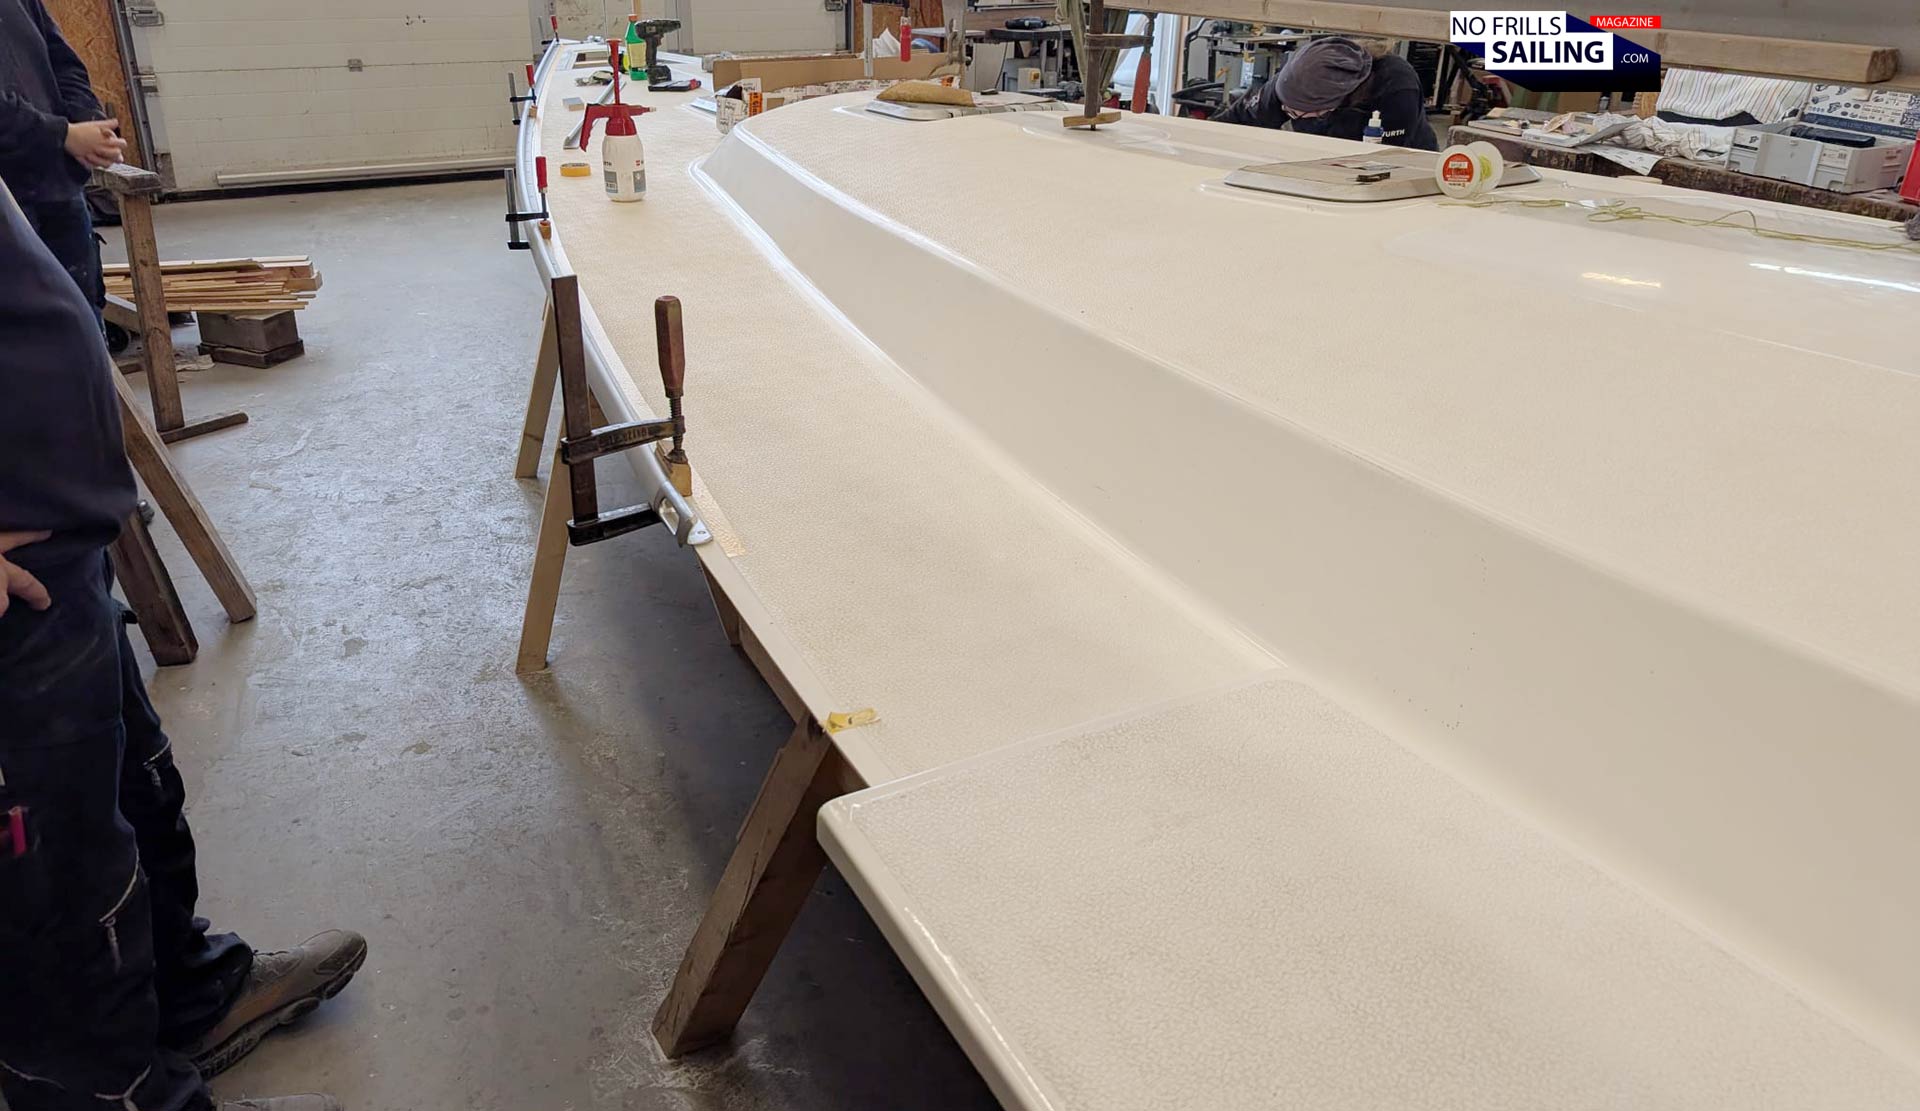
That´s a pity because it would have been very interesting to compare the techniques of the production boat companies to what my shipyard is doing. The first step is of course to cut both deck and hull into shape. When hull and deck are taken out of their lamination molds, the edges are usually much bigger than the actual component would need. This is done so that these parts would contains just the right amount of glass fibers and resin where the actual cut will be made, hence the right strength and material thickness. Also, if moved and damaged, it´s the overlapping material that gets the kink, not the actual hull or deck.
That means, the guys now have marked the real outline of the deck all around it with masking tape. Then, utilizing an angle grinder, the one with the most steady hands, was to saw off the overlapping GRP material. Same for the hull: Here, you can easily see in the picture above that the GRP is bent inwards. It forms the bearing surface, a huge seam, where later is put on top and finally both become inextricably connected. The excess material is as well cut off.
Laminating the bulkheads to the deck
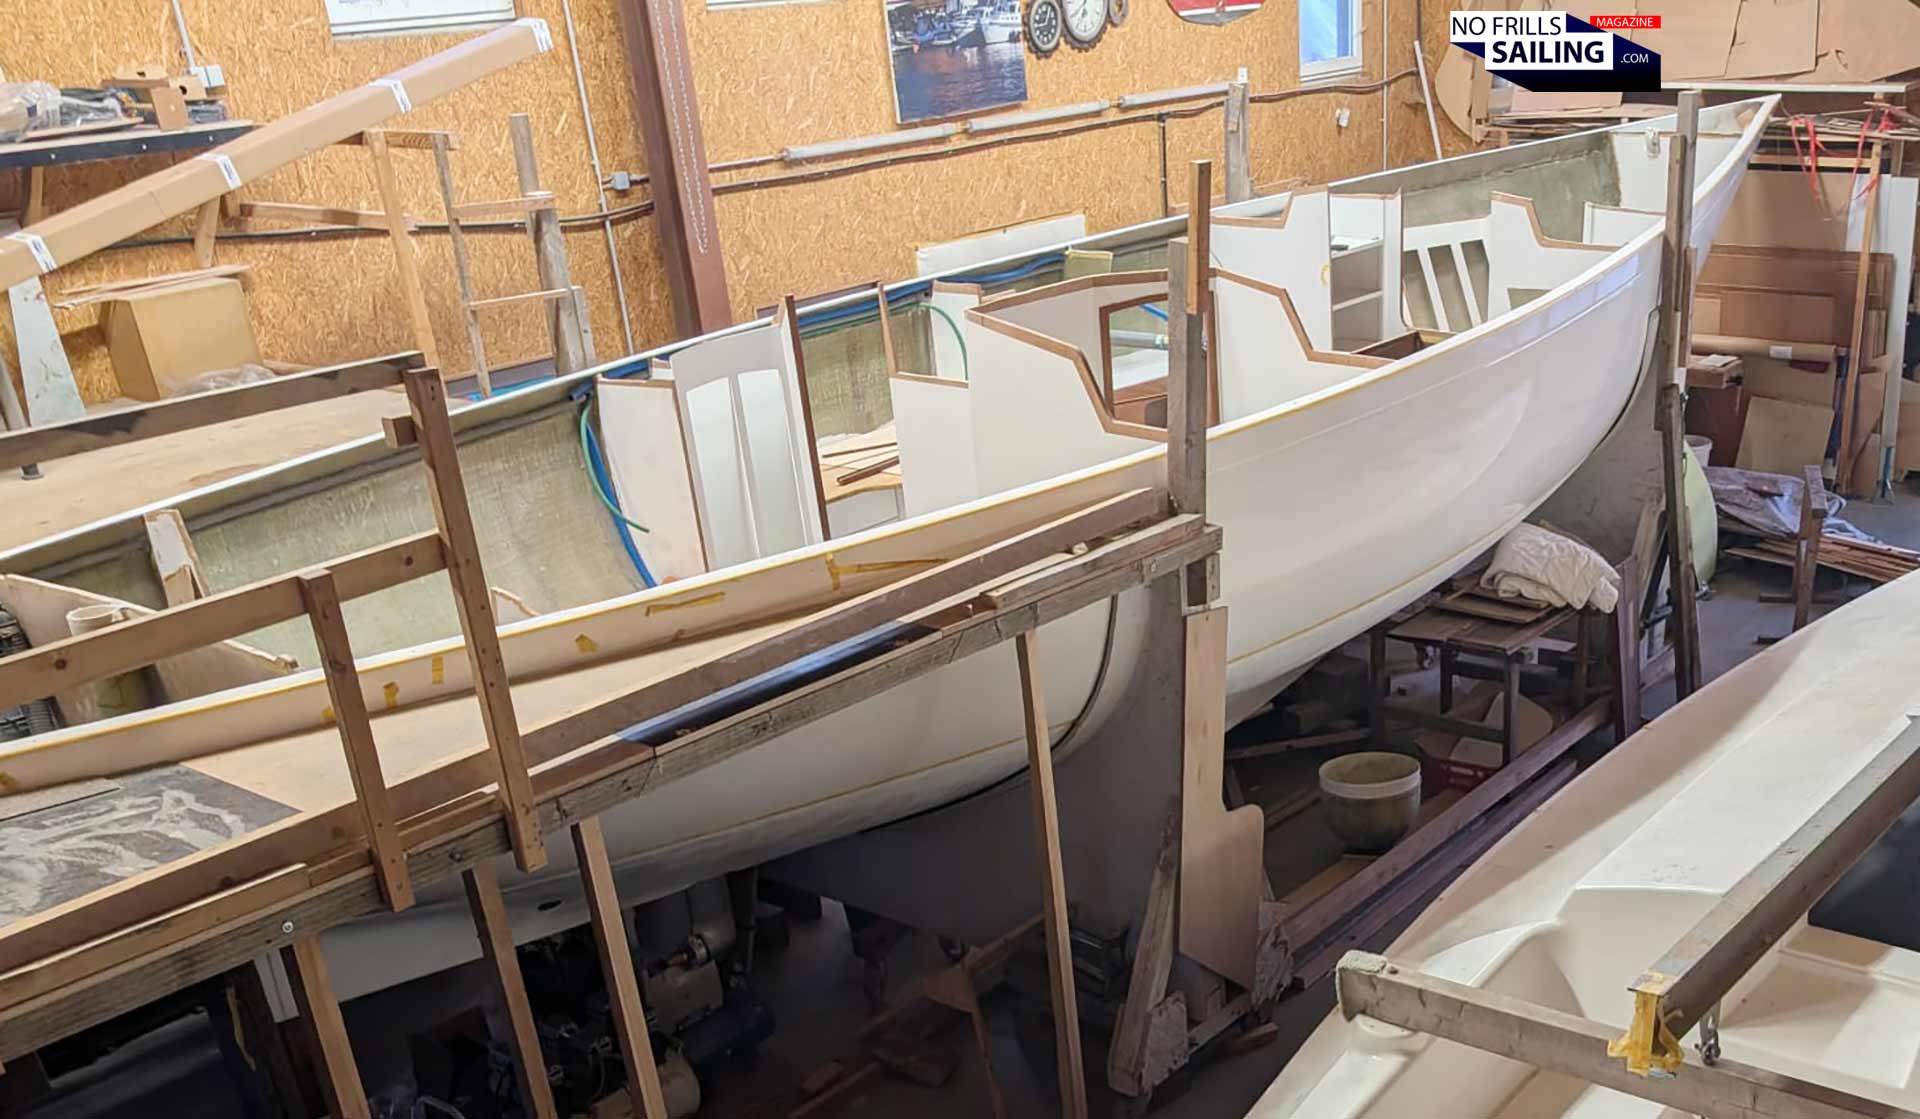
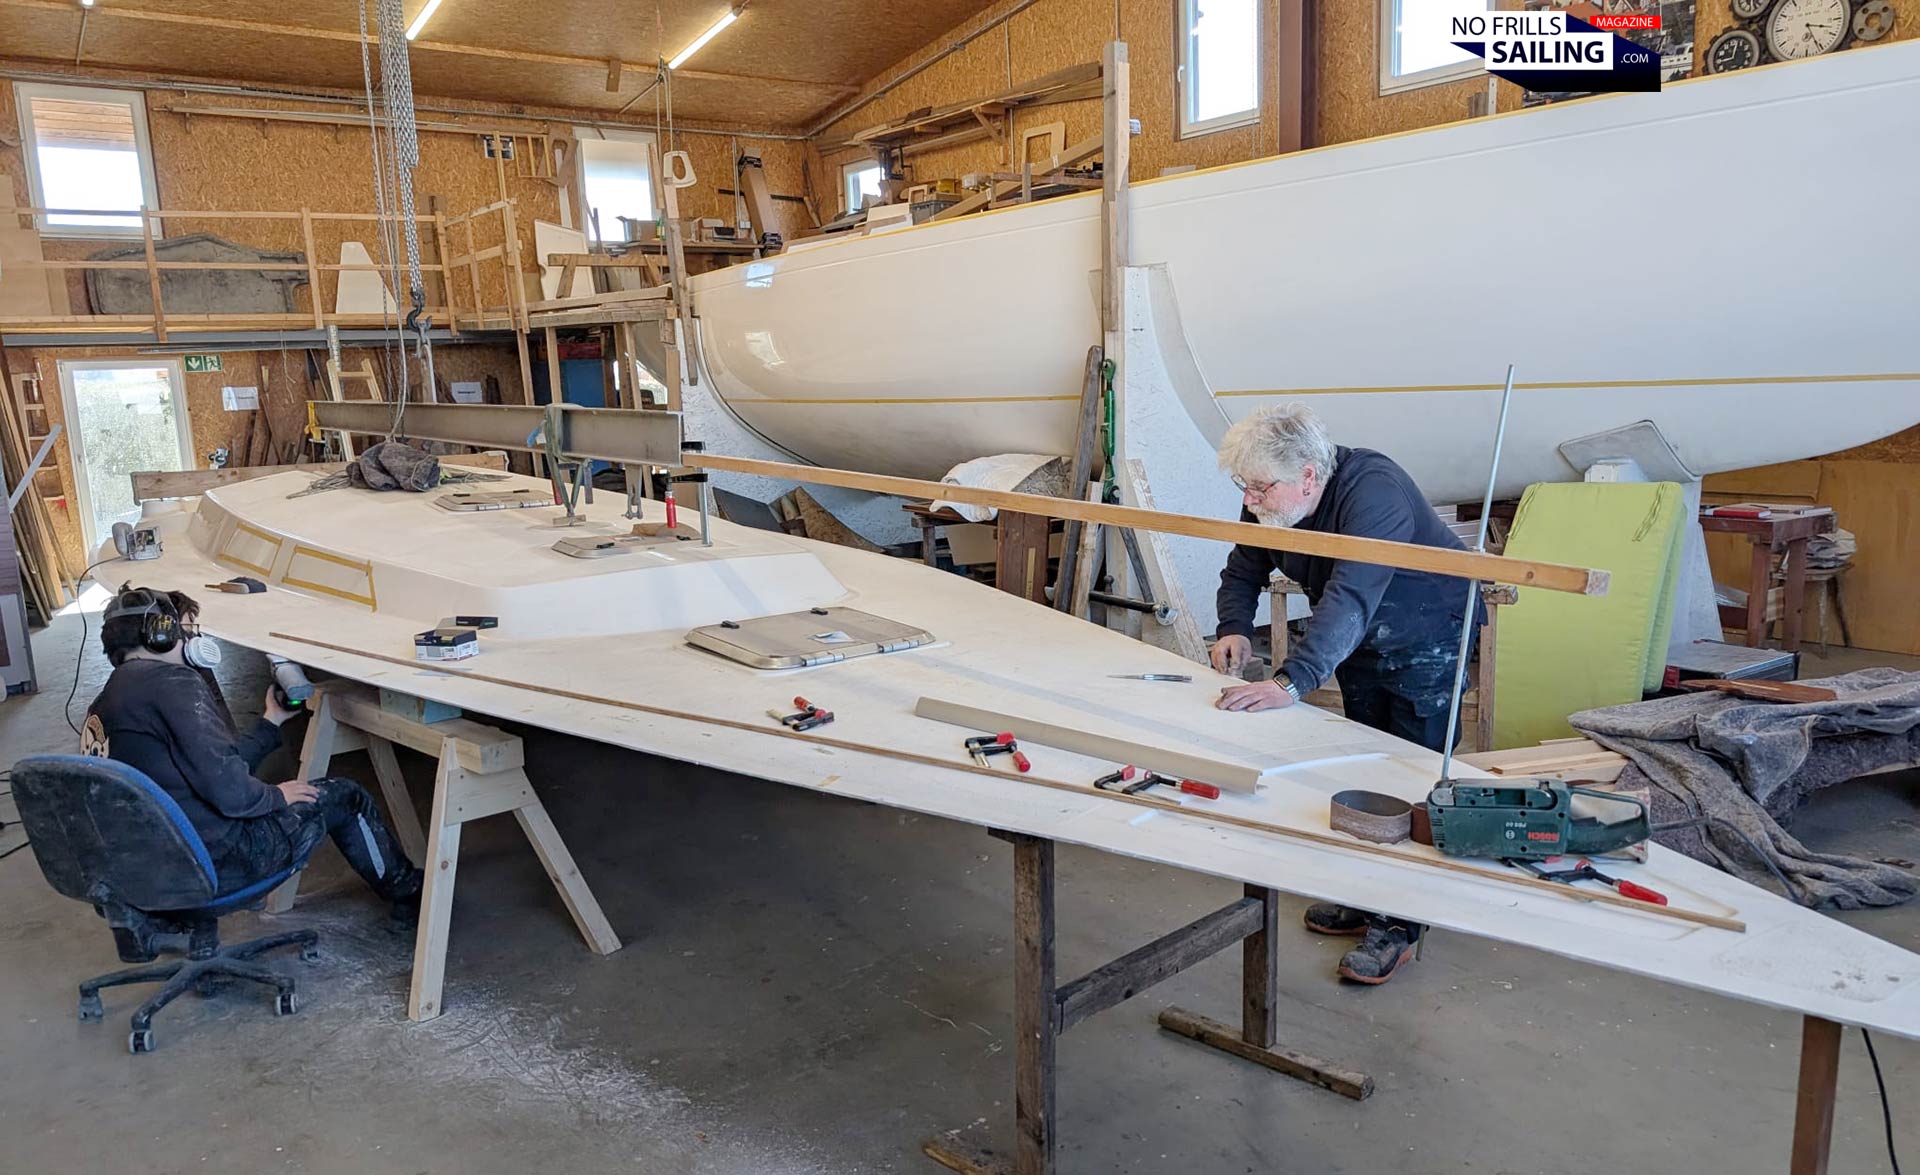
If you imagine putting the long stretched deck on top of the hull, most people would understand that both are connected along the outside all around. This big seam is as wide as 10 centimeters for the Omega 42. But there are many more attachment points. If you look closely on to the picture below, you will clearly spot the unpainted areas on top of the bulkheads of the boat´s interior. There´s no paint at all in these areas, running all along the topsides of the bulkheads:
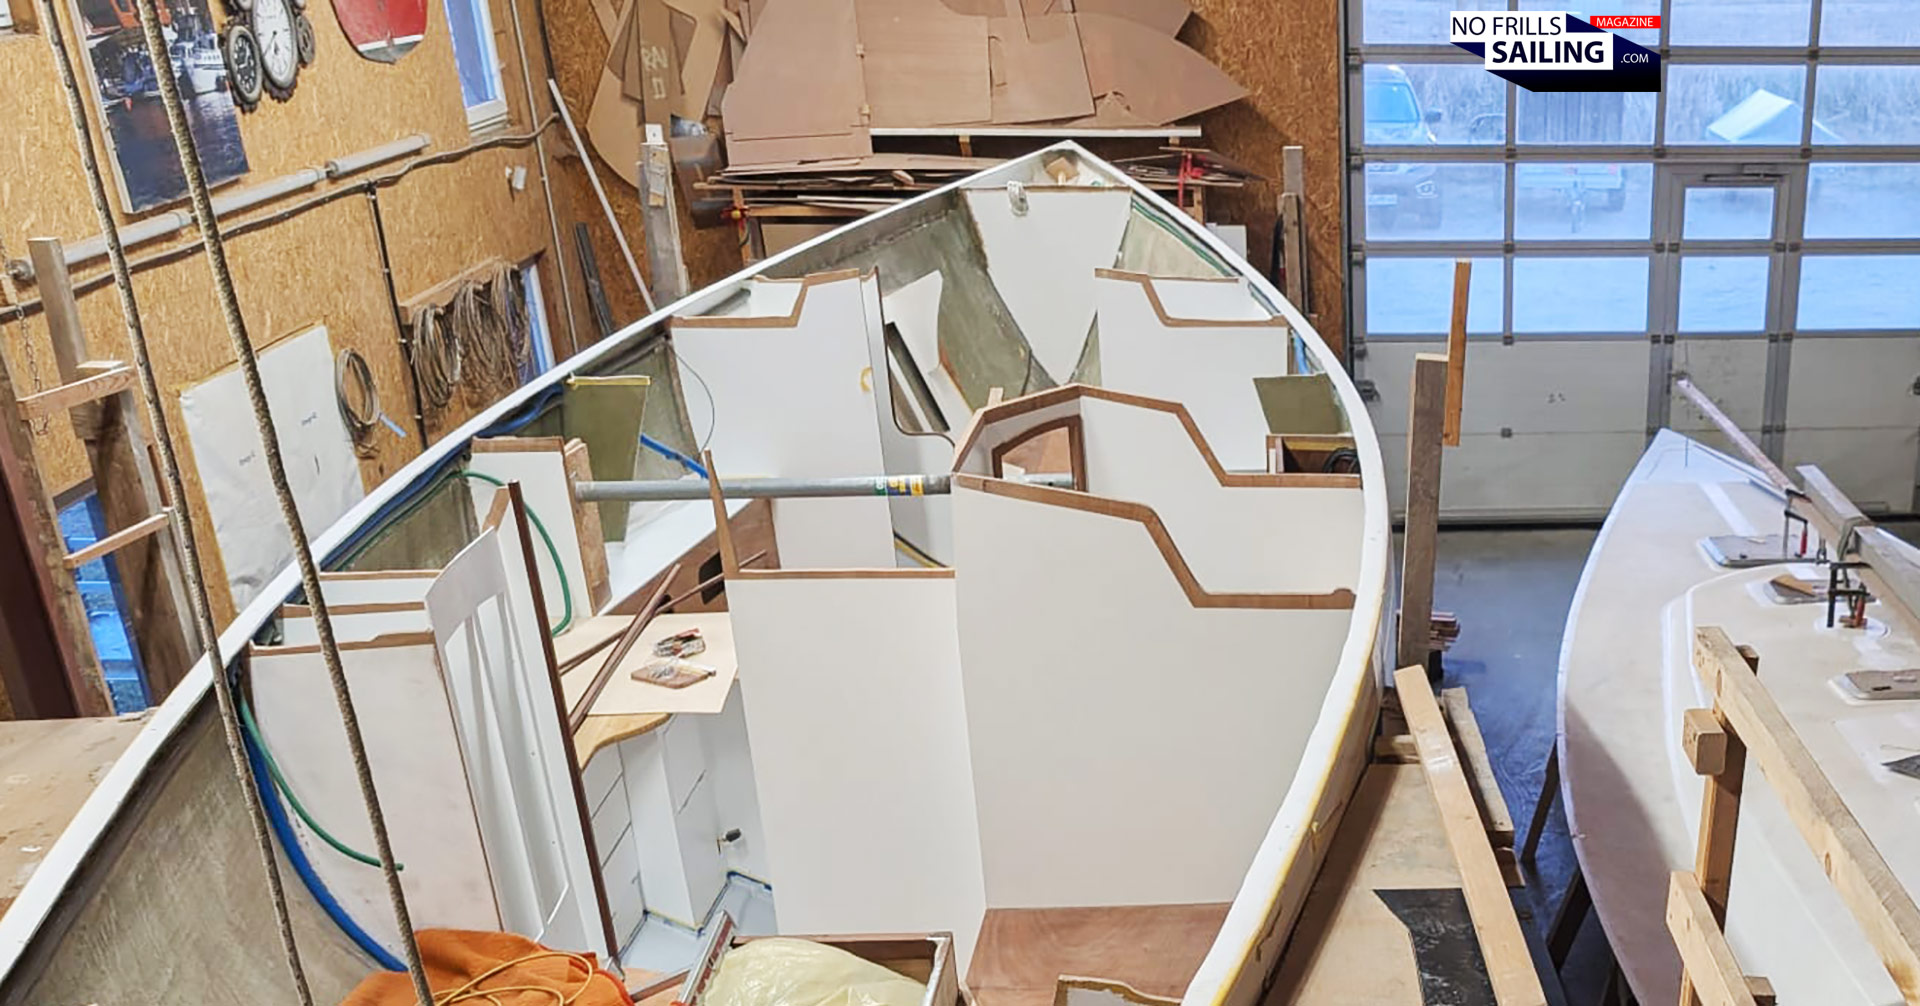
This is because the deck, when sitting on top of these, will be laminated to the bulkheads as well. The unpainted area, like 10 to 15 centimeters wide, will support the wet joints, which will become as hard as rock when thoroughly dried. This is also the reason why the whole interior – salon, bathroom, galley and so forth – hasn´t received its last and final layer of paint. As the new laminated deck-joints will have to be painted as well, this last layer will be done for the whole interior in one big last all-covering production step.
Deck preparations: Thorough cleaning!
As you can imagine, all this cutting and sawing produces a ton of dust, smaller and bigger offcut, coming down forming a thick layer of unwanted dirt. Plus: Especially the deck of my yacht was a real mucky pub, to be honest: Most of the time it spent outside, exposed to rain, dust and wind. Underneath a shed and for most part a tarp as well, but we all know that dirt will eventually reach every corner, no matter how hard you try to protect it. That meant: Cleaning day!

As with any surface that is going to be connected in some way or the other to another surface, it needs to be super clean. Dust removal is first done with a vacuum cleaner, but this won´t be sufficient enough. For the dirty deck, it was a high pressure washer at first, blasting off the crust of the outside storage years. After drying, the crew went on to manual work, cleaning the deck meter by meter. Special GRP cleansing agents are utilized, followed by acetone.
Acetone is not the nicest fluid to work with, but it´s one of the most effective and efficient when it comes to degreasing and dedusting. I cannot imagine the smell during these procedures, but I will eventually experience myself in a few weeks: I decided to do the bottom paint for the yacht all by myself. Logically, the hull will have to be clean, dust-free and degreased as well. The outcome is awesome, nevertheless: The gelcoat is shiny-white as if it had been laminated just a few days before, no trace at all from the years under tarpaulin in the outside shed next to the shipyard: She finally looks like the thing she indeed is: A brand new sailing yacht!
Hull-deck-joint: Toe rail fitting
Having completed this task, there are several preparations to be made before the guys will be able to finally connect the sheer joint. One of which is the toe-rail. Most modern production boats don´t have a metal toe-rail anymore: The mating is done chemically by “glue”, often a 2-components high-grade bonding agent. Some will add screws as well to support it, but not many. For the Omega 42 it´s a mix of glueing and screwing as well.
But in order to exert the most effective way, meaning have the pressure of the screws distributed evenly throughout the whole length of the joint, a toe-rail is needed. You might have seen these in older or “classic” sailboats, metal rails have been common in GRP-shipbuilding up until the late 90ies. Mostly, these rails would have featured cutouts, like the one in my first ever sailboat, the wonderful Pelle Petterson-designed Kings Cruiser 33 as you can see in the picture below:
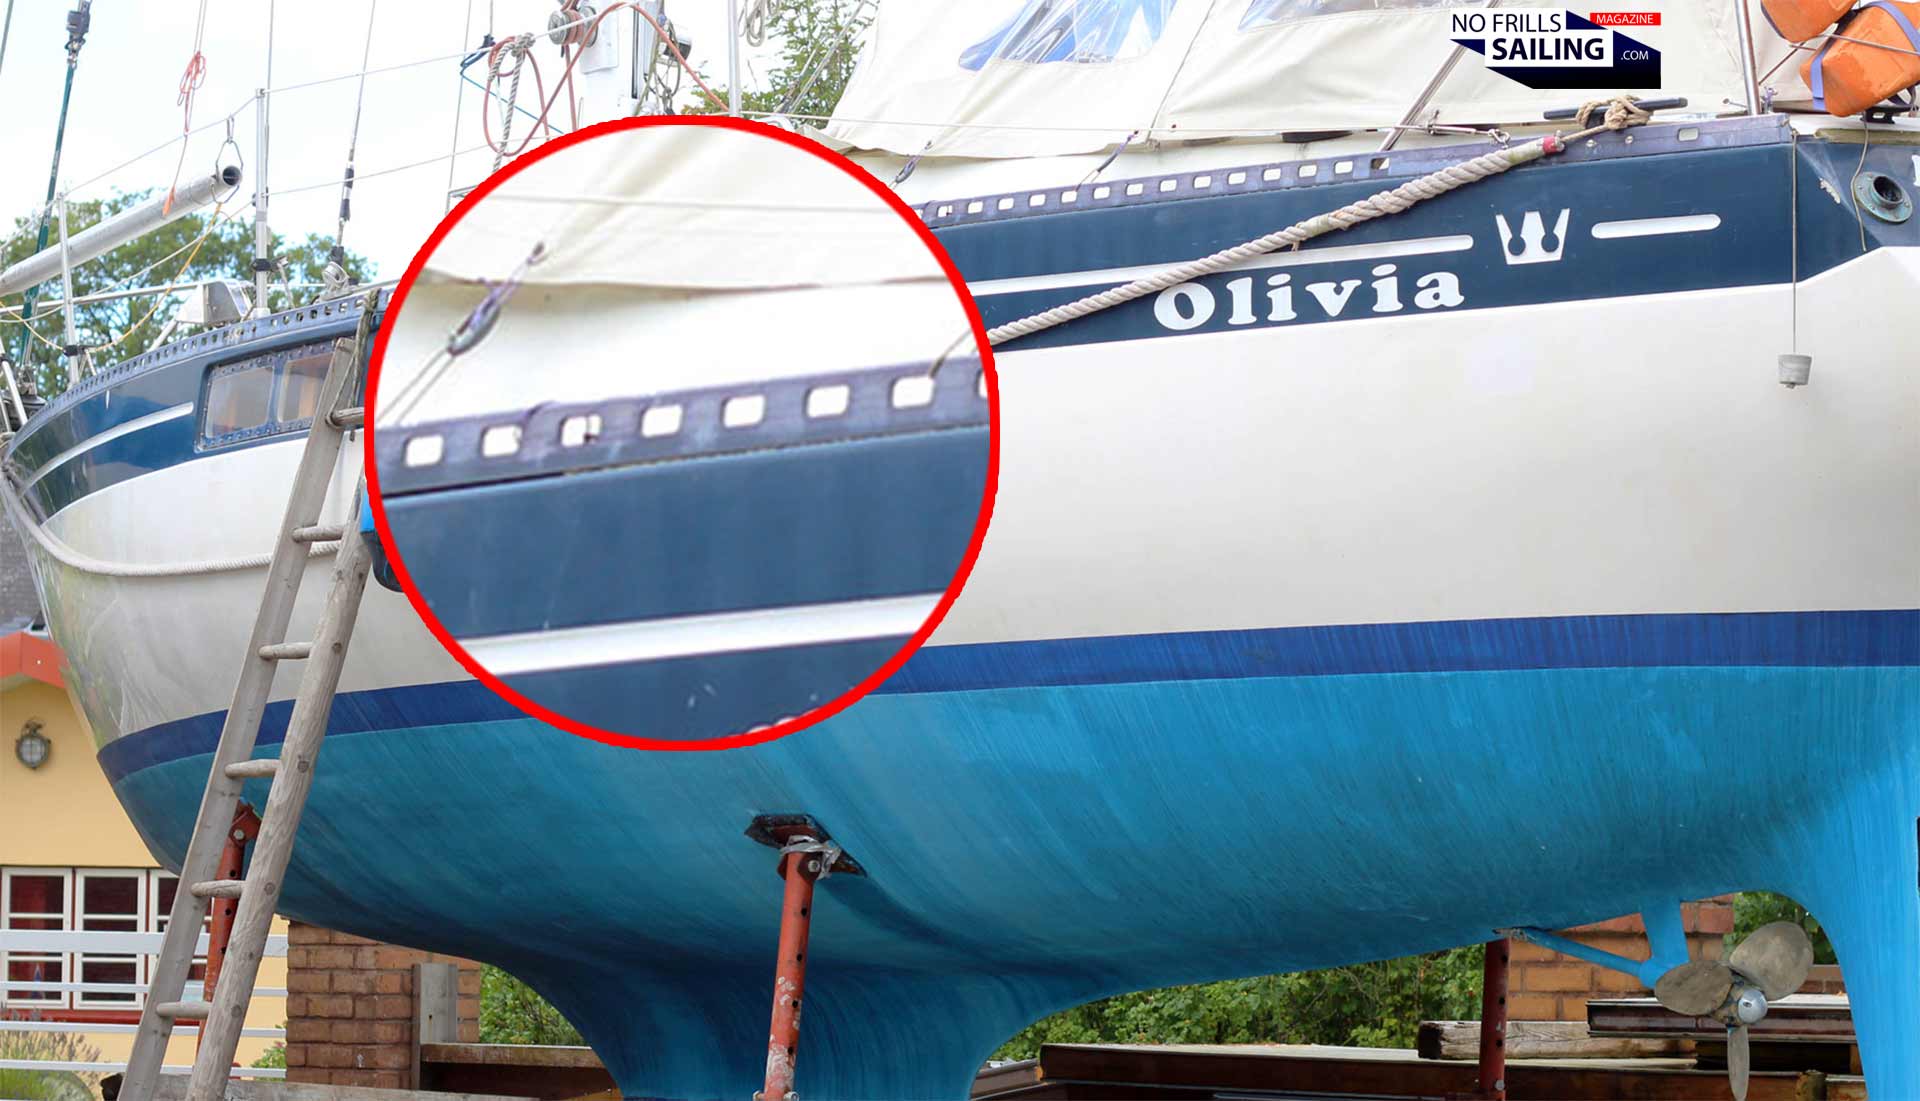
Those have the advantage that spray and water from rain and waves can wash off and leave the boat´s deck very quickly: There are always a lot of spill drain holes which will take care of the excess water on deck. The downside is … it looks dated and not so nice. Also, these holes use to be kind of sharp in their edges (hence the name “toe rail”, should better be called “toe-breaking rail” then!). So I opted for a “closed” version of the toe rail that would look much more modern and clean, because the neat lines of Peter Norlin need it:
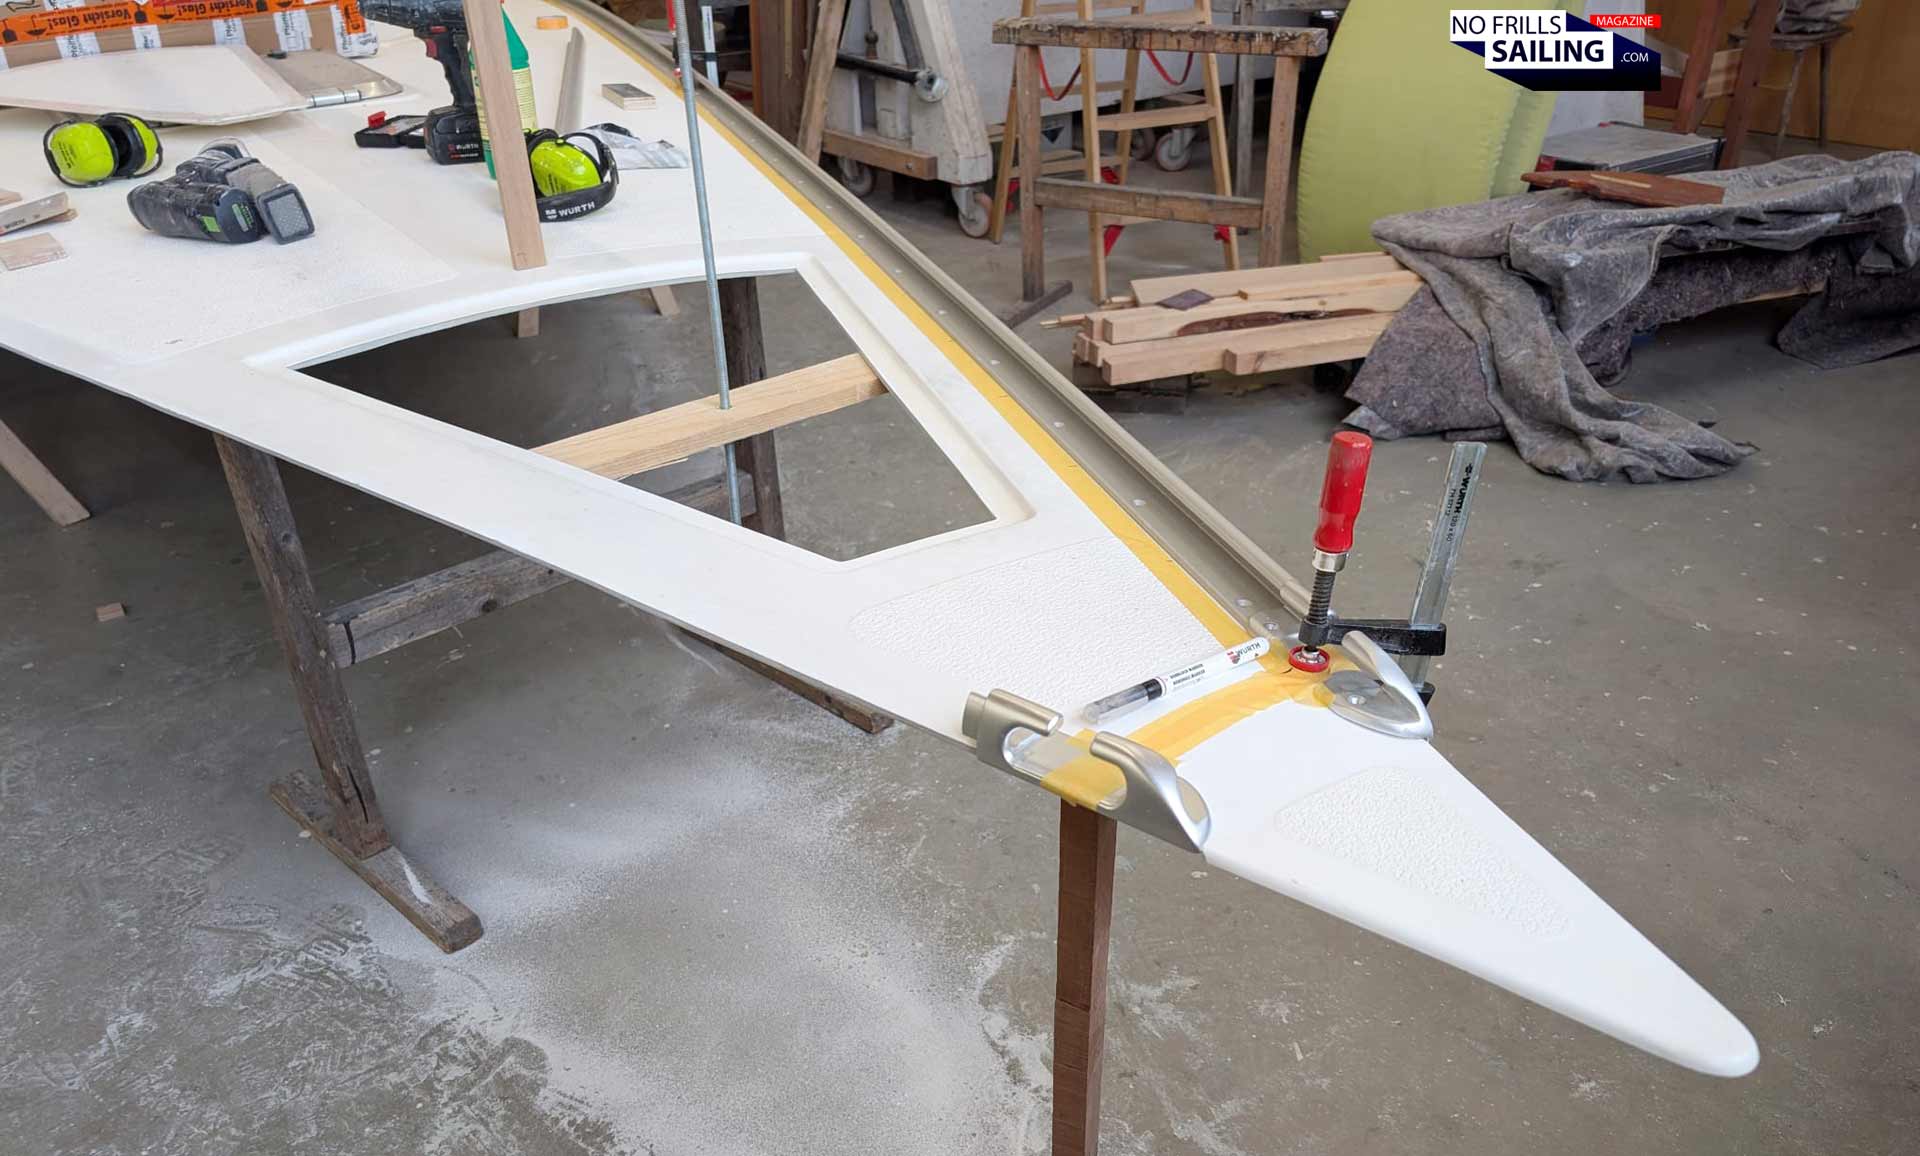
If you look at pictures of classic Omega 42 boats, like here, you will see that they also sport a toe rail with drainage holes, but I prefer the modern approach. Integrated at the bow, the stern and roughly at the chainplates are special openings which will take care of the drainage but also take on and lead out the landlines nicely, bringing them to the mooring cleats. The toe rail is custom bent to follow nicely the shape of the boat. With it finally prepared, we are ready to go, I´d say?
Counting down to the big day
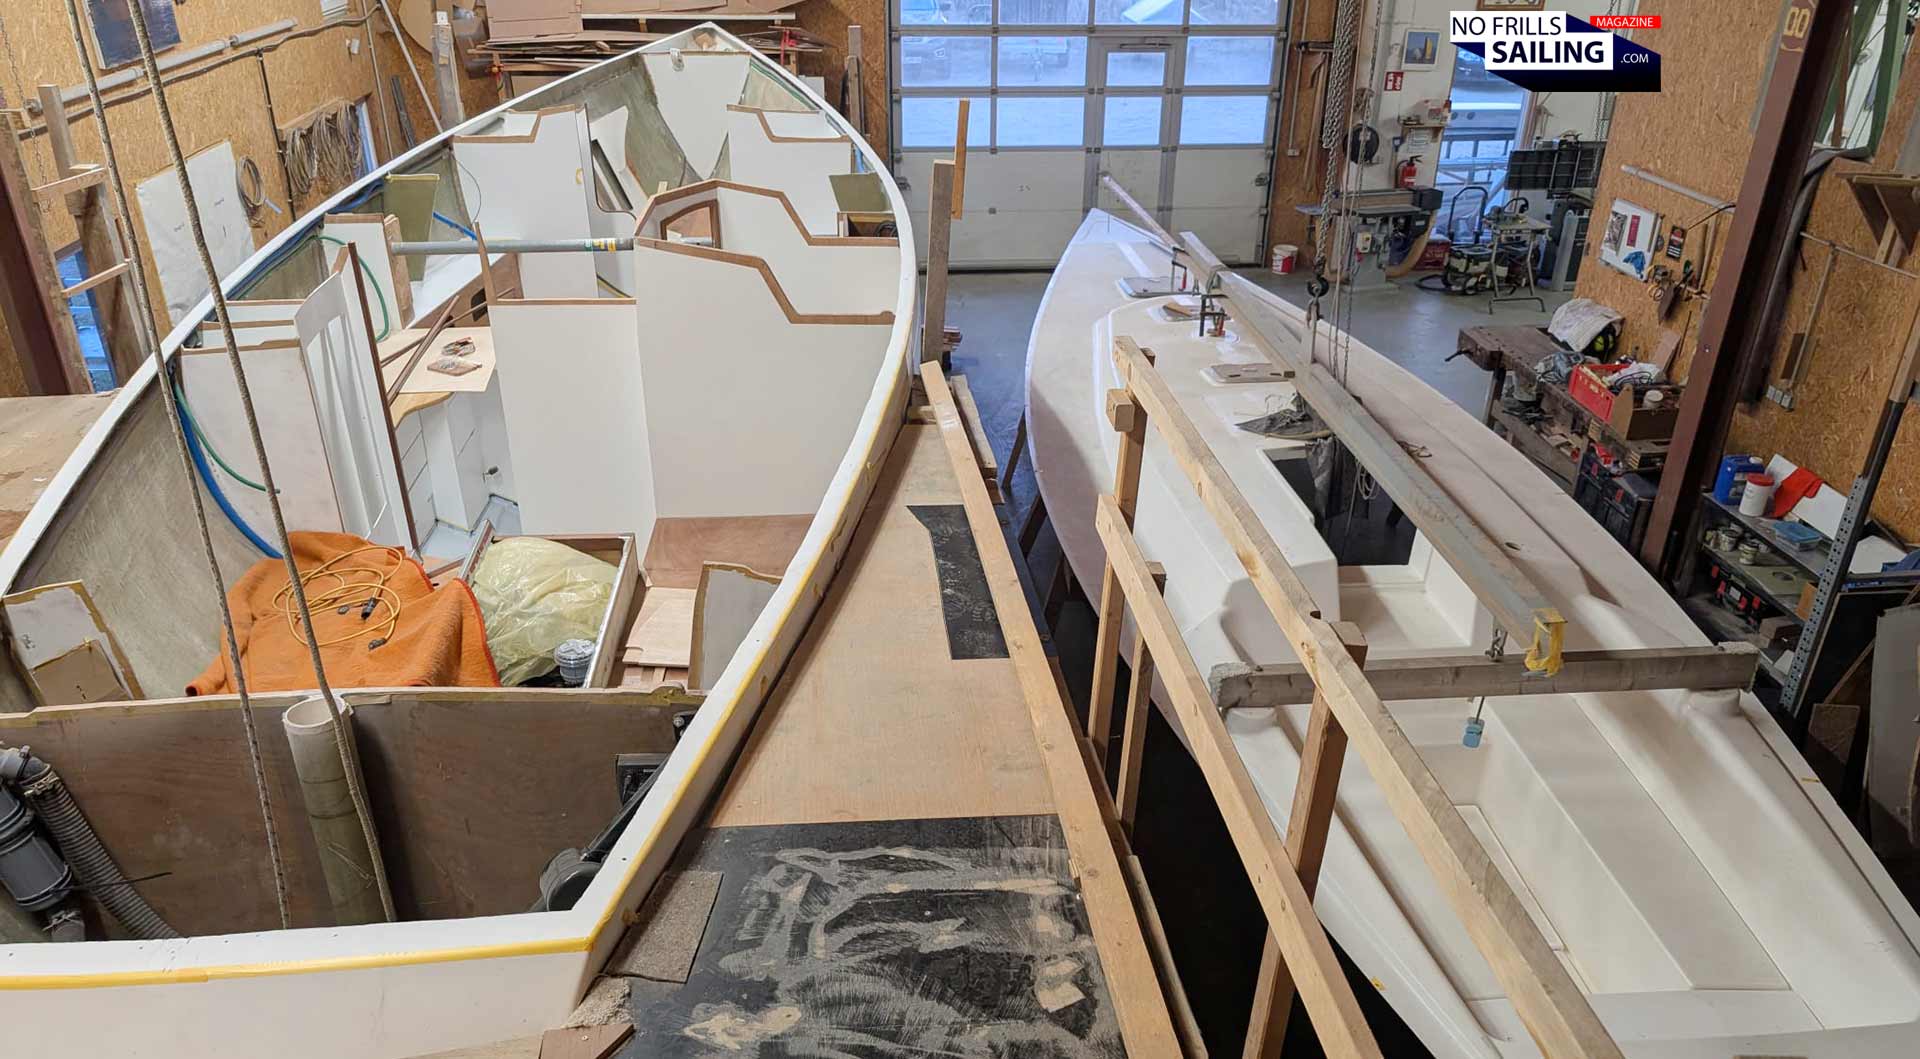
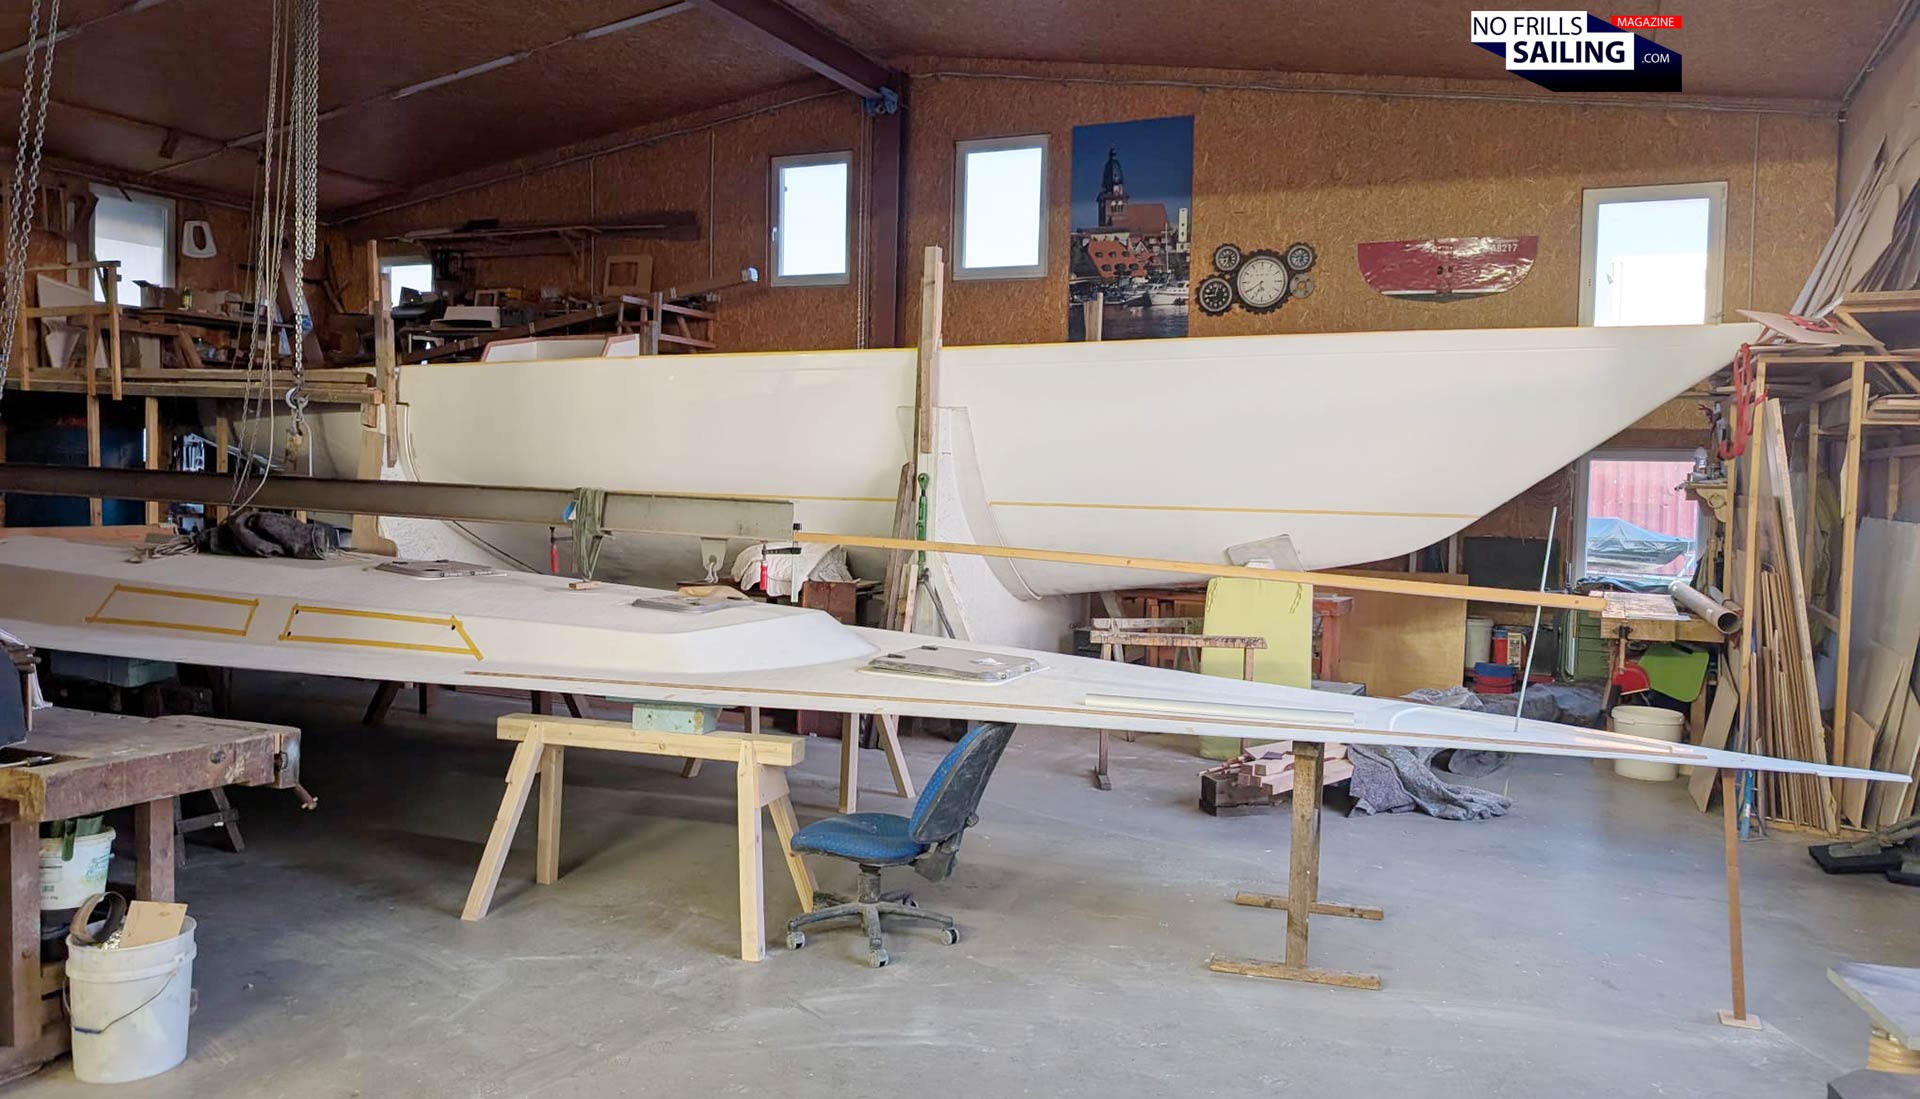
Yes and no. There are so many little things to be done before, I haven´t talked about: Like the thorough cutout of the aft storage or the opening for the anchor chain-locker in the bow. Again, this produces some dust and offcut that is vacuumed and wiped away thoroughly. The last picture I received this week, before the guys go into their well-deserved weekend, shows the shiny, clean hull with the huge overhanging stem and the prepared deck next to it: Ready to go for the big day!
I will be there on Wednesday early in the morning, put up my cameras and prepare myself to catch the whole proceedings, when the guys start to finally put the deck on top of the hull. It will be a glorious day, I am sure! Expect another in-depth article finally depicting and showing how and which glue is used, how the holes are drilled to fit the screws and how it all finally comes together smooth and nicely. If you don´t want to miss out this big, big day, subscribe to the monthly newsletter, if you haven´t already:

It may sound absurd (and it is, honestly), but I feel a bit like back in the day when I saw the first 3D-ultrasound picture of my then unborn sons. It´s all-so exciting! Because up until now, visiting the boat in the shed was coming to a construction site. Everything was still very abstract, needed a lot of imagination. Now, with the deck finally attached, the construction site becomes … a boat. And how cool is that, right?!
Here´s more on the building of the new Omega 42:
All building progress-articles so far
Why did I opt for a classic yacht instead of a modern boat?