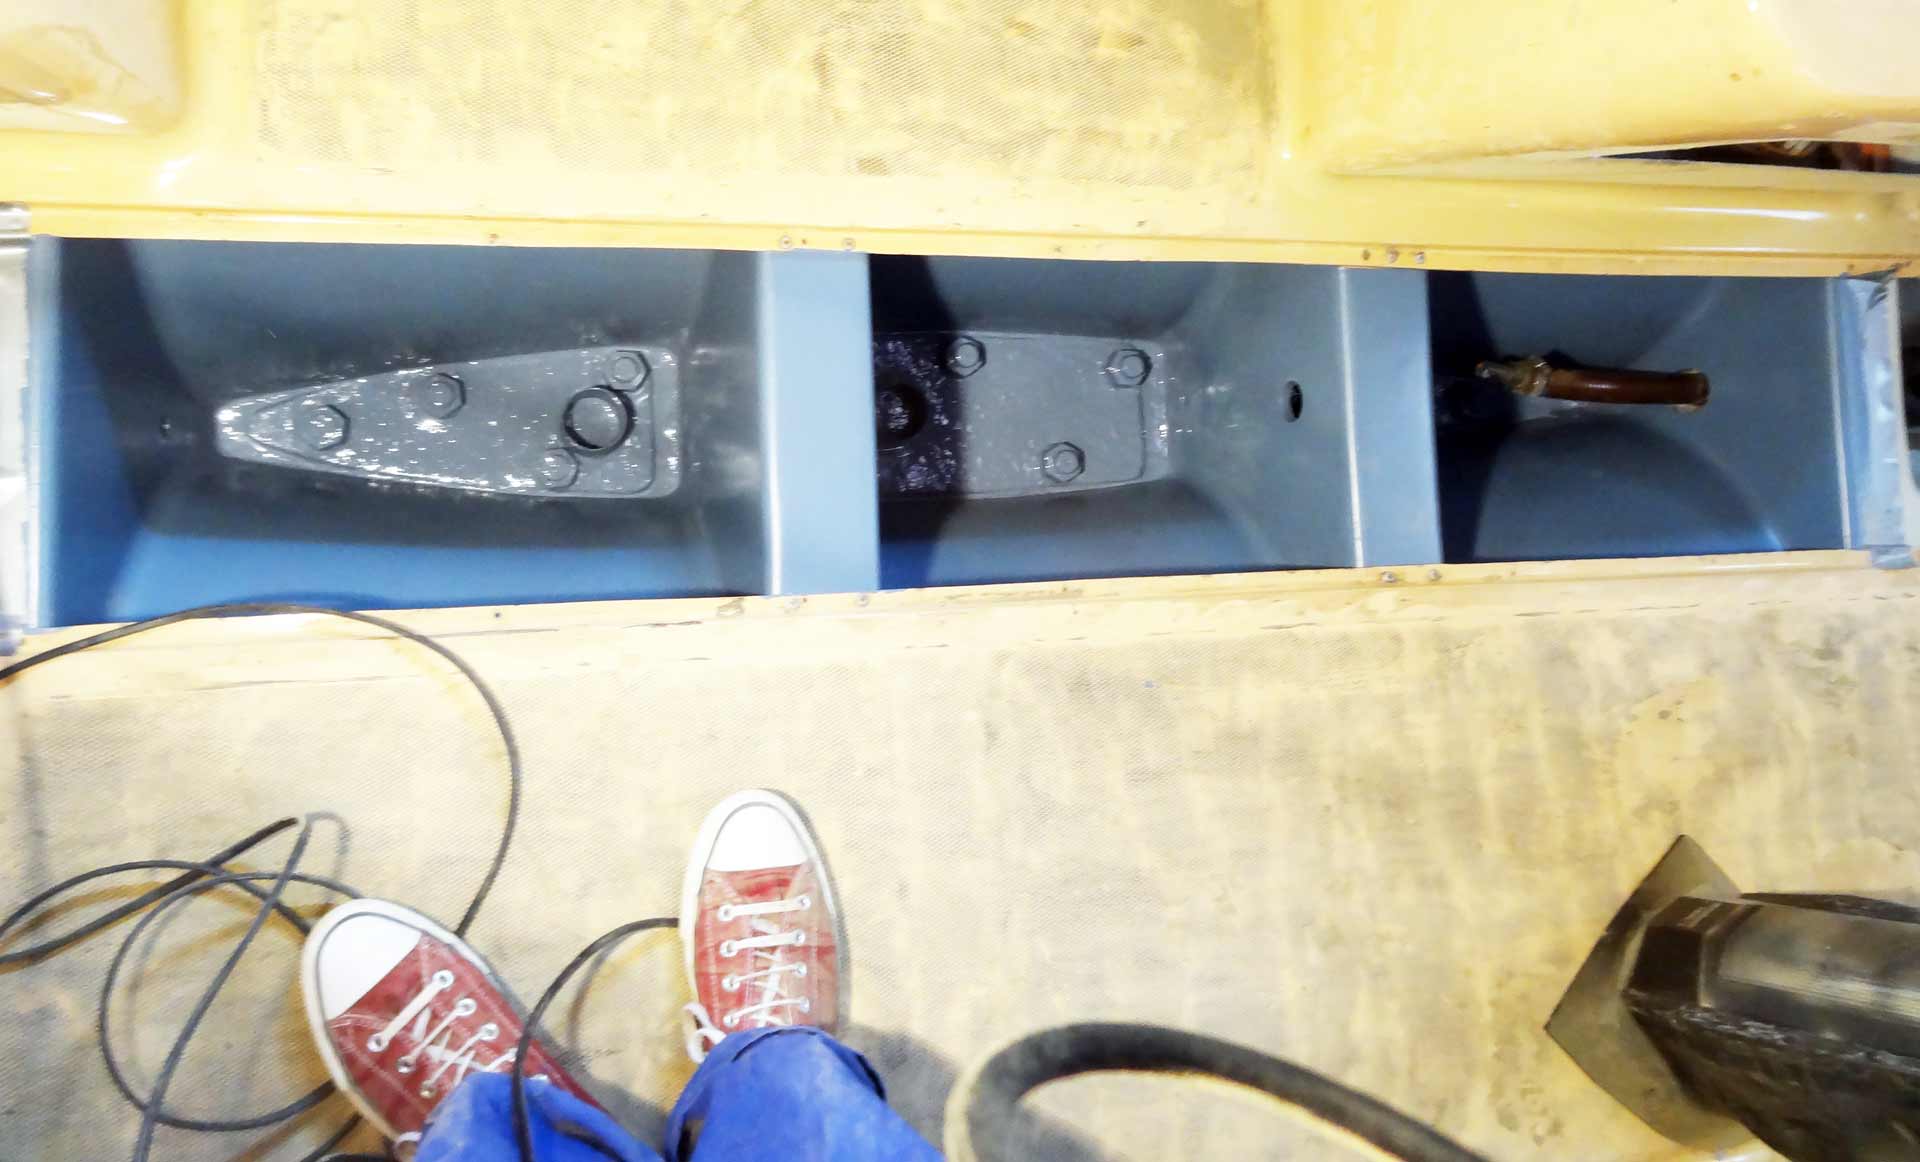
And I was so proud: Finally getting up, nearly braking my aching backbone after hours of painstakingly varnishing the bilge with the blue primer and looking at my work. Grinning all over my sweaty face – finally it was done and I thought to myself it was getting just right. Only weeks after having applied the second layer of primary coating (here´s what I´ve done to get a clean and dry bilge in the first place) this part of the refit-program of my King´s Cruiser 33 was drawing to a close. But … well, not so fast please.
Just when you thing you´ve done everything right …
Besides the fact that during this period of my refurbishing work temperatures began do drop again below zero it wasn´t possible to go for the last and final steps of the bilge-refit: Painting the whole area with International´s Danboline, I switched to some other items on my to-do list which could be done no matter how deep frozen the surroundings would get: Sanding the Gelcoat-surfaces all over the boat (here´s how it looks like) was occupying my workforce for the coming weeks. I hoped it would get warmer over time. It got warmer, but I was horrified to discover …

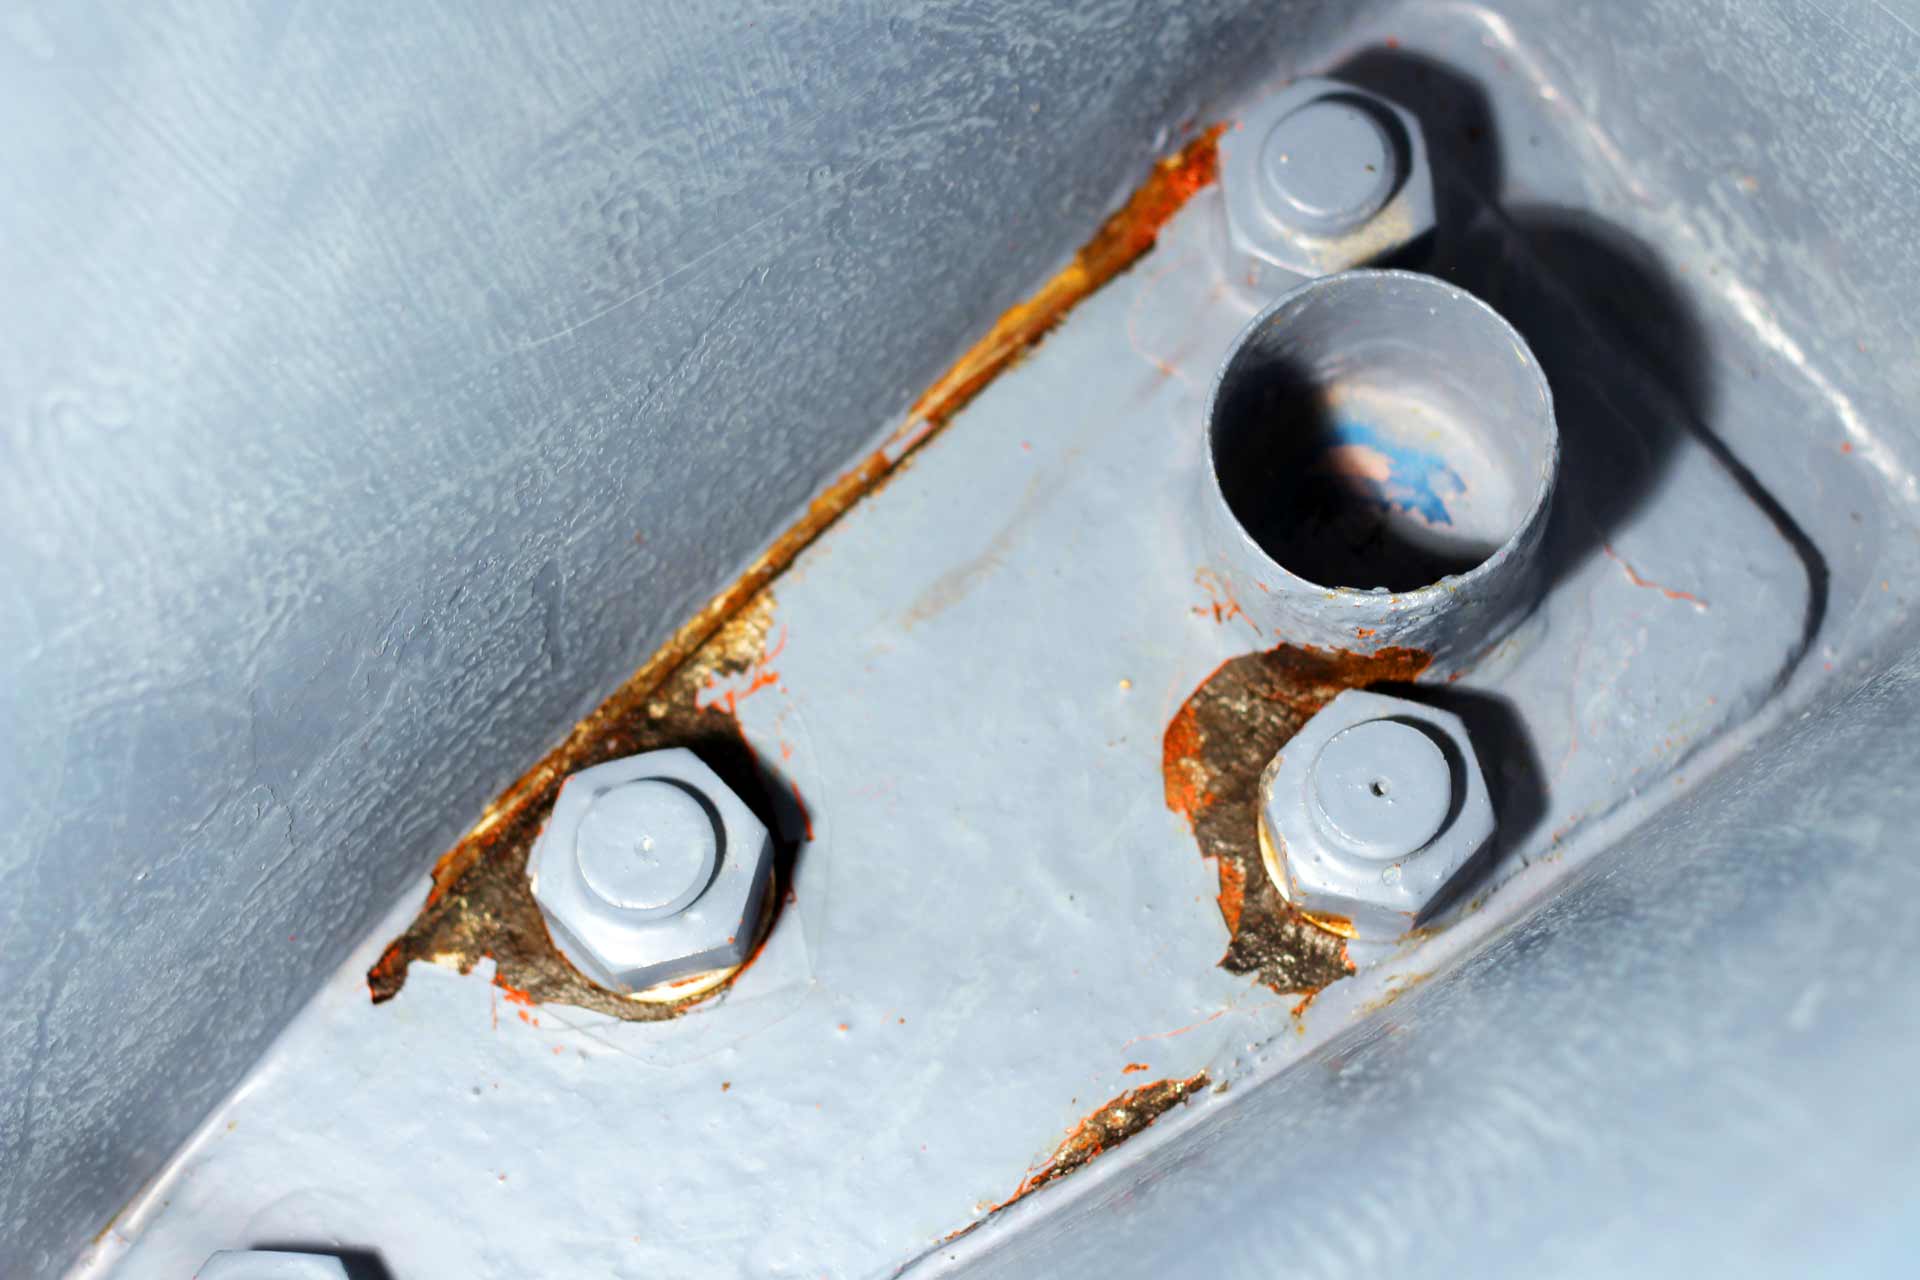
… that obviously something went very wrong in the course of refurbishing the bilge. “Dammit! What the f%3+*!”, I thought to myself knowing that there would be nobody other than myself to blame. What did I see? I´ve noticed a discoloration in the foremost of the three separate bilge-chambers located around three of the keel-bolts. At first I thought it was just dirt and dust gathering there but after another week or so I discovered the first fissures in the freshly applied four five layers of anti-rust and primer. Something went wrong here.
When a dry Bilge isn´t that dry
When pressing my fingertip against the areas the fissures – like a pimple back in those puberty-days – ripped open giving way to brownish water. Not really much of it but enough to making me realize that there would have been a certain amount of it underneath the paint. At first I thought that was pretty much it – pressing all of the moisture out of the bilge and done. But I was wrong. I decided to cut the paint open with a carpet knife and after doing so I could remove whole parts of the fresh paint-layers from the keel-plate.

What a disappointment! So many hours of work wasted. How could it happen? I was sure to having dried out the whole bilge thoroughly, sanded and primed the keel-plate and surrounding areas. Before painting I´ve cleaned and degreased the whole bilge very carefully and during the painting process I took measures to assure high drying temperatures as well as a de-humidified surrounding. I just couldn´t explain where the heck this water could have been from? Underneath the paint?
Getting the Job done
Well, all moaning apart – I had to do something about it. Starting to cut open wider areas around the keel bolts and taking off the paint up to a point where the paint boned with the surface again was the first step. I was relieved a bit when I saw that obviously the affected area was limited to a small area around some of the keel bolts. Checking for the other bolts in the aft bilge-chambers provided for further relief: None of them seemed affected at all and so the damage turned luckily out to be not as serious as feared. Worst case would have meant: Taking off all the paint and re-build all the layers. What a nightmare!

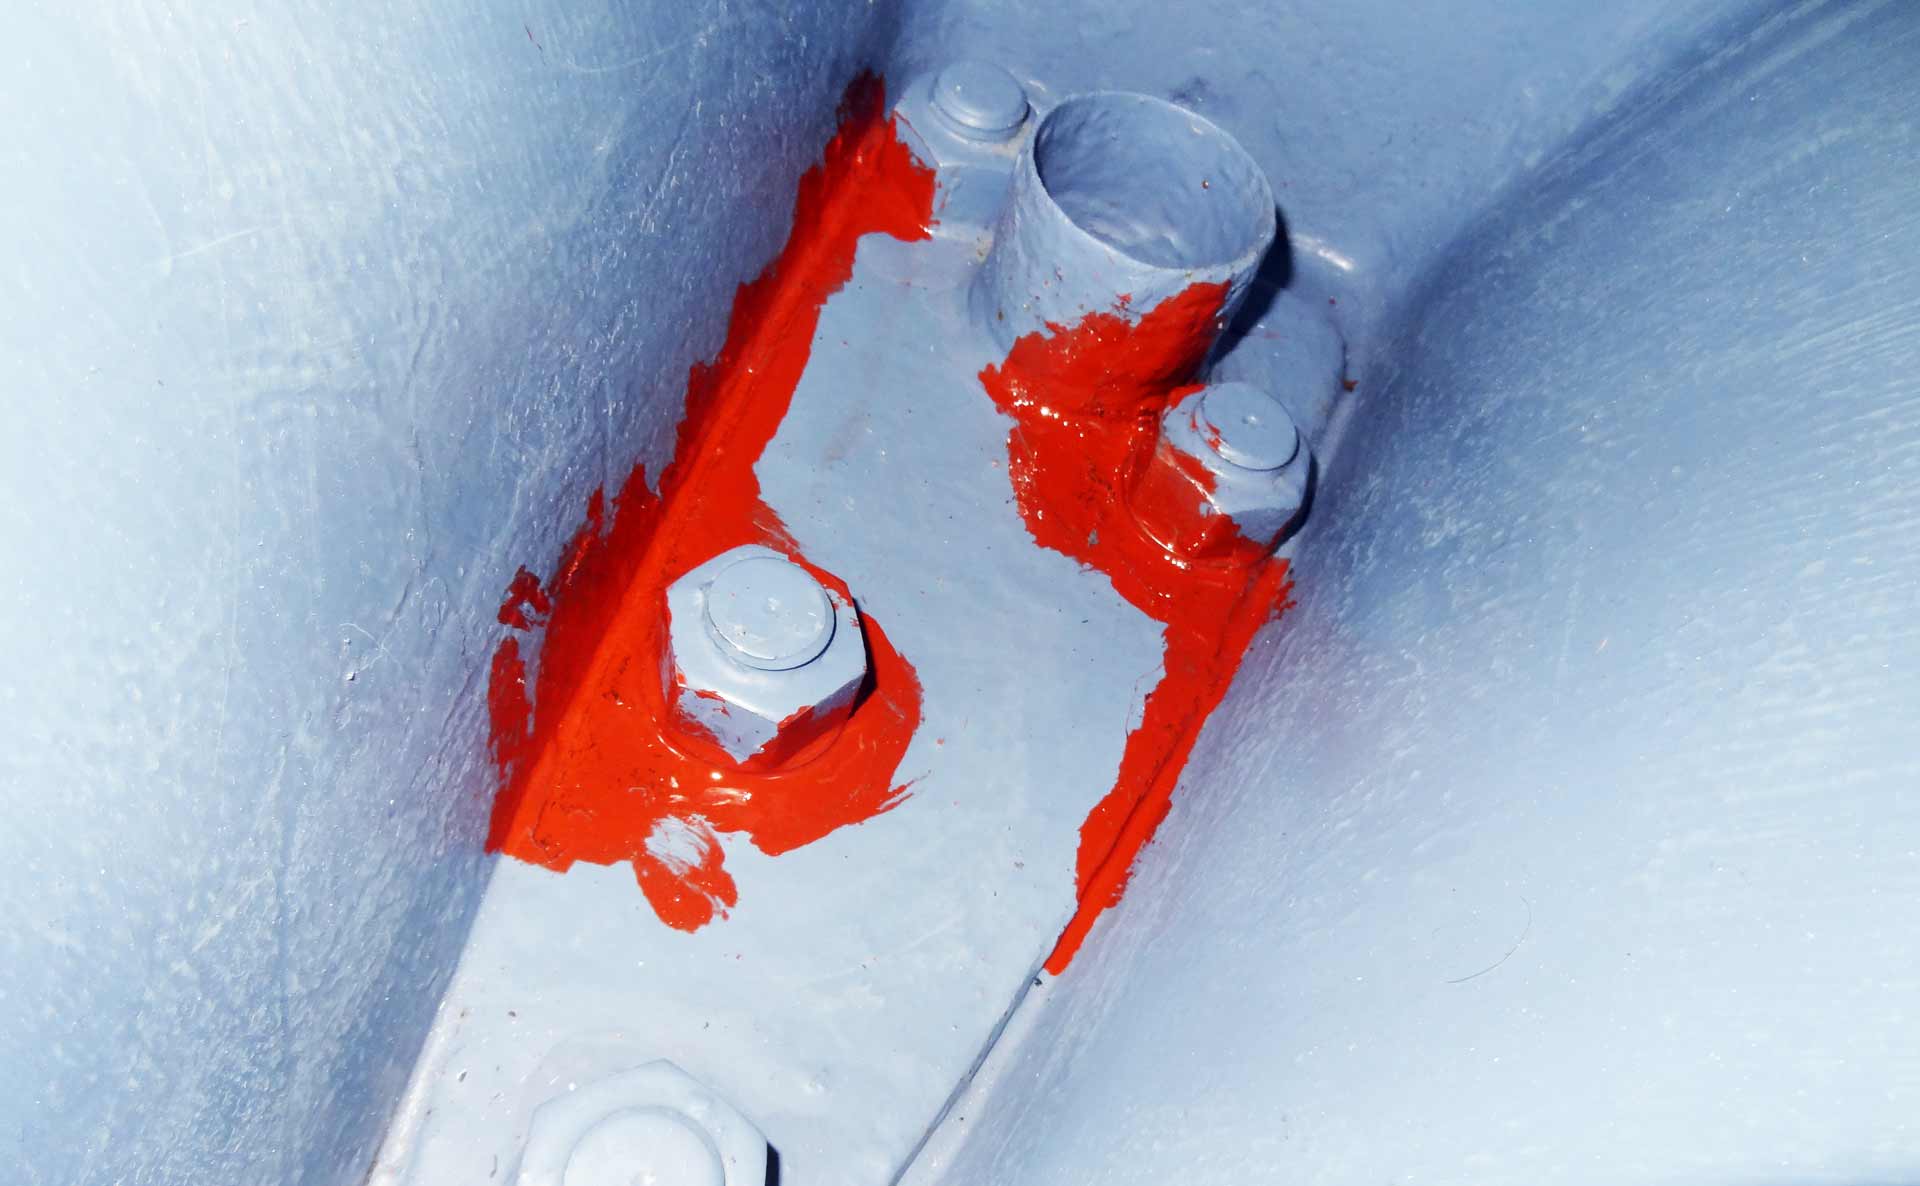
After having laid bare the areas in question I tried to dry them again: Using a lot of tissue at first and switching to acetone to clean it again, then sanding it again and trying to get everything fine for painting. Yesterday I applied the first layer of Owatrol Marine CEP again, the shiny red anti-rust varnish which I hope will protect the keel-bolts and plates from corrosion for the next 40 years to come. Today the second layer was applied, everything looks good here in the bilge again.
The first Setback in my Refit Program
What was bothering me all the time was the fact that this was the first real setback in my refit program so far. A whole new experience for me. Up until now everything went just fine with my sailing yacht: From finding the right boat, having a test-run and bringing the ship to my home port of Hamburg. Even de-rigging and craning the yacht out of the water for my first time as skipper ever turned out to be a no brainer at all (here´s an article on that exciting day). Starting to work on the ship produced a lot to do, but so far everything, every single step I did was right: The right choices, right workflow and the all I did seemed to get well. Up until now. It´s not that I didn´t anticipated setbacks. It´s not that I thought everything would go well all the time, no failures, no problems. But the bilge … it all started so easy. Too easy, maybe.

Well, let´s go ahead and see what we can learn: First of all – and I can virtually hear many of you saying so – you do not paint in winter time. As long as you aren´t in a relatively protected and warm hall you just shouldn´t try to paint. I was too sure of myself, the weather and all that. It´s true we´ve had some 10 degrees during November and December and I´ve had the heater running all the time, keeping the inner of my yacht at steady 17 to 18 degrees, but … well, somehow moisture did manage to gather and here´s how I end. Second thing: Work more accurate. Check twice, if not so, check triple times. It´s worth it. One miss and you´re in for a second go.
Next Steps of the Bilge-Refit
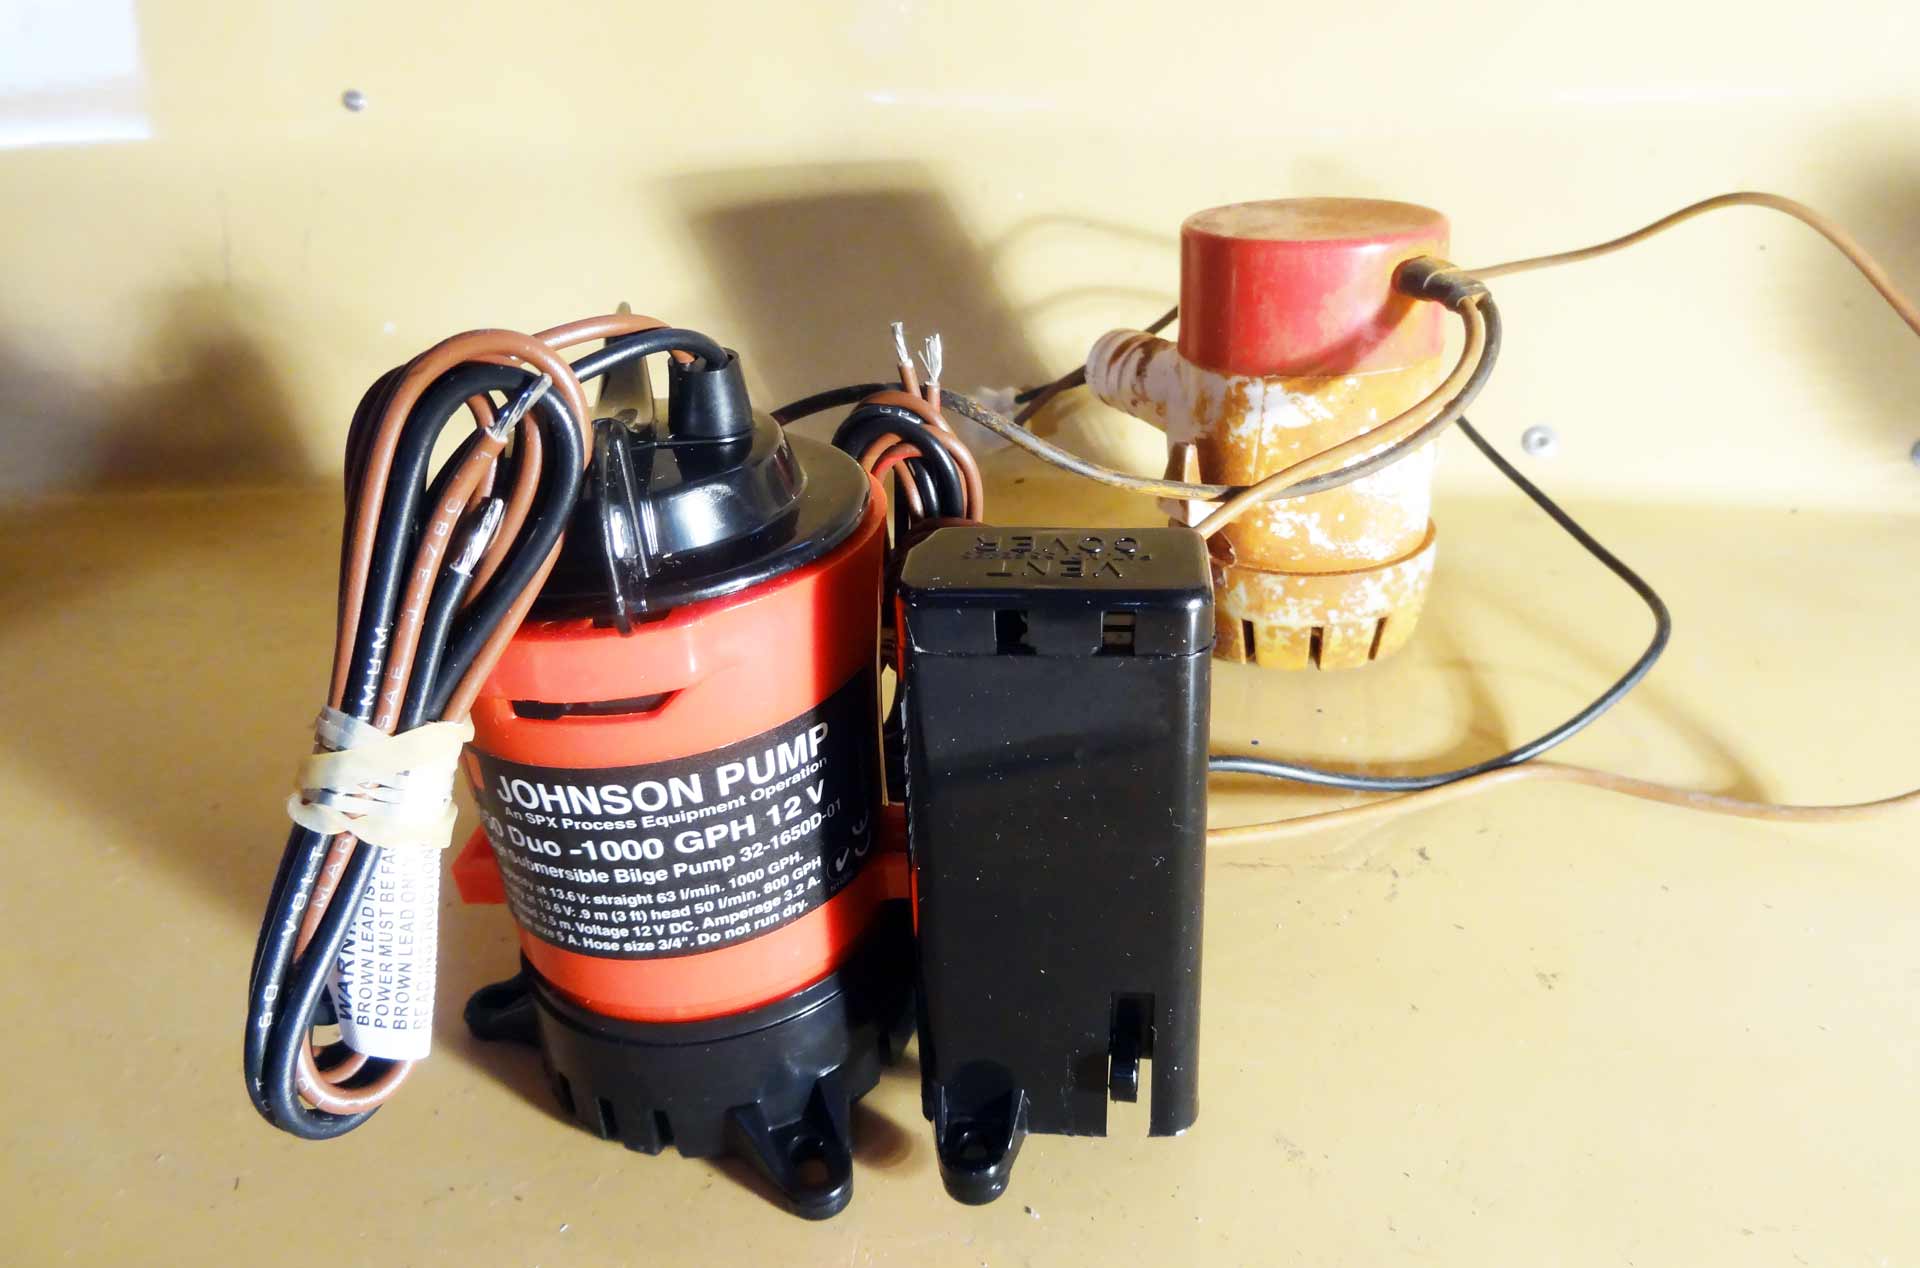
So, what´s up next? I hope to get on the third and last Owatrol-layer during this week so that everything can be let dry out thoroughly over the next two weeks or so. Having pre-sanded the bilge prior to finding the moist spots everything is ready for painting with bilge-paint. I´m still not quite sure if I´d go for a grey bilge of the white variant. I do have both colors. We will see. I hope to finish the varnishing process in early April when work on the electric stuff will be at its climax (here´s what I´ve did in the first place – electric refit of a yacht. If so, the electrician will be able to wire up my new Johnson bilge-pump and I will install the drainage system.
And finally then my Kingscruiser will have its new clean, dry bilge.
The initially planned date for this job to finish was 6th Dec 2015. Oh my …
