I take some pride in the fact that I am refurbishing a lot of the wooden parts of my 1975 built FISKARS King´s Cruiser 33 in Teak. Well, of course that puts a massive strain on the refit budget and is one of the causes that the progress of the project is so slow: I simply cannot afford to have the whole amount of Teak bought in one piece. Nevertheless, there is progress, some at least, and one of the sub-projects I am particularly proud of is the new chart table.
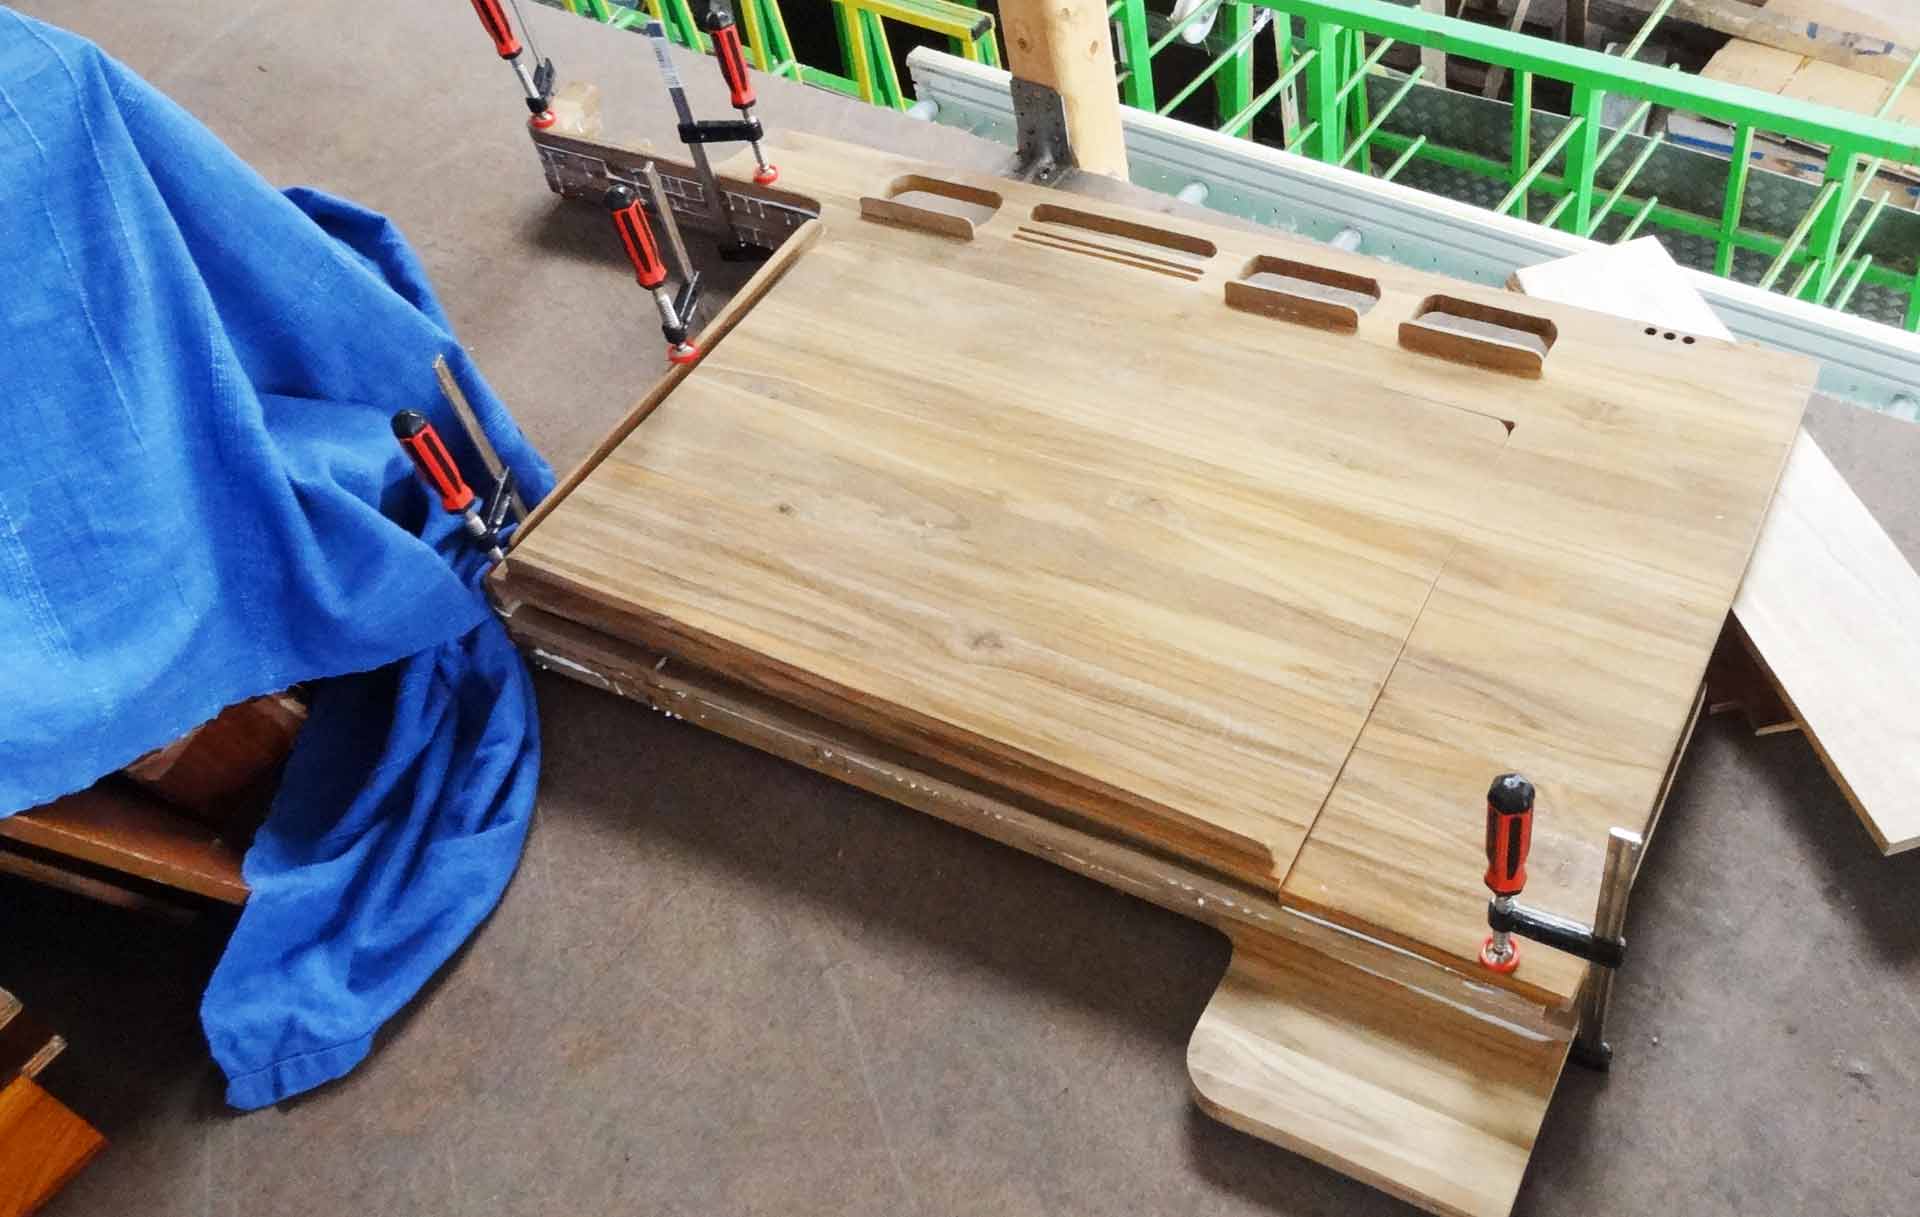
After giving the whole navigator´s station a thorough re planning (read the article here) I built the very table in a multi-step process. The outcome is a true beauty I think. Now it was time to have the table installed – not least because this huge thing occupied a lot of space needed for the roofing panels I am currently working on.
Proper Installation of the new Chart Table

I start with the GRP surface. I did remove all of the old table, some of the drillings for cables are a last leftover of my previous owners. One of them did re-wire the navigation station and – let´s put it this way – he didn´t care all too much for a smooth wiring. I did and therefore installed a cable-duct where I will have all the wires running through to and from the main switchboard, the new VHF (read it here) and fuses. Basically, this duct is a piece of surplus toilet drainage (unused, of course) as you may see in the upper-left corner of the picture.
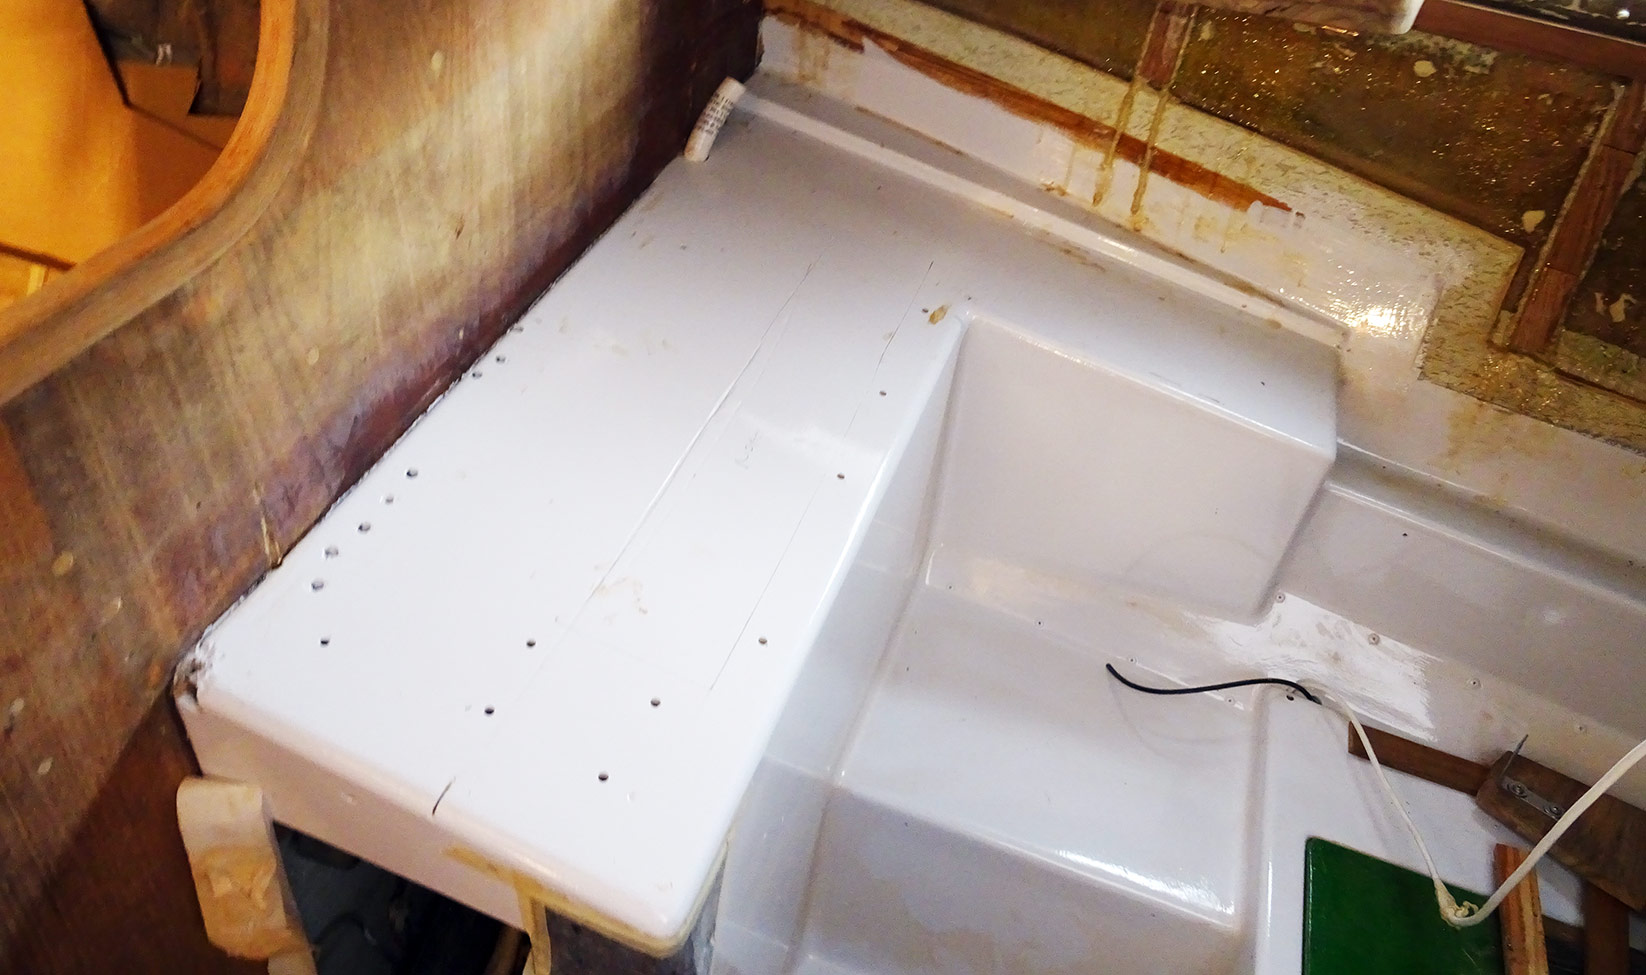
The chart table is a massive one. I haven’t weighed it yet but I suppose it will come in at some 10 kilograms. That´s a huge mass and I definitely don´t want this thing to come loose in heavy weather or even fall off its designated place. So I decide to go both for glue and for bolts to fix it. The glue is ordinary marine adhesive which I distributed plenty of all over the place. The glue will have another effect: It will prevent the wood from scratching over the GRP and make noise.

The table is then put on the GRP structure. The next thing was to put the bolts through the ground plate of the chart table and to fix them with nuts and some flat washers. Again, I want to play safe and so I used not less than 10 stainless 8 mm bolts to have this baby fixed bomb-proof.

Doesn´t it look awesome? I took a seat behind the new chart table and I was astonished of how neat it felt: The table has the exact measures to match my body in both the height of the table, it´s angle and the size of the very chart compartment, not to mention the various trays for pencils, set squares and all that stuff. Even a very nice holder for the binoculars is incorporated.
Assembly of a main Switchboard-Housing
You may also have read the article on the main switchboard which I bought from German premium manufacturer Philipi (read it here)? The switchboard along with the new Standard Horizon AIS/DSC radio and an USB-port for loading smartphones and stuff will be supported by a panel made of Teak batten.
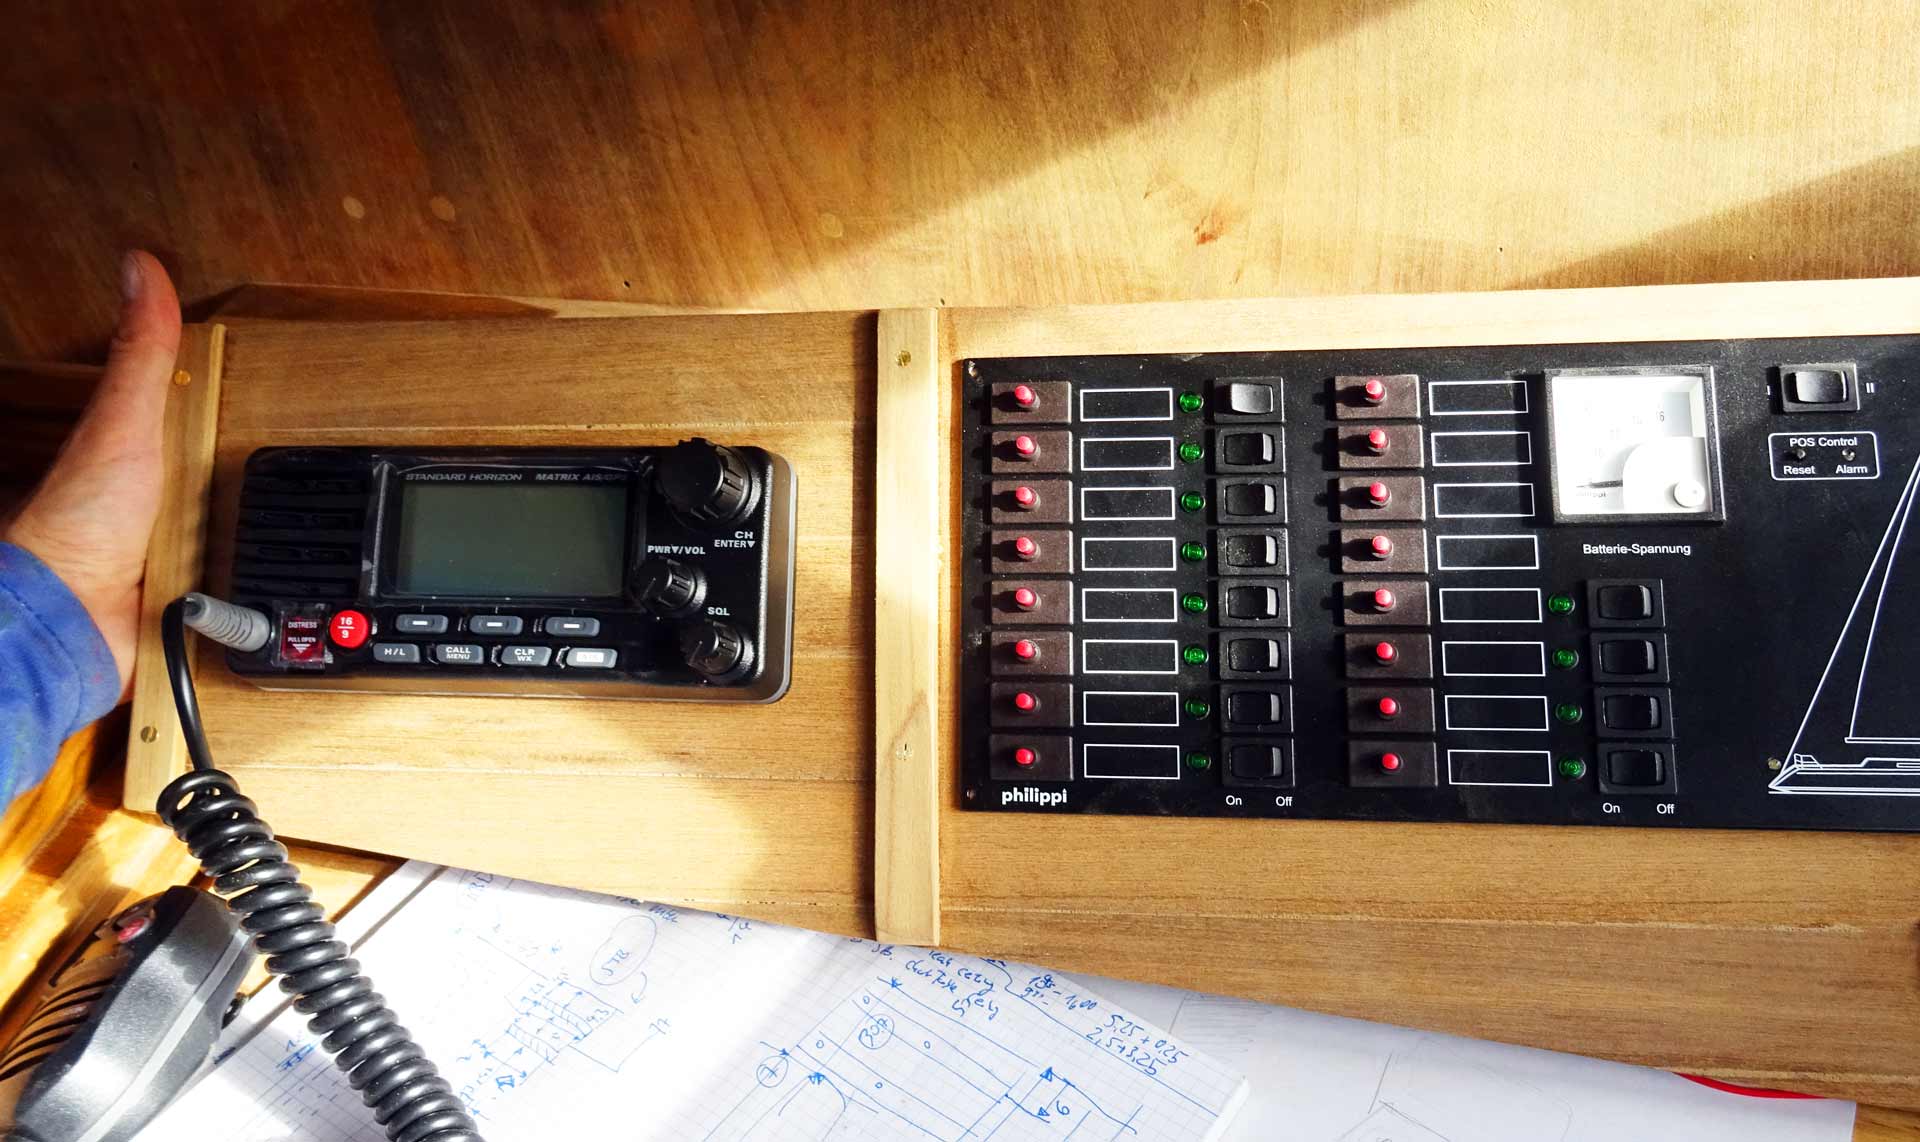
All I need now is a proper housing. The tricky thing about this is the nature of the construction of the boat: The back side is bent (as it is an IOR-cruiser), the front is a trapezoid and the top – I did had another idea, you guess – should be a shelf to put this and that on it. So you can imagine that I was experimenting with a lot of cardboard mockups in order to find the right form for the missing parts. But ho to get them to the boat?
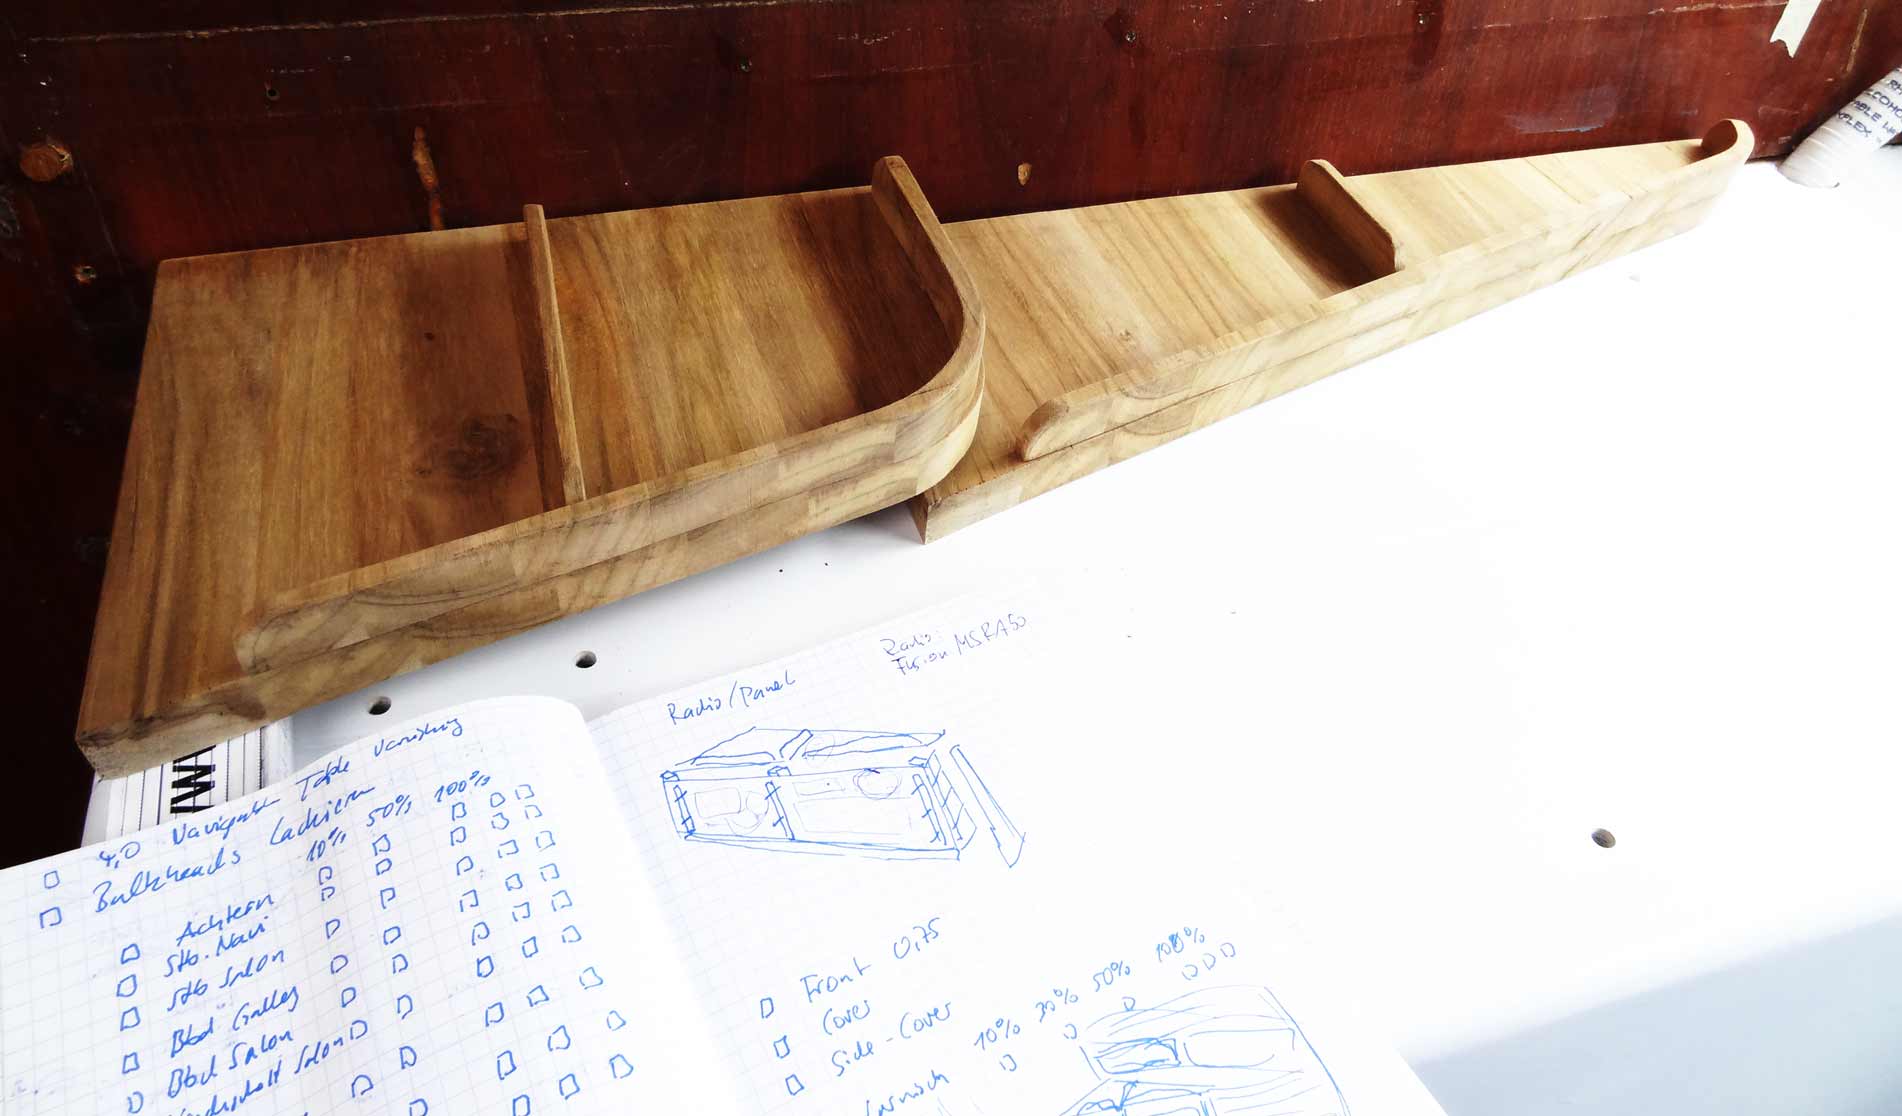
The top-shelf will not be a moving part as the switchboard-panel has to be for maintenance reasons, so it can be mounted permanently to the boat´s side. I glued and bolted a cross-bracing to the GRP hull on which the shelf is then screwed from the underside. This is also a bomb-proof method. Also a base-mounting, which is basically a round sanded piece of Teak is screwed to the chart table, the screw tops are later sealed with Teak plugs and evenly sanded.
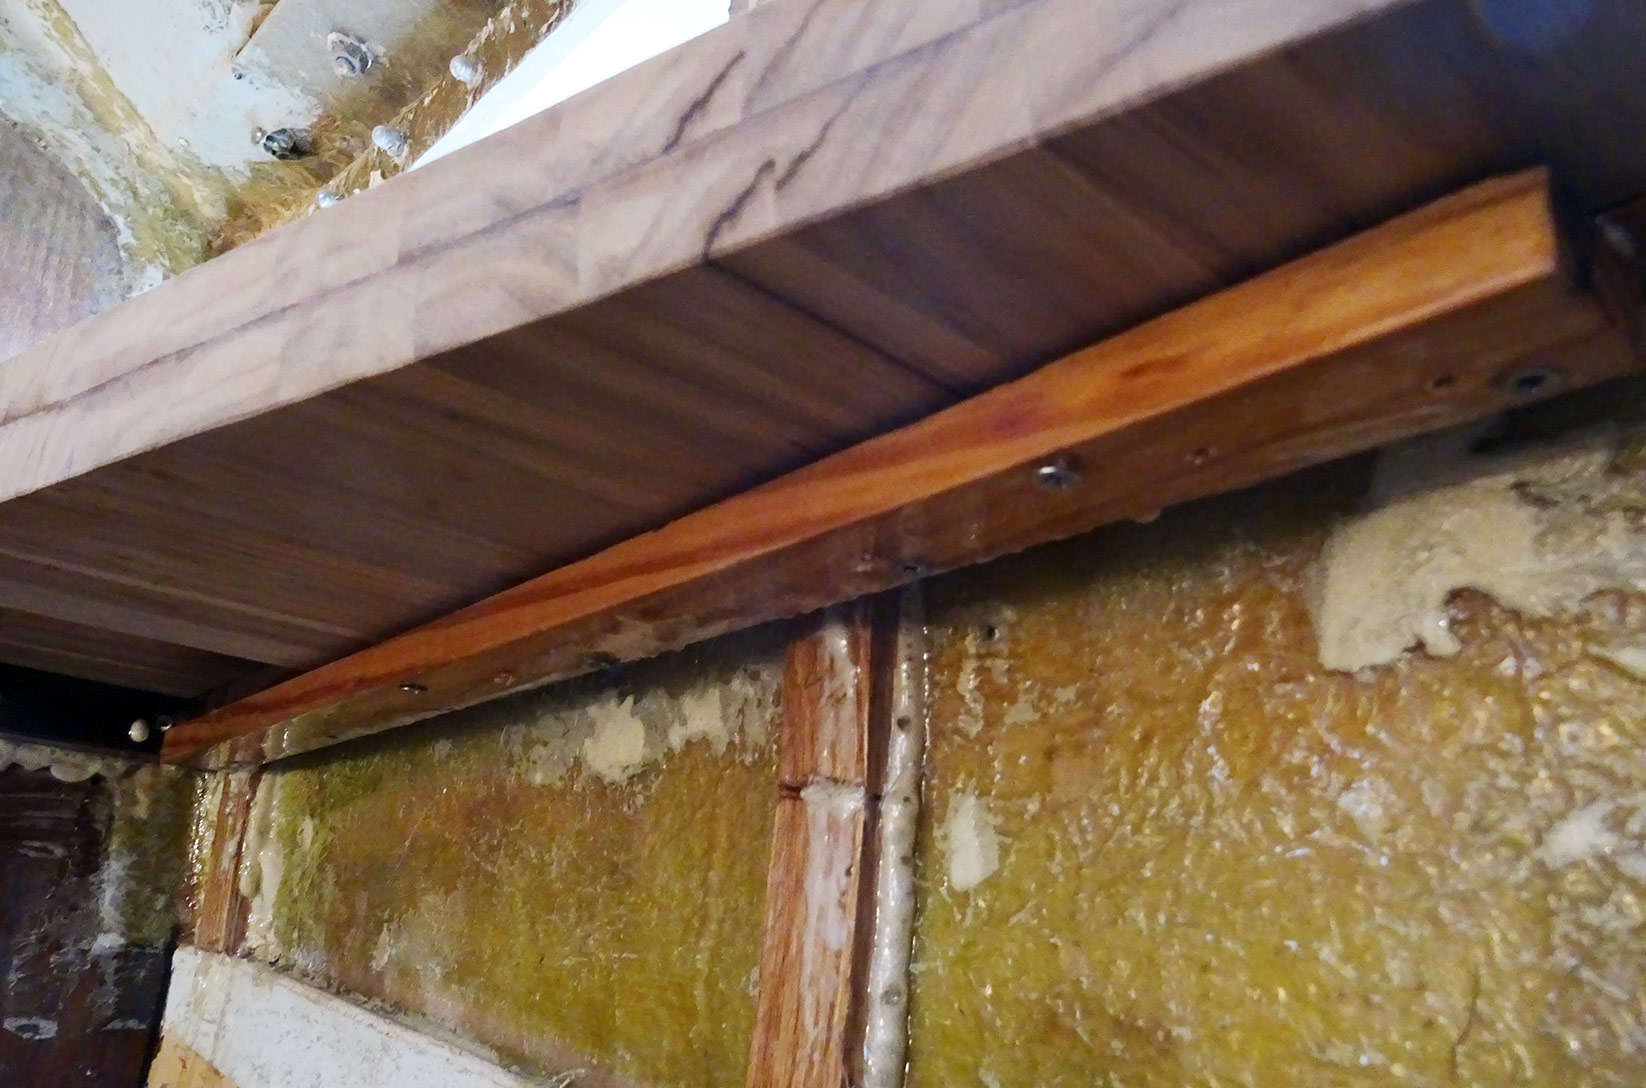
The shelf is not a must-have but I know from seeing a number of owner-boats that over the time you´ll always have a dozen biros, clamps, notes, loose change and all kinds of stuff flying around here so I think it is better to have a designated place embodied in the overall design than to have this stuff flying around in the chart table compartment or – worse – to have those little Teak boxes bolted to the bulkhead in front of the navigation station.

Last not least on the right hand side a custom-made closing plate made of Teak is screwed to both shelf and chart table which will finally add strength to the whole construction. The rest is an easy one: Mounting of two hinges to the base and the switch panel to the other end of the hinges: Here we go.

Next steps for the new Chart Table
Here we are: The switch panel has been installed. It looks awesome and I can´t wait to have this all glossy-painted. As I am now currently working on the roofing panels (read the first and the latest steps here and here) this is connected to a dust-producing process which forbids glossy-painting. Also two bulkheads in the head, the entryway and the fore cabin (LINK) have to be sanded down as well and until done there won´t be any varnishing I fear.

But when this is done, all the new station needs will be the final assembly of VHF and switchboard and the wiring of the whole stuff: A job I am not very much looking forward to and which will be done by a professional yacht electrician. A tiny thing I would have done in another way (and I will certainly will with my next boat-refit project) is to have all wooden parts mounted with keeping one certain direction of the wood grain. But this is a detail I simply forgot to take into consideration when I started working on this item. Well, it adds to the character of my boat I guess …
Related articles tot he chart table-topic:
My initial plans of making a new chart table
Working with massive Teak to make the chart table
Making the marine switch cover from teak batten


