As you may have read in the previous articles on the refit program of my King´s Cruiser 33 I am right now working on the saloon refit. I´ve decided to replace the old, ordinary plywood applications by panels made of massive teak (read it here and here) and finished after some 90 net working hours with that job. Unfortunately – as it goes with all boat refits – I´ve discovered faulty portholes and had to disassemble them (read about that incident here) and now have to wait for warmer temps in order to have them reassembled first before I can mount the teak panels.
This is where I start

Nevertheless, there is more than enough left to do otherwise and I began to work on the roofing panels recently as I wanted to have the old ones replaced by brand new panels as well.
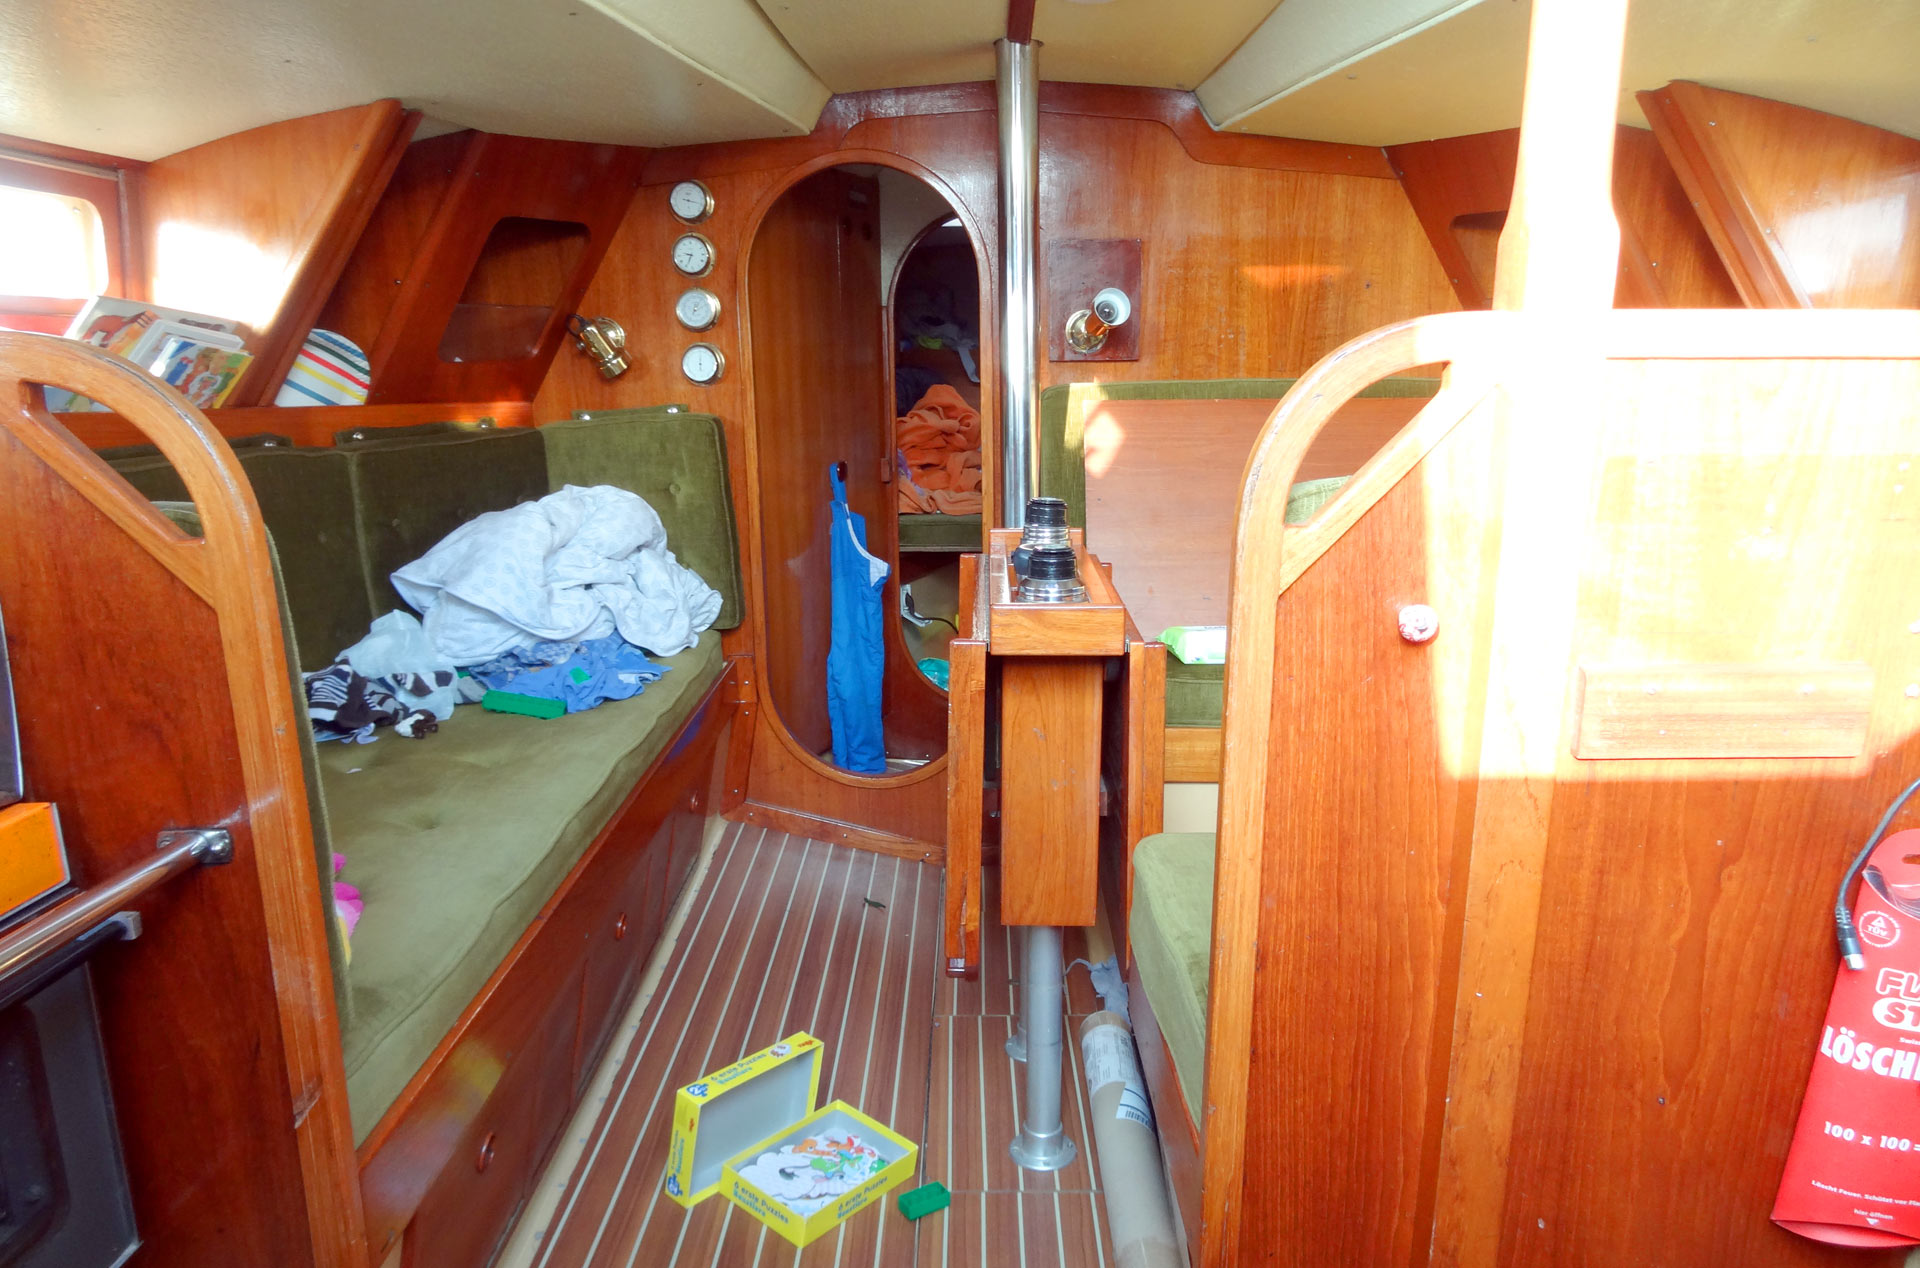
The original configuration of the King´s Cruiser 33 is as such as there have been plywood panels which had been laminated with phony suede-like thick foils. Over the years (my boat was built in 1975) these panels had been painted over a couple of times which made them look odd. On the other hand, some of the panels had been damaged by seeping water and would had to be replaced anyway so that the decision to make brand new ones was a no-brainer.
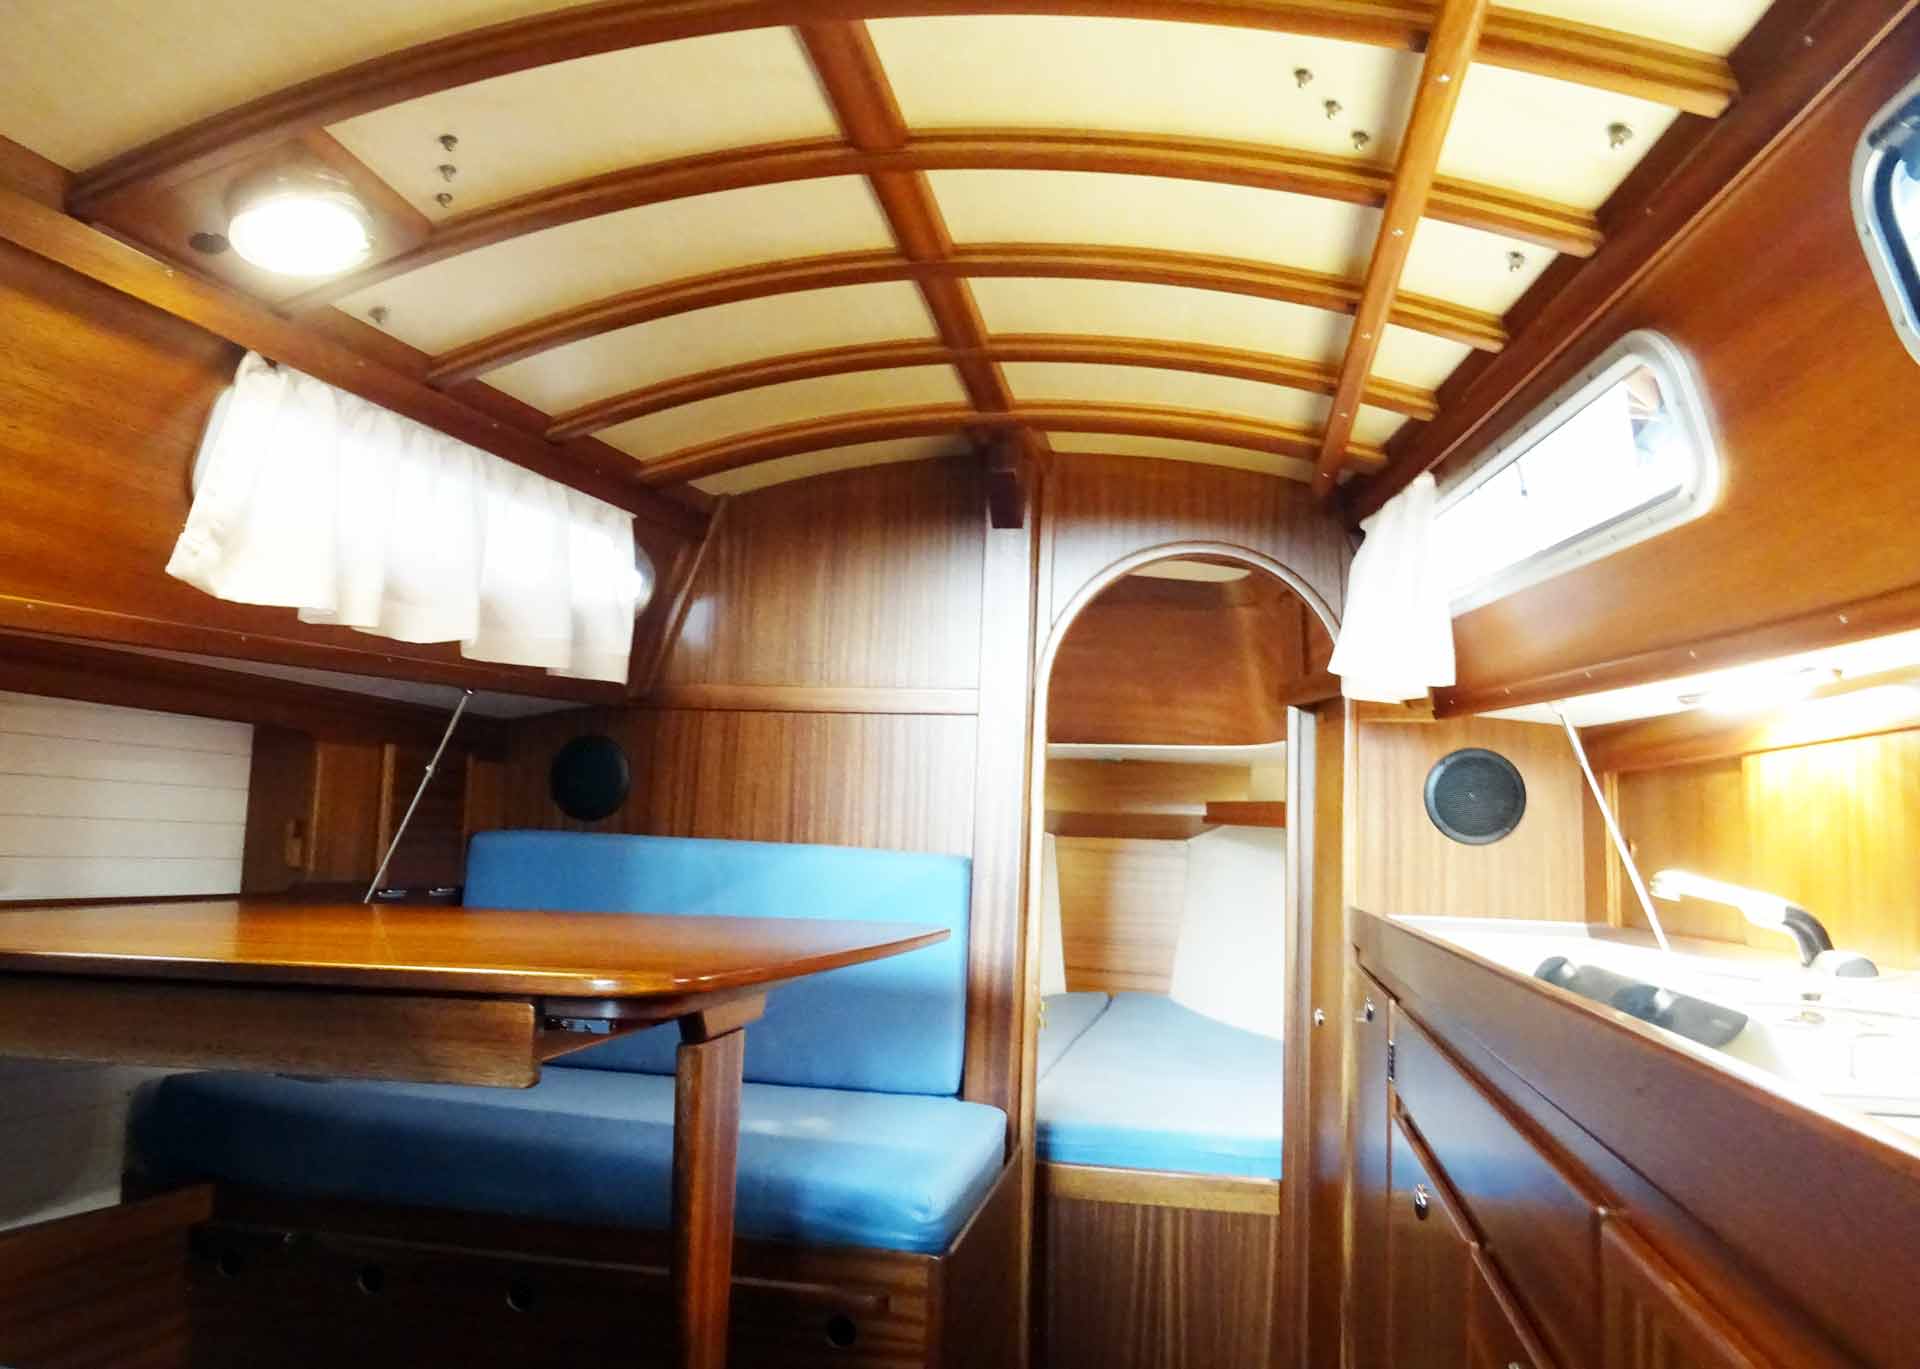
Roaming some boat shows the last two years (read about it here, here and here) I was keen on discovering a roofing construction which would suit my classic glassfiber boat both as it would be reproducible on the other hand. I´ve found that role model in the Biga 270 of which I loved the simple yet classy roofing construction most. The Biga 270 features a white painted panel with wooden ribs which is exactly what I want for my boat as well: A nice, light and bright roof with some wooden lookers. Let´s go to work.
Making the substruction base for the panels
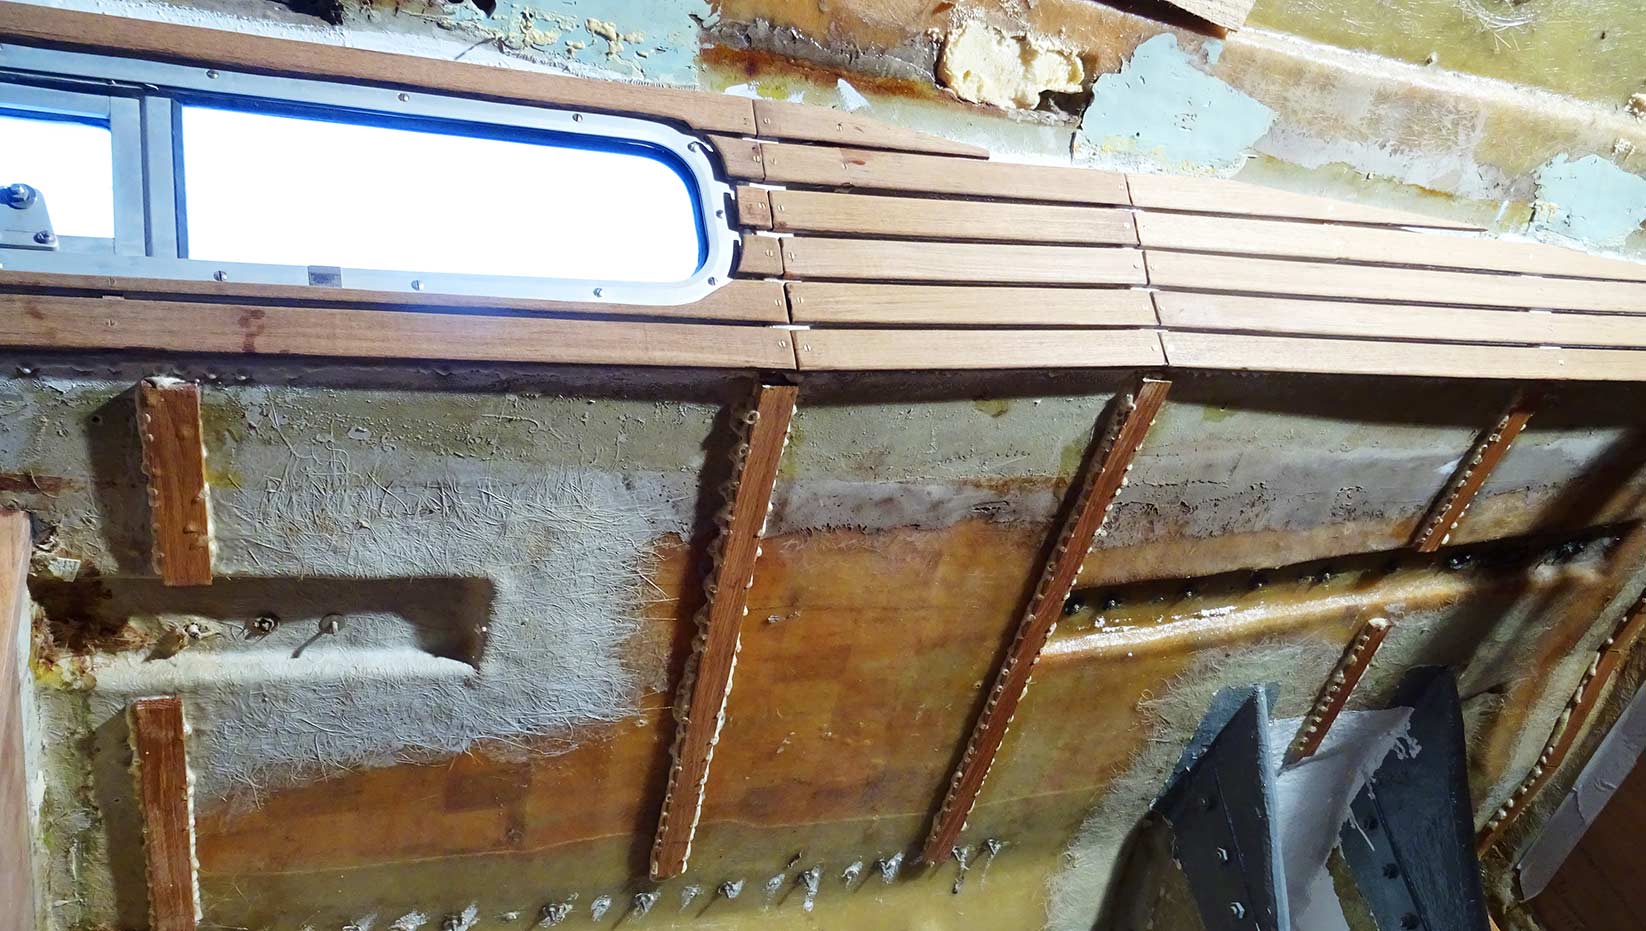
Up to now the original panels had been screwed right into the GRP sandwich. That´s not a way for the refit since I need some defined space between panel and actual hull for the cables of the LED-lights I am planning to install (read about that plan here) and I want a minimum of 8 to 10 mm spacing between panels and hull for air ventilation to prevent mildew. I decided to apply wooden stringers made of Oak in defined intervals for the base. But I don´t want to drill any more holes into my hull.
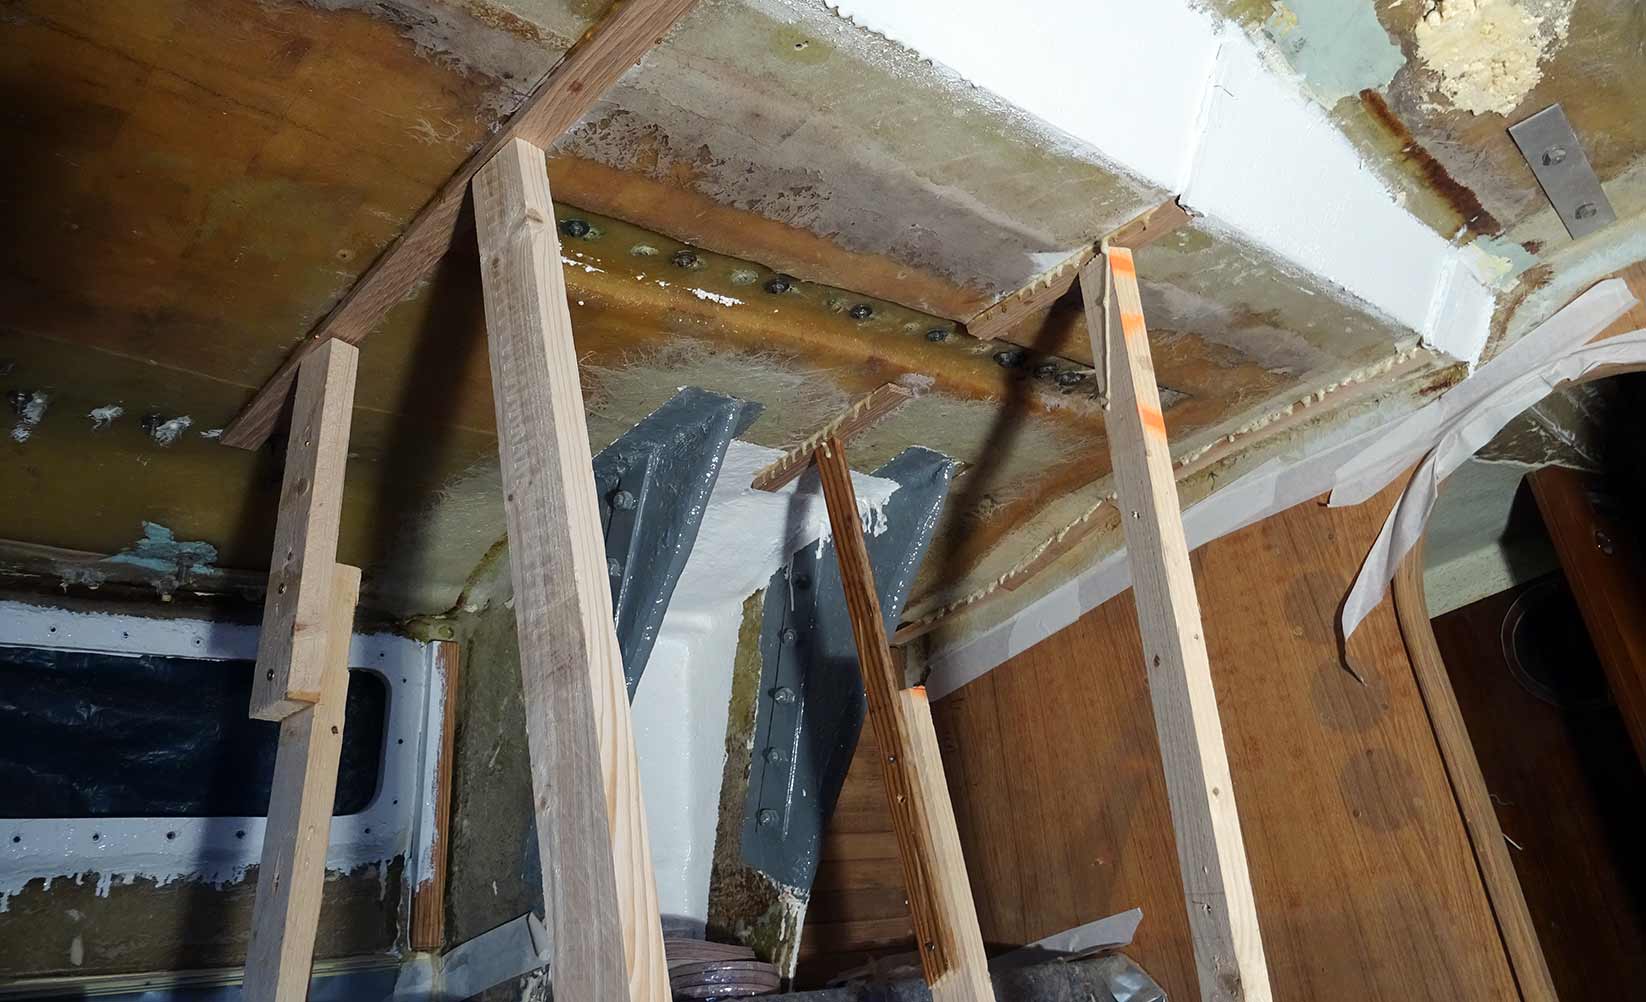
The key was PUR glue, since this forms a very strong and durable bond and will be waterproof as it is rated D4. Besides, this kind of subbase did work very well for the ceiling (read it here) I did mount recently. So in a case the work was very simple: First step is to cut the Oak stringers to size, sand the surface and also sand the opposite surface of the bare GRP of the hull. Dust removal is essential to achieve the best outcome. Step two is the actual glueing process that doesn´t require much skills – the only important thing with PUR is that it will only form bonds under constant high pressure.
So I did had to key in the stringers with stamps. Since this is a delicate procedure (stamps would fall down often) it was only possible to have two stringers mounted at a time. There are no less than 14 stringers in the saloon of my boat so it took me several weeks to finally having glued all of them to the hull. But that was not the last step.

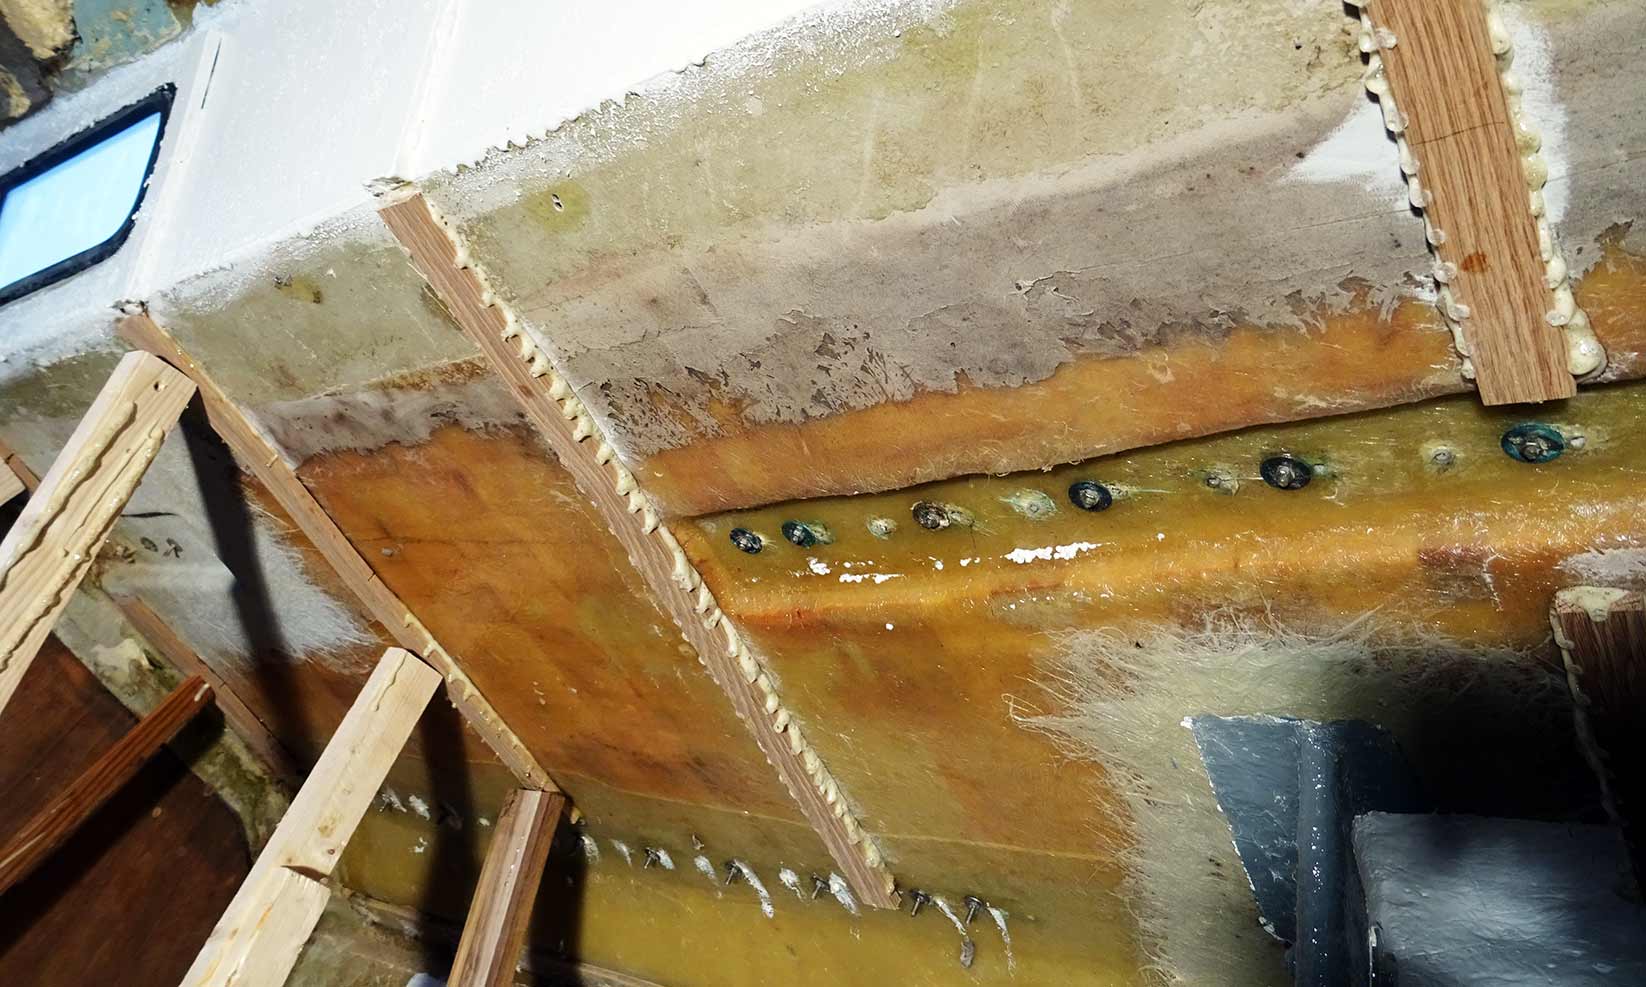
Preparing the substruction for the next step
When finally after some 24 hours (of which I constantly had my ceramic electric heater running and keeping the saloon at a 15 degrees Celsius temperature) the glue was hardened I did remove the surplus glue which would form a kind of very hard foamy texture and seal both glue and the stringer with Epoxy resin. In this case I also tried to seal the old bore holes of the original roofing panels as well. There is no need to further paint the hull since the panels will be covering all of the bare GRP.
Today I´ve applied the last 4 of the stringers which will be hardened by tomorrow. Sealing off the last bore holes with Epoxy this week will end this work and cross off another item from my list. The new panel plywood is already ordered and I am awaiting delivery any moment soon. Then it will get serious: This time it´s not just sawing, glueing and screwing but also some electrical stuff to do since I have to wire the new LED-lights for the saloon as well.
Other interesting articles on that topic:
All yacht refit-articles here
Making the perfect chart table parts 1 and 2
LED-lights for your yacht