Today is a great day. Not only because it´s Christmas Day, but also because I´ve finally managed to finish one of the big tasks: As you may have read previously, I am working for weeks now on the sailing yacht´s ceiling. After taking off the old panels and covers I decided to not only refurbish but to completely redo the ceiling. With real massive Teak.
Now, after some 80 net working hours preparing, sanding, and glueing, I must admit that there are moments making me somehow regret this decision. Teak is a very, very expensive material, putting a massive strain on my balance. On the other hand, because of this fact, the allowance for experiments and failures is really narrow. Anyway, once begun, I will now stick to this plan till the boat´s interior is finished.
Brass Screws and Epoxy Glue

At first I wondered how to mount the batten to the base. I opted to go for both a mechanical solution (to screw the batten) and a chemical one (with glue). As for a classic sailing yacht like this King´s Cruiser 33 most suitable, my choice went for the screws went to the classic brass slotted heads screws. Since brass screws are also an expensive item, I am lucky having found a supplier where I can get them at a reasonable price. Thanks eBay.
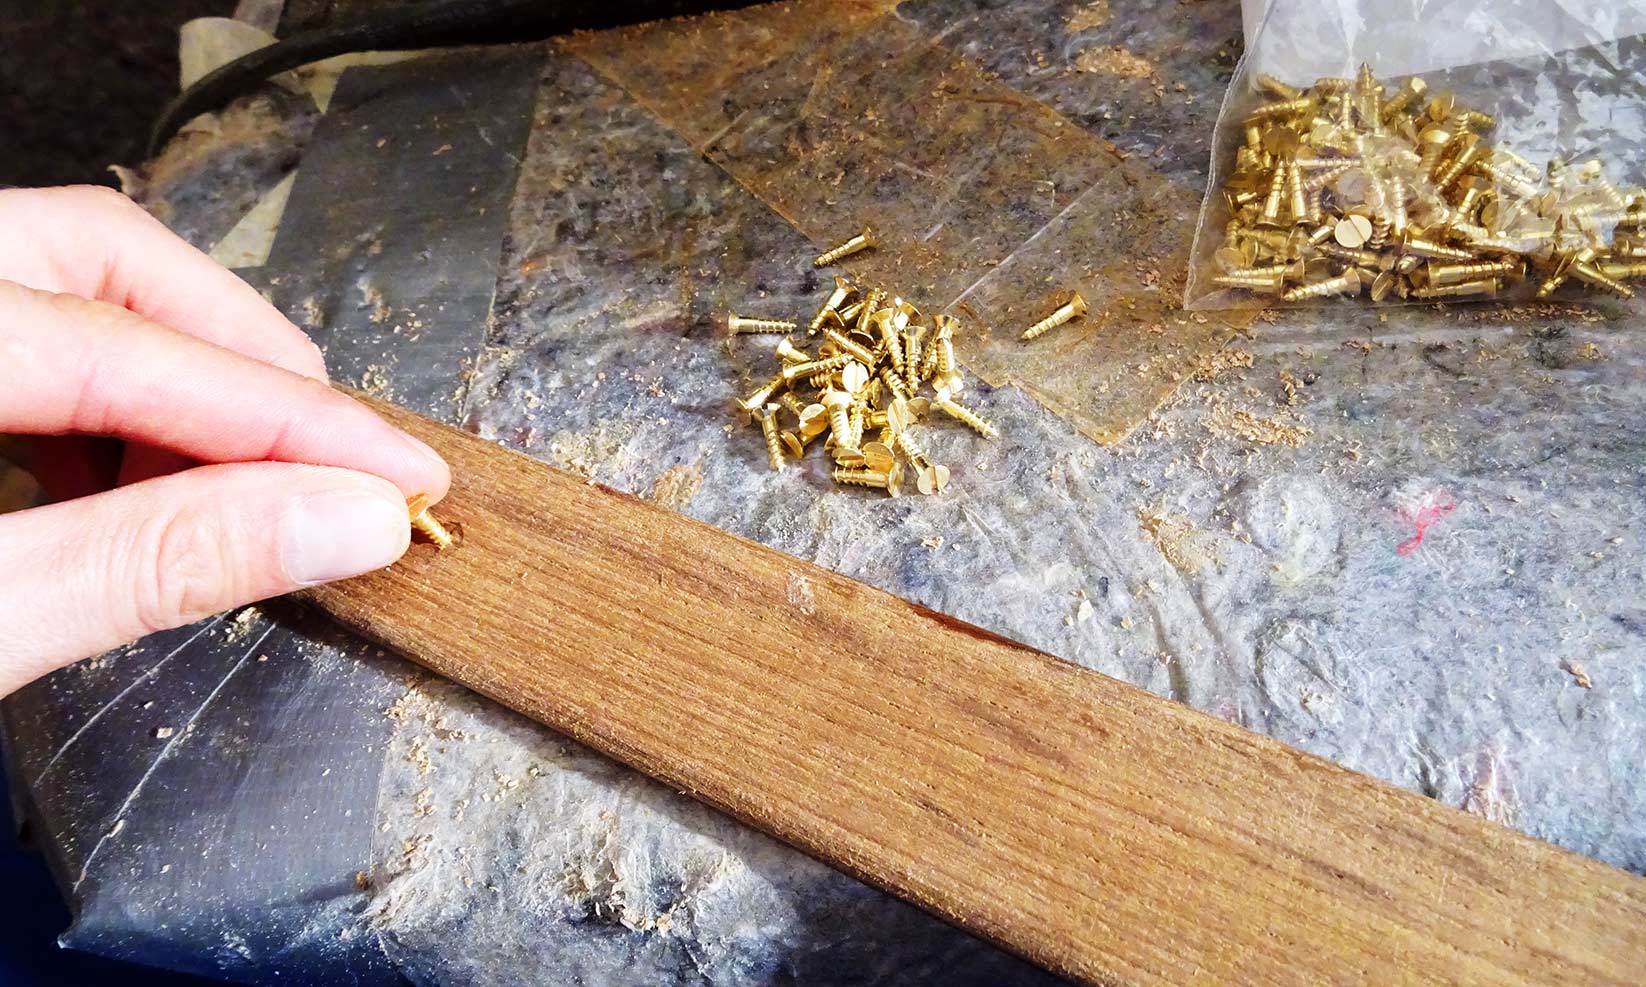
Teak is a very soft timber. It easily breaks. So, drilling a screw into Teak without a bore hole is a bad idea. I did those bore holes in each and every batten prior mounting. The diameter of these drillings was chosen one to be slightly thinner than that of the screws of course. Putting the screws into the batten and through so that the tips of the screws would be out for 1 mm at the backside was second step. Now I pressed the batten with the screws with power to the base mountings (made of oak batten) to mark the point where the screw would go into the base. Another small bore hole (only 2 mm deep) and that´s basically step 3.

Since I did an Epoxy-based sealing of the backside of the batten already days ago, I thought it might be a good idea to utilize Epoxy as the glue of choice in this case. I began to brush both the backside of the batten and the base mountings with Epoxy and the I screwed everything together. Now, after 24 hours of thorough drying I got reaffirmed by the outcome that this is a very good method to get a both strong and nicely looking bond. Of course, the slots of the screws have all been pointed vertically.
Mounting the Teak Batten
It took me some 2 hours to do the first batch of batten on the port side. At least three screws per batten is sufficient enough to ensure a safe mounting. I didn´t found it particularly hard to mount the ceiling since I had invested a load of time and tried to work as accurate as I could in the first place – now it started to pay off. The work went through fast,

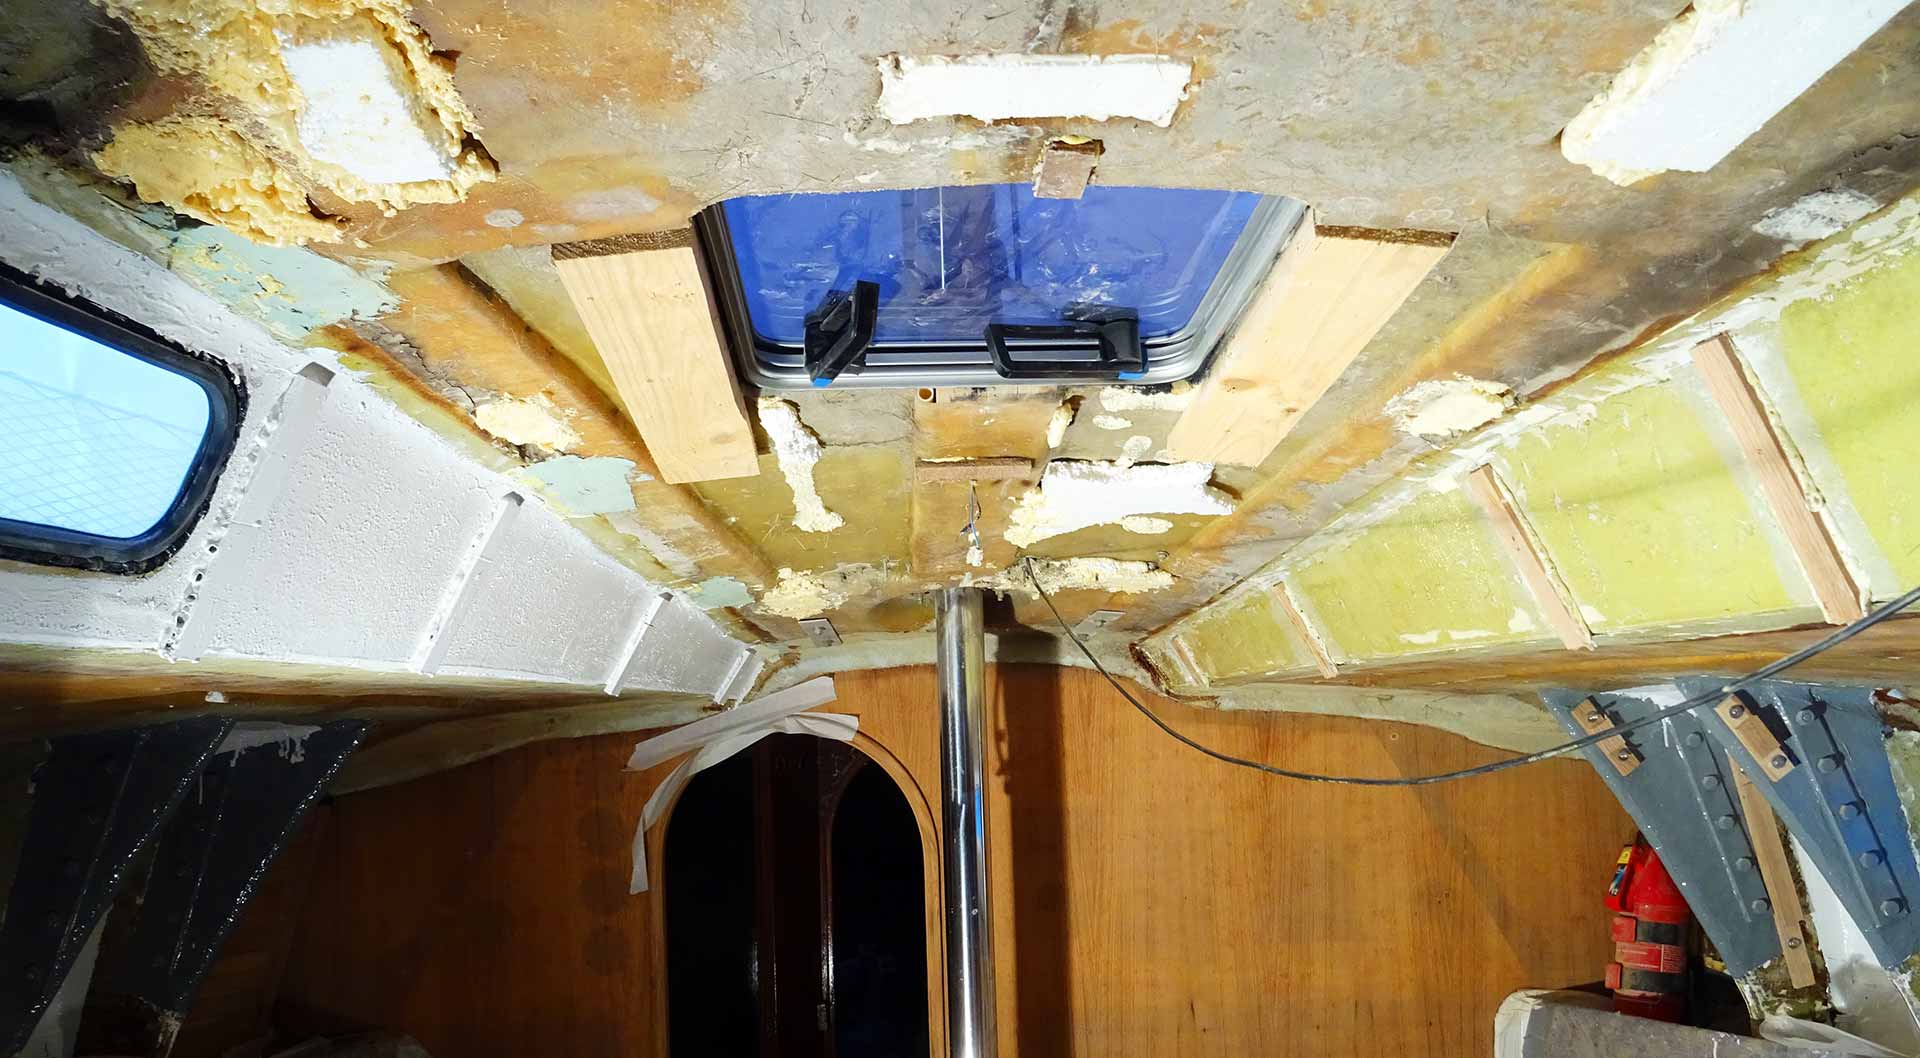
The real roof panels will be made of a single big wooden sheet of plywood. So there won´t be a chance for air ventilation. But there ought to since a boat is always moist, especially after a night of sleep with all that condensed water. That´s why I´ve decided to leave 4 mm clearance between each batten. This will allow a certain flow of air and will vent the space between the ceiling panels and the saloon.

After some 3 net working hours both port and starboard sides have been finished and I was very satisfied with my work. All the planning ahead was done right and apart from the fact that a real shipwright or ship´s carpenter would certainly get grey hair upon seeing my work, calling it poorly executed, I judge it sufficient: I am not trained in joinery and since then I would call the outcome of my efforts satisfying.
Tricky Stuff: Porthole Challenge
A certain challenge was the porthole on port side. That was because of two things: First, the long batten had to be carved to match the round form of the porthole itself. One of the batten was less than 1 centimeter in width which was a real tough challenge to cut it into size and not to break it when sanding.

Second have been the 6 small parts at either side of the porthole: They proved to be too small – even by putting the least stress onto the parts whilst screwing, two of them did split and I had to reproduce them. But in the end the porthole got its Teak made ceiling as well and it looks just awesome.

Next Steps of refurbishing the Sailing Yacht´s Ceiling
So, what´s up next? As with every wooden part (except for the new chart table) in the boat the Teak will get numerous layers of glossy paint. That´s a job for the upcoming spring season when warmer temperatures and a more steady weather is to be expected. In the meantime I will work on the final batten in the rear above pantry and navigation station.

Unless spring arrives and I will be able to mount the new porthole windows and the alrady finished Teak covers and panels the next big item will be the roof panels. But that´s going to get tricky: The new LED-lights will have to be mounted and wired. Oh my – I hate working on electrical stuff…
Merry Christmas everyone!
Other interesting articles on that topic:
Here are parts 1, 2, 3 and 4 of the Teak ceiling refurbishment
Winterizing your yacht properly
Interview with SY ZIRKON on “Black Hole Yacht Refit?”