Chapters in this post
As you may have read in the previous post on my yacht refit project of the King´s Cruiser 33 OLIVIA I am right now right in the middle of fitting a massive Teak made ceiling to the boat´s interior. The panels for the ship´s side are finished for port and starboard to this date. I´ve spent all in all some 25 net working hours to make the ceiling panels up to a point where they are ready for gloss-painting and mounting. My next task was to make a wooden cover for the chain plate stringers. After excessively refurbishing the chain plates themselves (read it here and here) and assessing that the old covers aren´t usable anymore. So I once again decided to make new ones.
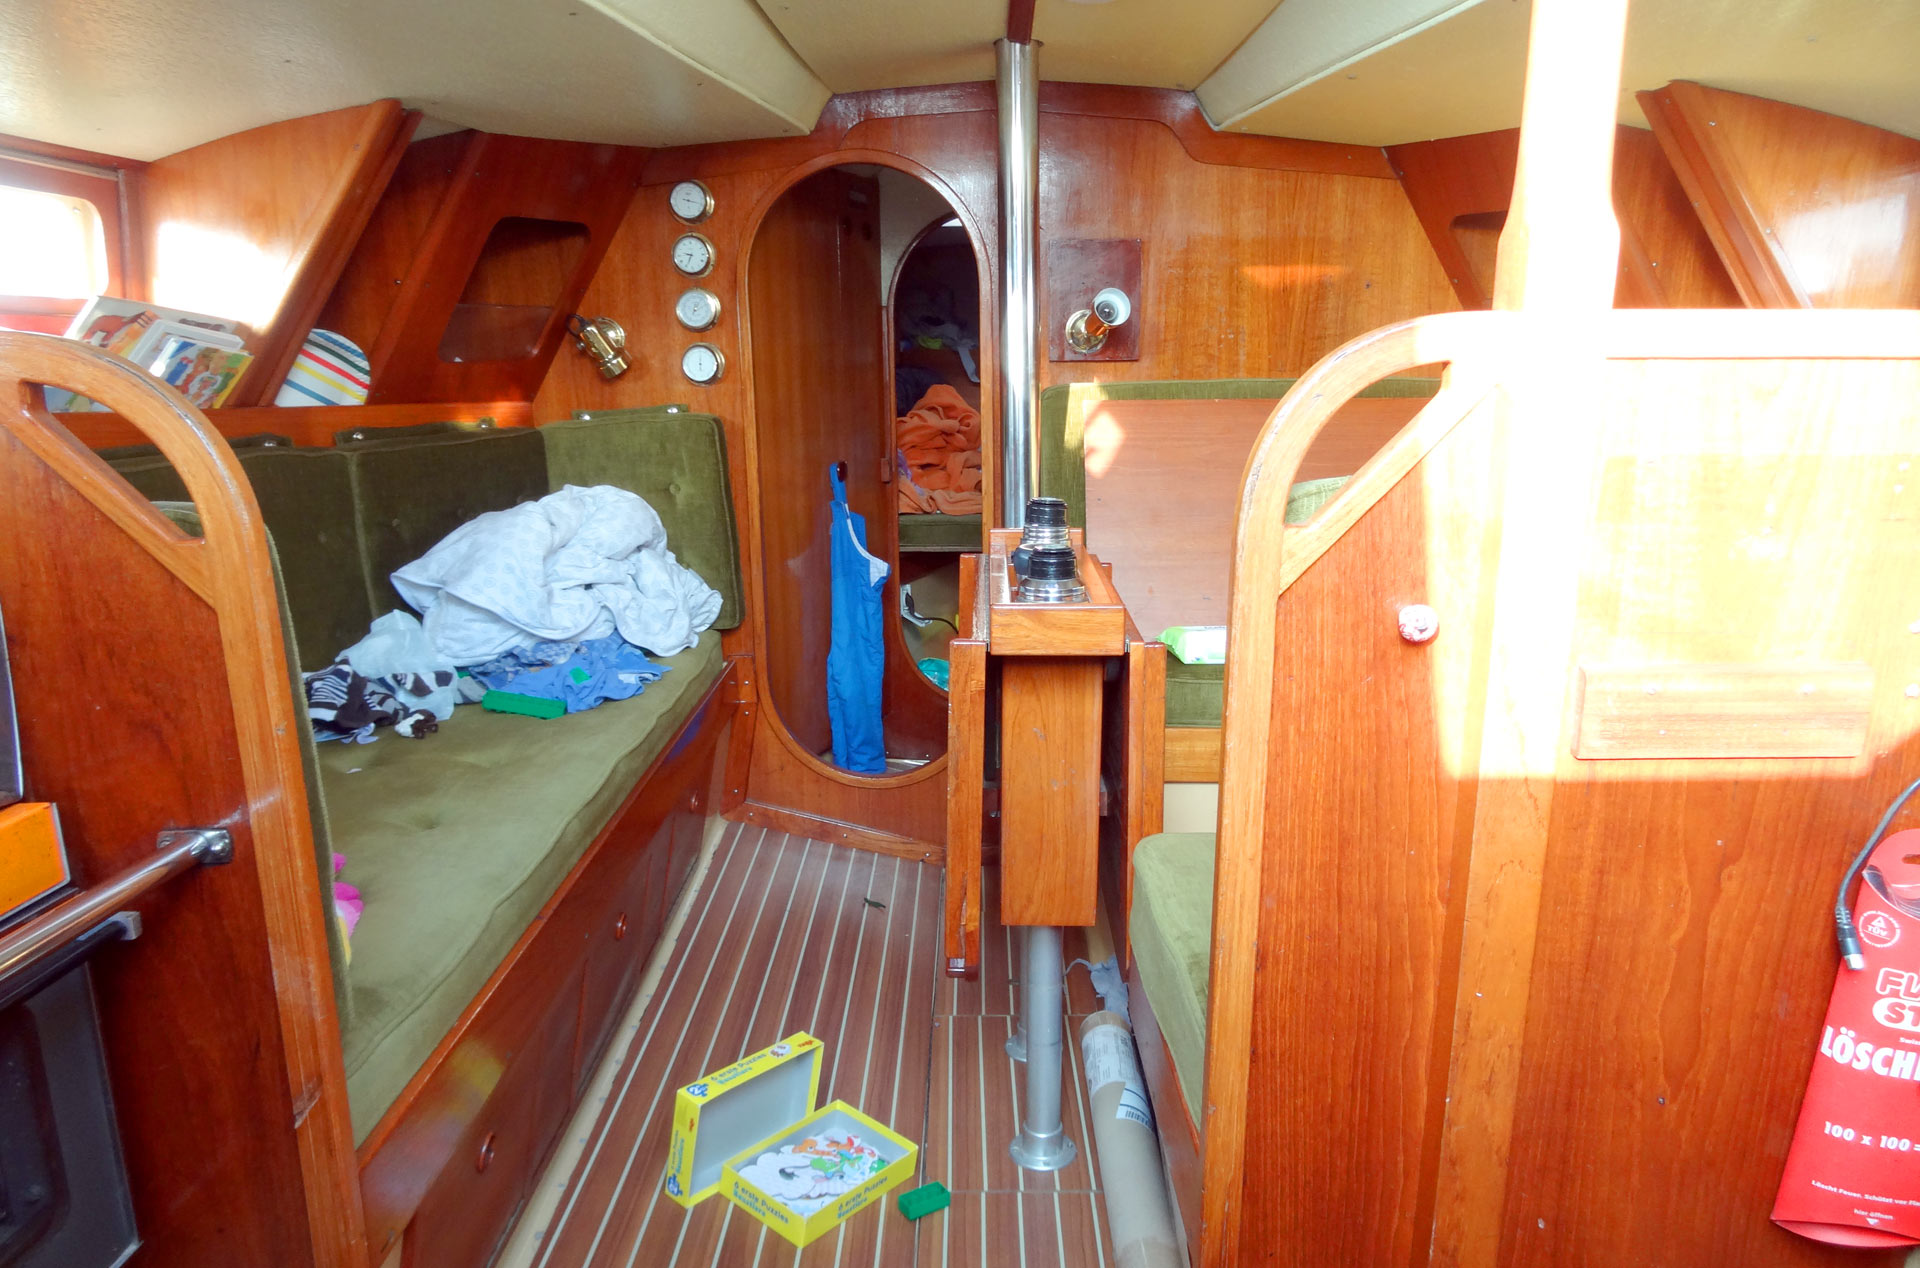
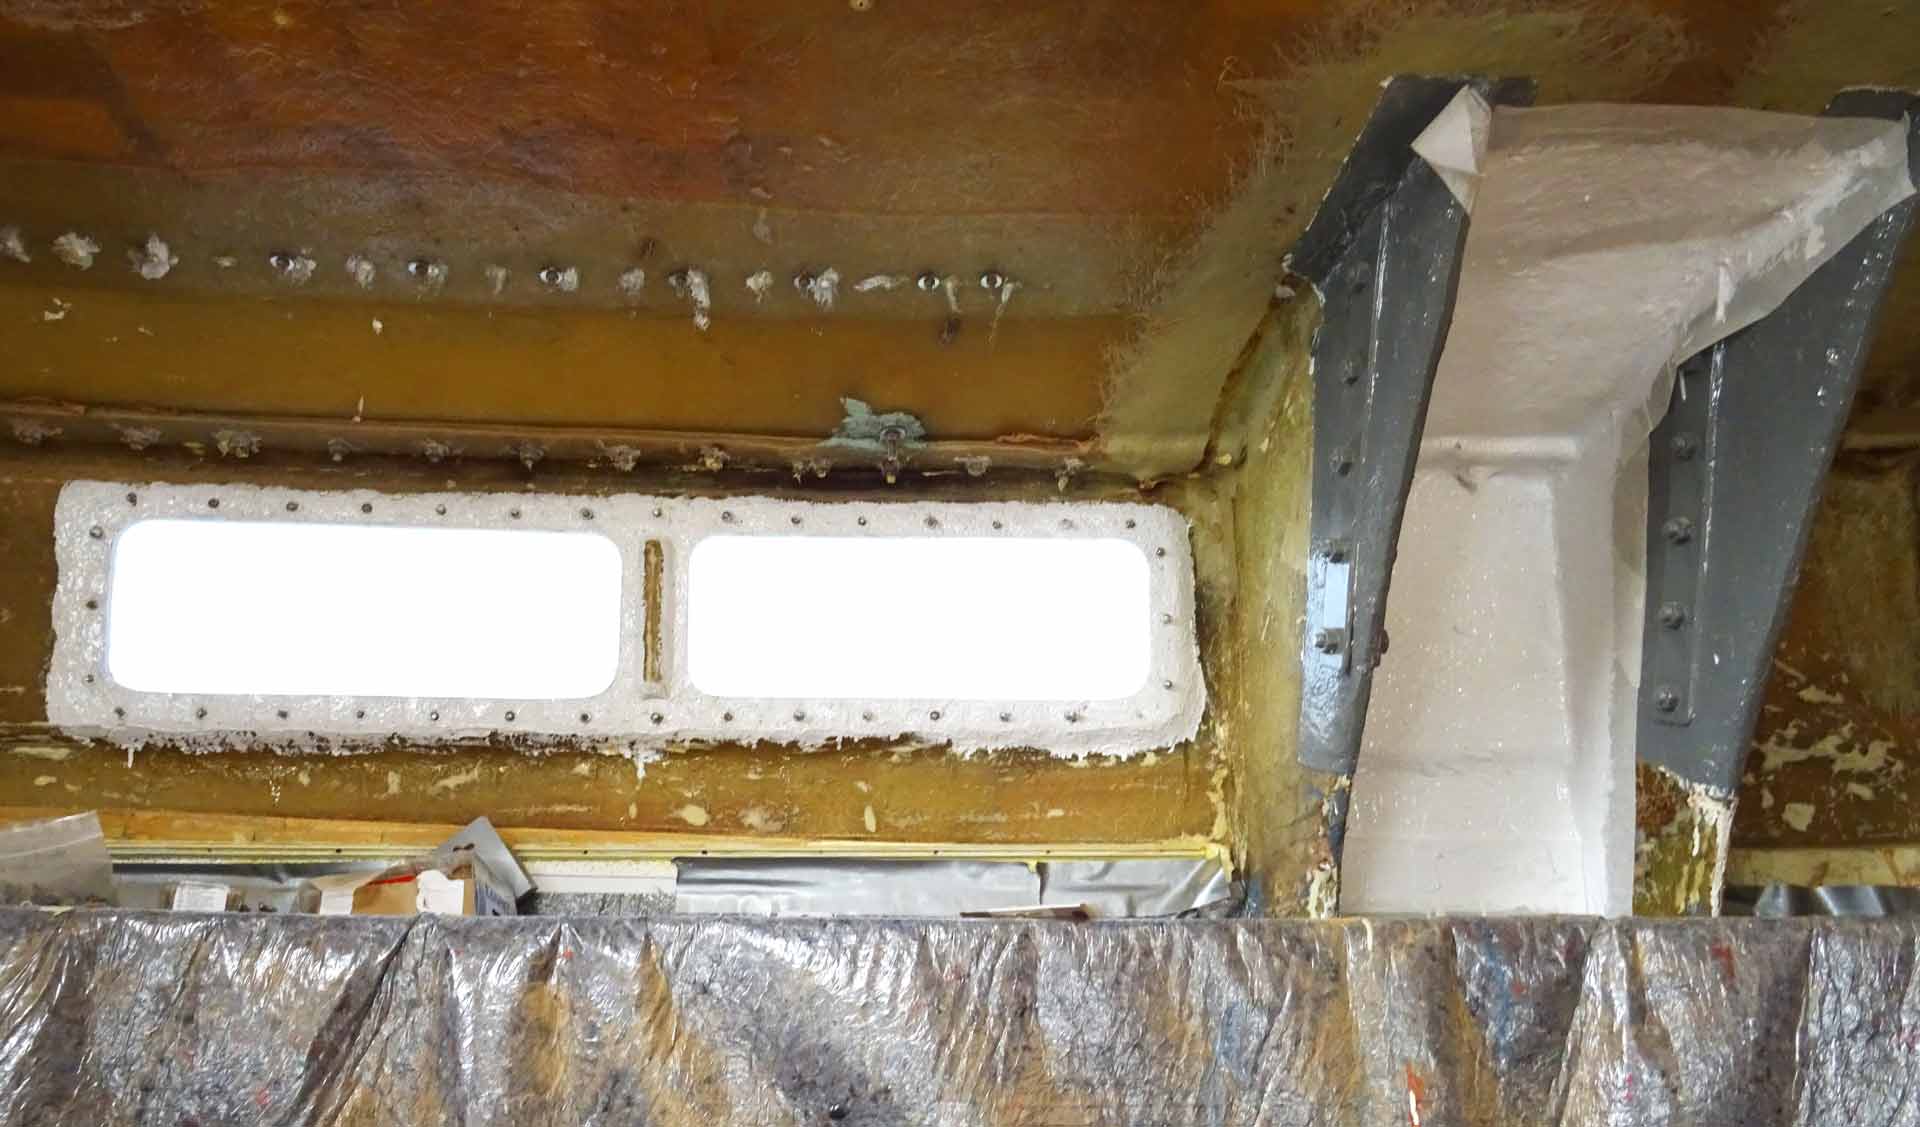
First I roughened the surface area around the big ship´s side portholes and in between the chain plate stringers to apply one layer of epoxy resin. After it hardened, three layers of yacht white paint have been applied. That´s because passengers of SY OLIVIA will be able to take a look between teak cover and ship´s side and I don´t want them to see bare GRP. Same with the back of the in-between space of the chain plate-covers.
Now it was time to make a plan. And have a decision: How do I want to have the new Kings Cruiser 33 look like in this particular area? It was obvious to me that I did not wanted to go for the original configuration with a shelf at the foremost chain plate. I´d love to have the forward bulkhead free of any objects which could be obstacles for my head while sitting and leaning at it. So – no shelf here. But what about moving it aft? I do some quick sketches …

I am choosing between three options here: First is a closed cupboard with a front plating and two compartments resembling the original configuration. Second option is a front-equipped shelf as well but a bit less clumsy and the third is just the chain plate covers with two shelves and a thin latch to hold back books from falling off the shelf when heeling. Talking to my wife about the possible options, we decided to go for the third one.
Making Teak Shelves

As the chain plates are very indifferent to each other, I was forced to make cardboard pattern for each of the two plates needed to make the chain plate cover. I opted for Teak veneered plywood of 4 mm thickness which I consider strong enough for the job. At least, it was expensive enough: Teak is really a money-killer, I can tell you! But it´s definitely worth it on a classic sailing yacht like my Kingscruiser 33.
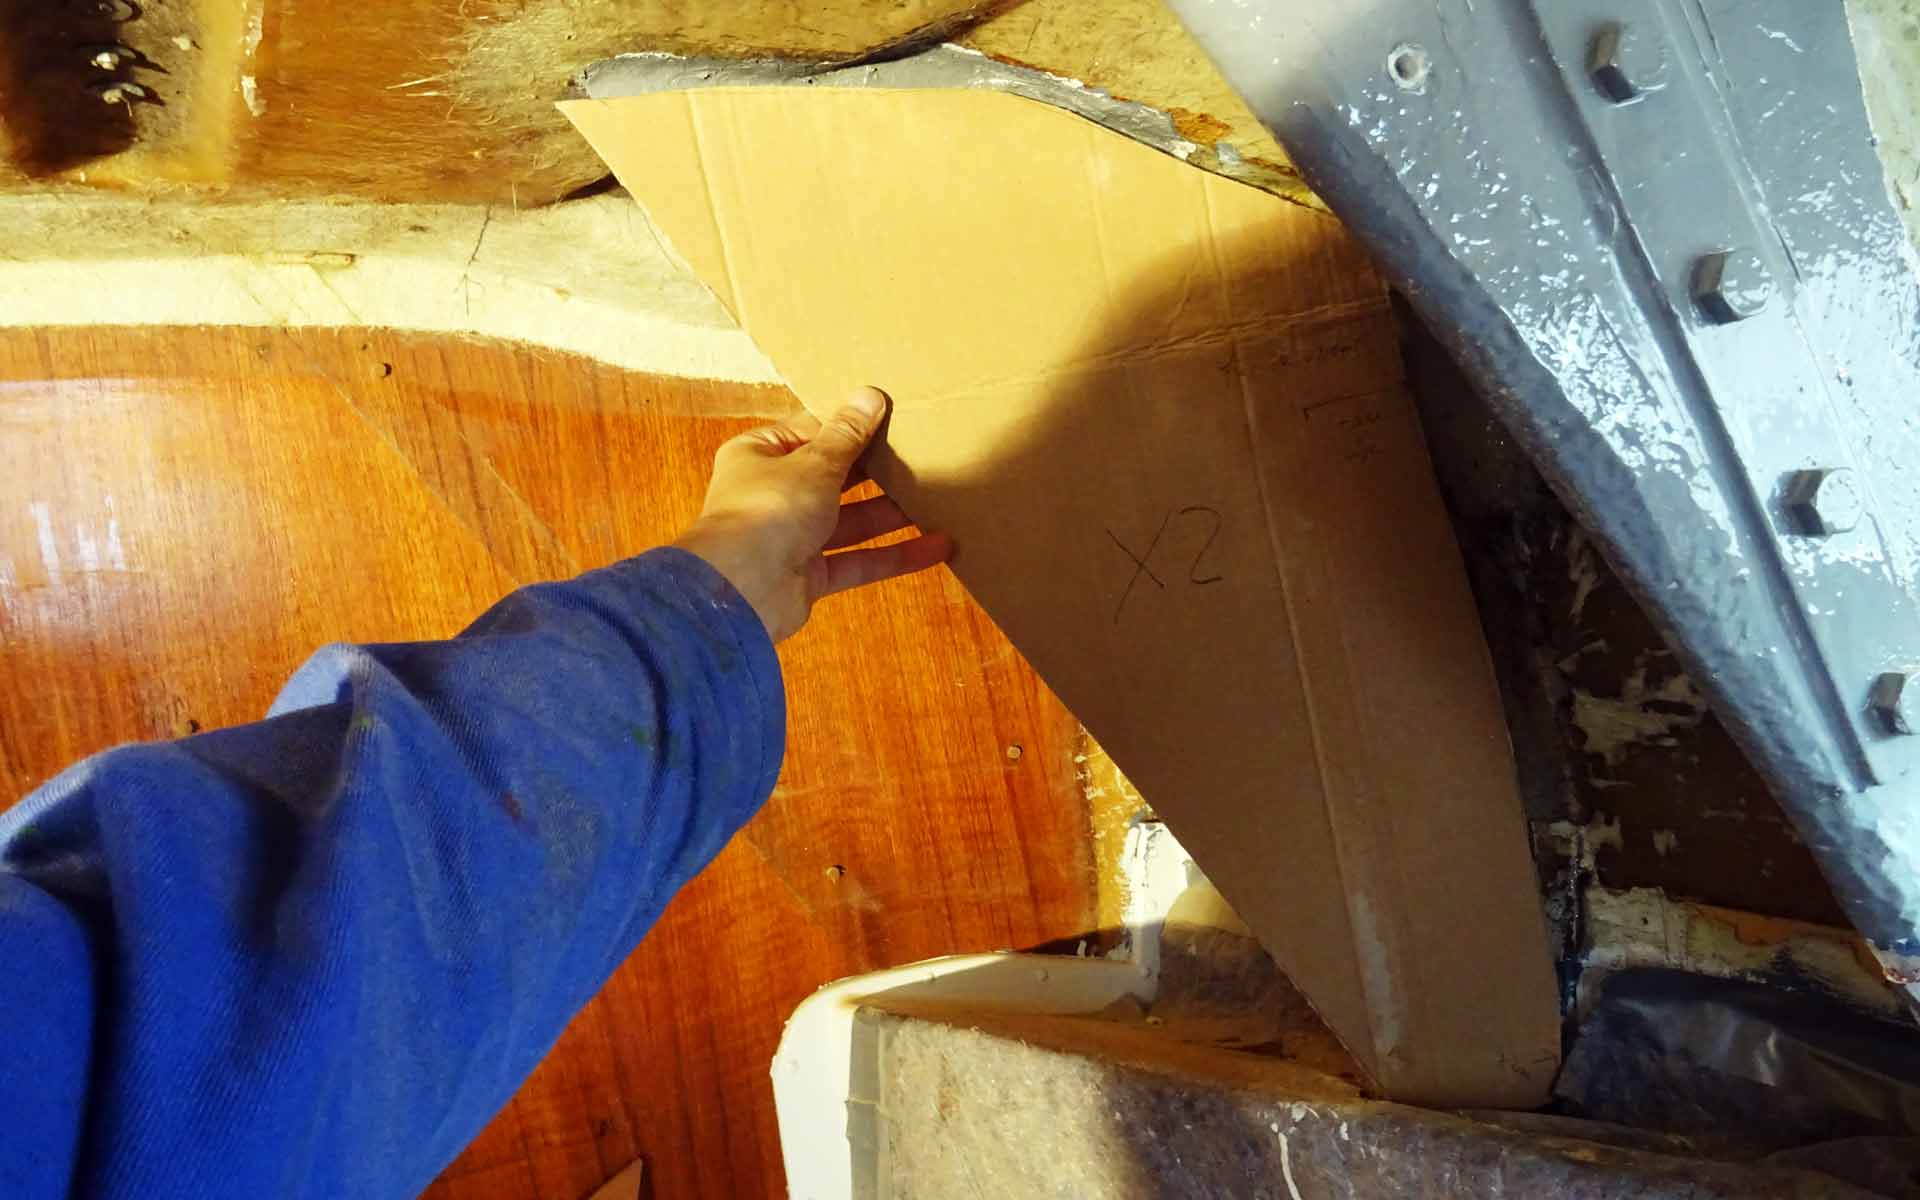
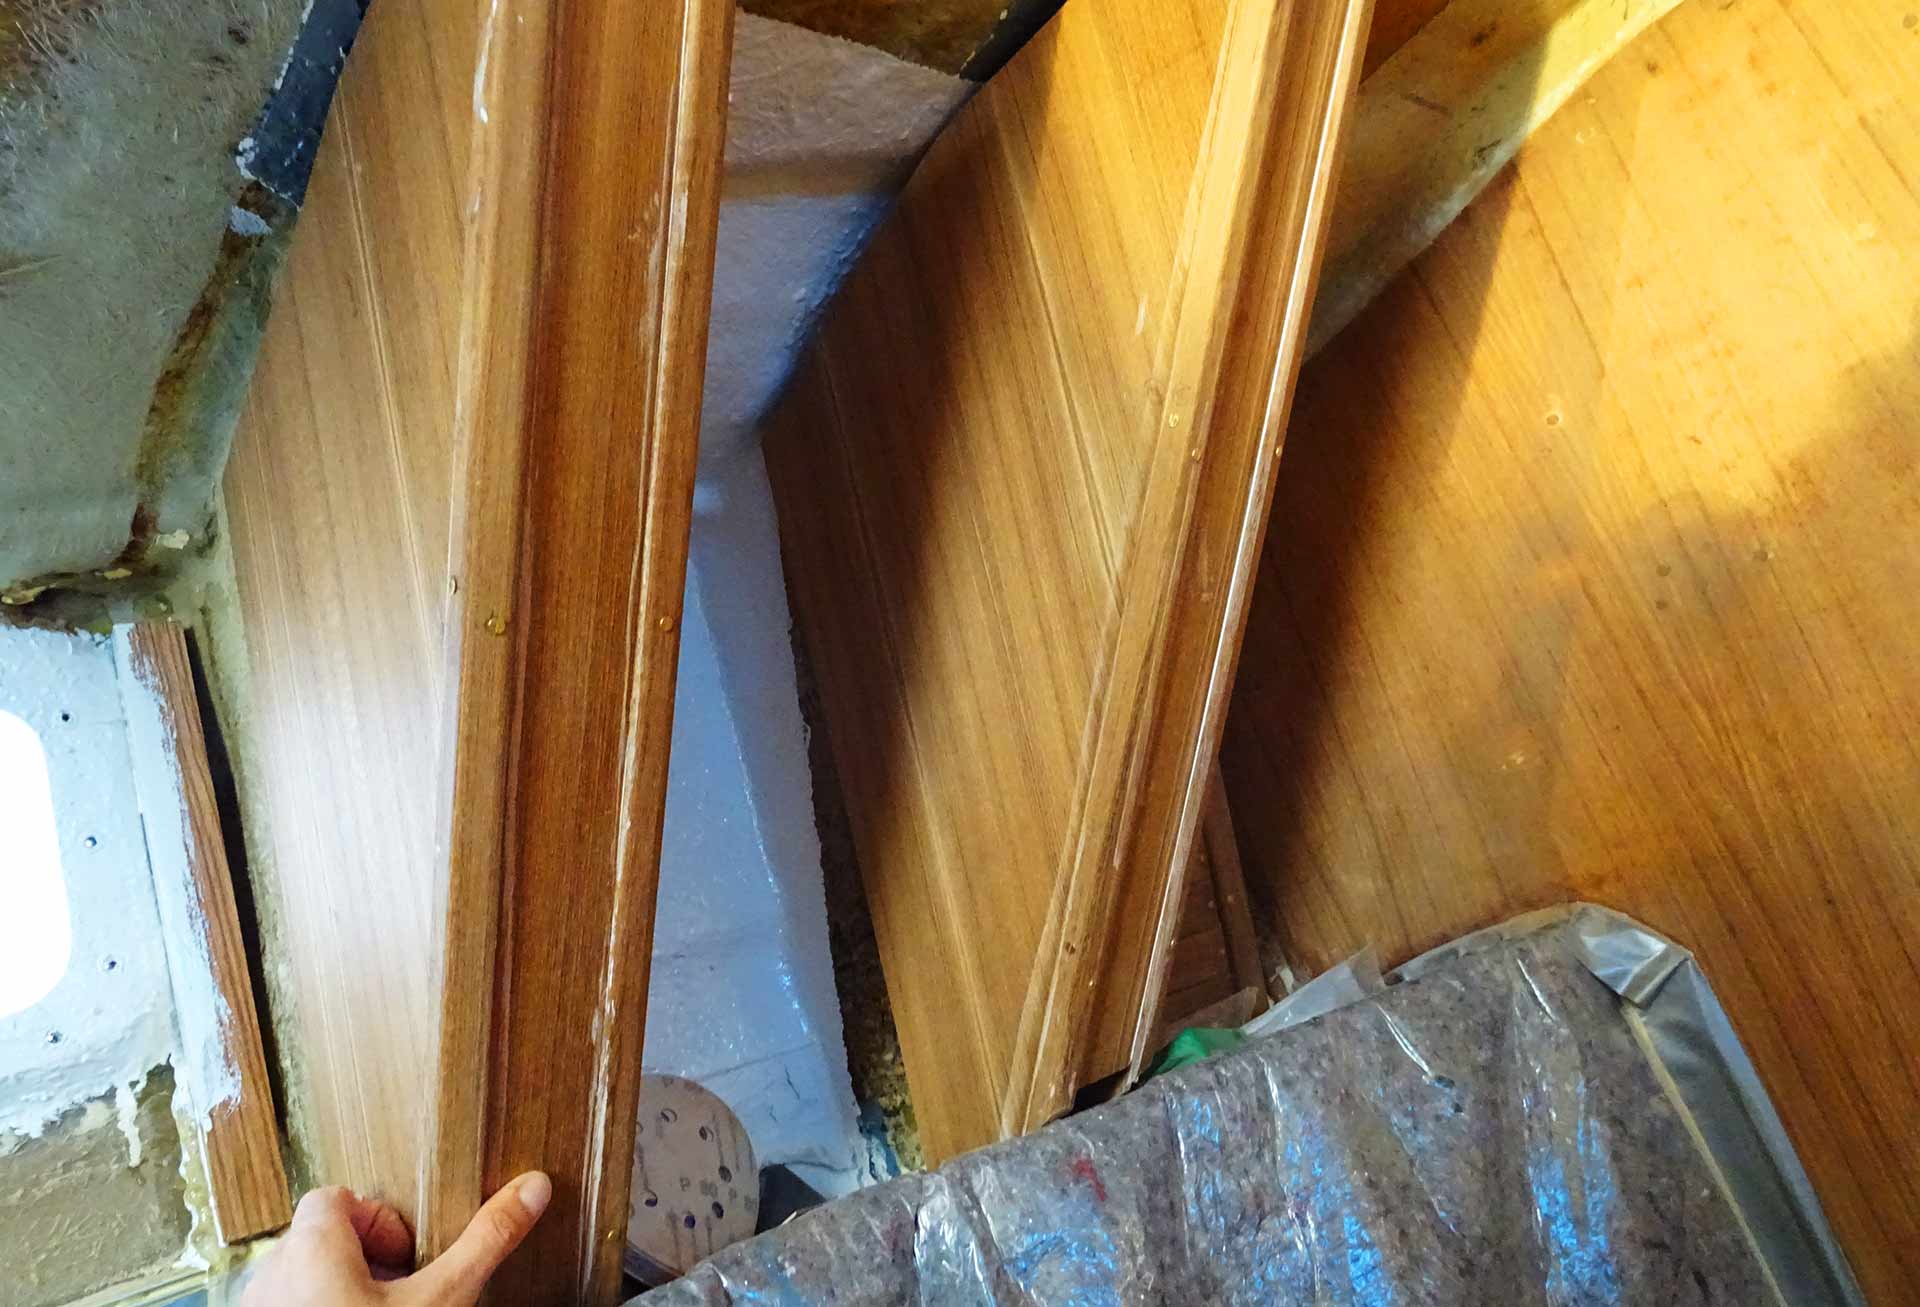
After having cut the cardboard patterns to fit perfectly I began sawing work. Letting a 3 mm allowance of surplus material after the first cut I was able to take off after two or three fittings with the wooden plate to ensure no waste of material. In the end, I put the then made Teak panels into place to have a look at both shelf and panel if it would match.
And guess what? It does! Both Teak ceiling panels and the Teak veneers match perfectly. I cannot wait until temperatures rise again to have it all glossy painted. It will be a wonderful thing to look at! I made a pause and rested for some minutes, letting my mind drift away and dream of the finished interior: Brazen marine instruments, lights and maybe a framed picture of either SY OLIVIA under sails, an old marine chart and maybe a brazen petroleum lamp on gimbals would make the perfect accessory for the new saloon. But … back to worl.

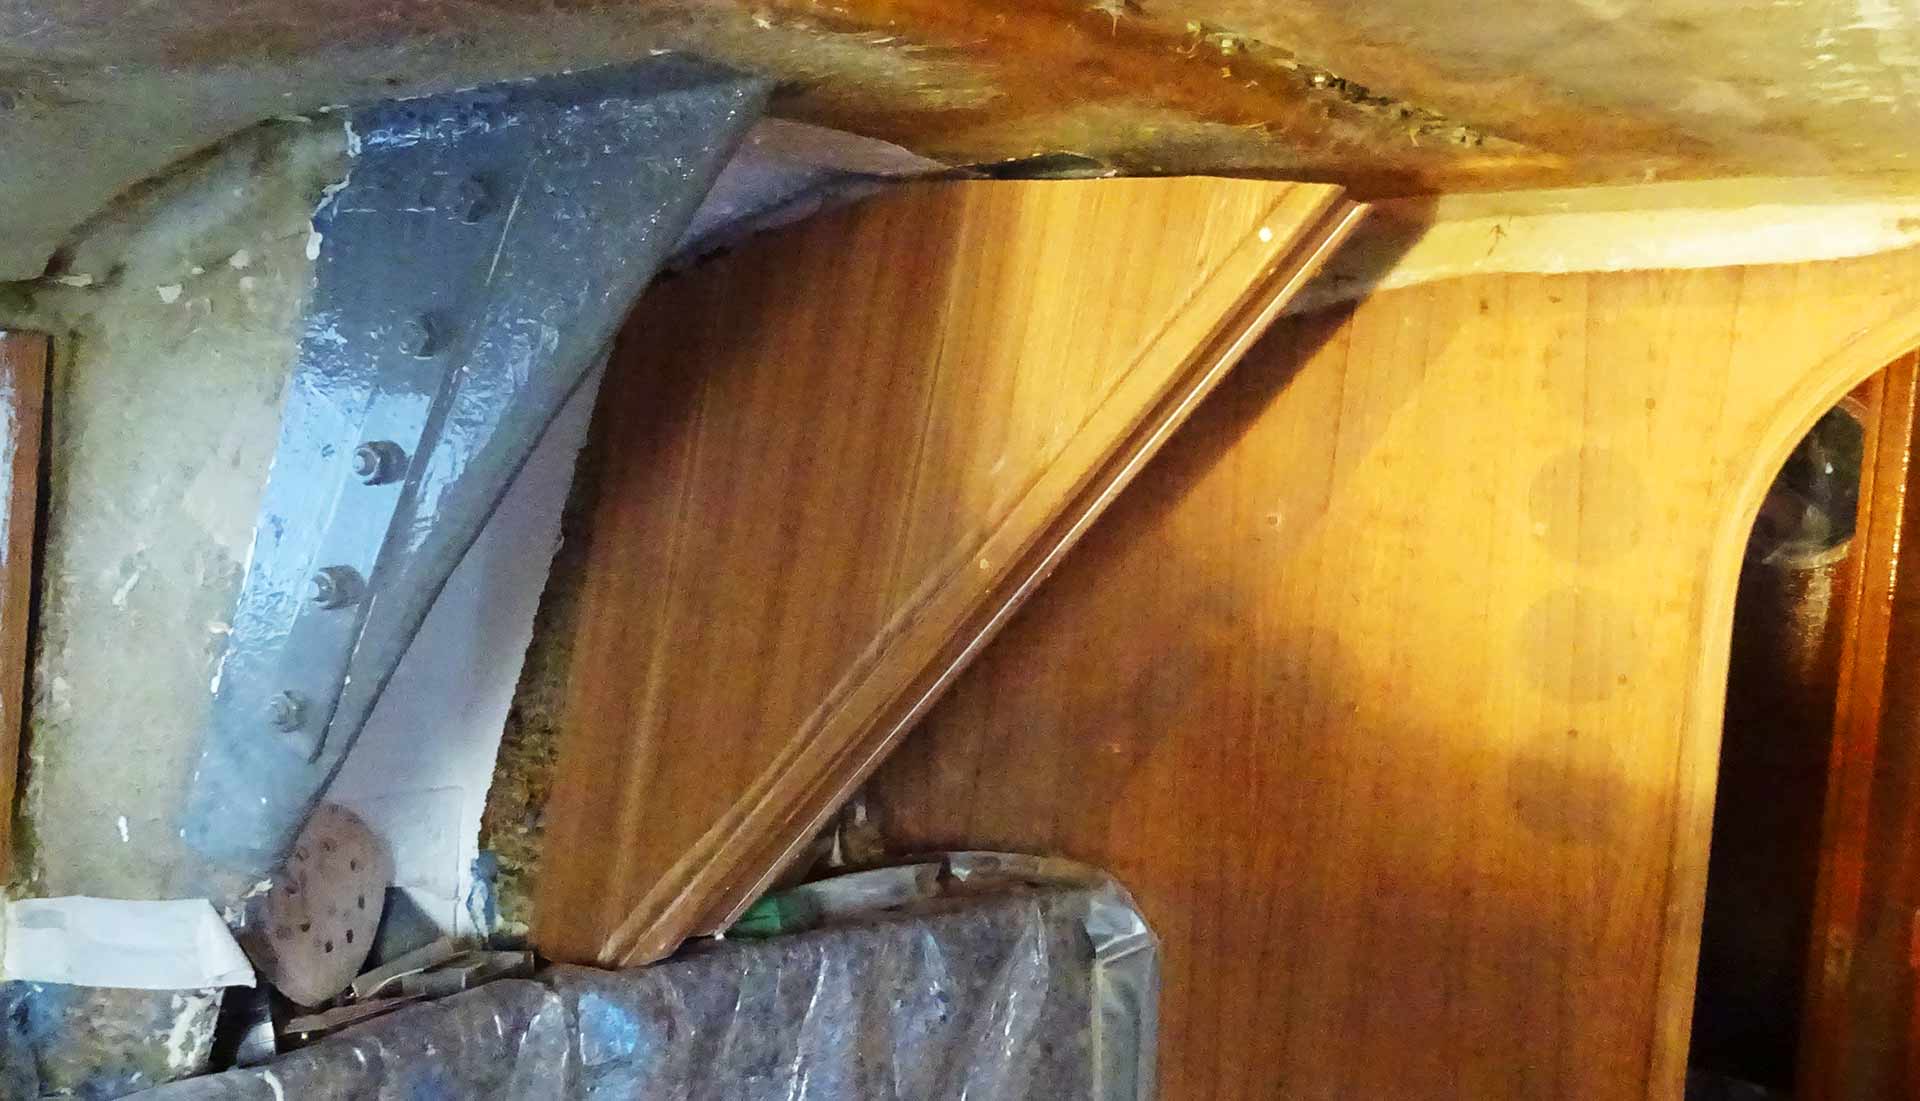
Double checking the plates was essential because in order to fit all four of the plates must begin and end at exactly the same spot in the rooftop of the cabin to make it look proper. It literary took hours to take off millimetre by millimetre until I was satisfied with my work. Now for the joinery …
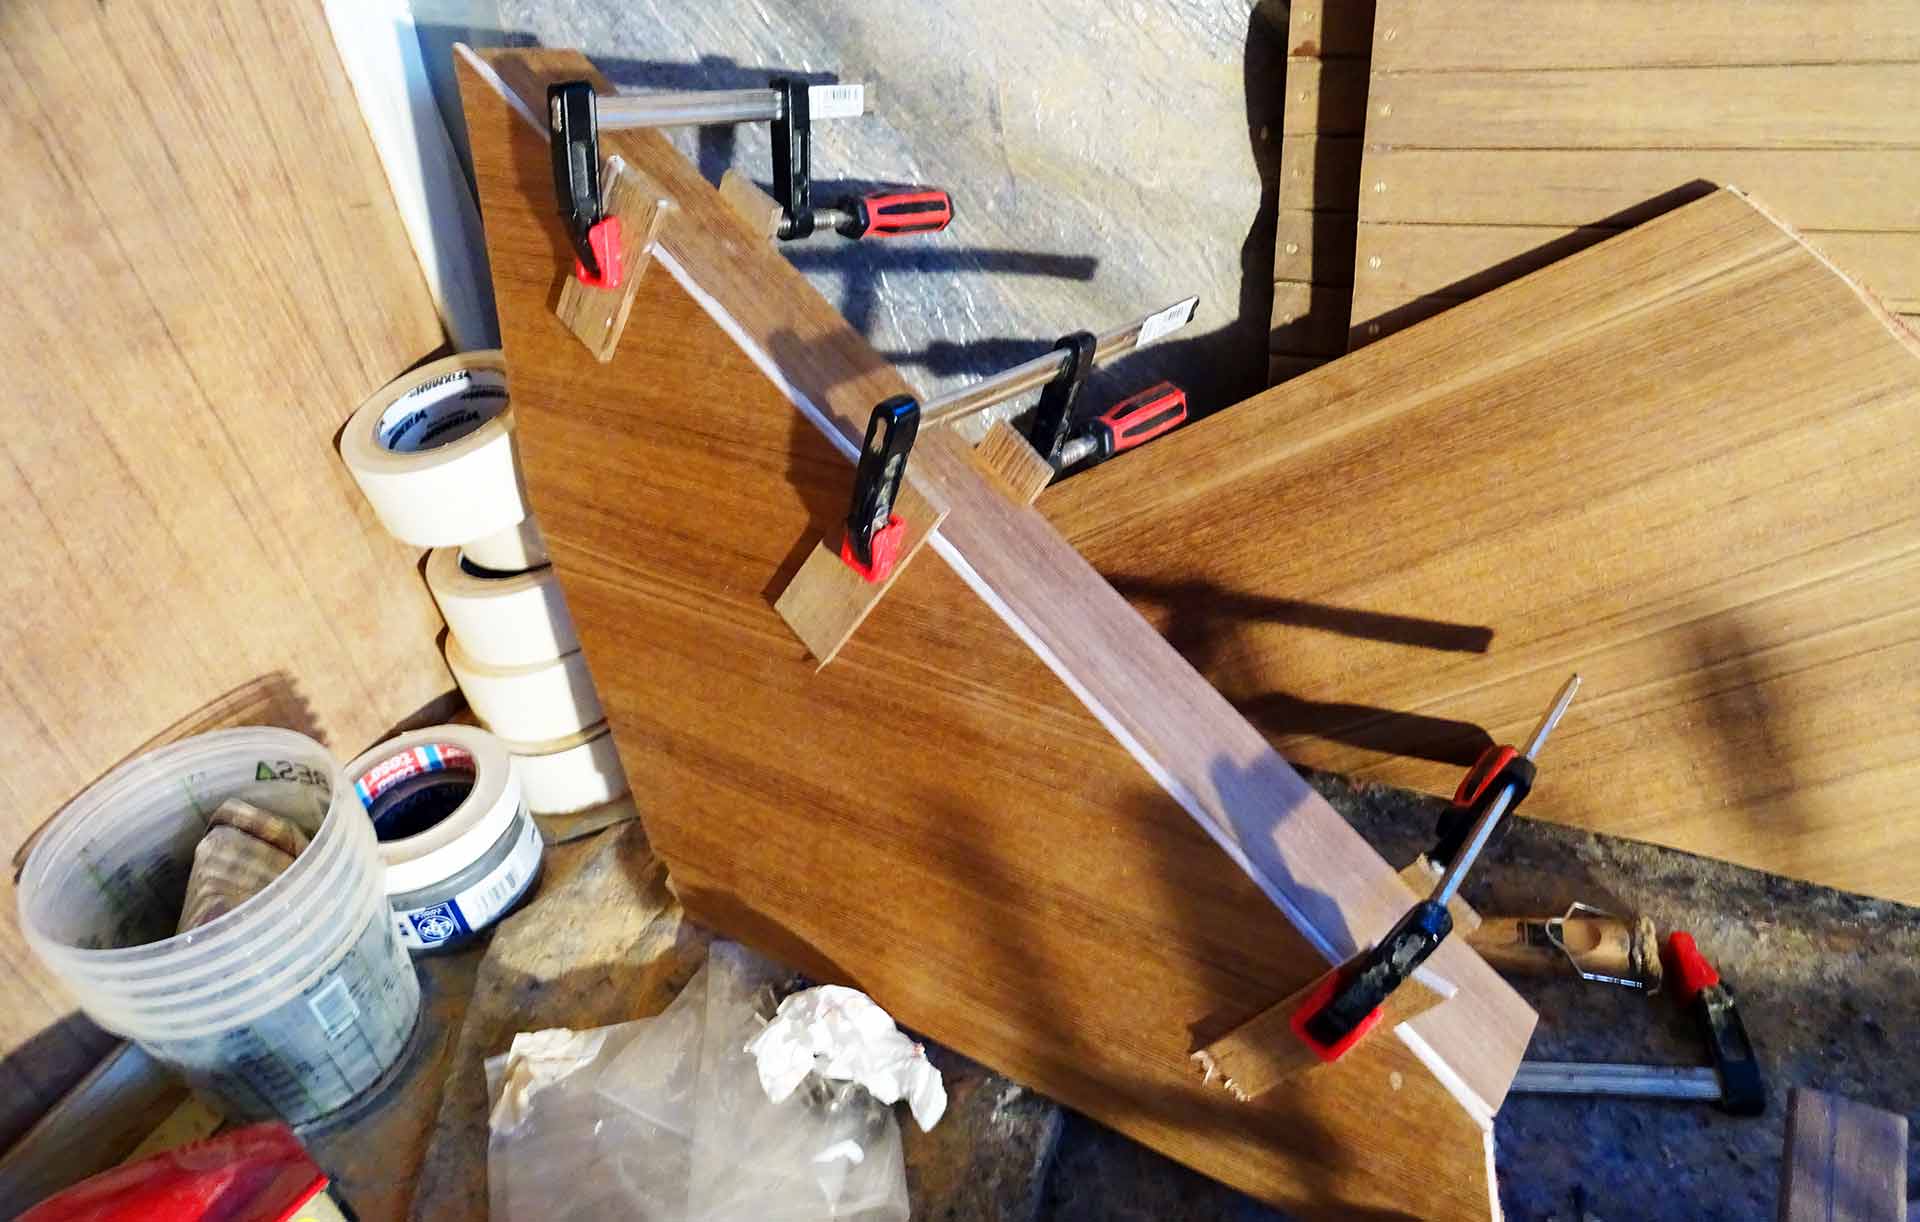
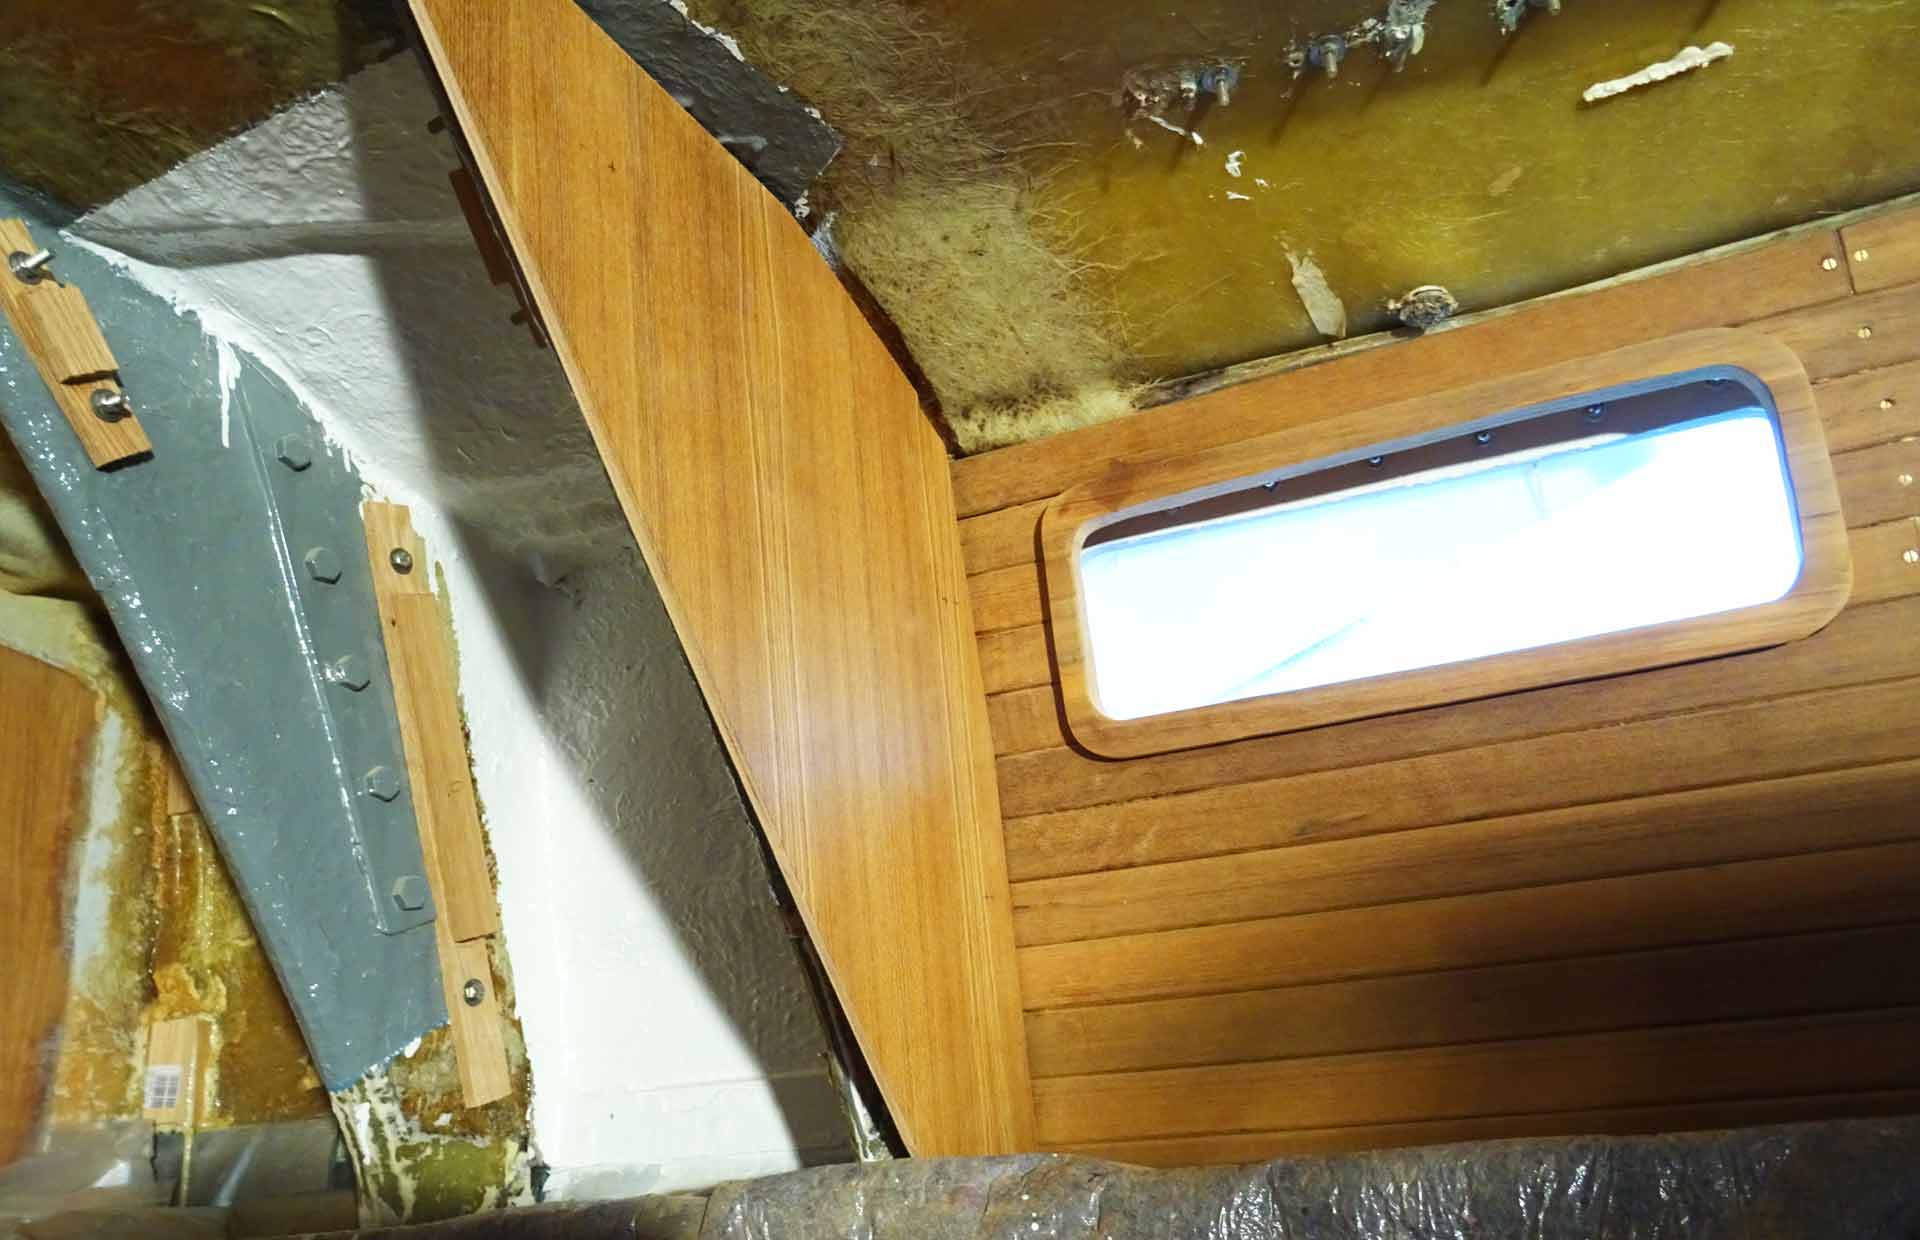
Each chain plate cover consists of two side-plates and a slim front cover. The measurement had to be exactly the thickness of the stringer plus the two metal chain plates plus additionally two wooden fittings made of oak to either side onto which I will finally mount the finished covers. Tricky times …
Then I applied surplus plywood to the inside of the plates, glued everything and added some screws for additional strength. Letting dry the covers thoroughly, this whole process took about one full week to complete.
Final Touch: Decorative Strips
All edges on a sailing yacht have to be rounded for safety reasons. And besides, that´s the traditional look of a yacht. So I checked the old ones which I was able to unscrew from the debris and despite some bore holes they appeared to be in perfect shape. But there was something that bothered me and that was the size, or let´s call it the thickness of the strips. Too big, I judged.
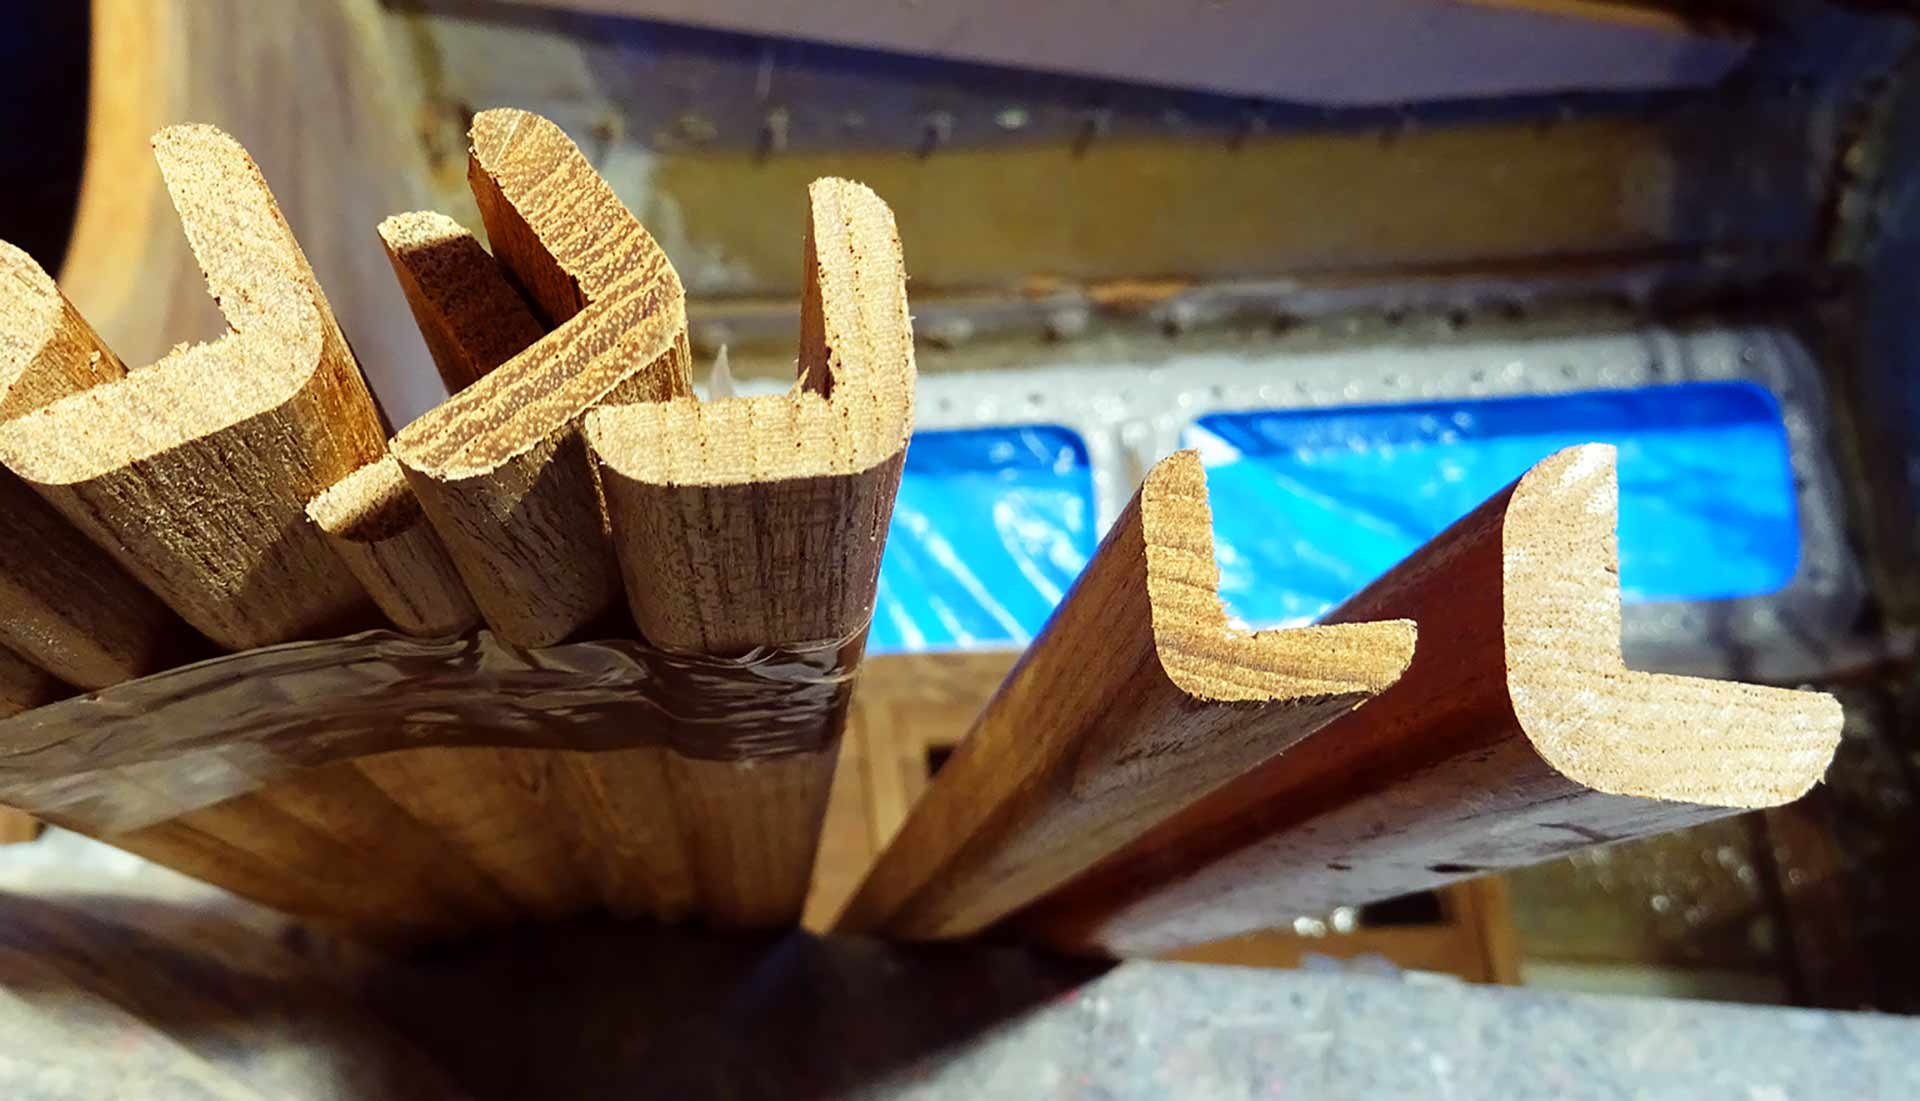
Anyway, my bank account is low anyway so it wouldn´t matter much. I ordered new strips which had to be slightly thinner and more elaborate. Comparing the two face to face I was assured that I did make the right decision. Mounting the strips to the covers was easy: Both by adding glue and applying brazen screws mostly for decorative reasons it was a matter of minutes.
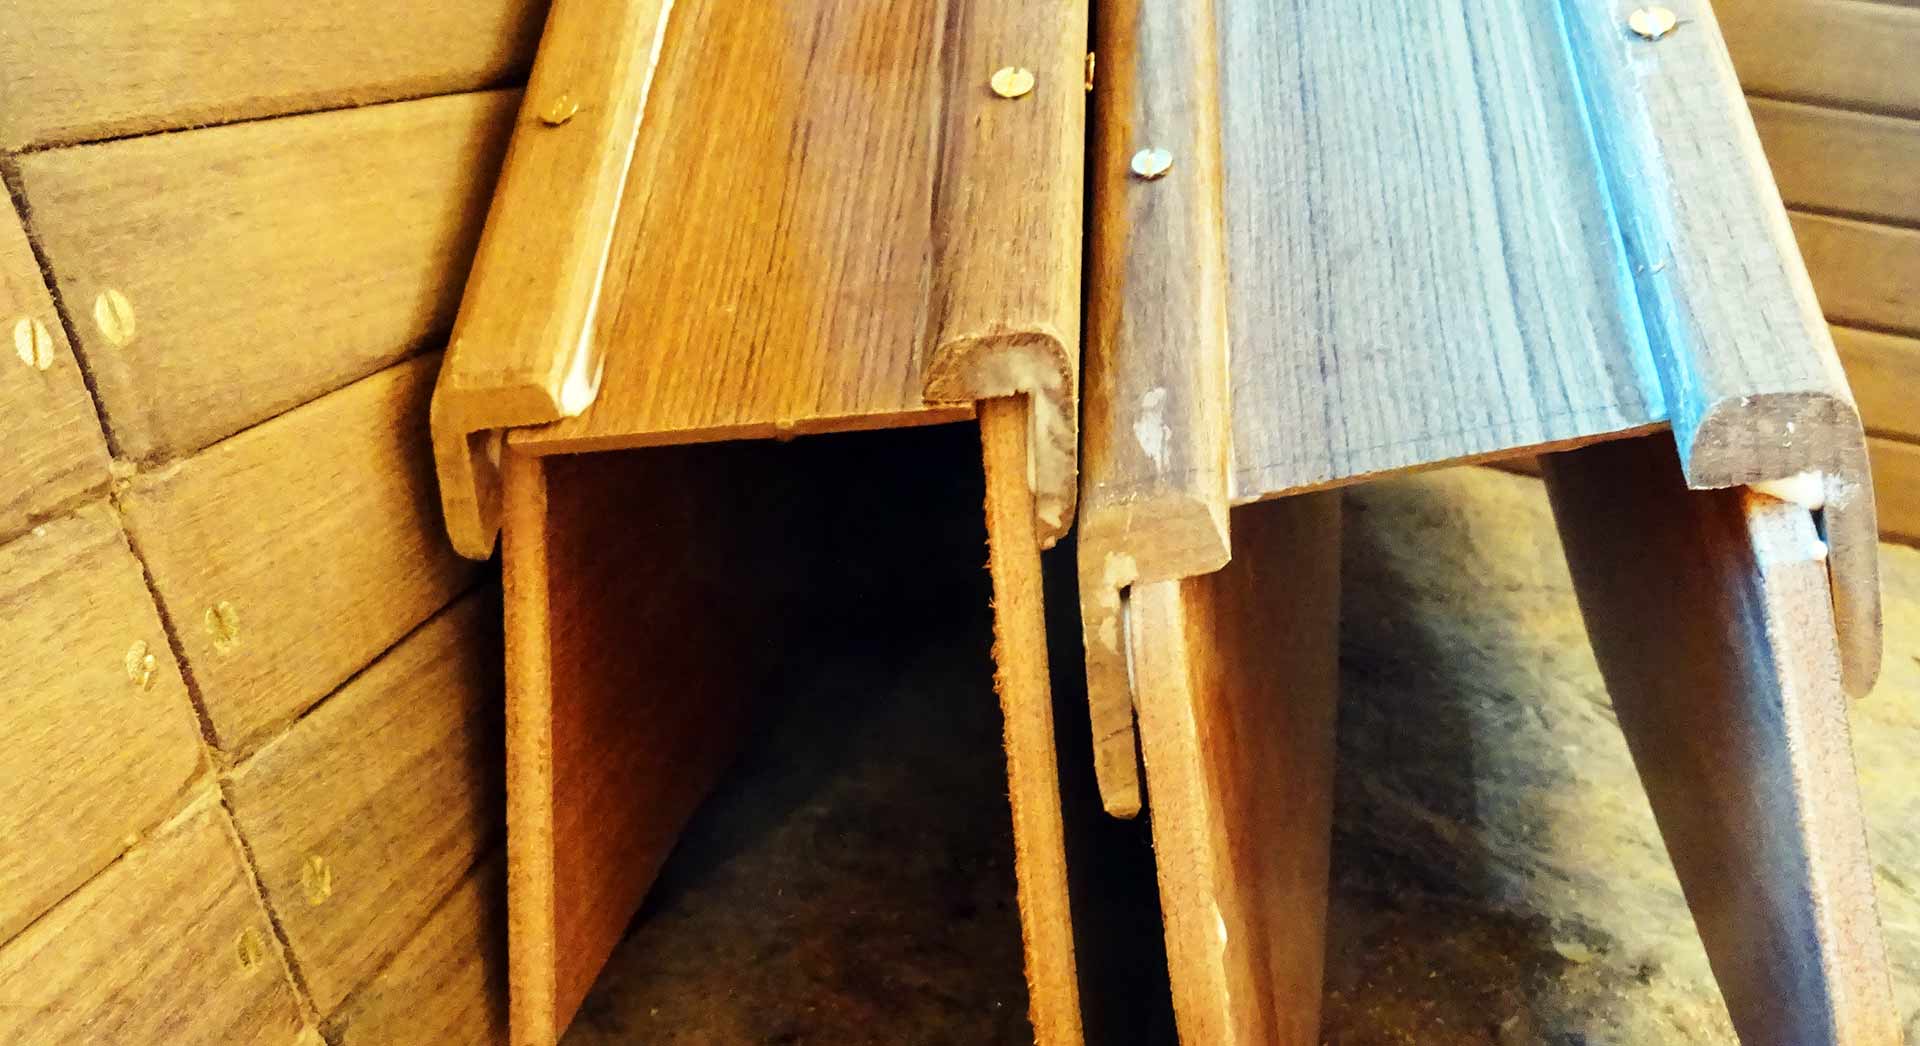
The strips alone changed the look of the chain plate covers completely: At once the whole picture was completed. Wow! Although the cover need some more sanding to scrub off the surplus glue and of course the glossy paint, it changed the look of the boat in an instant. I hurried to finish at least one another cover as I was keen on seeing the two side by side.
You know that feeling if something was done right and went like it was planned? That´s such a nice moment, full of joy and excitement. And that´s exactly what I felt when I finished rough work on the second cover by holding it to the chain plate. I cannot wait to resume work here!

Next Steps in Making the Shelves
So, within the next few days I am going to make the other two covers (I started with starboard) as this marks the last work to be done in the saloon. Well, except the for roof-panels. Anyway, as you all know, refit of a sailboat is a Black Hole, upon finishing off one item from the list one will discover two new items. Same with me.
By painting yacht-white all around the portholes I discovered that the Plexiglass-windows had been minor cracks at multiple spots, some of the sealant already disappeared and besides all, the 40 years old material did have a lot of scratches and partially turned blind. Okay. A new chapter opened: Porthole refurbishment, of which you will read in one of the upcoming articles …
What really bothers me is the fact that I won´t be able to make the very shelves before the panels are fitted. And I cannot fit the panels before I am finished with the new portholes. Oh my …
Interesting Articles:
All sailing yacht refit articles can be browsed here
Visiting the large sailing vessel AVONTUUR: Clean shipping ahead!
Building a Classe Mini 650 from plywood