Last week I´ve also come a step closer to finishing the perfect chart table (as you may read articles about that project here and here) by working on the marine switch panel and the brand new wooden workstation – a “small” sidekick-project which (as always with yacht refits I guess) turns out to be of tricky nature again. Starting by looking at the status quo: My King´s Cruiser 33 sailing yacht did have a switch panel of course, but as with most of the stuff built in after arriving from her Finnish wharf it wasn´t made that satisfying in terms of material quality and – after 40 years of wear and tear – it couldn´t meet my standards.
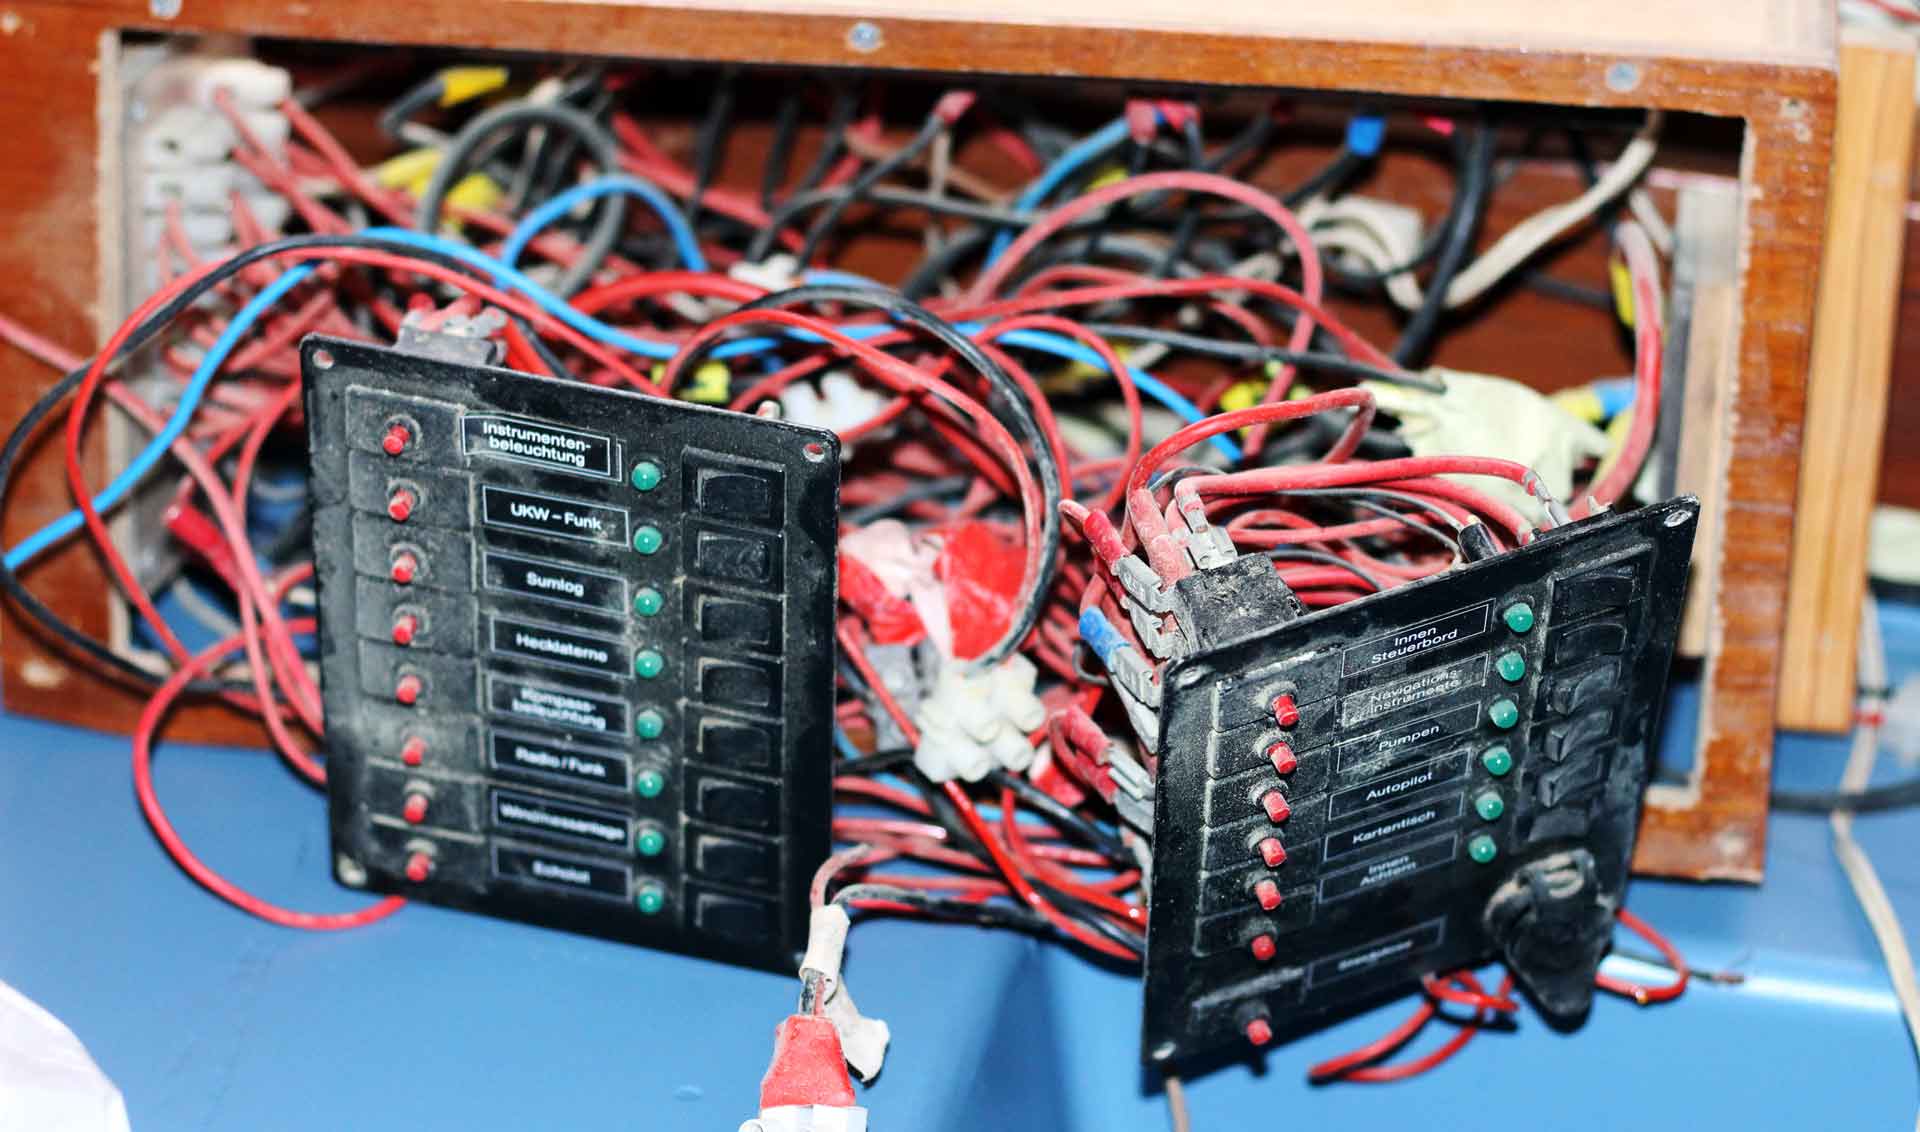
So by pulling the whole navigator´s place and designing a new one it was clear that I´d have to go for a whole new marine switch board panel as well and this article deals with the first half of the project: Taking measurements and building a Teak-made switch panel for the new chart table of my yacht.
Designing the perfect Marine Switch Panel

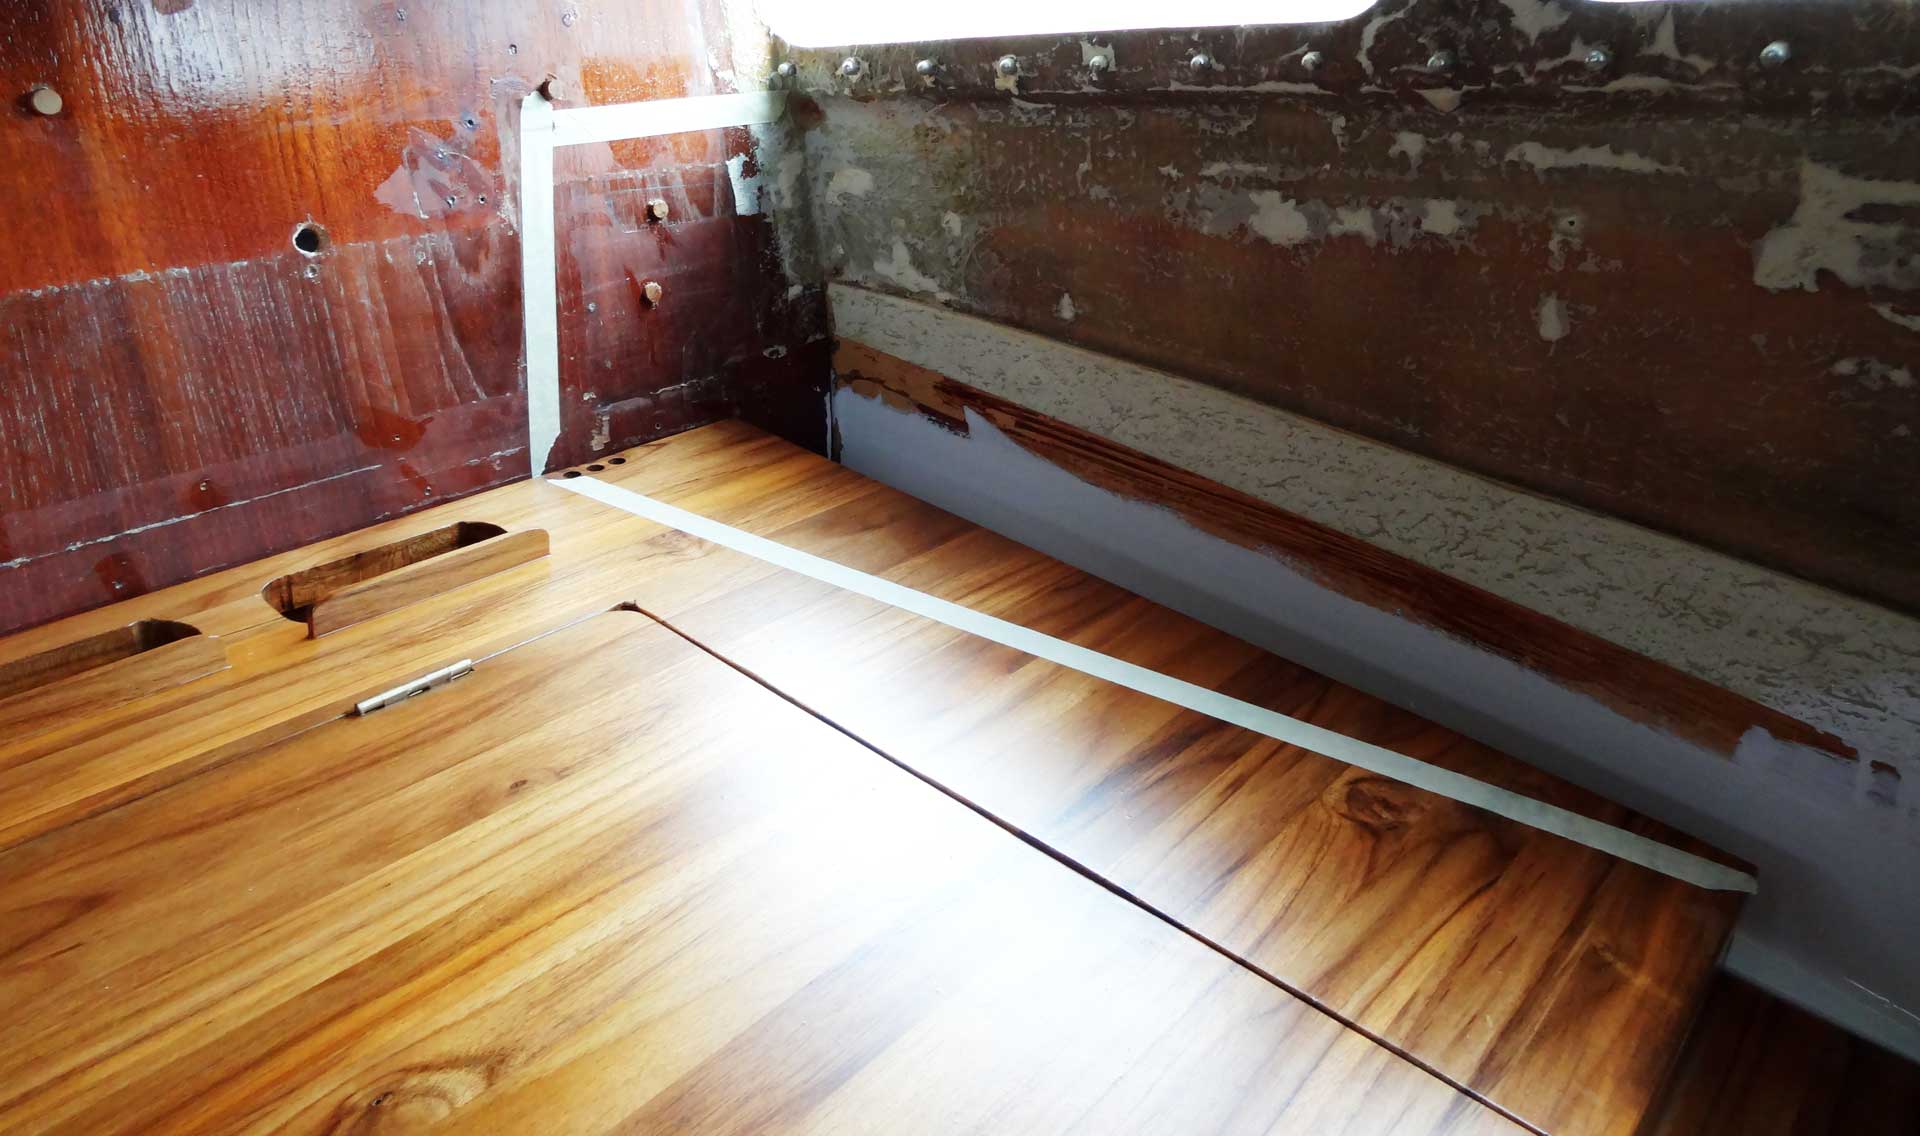
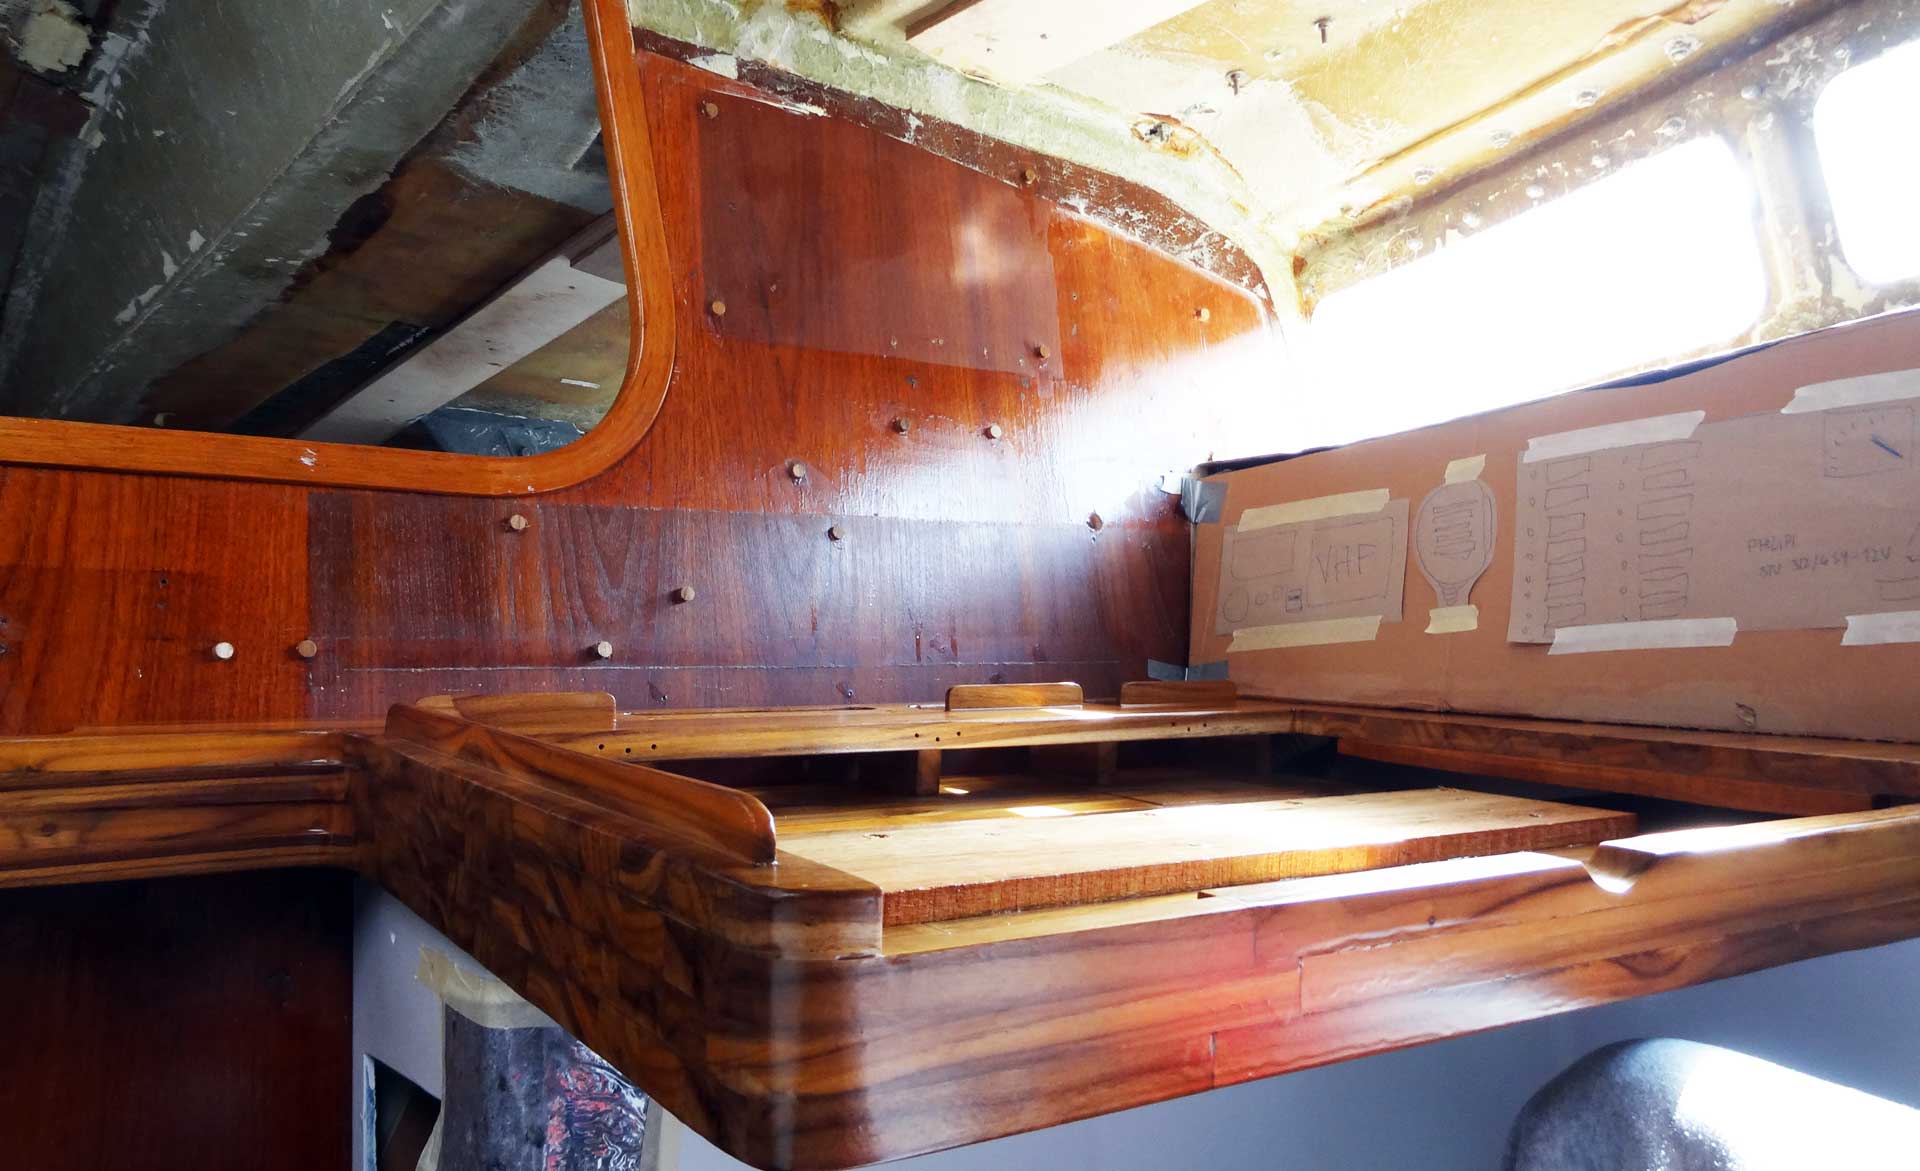
I love chart work, navigation and all connected tasks of a boat´s skipper when underway, such as monitoring weather, keeping the log or just sitting at the chart table to plan the next legs of the cruise. That´s why I am investing so much time and work in designing this particular corner of my ship as thorough as I can. I am particularly satisfied with my brand new chart table and that was the first thing I did: I´ve placed it onto its future location, took a seat and began to think about how it would be like to sit here and work.
I began to take notes about the thoughts running through my mind, trying to imagine the variety of operations I would have to undertake sitting here and what I would need in order to execute them both effective and thorough. I want to have as much necessary data, feedback from machines and equipment, switches and gauges within sight and within comfortable reach. So it was clear that the two main technical gadgets would have to be mounted right next to me: VHF-radio station and (you guessed it) the switch panel. This configuration has a lot of advantages over the previous mounting pattern: First of all, the hardware is not mounted on the bulkhead anymore, clearing sight and making sure that the boats appears in a more tidy fashion.
I took adhesive tape and marked the dimensions of the switch board. I added surplus room for future installations to come. There´s more to it than just keeping the bulkhead tidy. Secondly, all the wiring can now be run invisibly which will significantly add to the tidy appearance of my boat. Third, there´s a safe (out of reach of my small children) but in case of distress easily reachable spot for the EPIRP. Last but not least, fourth: In my particular case, with the switch board I am going to build I will gain surplus storage surface for odds and ends, common flying around at navigator´s workstations.
Building a Cardboard Caliber
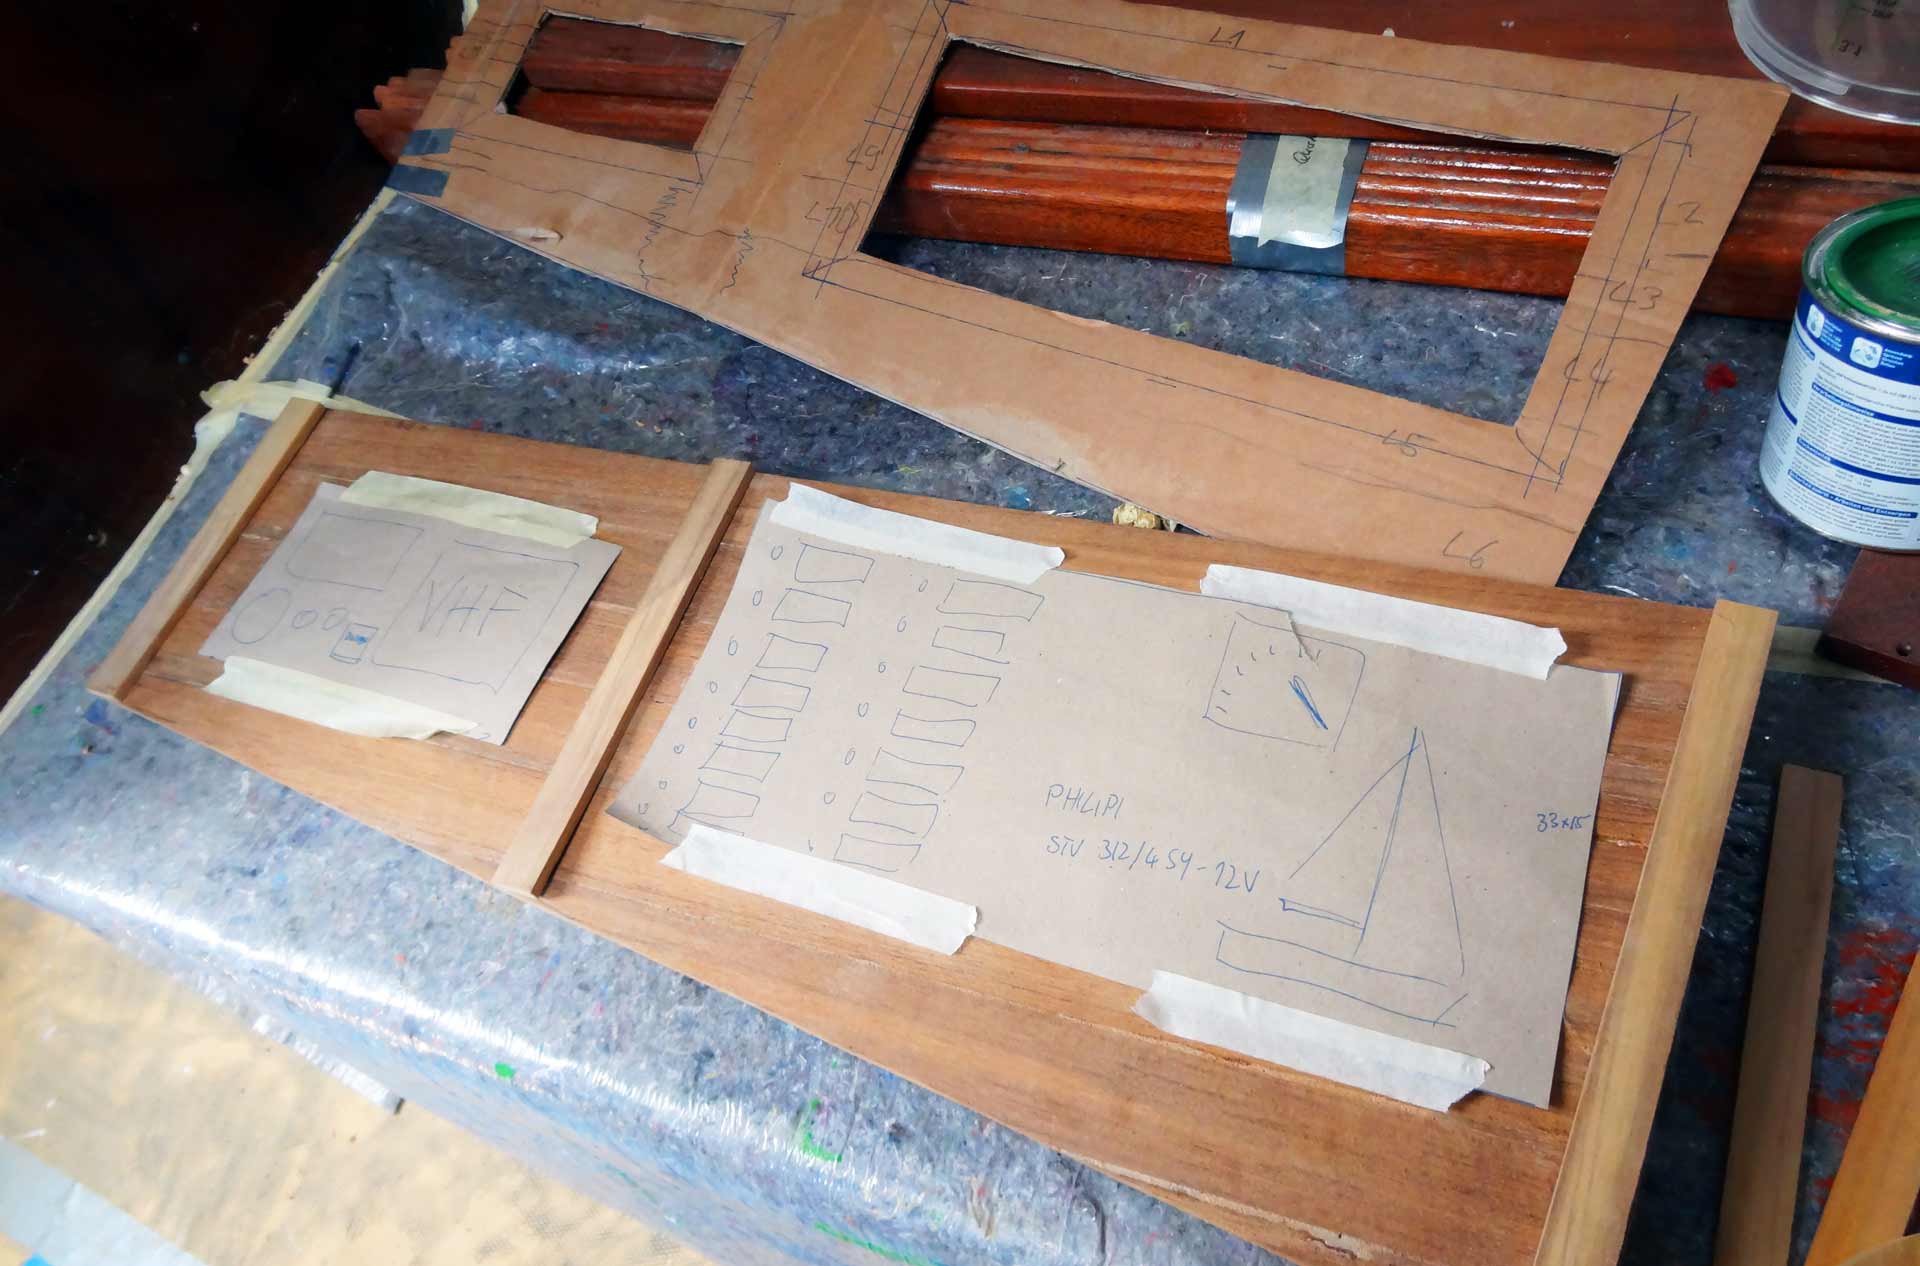
But before sawing around and cutting my limited supply of precious massive Teak, I went on to build a model of the switch board to be sure of having taken the right measurements. In order to do so I needed to know which particular technical equipment I would be mounting to the panel in the first place. With the VHF the decision was now clear: I would sell my beloved Elna Sailor RT 2048 to go for a brand new one. Why´s that? Because I want to have a DSC capable station for safety reasons. Which one I will choose in the end is not decided yet.
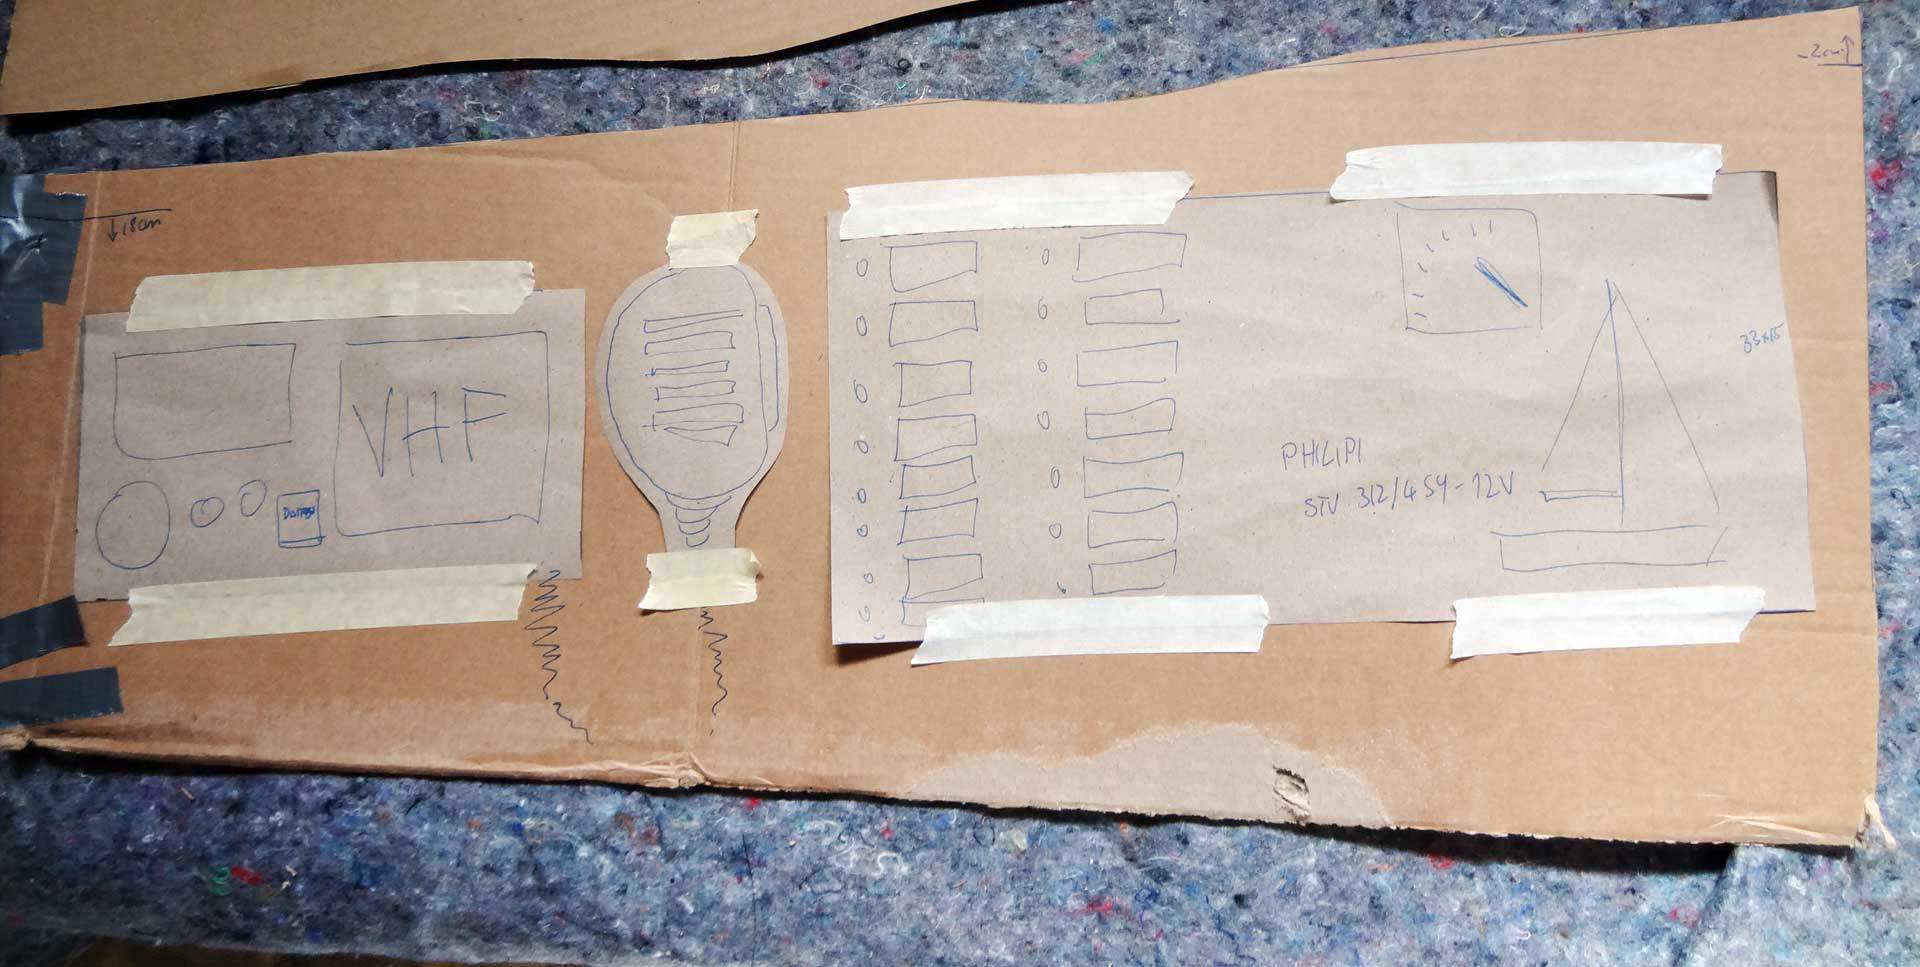
The second big appliance to be mounted is the marine switch board itself. Do you know Philippi? It´s a German brand manufacturing the whole range of marine switches, boars, connectors, gauges and stuff offering both decades long experience in manufacturing these appliances and the high quality needed in the marine environment. I´ve had the pleasure to work with Phillipi´s appliances on multiple occasions such as my SKS/RYA Coastal Yachtmaster class on an X-442 yacht, where Philippi´s latest generation of switch boards with digital screens had been in use.
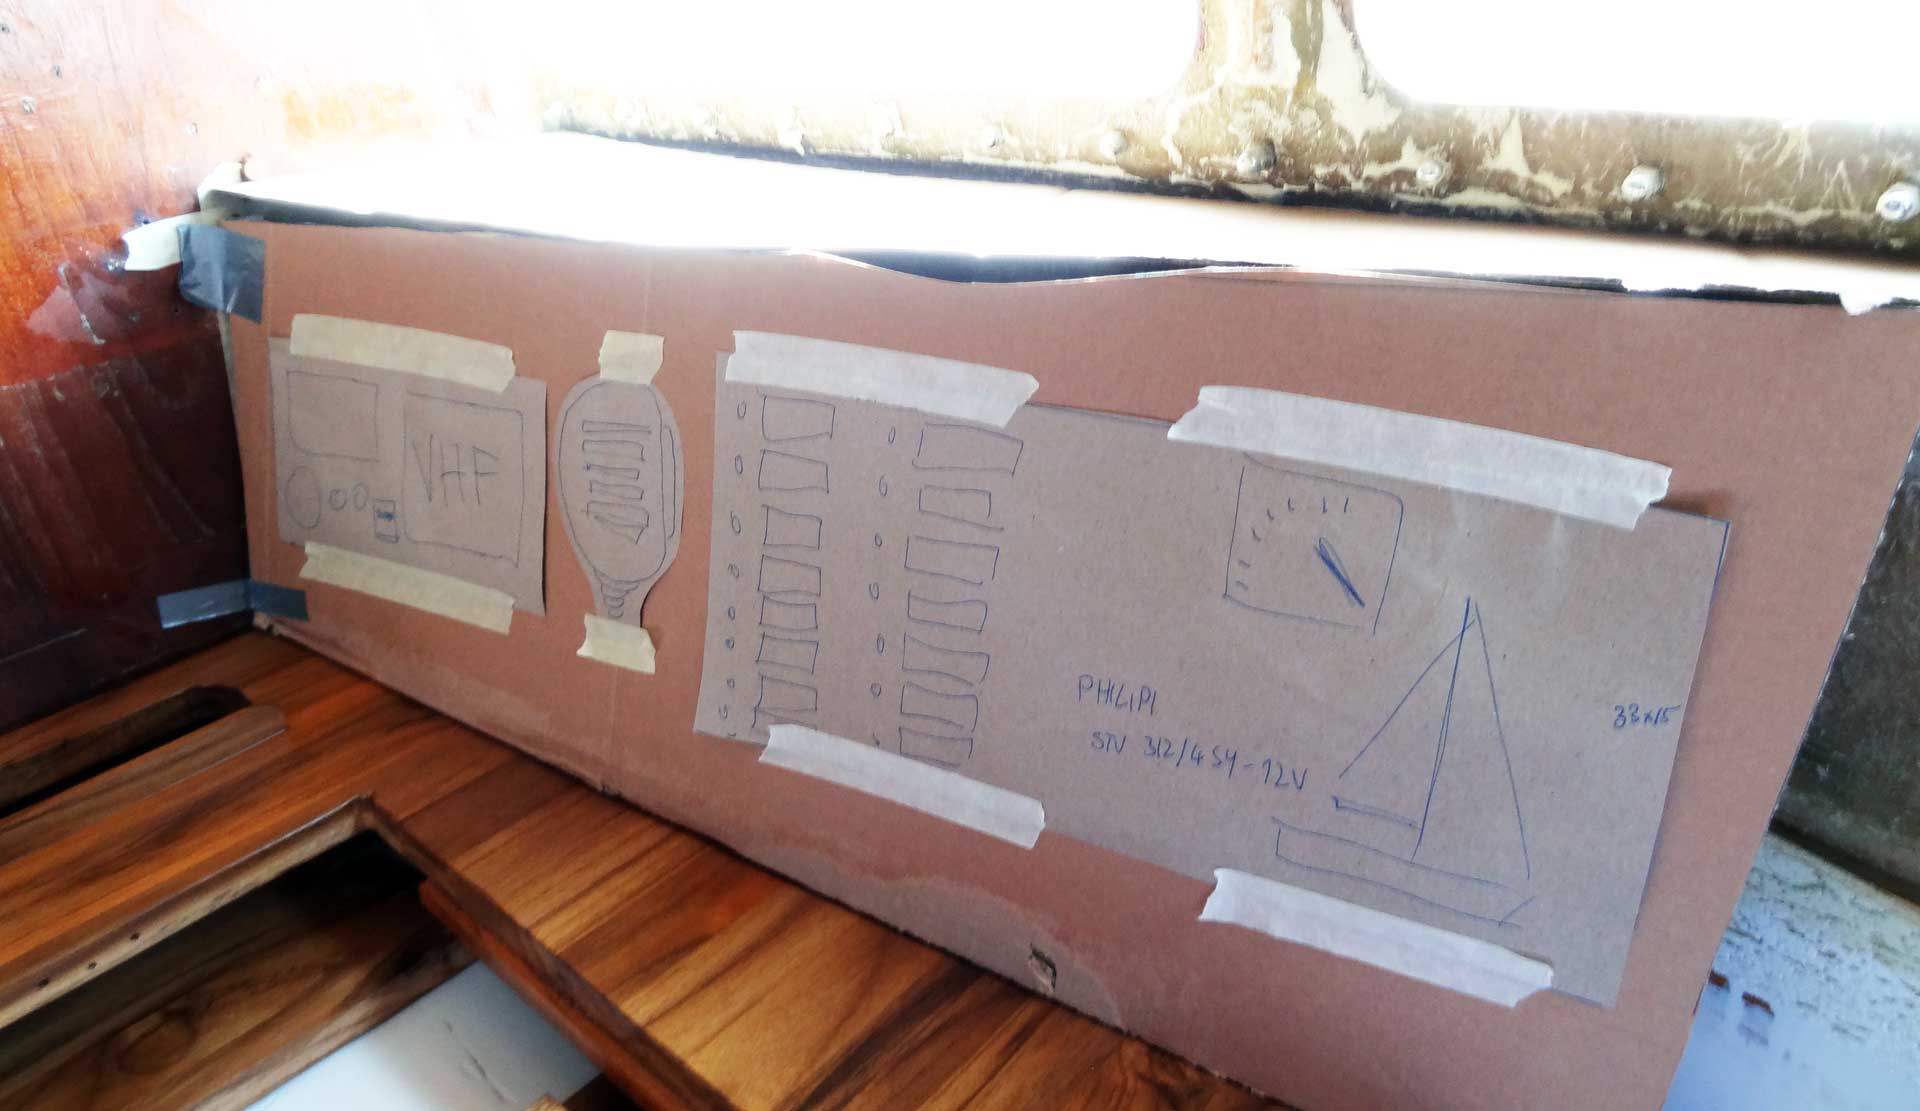
As the prices for such switch boards hit kind of astronomical heights as well, I was browsing their product catalogue to maybe find some less expensive models, nevertheless of the same high end quality and convenience. And I finally found the switch board of choice: The Philippi STV 312/4-sy-12V. That´s really the perfect switch board for my King´s Cruiser 33. It features two rows of no less than 12 circuit switches with thermal fuses (8 Ampere) – more than enough for my yacht. It has also a built in Voltmeter to gauge my batteries which is very, very practical indeed. And the best thing: A display showing if navigating and position lights are working. Great thing.
The being priceworthy, the Philippi STV 312/4 isn´t a cheap piece at all, coming in with a price tag of more than 400 Euros. But I know it´s worth it and definitely a better choice over the old switch panels. So by making a cardboard caliber I was able to find the right position for both the panel and the future VHF. Then it was masking tape marking the right angle and thus the size of the cover of my new command station. Time to work with wood …
The new Switchboard Cover Panel from Teak
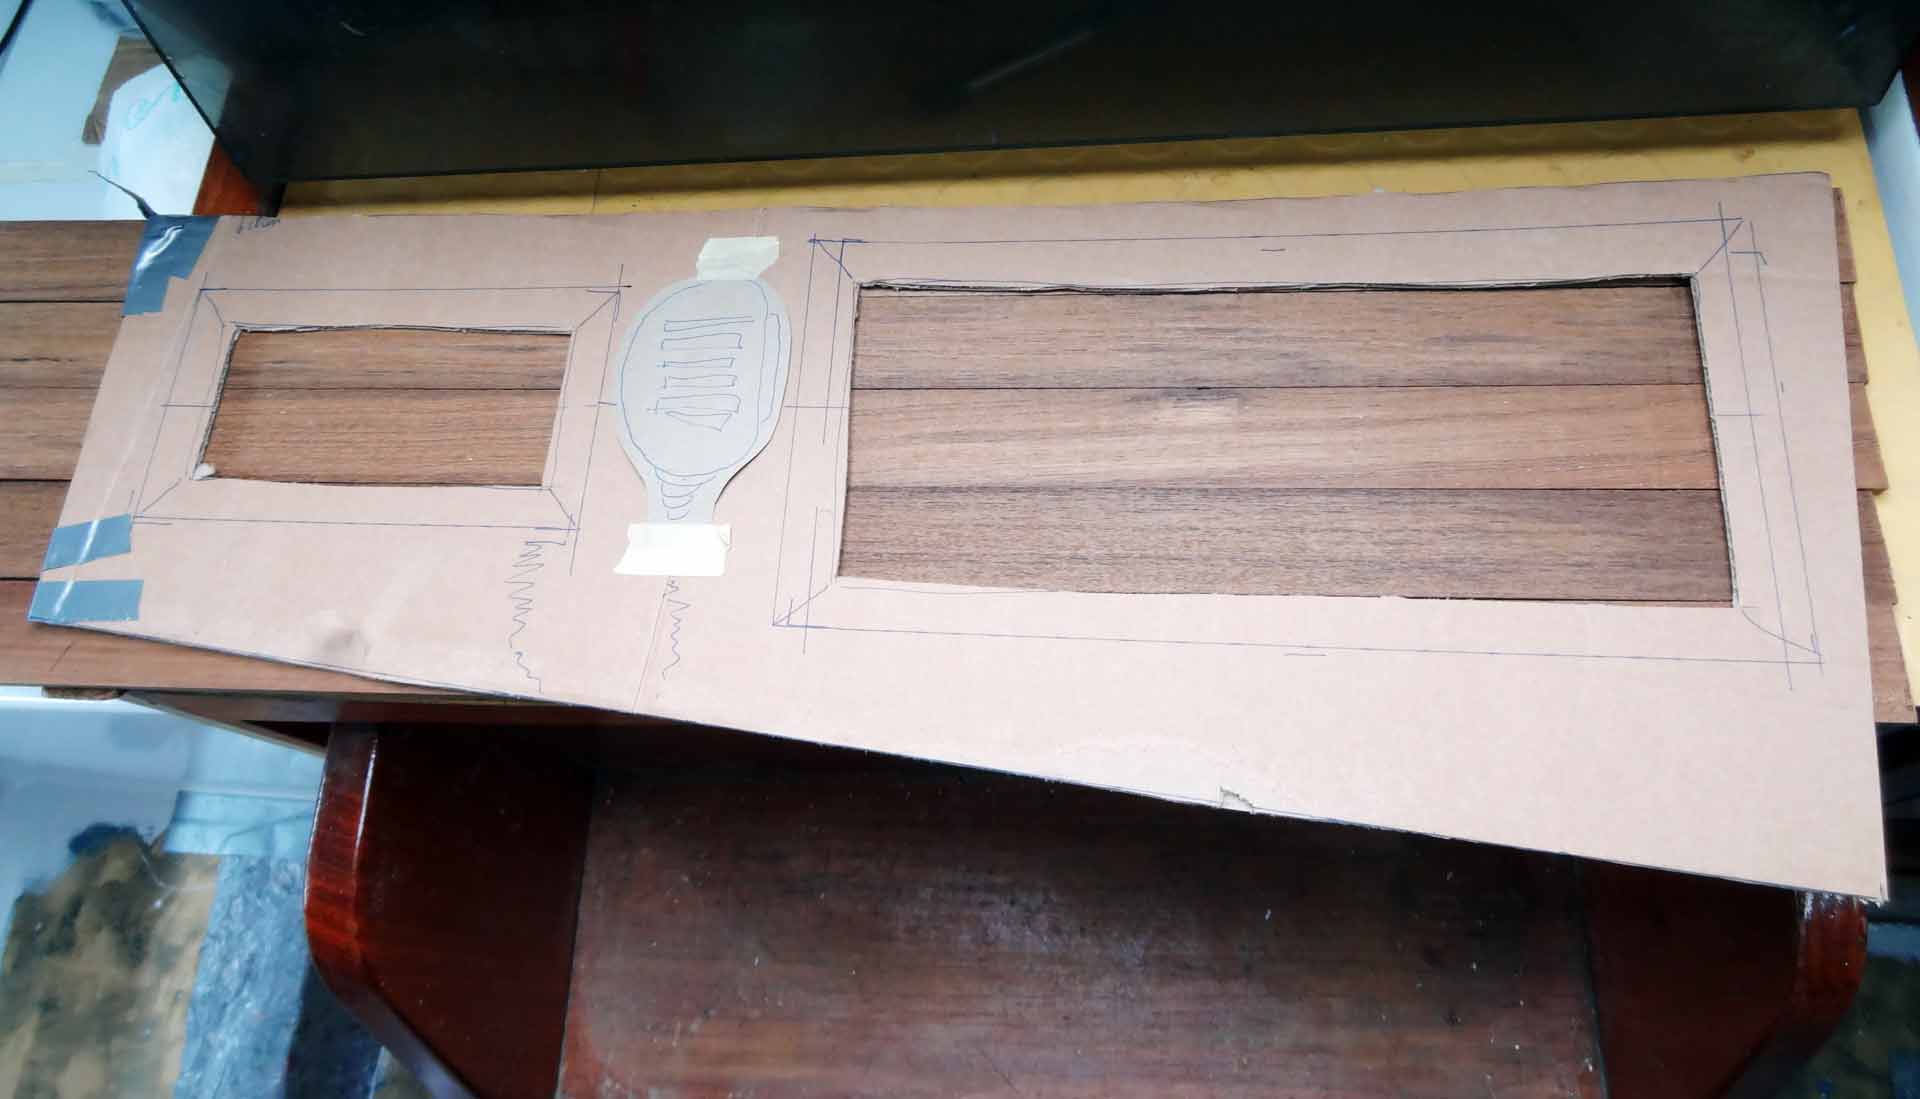
The next step seemed easy, but it wasn´t at all. After being sure of the actual size of the board, I arranged three strips of Teak in a way that they resembled enough surface to act as the actual panel. Why didn´t I go for plywood instead? Well, something´s currently wrong with supply of Teak-veneered plywood as I am now waiting some 10 weeks for the delivery of such. Having no time to waste, it´s strips of massive Teak I am using instead.
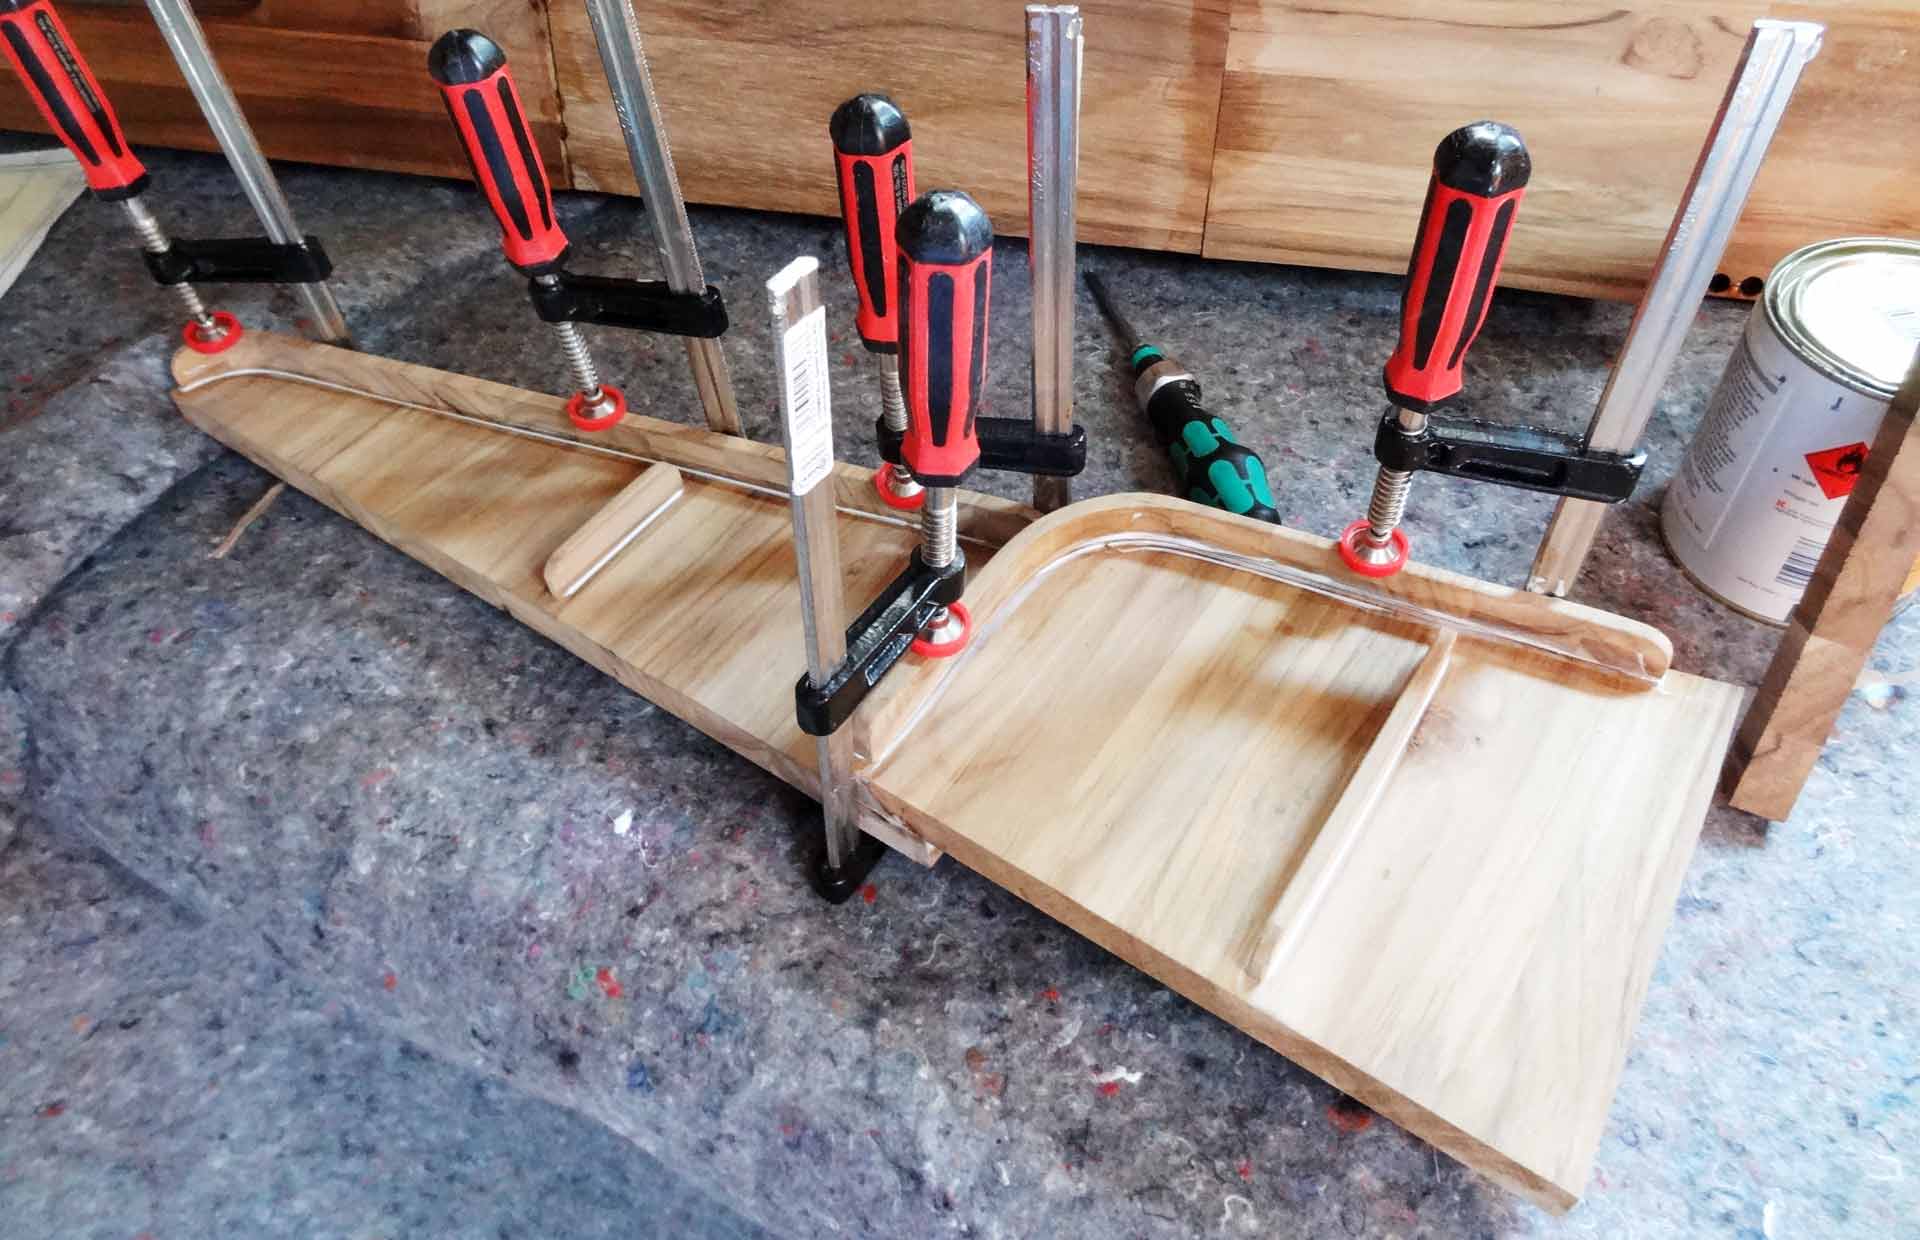
After cutting the strips to size I had to solve the problem of bringing the different strips together: It was a strong bonding glue I was searching for, which is a bit tricky since Teak is a very oily material which is hard to glue at all. Having had a longer telephone conversation with a counsellor from UHU, a big German glue manufacturer, he advised to opt for polyurethane glue (PUR) which should do the job best since it would both handle the greasy, oily timber as well as create a strong, real water resistant (D4) connection between the strips.
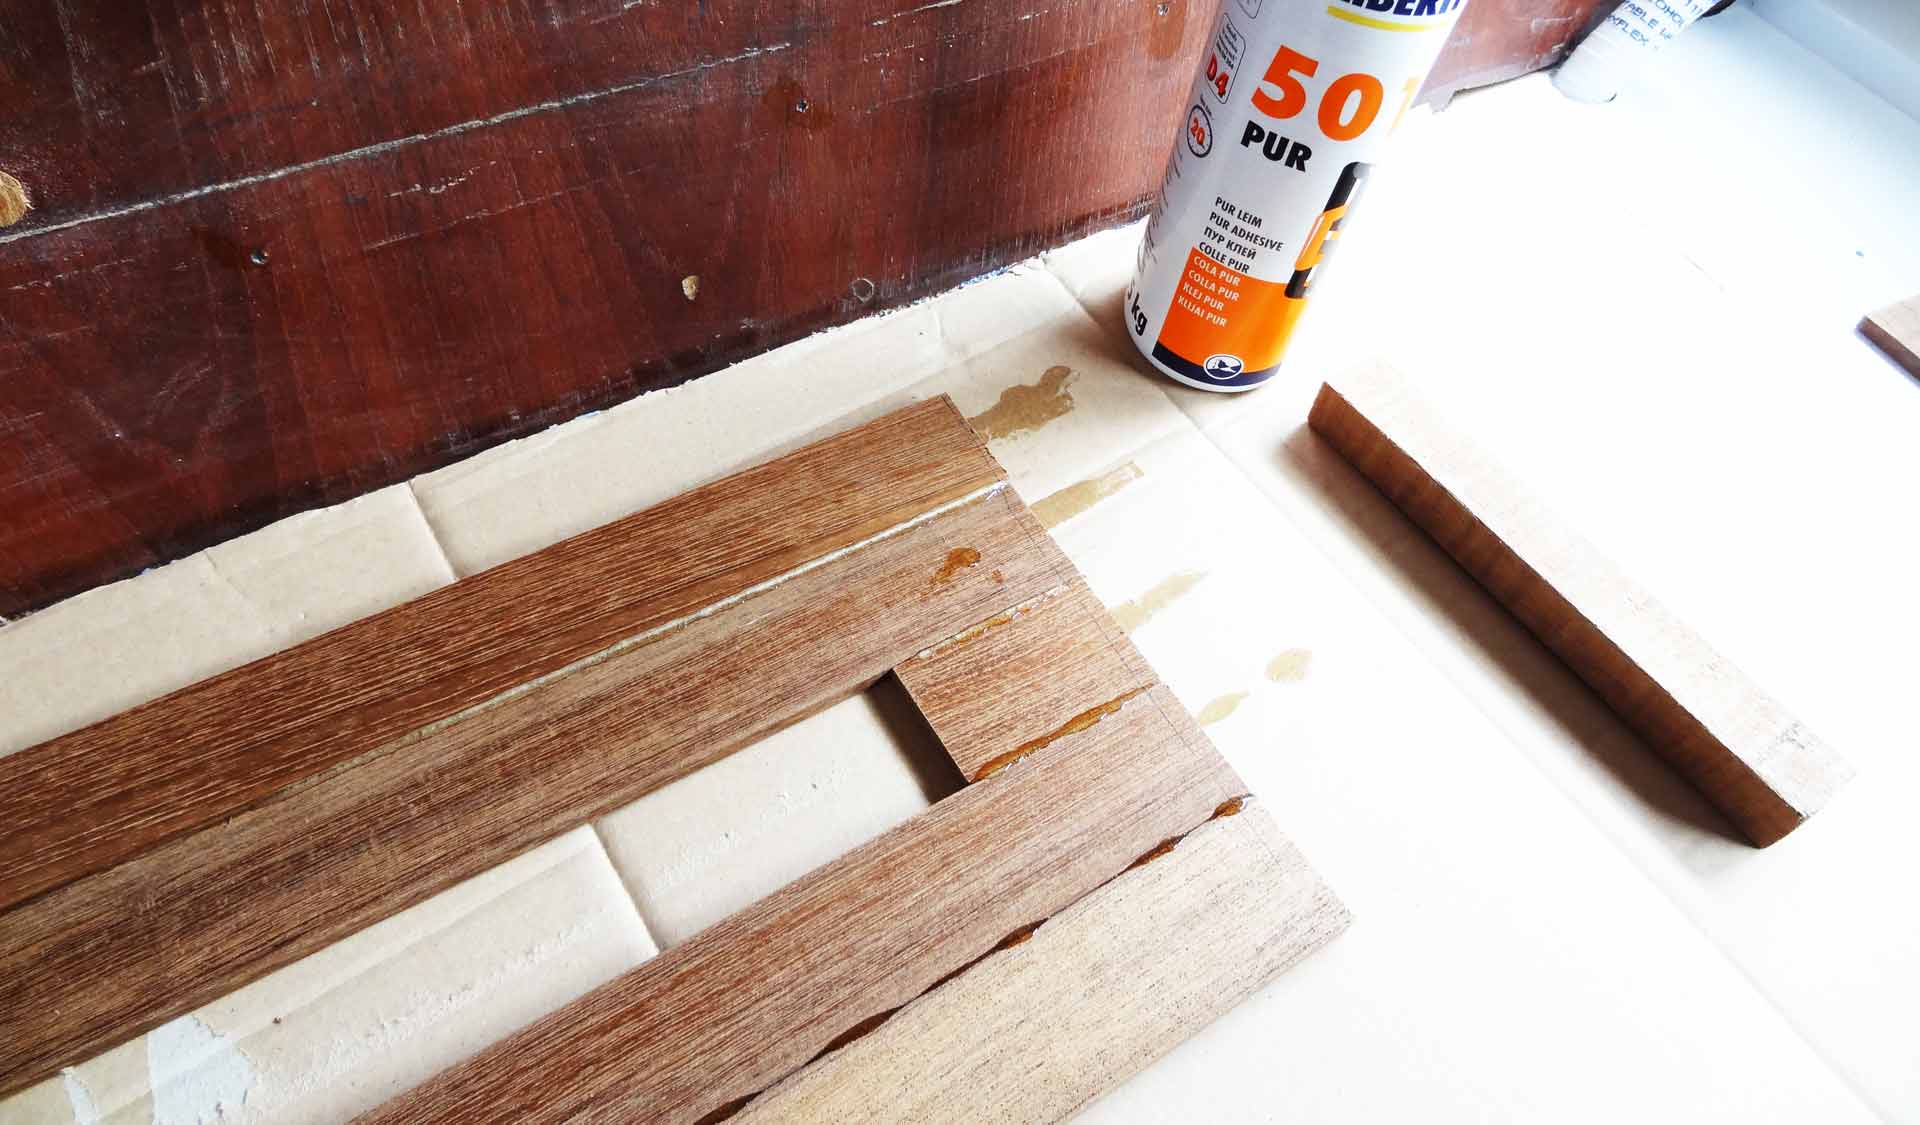
So I did as advised, but it turned out PUR-glue is not the easiest glue to work with. First of all, this type of adhesive needs pressure in order to be “activated”. It needs a lot of pressure and creating this amount with bar clamps turned out to be tricky as well since I´ve had to apply pressure along the thin edges of the strips which was a mess to be honest to do. But eventually it worked fine. I first glued 2 x 2 strips and then brought the two bigger chucks with a third run together.
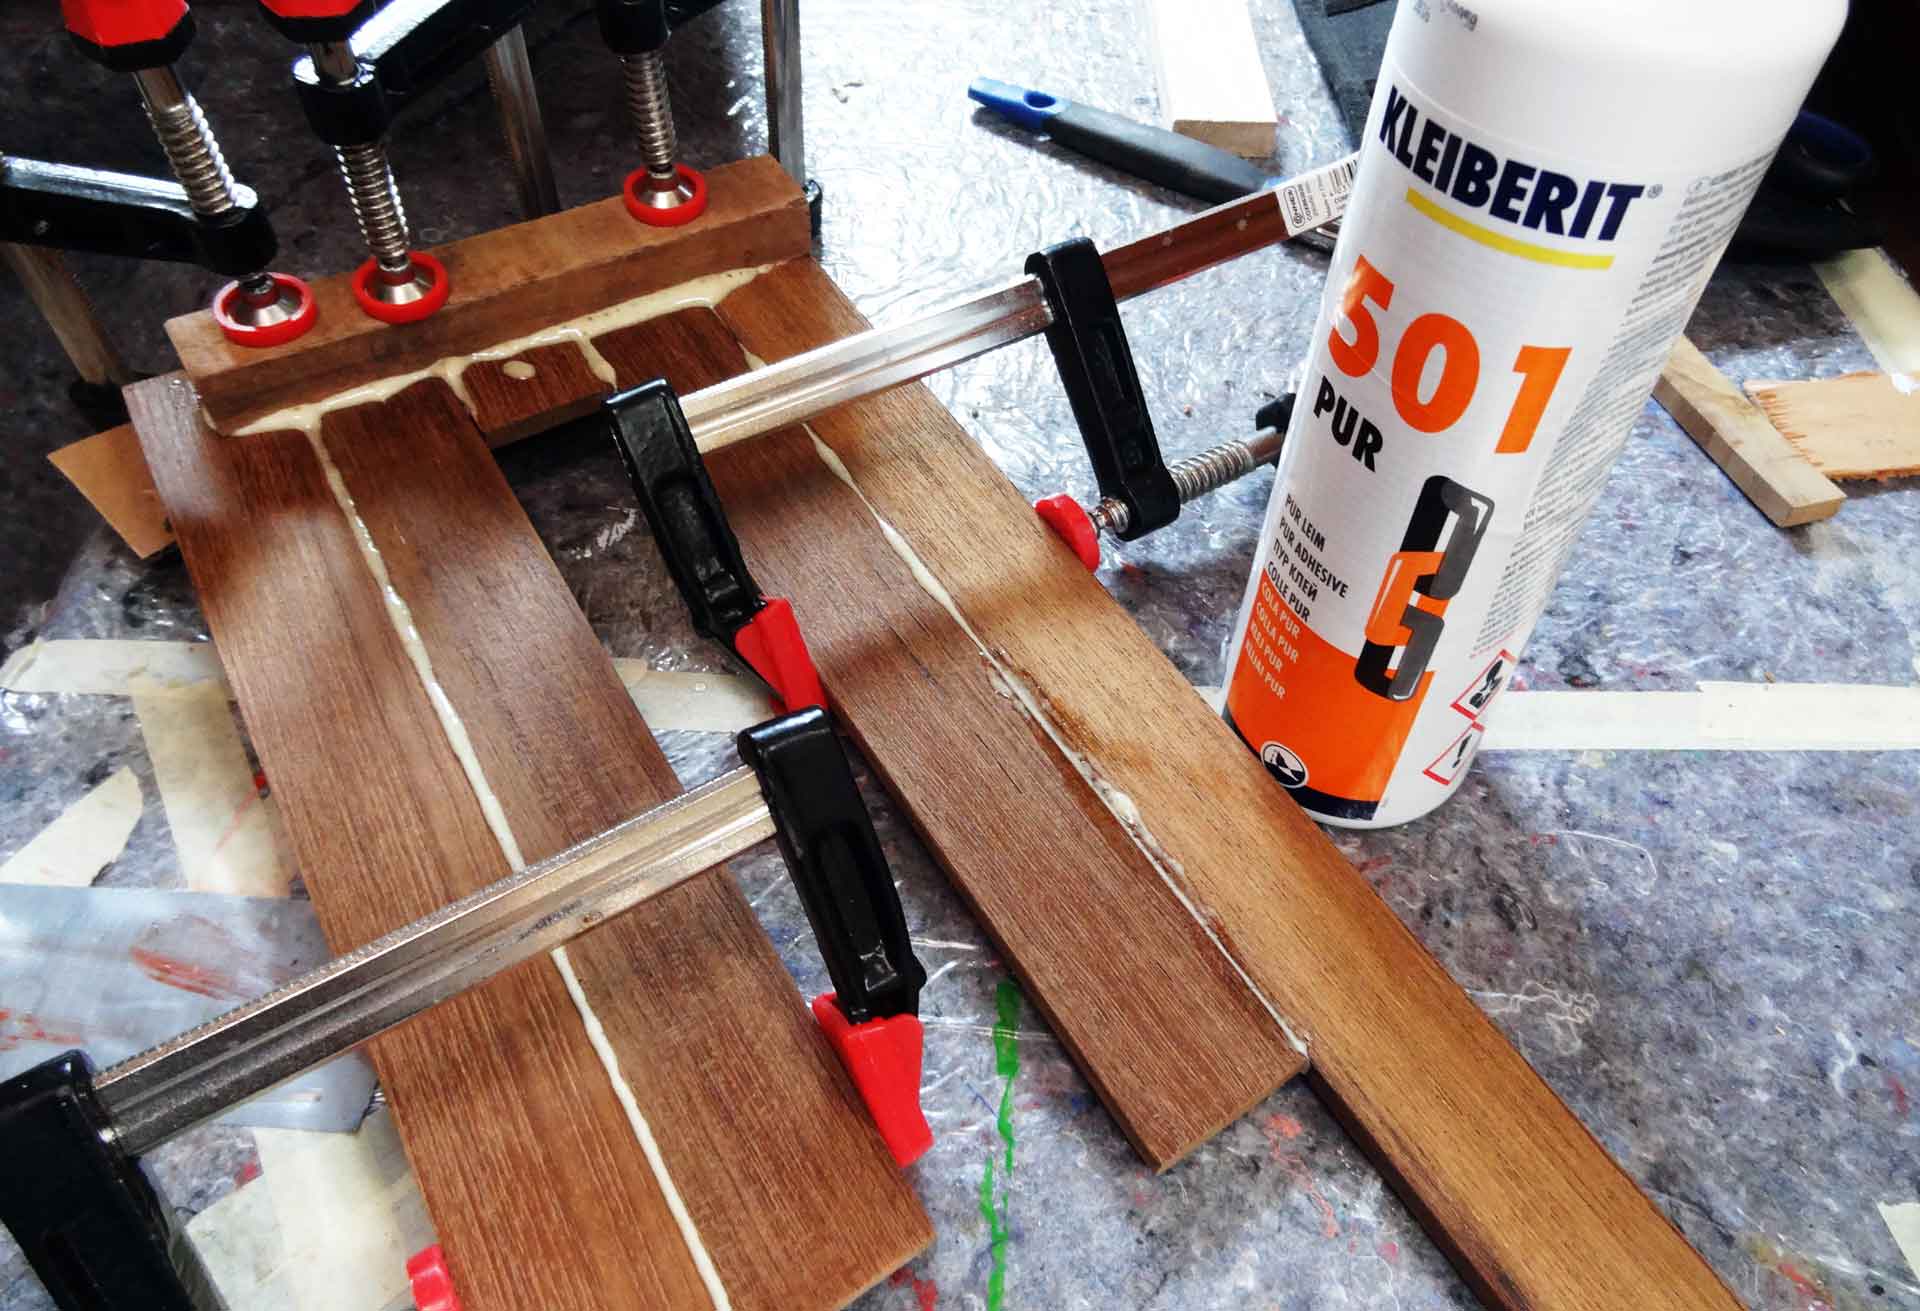
PUR glue does indeed create a strong and firm bond between the strips, but it does so by expanding into some kind of foam that will harden thoroughly in the cause of the drying process. That´s a bit messy because the foam will ooze out of every tiny pore of the material, fostered by the applied pressure. I wasn´t sure at first if I could take off the surplus hardened PUR-foam after the process so it all had a kind of experimental character.
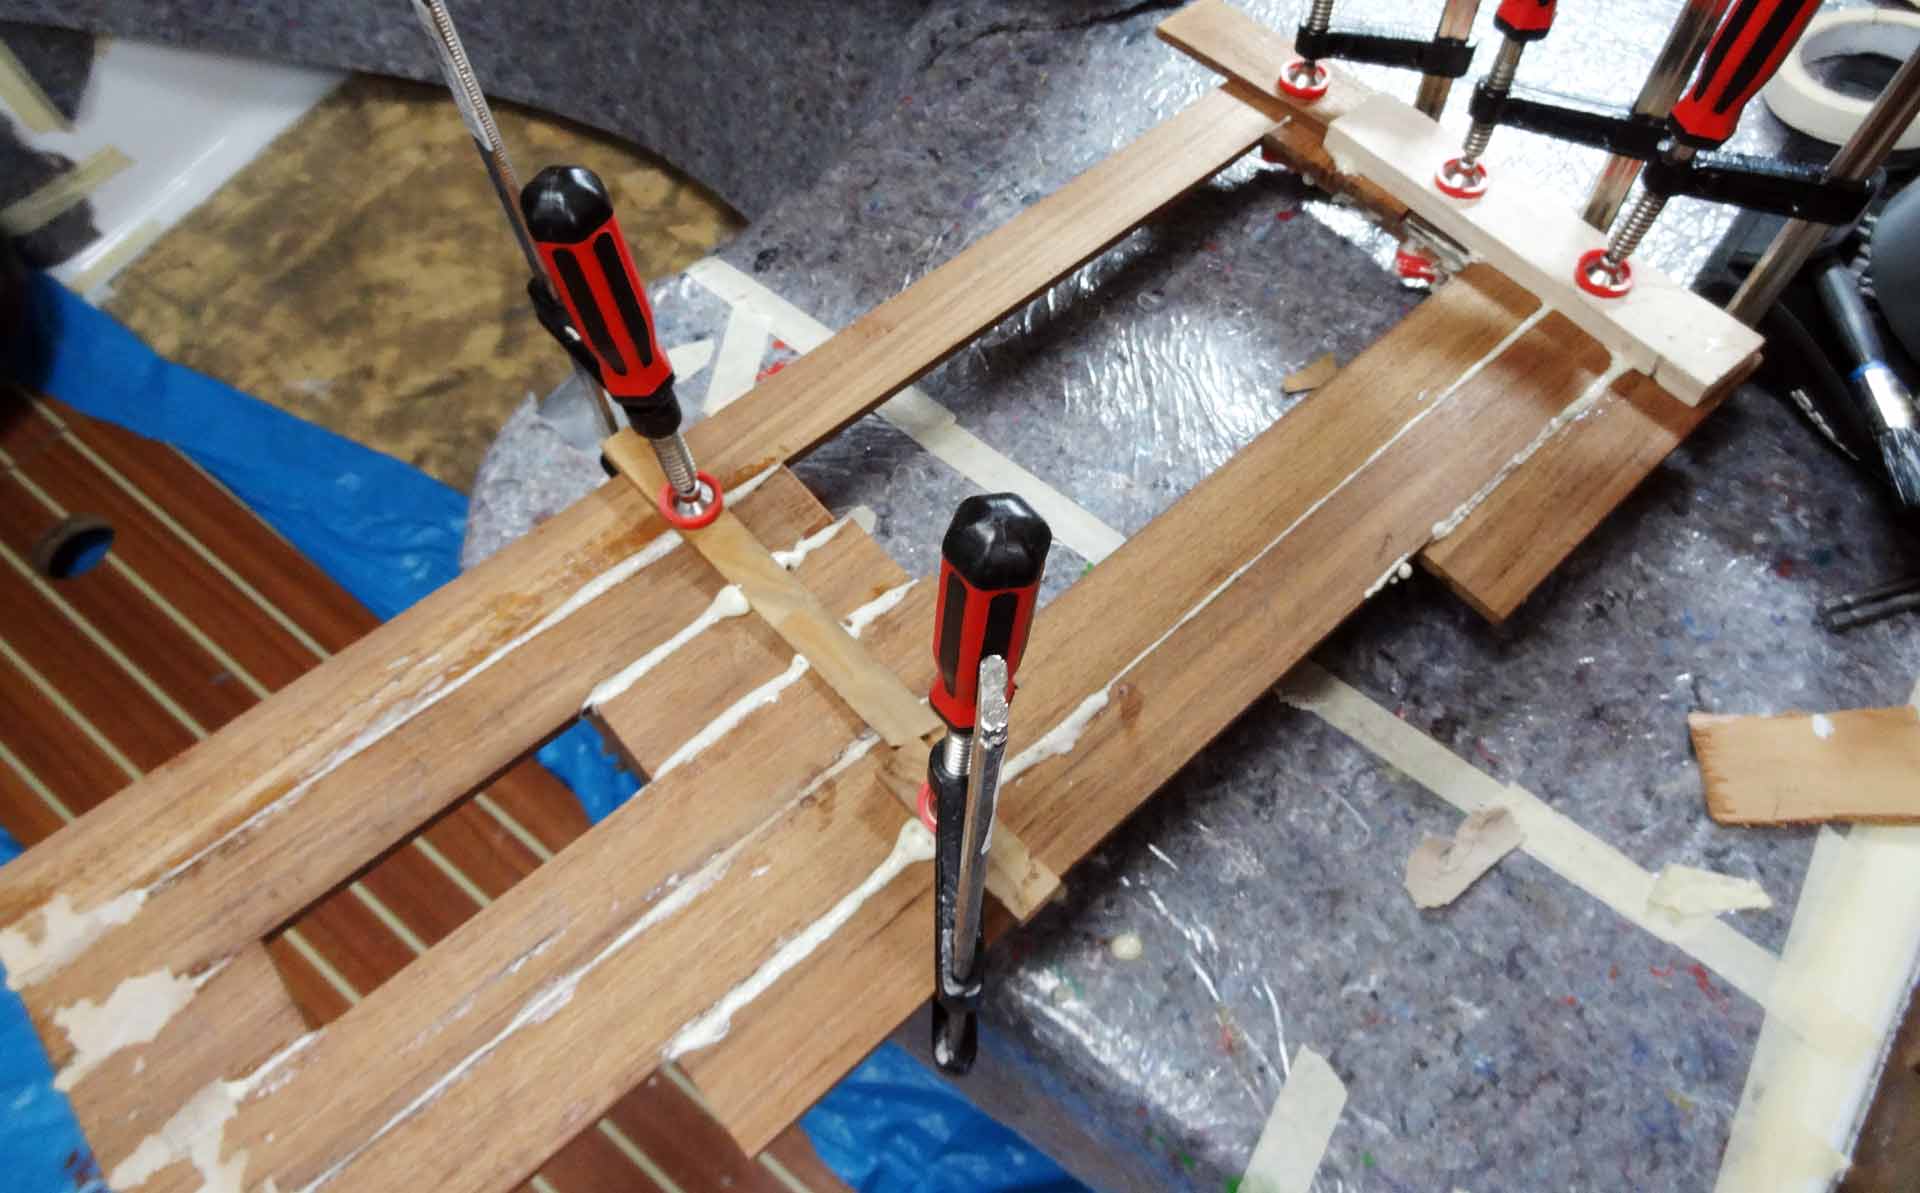
After bringing together the strips I added two vertical stringers at the back side (also by way of PUR-glue) and let the whole board dry for a whole week. In the meantime I was waiting anxiously to get the new Philippi switch panel and as finally the postman rang the doorbell and handed me over a big package I was childishly excited to unwrap my new present …
Adding some Style to the Marine Switch Panel
If you, dear reader, are a sailor you know what I am talking about saying that it is especially the navigator´s station and the chart table in particular being messed with bits and pieces. There´s pencils, biros and pens all over the place (at least 7ß per cent of which being empty and dried), paper clips, tape, hair ties, battery charger leads (of the phone used last year, this year´s is always in the loose) and an army of notes. What a mess!
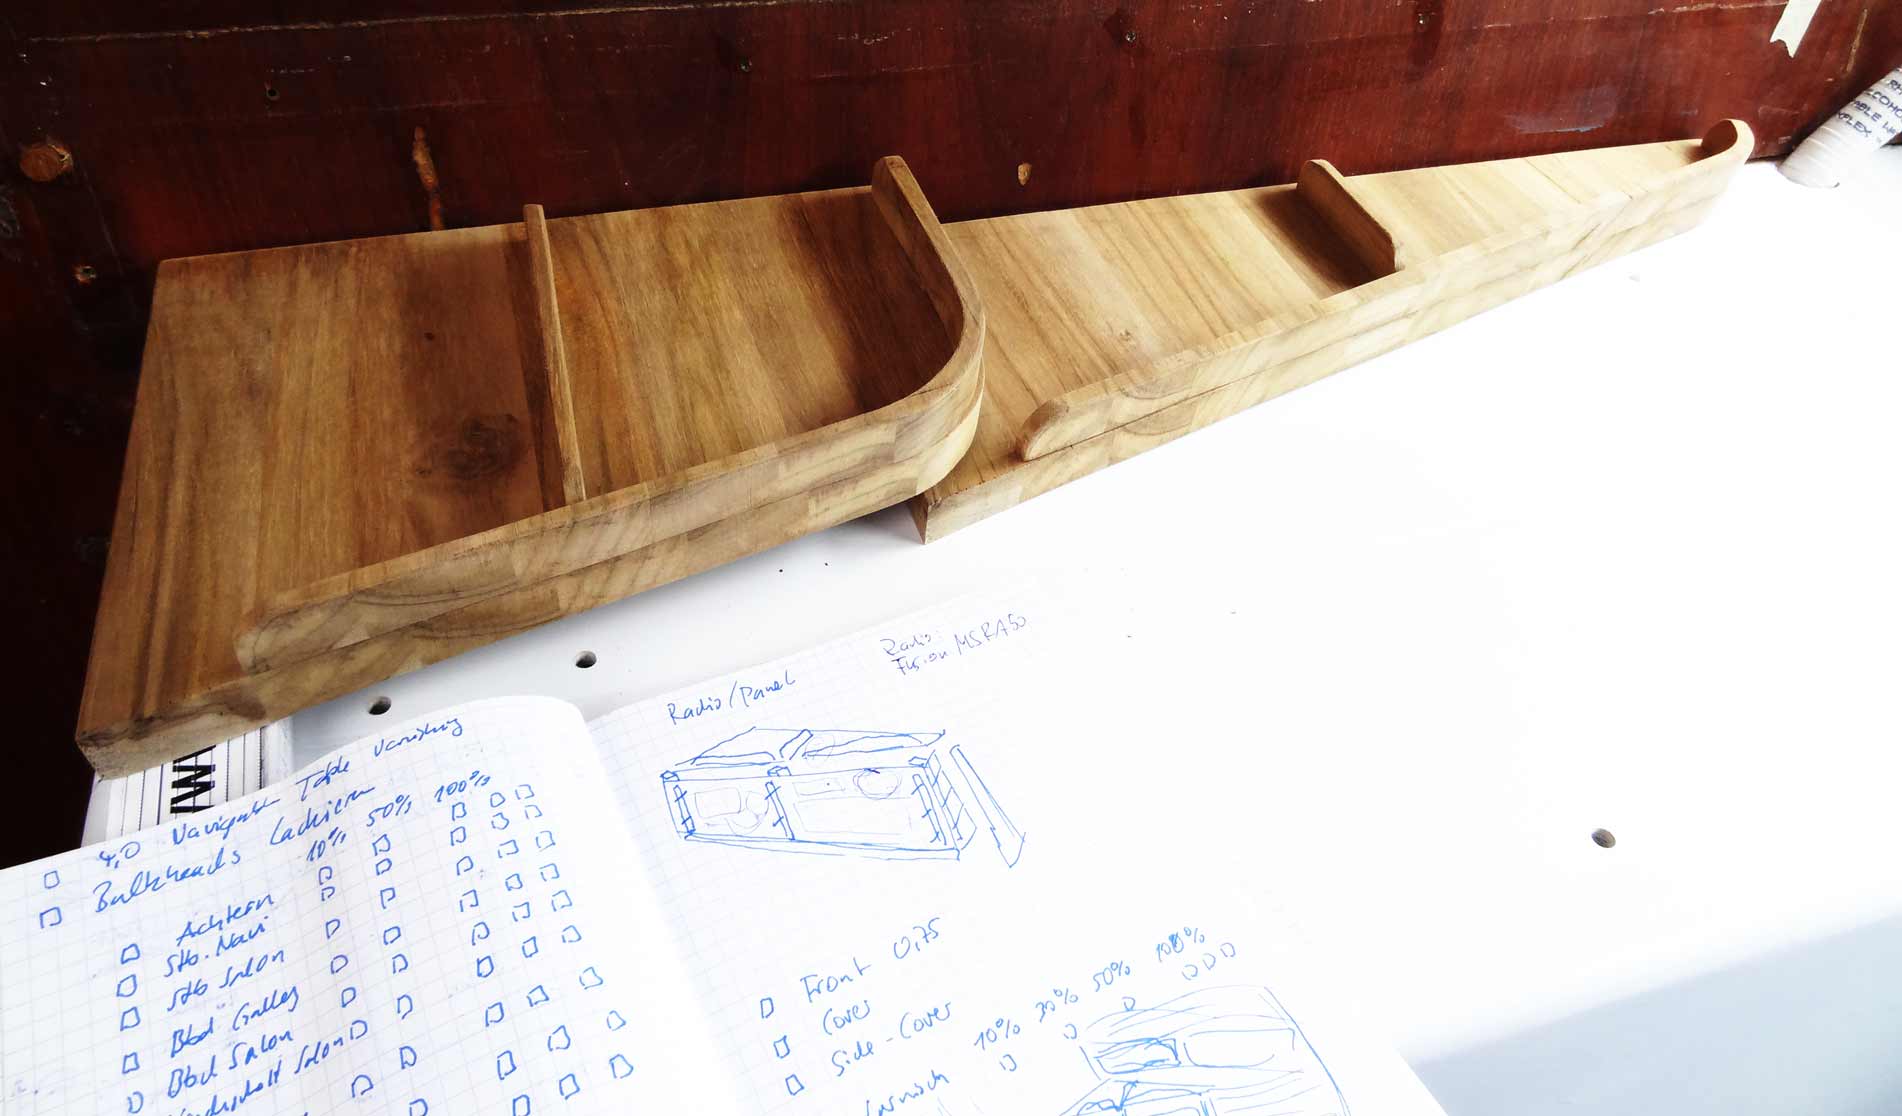
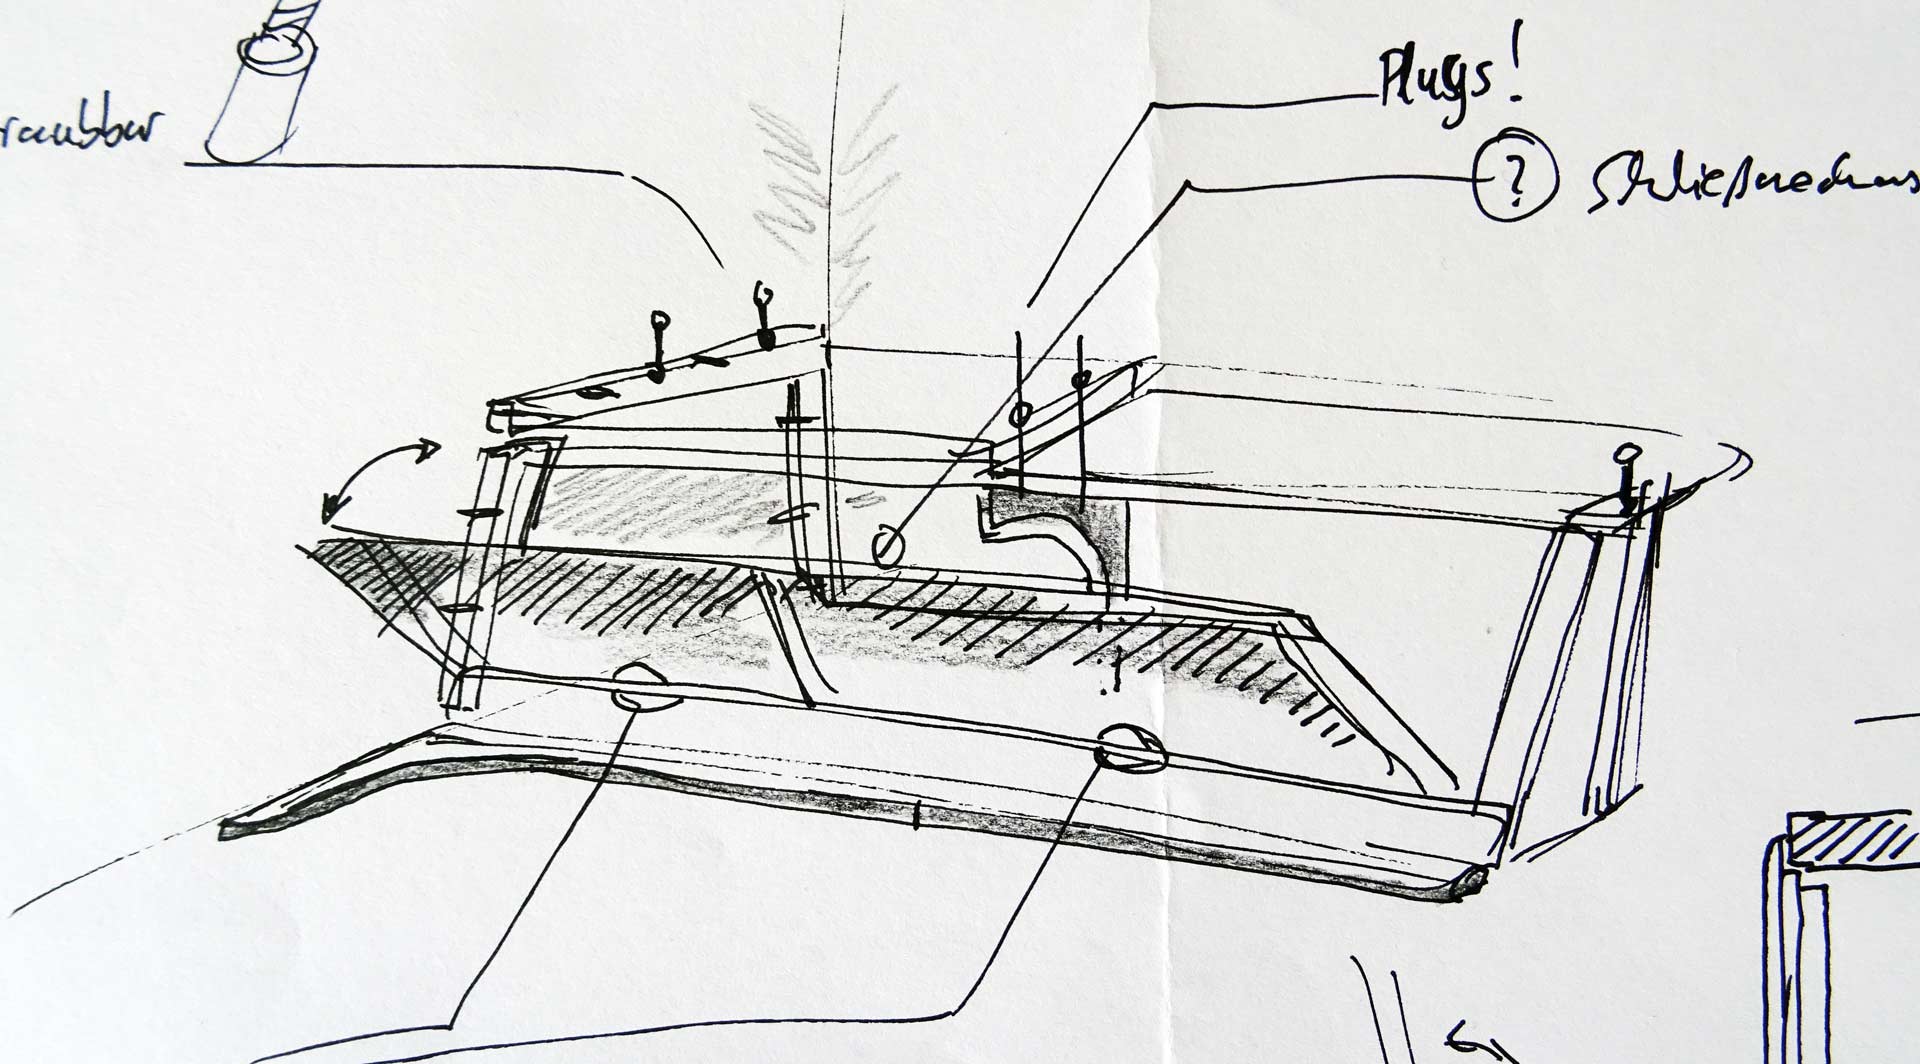
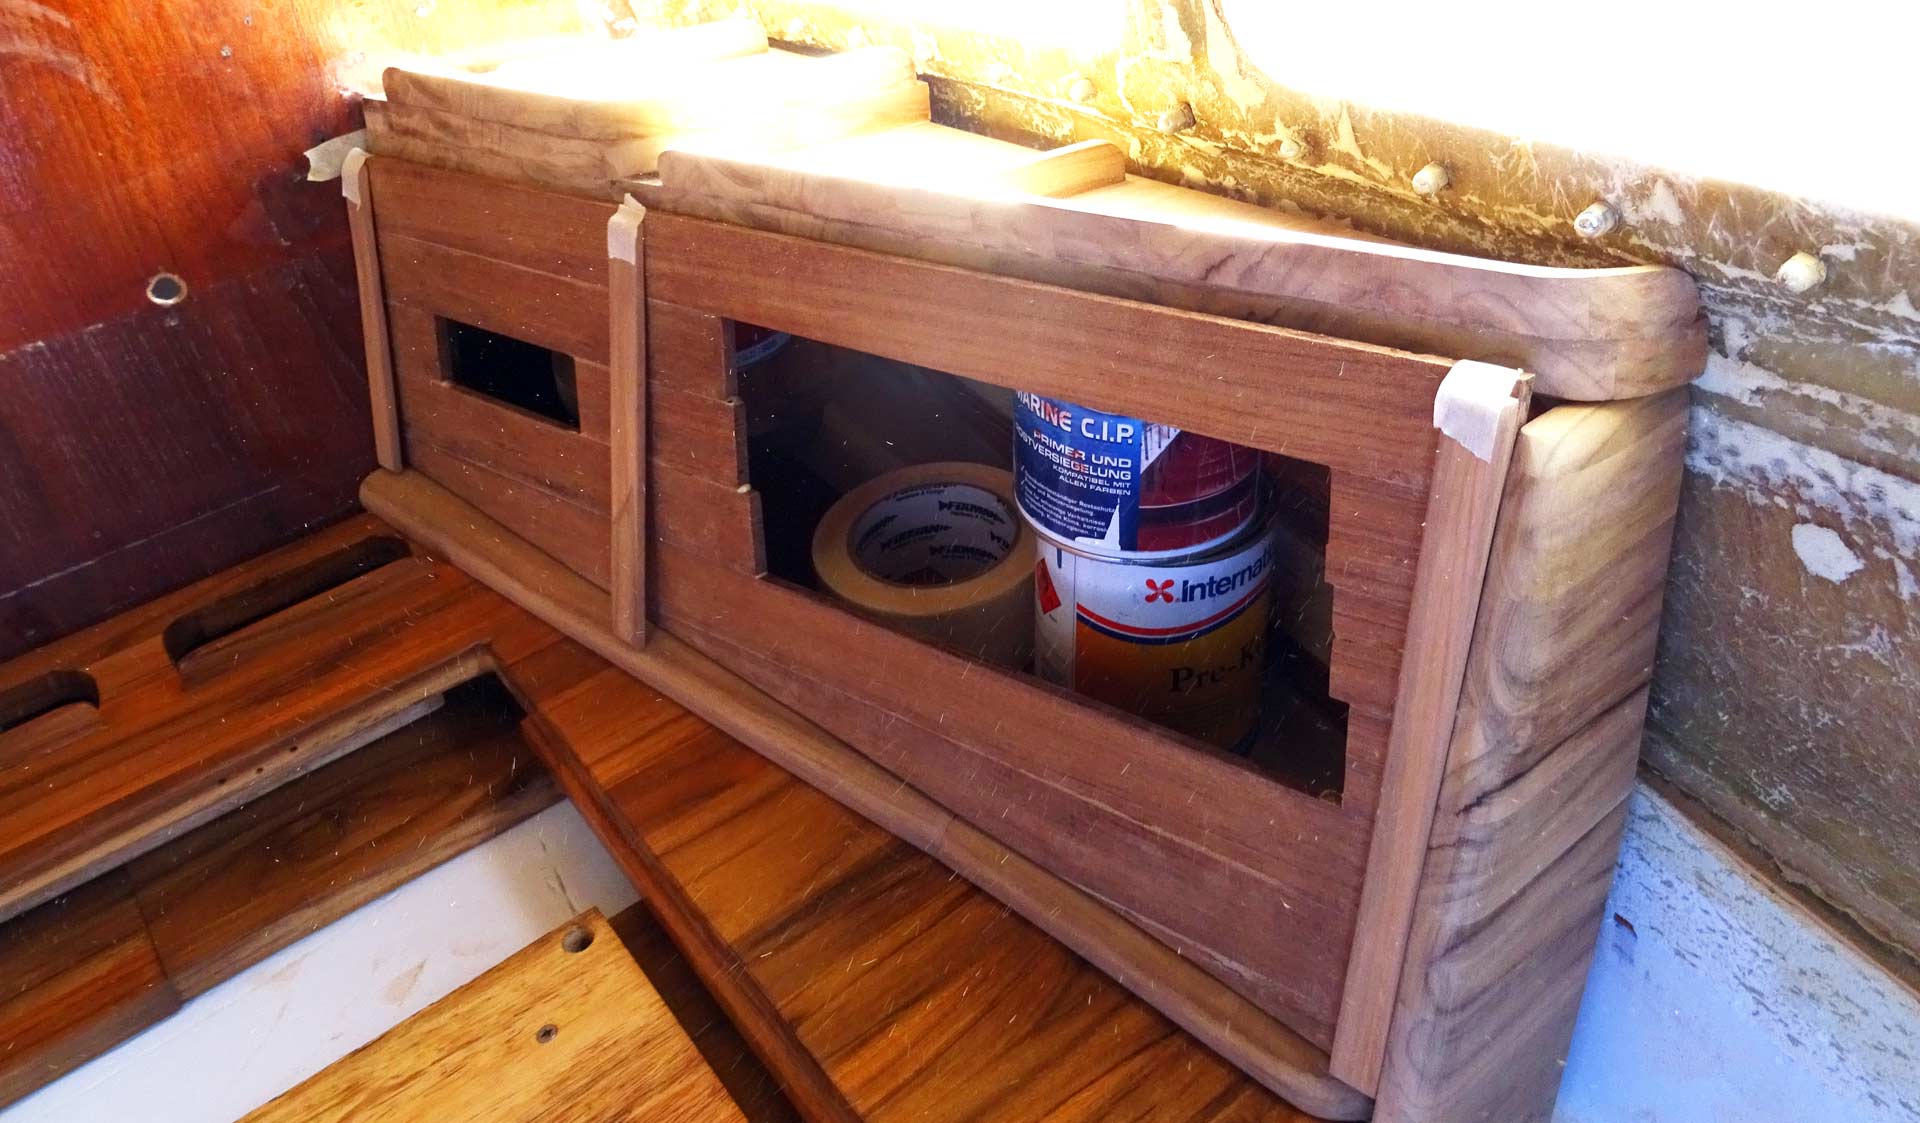
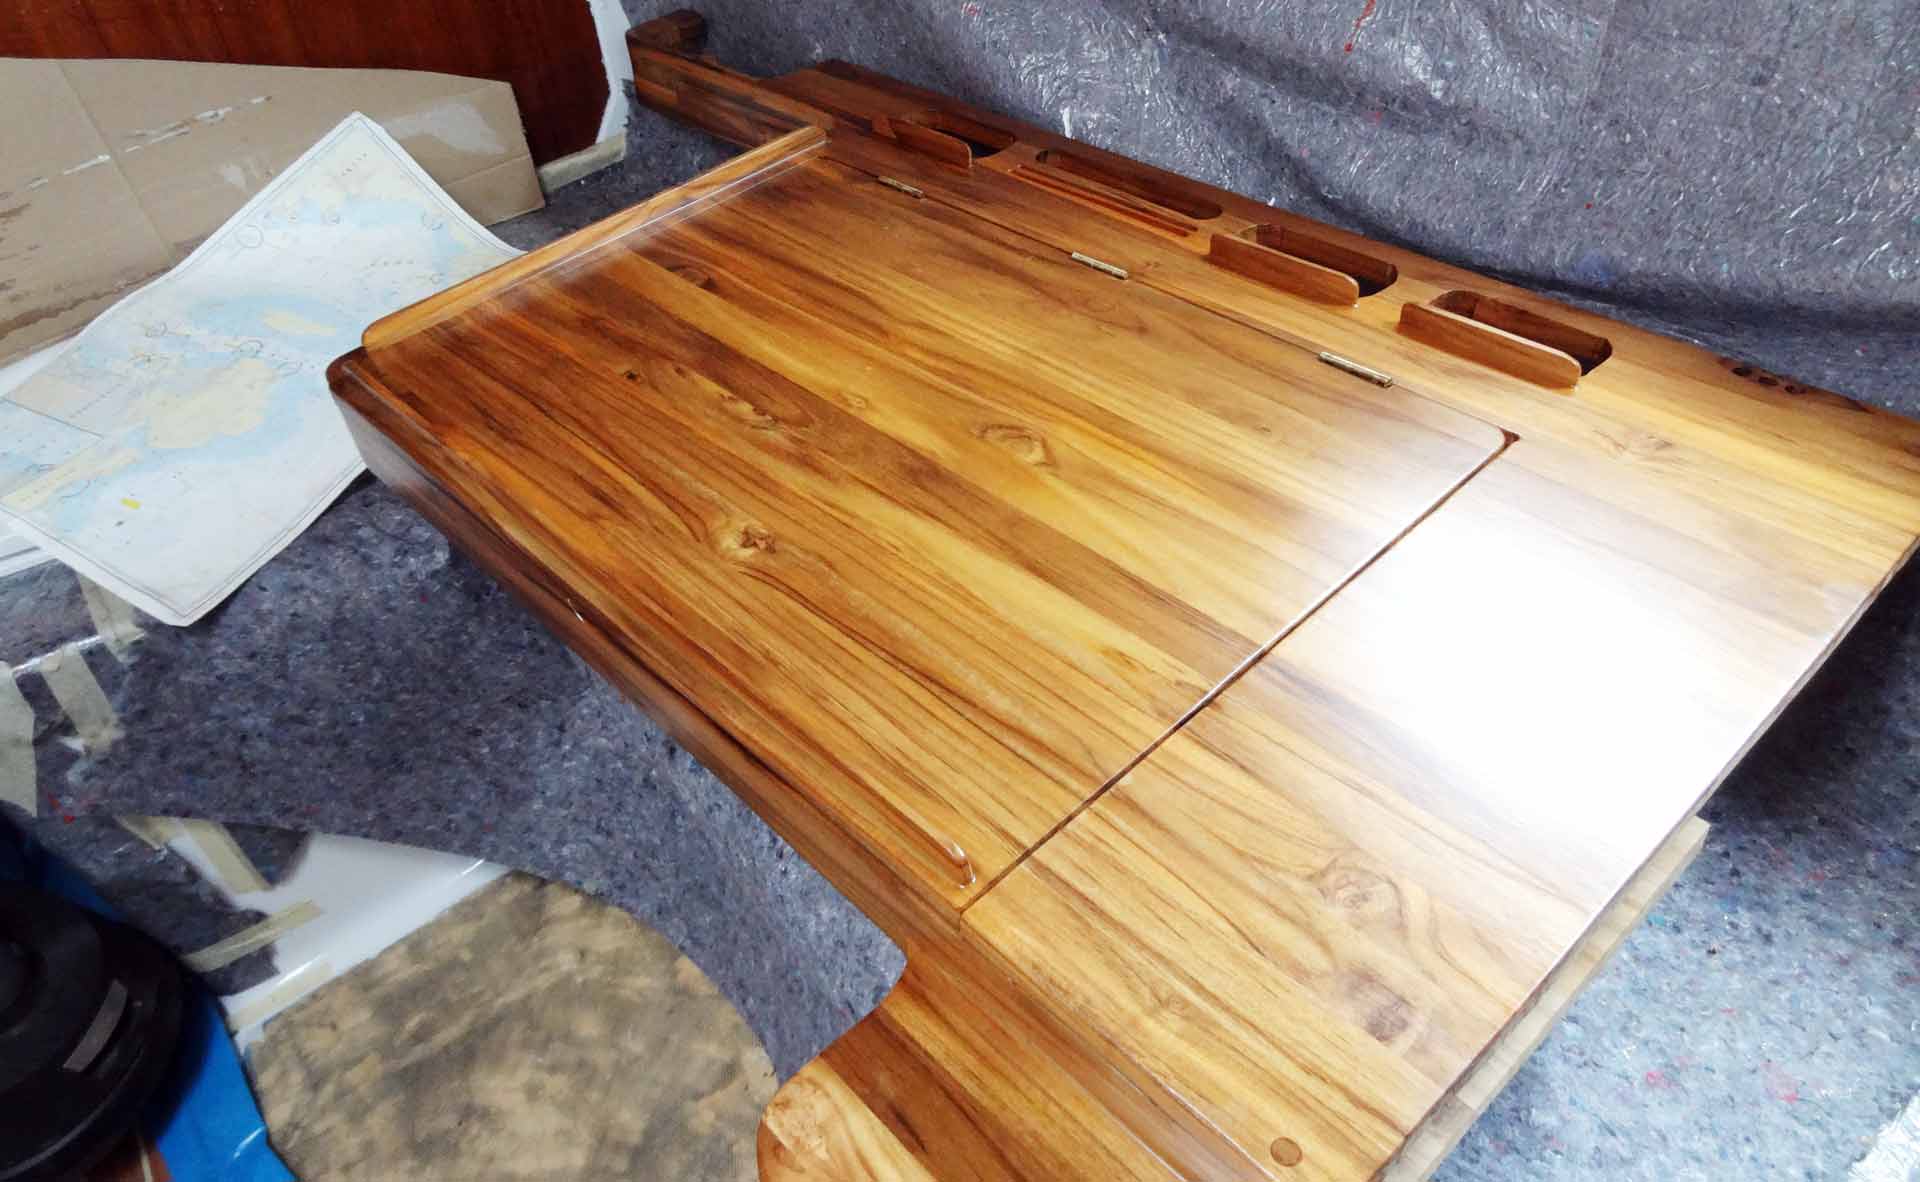
So creating little boxes and pockets for having this stuff contained was of top priority when I was planning and building the chart table in the first place and sitting in front of the mockup switch panel I instantly noticed another chance to further add stowage to the navigation station: On top of the switch board! Instead of just having a top cover made of wood, I would add a kind of shelf here. Not just a shelf, but a nice looking one too …
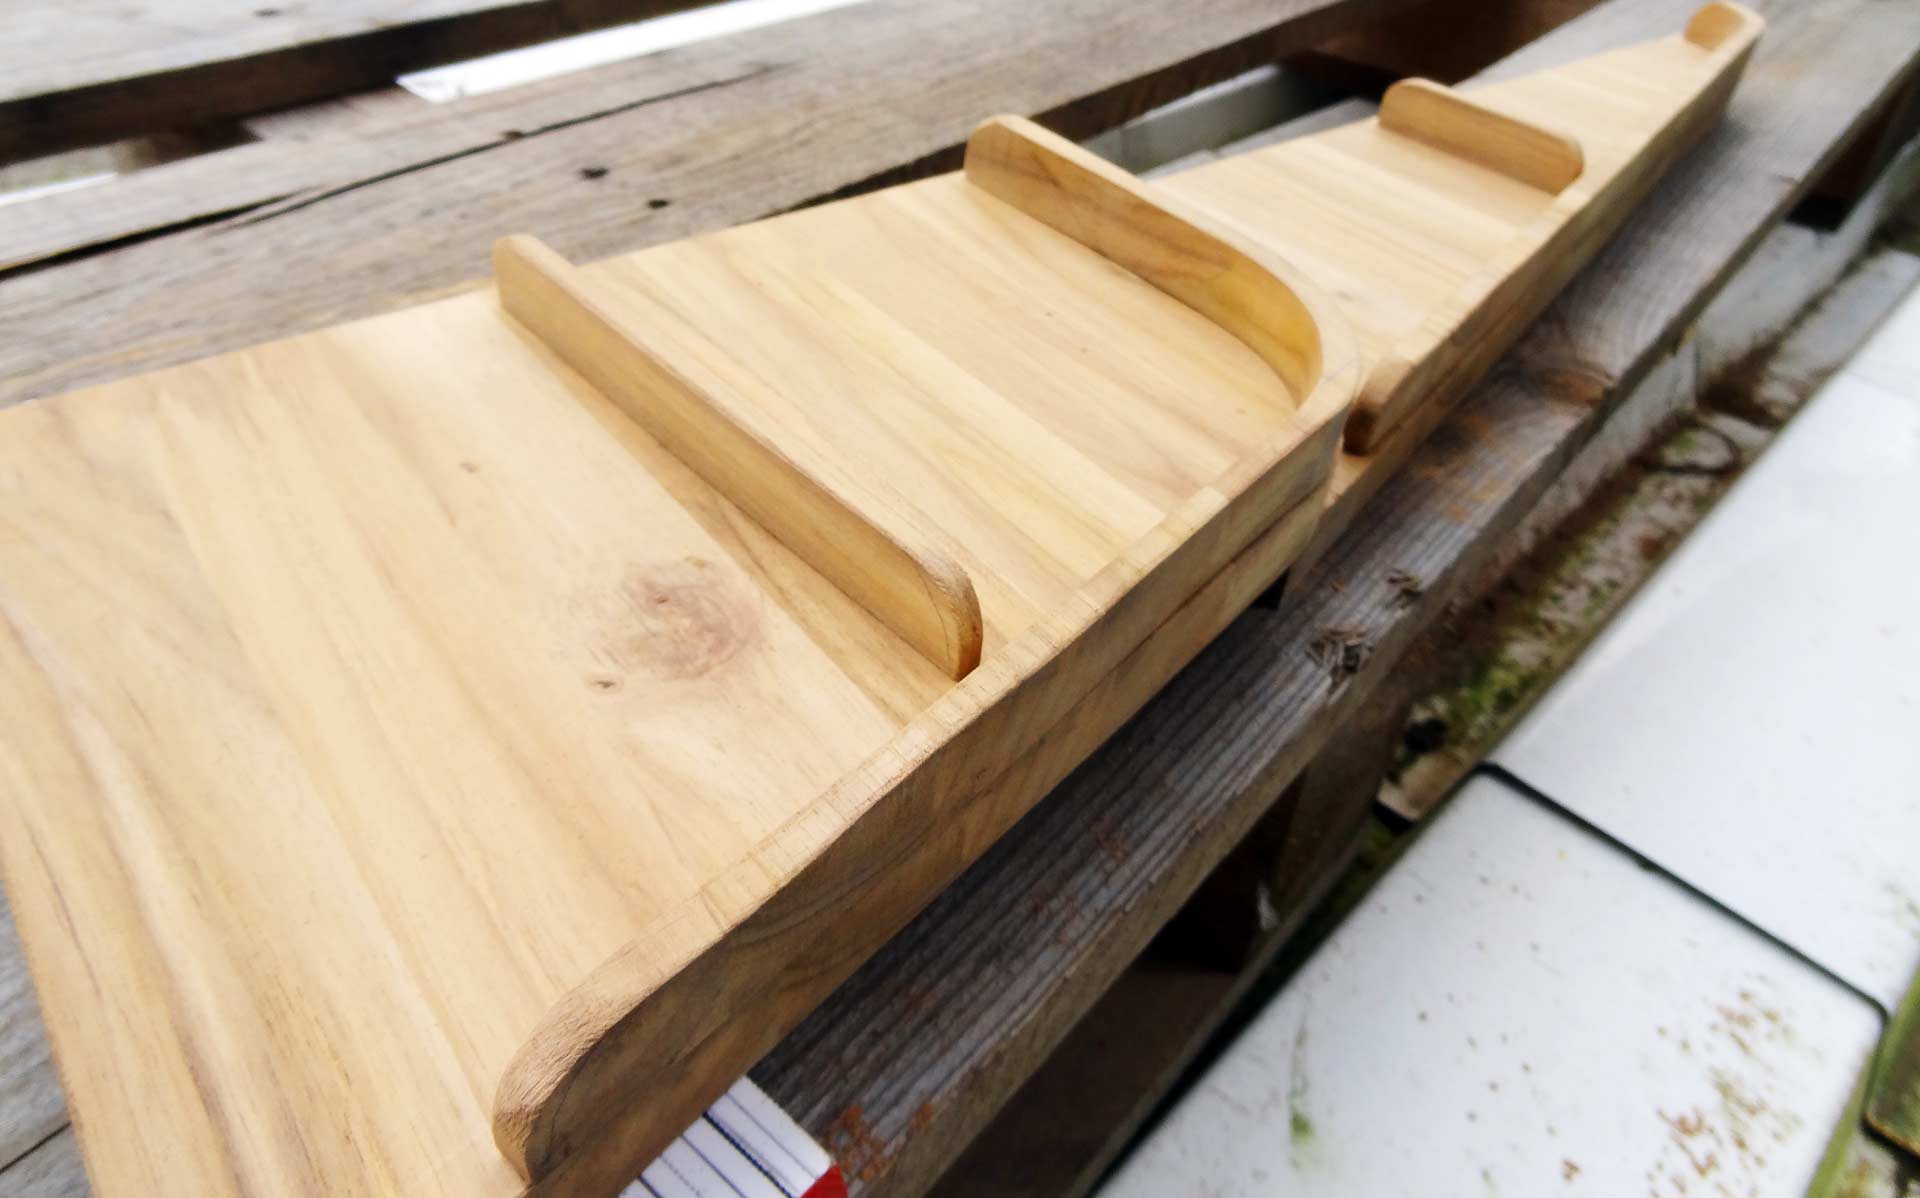
Cutting the basic shape of shelf out from oddments of massive Teak, I cut it into half to have a kind of two story shelf with one of the parts being higher than the other, making it easier to grab things whilst sitting. Again, also cutting two rolling strips of rounded Teak and another two clippings to be glued to the shelf thus creating four compartments for stuff. What a nice idea!
Bringing everything together, this time with ordinary Ponal-glue since I wouldn´t need such a strong and water resistant bonding here, I finally had finished the two defining parts of the new switch board: The front cover housing VHF and switch panel and the top board acting as shelf again. Here I´ve found the perfect position for the EPIRB-device as well: Mounted in the corner at the bulkhead it will be fast and easy to reach in case of distress as well as it will not be reachable that easily for my little children.
Cosmetic Work
Now it was time to bring together all the pieces of this massive 3D puzzle. At first I scratched off surplus PUR-foam, which was hard to do but filly utilizing the sharp blade of a carpet knife proved to be effective. Sanding the surface and adding three stripes of Teak for decorative purpose I concluded work on the front cover for the time being. I am very pleased with the outcome.
Bringing top shelf and front cover in position on the chart table I then took measurements of the side cover which I was cutting out of massive Teak as well and shaped a fixed base from Teak as well onto which the front cover will be finally mounted. These four components have been brought together (held by masking tape again) so that I could check if everything was right. And it was.
I can´t wait to have everything mounted and set up nicely, to have this wooden construction varnished with at least 4 layers of International´s Gold Spar so that I may shine like the chart table as well. I think it will look just awesome when done!
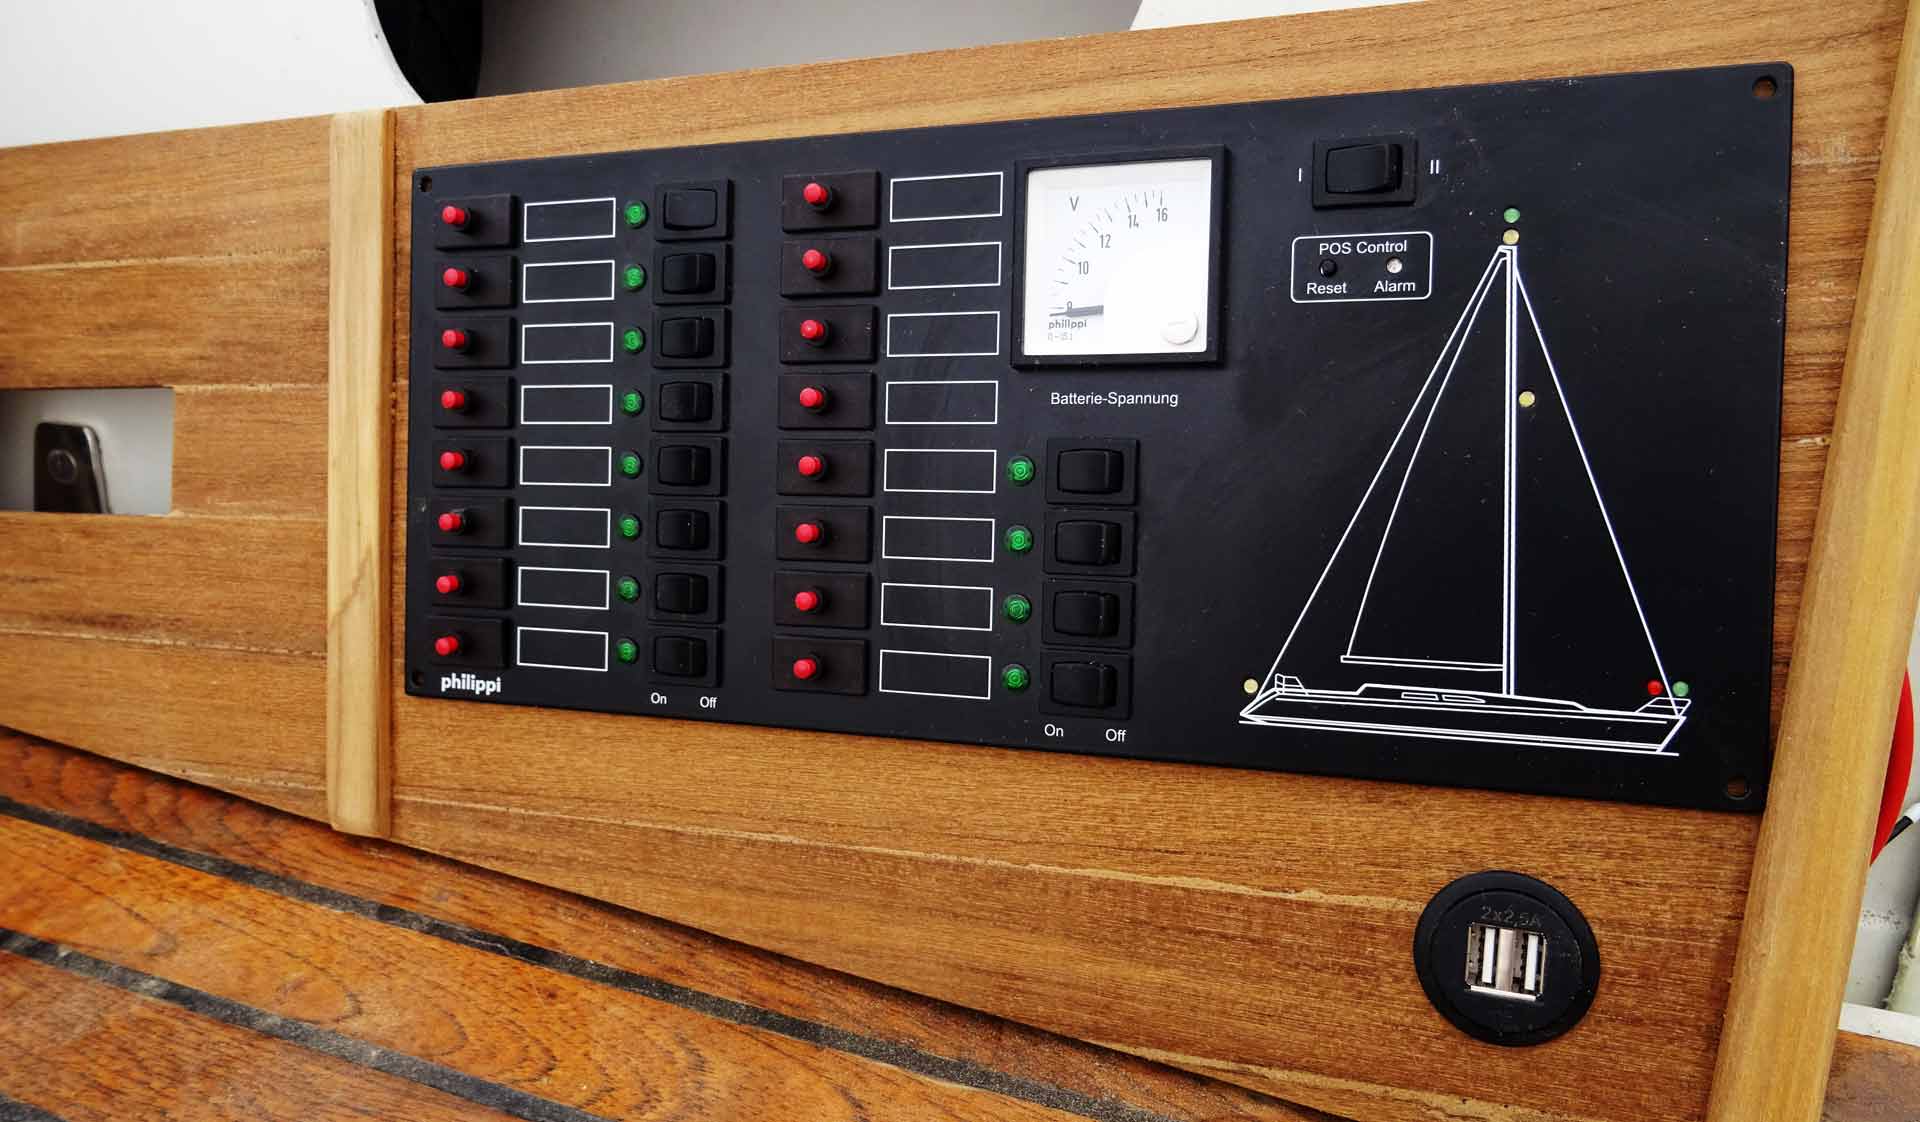
Last item on my list was to cut out surplus material from the front cover to fit in the Philippi switch board and in the course of the process I also added an USB-plug for charging smartphones as well. Isn´t that just a great piece of work? I am proud again of what I´ve done. All that is left to be done now is to get the new VHF to be fitted to the panel as well.

Next Steps in refurbishing my Yacht´s Navigation Station
Right now work has halted since I need to have the ceiling next to the switch panel mounted first as well as the bulkhead sanded and varnished as well. That´s what I am doing right now: Sanding, sanding, sanding. In the time being, both panel and the rest of the construction are hidden off the dust. But there´s a load of wooden surface to be sanded in the process so that I fear it will take some two weeks until I can finally apply the last steps of this work.
But maybe that´s exactly the right thing, because I need some time now in order to recover the financial situation on the yacht refit project: A new VHF, possibly with active AIS, isn´t that cheap at all as well … oh my …
Browse the Website of Philippi to see their wide range of high quality marine products here