Oh, what a relief! After I was finally able to mount the Teak ceiling in the salon (read it here) another big step forward has been made by fitting of the chain plate covers here. This brings to an end a very long journey in the salon which started by removing the old woodworks and discovering that decades of drops of water through a leaking chain plate had been destroying the stuff. So I did have to make new covers.
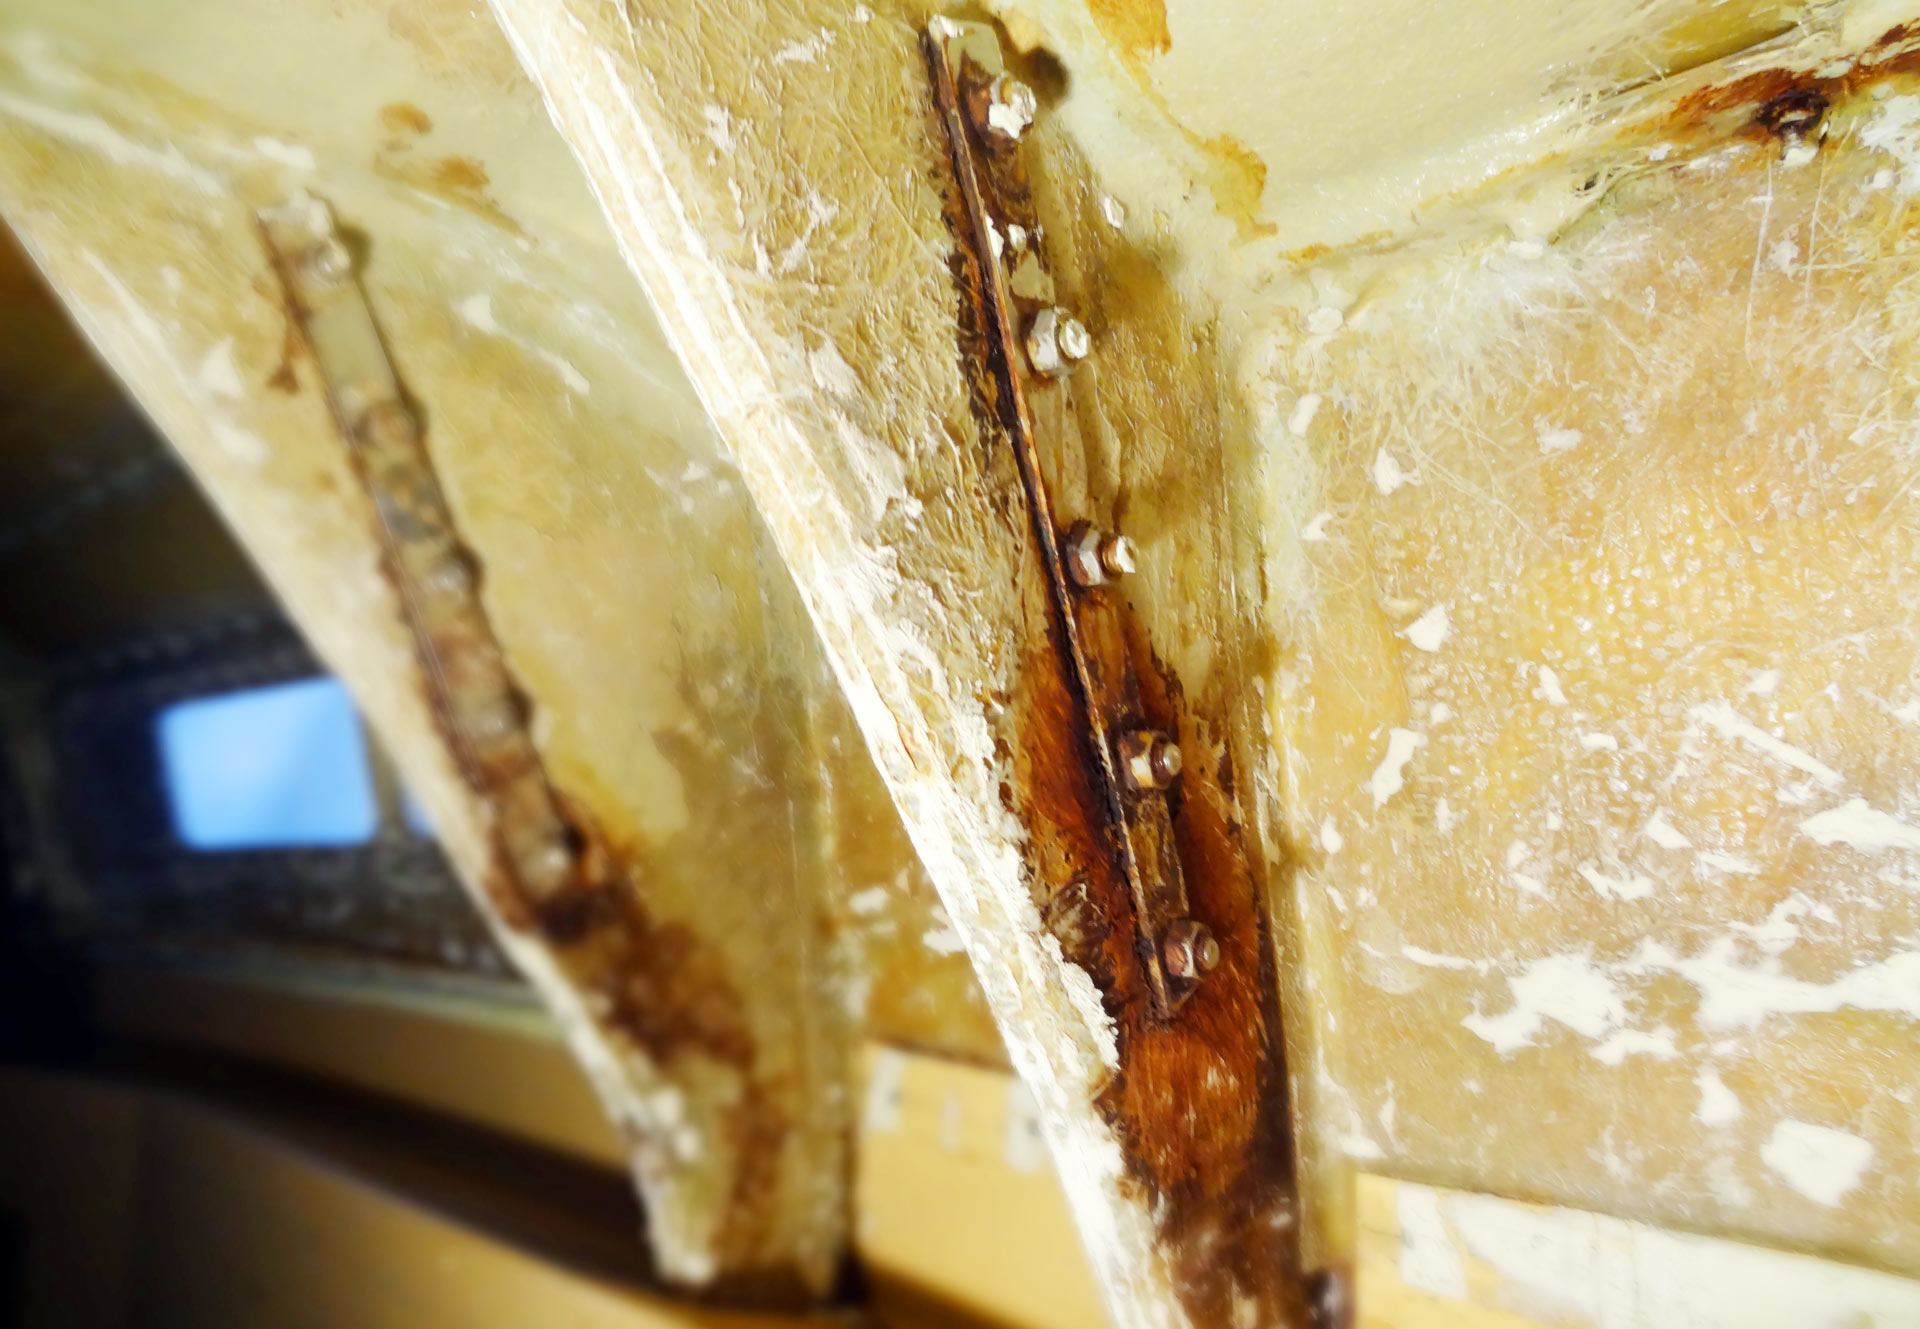
Which was not an easy undertaking since these covers have very, very difficult shapes and angles. To be honest, next to the chart table this was the most complex of them woodworks on the boat´s refit project so far. But after I fitted the covers before, the last bit of piece had to be done to complete the task: Simple shelves.
A simple shelf?

Well, that’s easier said than done: I knew that taking measurements in the boat is an art by itself since my adventurous undertakings in trying to make roofing panels – panels which would fit in the first place. Well, you could argue I could apply the same gauge model-technique here too, but that wasn´t possible: The space between each cover was less than 25 centimetres and working here is too cramped. I chose the good old strategy: Trial and error.
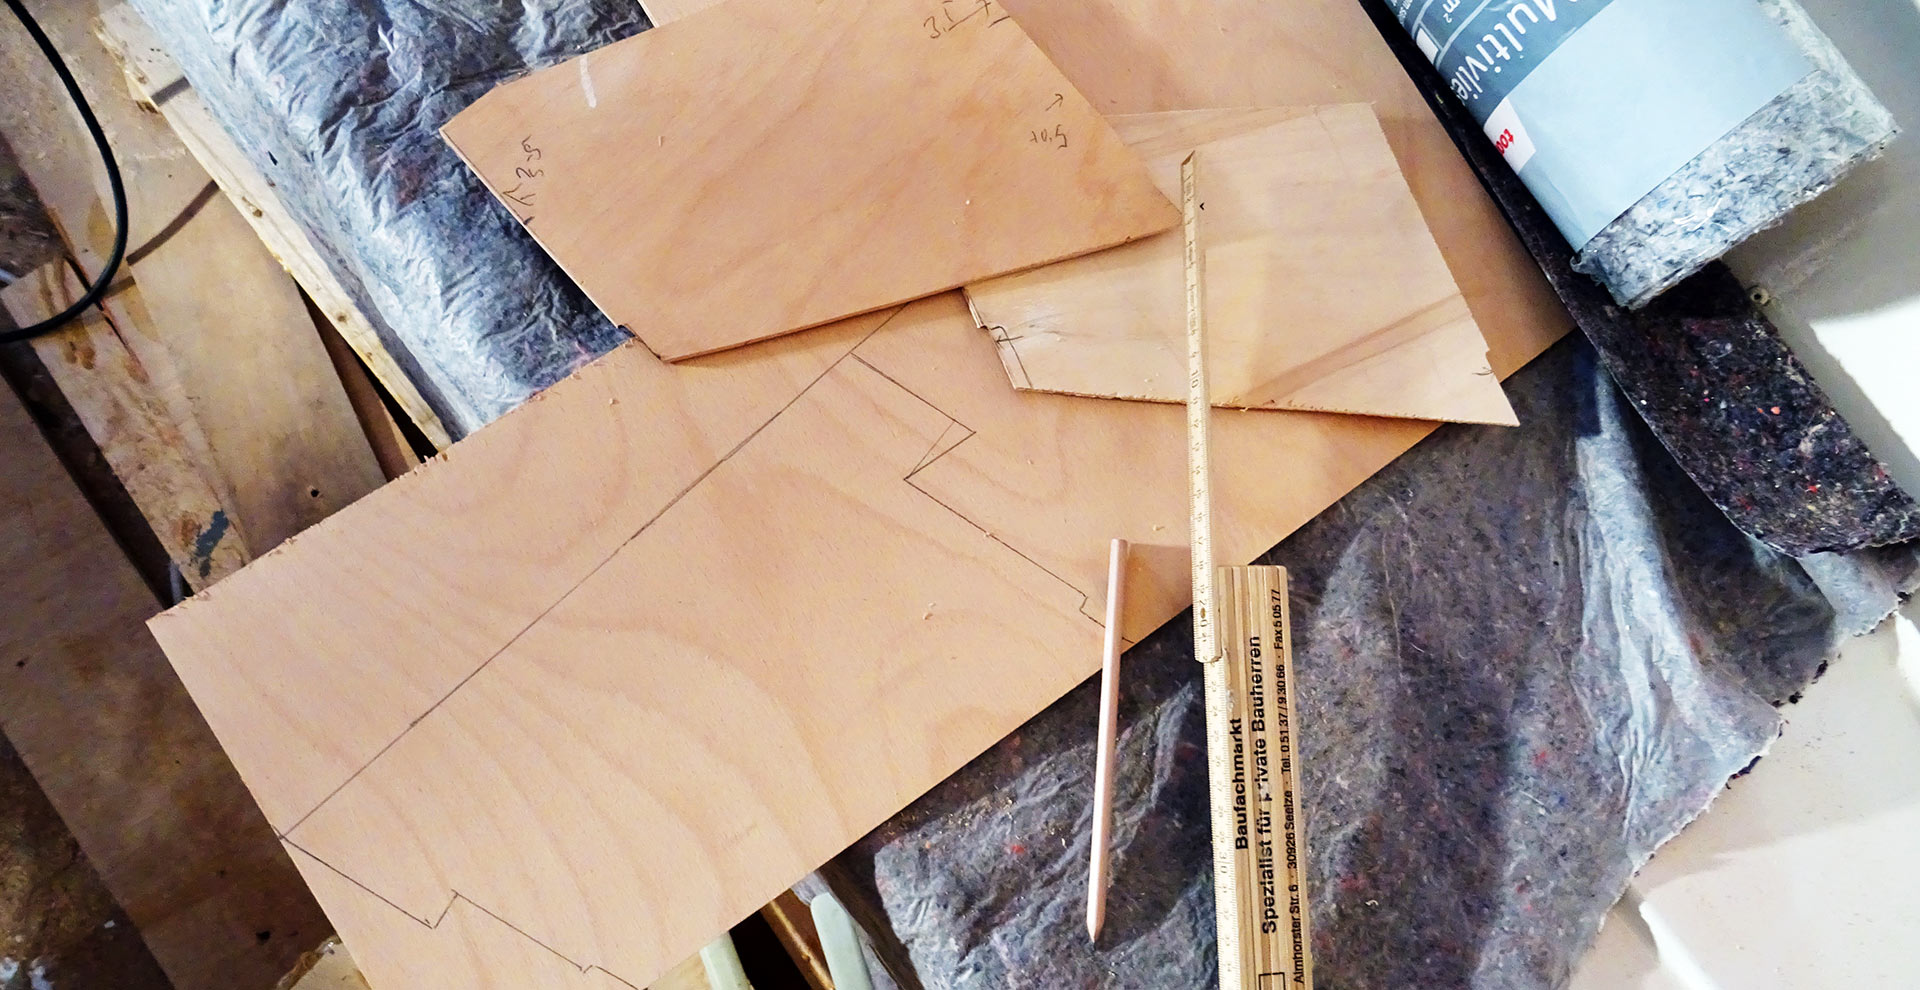
It took me 3 hours and 2 models of cheaper plywood to have the first shelf fitting properly. Three hours! Again, strange angles between the covers, the boat´s hull and the ceiling made it very complicated but in the end I prevailed and was able to cut the real shelf from the “good” plywood at last. Okay, this shelf didn´t fit as well so that after many, many trials more and ever so slightly sanding off one millimetre after another it finally fitted perfectly.
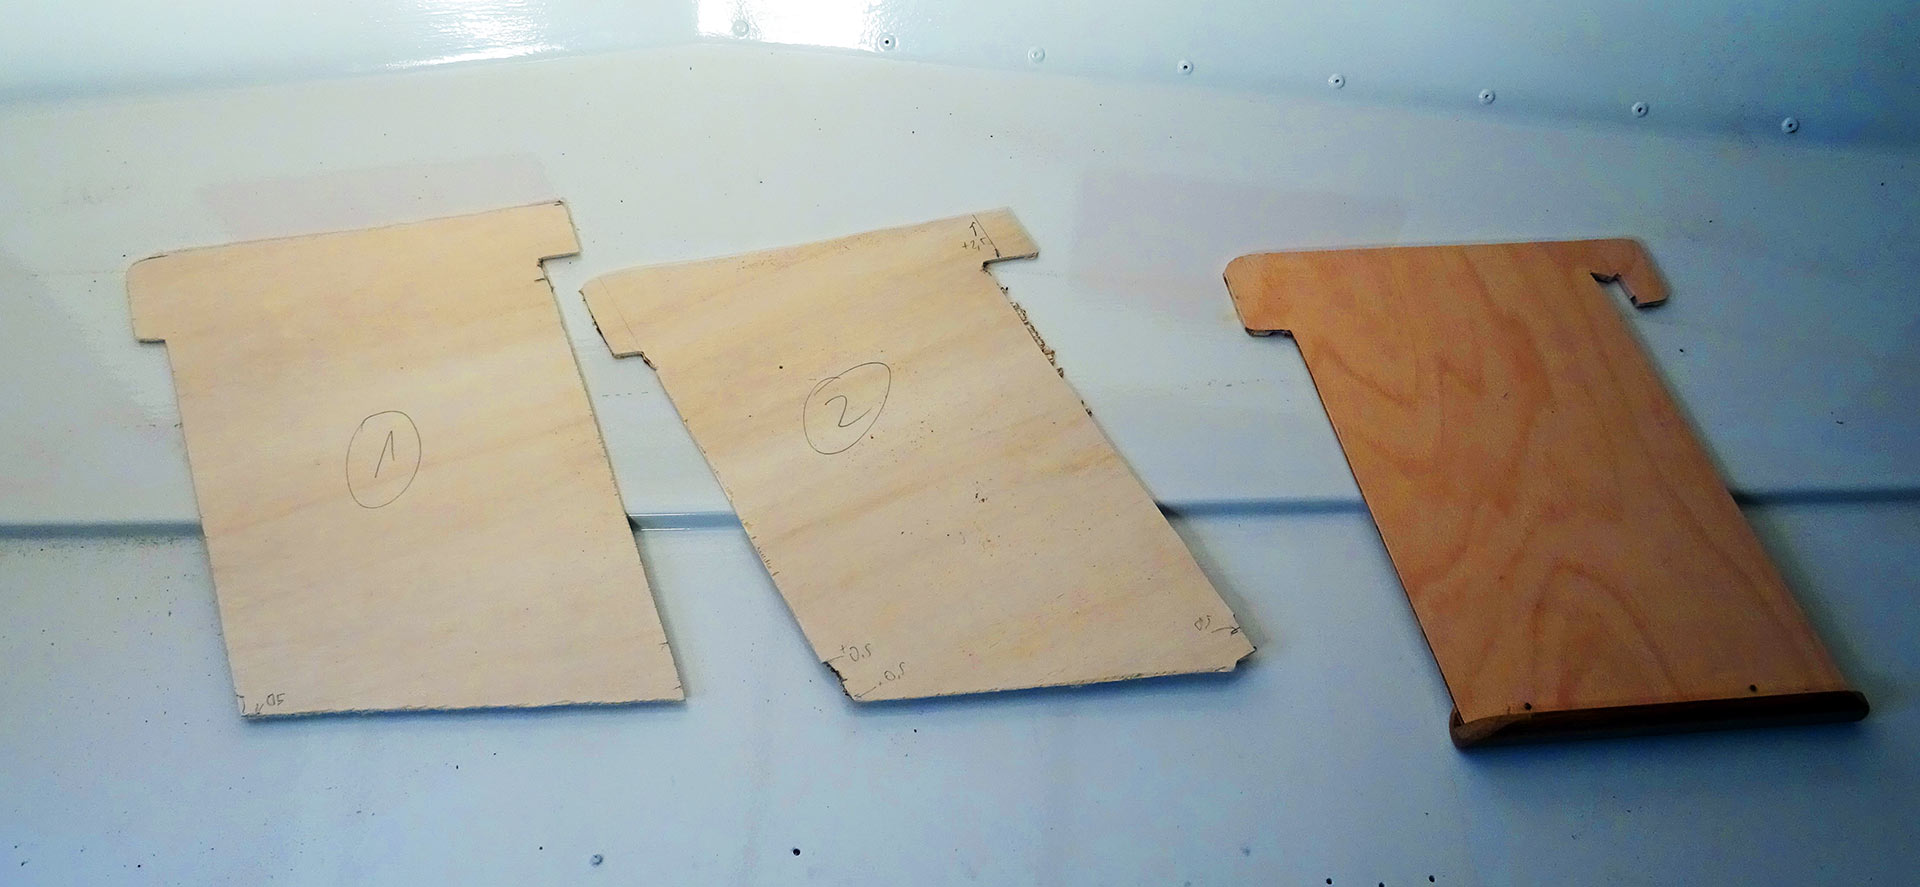
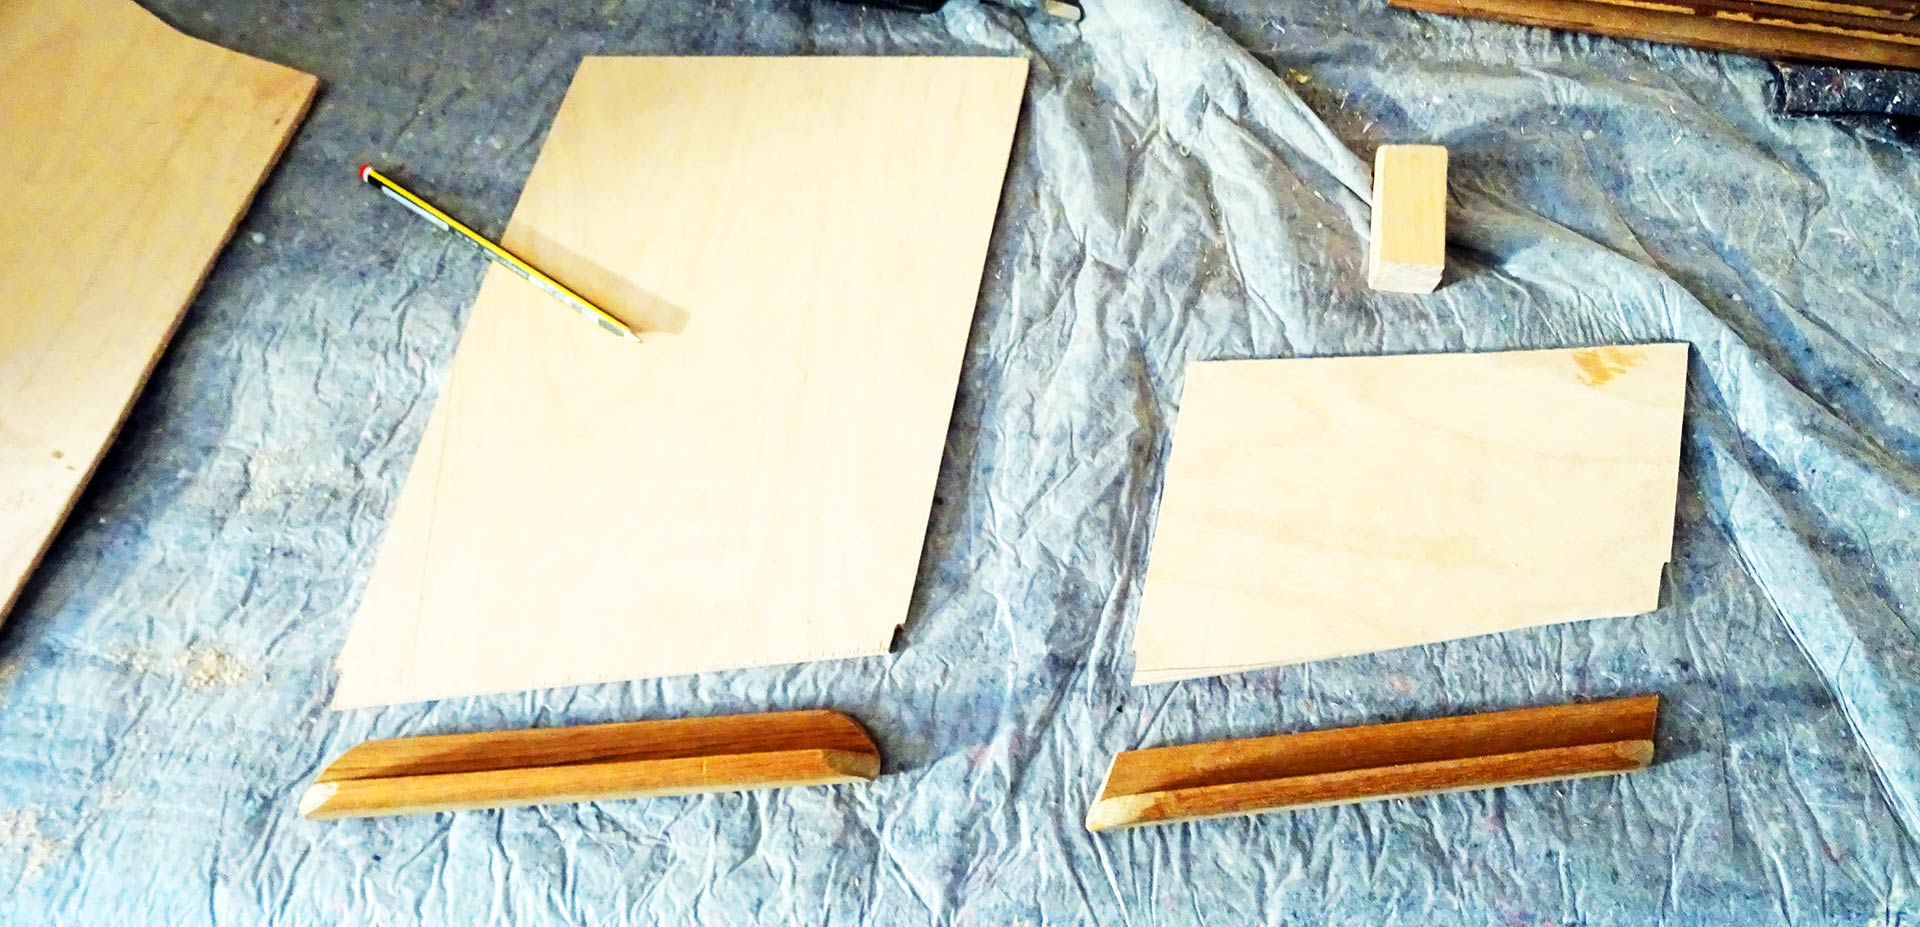
Well, this was the first shelf. Out of four … In the end I was working mere two days to have those 4 “simple” shelves finally produced, sanded and fitted properly. What an undertaking for such a small detail. My respect for real boatbuilders, ship´s joiners and carpenters is growing daily after I see myself trying so hard and finally hardly being able to get the stuff done.
As usual: It´s in the details …
I don´t know if you´ve read the article on the covers before but I was thinking of maybe utilizing the space between the covers for having my precious bottles of Rum stored here. I was sketching along at home a bit but found our that the bottles were too beamy so that only one would fit in between, which is far from offering “a selection”. The other point of skipping this idea was that having such liquors in reach of my children may not be a good idea as well.
Another point was to maybe use the space – at least the port side – to have the fire extinguisher for the salon fitted here. This would be in coherence with my safety plan for the boat (here is the complete article on this topic). I also quit this idea since I decided to have the fire extinguisher placed right behind one of the cushions which would hide it away but having it equally reachable.
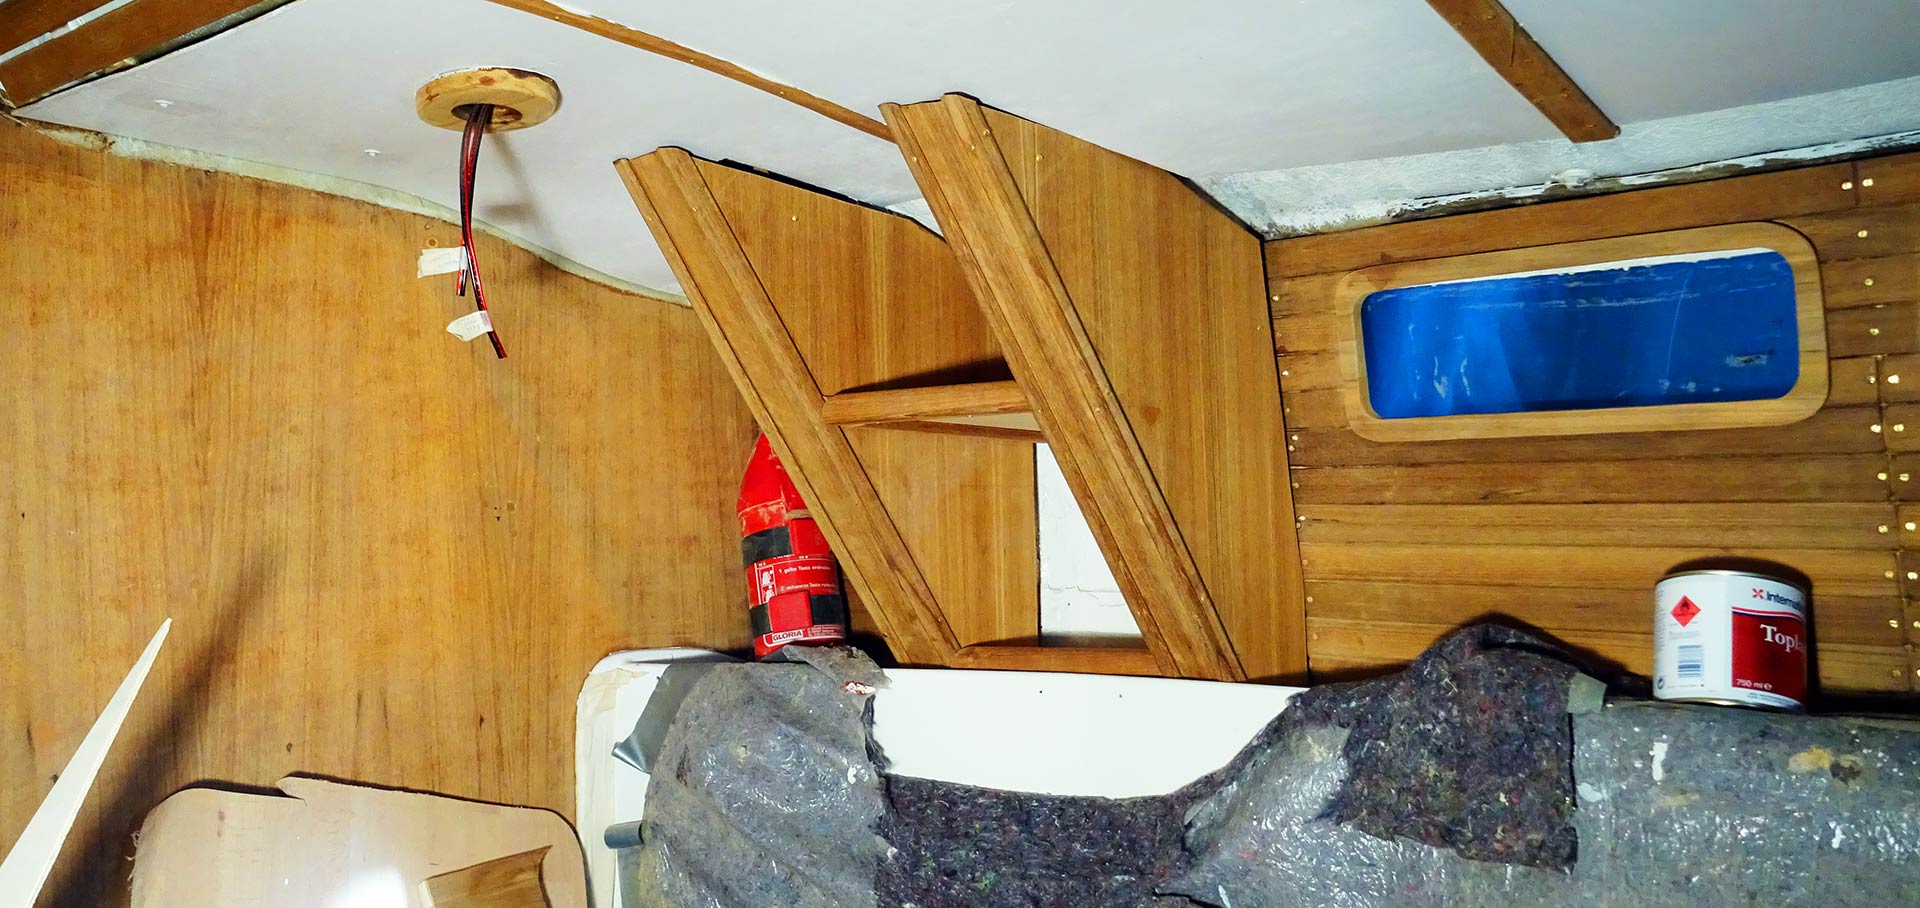
So I went for four plain little shelves which might be housing a selection of books or charts or whetever. In this case I will have to mount a fiddle to prevent them from falling out but this won´t pose a problem.

Final touches
In the end I was very happy with my work which has taken me so long. Seeing the salon being completed step by step now after weeks of sheer endless cutting, sanding, glueing and screwing wooden parts is very, very satisfying and finally shows me that this is all worth it. The salon appears so much better looking now that everything falls in place, my vision of turning the King´s Cruiser into bearing a classy appearance with lots of real massive Teak is coming true, you may guess how happy this makes me.
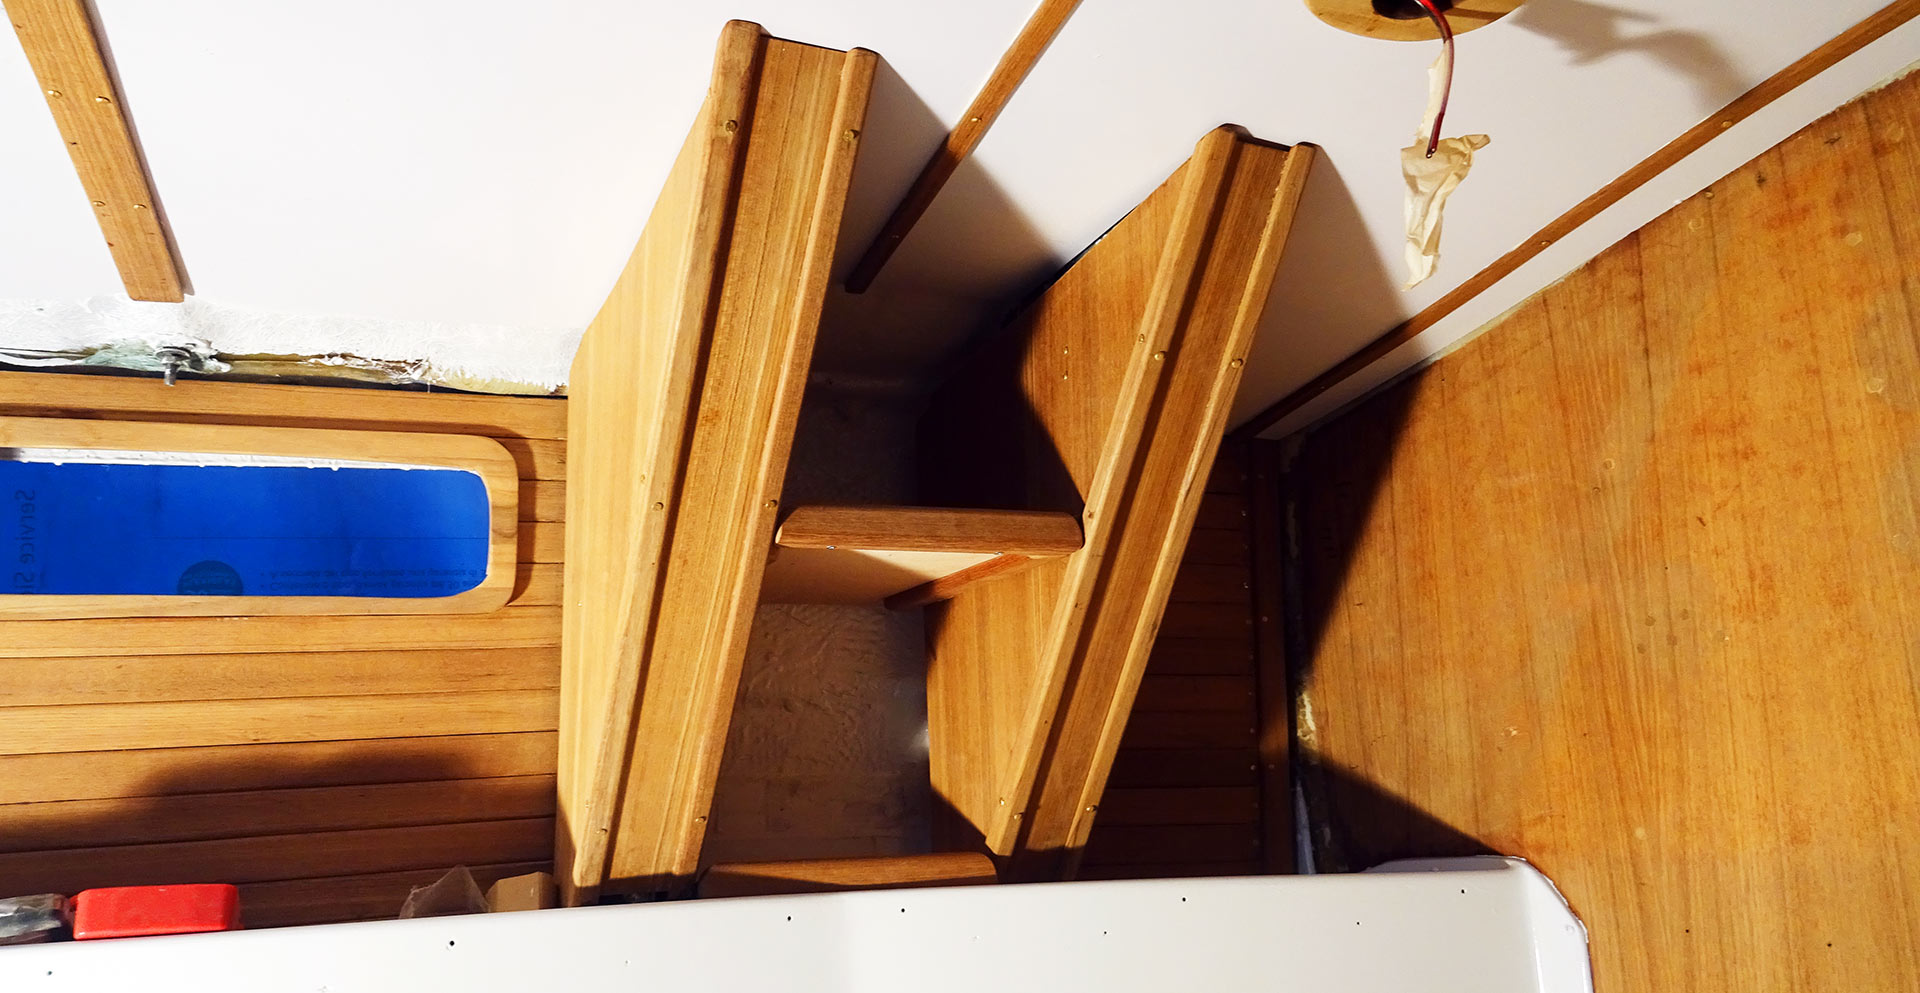
Which, of course, isn´t the end of the story since there is so much more ahead, still. First and fore most I will have to solve the problem of the adjoining edges where ceiling and panels of the superstructure meet. This is a gaping wide open interstice to which I haven’t got any clue on how to make this looking nice (I´ve already discussed this problem here). But time will tell.
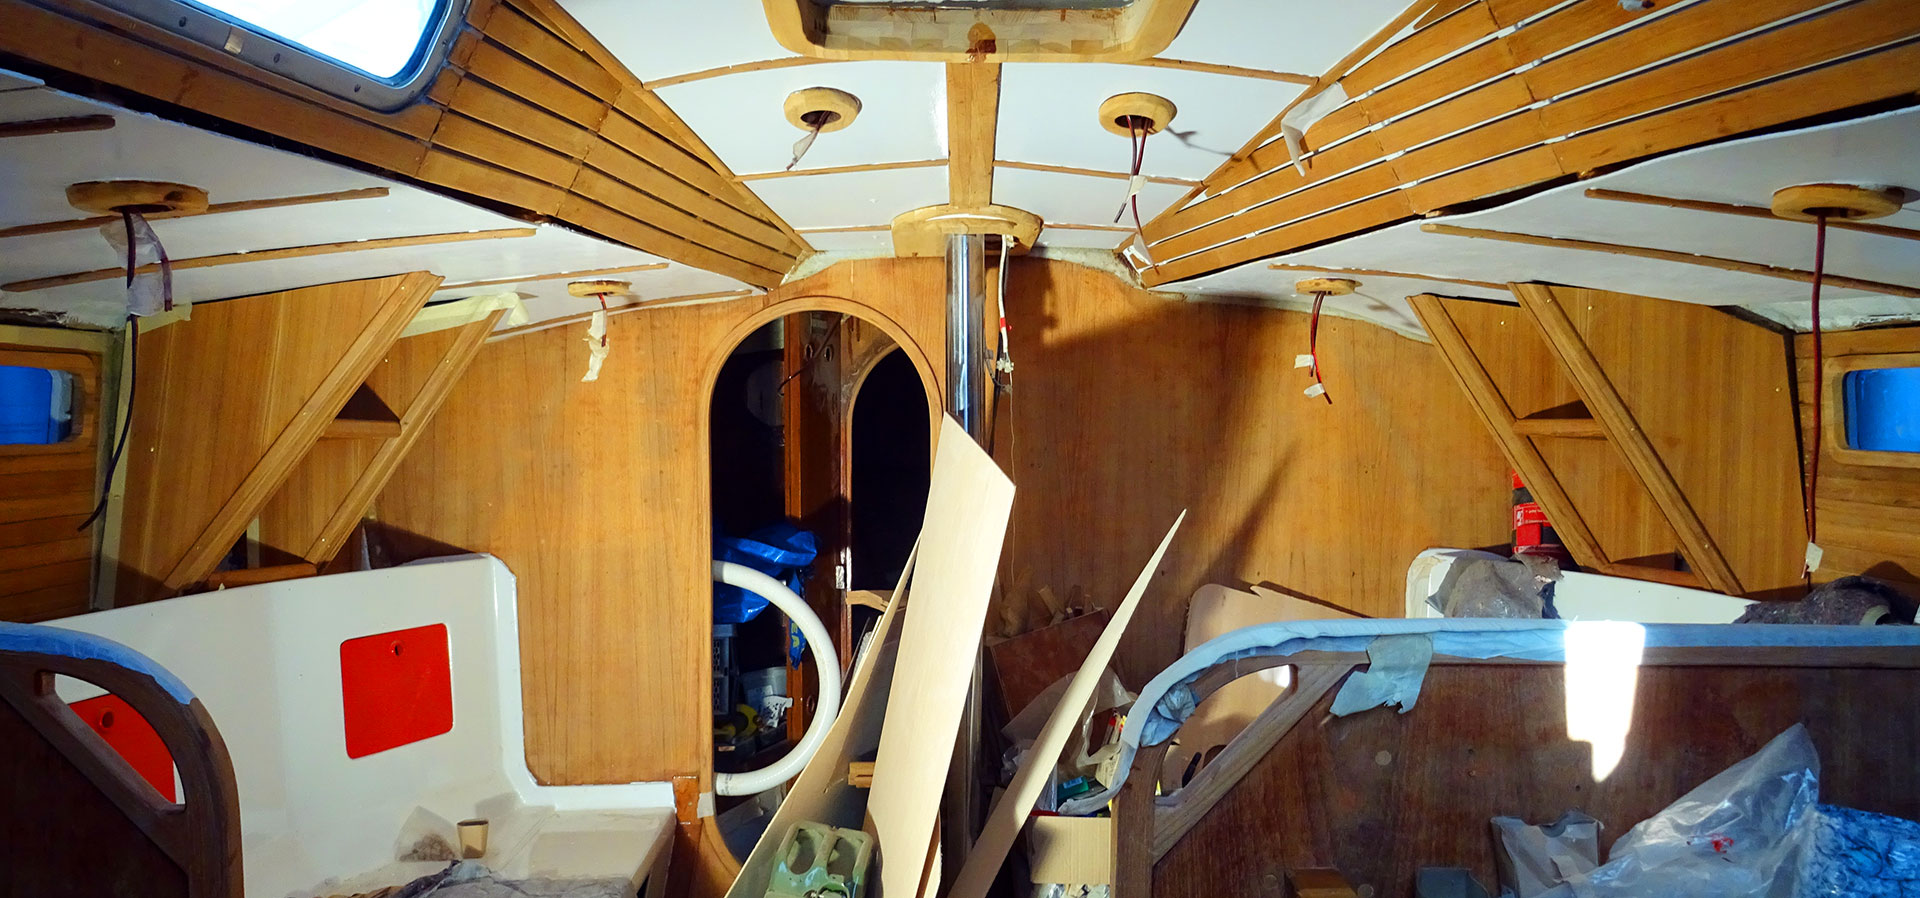
Last not least I am right now fitting the last plywood panels to the galley and the nav station, which will make me able to finally close the chapters on both areas of the boat, leaving open only the last: The head. So, it´s still a long way to go. But I am slowly beginning to see a light at the end of the tunnel.
Read more about working with Teak on your sailboat refit here:
Refurbishing the head
Making plinths for LED-lights
The perfect yacht´s chart table


