Dedicated readers of this NO FRILLS SAILING.com sailing magazine know that I do have a certain obsession with Class 40 racing yachts. They are damn fast, look pretty awesome and need special abilities when boarded to be sailed. Since that very moment I first set foot in a Pogo 40 racing yacht some weeks ago I was fascinated with these ships.
And after reading the all-standard book “The Principles of Yacht Design” (here´s my book review) and talking to Alex Lang who is currently building his own Classe Mini 650 yacht from plywood (read the fascinating interview here) I´ve decided to build my own Class 40 sailing vessel. Well. A small one … from cardboard.
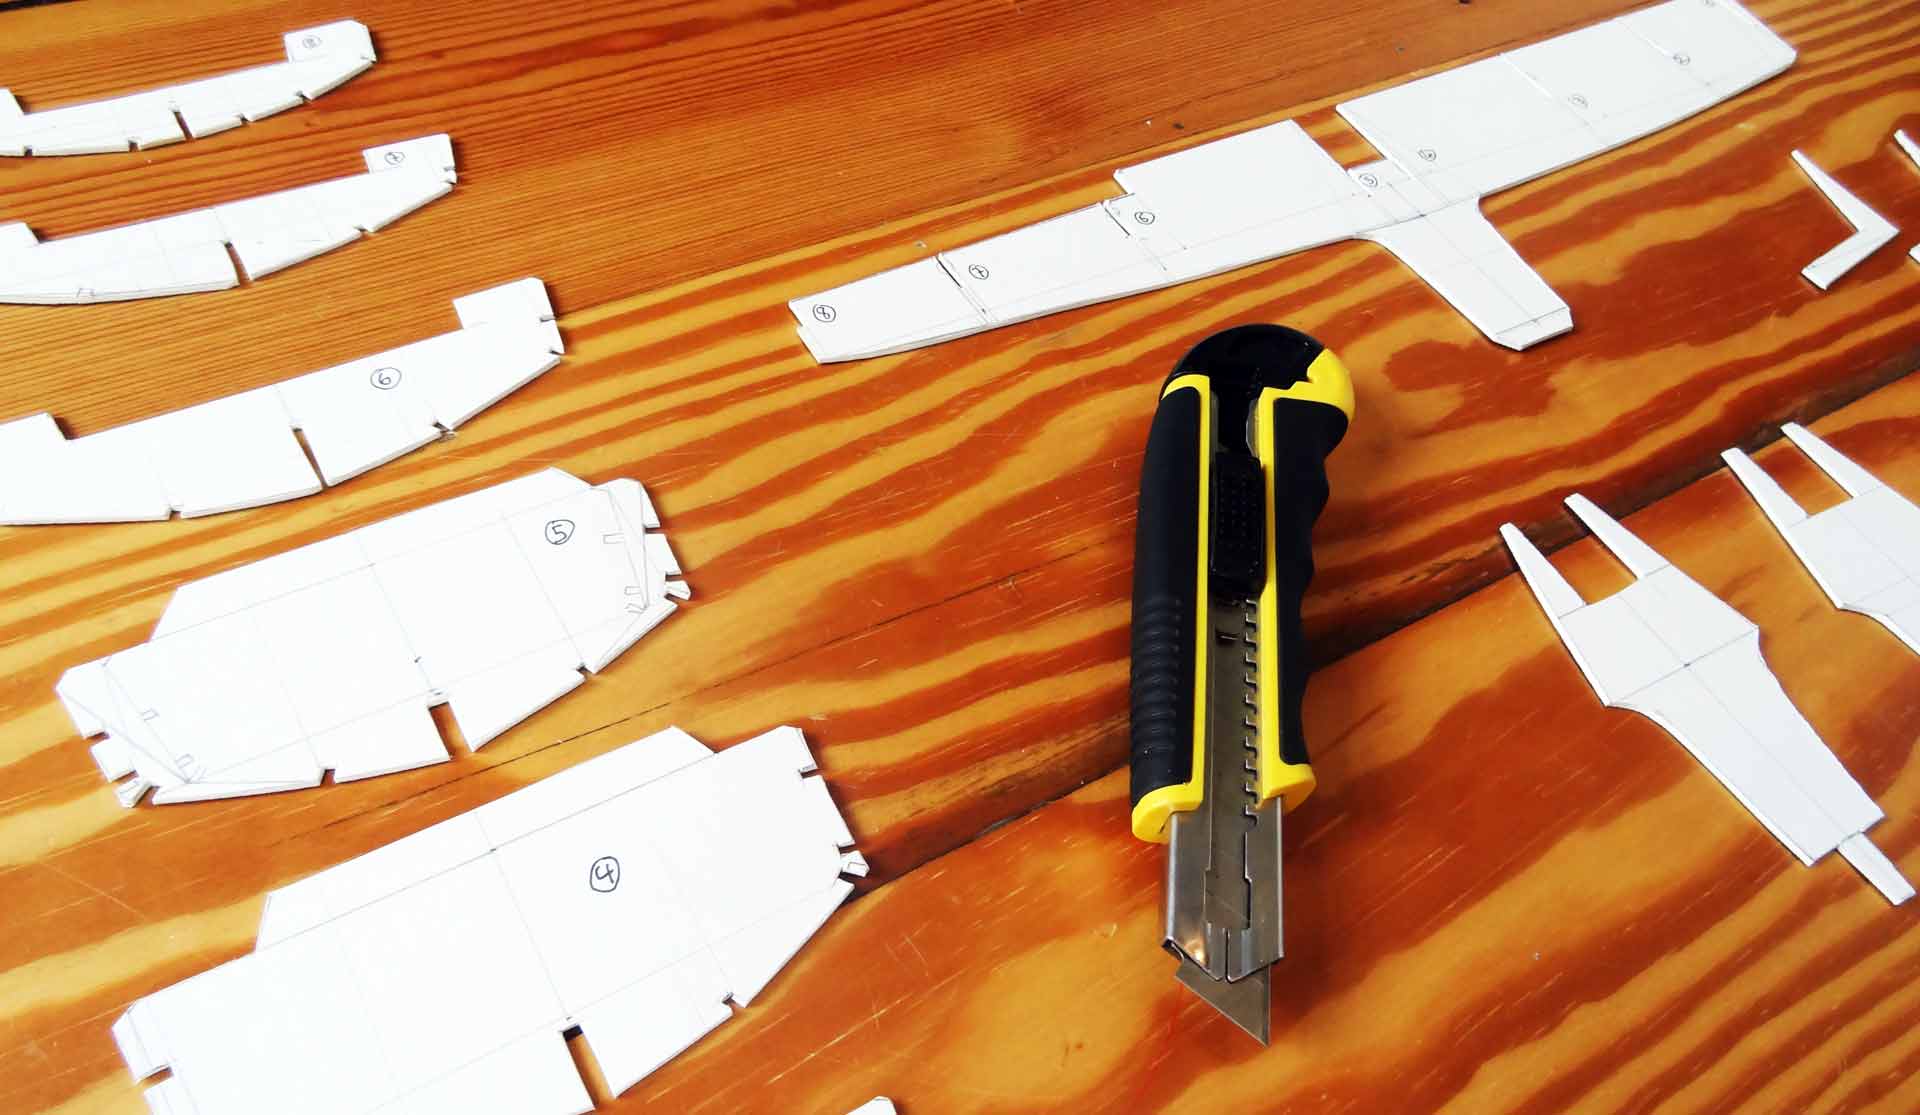
I was lucky to find exact plans of a 40 feet sailing vessel – reminiscent of a Class 40 yacht – as part of the “Principles of Yacht Design”-Book. The ship is called YD-41 and the whole book is referring to this ship and explaining features of yacht design practically by showing things at the YD-41. So I did have a load of detailed plans and began to work my way through: Starting by transferring measurements of keel and bulkheads onto … well … strong cardboard. My boat is a small Class 40.
Length over all: 32 centimeters. What´s that fuzz all about, you may ask? It´s a tradition of my home town of Hamburg/Germany.
The Navel Ship. A Hamburg Tradition.
Let´s go back in time. Year 2013. My wife gave birth to our son. A great moving moment for every young mother and father. There are so many traditions after the arrival of newborn human beings on our earth, but this one was really griping me: I´ve read somewhere sometime that a Hamburg father should build a small boat into which the naval of the child s placed, when finally being lost by the child. This “navel ship” is then put into the waters of mighty river Elbe.
The navel ship will then proceed with the river, going down (ritually) into the North Sea. I particularly liked that tradition over others where one for example would have to bury the afterbirth and plant a tree upon it, because it had this certain naval aspect, a romantic sense and – over all – finally a ship involved. It suited us well because we as a family love the sea, love Hamburg and our river Elbe. So, some 3 years ago, I´ve built my first navel ship. From cardboard.
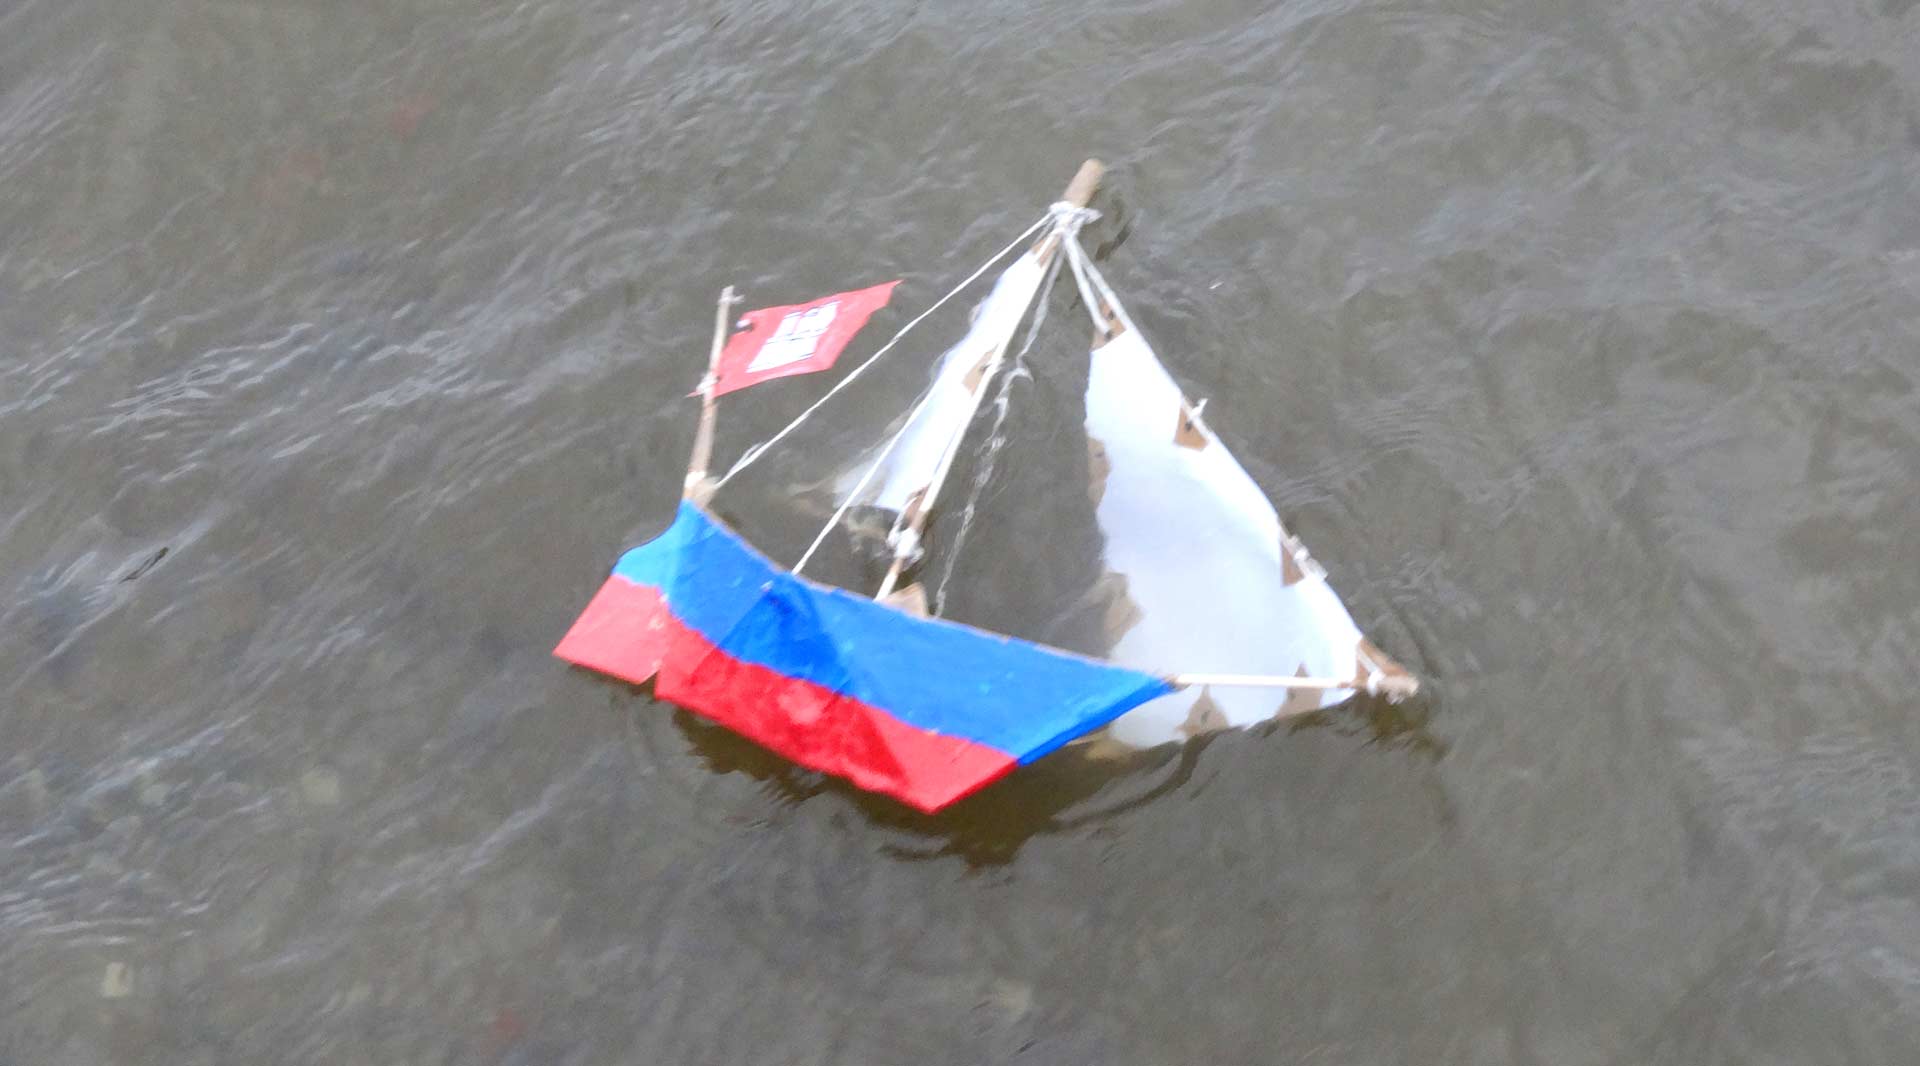
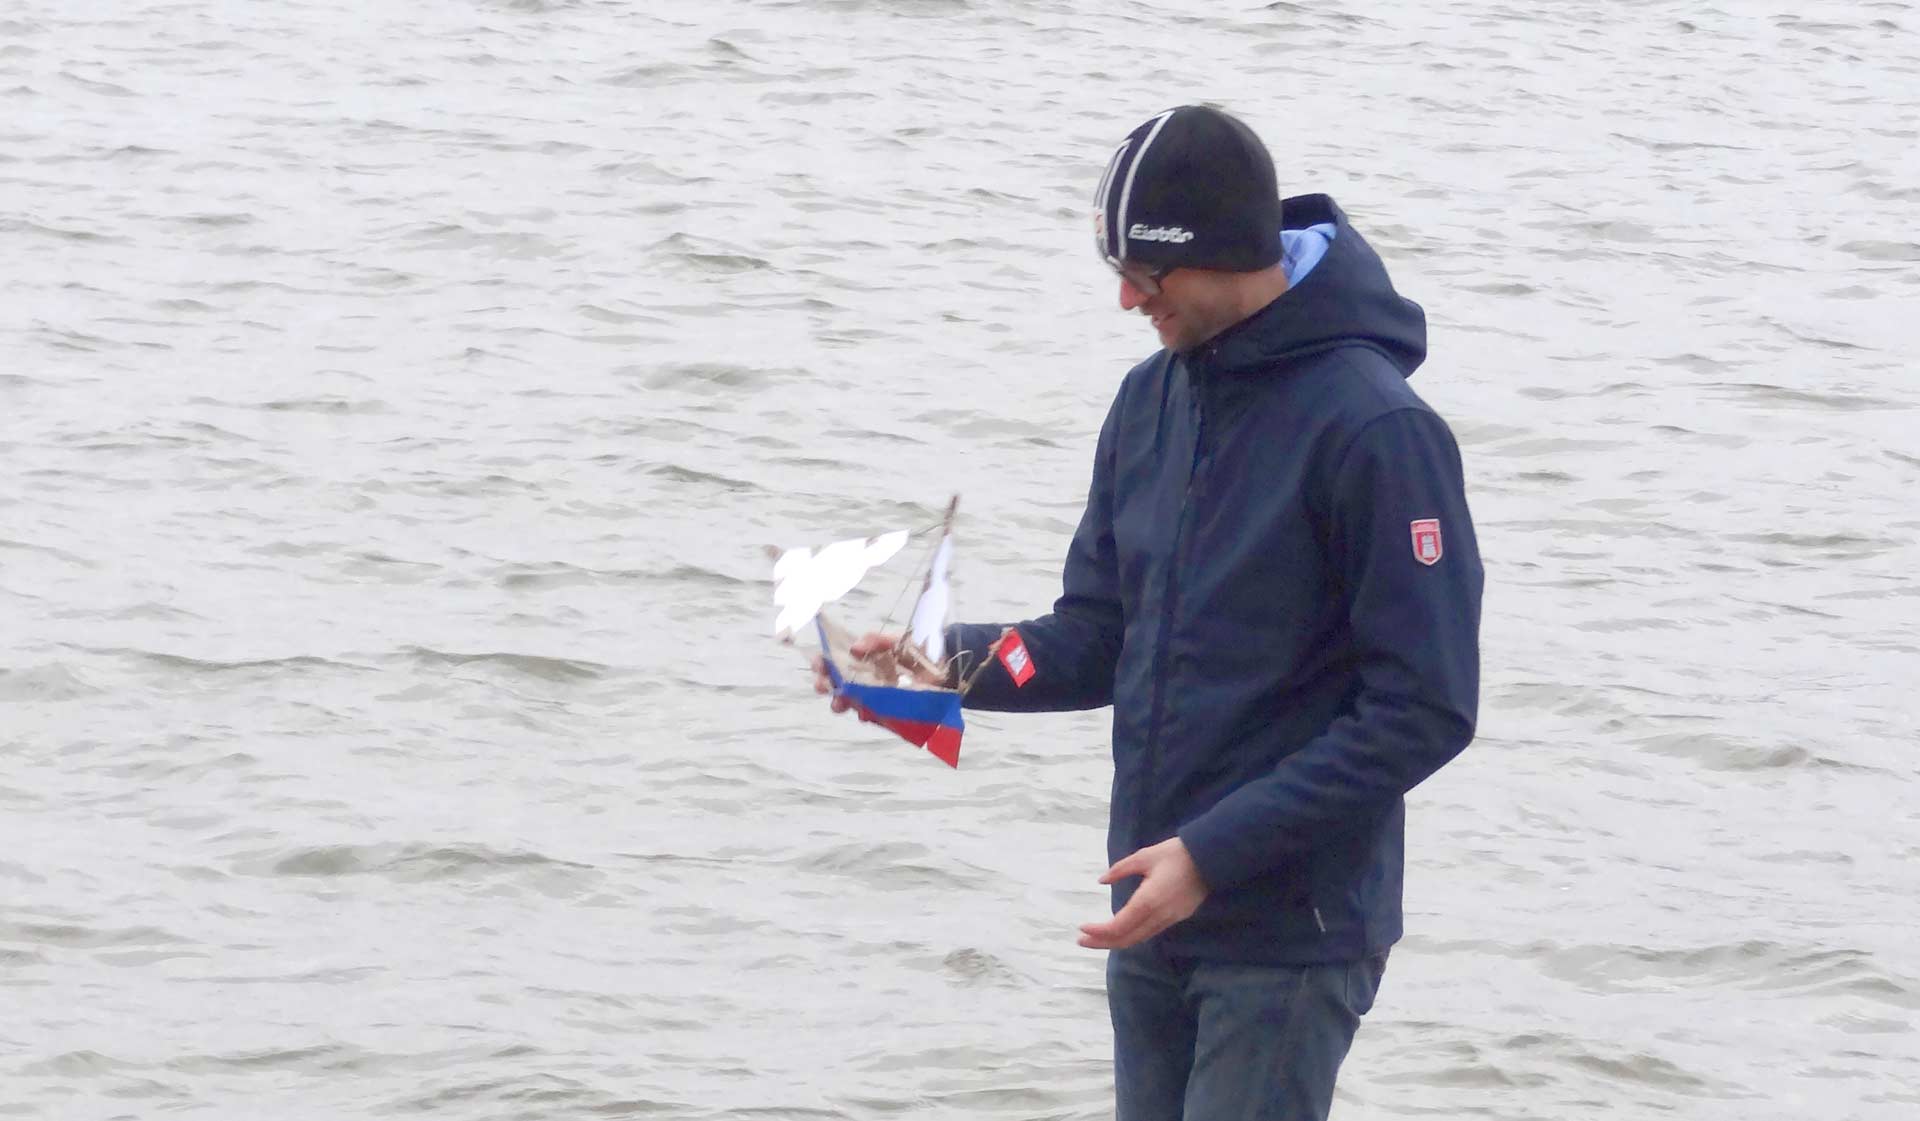
It was a clumsy boat to be honest. A bigger version of an ordinary child´s ship. But it still had a rig, a mainsail and a jib and was painted in Hamburg colors red and white. I was proud to having built it and the small family went to the shores of river Elbe where she was set afloat, accompanied by best wishes and Goodbye-waving for her journey. Also best wishes for luck, prosperity and overall health for our small son who was sleeping in his buggy.
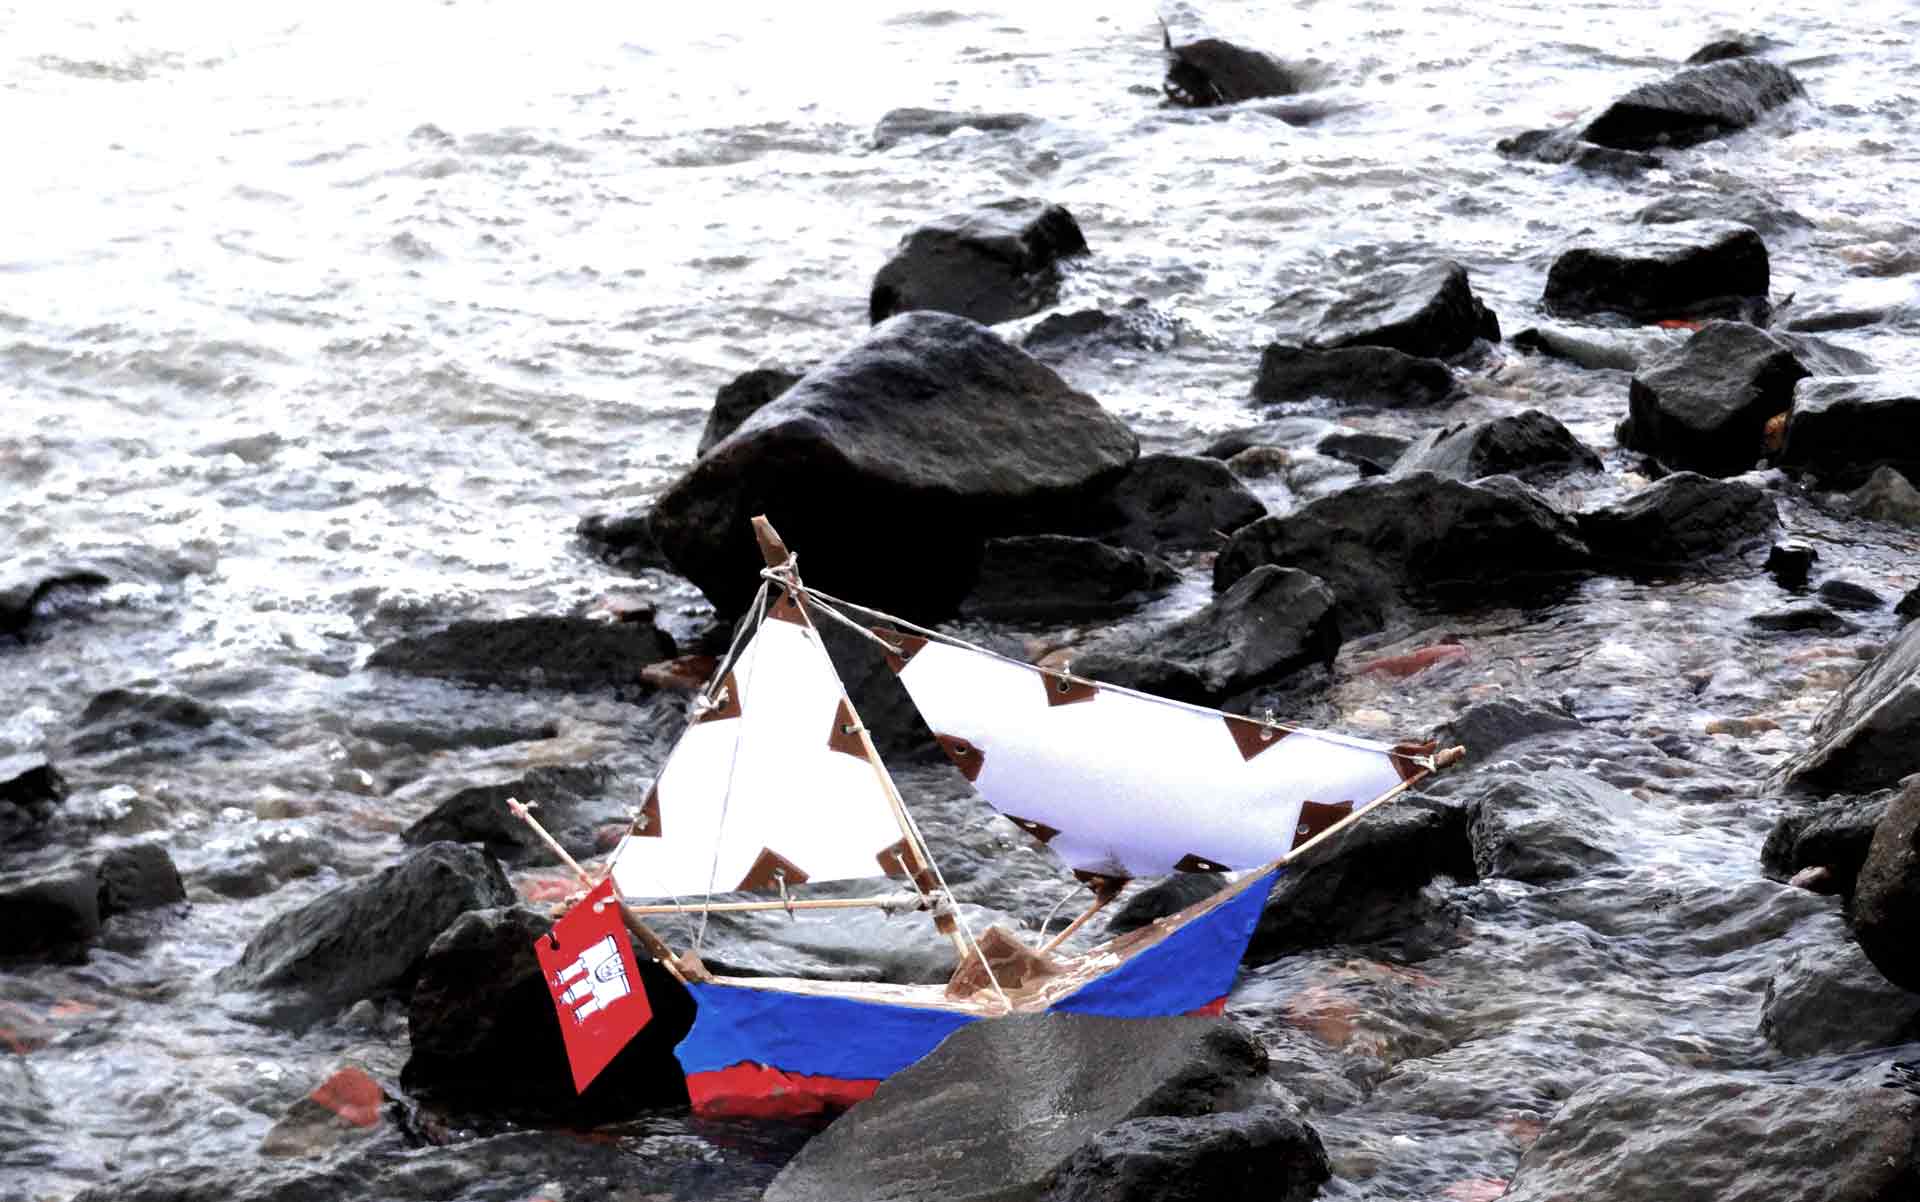
Oh my. The ship was poorly balanced as it lacked a proper keel, her rudder didn´t had any impact and so the NAVELSHIP 1 as she has been christened did capsize immediately after put into the waters, flushed by the cold floods of river Elbe and dramatically slow drifting ashore where she ran aground and finally sank. That´s was definitely not a magic moment of ship building indeed but nevertheless it was great fun to look at and after all tradition has been served.
As my wife got pregnant with our second son I saw my chance to make things better and to improve my construction. NAVELSHIP 2 would be a class of its own!
Bringing YD-41 to life.
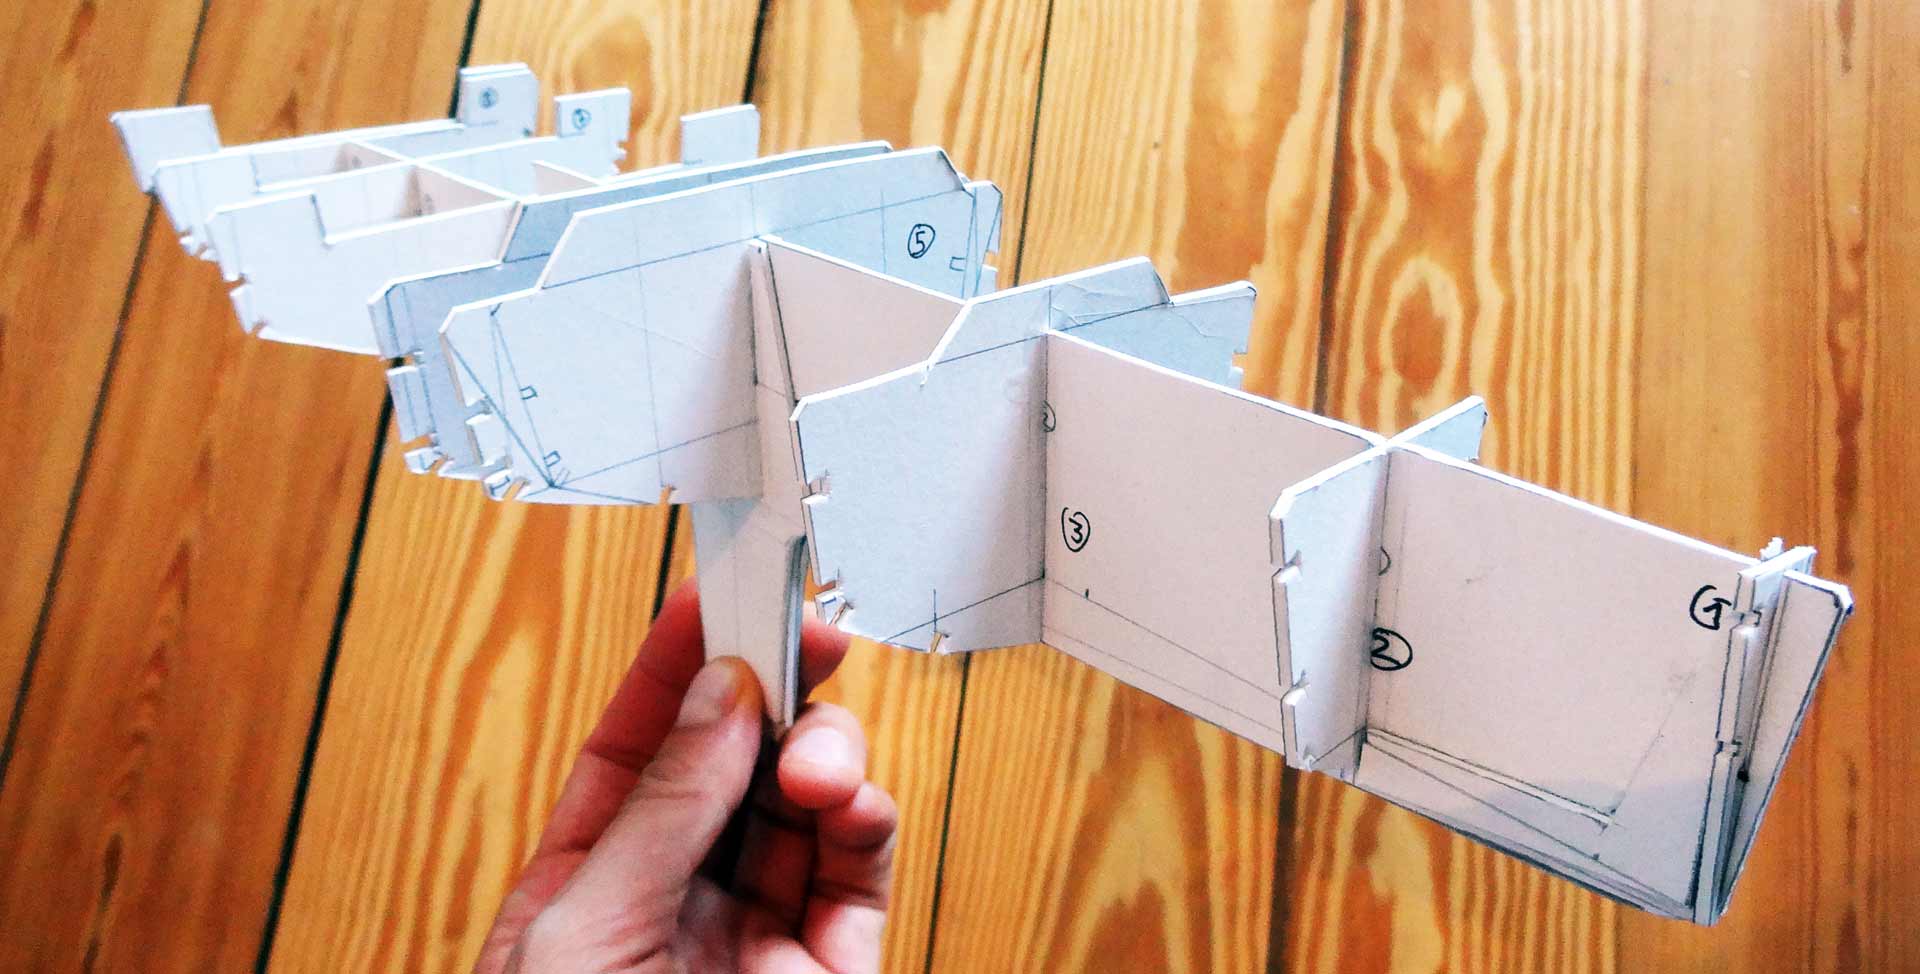
So, three years later my second son is born and well and I take my chance of building not less than the best ever navel ship the river Elbe has seen to date. It should be full of grace, fast as hell, resemble the proud colors of the City of Hamburg of course and … well, a man´s work of a man´s own hands. The book “Principles of Yacht Design” was delivering the plans and after one or two hours of measuring, calculating and transferring the data onto cardboard, cutting out bulkheads and keel I glued together the first thirteen parts: Holding in my hands the principle structural construction of the Class 40 design. Even my wife was delighted, normally more or less shaking her head over my naval spleen (you know what I mean, don´t you?).
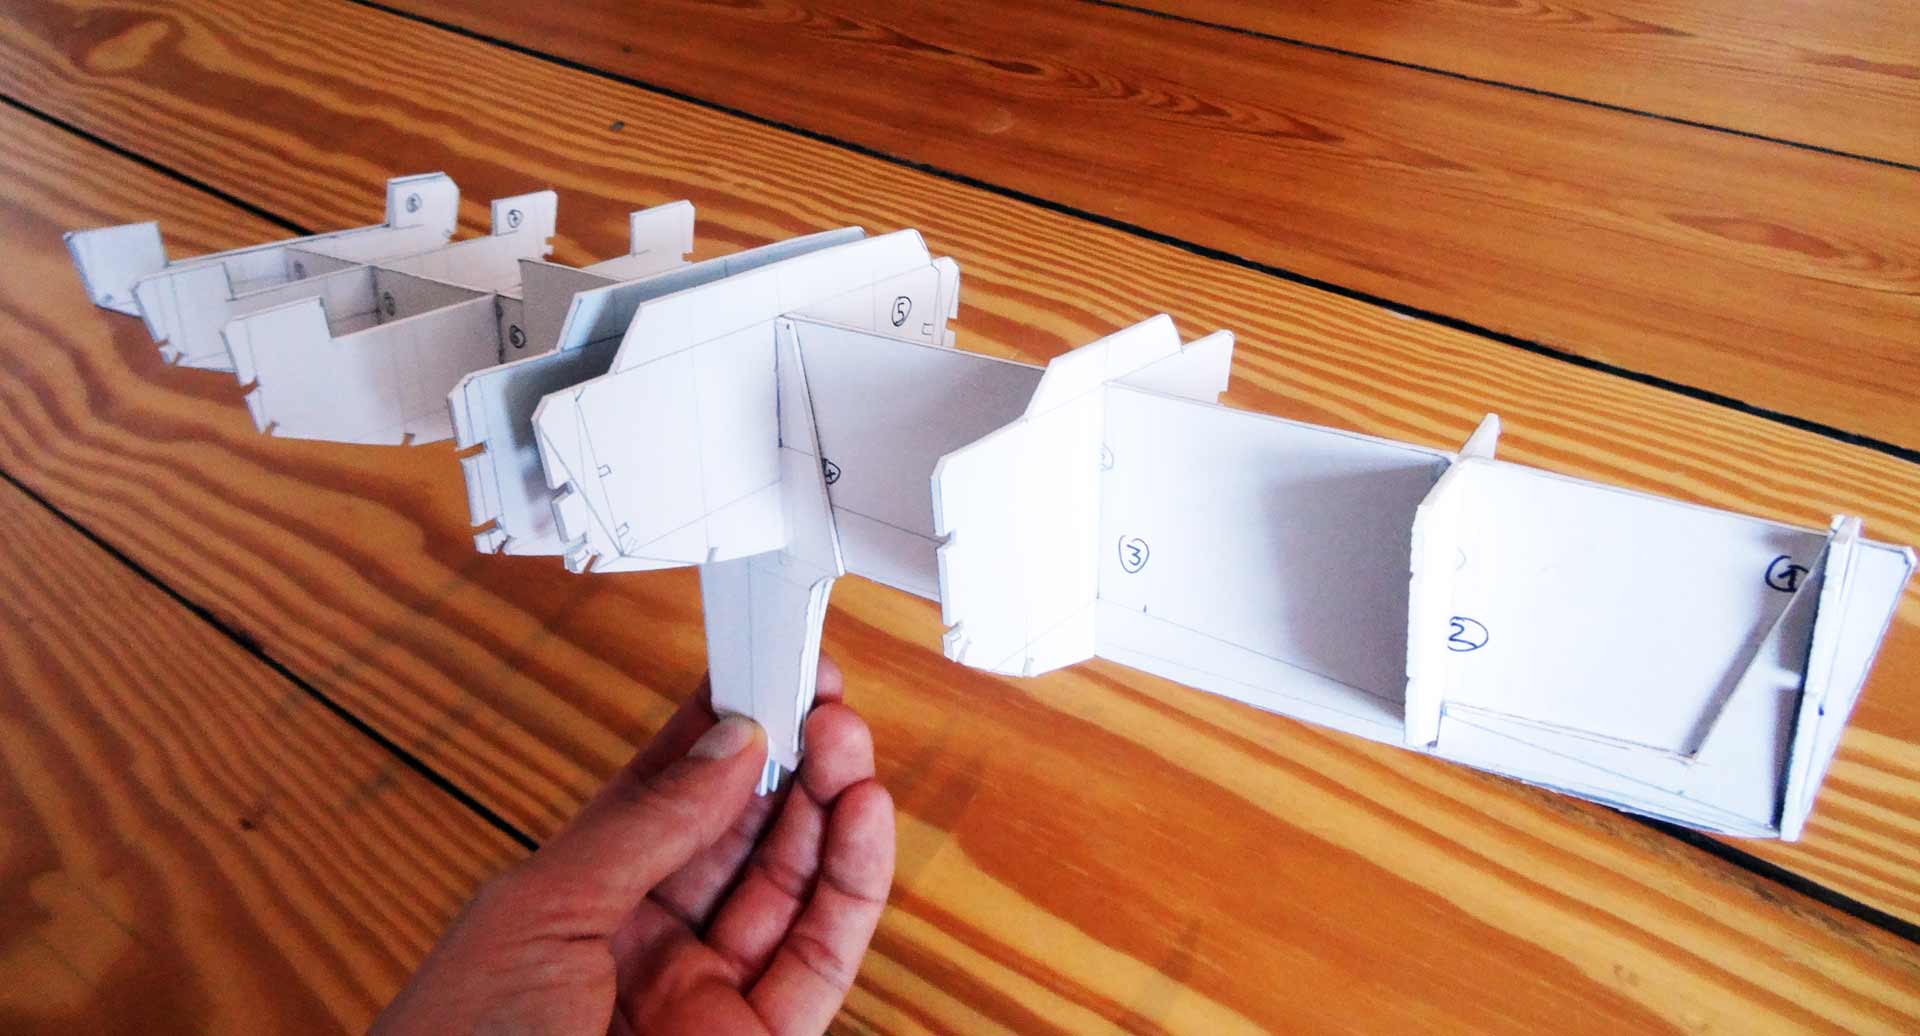
I was determined to have the Class 40 built according to the plans with a proper keel this time and of course a real rig resembling the principal functions: Halyards, sheets and sails made of Dacron-like material. In transferring measurements onto cardboard I noticed how hard it really is to work the material in an exact way: Even as I tried to be as accurate as possible I was puzzled by the huge allowances in the end. Boatbuilding is as hard as heart surgery it seems.
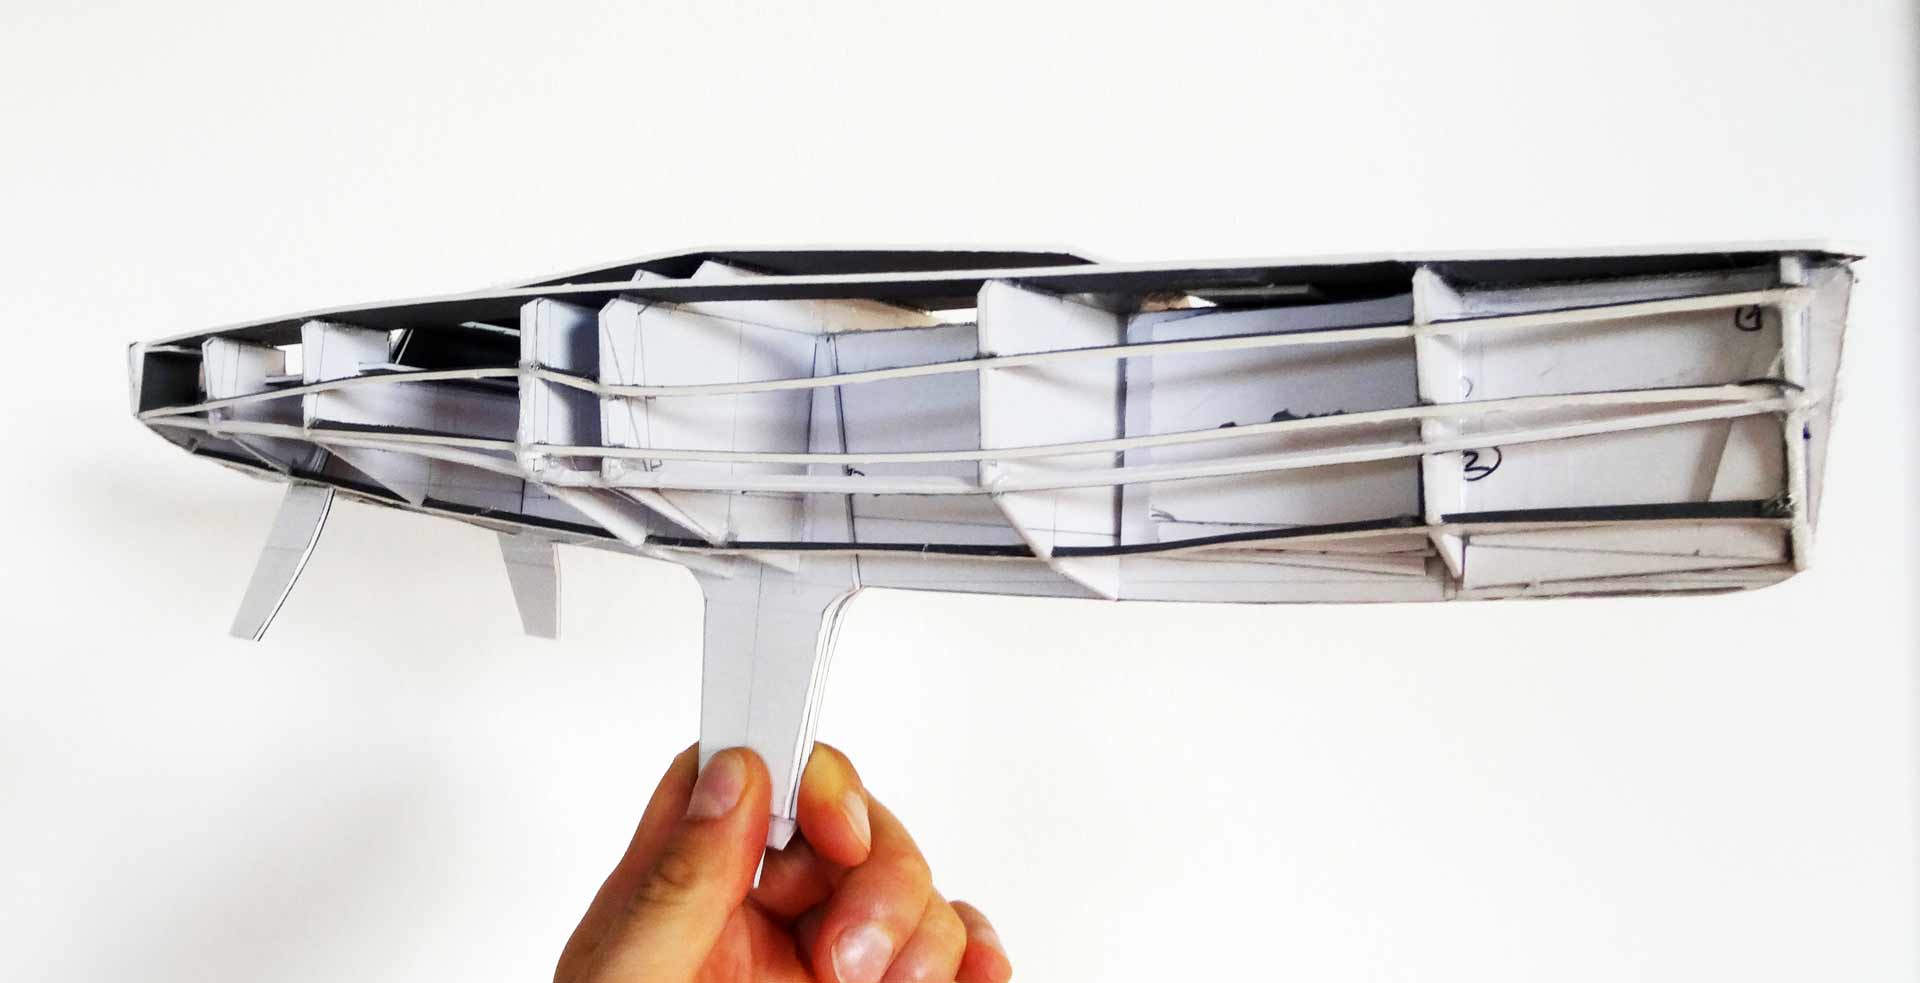
Even whilst working on a model ship I was determined to have her guilt like she was really going to be sailed through rough waters of the open ocean, so I added stringers to the skeleton which were then finally showing how inaccurate I have been working in the first place – instead of running down from bow to stern in a smooth straight line my stringers resembled an … well, kind of ugly finish. Nevertheless, as the glue hardened, the hull made a pretty stable impression.
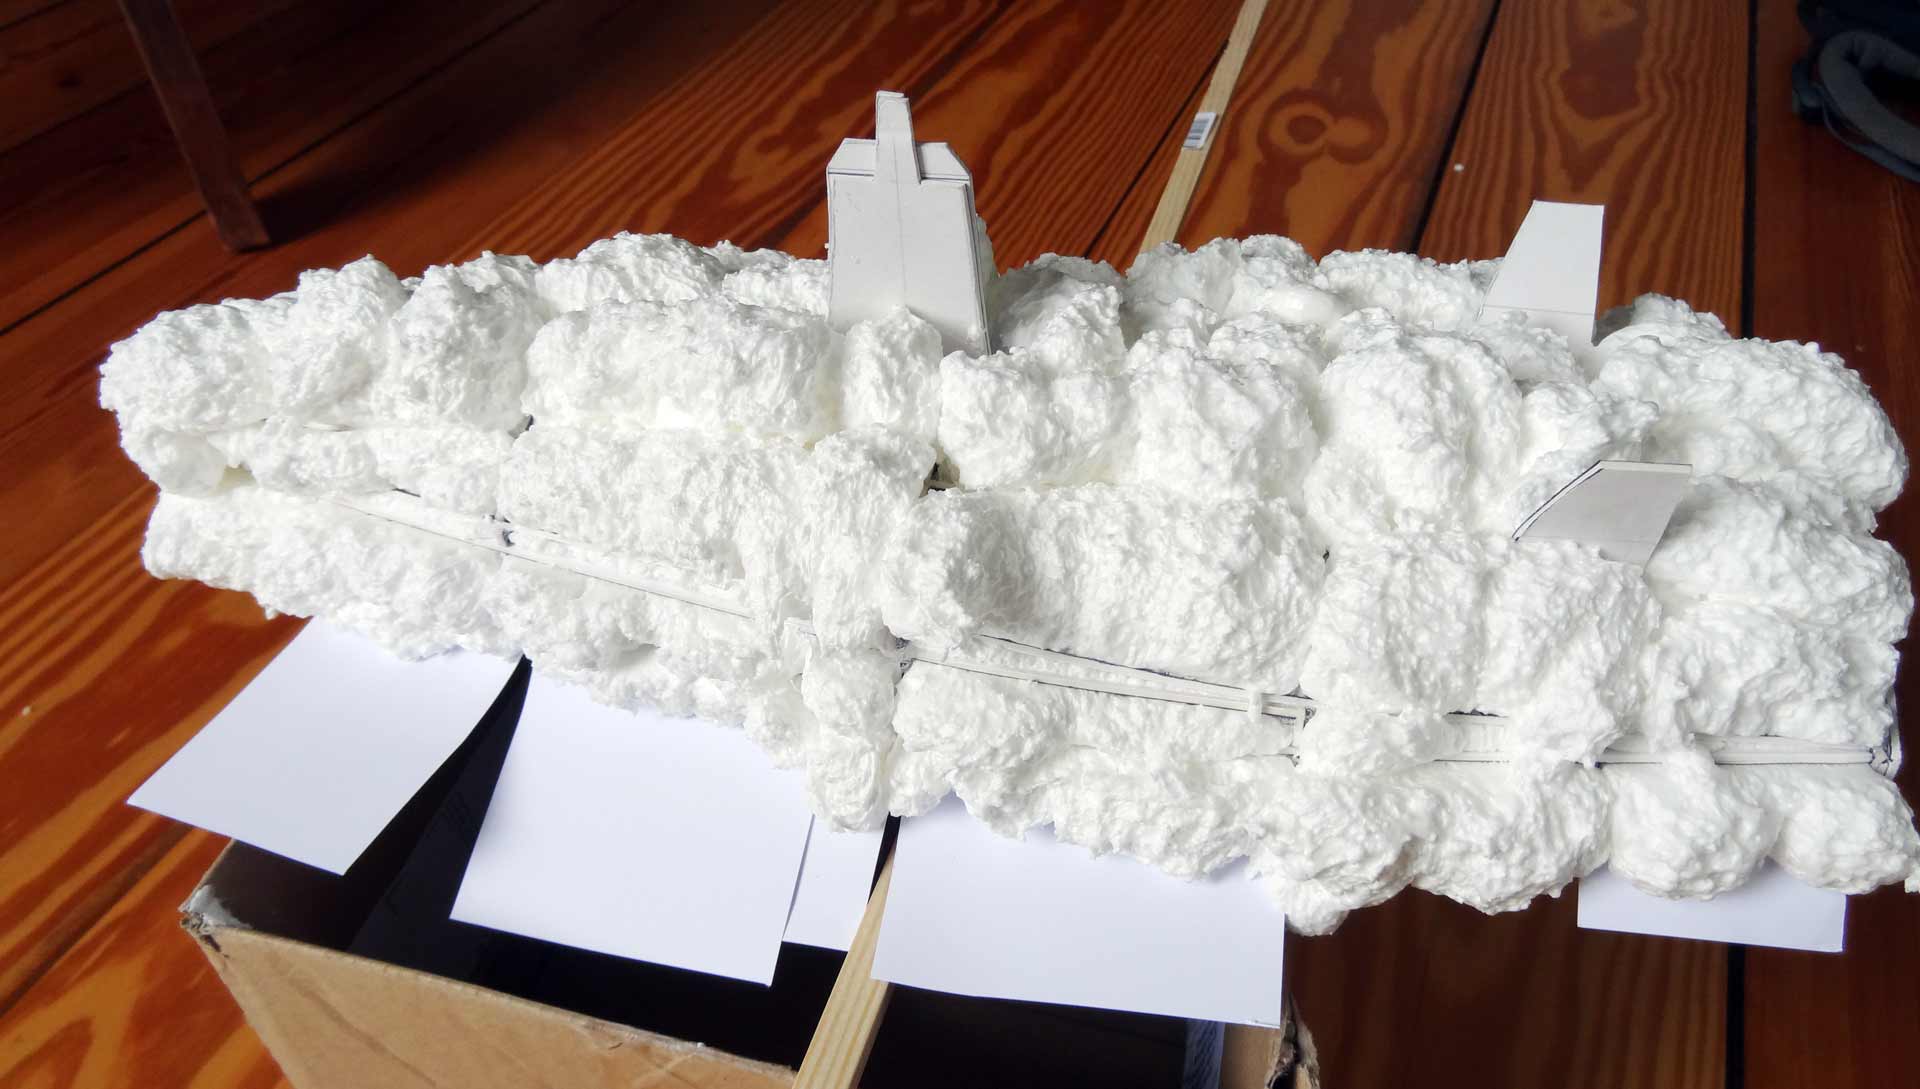
I also added twin rudders, as I knew when pressed hard in the wind a Class 40 would heel significantly bringing the lee rudder out of the water and making the remaining rudder working efficient. But how to get the hull completed? A walk to the nearest home improvement store later, I´ve bought a can of insulating foam with which I foamed the whole hull. I did had an idea how to achieve a smooth surface of the hull.
The Class 40 receives a smooth Hull
Oh, what a day, when a week later the foam finally dried completely and I took out the sharp carpet knife and began to cut away the surplus foam material. Slowly the distinct shape of a Class 40 sailing yacht was pealing out of the bulky clunk of foam. It was as easy as ABC as I only had to cut along the stringers.
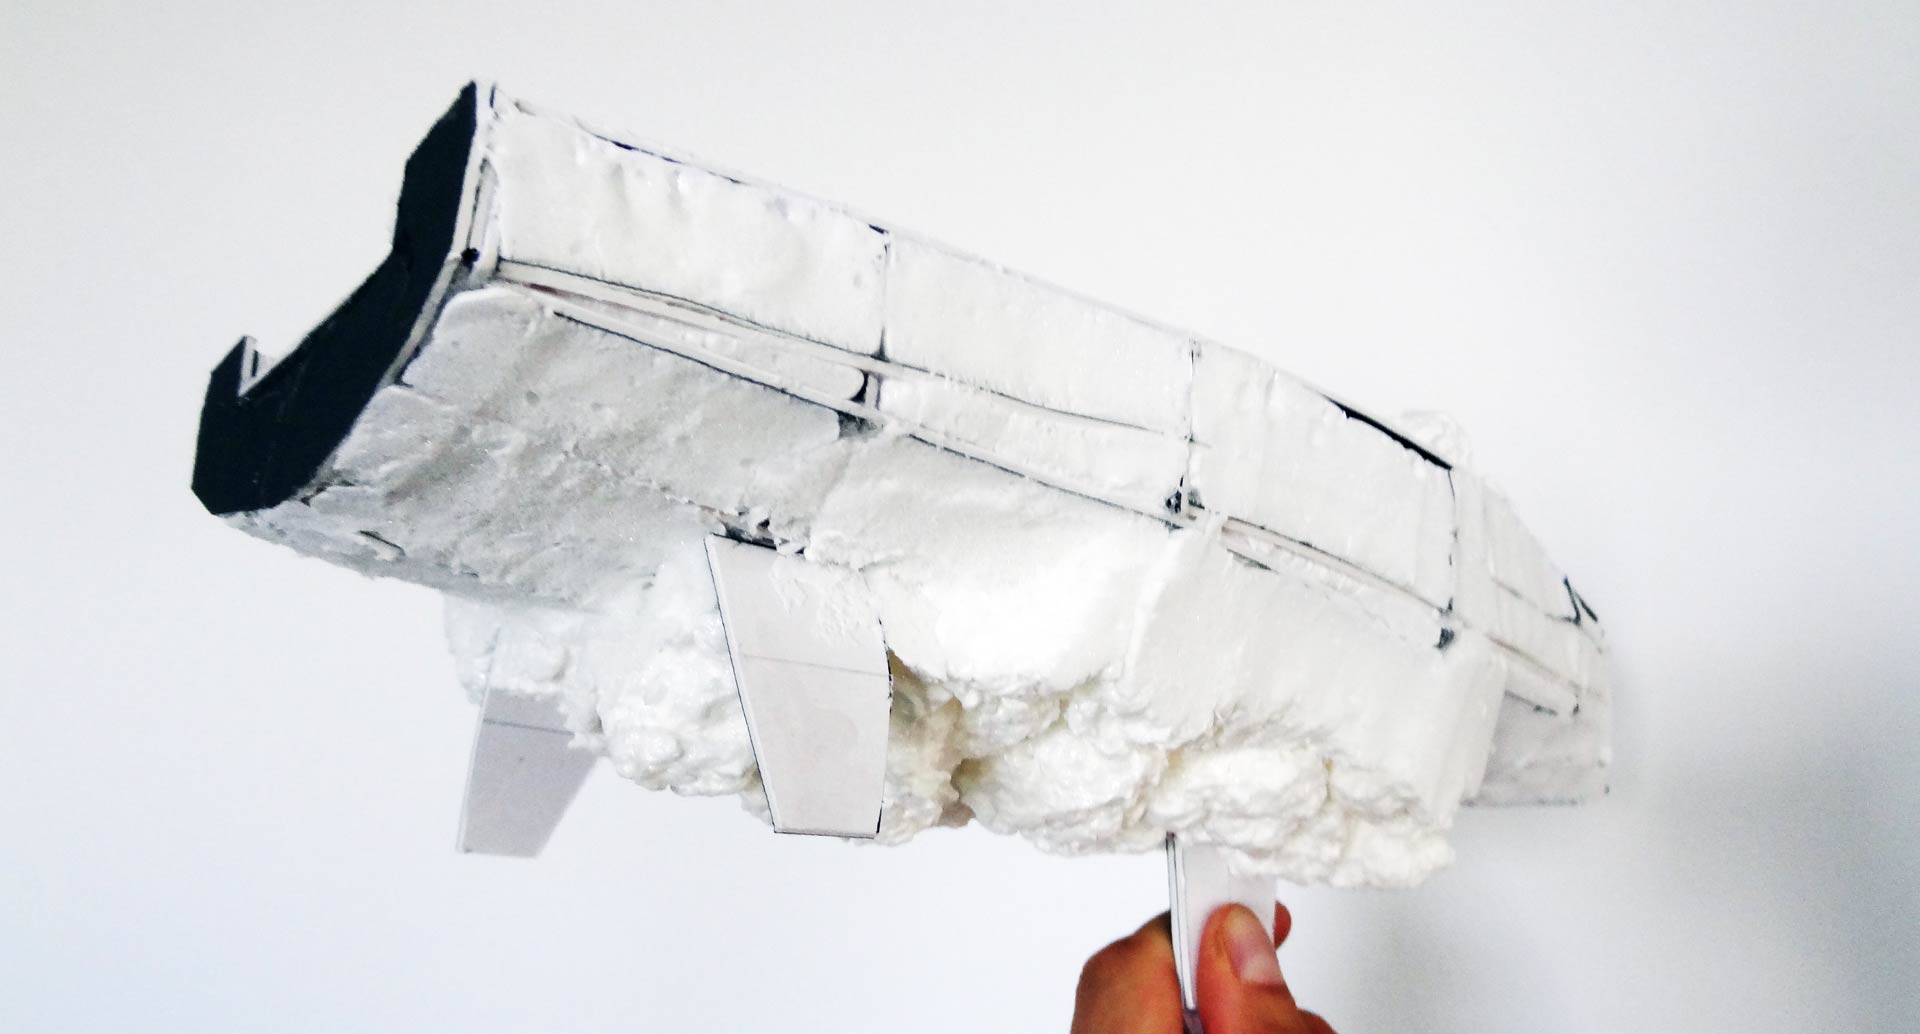
Slowly the neat lines of the YD-41 sailing yacht reappeared and the more I cut away the foam the more excited I got: Along with my son who is now some two and a half years old, watching daddy with big eyes and asking questions all the time. Showing the pictures of NAVELSHIP 1 to him, he began to jangle our nerves asking when the boat will hit the waters. And as we all know: Building a ship takes at least two times longer and will cost at least four times the estimated budgets.
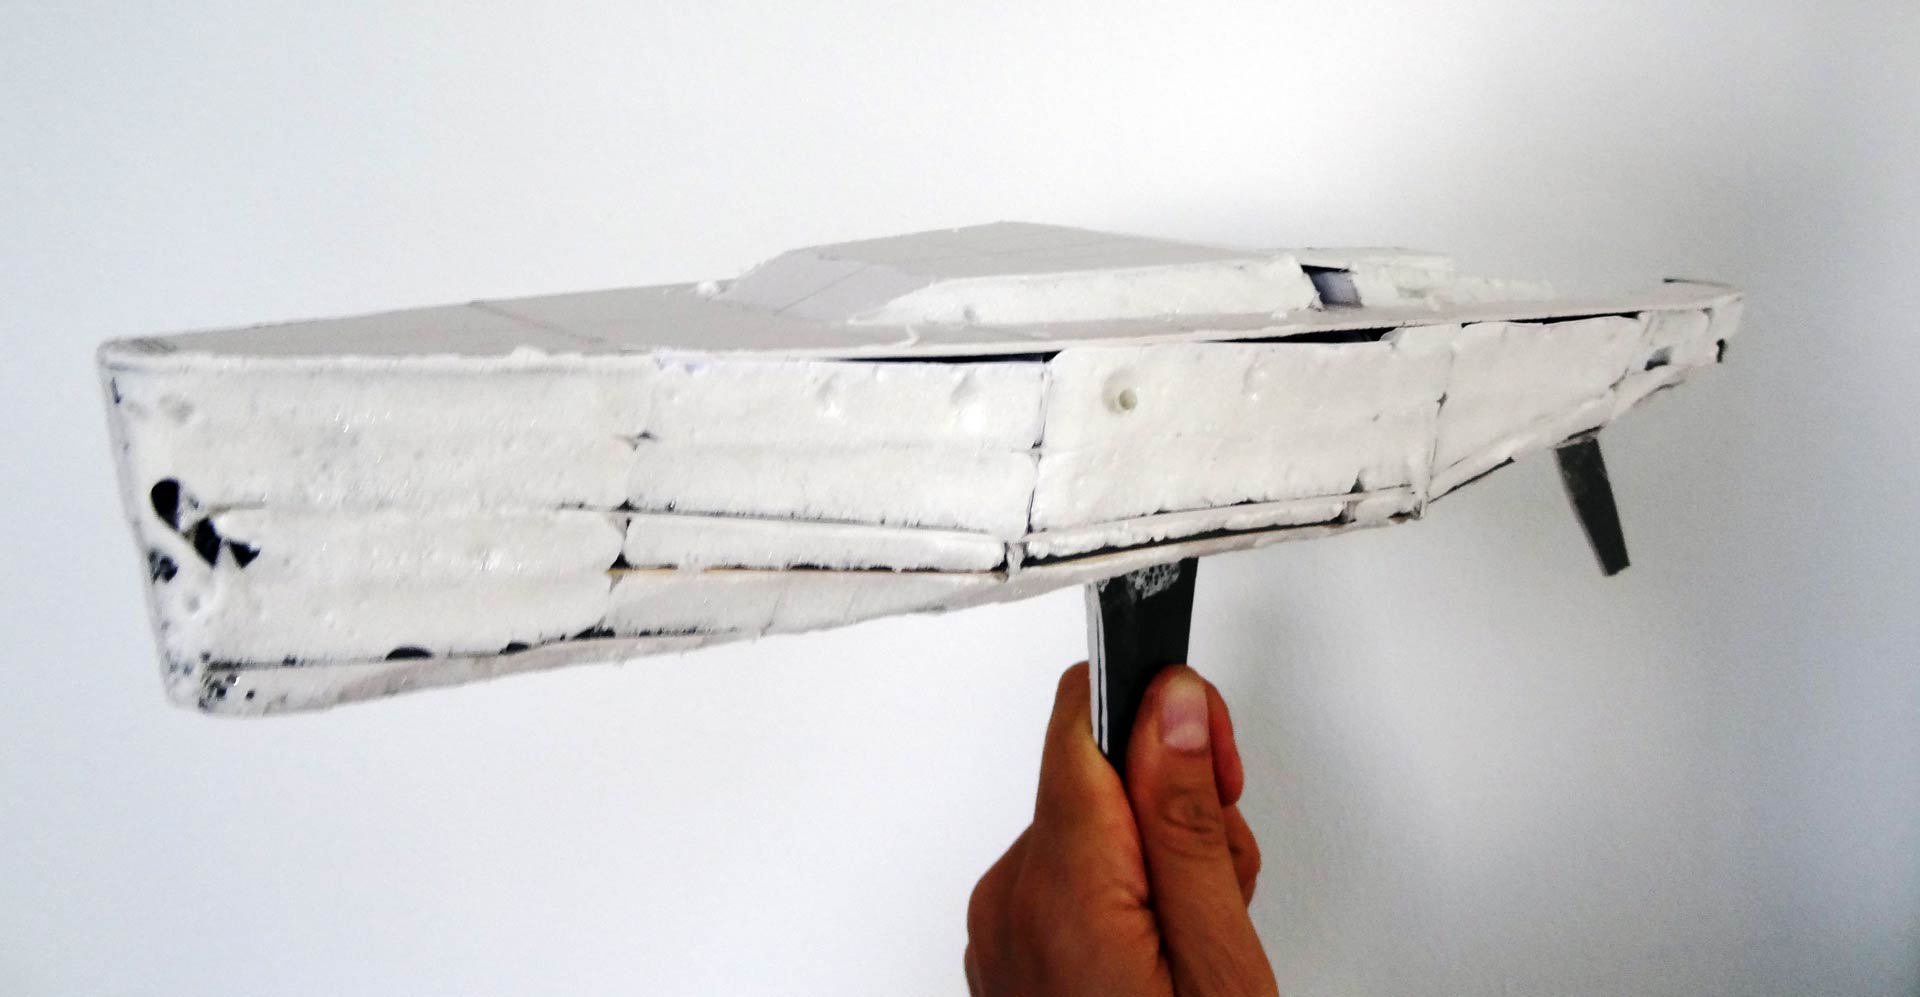
Nevertheless, despite the price paid until now – some 130 Euros – the outcome was awesome and holding the hull, now made unsinkable, made me some kind of a proud boat builder. Hence I must admit, seeing her uneven lines, asymmetric hull and huge allowances would make a pro get white hair, but in this case it´s okay I would say.
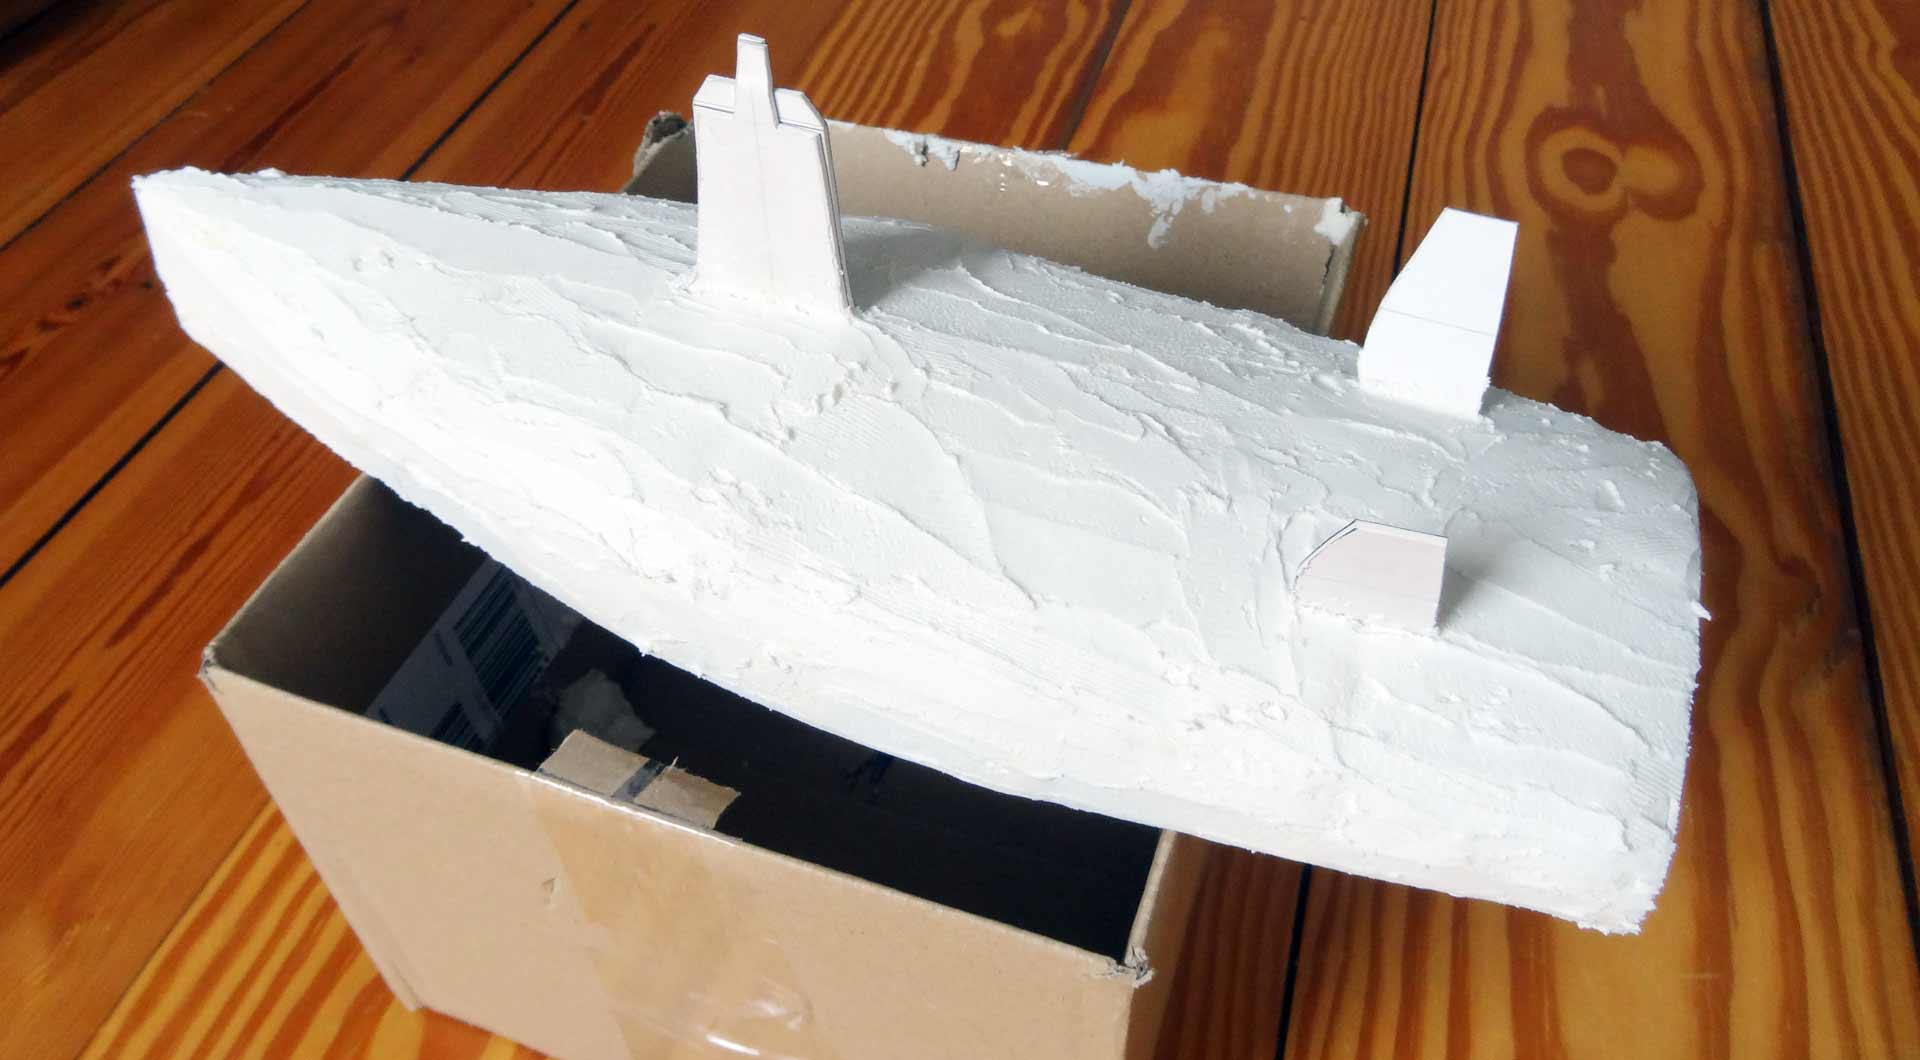
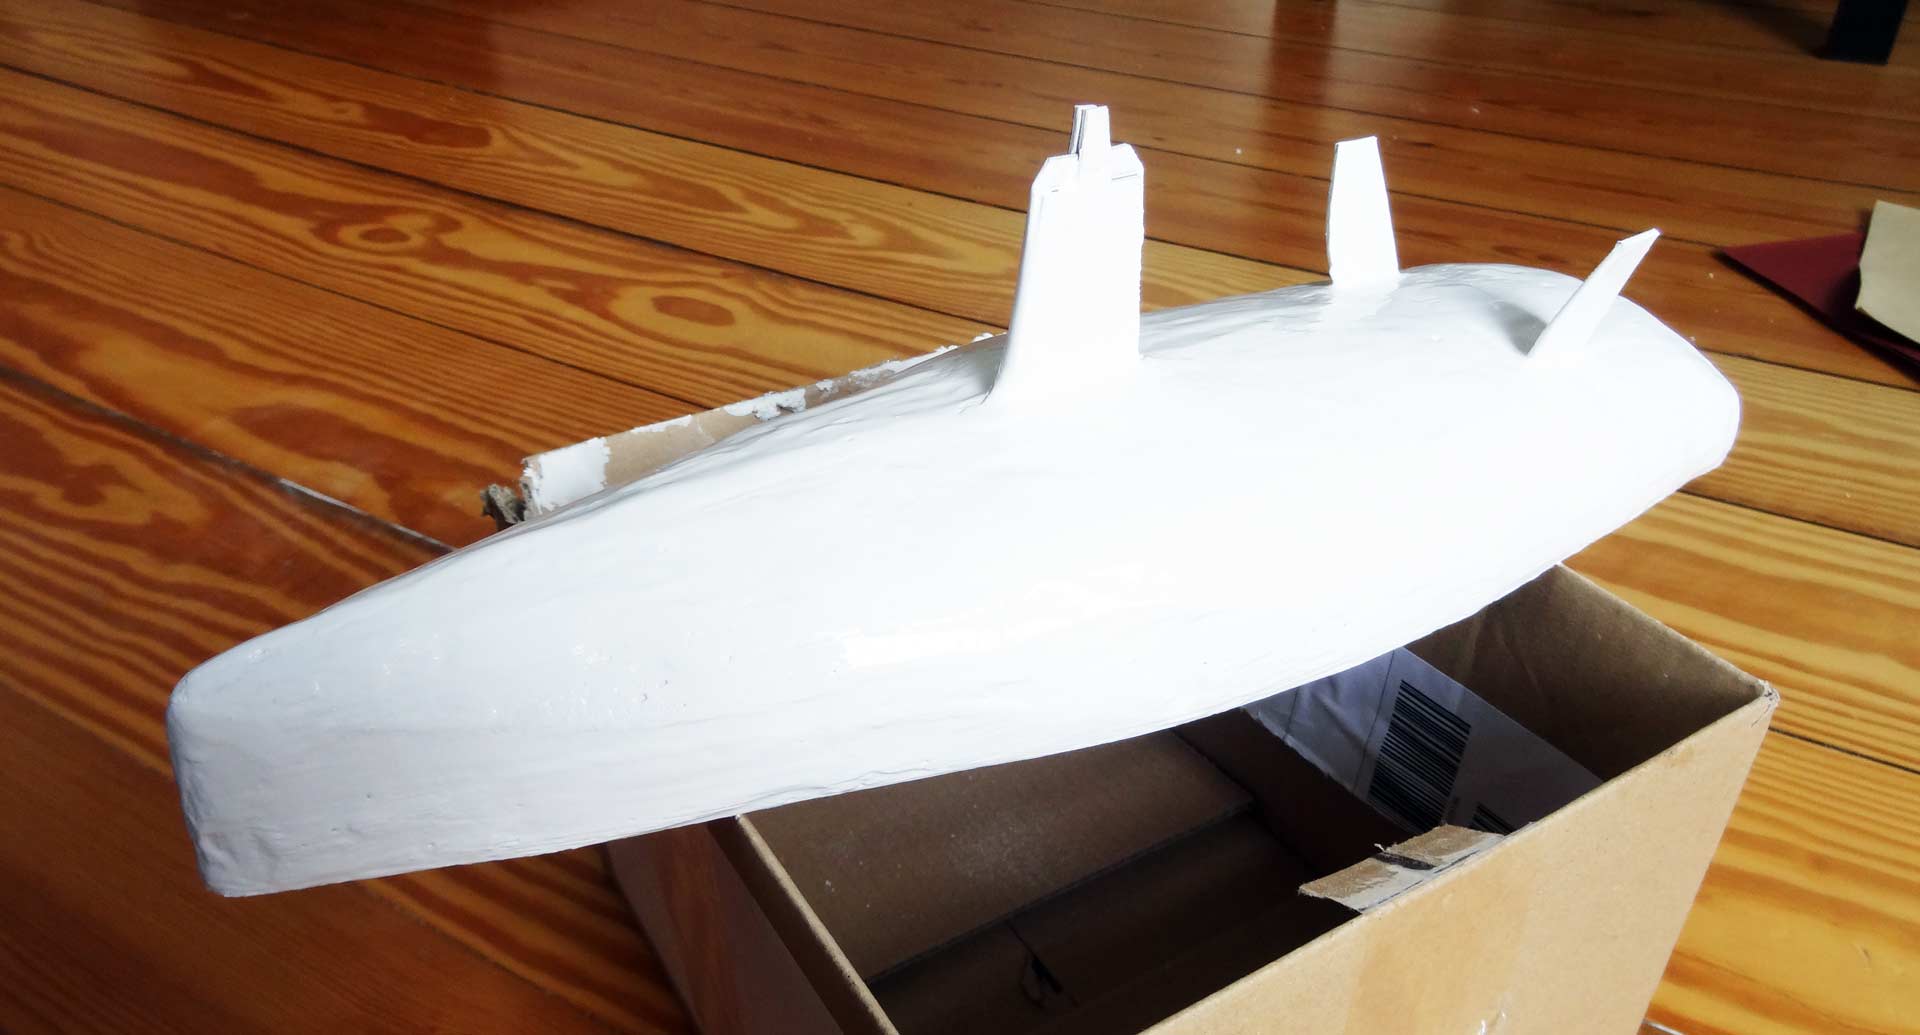
Last item on the to-do list was working with filler. I began to apply one or two millimeters of filler to the foamy hull, waited a day and sanded it down to get a (relatively) smooth surface. Then I repeated the whole process another two times, achieving a thick enough hard hull, impermeable for water. Doesn´t she look pretty?
Final Preparations of the Class 40 Hull
Adding a keel was also kind of tricky. I first made another chunk of insulating foam, cutting it altogether to the shape of a lead-keel bulb. Then I again applied some – really thick – layers of filler and sanded it down. In the end I´ve got a both heavy bulb and a – relatively – bulb-shaped keel form. Bringing fin and bulb together was a matter of some drops of all-purpose-adhesive and that was finally it.
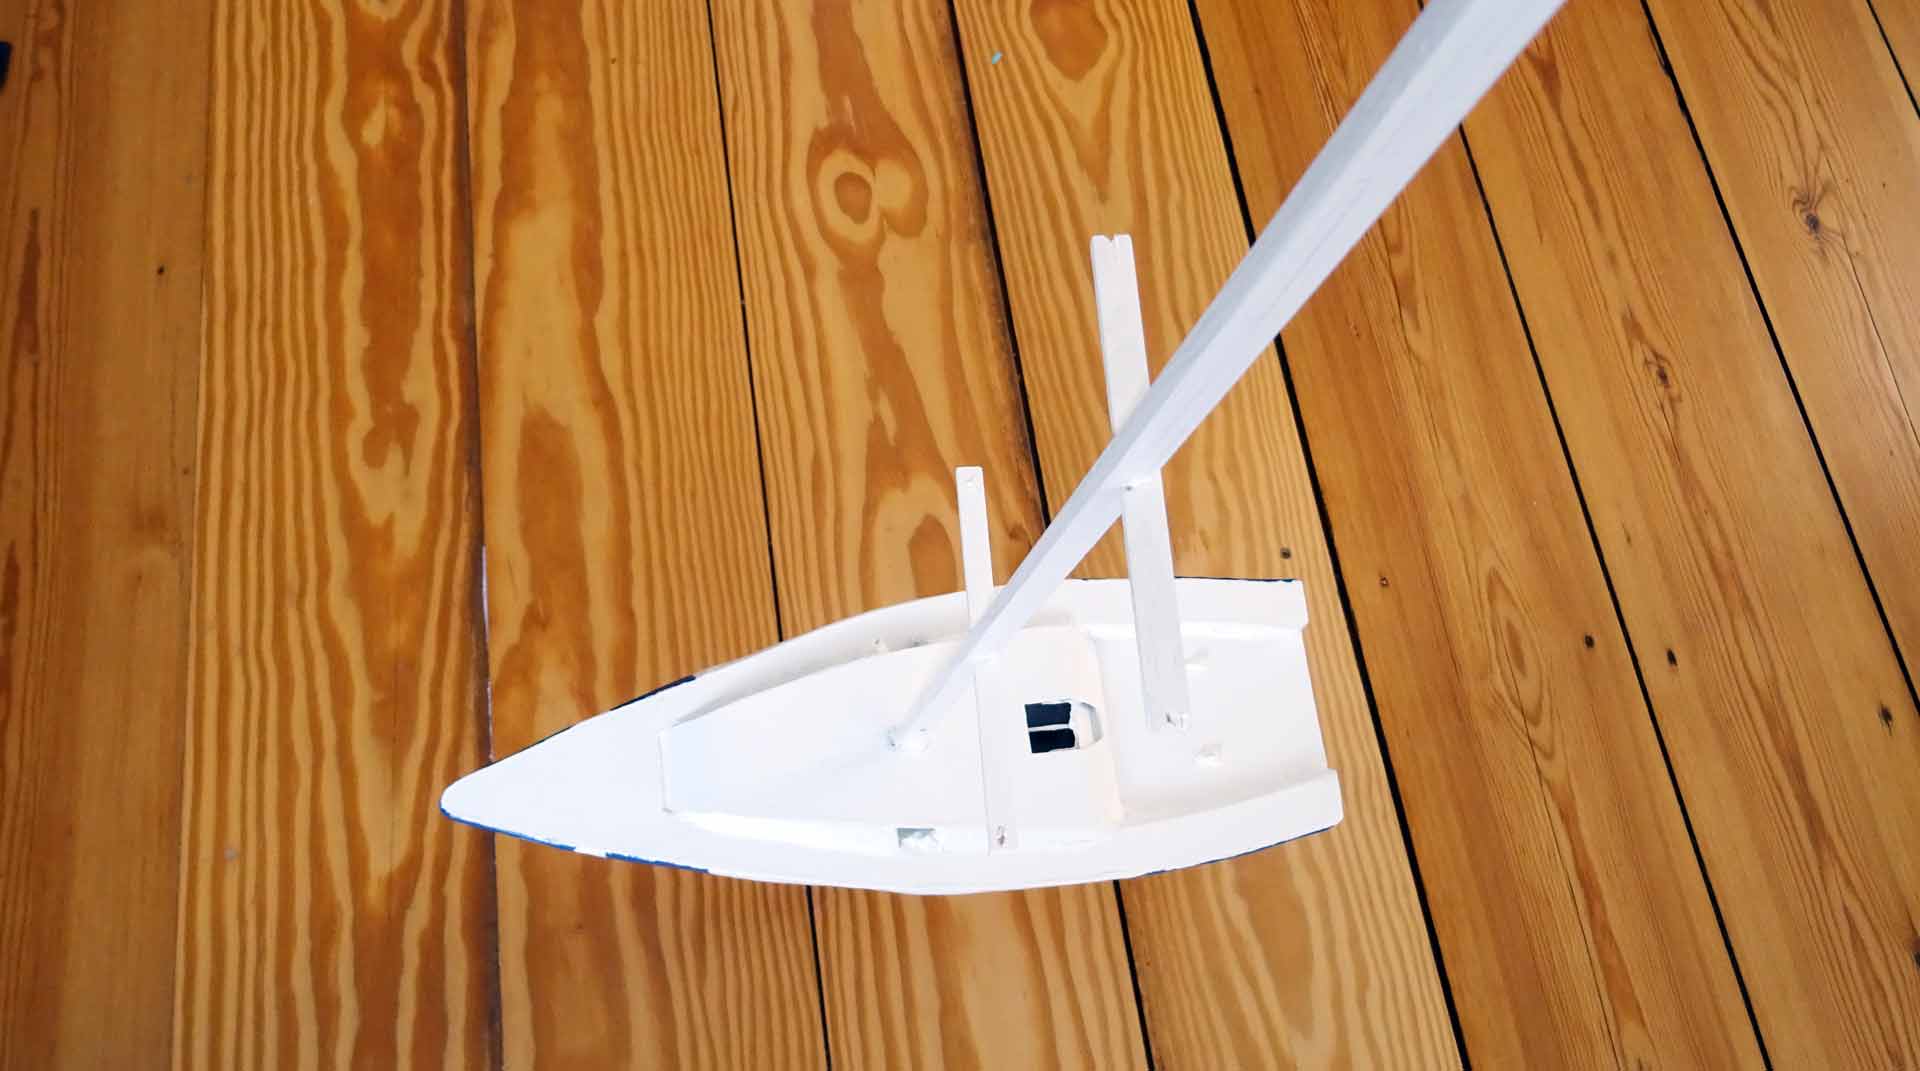
Next thing was the rig of which the main mast was the first thing to do. A simple wooden spar, cut to the exact size of the boat´s planned mast height taken from the plans I applied some boreholes for the boom and the halyards which will be installed later. Cutting the mast shoe I drilled the hole through the cabin roof, cut out some wood and glued the stepped mast onto the keel construction. A day of drying – perfect! Two spreaders round the picture.
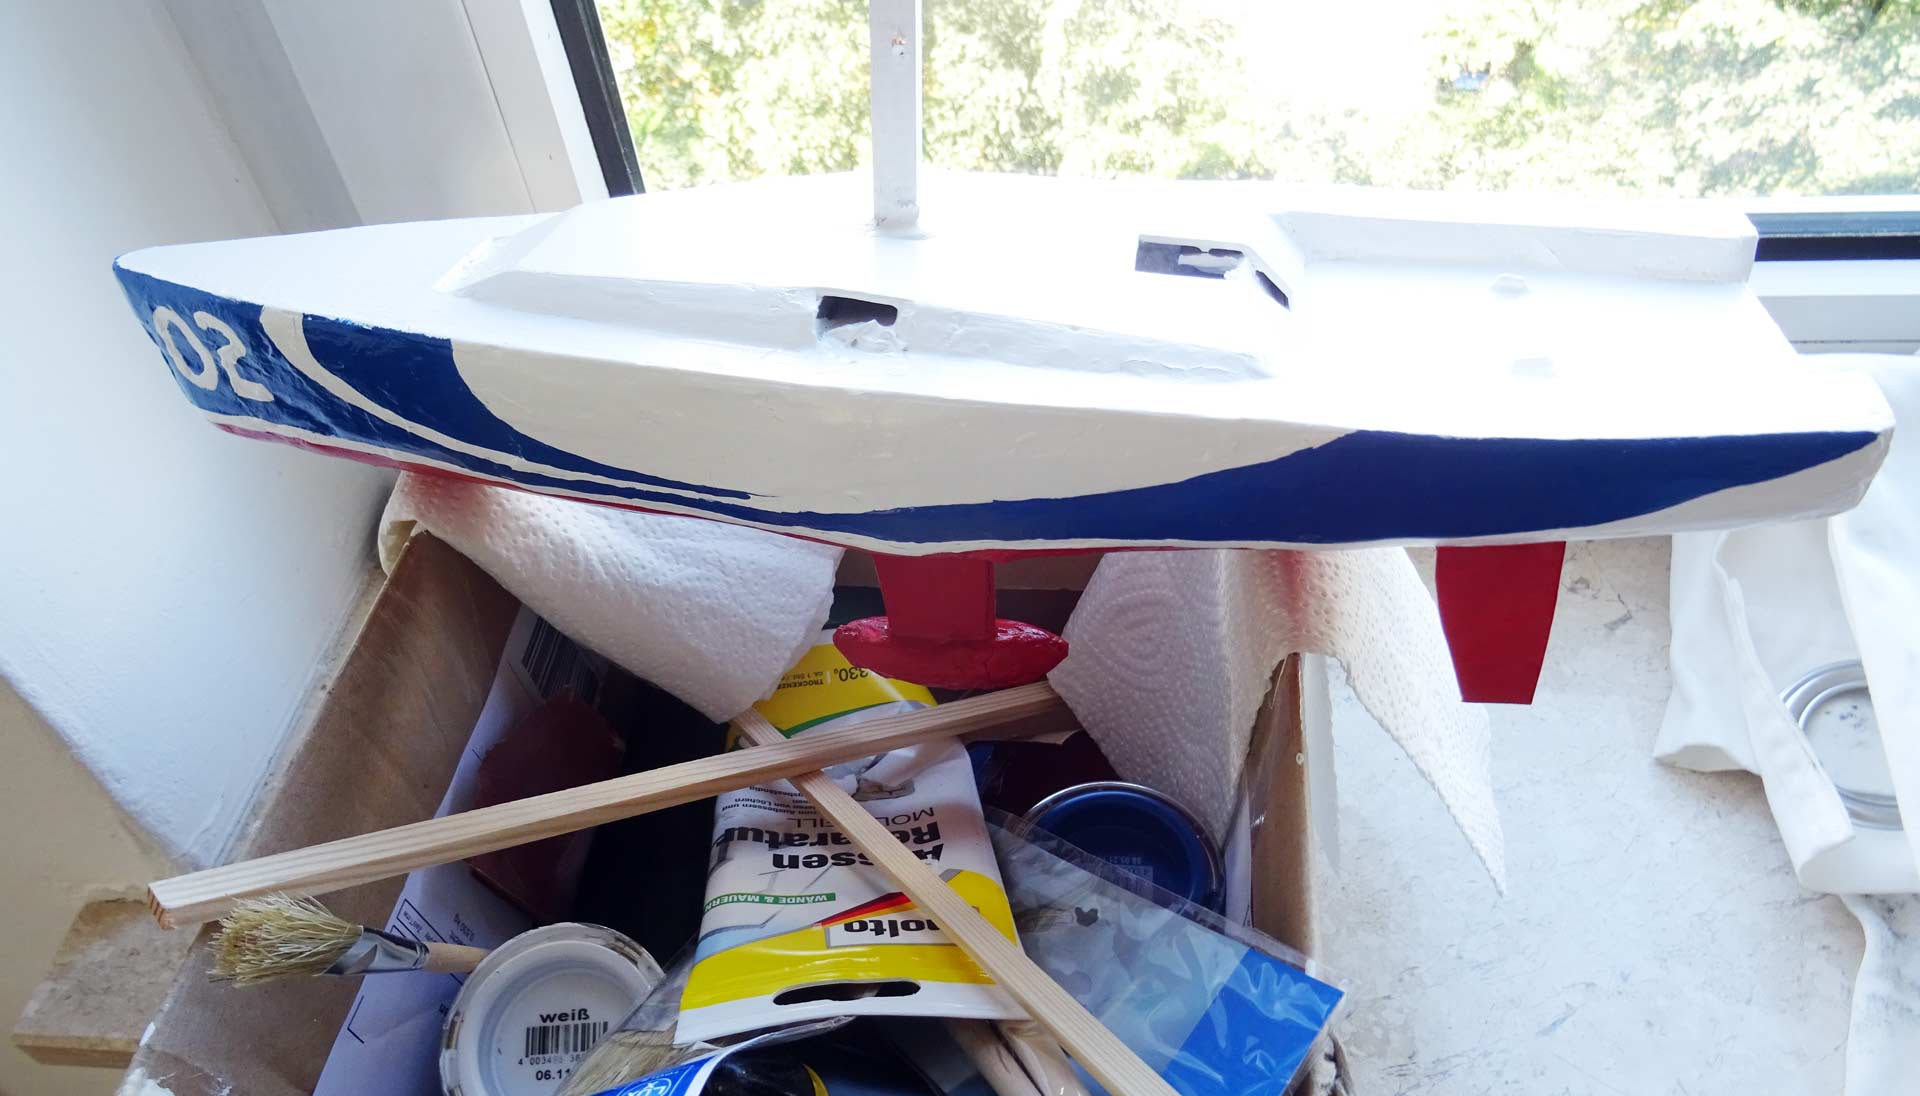
So, as everything had dried thoroughly it was time to add a neat design to the boat. What´s a Class 40 without a cool design? It was clear from the beginning that I´d had to opt for the classic Hamburg colors: Red, Blue and White and so I finally did. Having two layers of Yacht-White applied to the boat I added dynamic blue graphics, resembling the swoosh of the seas. Painting the submerged surface in red added the final touch.
And here she comes: NAVELSHIP 2 (or in German NABELSCHIFF 2) was brought to water in the bathtub of my sons and – what a glorious day! – she swam! And she did not just only swim, she did exactly it to her waterline like as if it was intended. She is pretty stable I must say and behaving great as far as I could test in the tub.
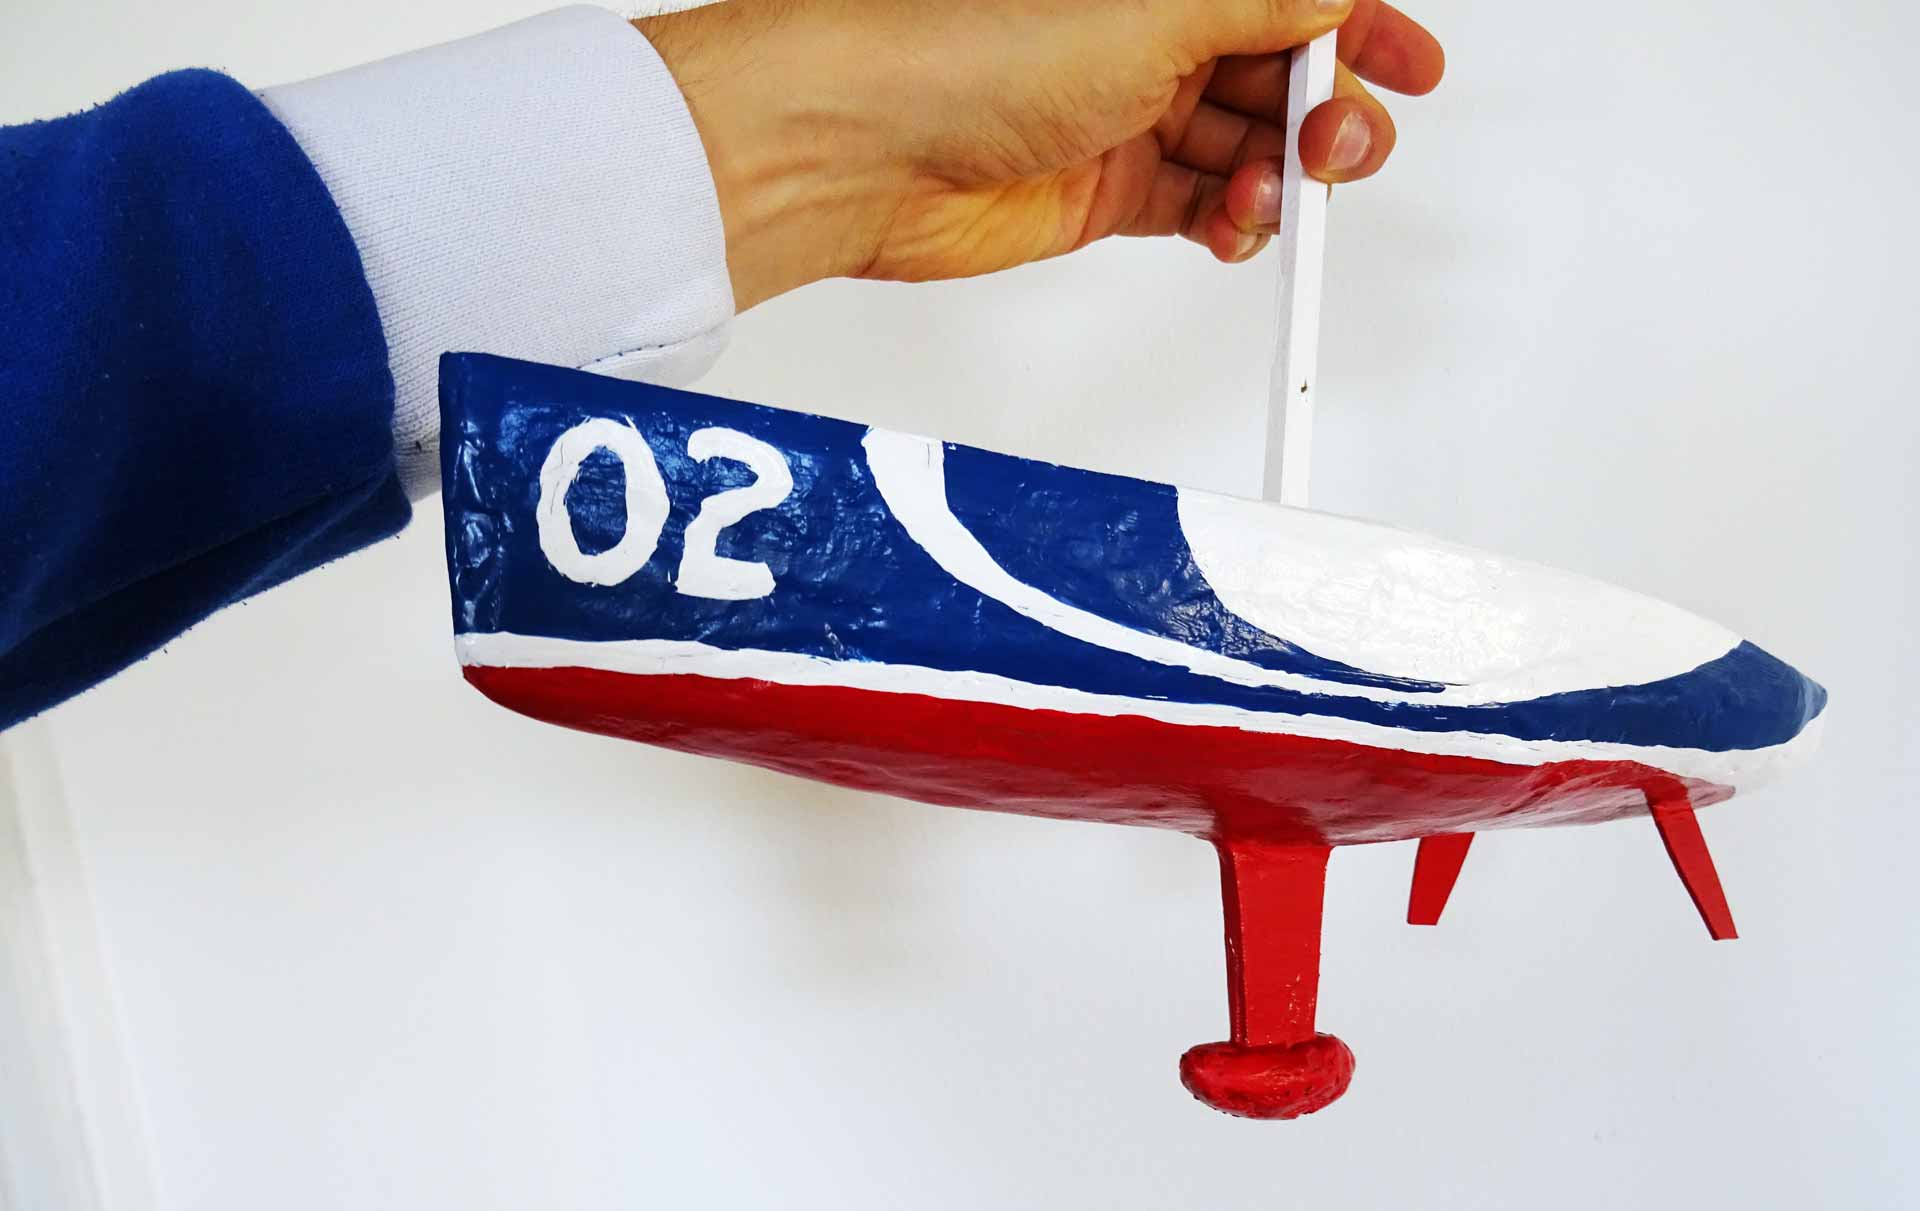
Now the boat is nearly finished. I am right now finishing her standing and running rigging, doing so experiments with cut out IKEA-bags for making her great blue sails and I guess within the coming weeks she will finally put to sea. The same way we did three years ago: Taking my family out on a fine day to strolling down to the shores of Elbe river, bringing the boat to her salty waters, waving goodbye and hoping that she will sail some (couple of) meters until, I fear, inevitably she will also capsize, run aground or simply sink.
But hey, that´s the fate of navel ships as the tradition demands it.
Here´s an interview with Marc Lombard, Merfyn Owen and Britton Ward on real Class 40 racing yachts
And an exciting read on Lizzy Foreman´s first moves aboard an IMOCA 60 racing yacht


