
The guardrail of any sailboat – that´s valid at least for cruising yachts – needs a start and an end on either sides of the yacht. For the bow, this is called the pulpit, likewise, pushpit for the solid rail at the stern. There are some readily available parts which you can buy which will reasonably nicely fit any sailboat. But “reasonably” for me means “half-decent”, and that´s not what I want for my Omega 42 yacht. This article delves into the metalwork-topic and describes how these custom made steel parts had been manufactured for my yacht.
That´s another nice insightful detail into the world of custom- and semi-custom boatbuilding. As you may have read in one of the previous articles regarding the intricate specialties of custom and one-off boats, as an owner, you have to made a ton of decisions. Many, many decisions on seemingly little details, but often deciding details. In any case, these are decisions which have a profound impact on the looks of your yacht – and the budget. Pushpit and pulpit, honestly, I did not care about or even think about at the start. Up until now.
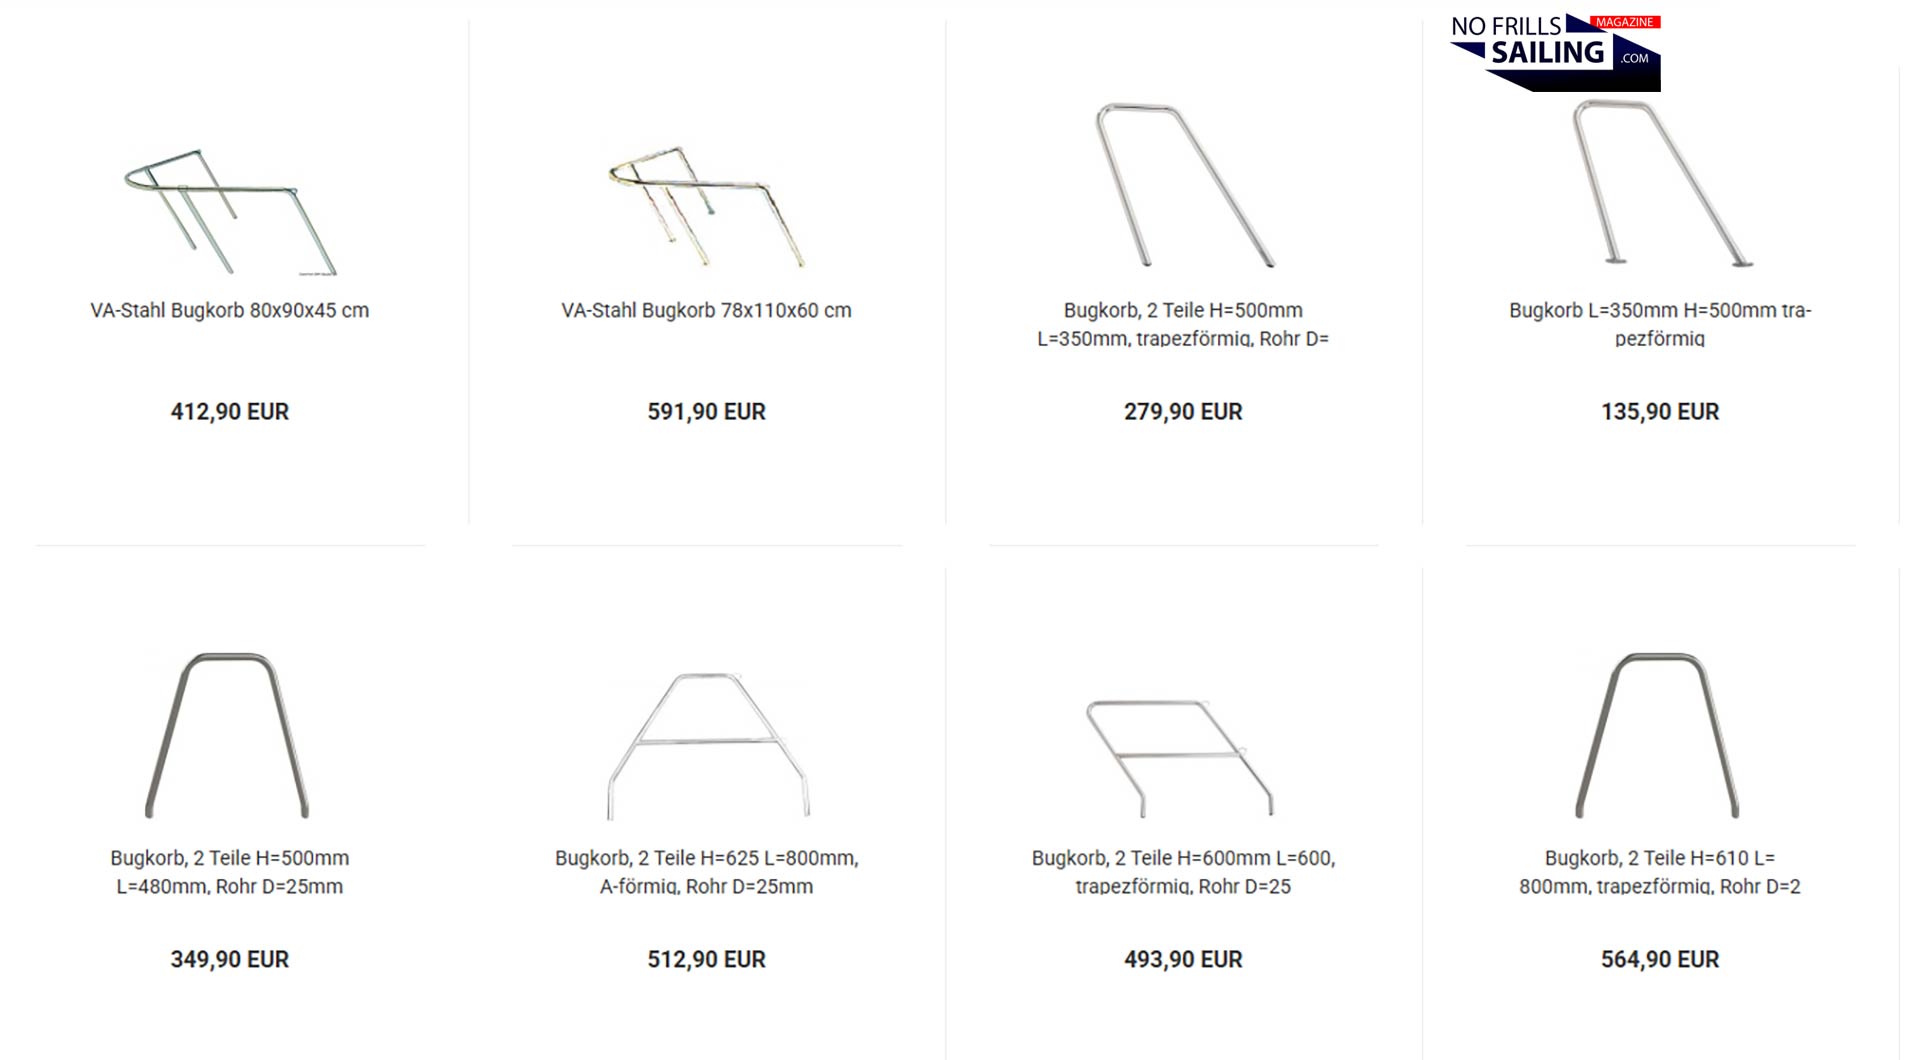
See, there are many, many readily available parts in online-chandleries which you can buy off the shelf. These parts may fit the boats as they come in different sizes and shape. The “problem” for me though is: These are in no way designed to fit my boat! Looking at the drawing of the Omega 42 hull shape, especially the bow sections with its huge, dramatic overhang, makes you instantly understand that no online-pulpit would ever fit the intricate lines of Peter Norlin. Any product I could buy would look awkward or even spoil the clipper-shape of my stem. So, there are two possibilities now.
Finding a locksmithery that’s capable of this job
First would be to buy a product off the shelf and have it re-worked so that it would fit the shape of my boat. Second, we start from scratch and have these parts custom-made by a skilled locksmith. It took me quite a while of thorough research to even get a slight overview on this. In fact, here in Germany, there are literally less than a handful of companies capable of making such parts – a lot of locksmiths and metalworkers, but I was looking for somebody with true experience in making boat-parts. That narrowed down the available choices. I even went so far as to talk with a company in Turkey.
In the end, I am very happy of the choice I´ve made. The company I went for is not very “famous”, in fact, they don´t even brand their products so that you´d normally never see their trademark on any part. Cziotec is the name, they for example work for German boatbuilder Hanse Yachts or luxury brand Y-Yachts. So, there´s a lot of marine expertise and I am sure that Y-Yachts does not choose their supplier because of cheap prices, but because of the highest possible manufacturing quality. The guy I talked to is a sailor himself, so he knows about the bits and pieces, the do´s and don’t´s.
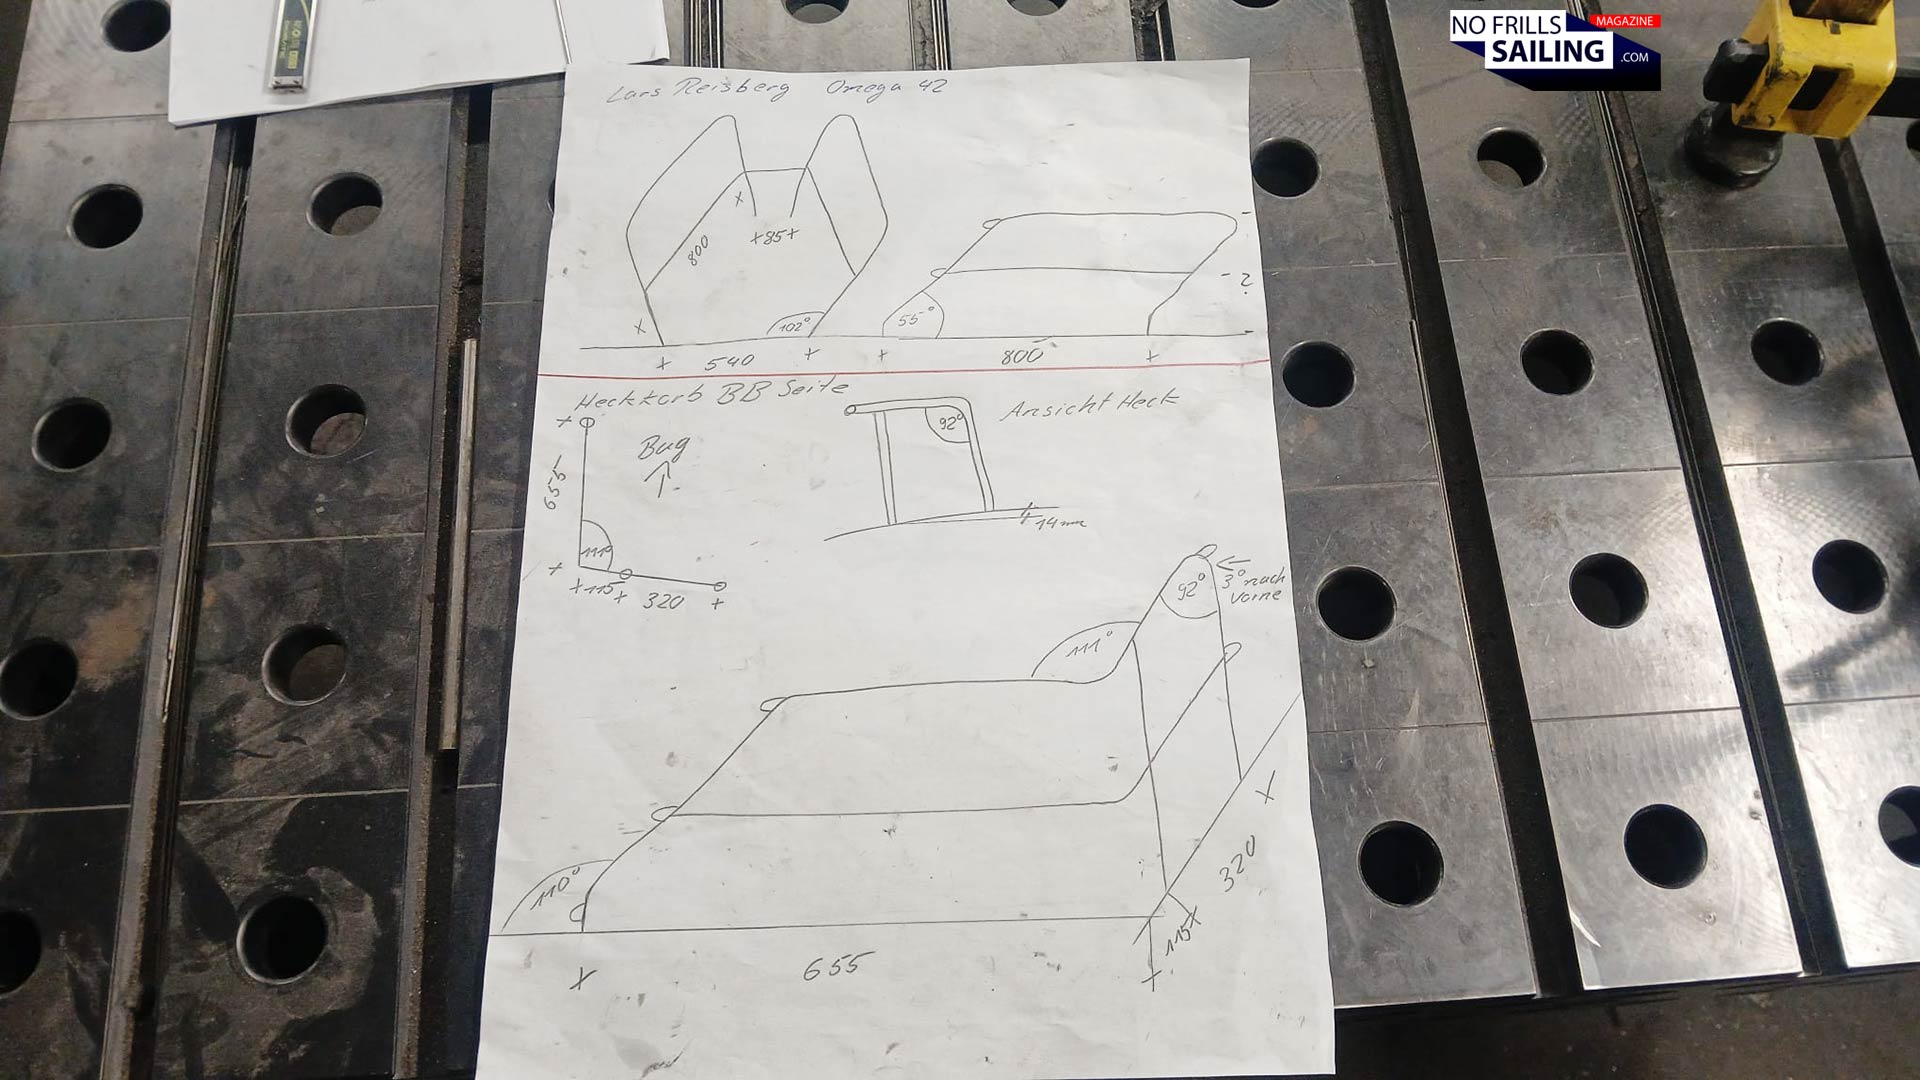
First thing they said was to make an appointment with my shipyard and personally inspect the boat. They don´t do anything “remotely”. Taking their own measurements, checking the structural reality, talking to the boat builders on location to discuss not just the shape and design, but also the things you normally don´t see when its finished: How to mount the parts in a way that they are safe but also rugged. We all know some boats where especially the pulpit is loose, ripped out of its sockets or even damaged the fiberglass to which it is connected.
From the brute metalware
Being present in the shipyard, they not only could make themselves a deep on-site impression of the boat, but also really really understand what this yacht is all about. The history and significance of the Omega 42. She is not your ordinary mass-produced cruiser, she is a classic, an icon indeed! So, they not only sketched a design that would neatly fit the original shape of Peter Norlin´s boat, but also adhere to the visual approach: Hidden mounting pods, no visible screws.
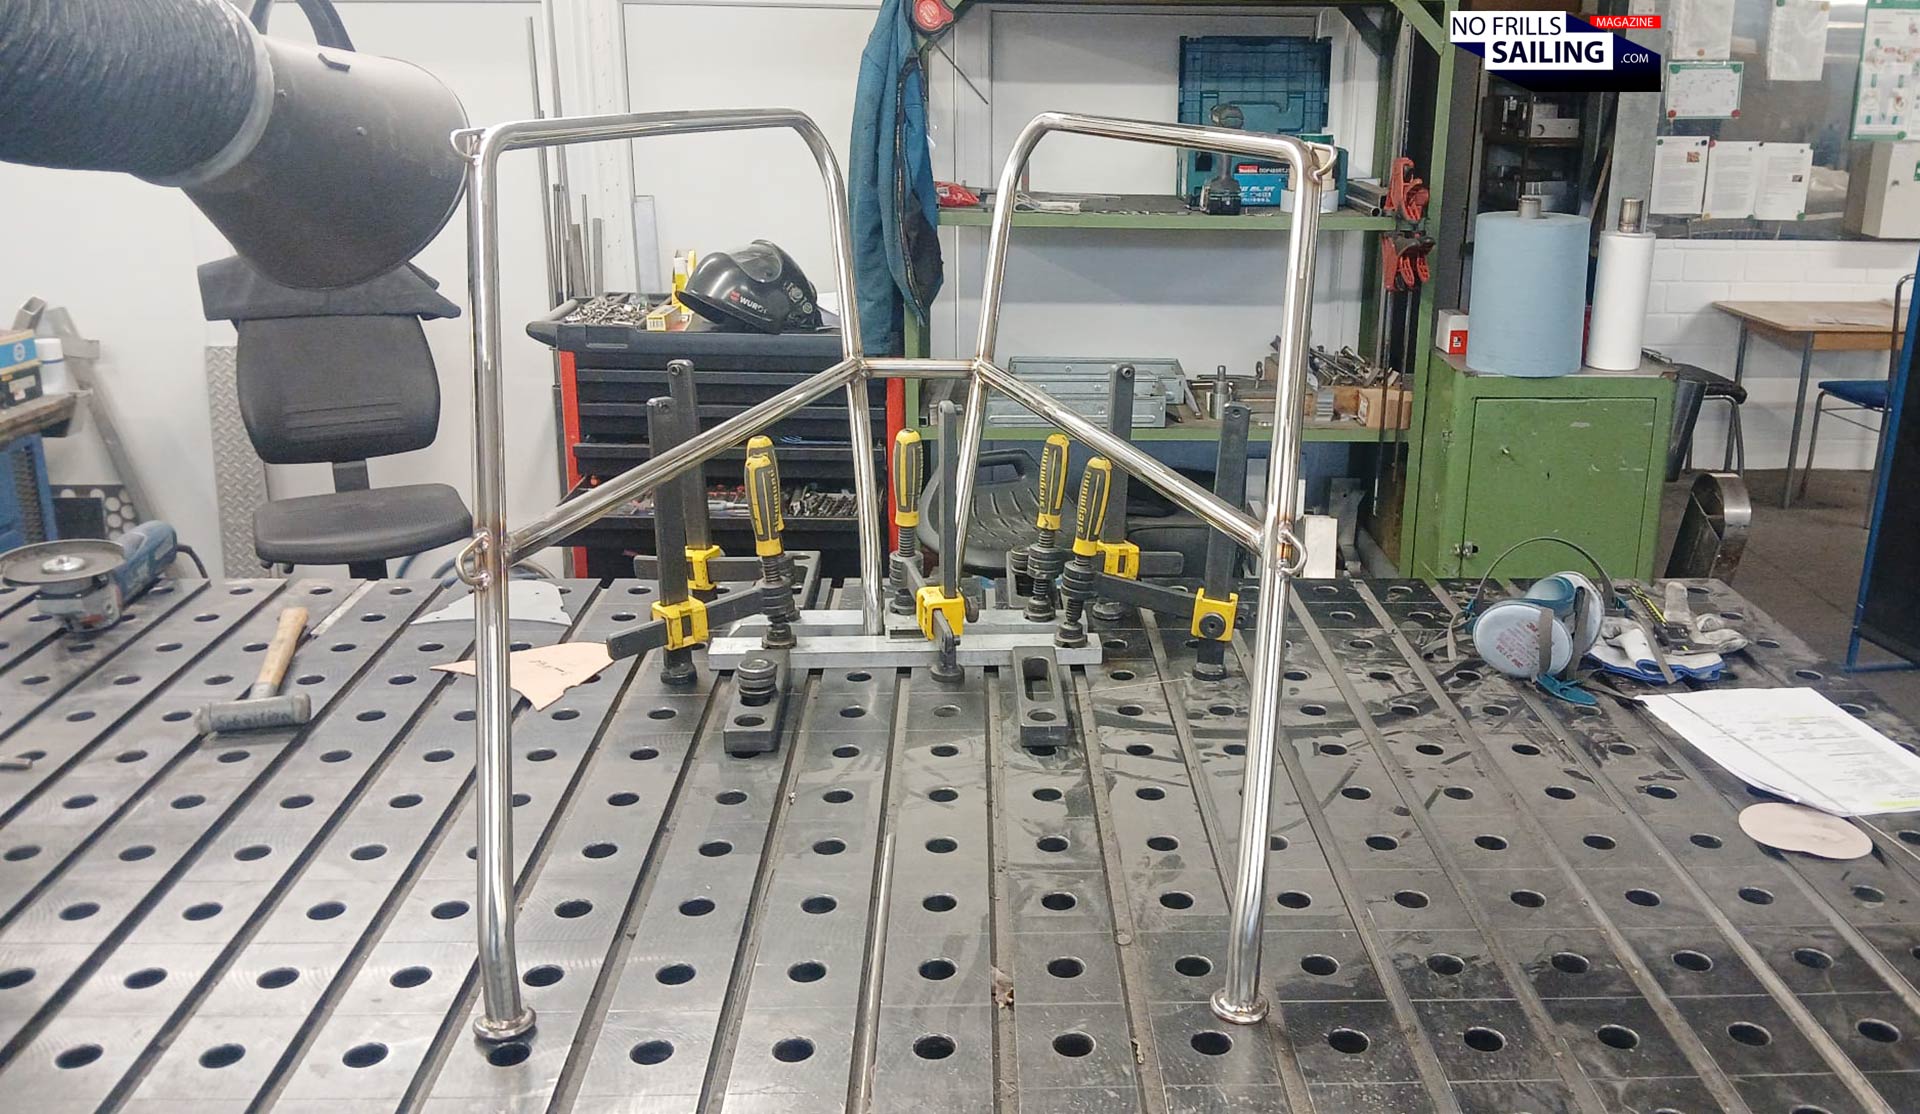
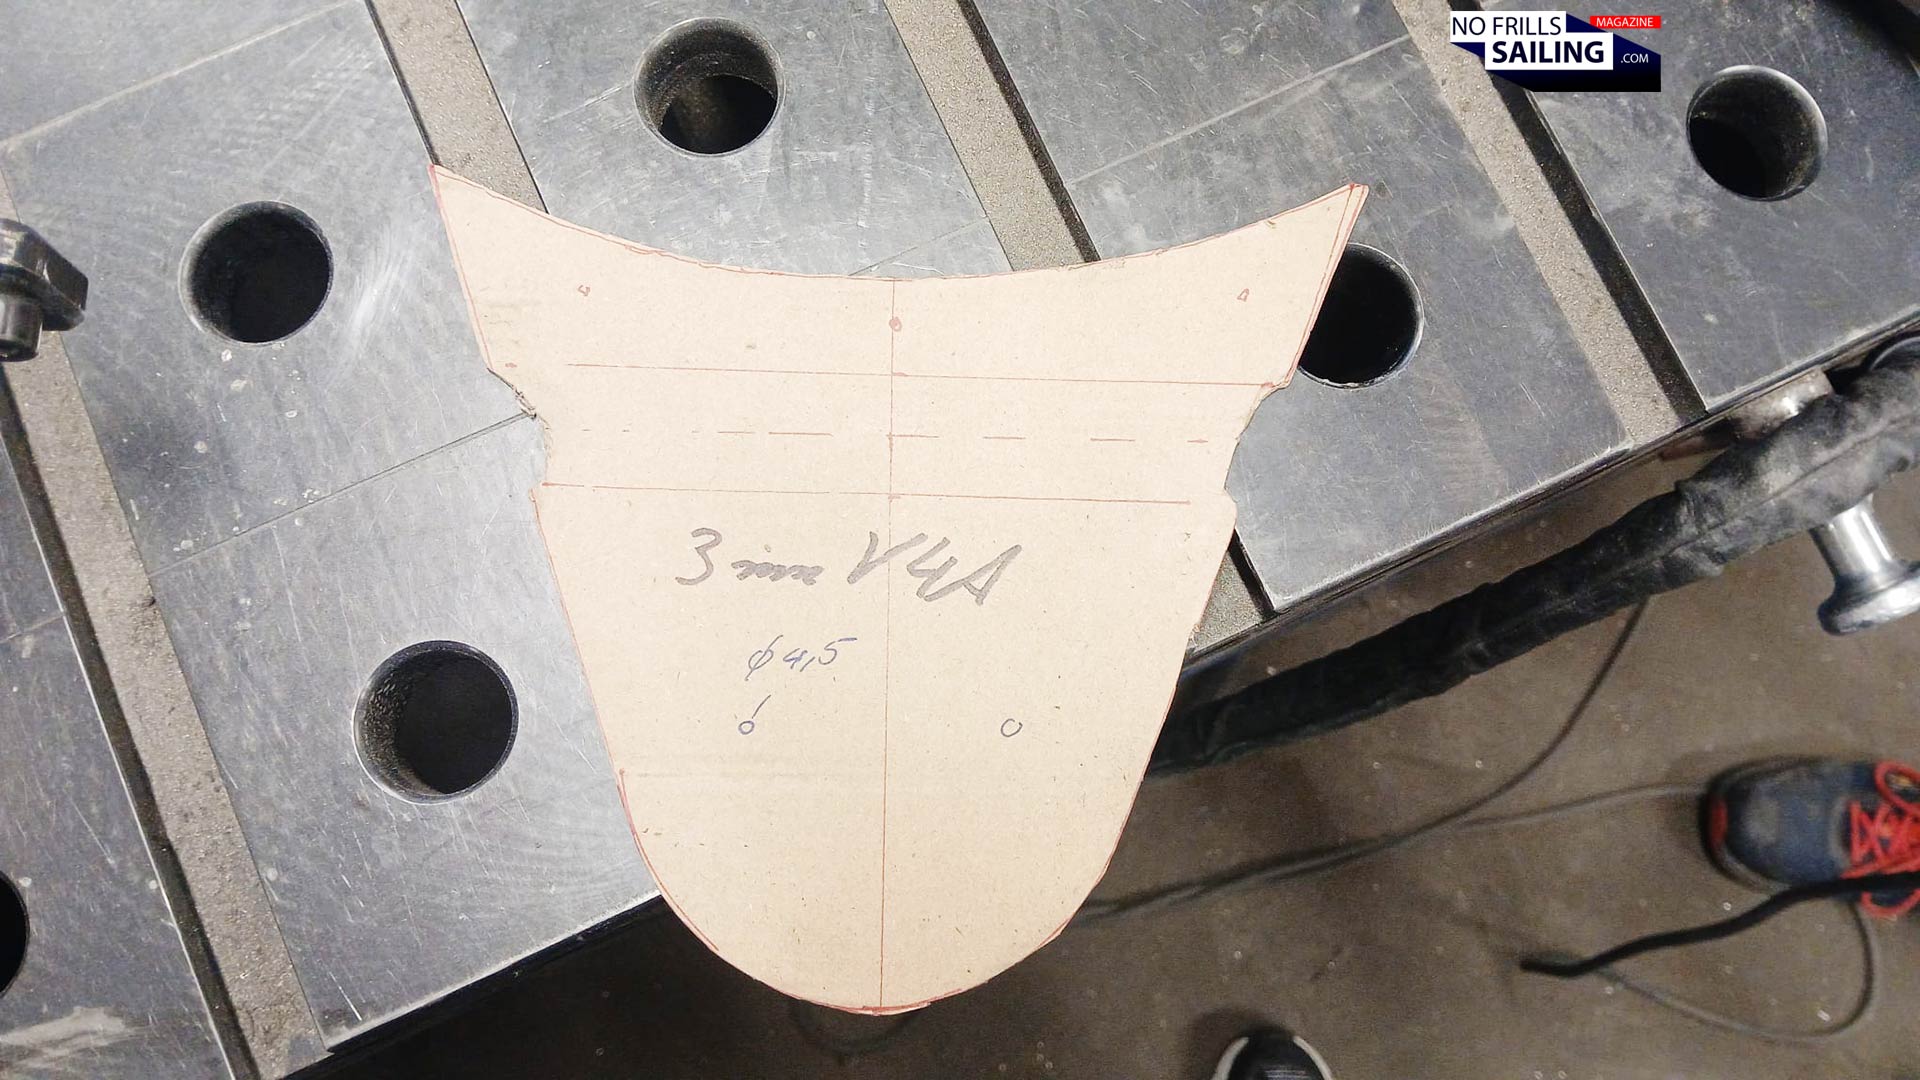
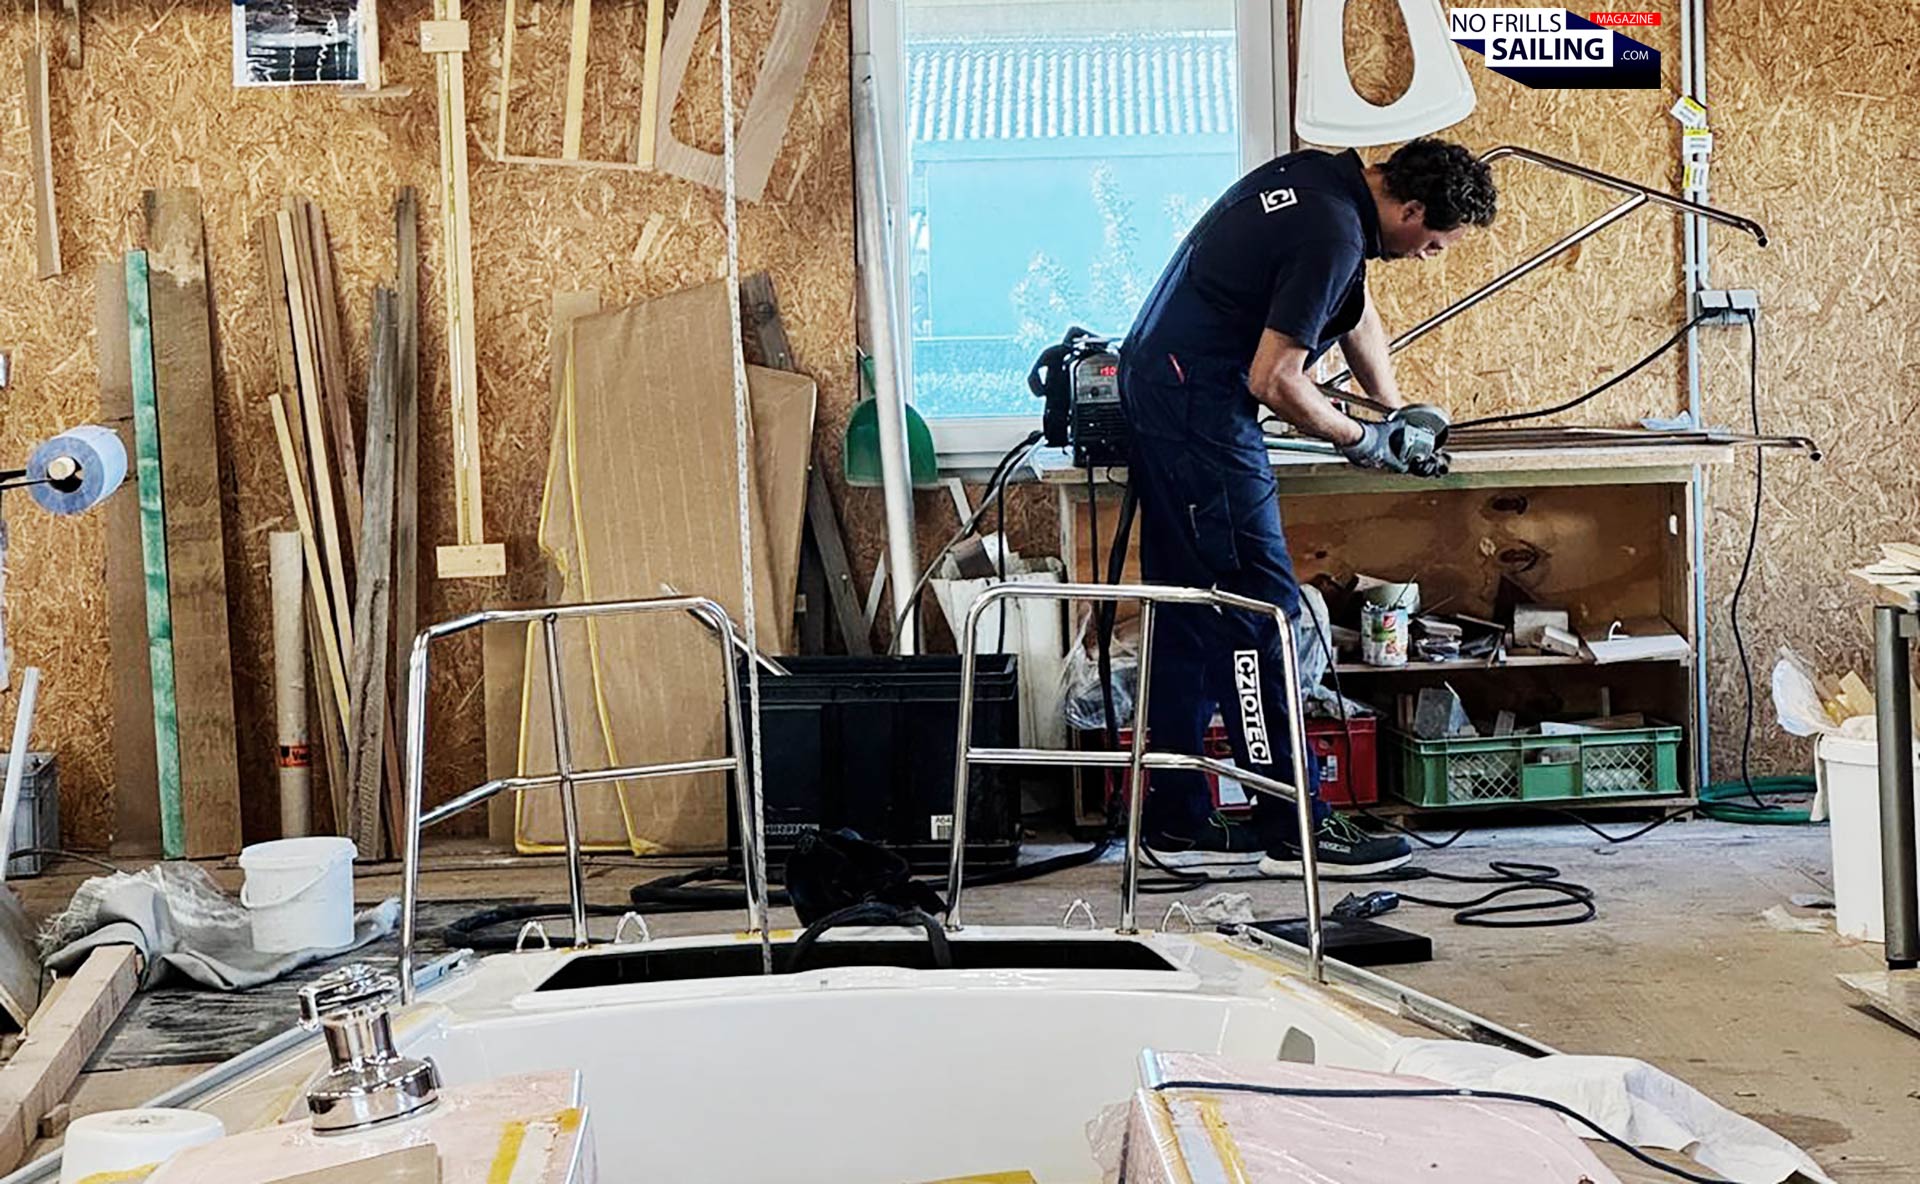
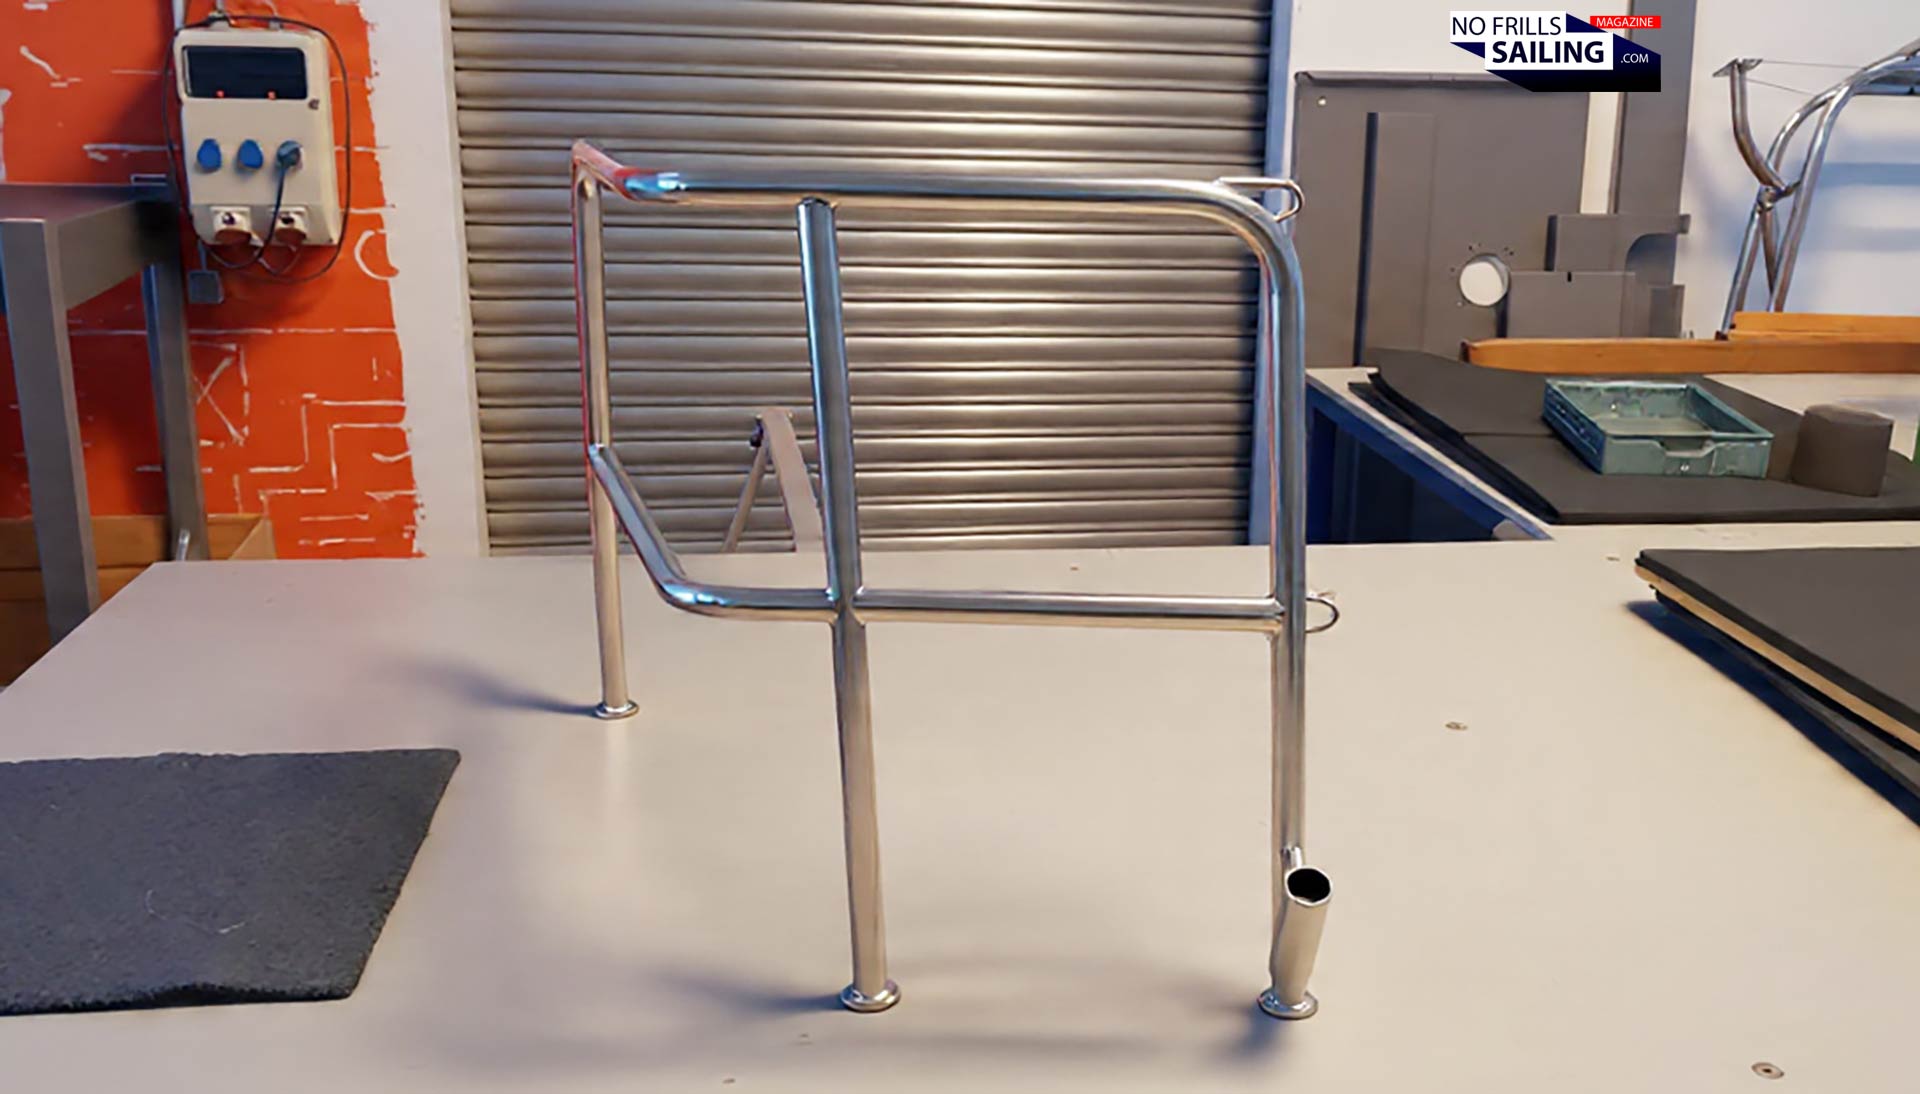
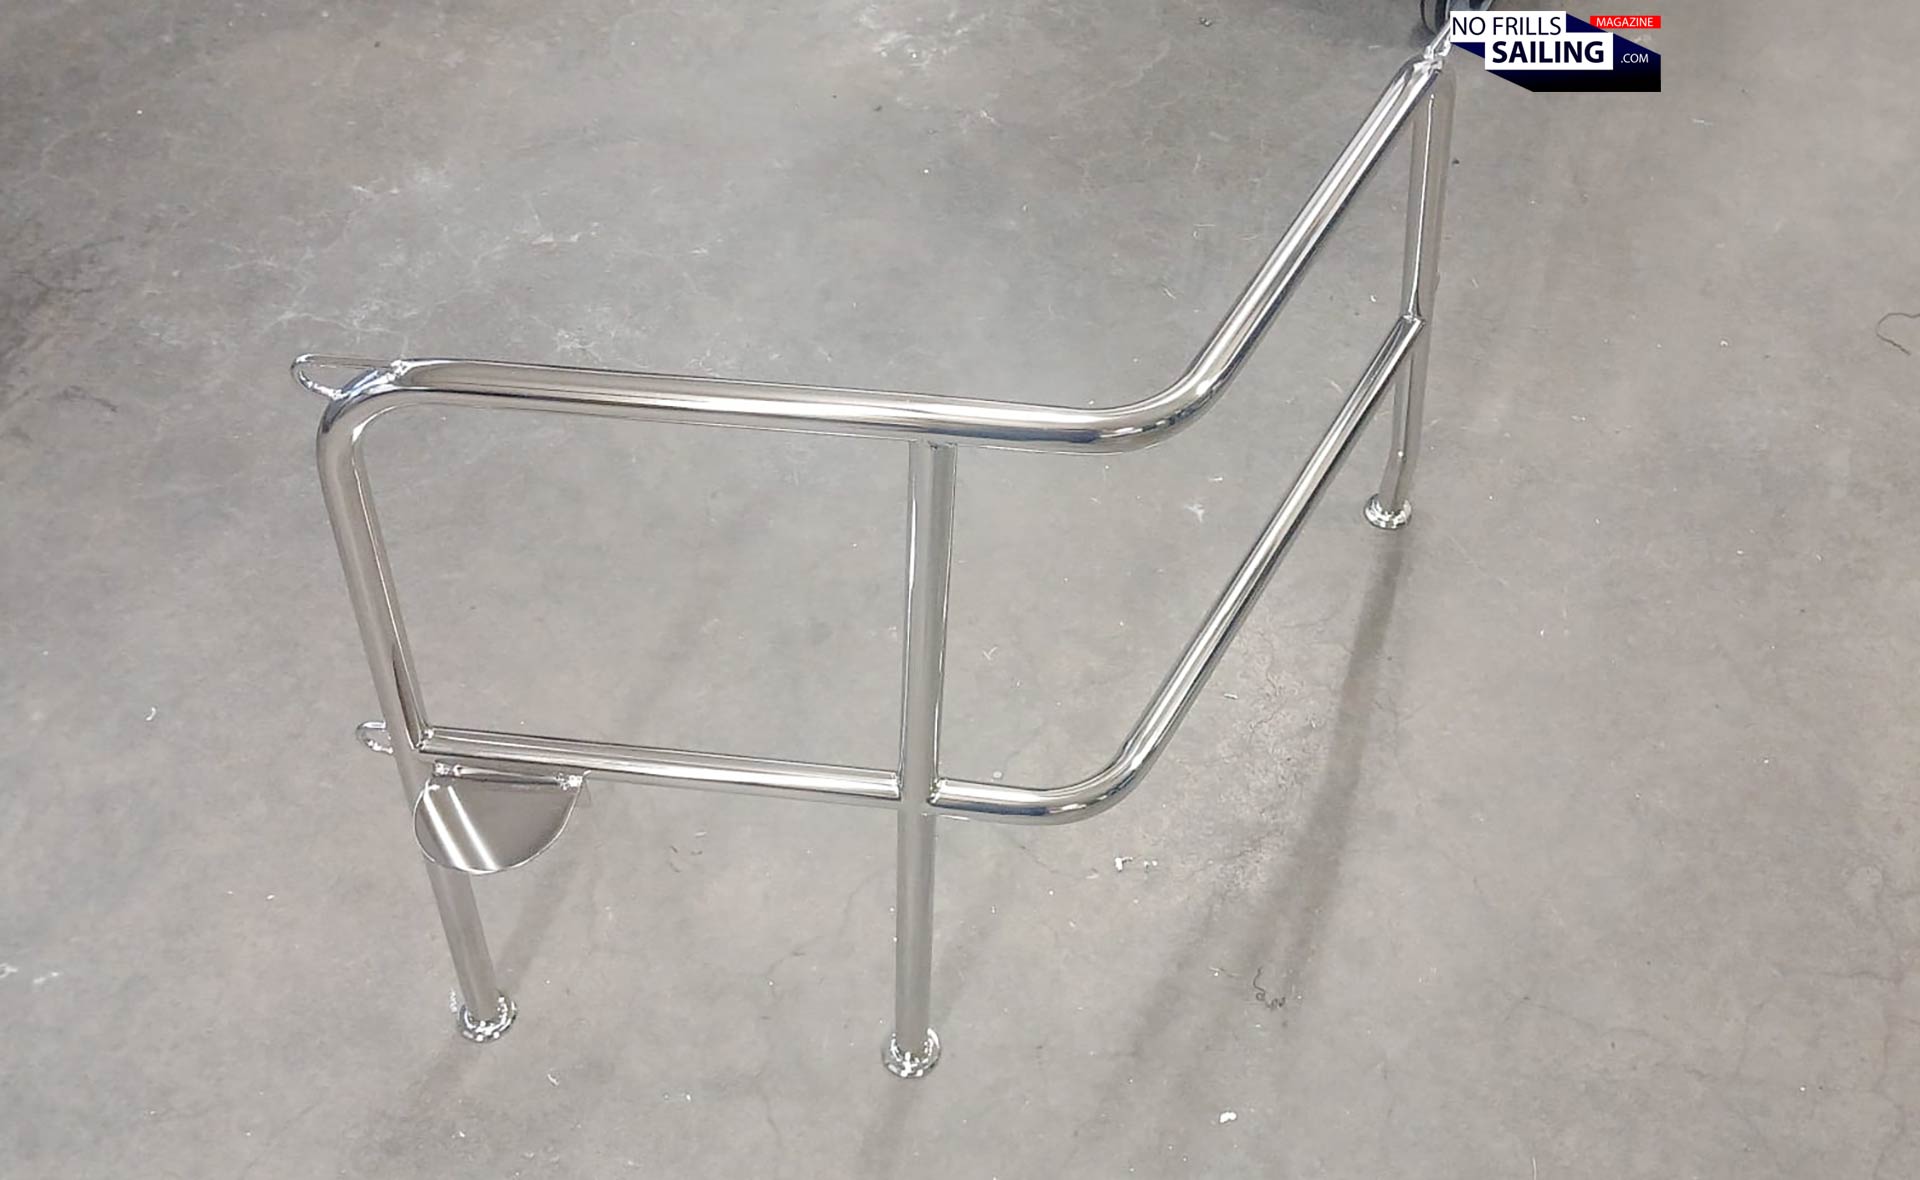
Back in the workshop – sorry, that I was not able to be there myself to take pictures, so I have to rely on the pics they´ve made for me, which do not really show how its made but rather the outcome – they started by choosing the right material. For me it was a no-brainer to go for VA4 stainless steel tubes in the first place. I want the stuff to be rigid and solid, but also rust-proof and able to stand the challenges of time. Bending and shaping the brute to step by step nearing the intended design, the brutes are taking shape.
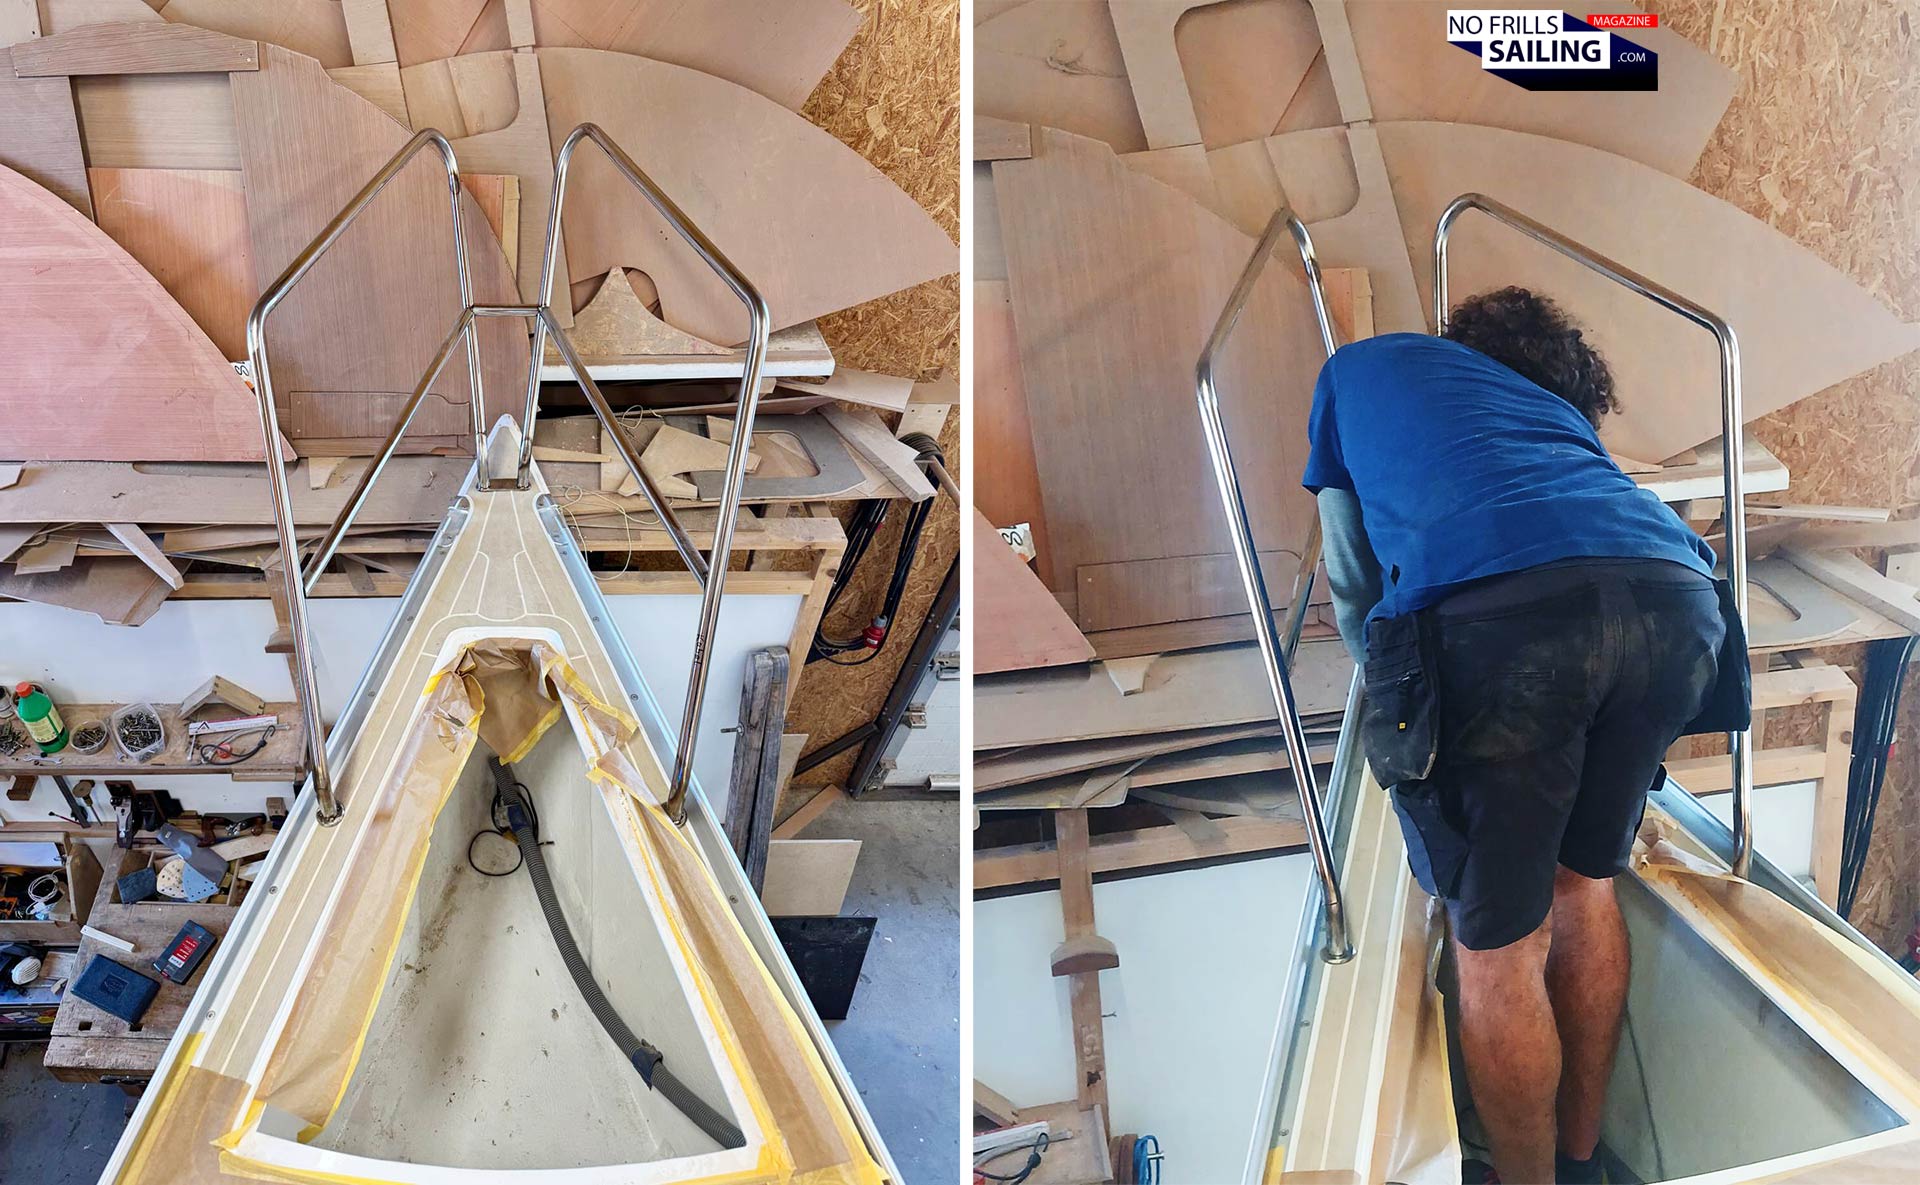
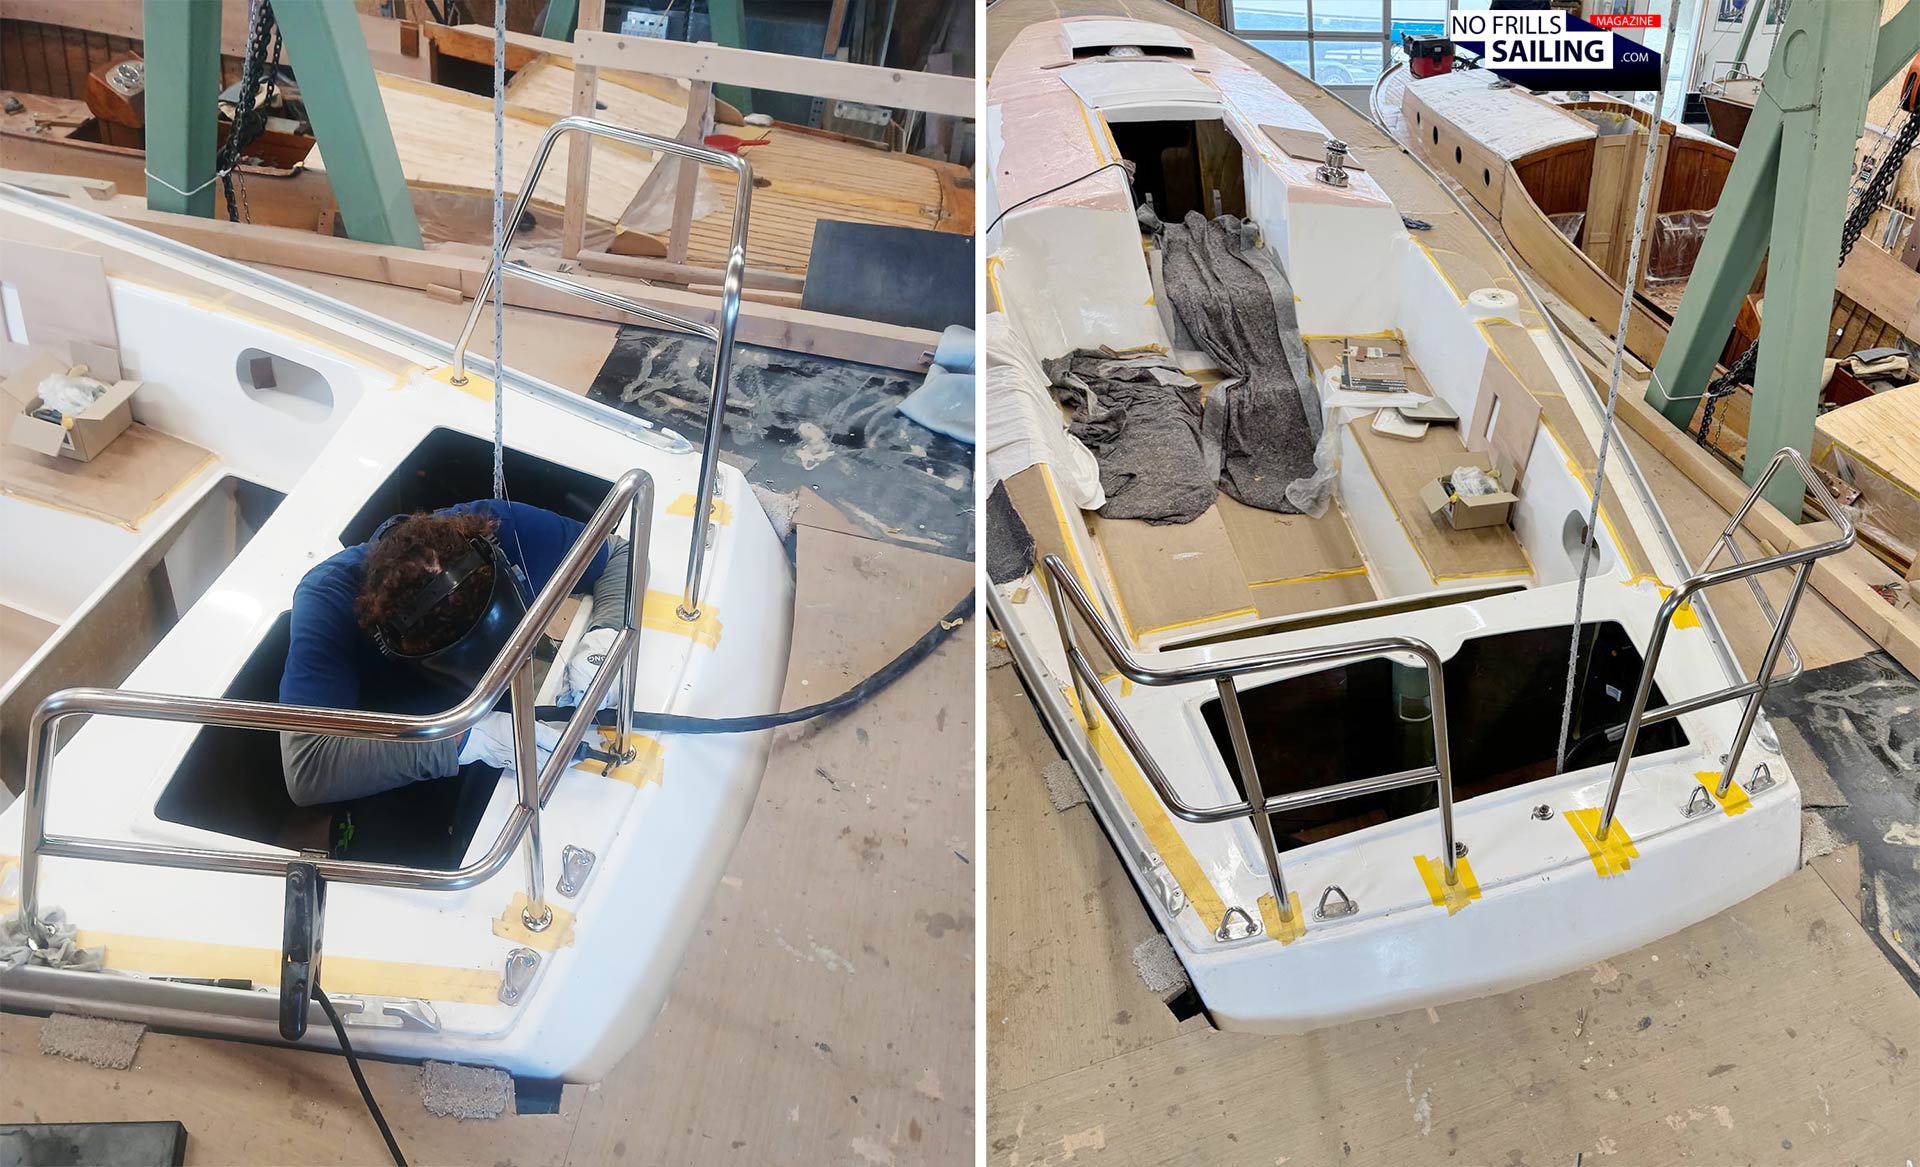
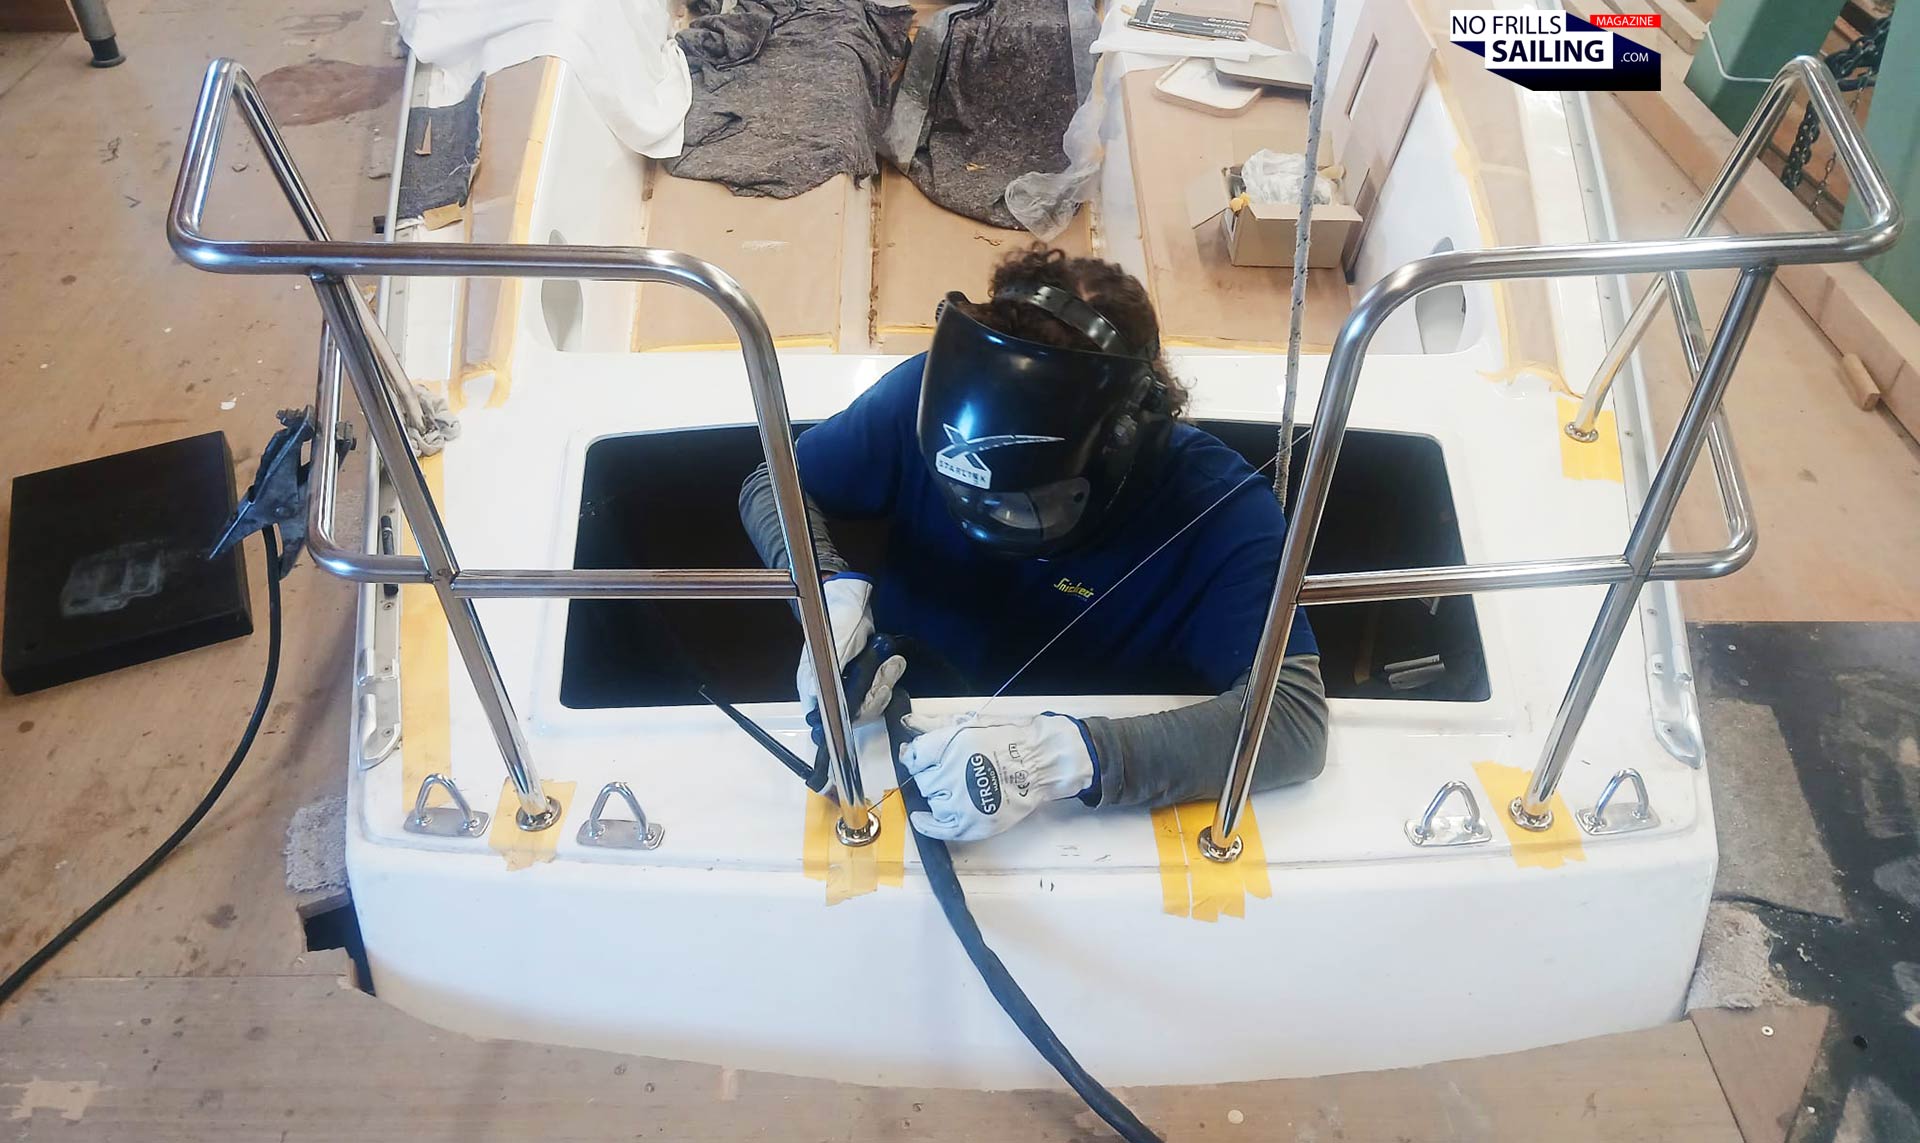
The welders are tack-welding the pieces together to build up the pulpit. Likewise it is done with the two parts for the stern, the pushpit. Both parts, but especially the pulpit, are of course not only solely “beautiful”, they have to serve certain tasks within the boat. Both have attachment points for the guardrail wire. As this wire will be fitted very tightly and needs to be able to hold a grown-up man falling overboard whilst connected to it, you can imagine that these attachment points need to be very strong.
Also, the pulpit must serve two more functions: One is to act as grab-handle for people to get on and off the boat safely, as the Omega 42 will predominantly moored bow-first. I am thinking of fitting a passarella for Mediterranean stern-first mooring, but usually, the boat is boarded over the bow. So, the connection between the left and right parts (garnished by a thick slab of teak), needs to be capable of taking on at least 100 kilograms of load without bending, cracking or damaging the attachment points. And second, underneath this boarding step, the red/green nav-light will be mounted: They have to make sure that the pulpit does not block the 120 degrees of sight.
Fine tuning of pulpit and pushpits
After these three parts had been tack-welded and generally shaped to fit the intended design, the guys went to the shipyard a second time to dress rehearse the fit, check the attachment points and iron out or at least mark possible inaccuracies for the final fit. That´s a second on-site visit, two workers, almost half a day or working time … you can imagine the effort that´s mounting up here.
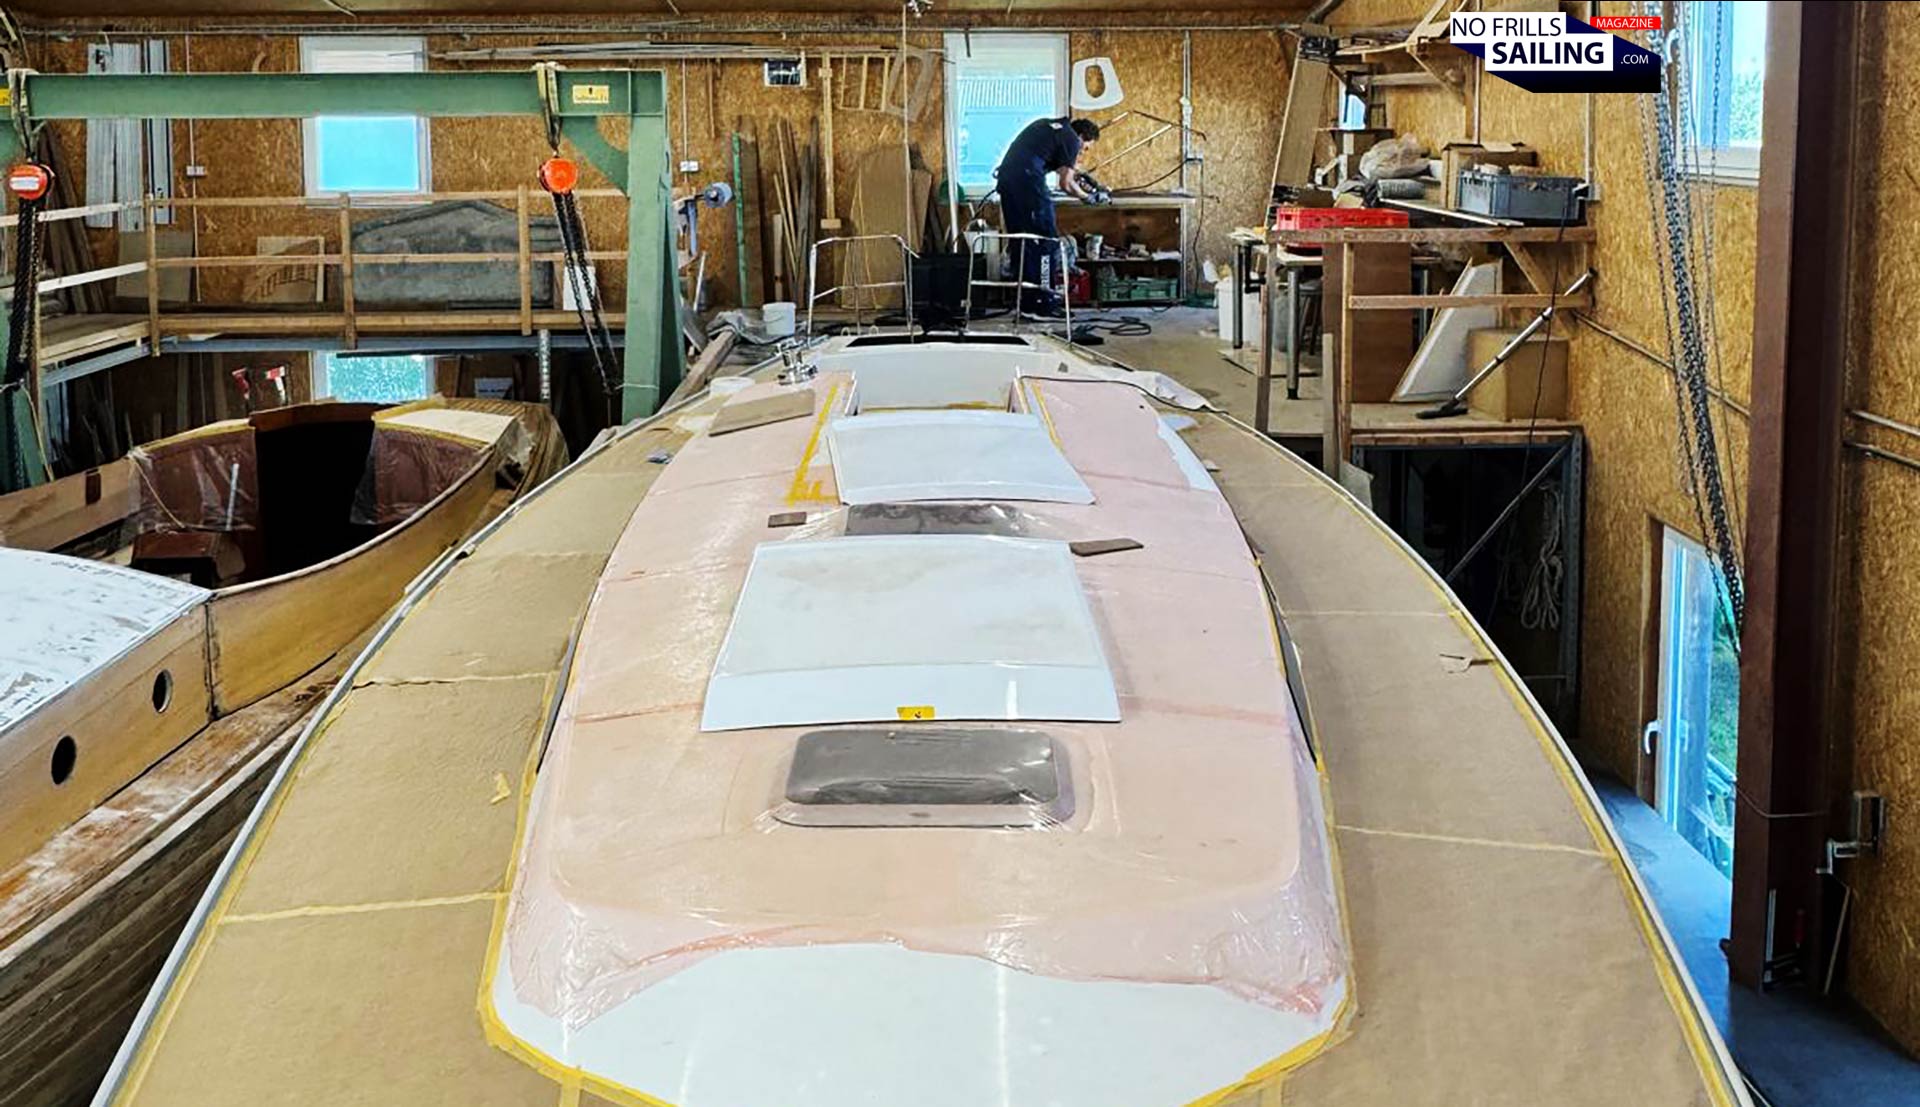
On the boat, the rough parts are placed and first of all the workers together with the master boatbuilder of the Omega 42 check the overall shape. Does the design adhere to the sketches? Do the angles and shapes take on and resemble the original design of Peter Norlin? You already know that I leave out stuff where I can to simplify the yacht´s setup as much as I can – that for example goes for the navionics or the toilet – but I rather invest more to make sure that the boat lives up to the legendary reputation of the Omega 42. This for example goes for the mooring cleats or the coach roof windows. And now, of course, for the pushpit and pulpit designs!
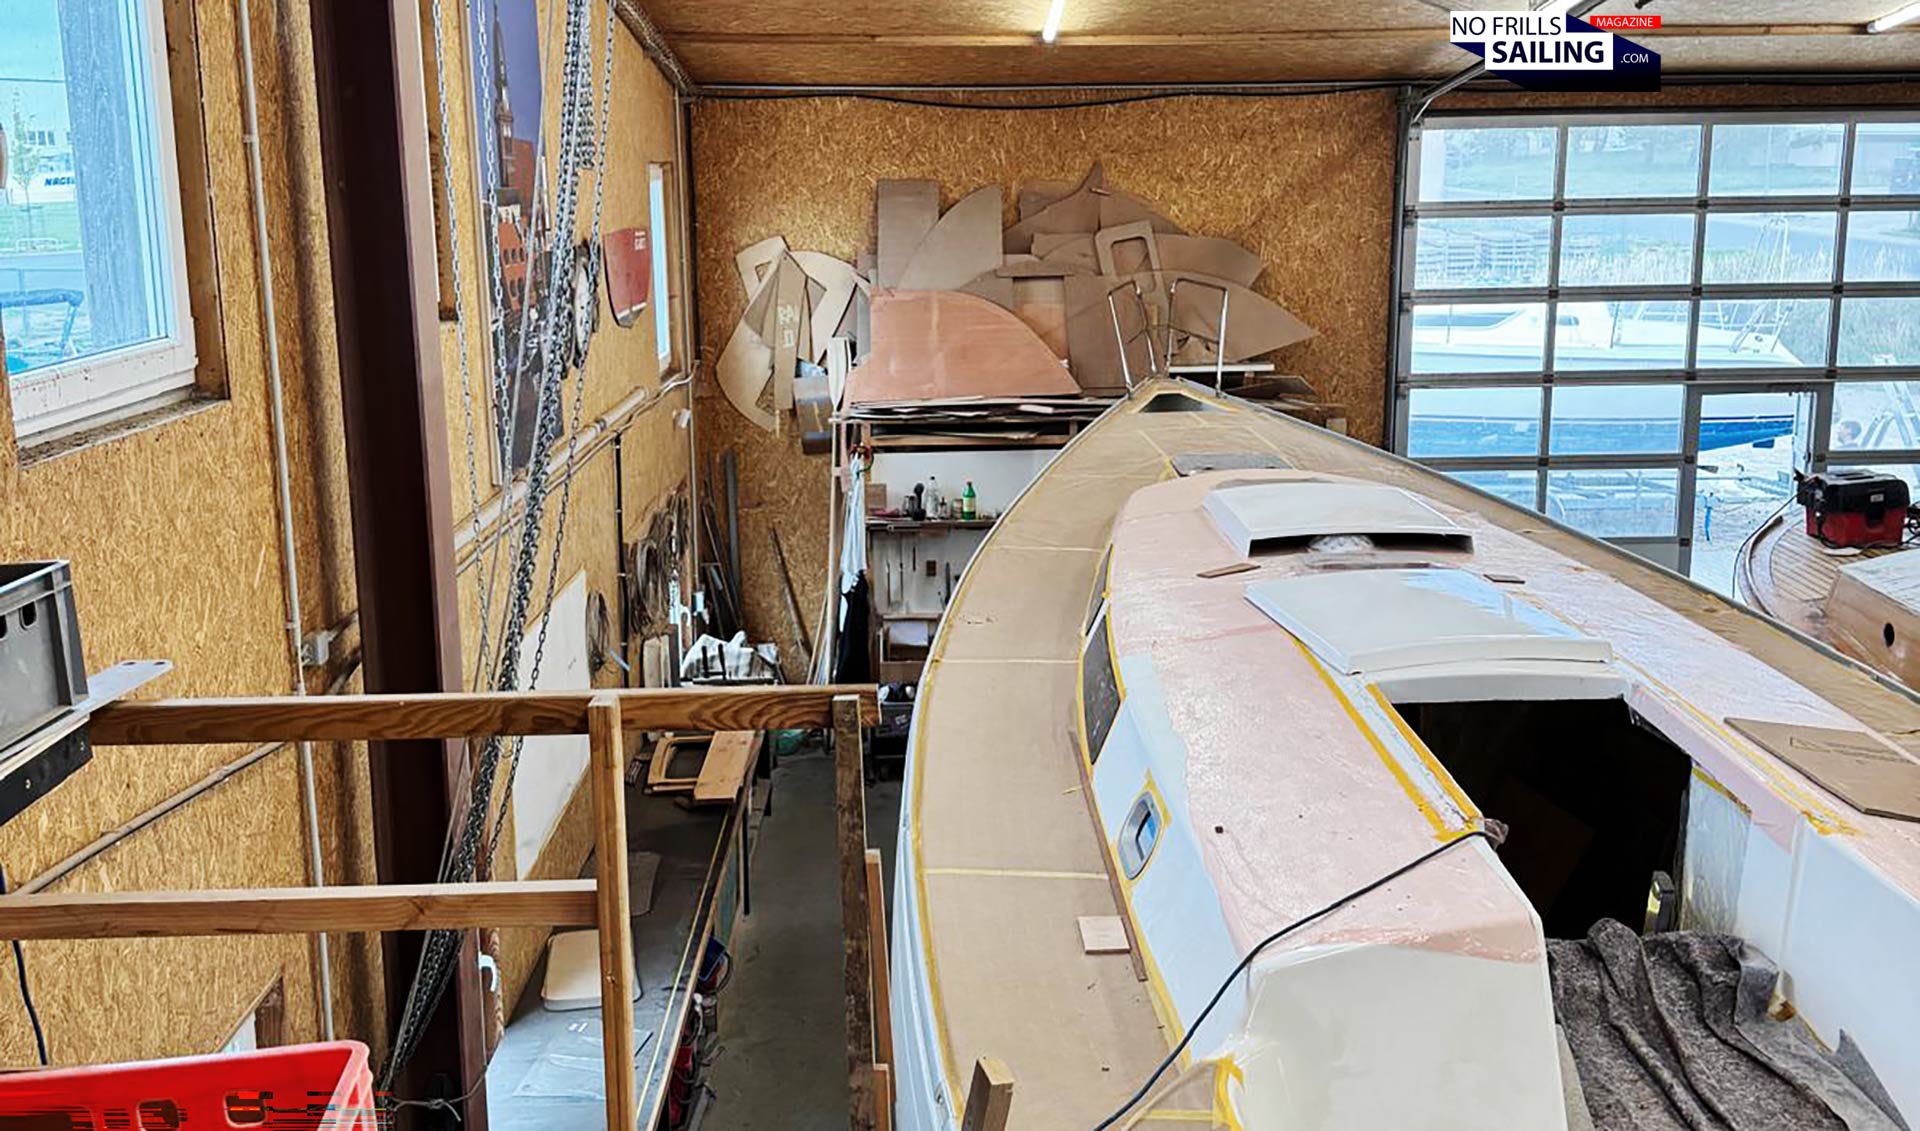
I may seem odd, because in relation to the huge boat these parts really kind of “disappear” on the backdrop of the boat itself, but people who know would recognize even the slightest inaccuracy which would then spoil the whole ensemble forever. In fact, it´s not just about my particular boat here – it´s about any other surplus Omega 42 we would build in the future. If you are thinking of acquiring one of these fantastic sailing yachts yourself, you must be sure that you´ll receive a true one-off marvel – down to the tiniest and seemingly most un-important detail. I promise, when this boat is floating in April 2027, you will acknowledge that the invest in these three “little” parts would have been paid off manifold!
Custom made handcraft has its price
Which brings us to the ultimate question of the budget. As you can imagine, anything made by human hands is of course much more expensive, than mass-produced stuff. If you look again at the first picture I posted in this article, which is a sceenshot of a simple Google search for “pulpits”, those parts range between 150 and 450, 500 Euros – including VAT, which in Germany now is at 19 percent. That said, looking at the quotation from my locksmith for the custom parts, I was really surprised.
All in all, the pulpit and the two pushpit-parts will clock in at 3.000 Euros excluding VAT. Which, in my eyes is a surprisingly low budget regarding the fact that these people went into the shipyard (with two people) and spent many hours checking, measuring, fitting. The welders worked a couple of dozen hours to make the brute parts, again coming to check, finetune and then smoothen out and finalizing the metal parts.
Provided I went for the 400 Euro pulpits from the mass-product range, that´s 800 Euros for the complete bow. Pushpits cost roughly the same, which makes the budget stop at 1.600 to 2.000 Euros. Well, it´s including VAT, okay, meaning that the end-budget for my custom parts will clock in at 3.500 Euros including VAT. But hey, that´s “only” roughly twice as much – for one-of-a-kind, custom made, high grade special parts which are genuinely made to fit exactly to my boat. And as these parts are constantly visible at all times, I of course agreed and hired the guys: This is not time to look for workaround or low-cost alternatives!
Finishing to a perfect end product: Metal polishing
After the brutes had been checked, still in the shipyard, the metalworkers adjusted them partly on-site to instantly control the outcome. This took place again during some boat show so I sadly wasn´t able to being present. Afterwards, they took the parts back to their company. Now it was time to bring the parts to 100 percent finishing quality: That´s mostly making for accurate symmetry for both push- and pulpits, but also – as any metalworker would agree – to set up beautiful welds.
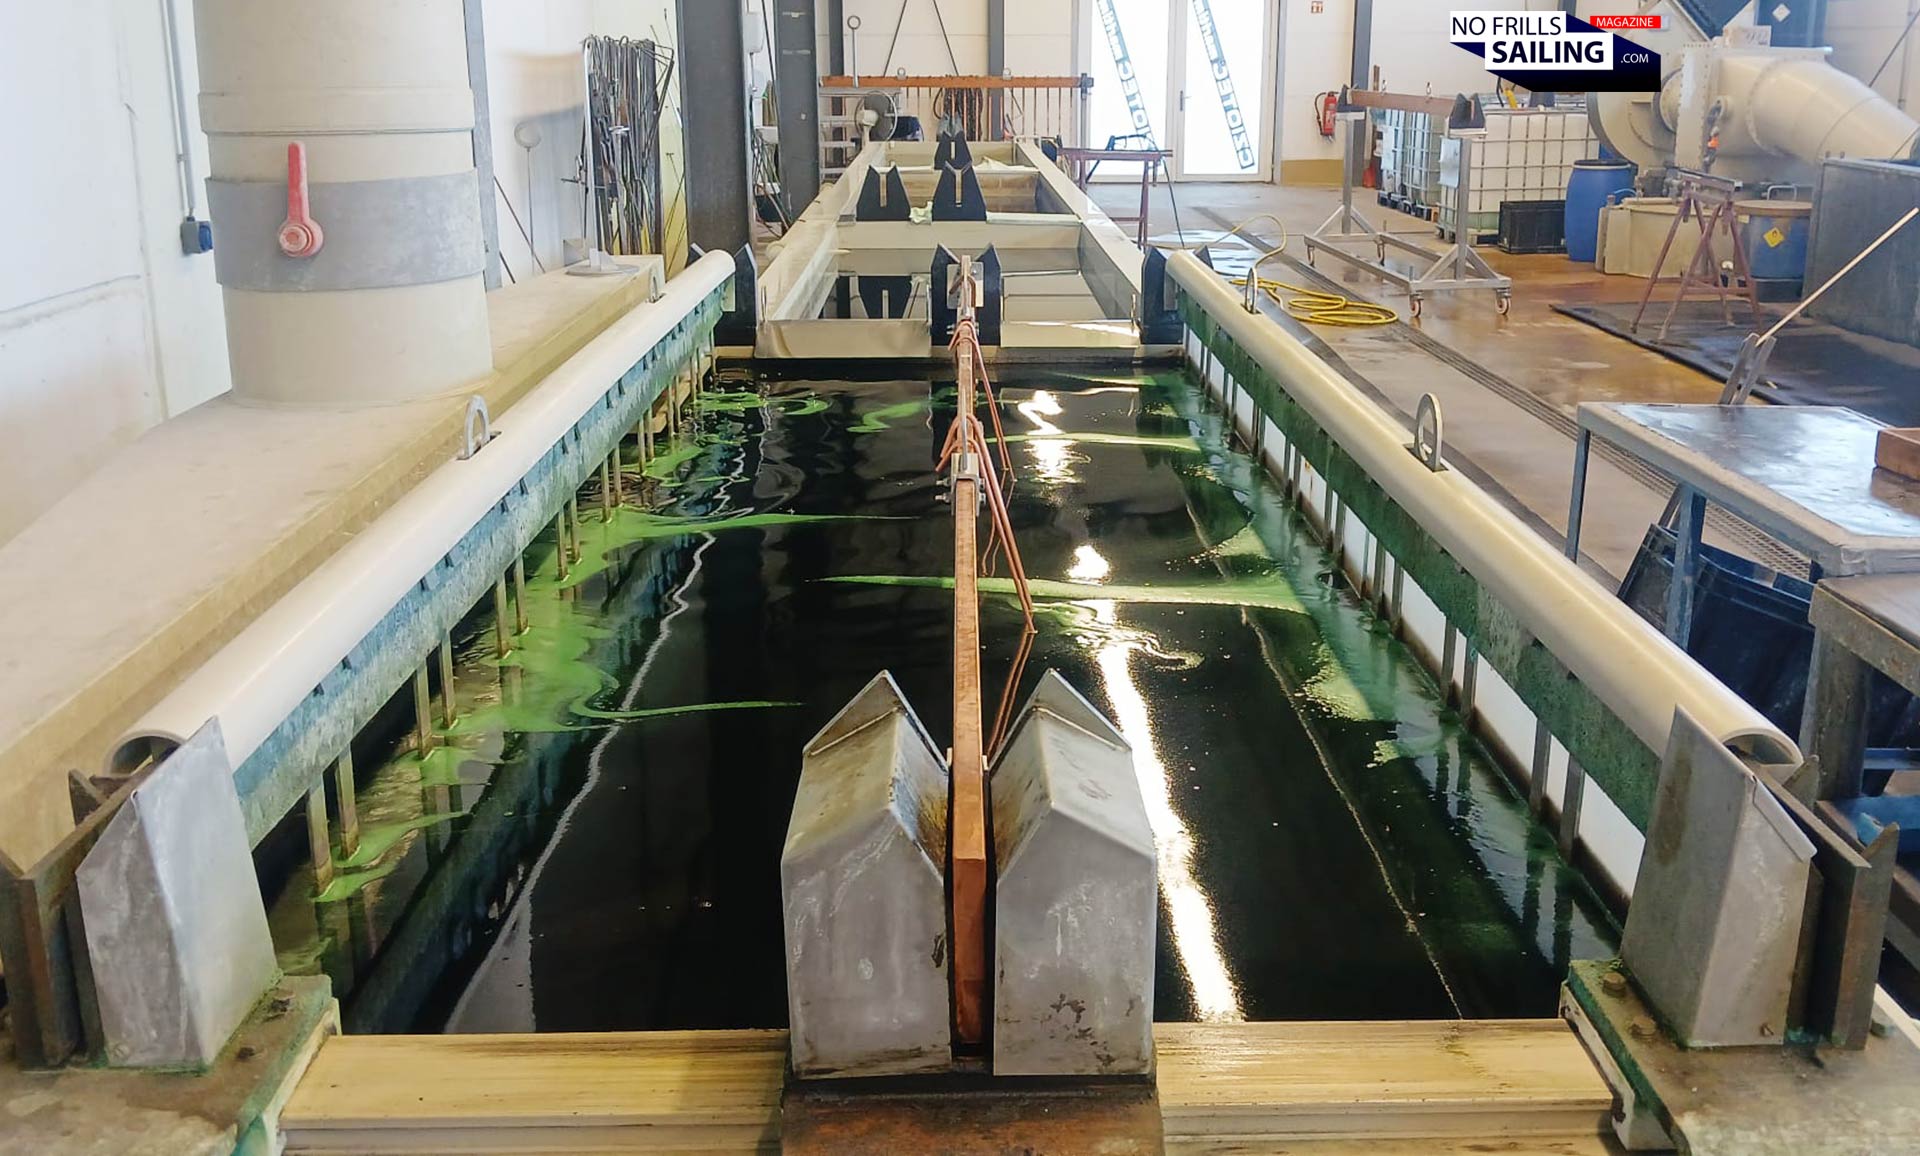
Because there´s welds and then there are really proper welds. After this has been insured, the parts will be metal polished. The first stage, after some mechanical grinding, is the etching bath. Nitric acid is used to etch “away” any inaccuracies and dents of the welds, everything will become very even and smooth. The second bath is the electro-chemical polishing. Here, in essence, this process is the reverse action that takes place in electroplating. So instead of adding a layer to the surface of a workpiece, in polishing a layer (or more) will be taken off the said workpiece. This is also called “anodic leveling”. You can see at the picture above that the facilities present at this company are of a decent size which makes it possible to electro-polish even bigger parts.
In the end, the stainless steel is not only smooth and clean, this process makes sure that there is a uniform, evenly distributed chromium oxide layer. This will massively boost corrosion resistance of the said workpiece – especially in very salty and moist environments. Flash rust, which is a constant pain in the ass with cheaper made metal parts (even VA4!) won´t have a chance here. This process works purely without any heat or mechanical stresses – making sure that there´s no distortion in any way afterwards. Also, this way of preparing the workpiece makes sure that the solution reaches into any corner – even the most complex shapes will be treated evenly.
Next steps for the Omega 42 deck
So, what do you think? Do you like these parts? I know, there´s essentially not all too much to see here. I promise I will take many more pictures when the parts and the guardrail are mounted. If you ask me, I am really happy about my choice: True craftsmanship, supported a local company (Cziotec is based at the Baltic Sea not all too far away from my shipyard) and made not just by competent locksmiths, but also by people wo work with marine products on a daily basis. Perfect in any sense, I shall say.
You know what´s also quite cool? If you´d never ever miss any new article on NO FRILLS SAILING. Instead of checking my website in your bookmarks actively, you may as well just subscribe to the monthly newsletter. It´s really convenient: Once a month a simple nice email reaches your inbox, comprised of shortcuts to the eight to ten new articles on my website or – brand new! – to any new video on my YouTube channel. Would be cool to have you added to the mailing list. Back to the Omega 42, what´s up next?

It´s currently a lot of bits and pieces: Electrical and electronics are mounted, finishing touches here and there, wiring and piping of the Diesel engine, fresh water stuff … I am collecting the pictures and will publish a next article on all these smaller things. Because now, during the end-phase, the biggest – and most exciting – things are almost all crossed off the to do list. Except for the one last big item: The keel. So, stay tuned, guys.
You might as well check these related articles:
All Omega 42 work-in-progress articles from the start till now
Why handcraft and high-grade manufacture has its price
What´s that fuzz around the Omega 42 is all about anyway?!