Last time visiting the Beneteau shipyard with prospects I had the idea to do a more detailed article about moulds in shipbuilding. That may sound a bit odd, eventually even boring, but on the contrary: It is a very exciting and most delicate topic! Why? Because, if something goes wrong with the mould, your boat´s hull or deck may become messed up – as the mould is the ultimate birthplace of a GRP-made yacht, shipyards like Beneteau undertake huge efforts to ensure that their moulds are made – and maintained to keep – to the highest standards possible.

On can say with certainty that all glass fiber reinforced parts on a modern yacht have their origin in a mould. Just like a gummi bear, to get the shape or form desired, the GRP material which consists of non-solid primary materials, need a mould to harden within, becoming solid and hence retaining the desired shape. GRP is made of multiple layers of glass fibers (which come in various material strengths, shapes, pattern and directions) and a resin, some added with a hardener to speed up the process, some with a thinner to delay it.
Single most important asset in GRP shipbuilding

The mould, it´s safe to say that, is the single most important asset that a modern shipyard owns. Much like the uterus inside a woman, without the mould modern shipbuilding would be impossible. If you wander the boat shows and admire the smooth shiny new hulls of your dream yacht, it´s the quality of the mould that decides if the boat´s side is spotless, perfectly even and admirable.

Hence, the other way around, if a shipyard decided to not invest into a thoroughly made high quality mould or does not maintain their moulds properly, the hulls, decks and other parts coming out of it will have inferior quality. That means, hulls can become saggy, have defects and dents, even a hair, if not removed, will be “seen” as it leaves a mark in the boat´s outside Gelcoat layer. When visiting “our” Beneteau shipyards, the guides showing our prospects around take a lot of time to explain how much effort goes into making the moulds and keeping them in perfect shape over their lifetime while in production.
In the factory halls
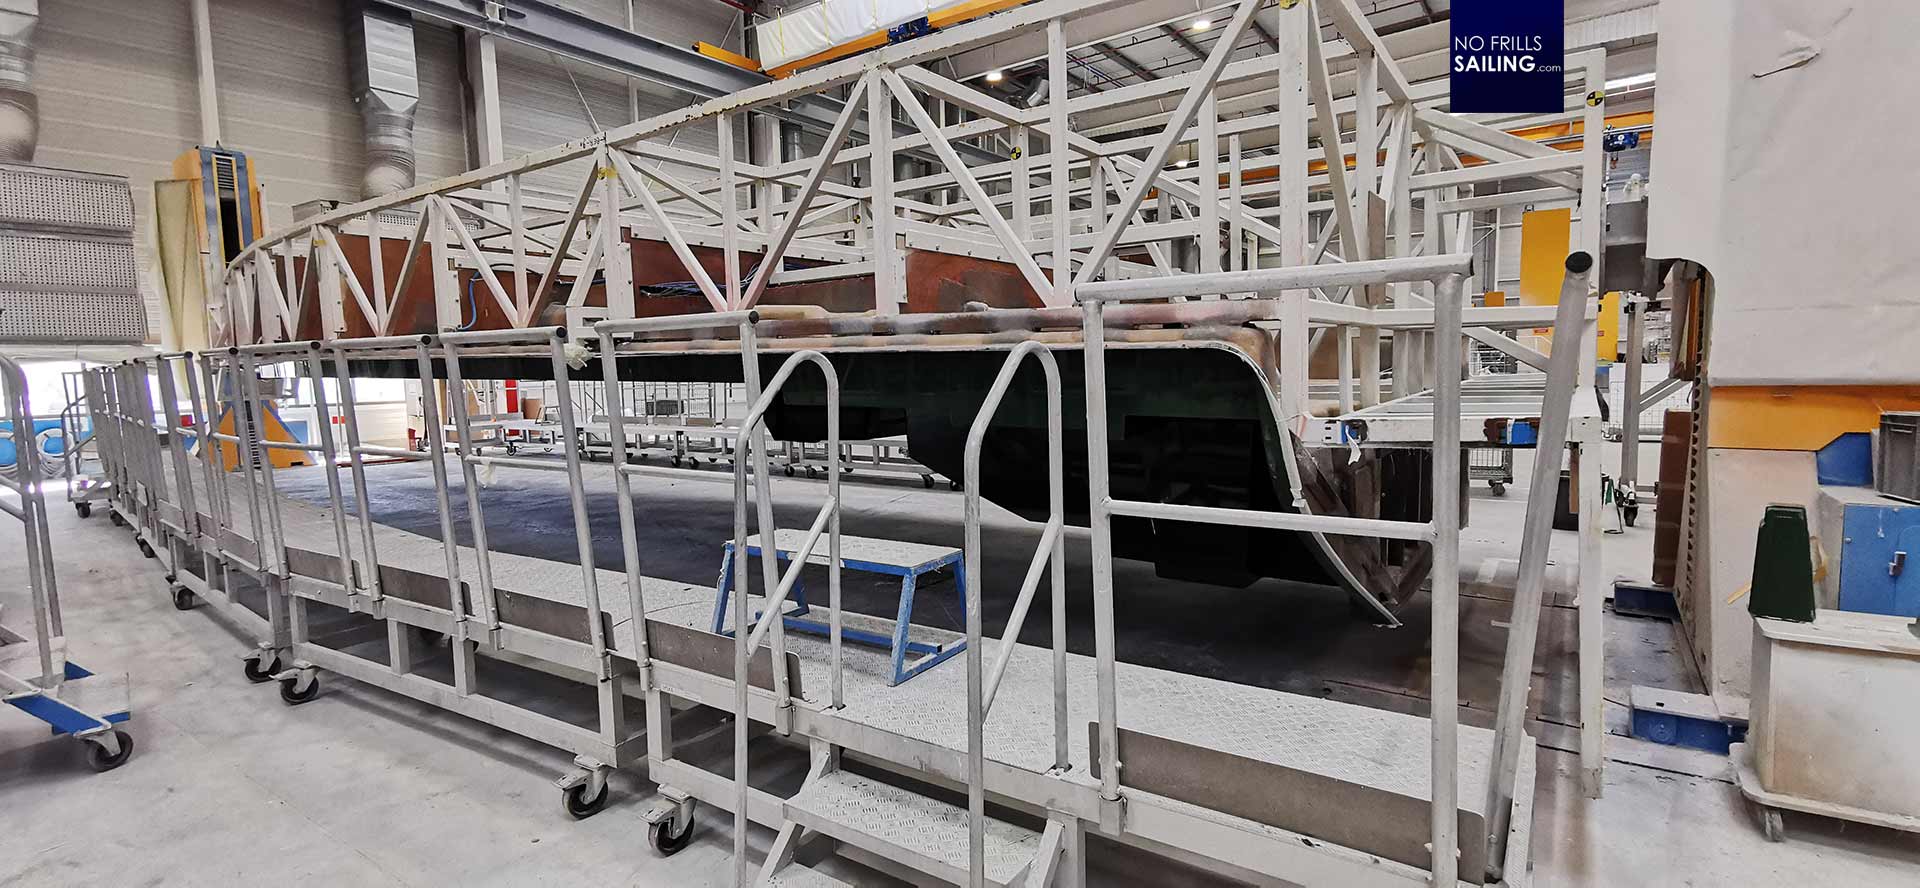
We enter the first factory hall. A strong smell of resin fills our nostrils. Even if there´s a strong air conditioning working 24 hours a day to constantly circulate fresh air and recycle the chemical fumes, it´s a lot of chemistry taking place here. The first impression upon entering is mostly a stunned “I´ve never thought it would look like this!” by our guests. The huge workshop is filled with half a dozen “cages” – huge rectangular constructions of steel beams and struts.
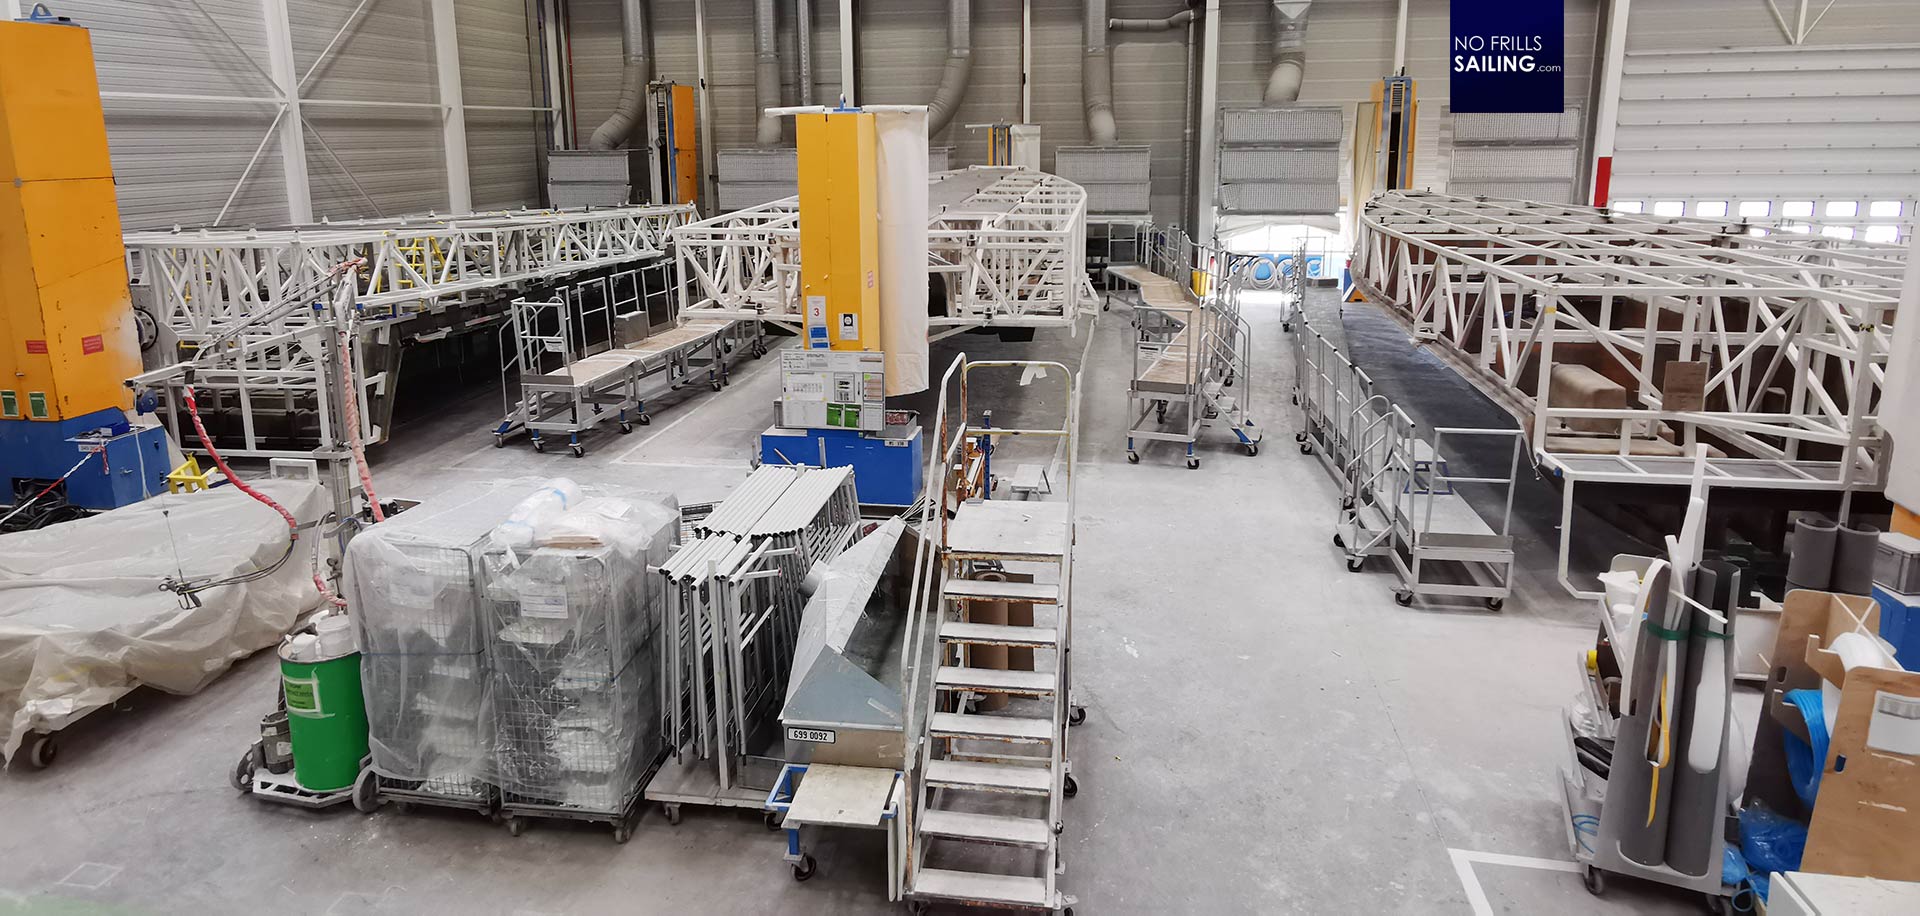
That´s the basic structure of a big mould: An outside structure of steel beams and struts, just like an exoskeleton, is providing the stability to “house” the very mould. The mould itself sits inside of this structure – it cannot move, bend or deform, which is essential because when the resin and fibers turn solid, they need to get exactly the shape once calculated by the designers.

These huge „cages“ feature ladders which enable the workers to climb onto and into the mould. For working purpose but also for controlling the efforts. Also, some of those cages have rollers which enable the staff to move them around. But how is a mould manufactured in the first place?
From a plug to the mould
That´s a very interesting process too and I hope I can write an article on prototyping, making a plug and hence the birth of a mould soon. For now, it works like this: If a new boat is designed, the shipyard will make a protopye. Usually this is made by a huge 4, 5 axis-drilling robot that is working large chunks of Styrofoam. This first Styrofoam hull is then treated by fillers, sanded multiple times, some will get a solid wooden surface, loads of filler again and last not least a smooth, perfect, solid Epoxy-like surface. This is called the “plug”. This plug is a huge first hull, but a solid one. It will never float. Its only purpose is to function as the “male” part for its “female” counterpart – this will be the mould.
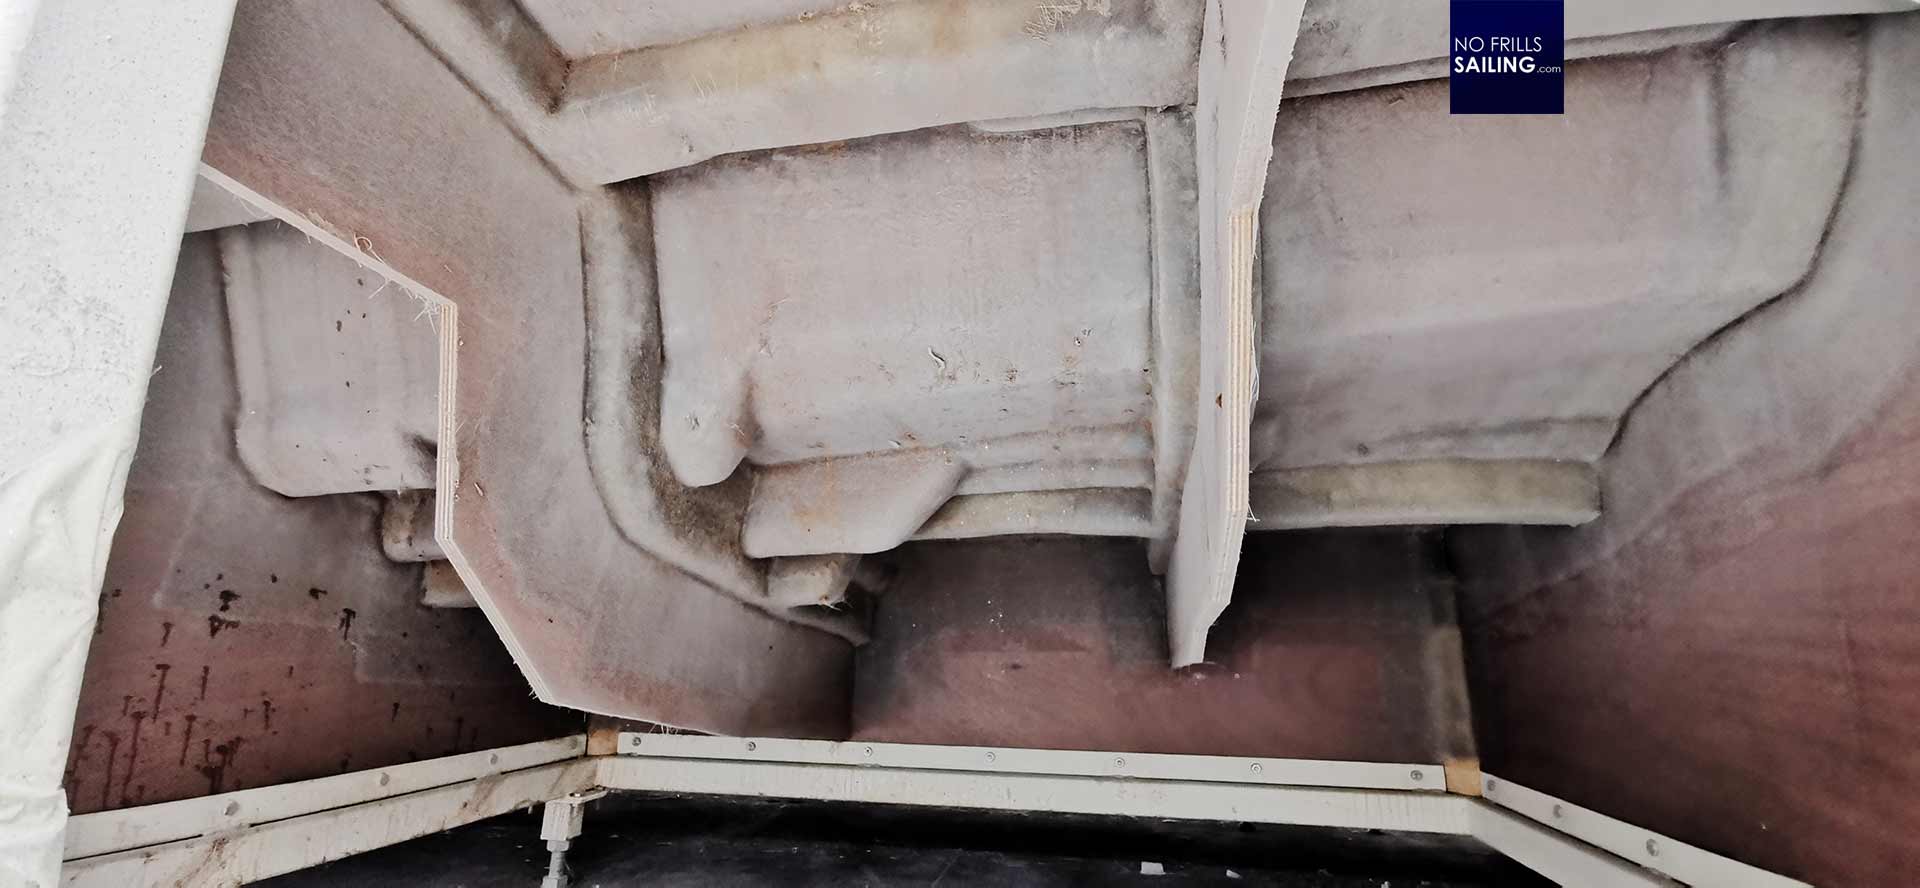
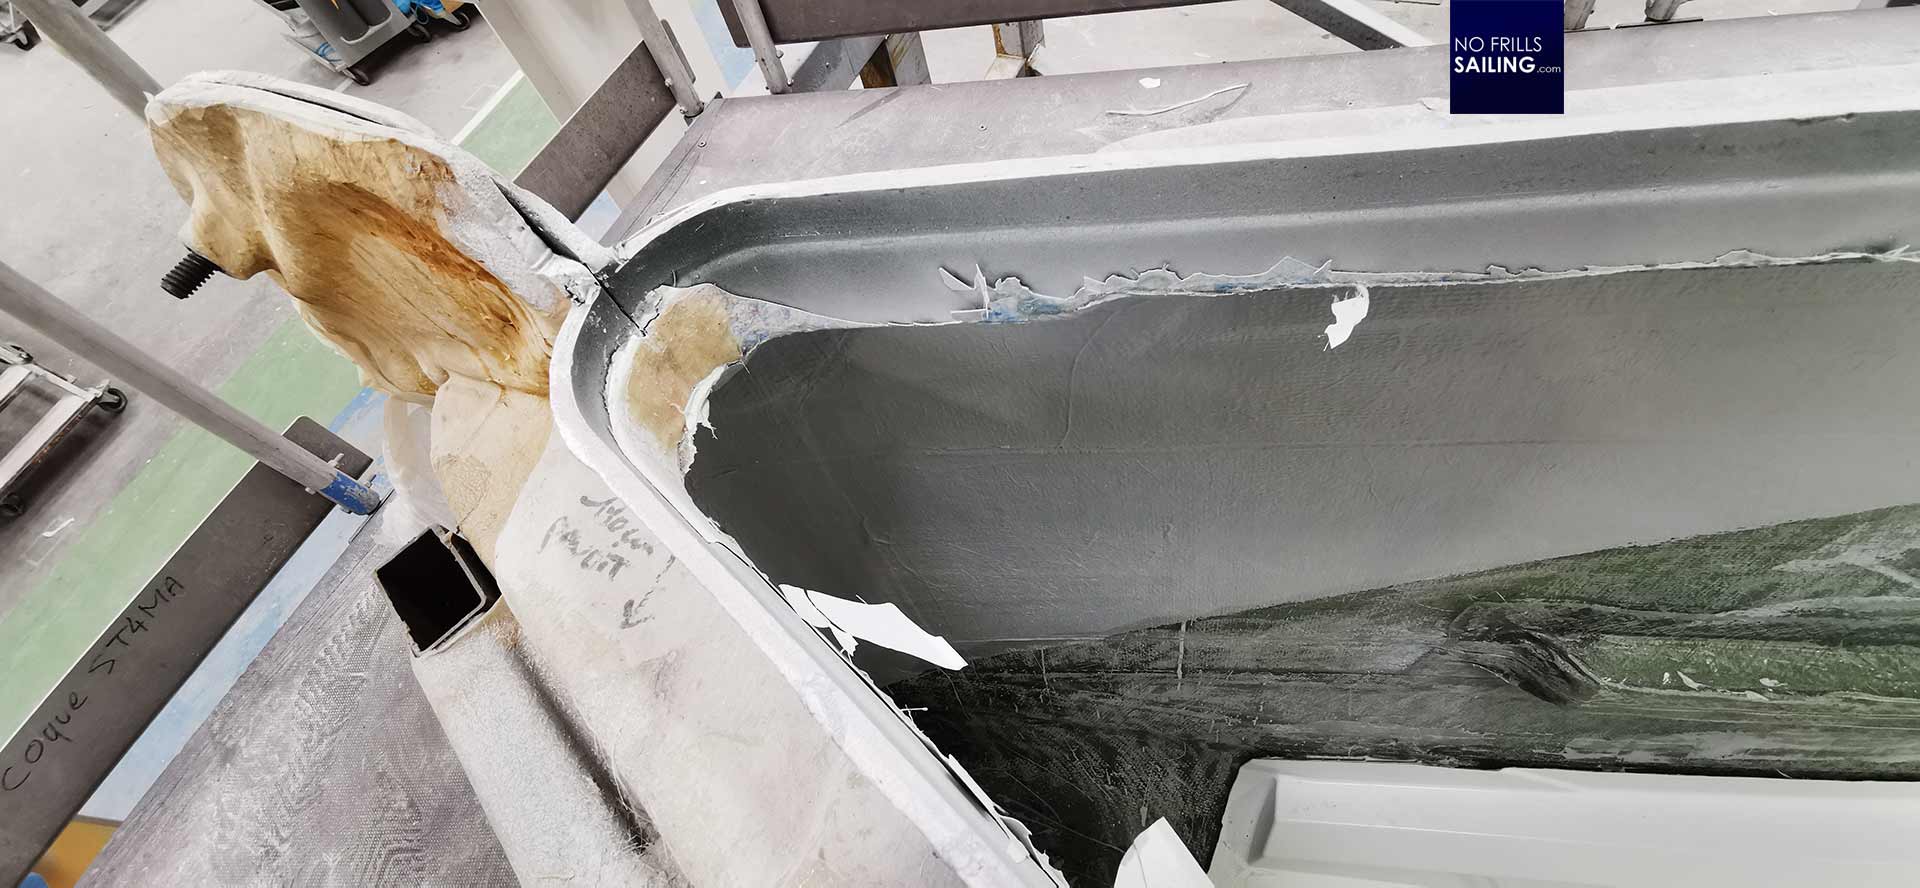
Looking at this detail of the mould, you can clearly see the outside of the mould. Just imagine having the plug that is now surrounded by a huge thick layer of GRP. The inside of this layer is – mostly – green Gelcoat (later more why green, sometimes it is also black), then a thick, solid GRP-layer is added. This is supported with longitudinal and transversal “bulkheads” which strengthen the huge plastic “trough”. Additionally, the mentioned steel frame struts will form the exoskeleton to produce stability. The mould is born. I have no clear numbers, but the workers say that making the moulds is the single most expensive part of the whole production. Some say that it takes no less than a hundred hulls made from it and sold to a sailor to pay for one mould. Can you imagine its value?
Birthplace of your yacht
I am visiting the shipyard with Oceanis Yacht 60 prospects – which is our flagship. The sheer size of the mould (and the later boat of course too) is staggering. As we look inside, we can see that this very mould is already “filled” with a new hull. I´ve made multiple articles on the very process of laminating and won´t go into detail on this occasion, but basically there are three major techniques: Hand lamination, vacuum infusion and vacuum injection. Depending on the size and desire, Beneteau features all three to make one single boat.
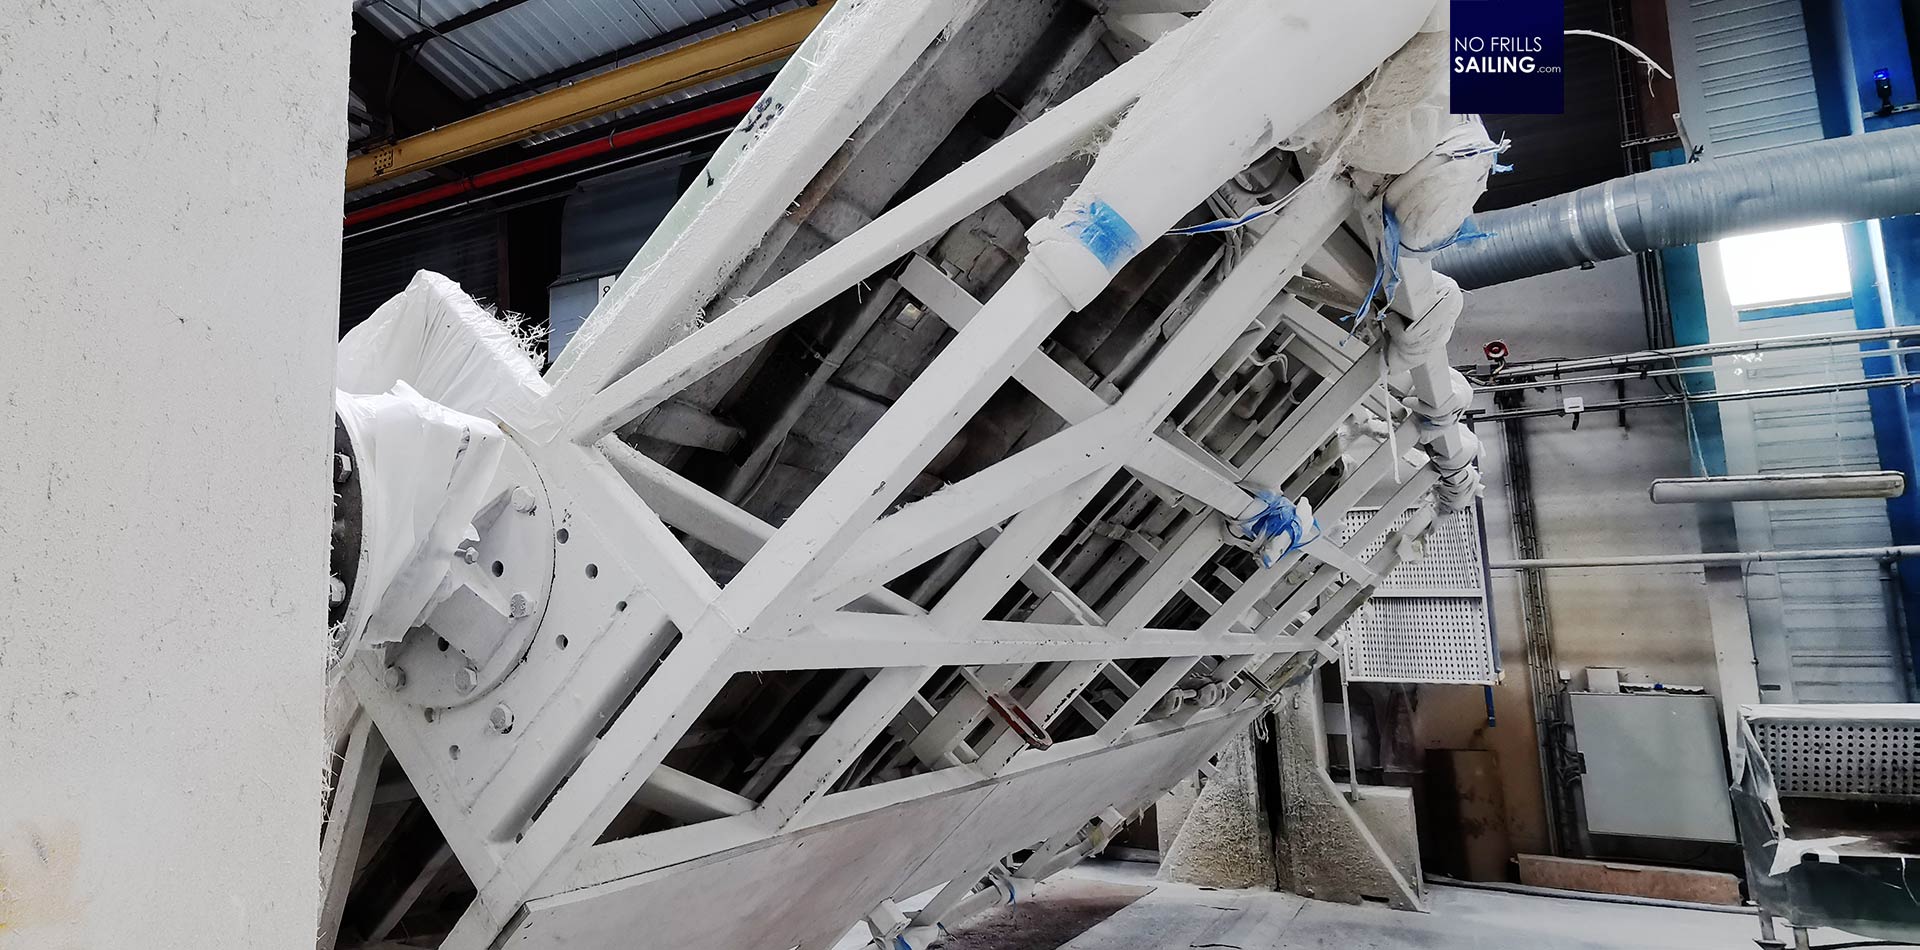
One detail in connection with moulds is interesting to mention: Some of those huge “cages” can be moved horizontally too. Just like a carnival ride in an amusement park, these moulds can flip and pivot. As you can see on the next picture, a whole mould for a powerboat hull will turned along its longitudinal axis. Why? This very boat is made using manual hand lamination technique. The workers will start on one side of the boat making their way from bow to stern, flip it around to make the other side too.
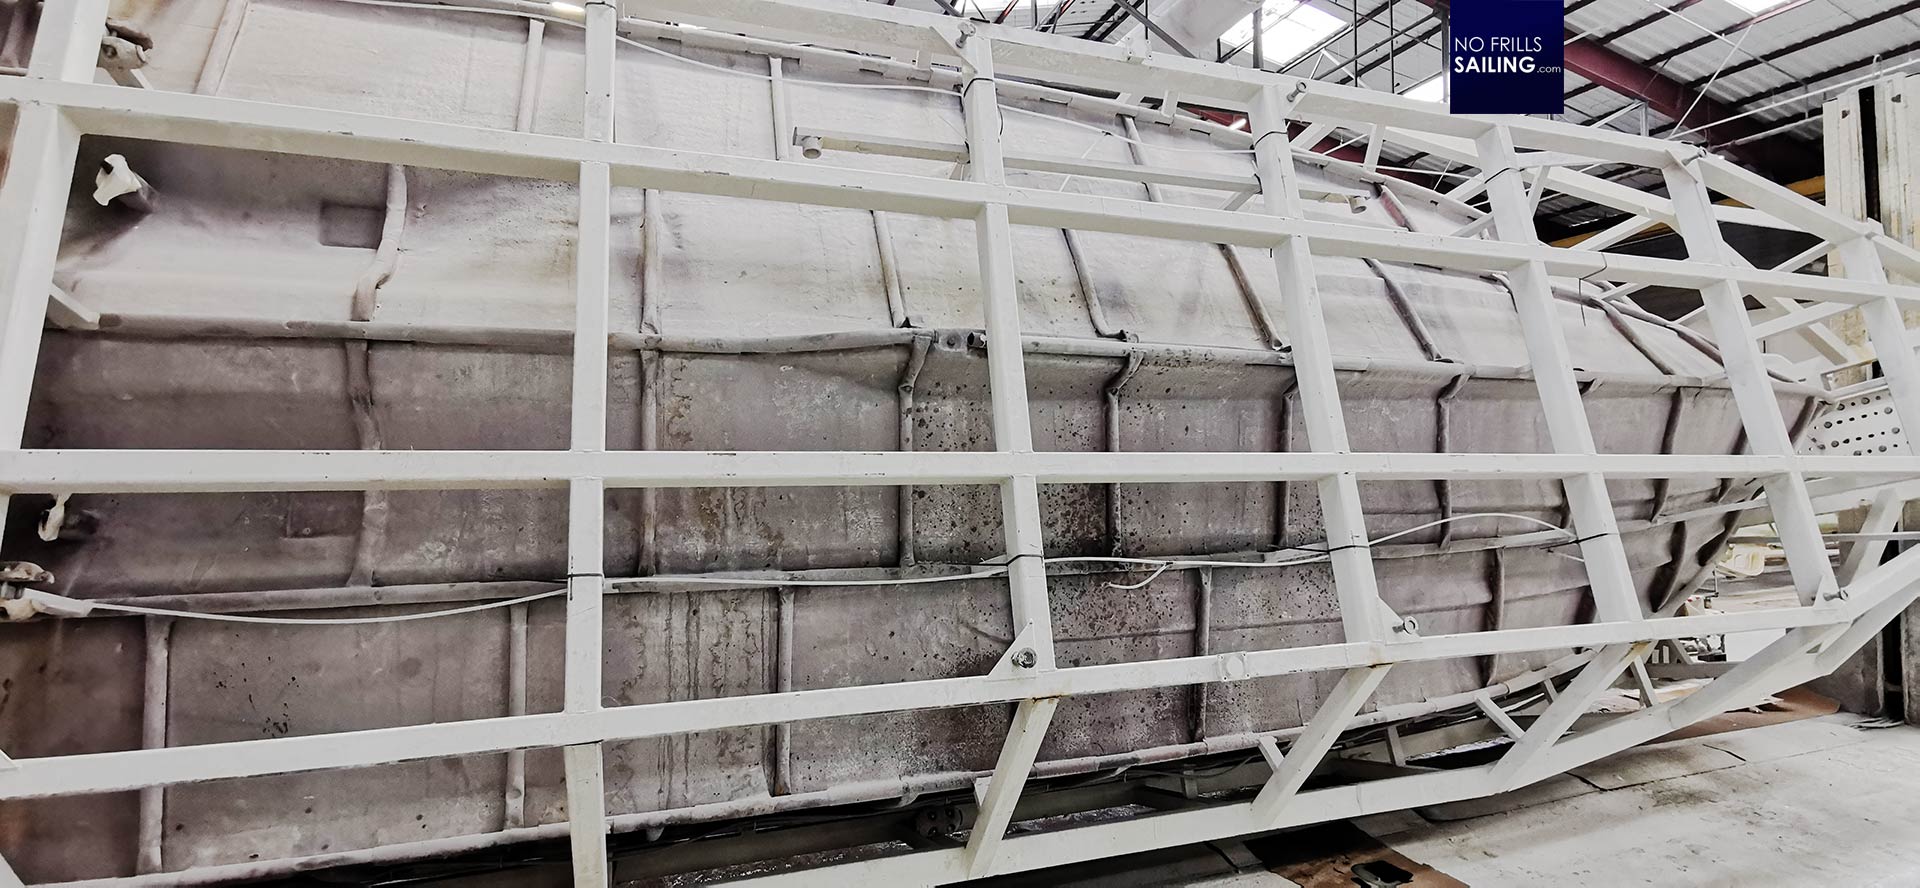
In this it is ensured that the hull itself becomes one single solid part. Making a mould like this adds to the cost of production. You may imagine how strong the pivotal forces are and hence how solid those moulds must be built to withstand even the slightest tendency to bend. Also, the machines which turn the moulds around must be strong and durable – one mould will give “birth” to many hundred hulls, thus, the longevity of it must be ensured.
Of course it is a kind of “dirty” business here. All the materials used in modern GRP shipbuilding are nasty by nature. The resin is sticky as hell, it will creep and float into every corner. The glassfibers are tiny and evil too – after a visit I usually take a long shower because those little tiny bastards are flying around like dust and will magically reach even underneath your undershirt. Hence, the moulds naturally look used over time. Being suspect to those materials for years – even if treated the best way and constantly maintained and cleaned. Another thing that adds to the equation: Mould maintenance is a huge thing!
How a big hull is made
Most of the moulds are single unit troughs. Meaning that the part manufactured is taken out of the mould by upward motion. Therefore each side of the part made must be slightly angled towards the mould so that it can “pop” out without any problem. Just as your ring cake at home in your kitchen, the mould gets wider, if taken out, the cake also gets wider at its base. Same with GP parts. But there are exemptions.
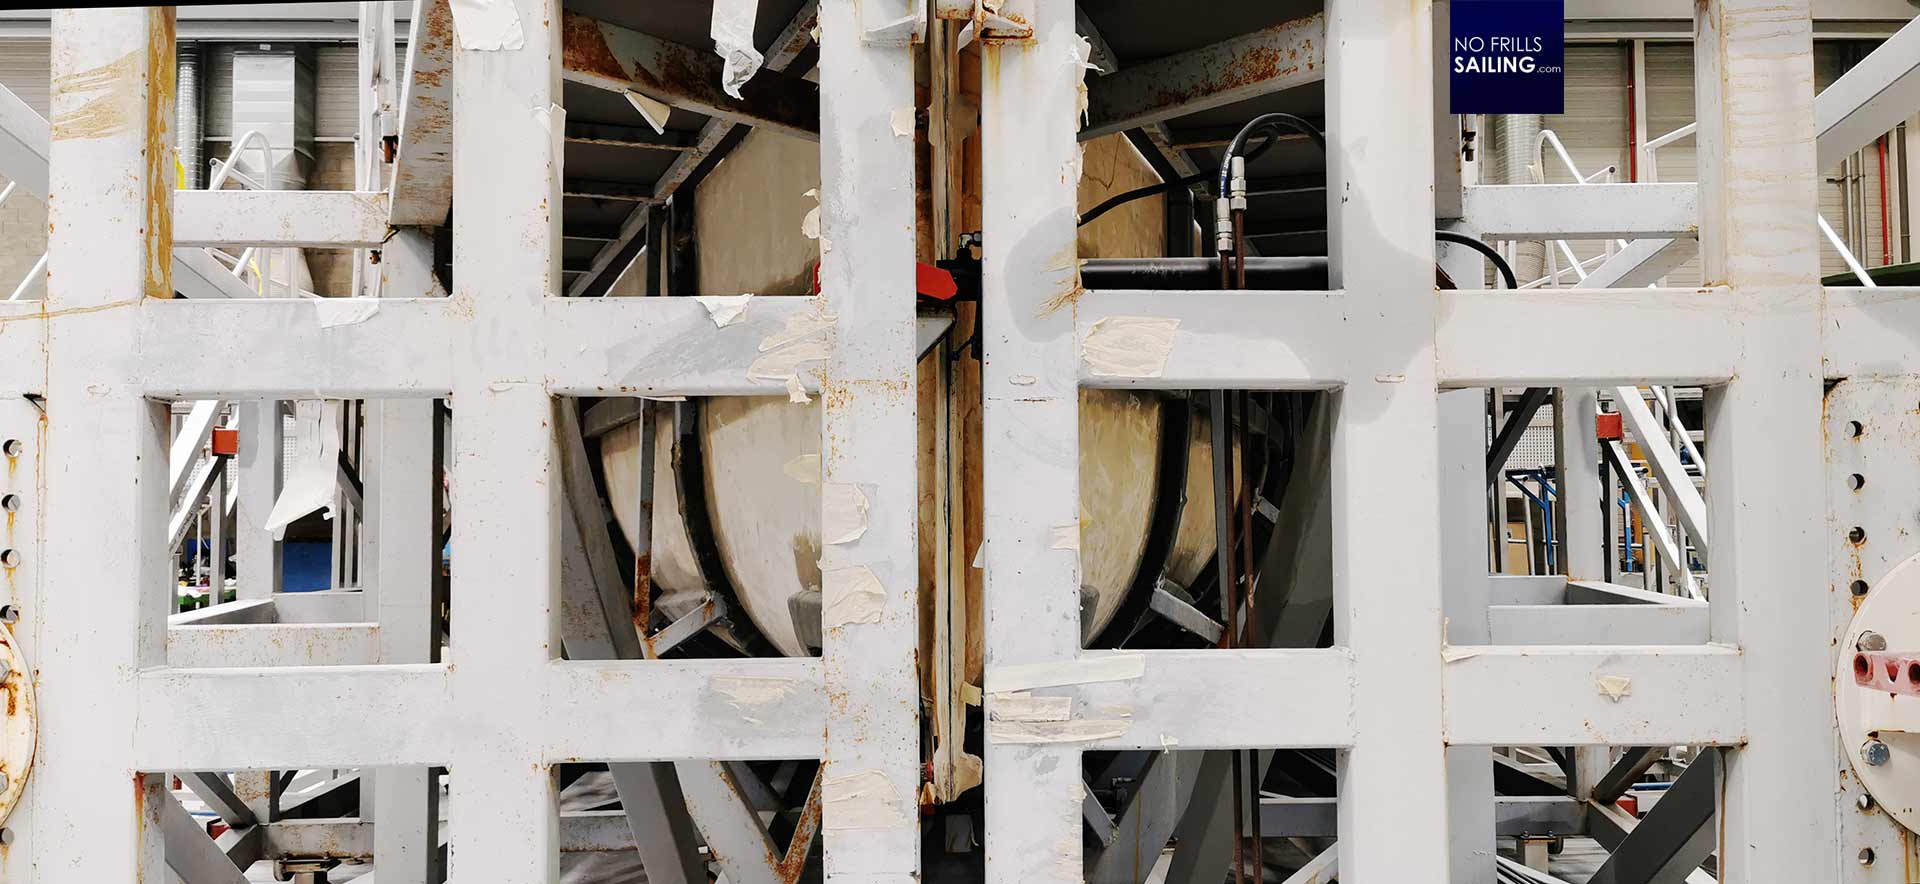
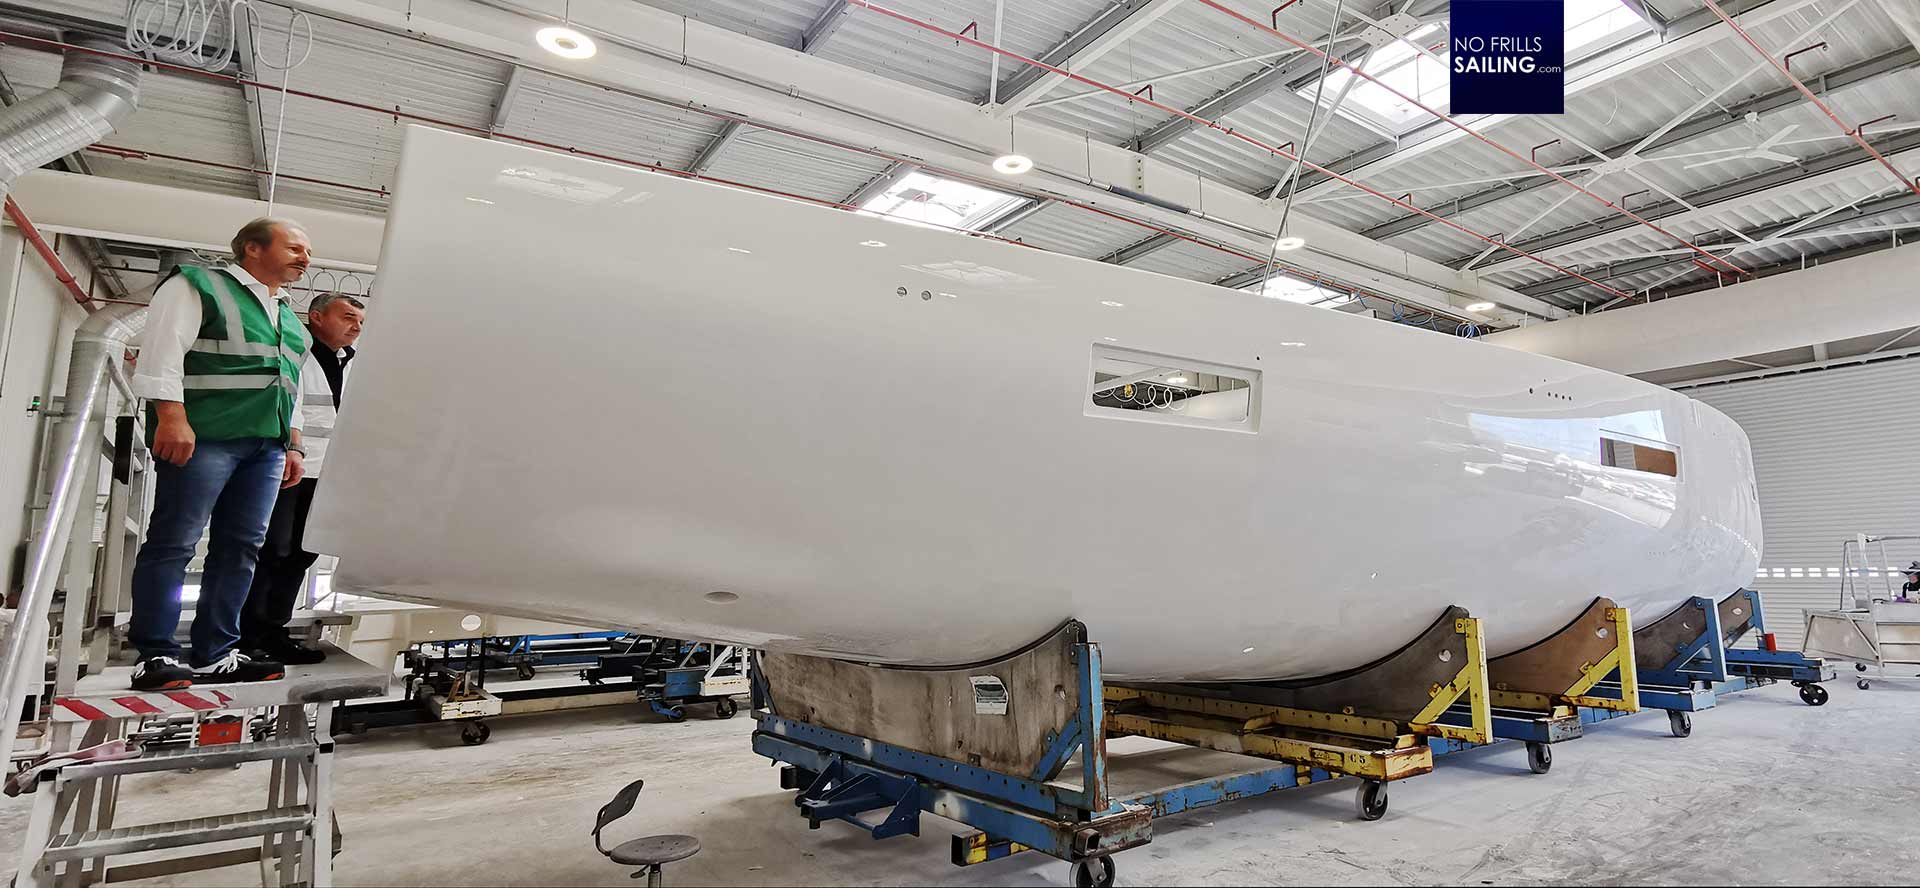
Big boats, wide hulls and complicated forms for example. Take the Oceanis Yacht 60: Her hull is way to wide and the mould as a whole single unit too big. Right at the beginning of this article you can see that the mould of the 60´s hull is made of two halves. That is far easier for the staff to work on the smaller halves. For vacuum infusion, the halves will be connected and securely tightened. The GRP mats are intertwining. Using two moulds instead of one single also allows for a better shape to make the hull-deck connecting parts which are bent inwards.
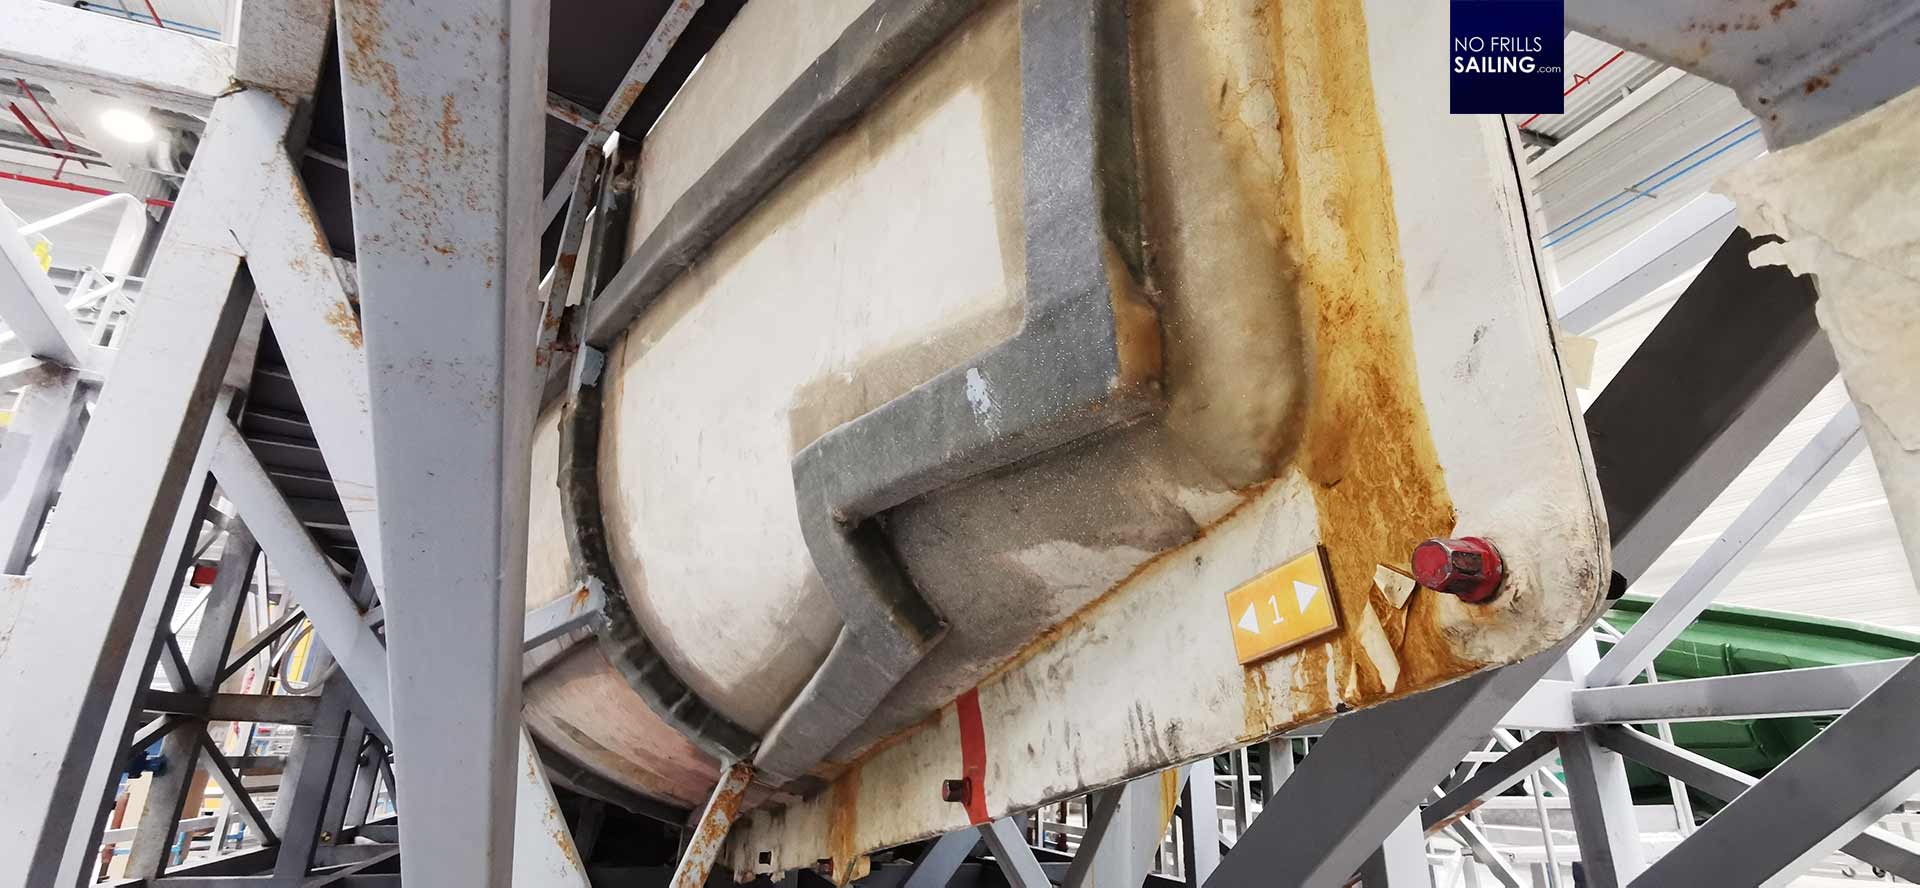
Now, when inside the mould vacuum and air pressure will do their job, the glassfiber mats will be pressed into the mould thoroughly. In the end, a solid single unit will be born – the hull. To get the boat out of it, instead of connecting the part to a crane to pull it up (like it is normally done), the workers just have to unscrew the longitudinal connectors and – thanks to the small rollers onto which the mould-cage is mounted – pull the two halves to either side. The new hull, sitting in the middle, will be set free.
Hull making and the moulding of decks needs a lot of space. This very Beneteau shipyard just makes a few types of yachts, maybe four or five, all +50 feet units. The hall for the hull making alone is filled with no more than five “cages”. A huge need for space. In the end, working here is very stressful and needs to be done by people who are specifically trained and highly skilled. Overseeing the process of applying the layers of gassfibers according to the layup-plan, the vacuum injection or -infusion process and all sorts of work connected to this call for a highly skilled workforce. You cannot have this done by underpaid back staff.
Michel Dufour´s invention
We stand next to a male mould that has just been cleaned, ready for the next session. This is the mould for an inner hull of the Oceanis Yacht 60. Back in the day, a guy named Michel Dufour invented this technique. In plastic boat building you cannot have a classic keel, frames and stringers. Instead, he reckoned that an innerhull with a structure emulating the keel-frame-structure that is glued to a thinner outer hull, the desired structural integrity and stiffness could be achieved as well. And he was right.
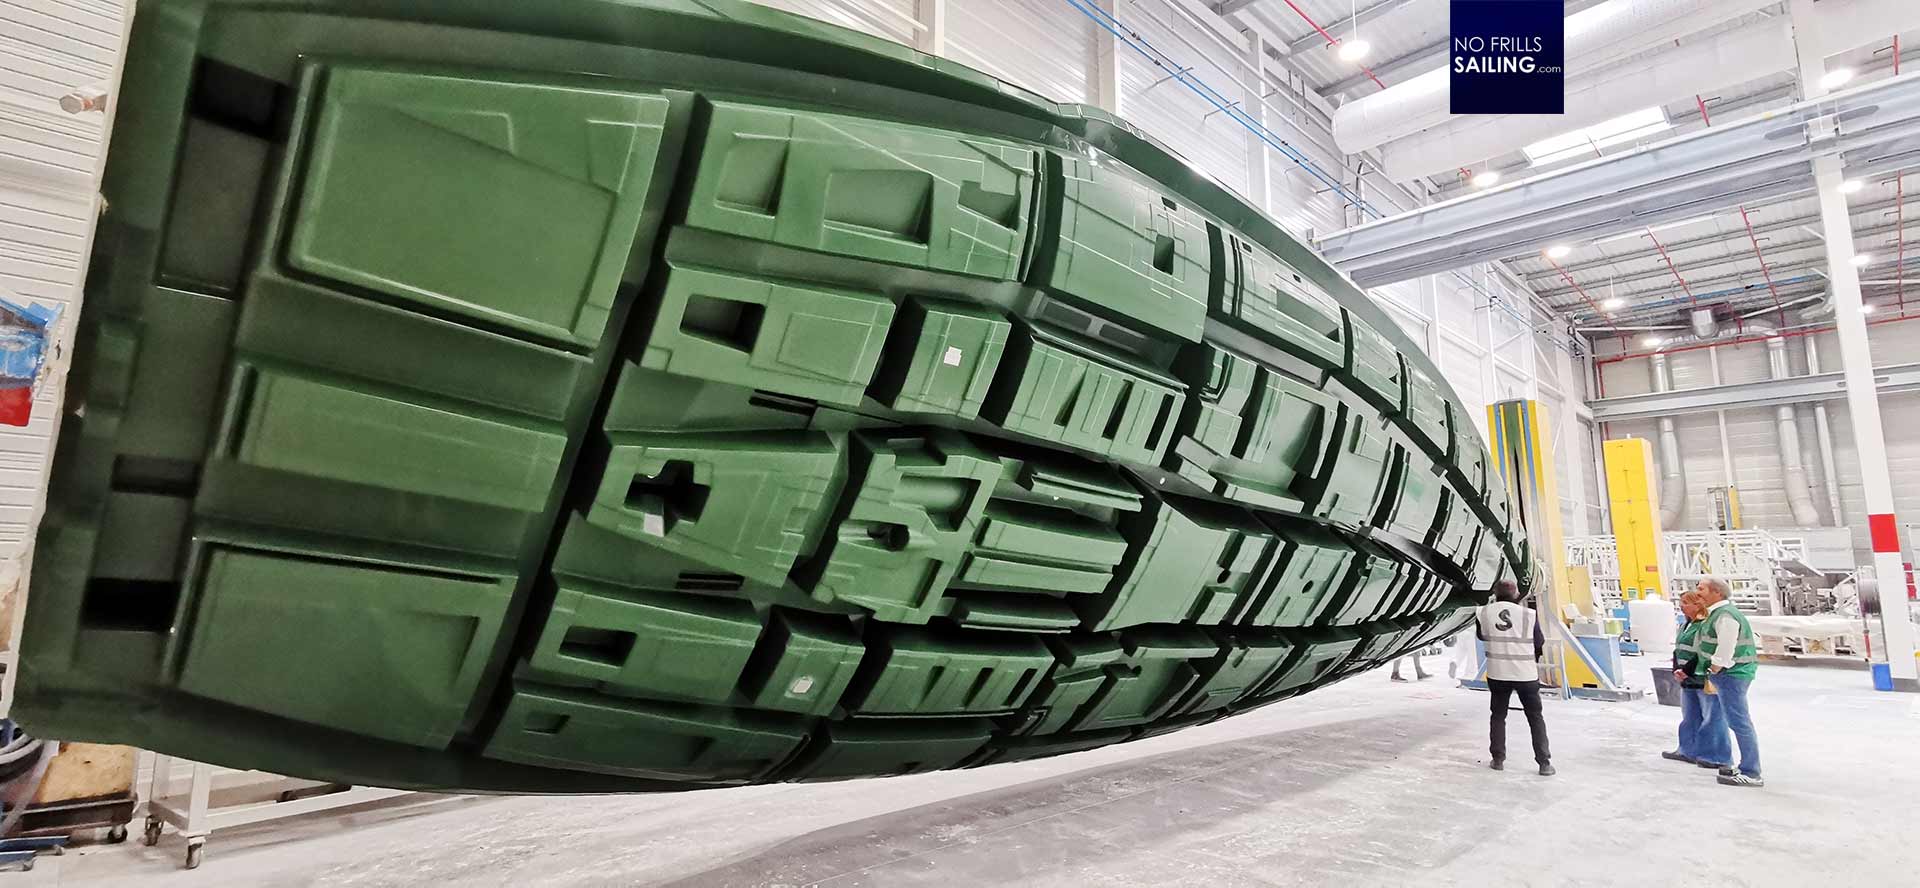
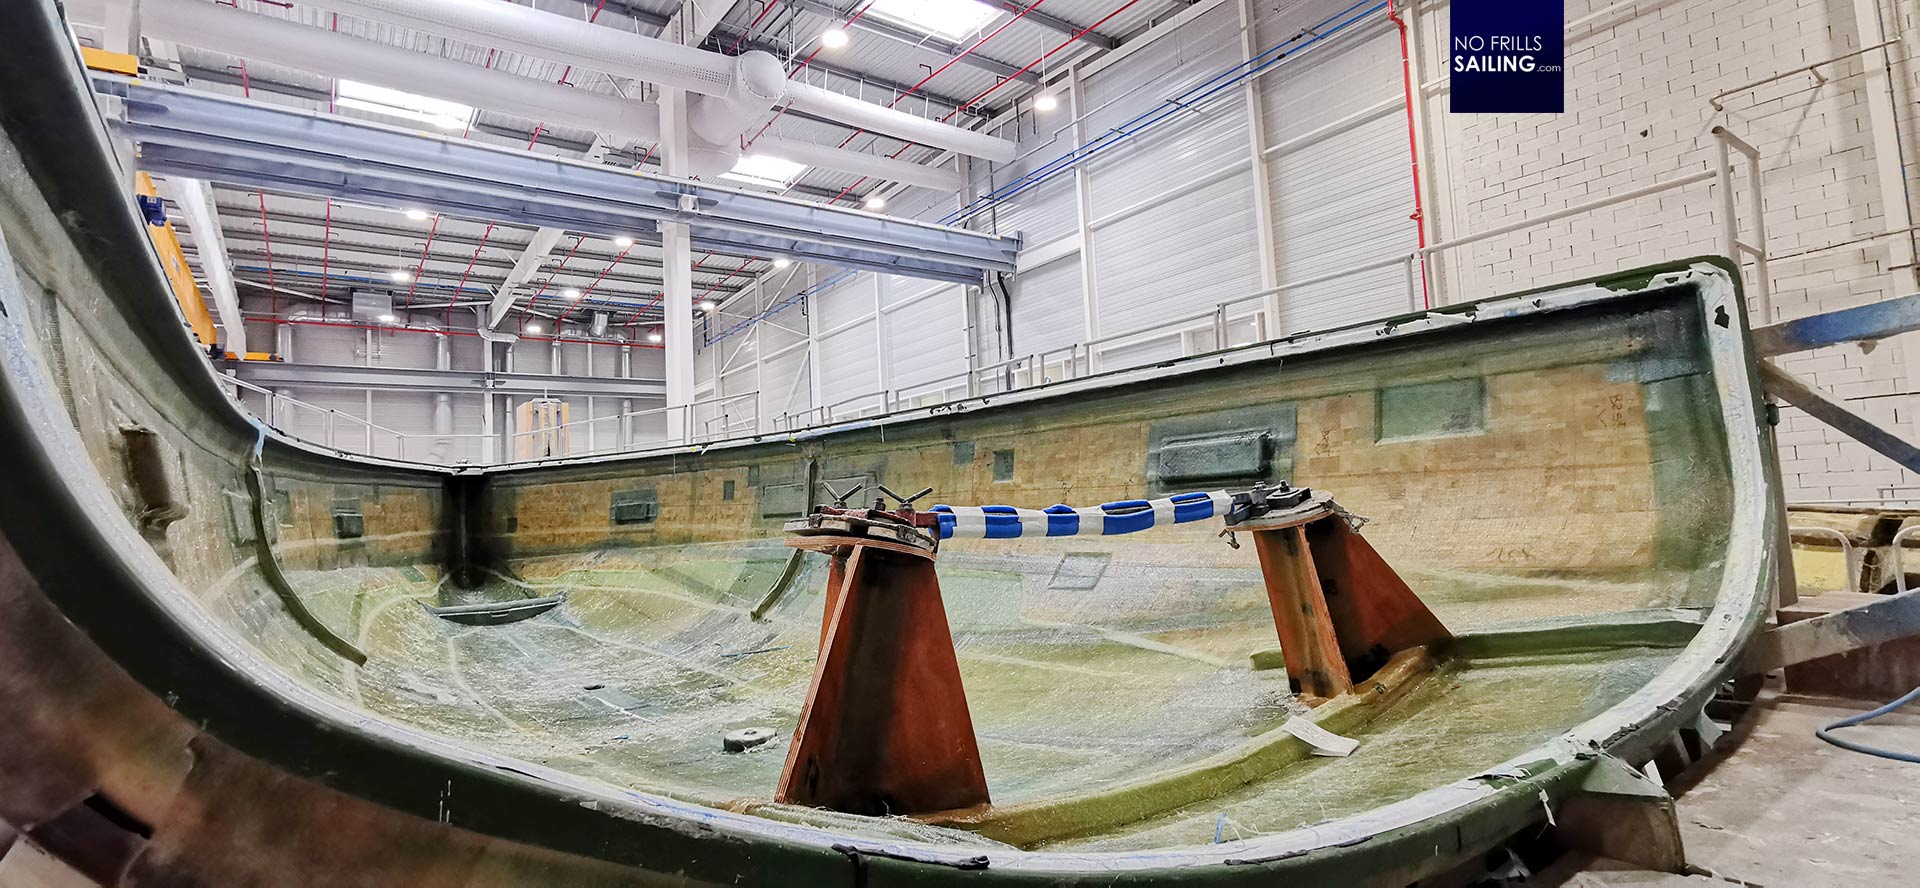
Almost all big production brands use this inner-/outer hull system. The inner hull of the Oceanis Yacht 60 is made utilizing vacuum infusion. But I wanted to show something else here: Why are moulds usually green? Well, the reason is simple: The first layer to be put into the hull is also the first layer of material you will see and fell in the later part: The Gelcoat. This material needs to be applied in a specified thickness. It is sprayed into or onto the mould by a specialist. In order to help him notify where Gelcoat had already applied and where it lacks, you need the biggest possible contrast to Gelcoat-White – which simply is green. There are also black moulds and I even once saw a pink one.
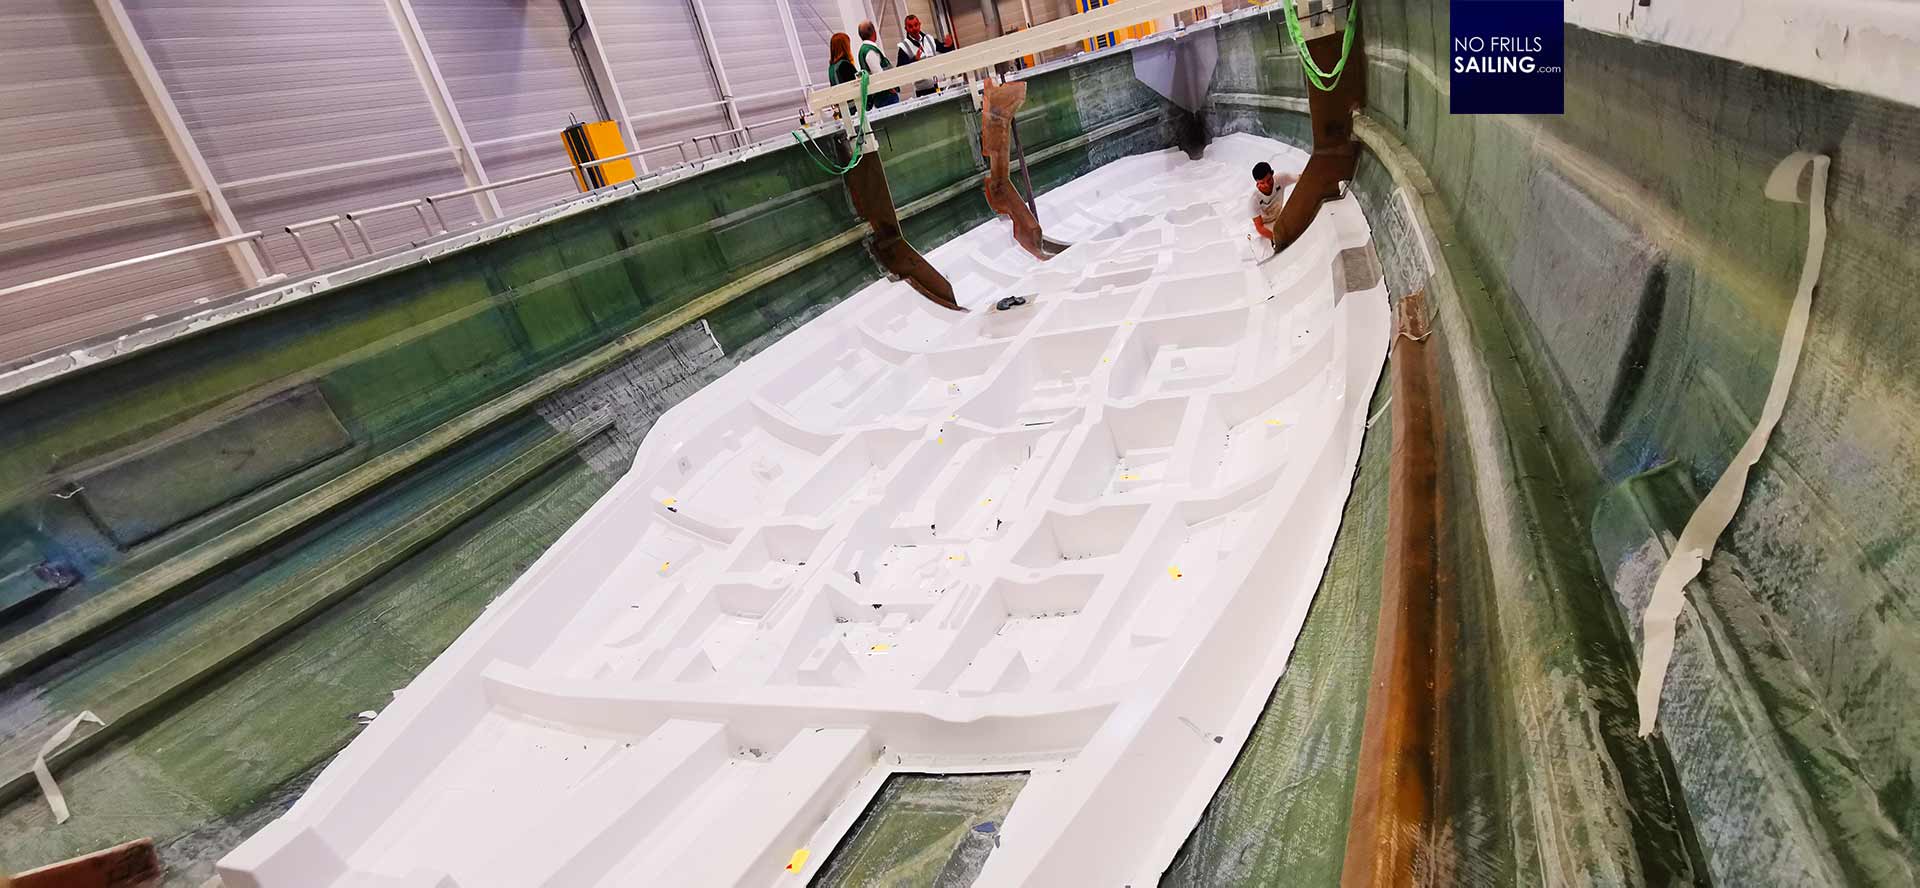
Another reason for this “flamboyant” color choice is maintenance. When the newly made part is taken out, it may be that smaller bits of the – let´s say – hull stuck so well to the mould that the broke off from the hull. Those parts are, of course, white and thus can easily be detected and removed. The other way ´round: If the part taken out rips off a bit of the mould´s green Gelcoat surface, the defect will also be made instantly visible as the GRP layers beneath it will be highly visible. Before a mould is used to make another part, it gets thoroughly cleaned: Dust, particles, even hairs or single glass fibers can be seen better on this colorful surface than on white.
A deck made with vacuum
I´ve mentioned “male” and “female” moulds. Usually, a mould is a “female”, for example to make a deck. A second, “male” mould, is needed all parts made with vacuum injection. That said, the side that is coming out of the mould is called the “A”-side: It is smooth, nice and shiny. The “B”-side is the backside. Usually not so nicely done because it is hidden anyway. This is where you can see the leftover traces of the vacuum bags and piping. When two “A”-sides are needed, vacuum injection is the process of choice.
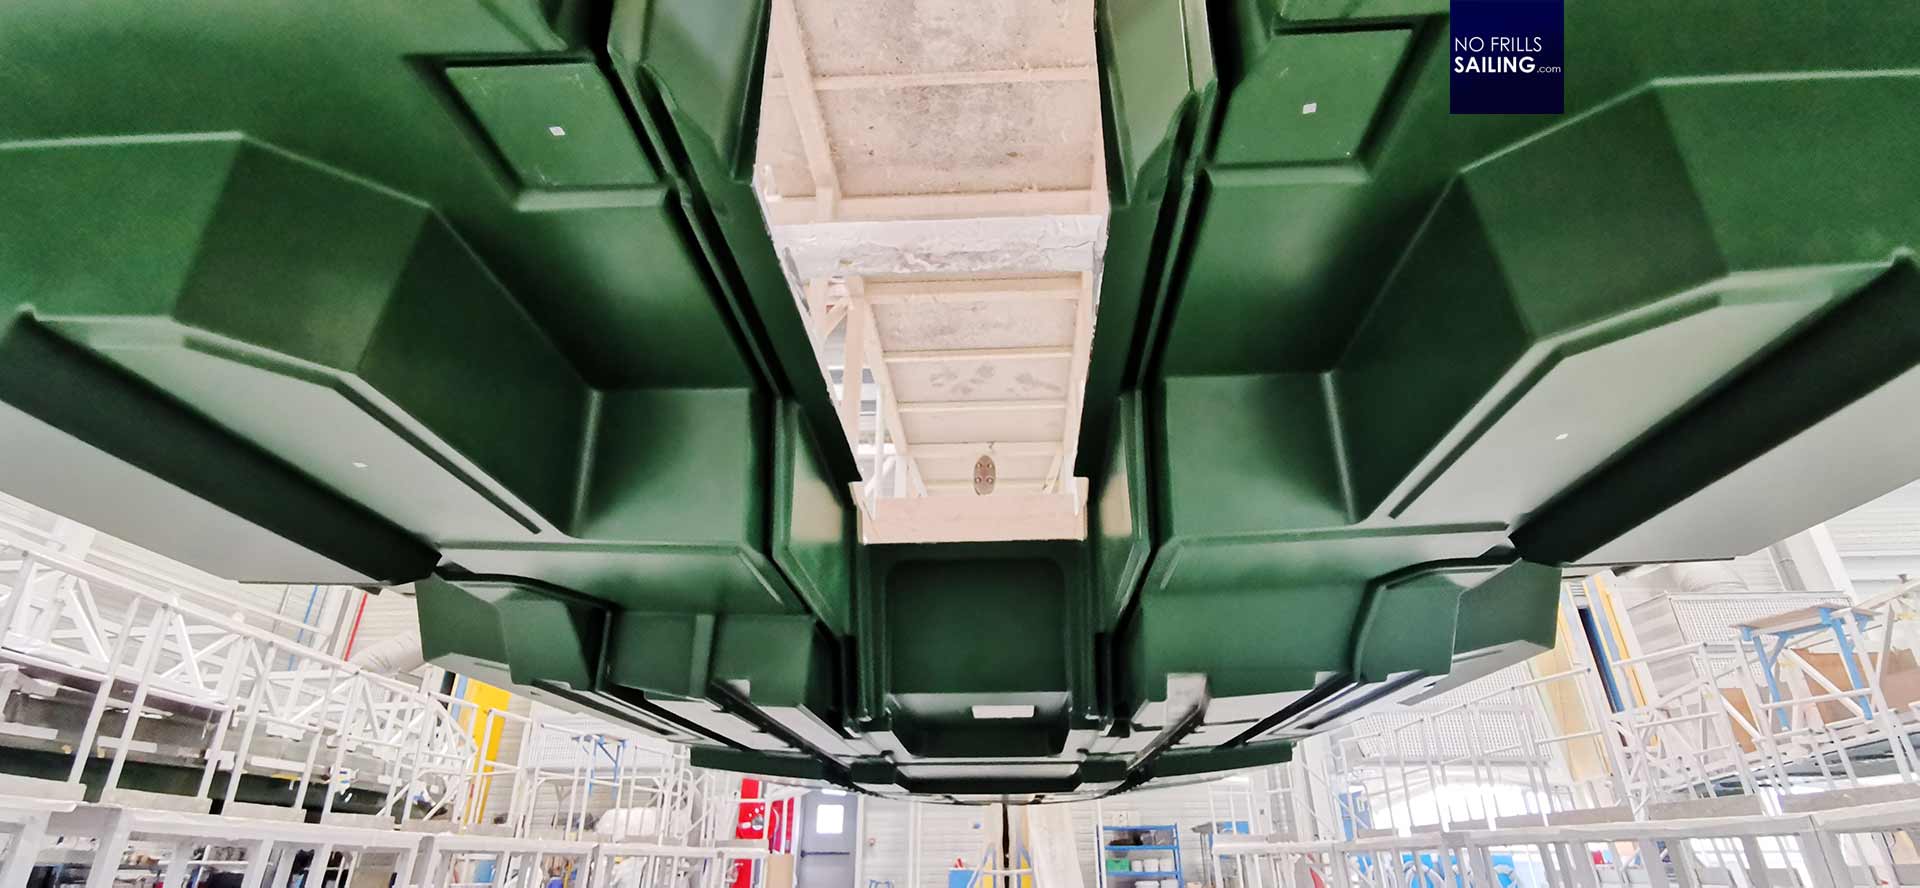
In our case, it’s the deck of a large Oceanis sailing yacht. We need the upper part, the deck where you will be walking on later, and the downside of it, below decks, will be the ceiling of your cabin. Predominantly in smaller yachts where for various reasons no roofing panels are fitted, two nice looking A-sides will be made utilizing vacuum injection. For this process, both moulds will be “filled” with Gelcoat and approximately half of the glassfiber mats. The “male” mould is then flipped and put on top of the “female”. Both will be sealed airtight. Now, on one end of the mould a powerful underpressure is generated, constantly sucking out the remaining air whilst from the opposite side the resin is injected. In the end, after a thorough time for drying and hardening, the “male” mould is removed and the finished part taken out of the “female”.
After each moulding process, the moulds will be checked and meticulously cleaned. If not done, moulds will suffer and degrade over time. The parts coming out of the mould as well – with each time the quality of the hull, deck or whatever part is made, will get worse. But, if correctly and thoroughly maintained, in theory, the guys can use a mould indefinitely. Take my Omega 42 for example: There has been made one mould out of which each and every of the 162 boats have been made. The Oceanis 51.1 recently celebrated her 500th hull – made from one mould.

Elaborate craftsmanship indeed!
In the end, the technology and utilization of a mould to make all sorts of forms and shapes in GRP boat building is the same. But why do look some hulls really shitty, like having hit the breakwater before the boat show? Well, now you know it: The quality and effort that is invested to create a high-class mould will determine how the parts coming out of it will look like. Vice versa, maintaining a mould will keep up a product´s quality over many years.
Of course, there are some more factors. For example, if a part does not get the time needed to thoroughly harden, meaning if it is taken out too early (being still kind of “soft”), dents and warpage can occur. Also, the chemicals need a certain range of temperature and air moisture to bond perfectly. It´s no rocket science, but certainly a process that needs special skills, high work ethics and many years of experience. And that is the reason why I urge my clients and customers-in-being to come with me to France: You have to see this with your own eyes!
You might find these articles interesting too:
At the Beneteau shipyard: How the Oceanis 51.1 is made
Making an aluminium sailboat hull


