Recently I´ve delivered a brand new Oceanis 41.1 to her owners. Part of the order has as also been a dinghy with a fitting outboard engine, put onto a dedicated aft davit-mount. I found this pretty interesting because this was my first ever own experience with unboxing and commissioning of a brand-new dinghy, so I thought some readers might find my operating experience useful.
The owners of the yacht ordered a dinghy with solid floorboards. French company Plastimo offers a wide range of dinghies and from our experience with their nicely made life rafts we recommended this brand to our clients. A solid bottom dinghy like this offers not just a rugged quality but also more comforts for the passengers whilst in transit: The wobbling of full-rubber boats should thus be a thing of the past. That´s what we were hoping for at last.
Plastimo Trail Dinghy: Assembly teething troubles

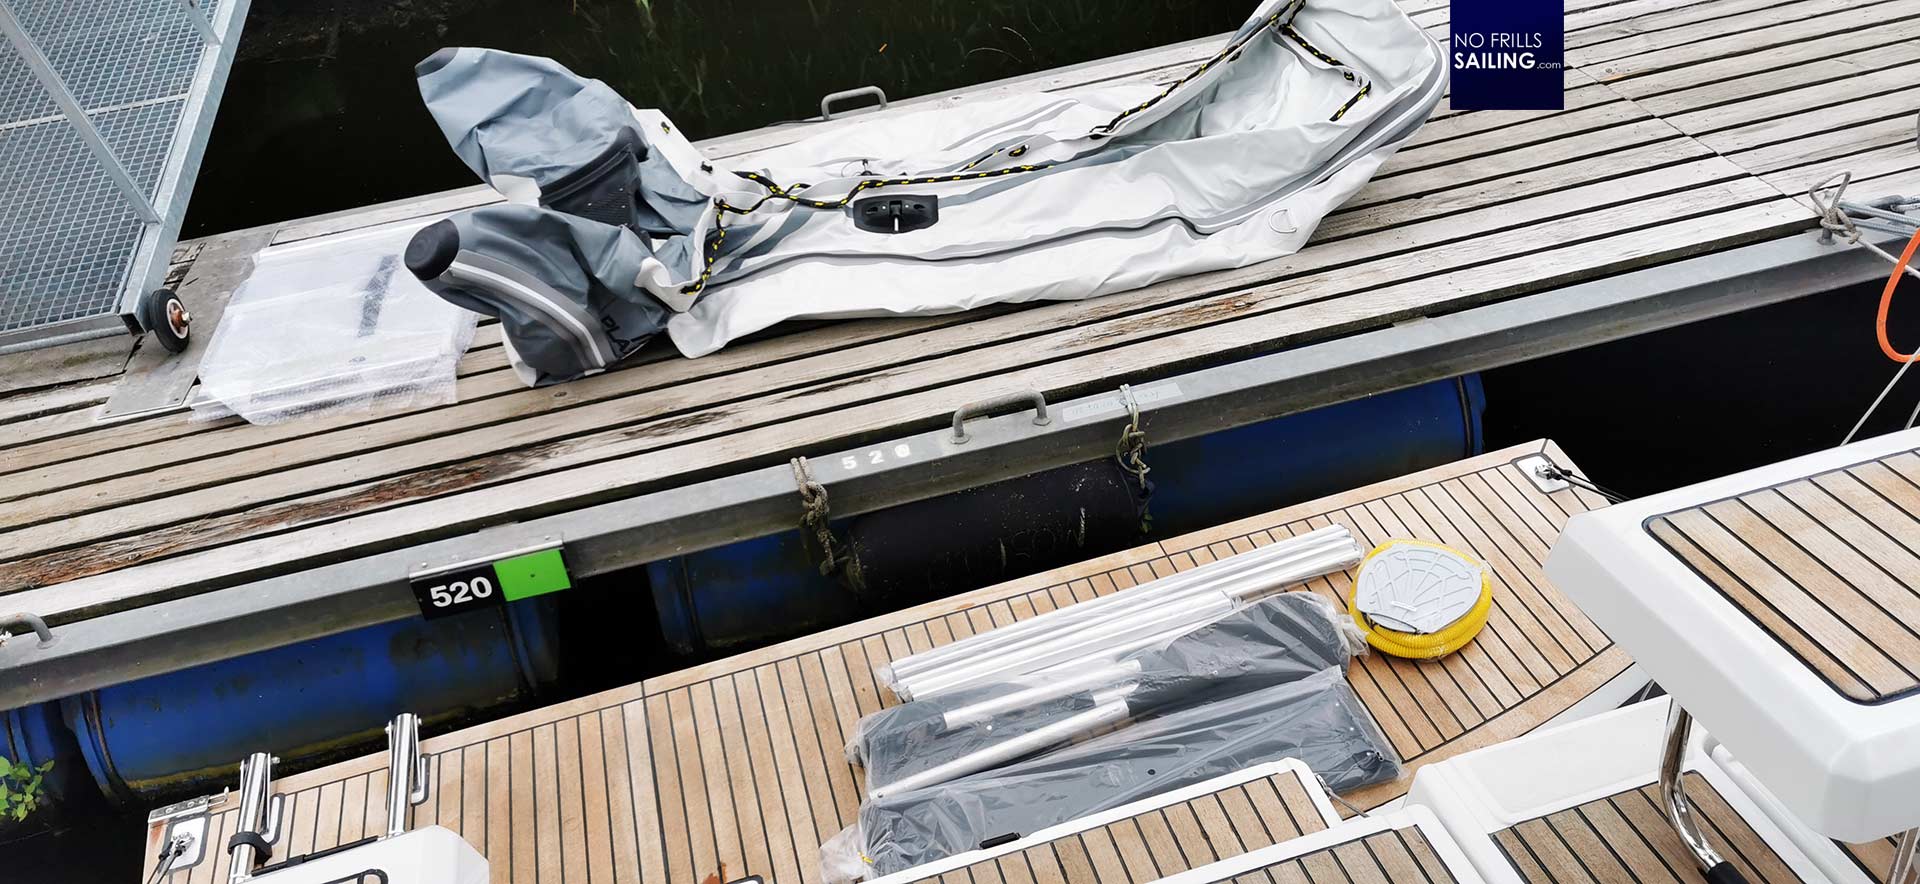
After tugging the pretty heavy package to the jetty I unboxed the set. Here we are: The Plastimo Trail 270 consists of just a handful of parts of which of course the rubber-dinghy is the biggest and heaviest. Then there´s the floorboards, paddles, a beam to sit on and cross-beams. That´s it. I was not so clever in throwing away the assembly instructions …

Inserting the floorboards must be done whilst the boat is still not inflated. The four boards are numbered from 1 to 4 and at first I though I´d have to mount them from … well, from 1 over 2 and 3 to finally 4. But the last floor board wouldn´t fit: The rubber boat is made so tight that I couldn´t put in the last board, not matter how hard I pushed. So I took out all of the boards and re-mounted the boards the other way round, from 4 to 3, 2 and 1 and … it worked!

Part of the set is also a foot pump, a pretty ordinary part of gear known from camping. I was surprised how fast and easy it was done to inflate the dinghy. I was able to fill in the three main chambers in a matter of five minutes, last the keel section was pumped up so that it added finally strength to the boat. So, in the end: Apart from the slow start due to the missing assembly instructions it went pretty well, virtually a no-brainer.
Easy as ABC: Torqeedo assembly and start-up
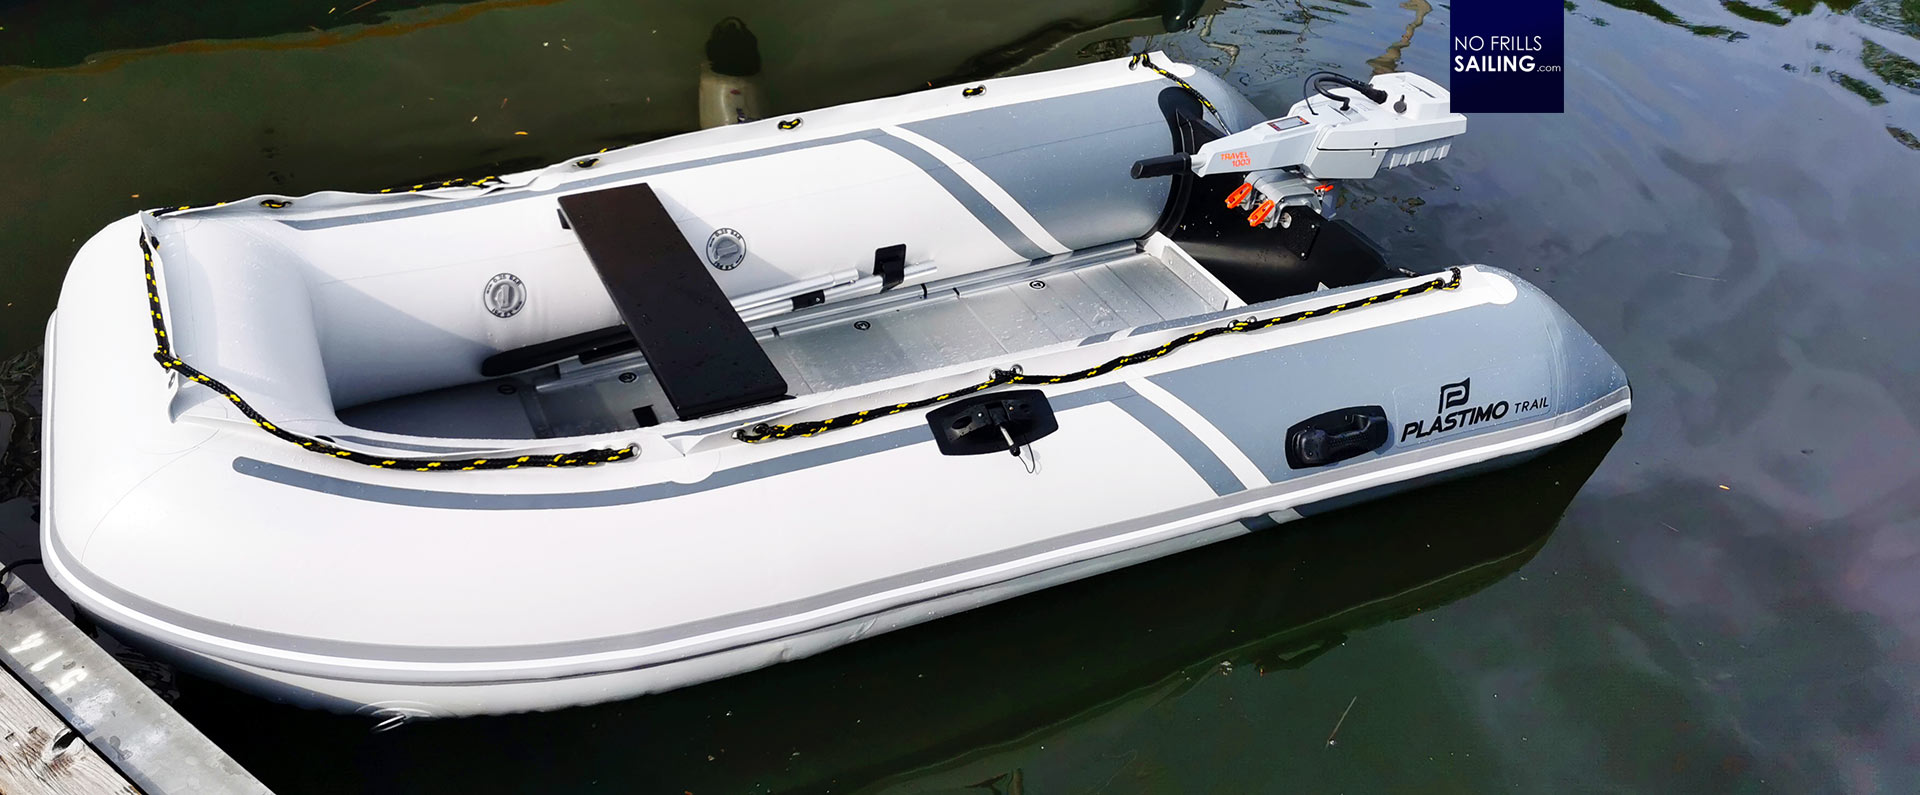
Same with the outboard engine. Our clients went for the electric version instead of a gas-powered standard internal combustion engine. This was the Torqeedo 1003 LS (for long shaft). Again, I was surprised how easy the first start-up procedures of this gem are. Literally plug and play, my 4-year-old could have done it. Over night I charged the battery, which is one of the three parts of the engine.

Mounting these parts is so easy that in this case it would haven´t really been a big thing if I´d as well got rid of the assembly instructions. Which I did not. One must insert the battery to a slid and put it in place, same with the steering unit. You then just connect two cables – one for the steering impulses for throttle and forward/back-gears and one for the principle electric power connection. The Torqeedo then is basically ready for action: Assembly just takes 30 seconds. Literally.
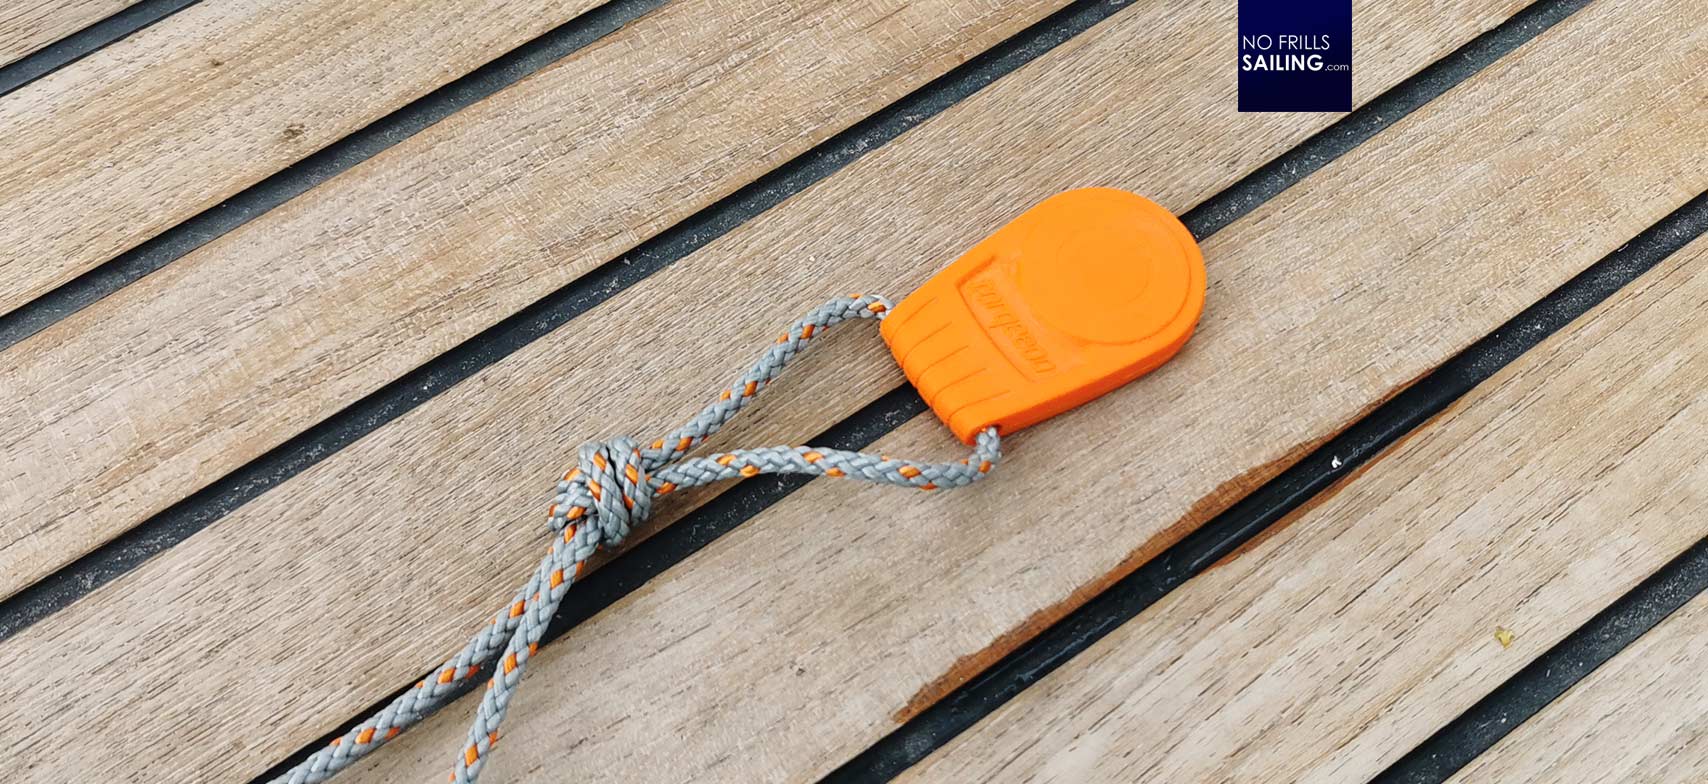
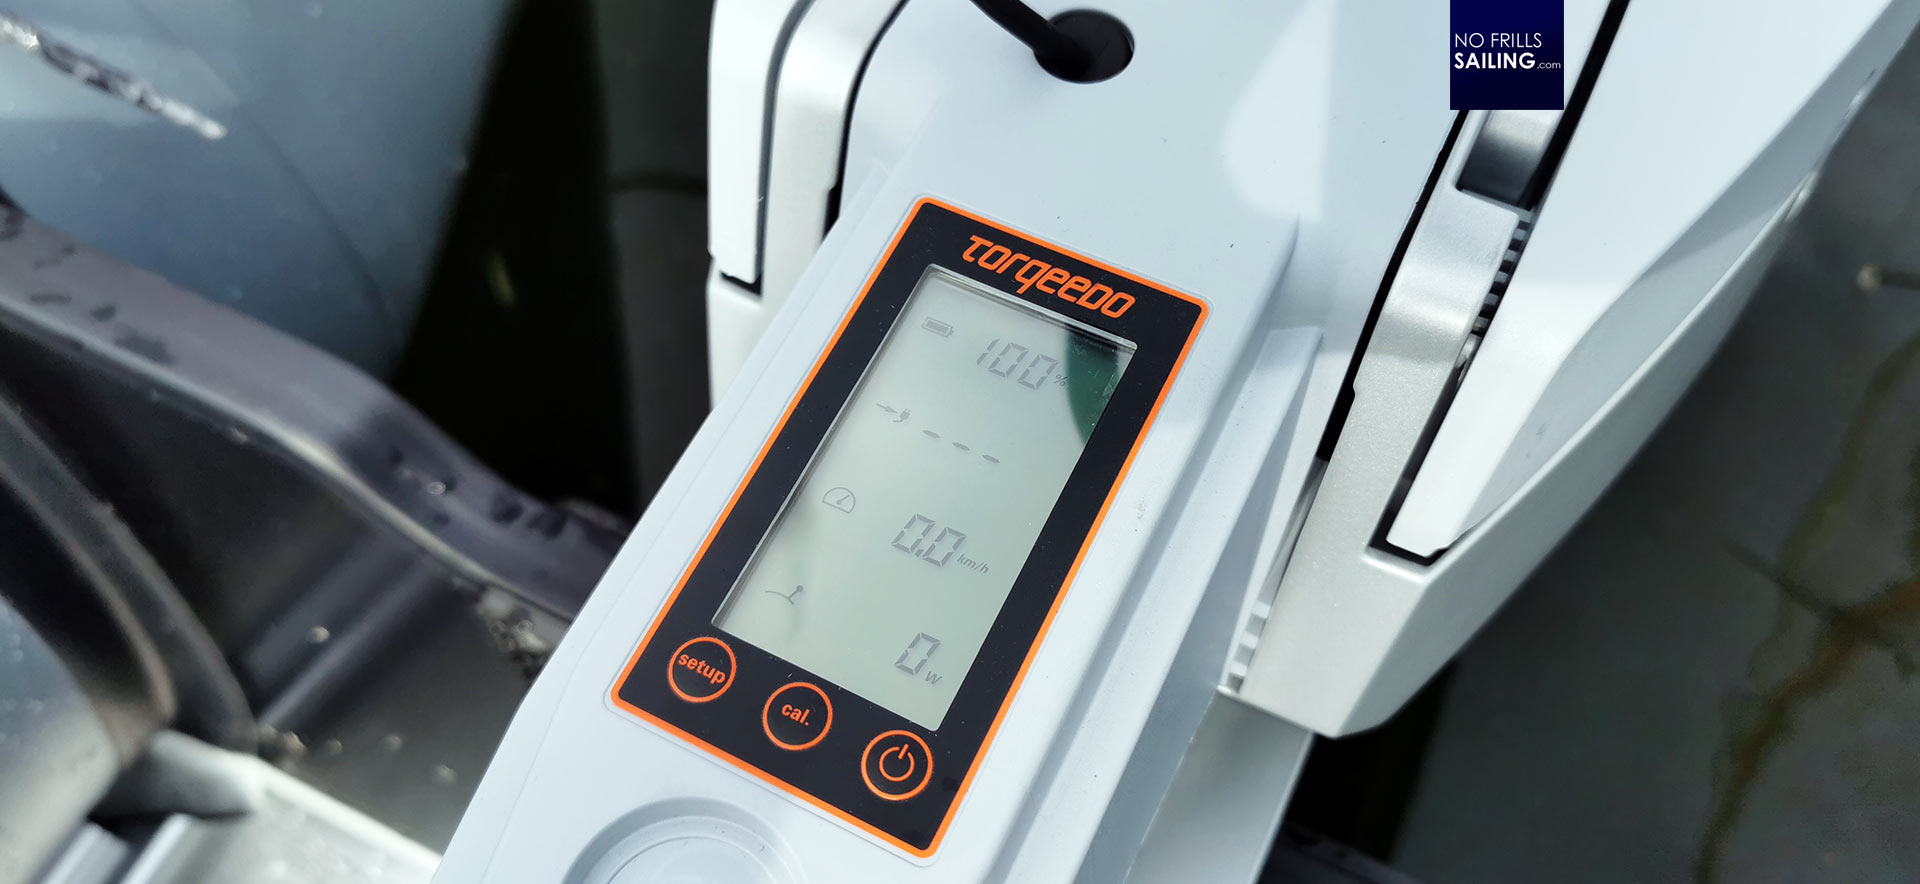
Switching on the control panel and putting the magnetic safety pin on the steering unit brings the engine to live. The digital display shows four figures: Battery status, current speed, power and energy output. By turning the grib handle to either side the two-bladed screw will come to life and the engine pushes your dinghy forward.
All in all I was surprised of how fast both dinghy and engine can be put into service. It took me no less that one hour for unboxing and readying the setup. Of course, the dinghy is really heavy and a pain in the a** to drag around but as a matter of fact, once in the water, not so much anymore. But let´s test the dinghy-engine-combo in real life!

Sea trials: Is this the essential dinghy-combo?
I boarded the dinghy and put on the safety pin, unfurled the land line and was ready to casting off. This was connected to some adjustment. The Torqeedo engine has a serious difference which sets it apart from gas-powered outboard engines and I did not quite like it if I am honest. When turning the throttle the dinghy skipper will have to deal with a quite long delay. That´s the time it takes for the engine to begin turning the screw. I couldn´t measure the time delay but it is considerable, two or three seconds.
So, at first, not knowing that there would be a time delay, I thought that it would need some more tuning on the throttle and did so – when the engine finally kicked in, it put me on full (or even half) throttle and the dinghy immediately darted away. One will have to get accustomed to this feature. Other than this, the performance of the engine is quite remarkable: It´s fast and powerful, it´s virtually noiseless and – biggest plus – no need for stowing stinking gas in your bench locker.

Stowing away the engine by putting the shaft on the bracket and having the battery as well as the steering unit safely put down below. I recommend to have a secondary back-up battery aboard, like a surplus canister of gas (without the stench of course). In the end, I fully recommend the Plastimo-Torqeedo-combo: A clean, noiseless and easy way to reach for dry land when on a long cruise or circumnavigation.
You may also like to read:
Skipper´s essentials: Electric toilets on yachts
What I´ve learned from my first Atlantic sailing experience
Offshore cooking: Galley ballet