As I had outlined in the previous article, the refit of the chain plates and shrouds is a vital part of the whole project that has to be done now prior to the woodworks of which applying a new thermal insulation and wooden veneers to the cabin´s ceiling is a next milestone. Though the chain plates are beneath those veneers they have to be refurbished too. Doing a basic survey of the material and its condition can be read here, last weekend I did the first step of the procedure of which I want to talk now.
Desiccation & Drying of a Yacht´s wet Balsa Core
As you may have read, I did find all of the chain plates in a visual questionable condition: Covered in superficial rust, partially coated with filth and remainders or previous trials to seal the shroud-inlets they appeared far away from the high glossy pictures of brand new yachts with their shiny Nirosta-parts. Which is just a cosmetic thing of course, what bothered me was that two of the four shroud-inlets seem to be leaking as I found definitive signs of water constantly dripping: Especially the starboard chain plate abaft did leak heavily as the wooden covers of this chain plate have been already in a severe state of decay (see here for more details on this one). So, primary task was to dry out the particular spots first.
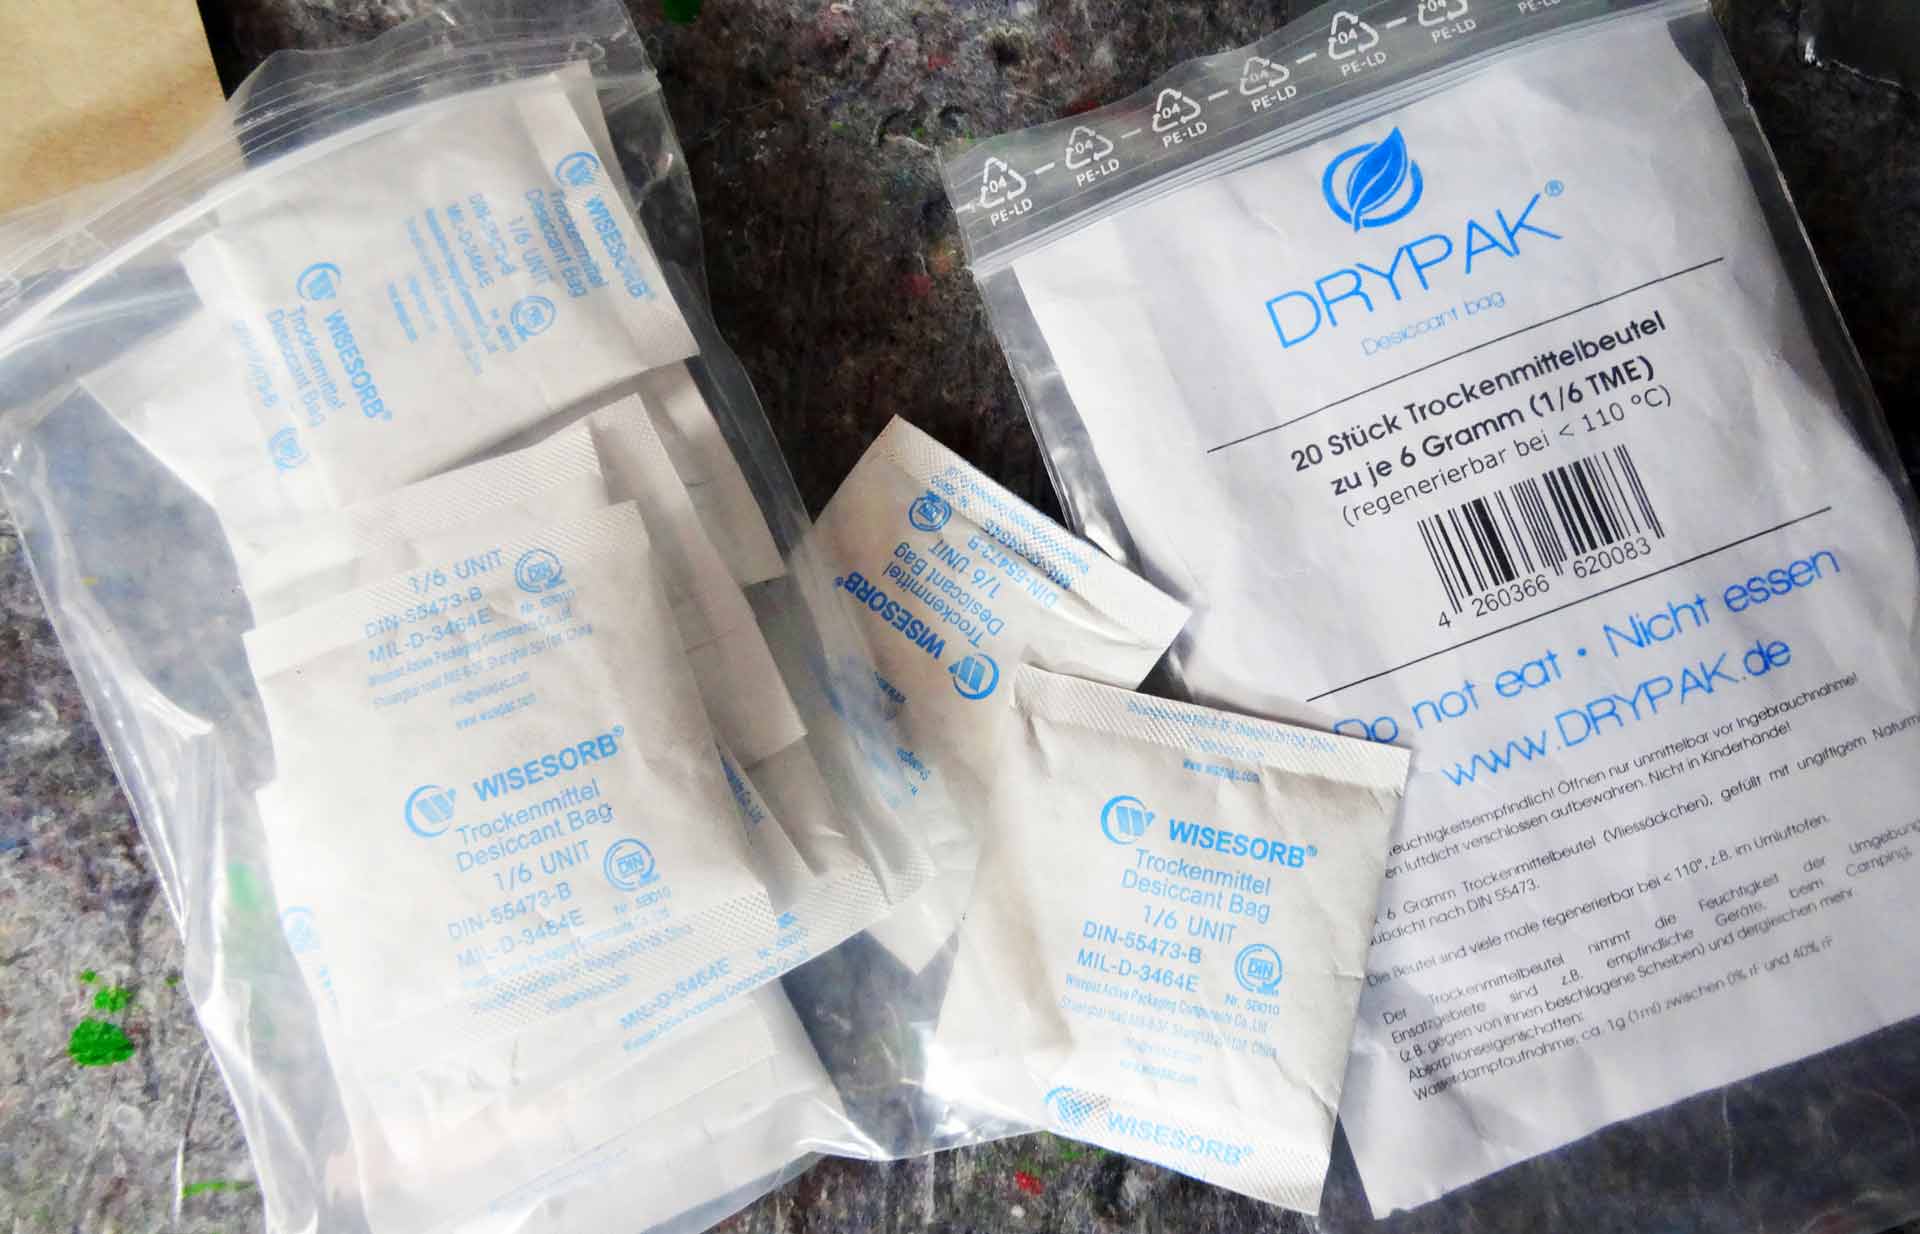
As my King´s Cruiser 33 bears a sandwich construction for the upper shell of the hull featuring and with all so many yachts of the 70ies era with Balsa wood as the middle layer, it was a pity to see that some of the wooden filling was rotten as I took out a lot of wet, dark, stinking scrap, the so called “peat”. It was awful to do so and to see that in the deck-area around the chain plate inlets the core has been deteriorated in a radius of some 10 centimeters. That´s huge. But first question was, how to get the core dried out? I just bought a package of desiccant made of silicate in small sachets with 6 Gramm of silicate each. I just stuffed the sachets into each corner of the excavation between the two GRP-layers.

Having filled each of the inlets with enough silicate sachets I hope that this very reactive desiccant will now suck up all the moisture remaining in the not-so-rotten Balsa within the next 2 weeks. This is the time frame I allowed the whole process to take place. I am going to check the sachets and if soaked completely wet I will replace the stuff. I was reading about Balsa rotting away in many forums and bottom line was that it should be replaced generous by cutting free large portions of the deck. But I refrained from this drastic measure after reassuring that there wasn´t any rotten turf to be scratched out through the inlet holes and proofing that I could not produce any “soft” response of the deck after applying pressure. I really hope this will do.

But it have not just been the inlets producing water, some of the drops somehow managed to leak into the sandwich structure of the chain plate stringers which are laminated with the outer shell of the hull to induce the forces obtained from the shrouds. After assessing the situation I was glad that I could only identify 3 out of 20 holes bearing such a condition. Anyway, having a rotten Balsa core here is far more dangerous than on the deck as this structure takes on real huge forces, whilst a soft area around the inlets provokes no structural damage potential. As for the stringers, the chain plates connected to them need a constant counterpressure which cannot be built up if the material between the chain plate and the counter plate is soft or virtually nonexistent at all. So I also excavated the core in the stringers with a thin screwdriver and took out as much of the peat as I could.

Fortunately, it seems that my boat received far less damage here as I would assume that most of the moisture went directly into the wooden panels covering the stringers. Now, having stuffed the three holes with desiccant sachets as well I am waiting for the silicate to do its job. Next step here would be a thorough filling of the stringer with epoxy resin and glass reinforced fiber-schnitzels and letting it all harden thoroughly.
Moisture Indication for the Chain Plate Inlets
There is no such thing like a dry yacht. That´s just wishful thinking and I know it. I also assume that there are some spots on a yacht which will always in some way or another leak. A bit. This is for the mastshoe coming through the ceiling of the cabin or the chain plates – if not fitted to the outside of the hull as for example with the new Varianta 37 and 44-boats. One can only try to seal them as good as one can and to try to be prepared to see if the sealing goes away and the stuff starts to leak. So the second priority of this refit-process is to install some sort of leakage indication system. When checked regularly (maybe after each season when the boat goes out of the water) I want to distinguish potential new moisture from the old marks the water left during the 40 year service life of my boat.
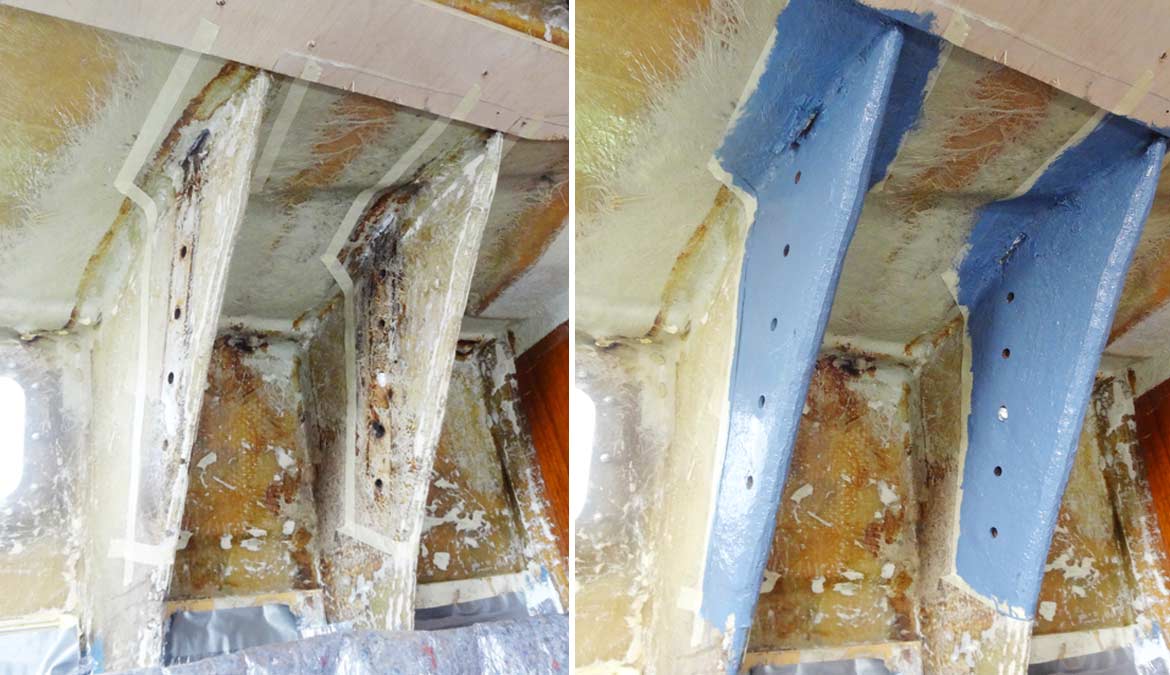
So I decide to paint all the parts in question to get a straight new and shiny surface: This will enable me to instantly see new water coming through the in inlets and not to be mislead by the old water marks. I mask generously an area on the stringers and the ceiling well around the chain plates and paint the bare GRP with a layer of Pre-Kote basic varnish. This layer will provide a good groundwork for shiny white paint to be applied next week.
The idea is clear: By removing some of the new ceiling- and stringer covers it just will be a quick check on the new white colored stringers to see if there was any water coming through. I really like this idea. Because now I do have – next to checking the sealing under the outward ends of the chain plates on deck – another indicator of water leaking into the boat.
Rust Removal and Preparation of the Chain Plates
Having done this, I went on to have the chain plates themselves refurbished. 40 years of constant stagnant water have done their work on the metal: Salt water + time is one of the most corrosive formulas one can think of. Salt water can destroy virtually everything. The chain plates have been covered with an fortunately only superficial layer of rust. And other stuff. Cleaning the metal was the logical next move.
As you may have read in my article on cleaning the bilge (read here and here) I did have a similar – if not worse – problem with corrosion during this phase of the yacht refit an I was searching for an easy, convenient and fast way to remove corrosion-products from metal. I´ve found the Rostio concentrate which proved to be both very effective and pleasingly affordable.

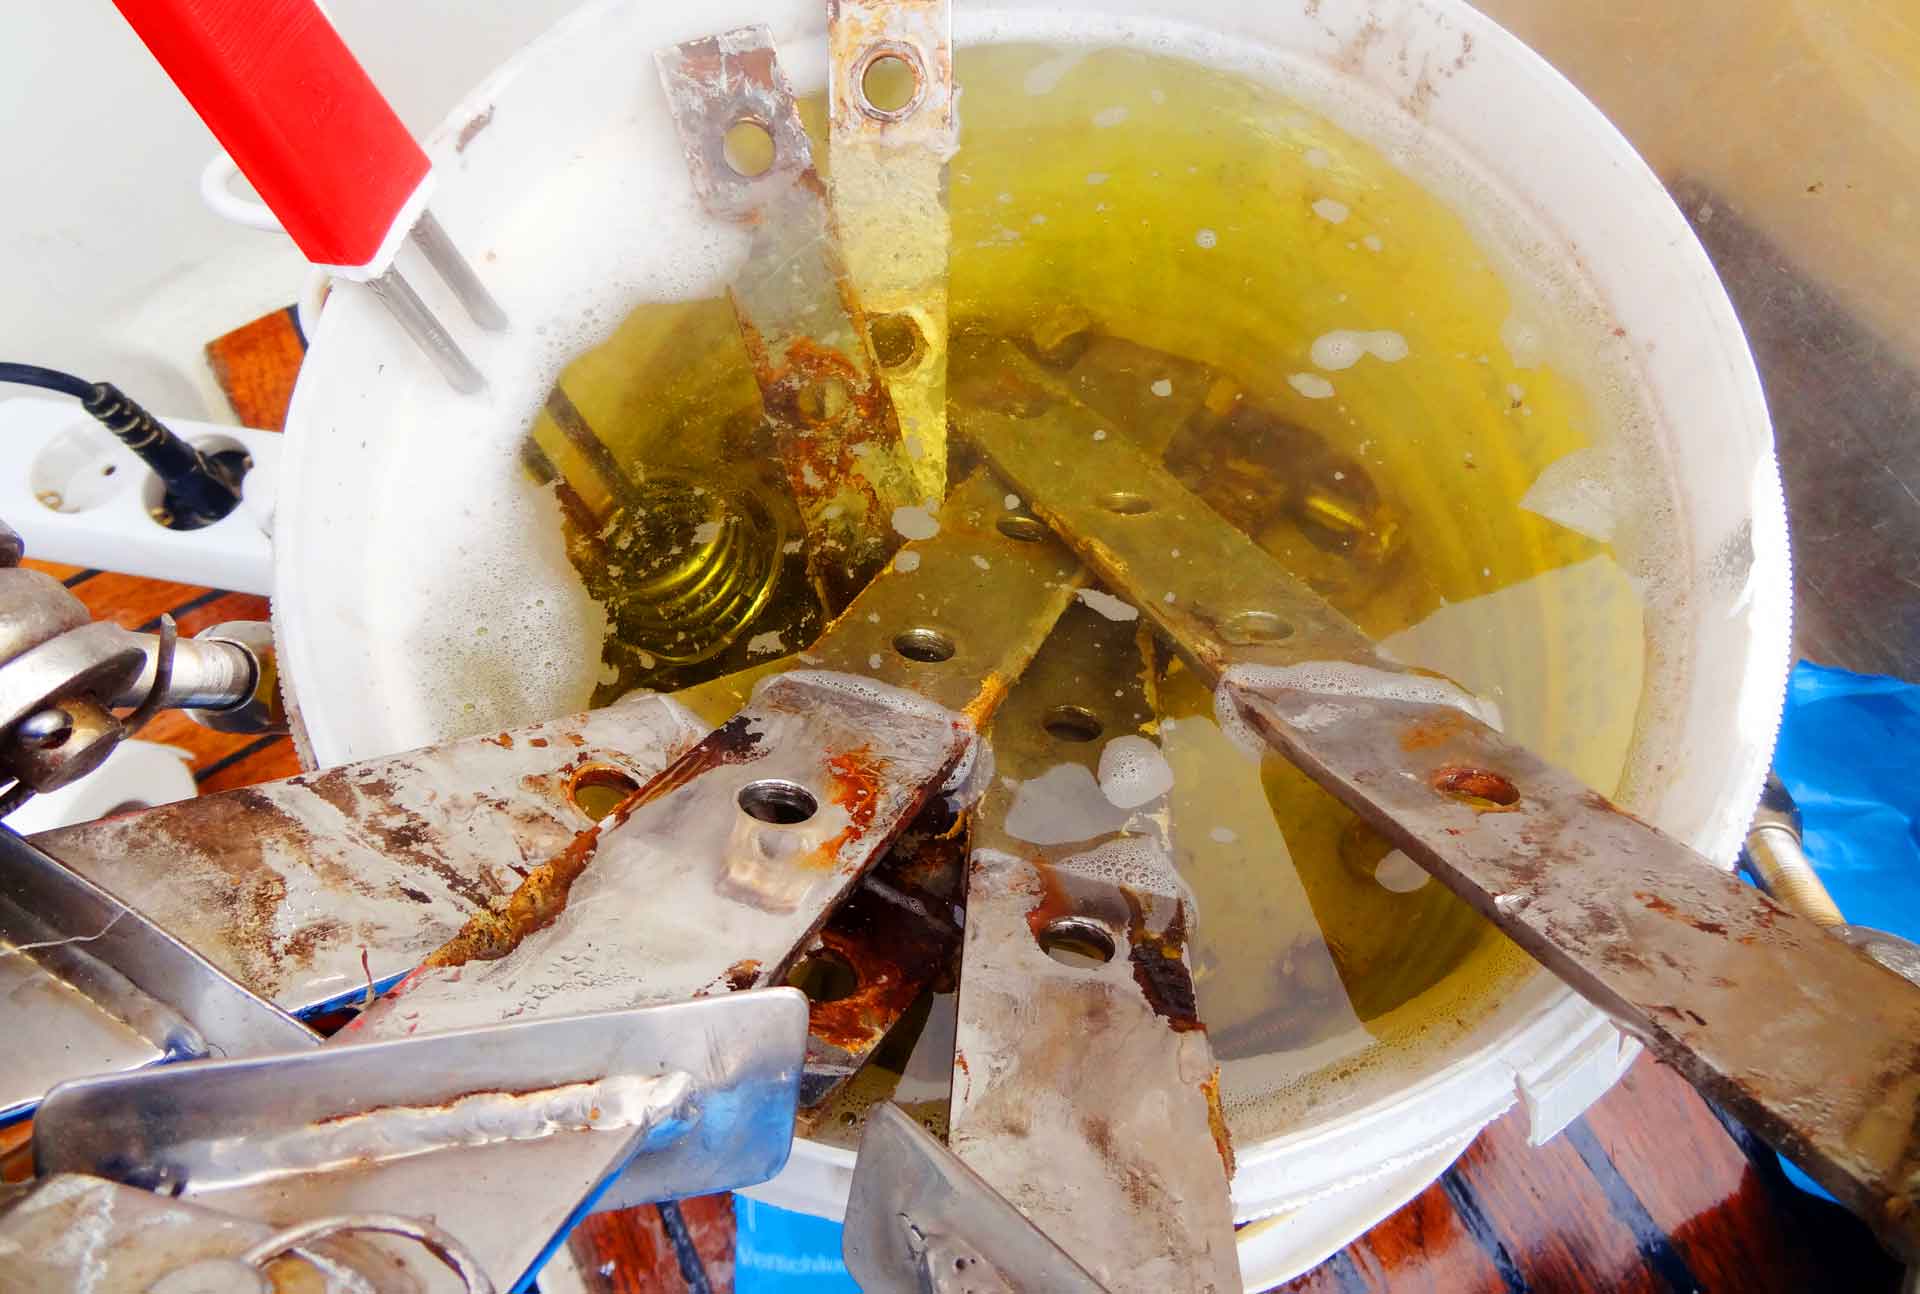
Application of Rostio is as easy as ABC: Having mixed a solution with hot water (boiling hot!) I poured some 10 liters into a bucket, places the chain plates, counter plates and all the nuts and bolts in it and kept temperature by utilizing an immersion boiling device. Having the metal plates of the keel bolts in my bilge treated this way two times for 10 hours each as they have been in a very serious condition, I opted for having the chain plates boiled in Rostio for just 2 hours because rust and filth have only been superficial here.

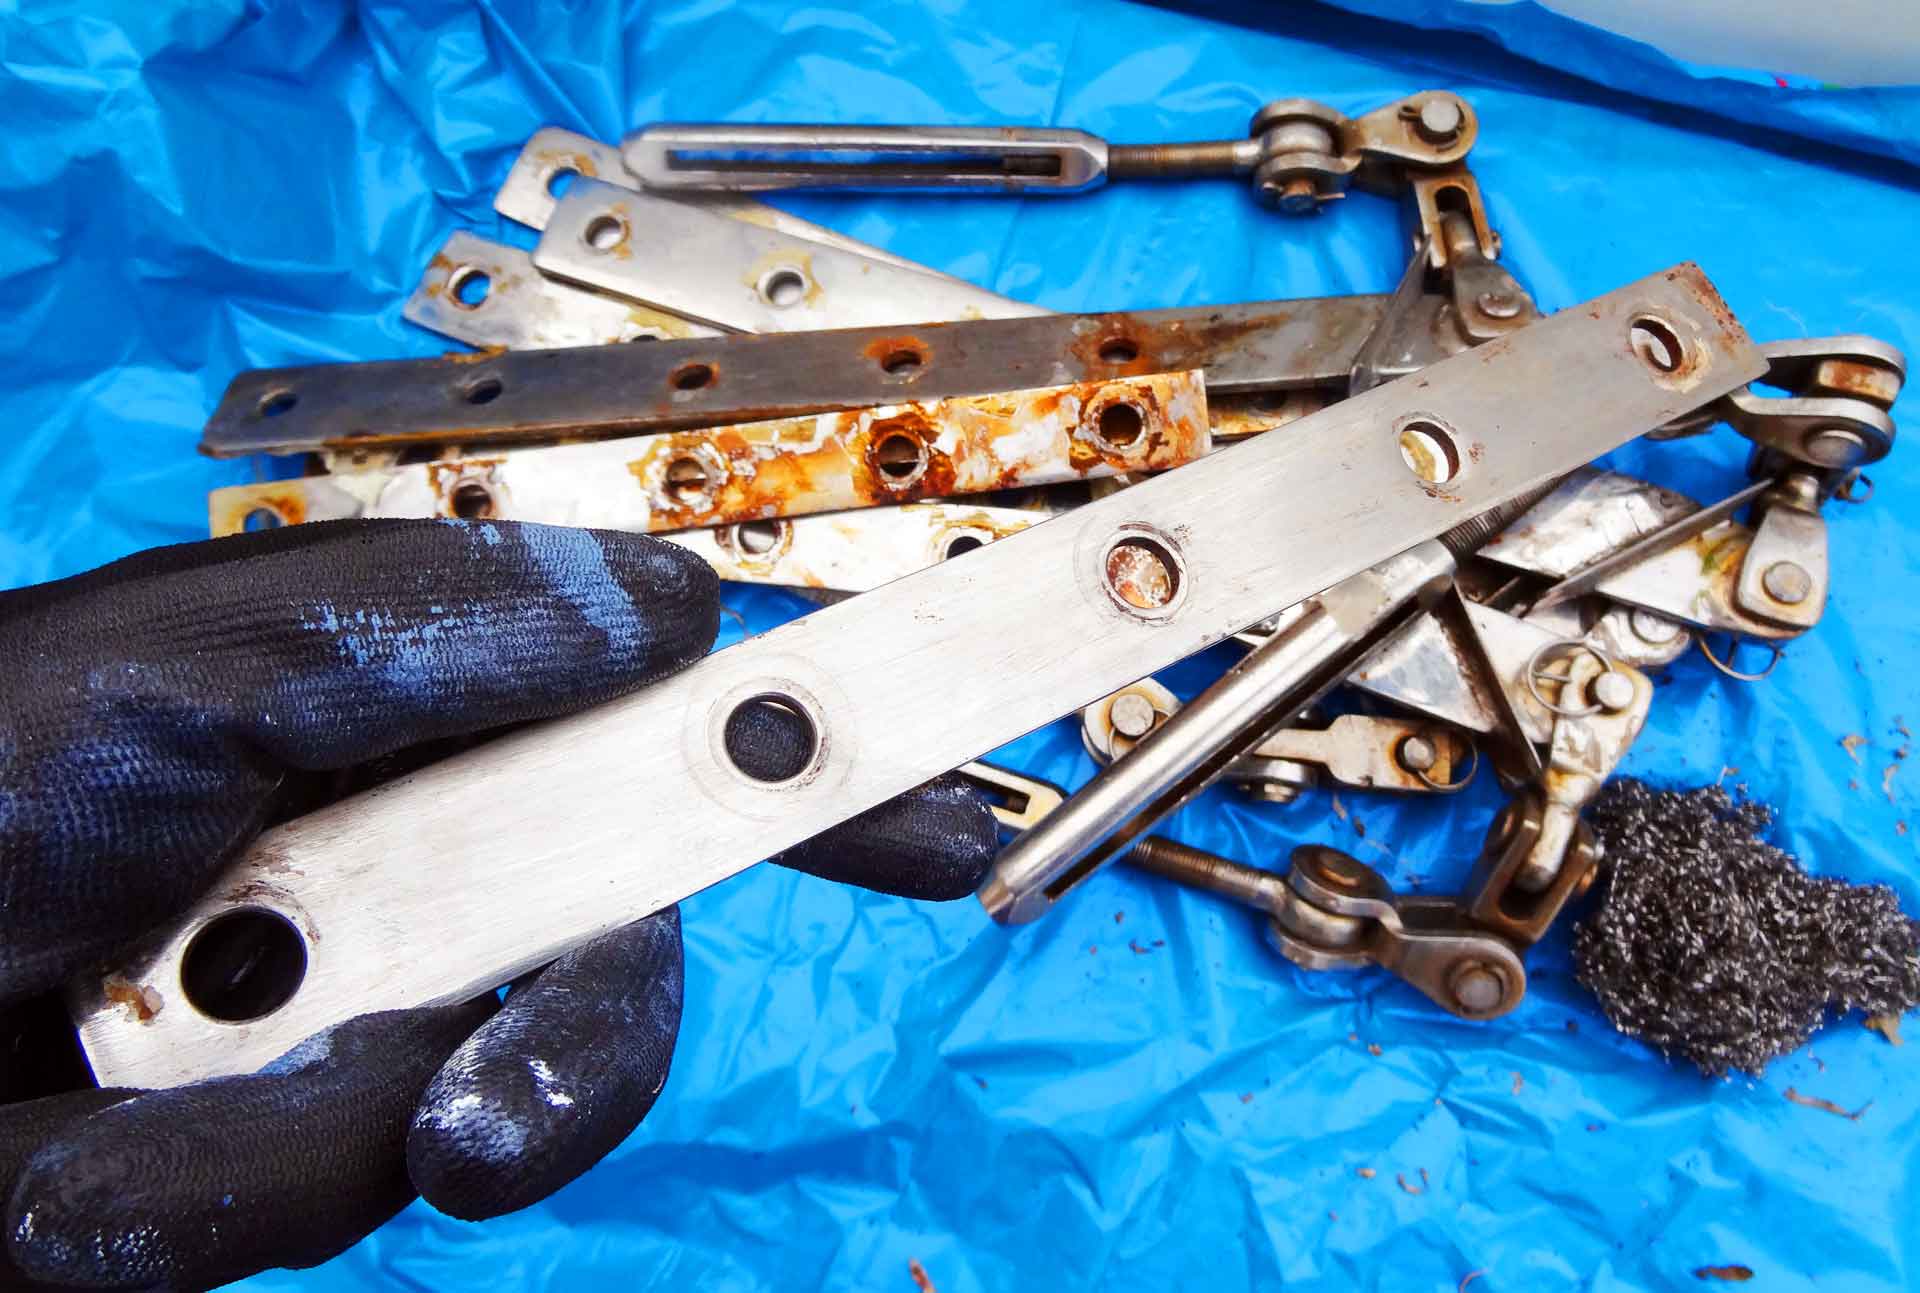
Upon taking the chain plates out one by one, all I needed to do was to have a few scrubs with steel wool to get off everything: From rust to old sealing stuff to rotten filth and dirt. It was sheer pleasure to see the Nirosta stainless steel coming back to shine in its full bloom again. And to keep the stainless steel in that condition was a task I was thinking about for some time.
Rust Prevention for the Chain Plates
Stainless steel won´t rust, you might say? Well, you are right. But having a closer look onto the metal I could spot various parts where due to the pressure and turn of the nuts and bolts large parts of the upper alloy have been damaged. I am no metallurgist but I can imagine these areas are the first target of new rust.
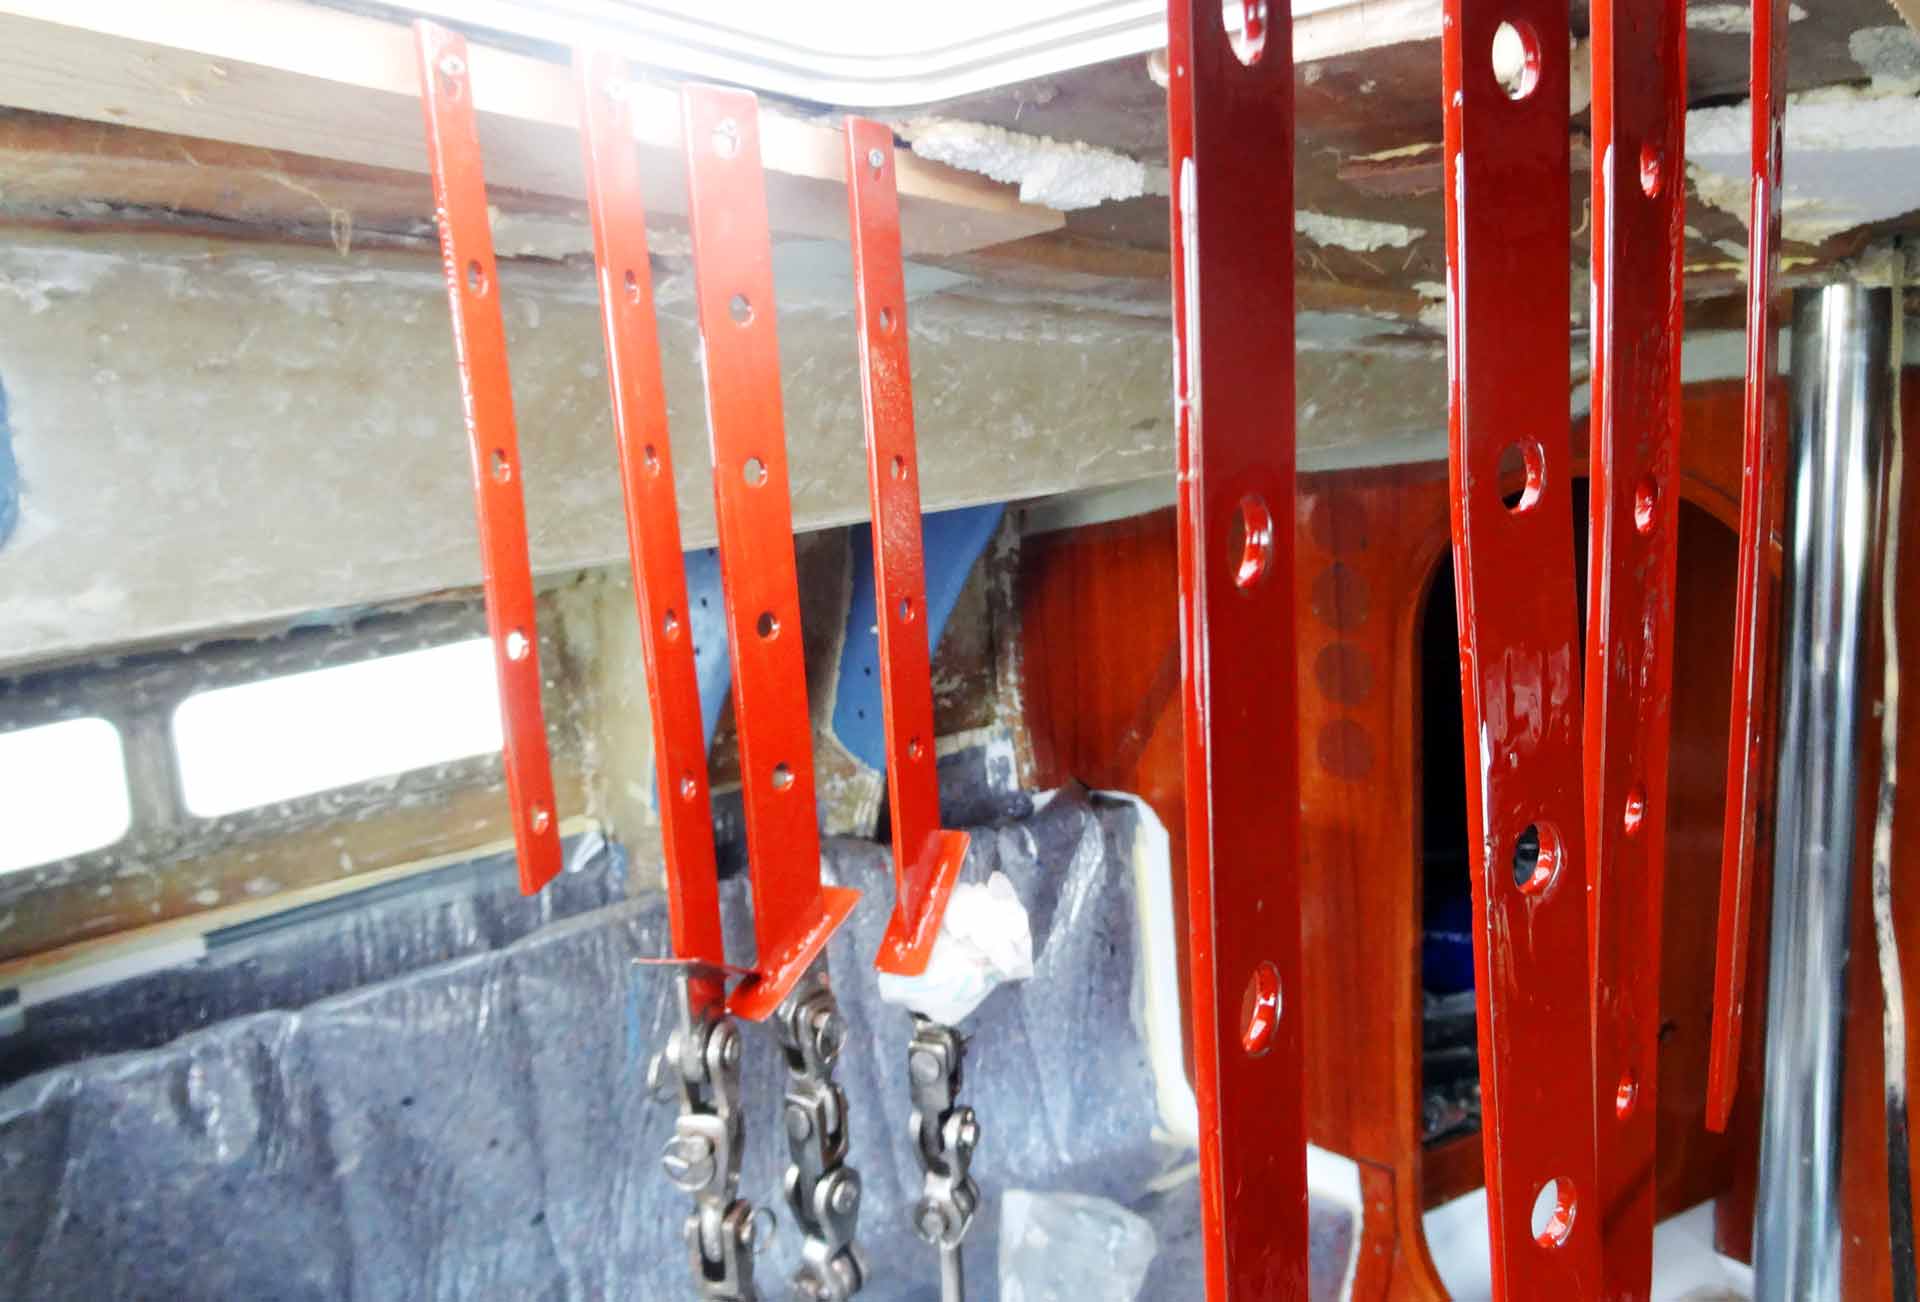
I opted to have the chain plates and other metal parts of the construction painted as well. Again, by working on the bilge previously I did had a good impression from using Owatrol Marine CIP Corrosive Inhibiting Primer (read here) and upon having a good half of a can at stock it took just 20 minutes to apply the first of two layers of this shining red anti-corrosive paint. When installed properly in the coming weeks, I will as a last action paint the nuts and bolts as well to have everything sealed against new moisture. I think, applying all this the whole chain plate-construction should be safe and up for the coming 40 years …
Next Steps in the Chain Plates Refit
In the upcoming third and last part of this series you will learn how I did reconstruct the inner core of the sandwich-deck and the stringers – at last a procedure providing me with valuable practical knowledge in laminating and utilizing resin. Having everything dried completely, I will re-assemble the chain plates and finally seal the inlets, which will be also an interesting step.
If you are interested in more articles on yacht refit, klick here