Having exact measurements and dimensions are essential for a mast-maker to produce a rigging that fits neatly, doesn´t need an awful lot of adjustments and is safe, sturdy, long lasting. In this article we will dive deep into that topic, showing how a Seldén professional systematically works his way through the boat, from forestay chainplate to the keel-base, to one by one gather exact values which later make for a perfect custom made mast and standing rigging.
As expected and pre-announced, the frequency of interesting stuff happening at the Omega 42-shipyard has increased manifold, now that the deck is fitted to the hull. Many subsequent projects needed this awesome leap forward to being pulled off, one of which is the making of the mast. As you may have read in a first article many months ago, I went for Seldén as the mast builder. Why? In my eyes, Seldén is best suited for the custom-built, it´s a brand I trust because I have quite some experience with their products. And, least to forget: It´s a Swedish brand for the Swedish icon. Sounds like a perfect combination to me.
Why are accurate mast measurements so important?
Advertisement
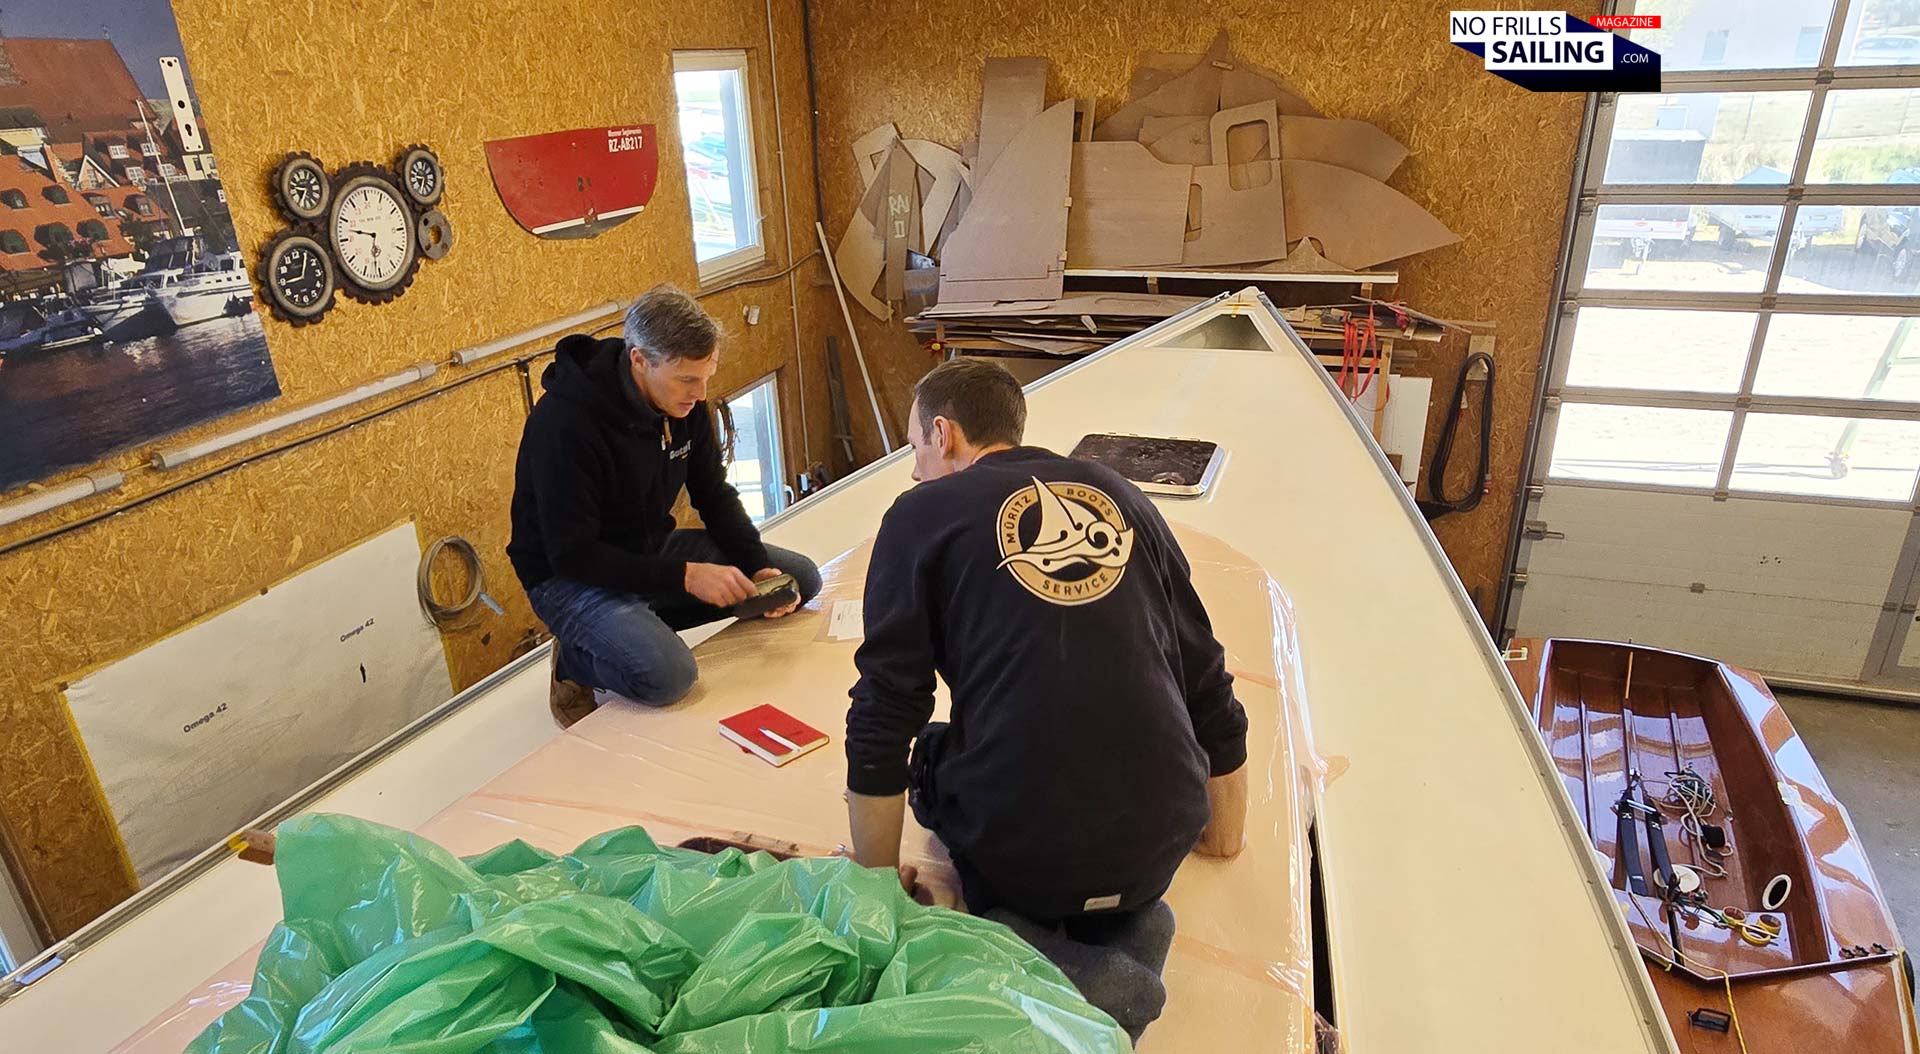
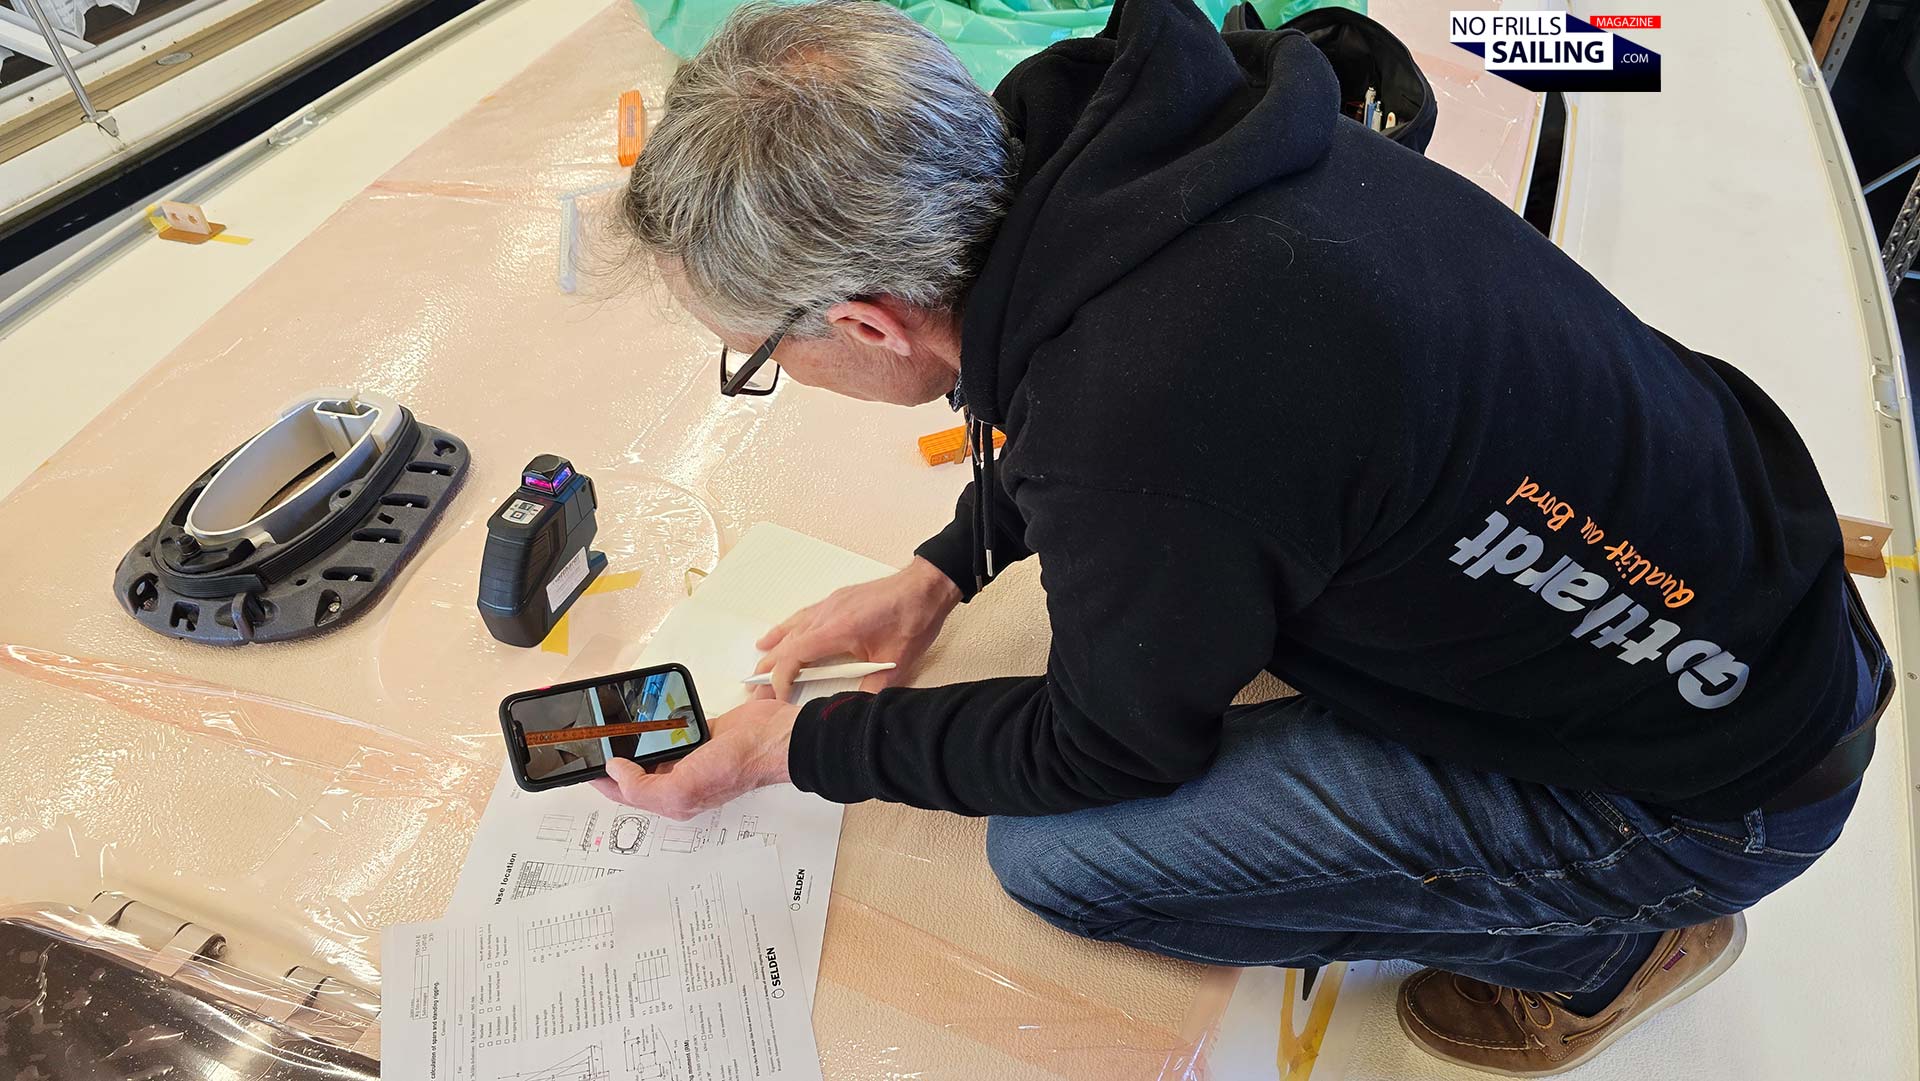
The mast is the most important single item of equipment for a sailboat. That´s for sure: If the mast doesn´t work, so cannot the sails. If it is too weak, it will break and come down. If it is ill-dimensioned, no sail shape could ever iron out its shortcomings. That said, the solid foundation for any mast on any sailboat is it´s thoroughly measured and calculated dimensions. You just cannot take any mast “for a 42-footer” and put it onto any boat. This article will show how the rigging professional of Seldén´s importer for Germany, Sören Matthiessen, works his way through from bow to stern to collect these important data.
Sören (left) and master boatbuilder Jonas
Herman Gotthardt, funny enough, had been founded from the AB Herman Gotthardt in Sweden in 1980, so in a sense it is also connected to the Omega 42. Much more than you would think. As it turned out, Seldén – via Gotthardt – did not only just build the mast for the hull #001 WINDFAENGER some years ago, but around 20 masts for classic Omega 42 in the past ten years. So there´s a pretty vast range of experience. You may ask yourself now, if they had made so many masts, why don´t just take these dimensions and proceed? Well, you will understand when you´ve reached the end of this article. Sören arrives in the morning and receives a thorough briefing from Jonas, master boatbuilder on my Omega 42-project, before he starts his work.
You can do it yourself, but …
I asked Sören to do it for a reason. He is a seasoned, very experienced rigging professional who has pulled through literally hundreds of custom mast projects in his career. A skilled sailor and boat owner himself, he´s not just only familiar with the theory of rigging, but also with the outcome and influence many decisions will have on the sailing capabilities, performance and safety of a boat. You of course can proceed to make the measurements yourself, but for me it was customary to ask him to spend a one day in the building shed: I want it to be perfect!
Fitting a mast-profile to the deck-ring
If you are seeking to buy a new mast and standing rigging for your sailboat as well, you can easily download measurement guides (for example from the Seldén website) and do it on your own. All you need is a proper understanding of trigonometry, the geometry of a sailing yacht´s rigging, a proper set of measuring tools, a steady, calm hand and good eyesight. For me, I may have something from all of these, but I was also keen on how the pro does it – being able to publish this story for you. So, let´s go!
Which values are important for a mast manufacturer?
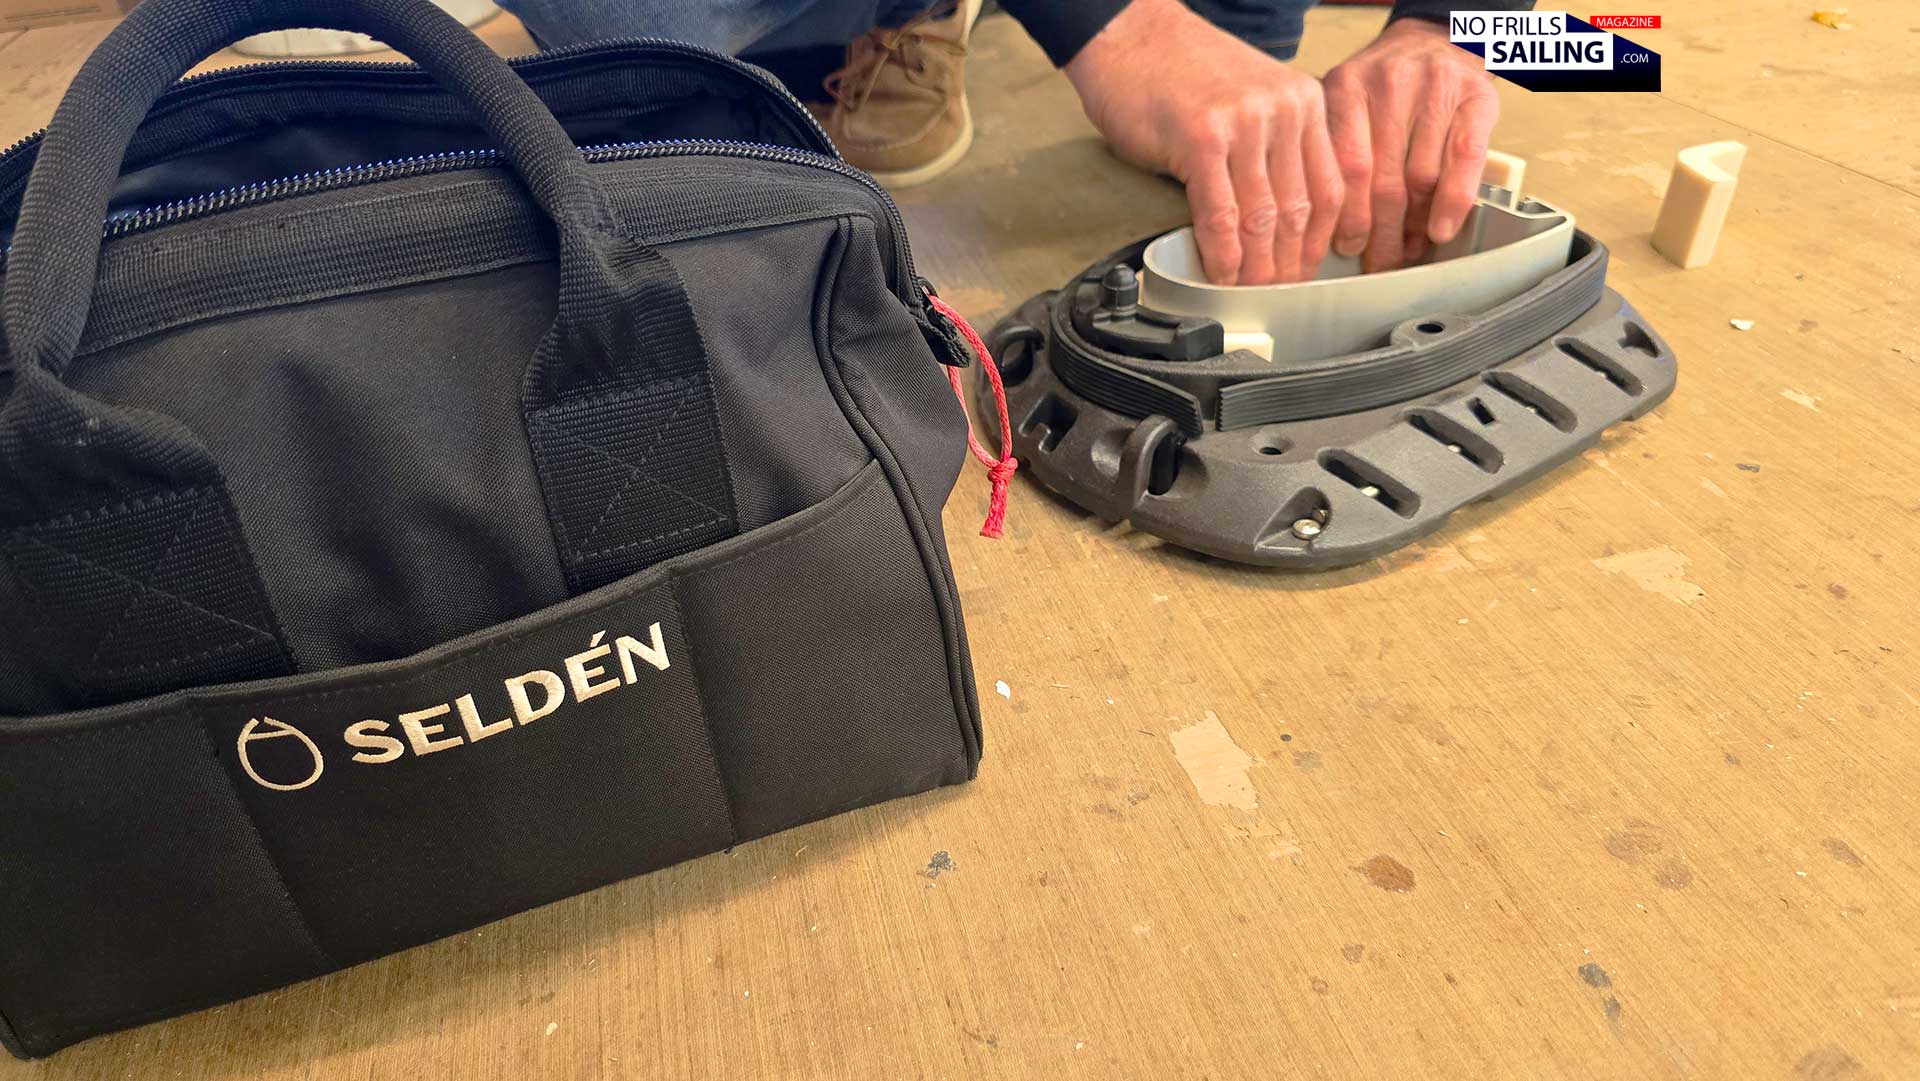
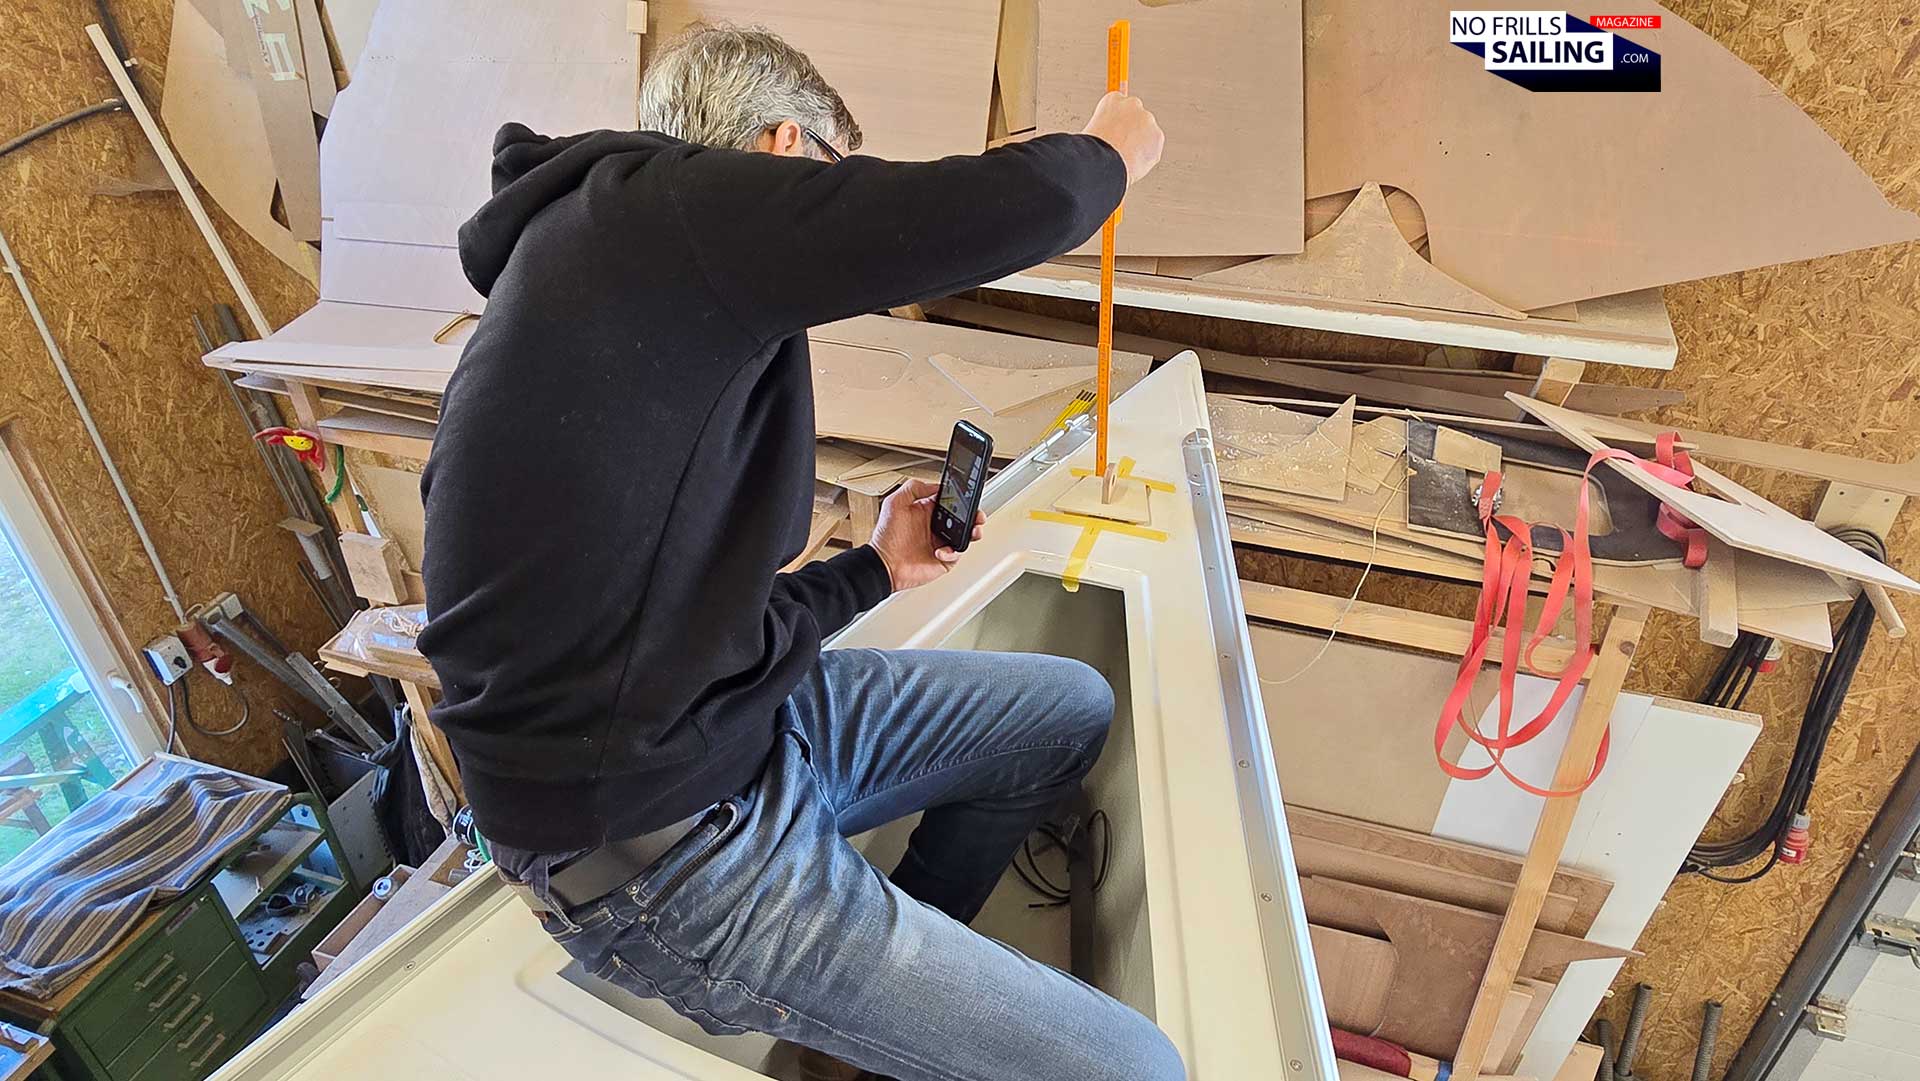
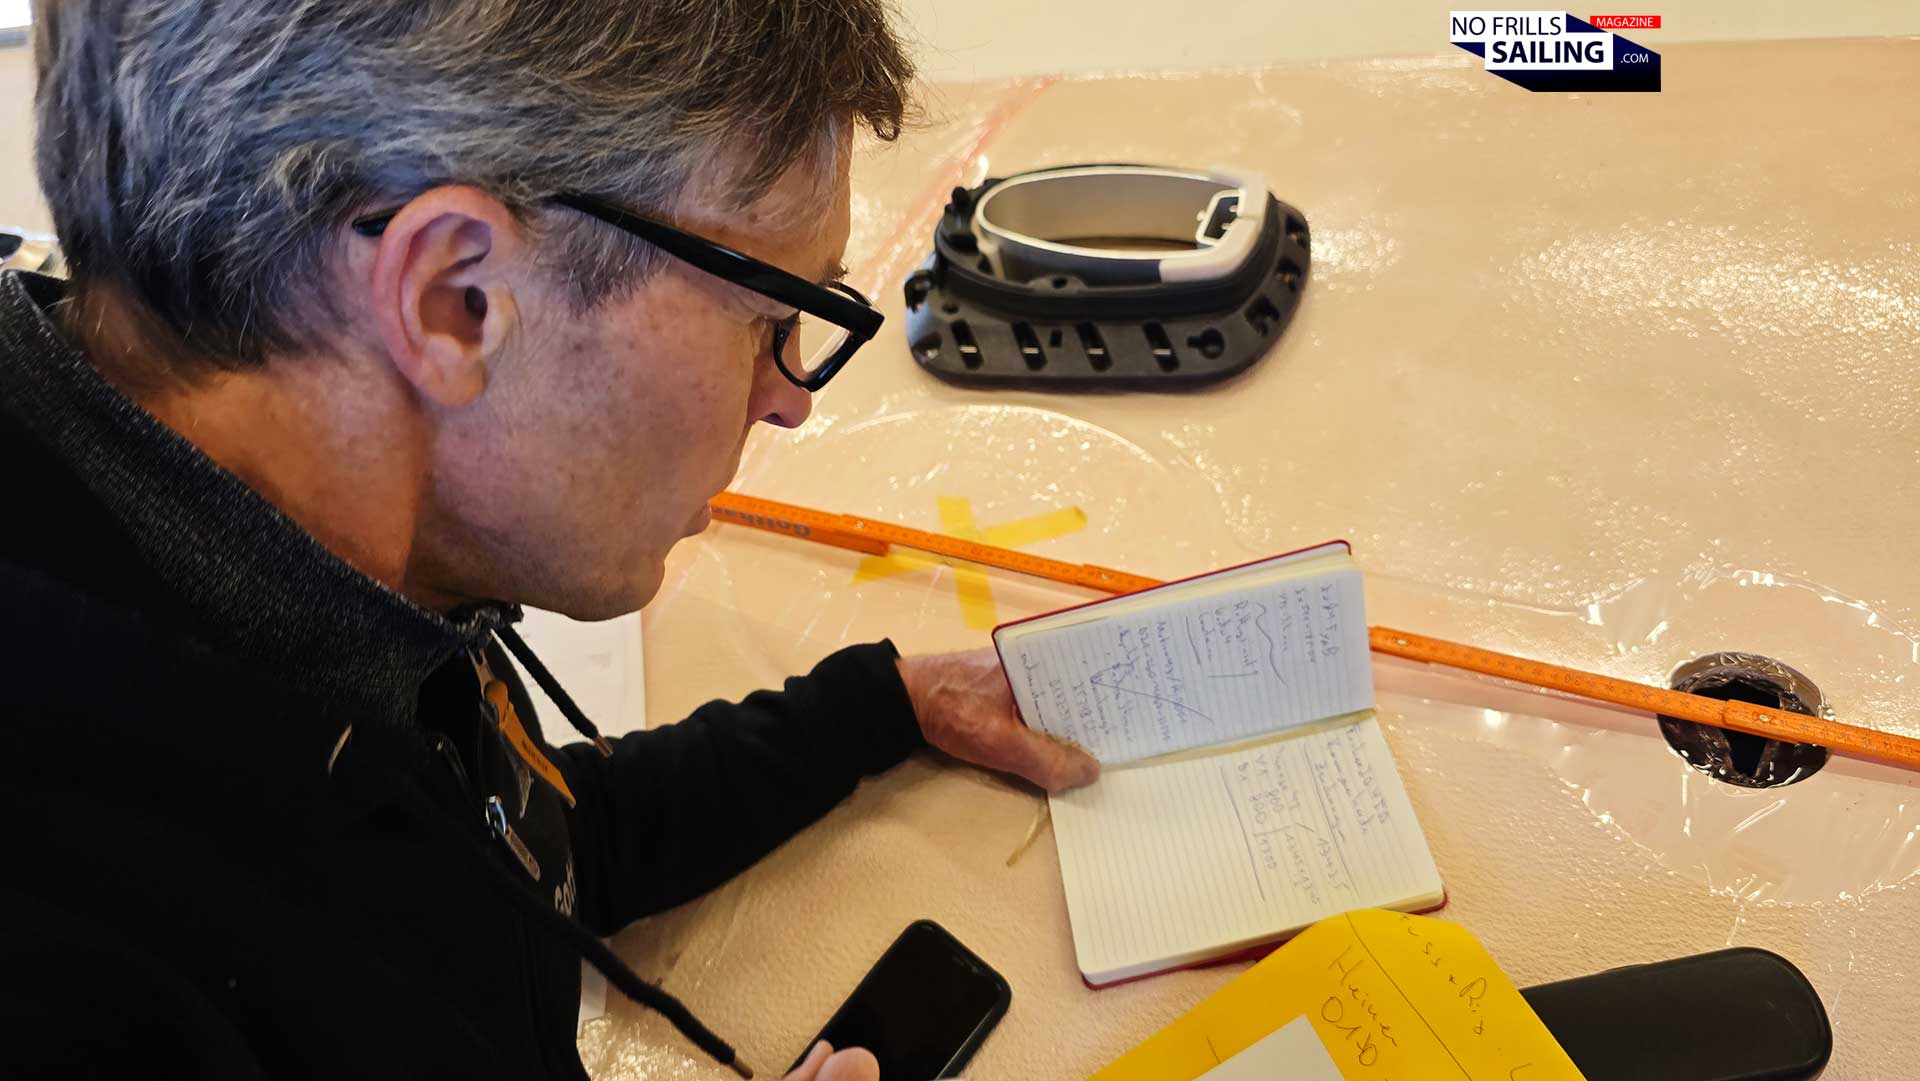
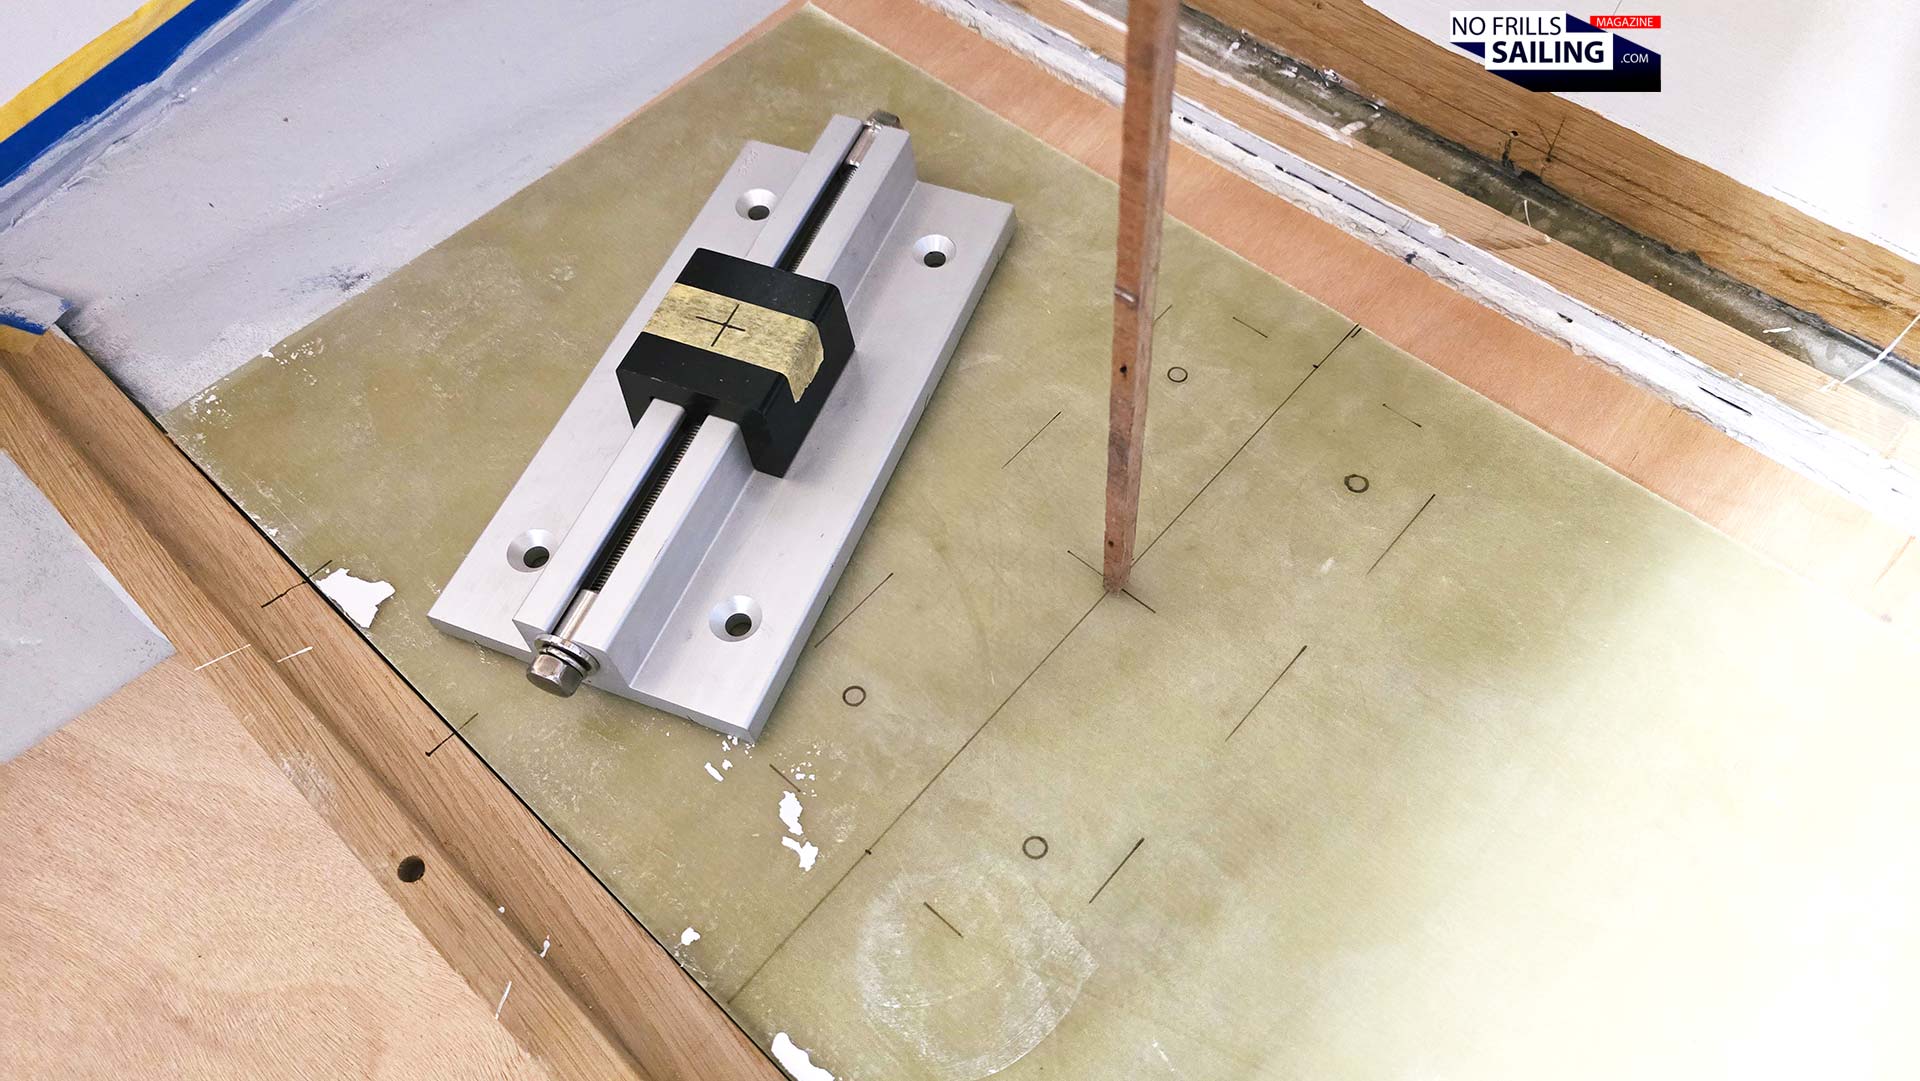
The first thing Sören does is to take the deck ring out of the equipment shelf. He puts it to the floor and takes out a piece (I guess some offcut out of live production at Seldén) which has exactly the shape and cross section of the mast my yacht will later be carrying. He inserts the rubber spacers and wedges in the metal part. Now we have a perfect center piece from which all the measurements will be derived.
This is where it all starts …
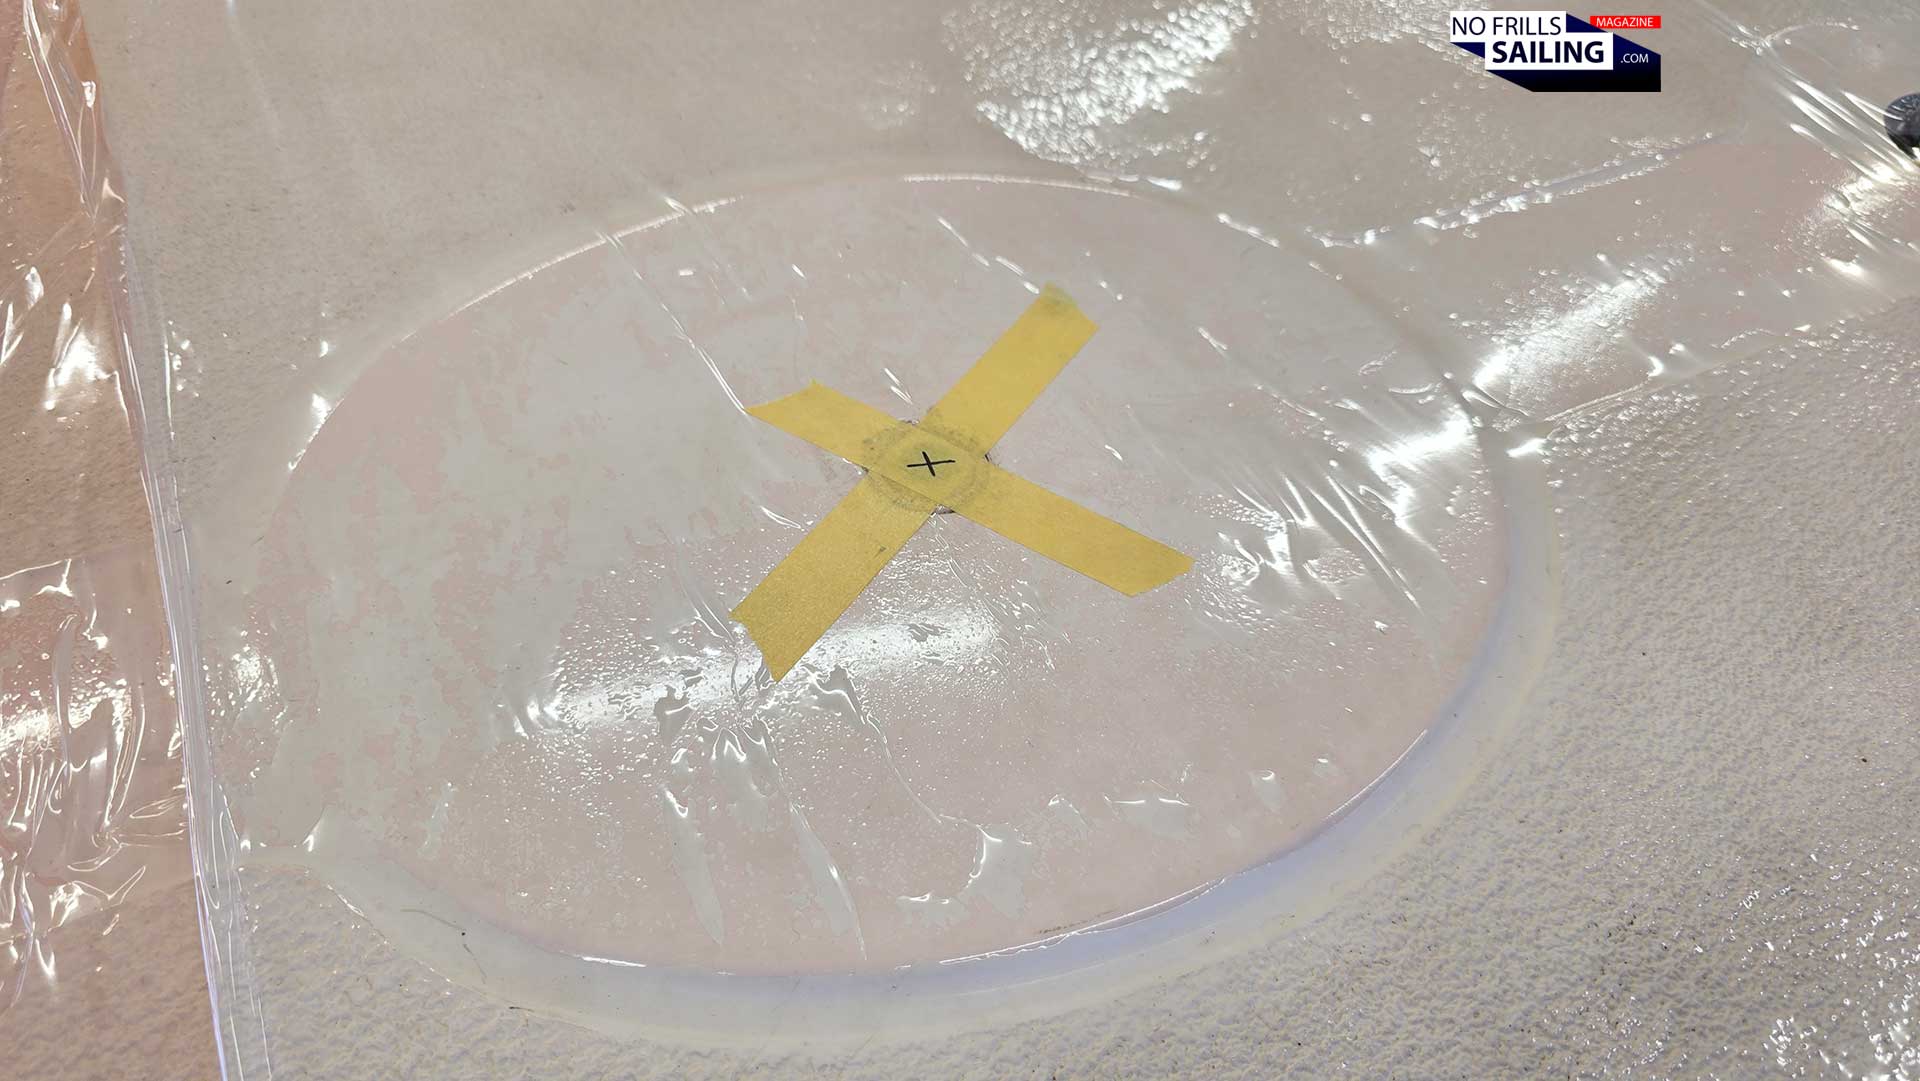
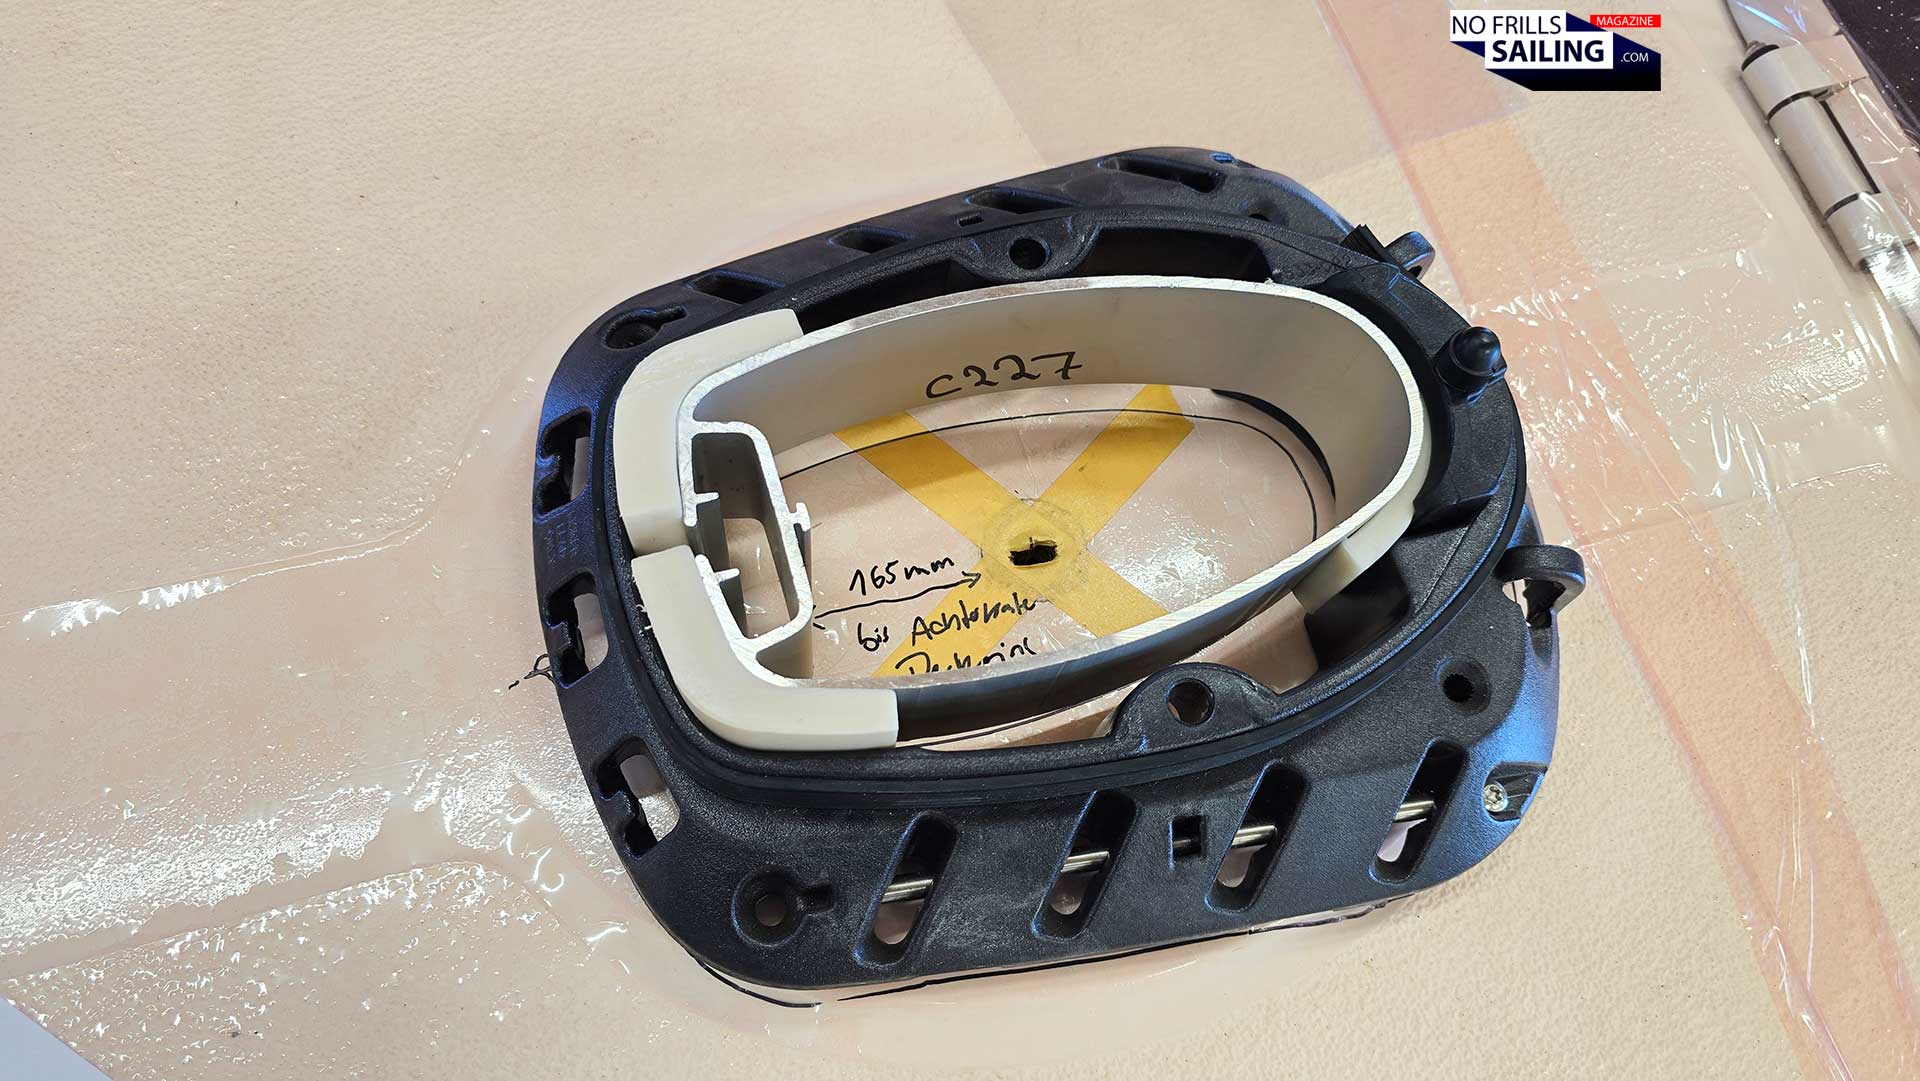
This one, of course, must first be placed onto the very exact position where the mast will later be located. We are talking not centimeters here, but millimeters. Preparing for today´s mission, Jonas and his crew had already prepared markings with tape and Edding on the deck to indicate various attachment points, of which the exact center point for the mast, the “middle”, is the most important one.
Accurately placed: A precision job!
Of course, here the deck laminate will have to be cut out to form the exact shape of the mast´s profile, a step in production that will be executed in the coming days/weeks. For now, the deck at this locations is still closed, but Jonas did drill a hole, which will become very important later, as you will see. We position the deck ring with the mast cross-section profile exactly onto the location and mark the outlines and inner shapes. First step crossed off the list.
Starting with the chain plates
As with every mast on every sailboat out there, it is stabilized with at least three steel cables (or rods): The forestay goes all the way to the bow-mounted fitting point; the shrouds are attached to chain plates on either side of the yacht. Three are minimum, as on classic yachts there is a fourth, the backstay, on many modern yachts a more extreme back swept angle of the spreaders will make this one obsolete. The Omega 42 has four attachment-points for the standing rigging, of course.
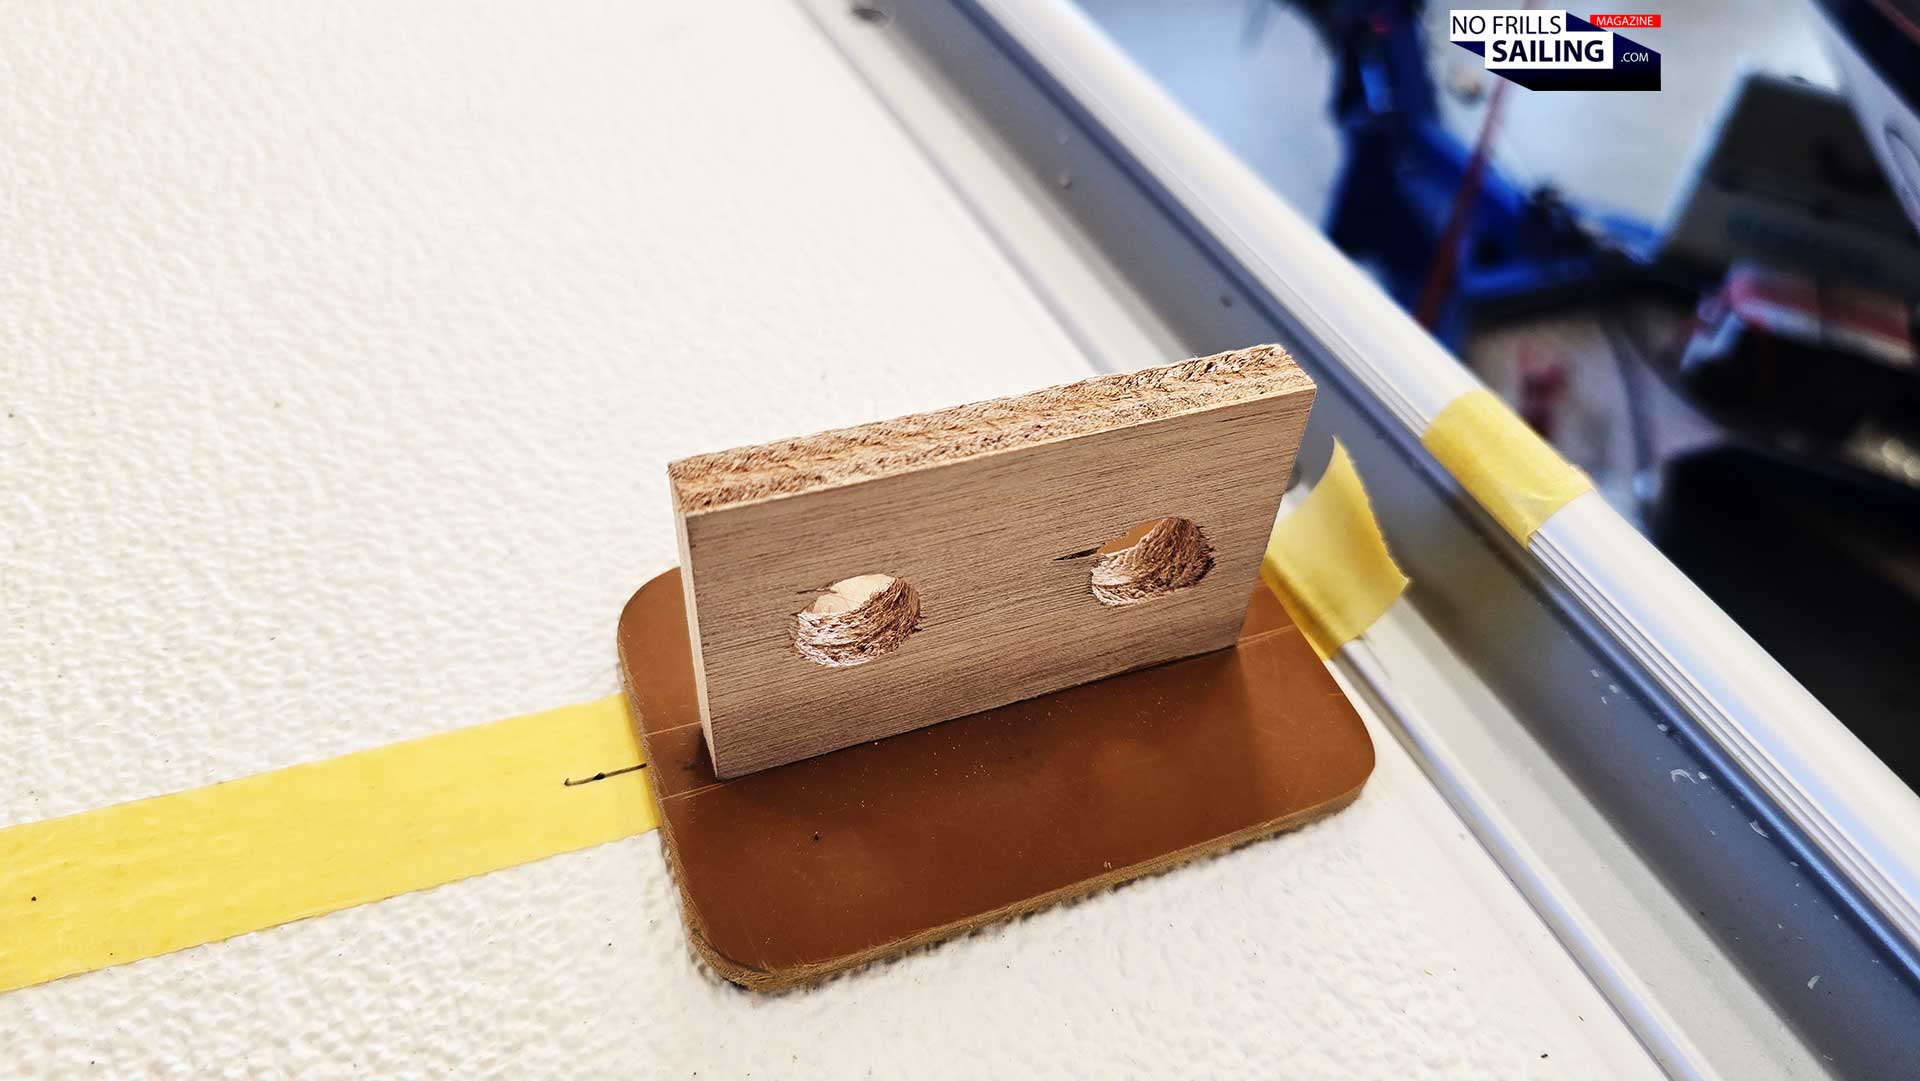
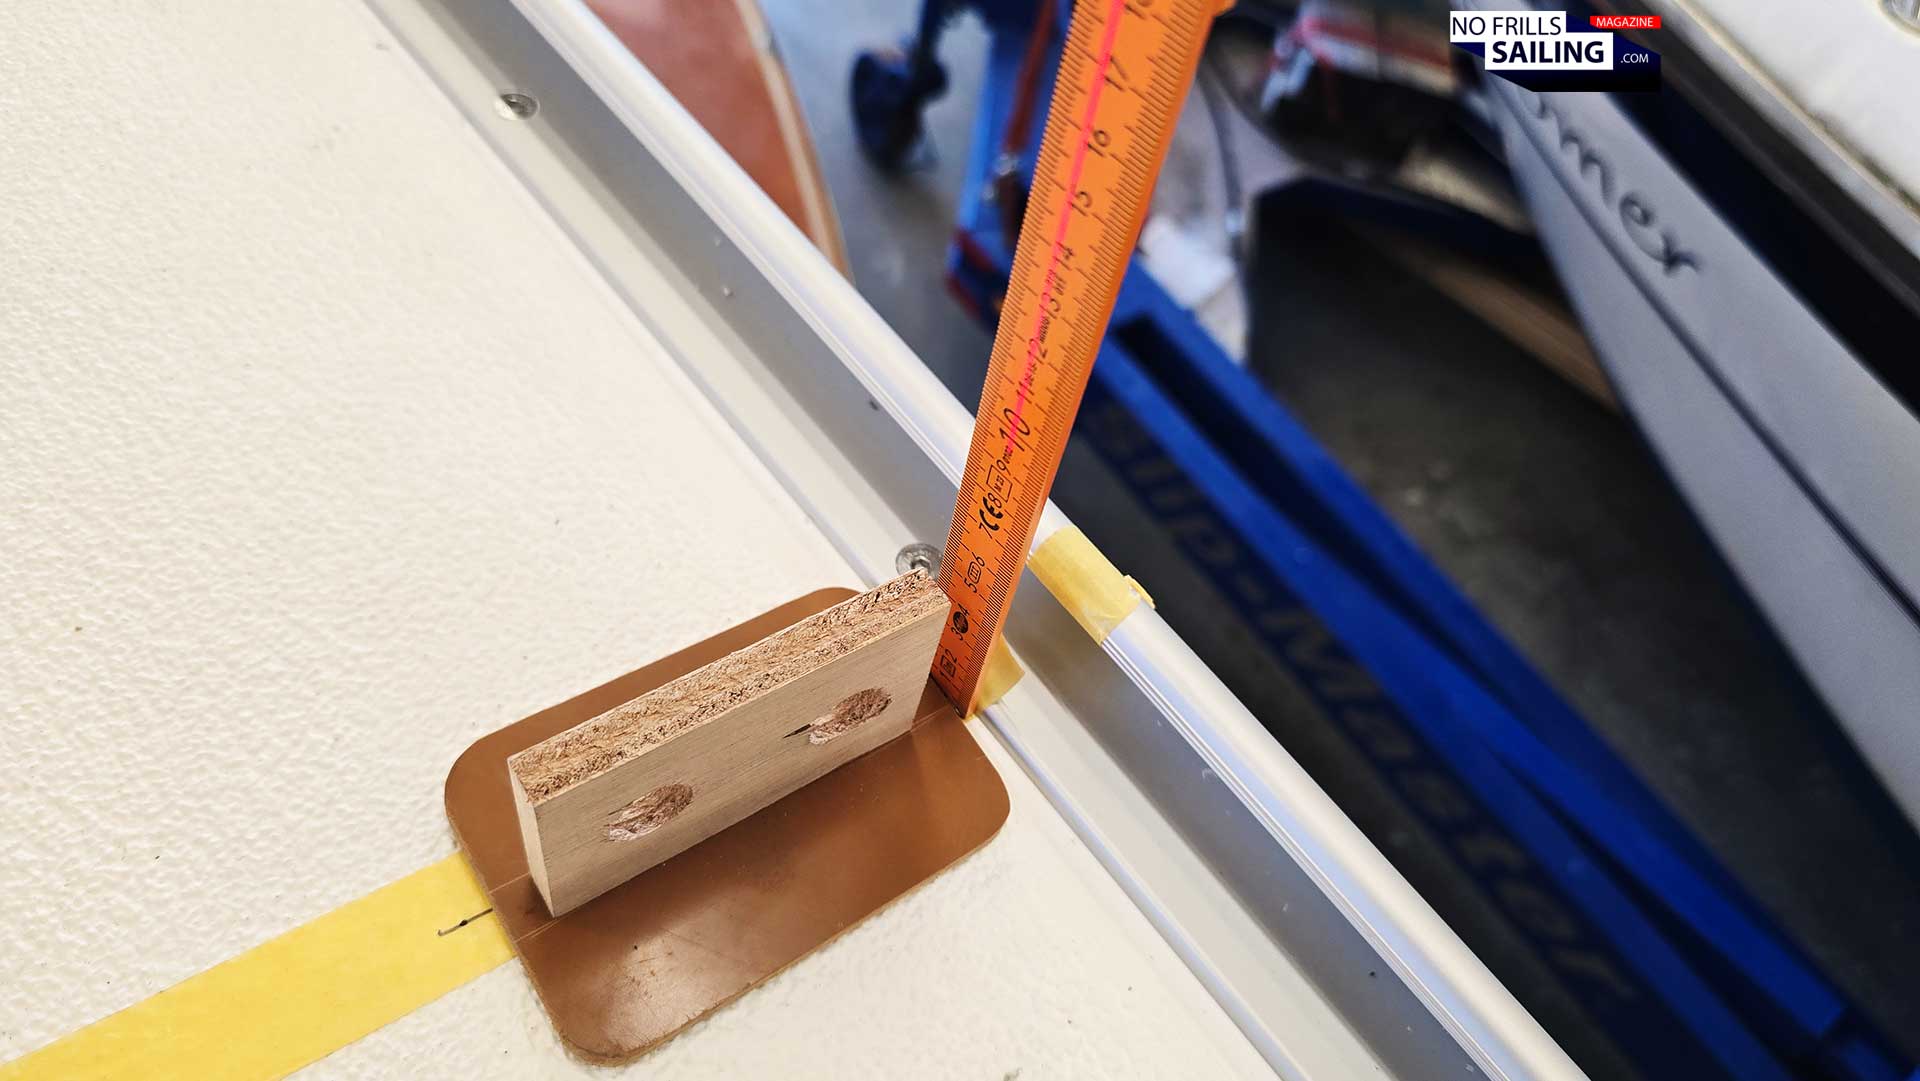
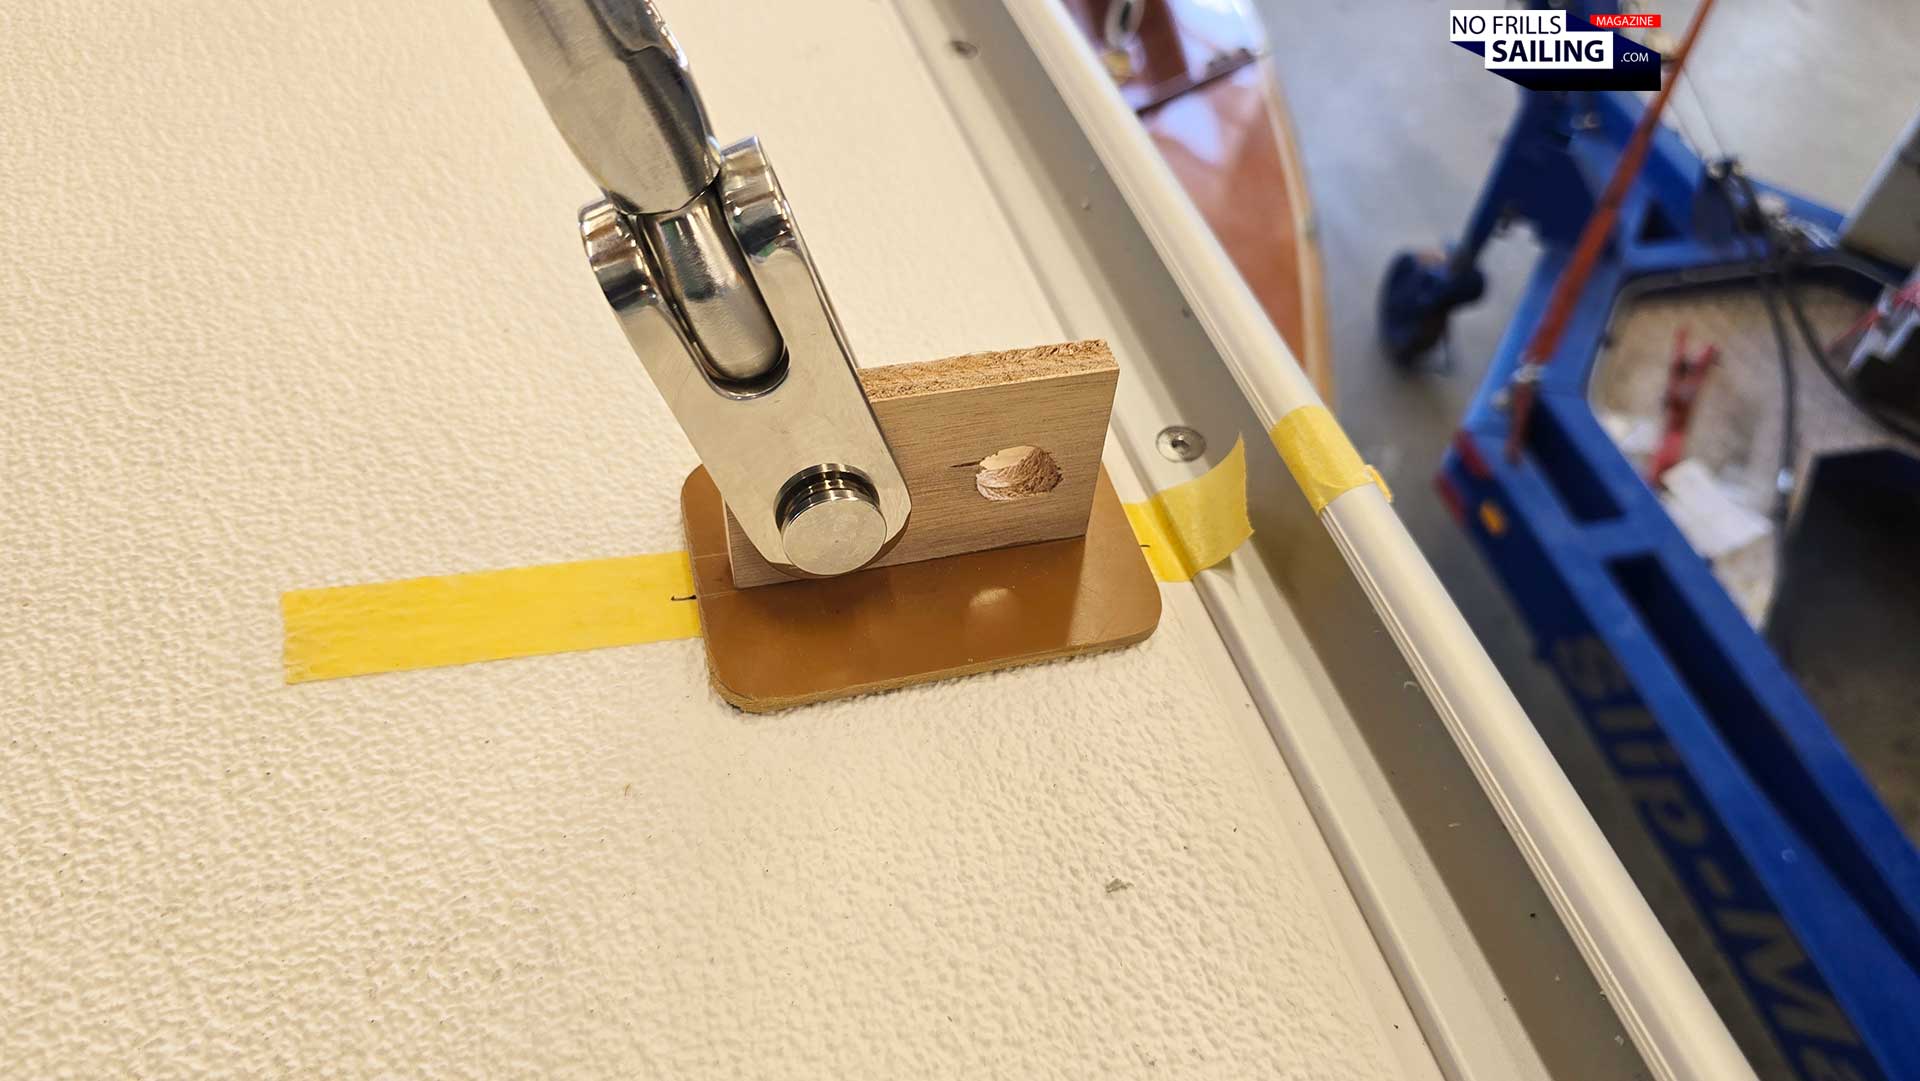
Makeshift chainplate mock-up
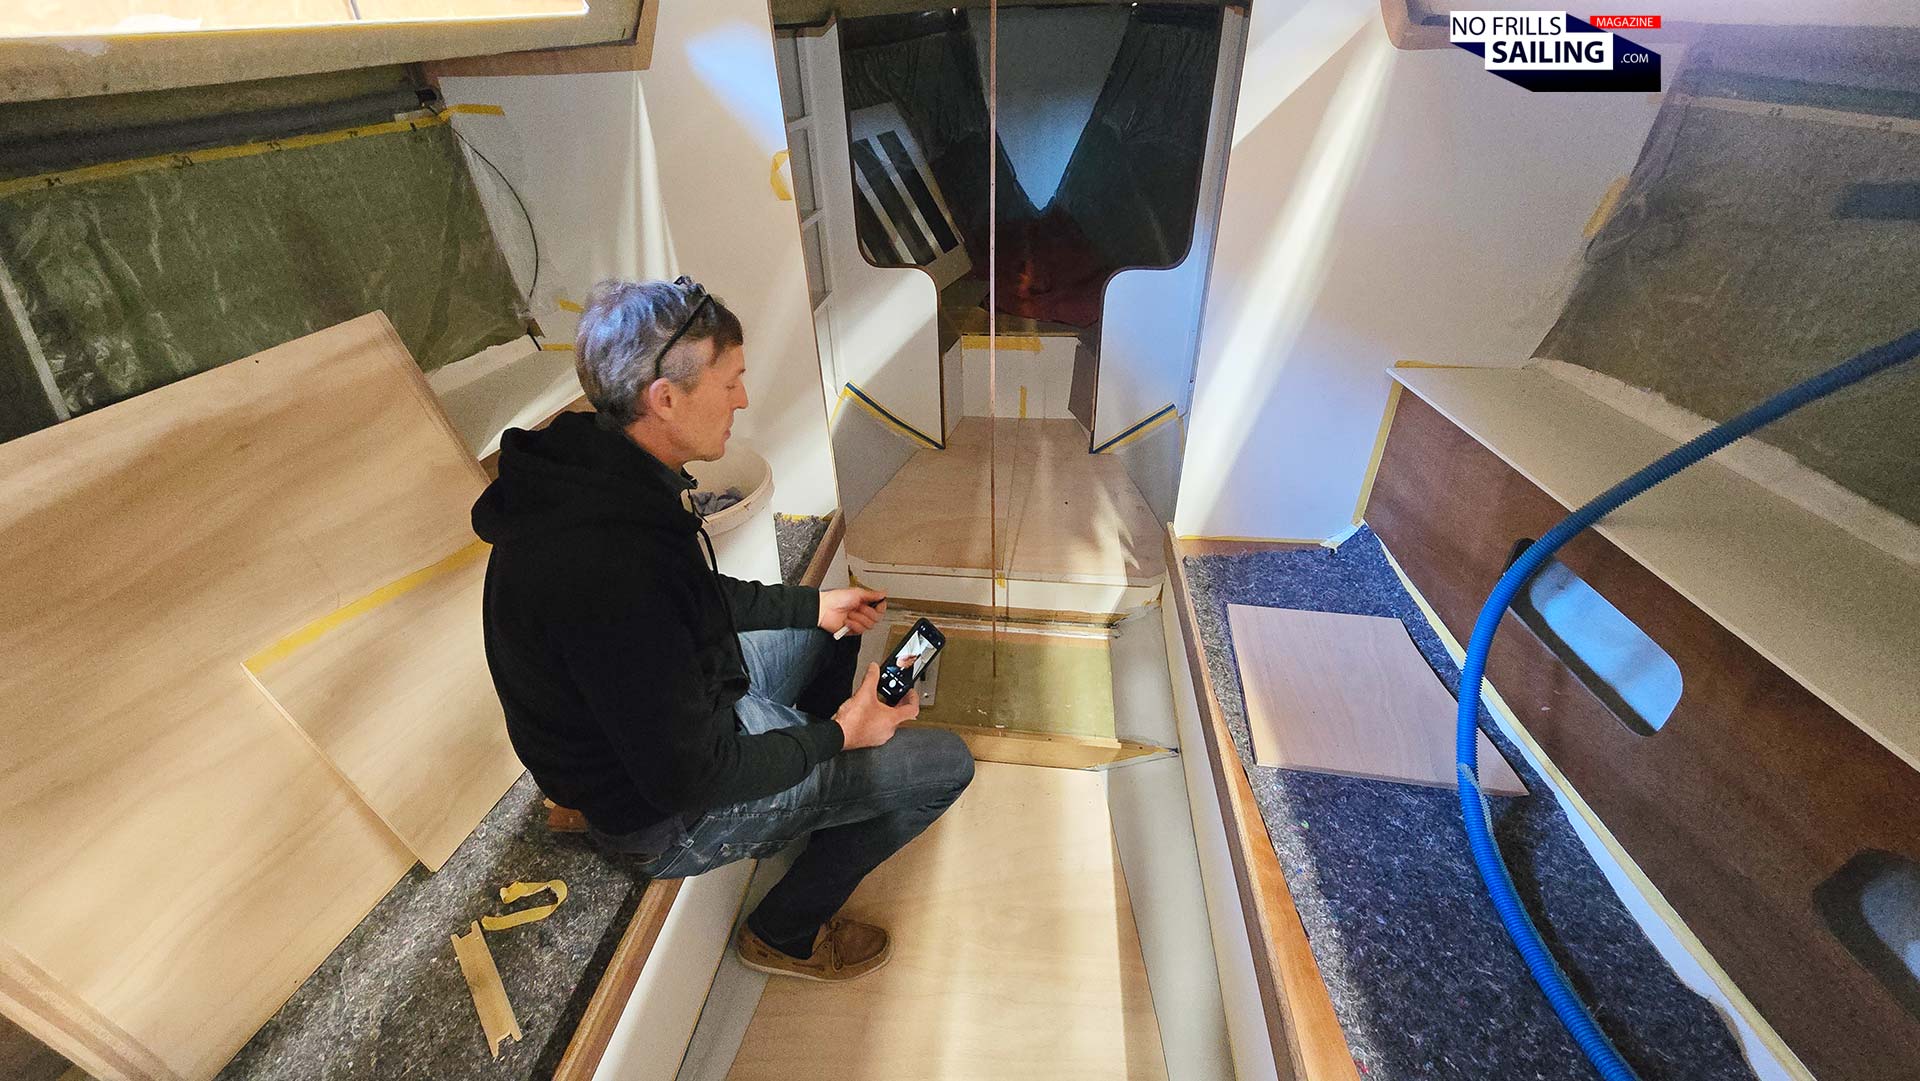
As of now, no chain plate had been installed yet. To allow Sören to work pull off his job anyway, Jonas and his apprentices manufactured wooden mock-ups of the chainplate attachments, resembling the exact height, thickness and dimensions. It´s a workaround, but one that works just as fine. We would have preferred to having the steel chain plates fitted on their fixed positions, but that was the best the shipyard could come up with.
Picture documentation is a must
As it is too early for them to fit those, it is maybe a bit too late for me to give a final go-ahead to Seldén to produce the mast. If I want the mast to arrive in time, we had to come up with the measurements now. So sometimes you just need to find a solution, and I guess this is a very good one. At least Sören said he can work with it, and so I am fine with it as well. So the next thing he does is to finally arrange and fix the mock-ups on their positions. This is where the standing rigging will be attached to.
The shrouds-chainplates (mockup too)
Every measurement that is executed from now on will start at some point on the mast – meaning the exact center of the mast´s profile – and end at one of the “holes” of the chain plates where a shroud or a stay will be connected to. It will end, again, in the exact center point of the bore hole in the chain plate. It is this accuracy Sören is aiming at as he starts his first, preliminary gauging.
“Is the boat arranged exactly in waterline …?”
That´s the ultimate question, really. Because when such a gauging is done on a boat that is floating in the water (apart from possible heeling due to tankage or stowage) it will be in its waterline anyway. But this isn´t so clear or a matter of course for boats in a building shed. We are getting re-assured by Jonas that the building molds, the cradles in which the hull of my boat had been put right in day one when her building process was commenced are indeed arranged to strike a balance as if she were floating.
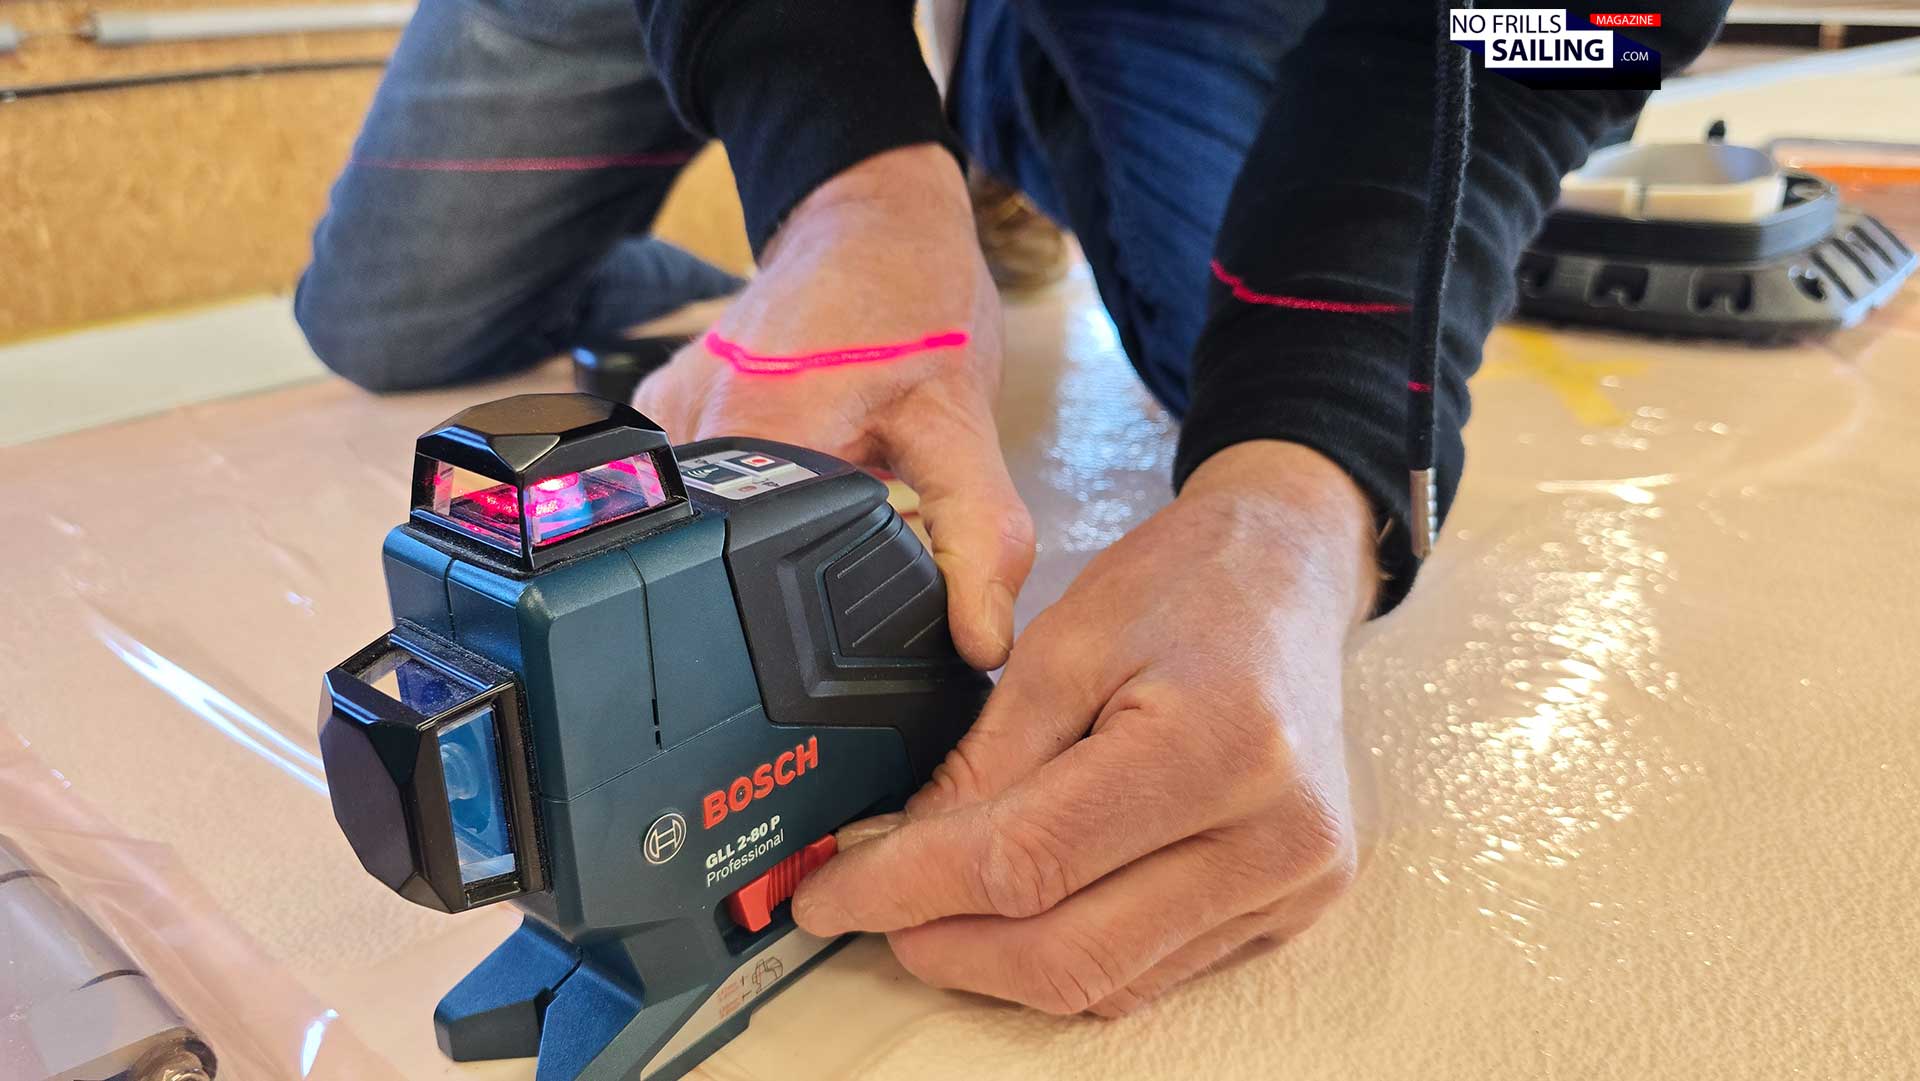
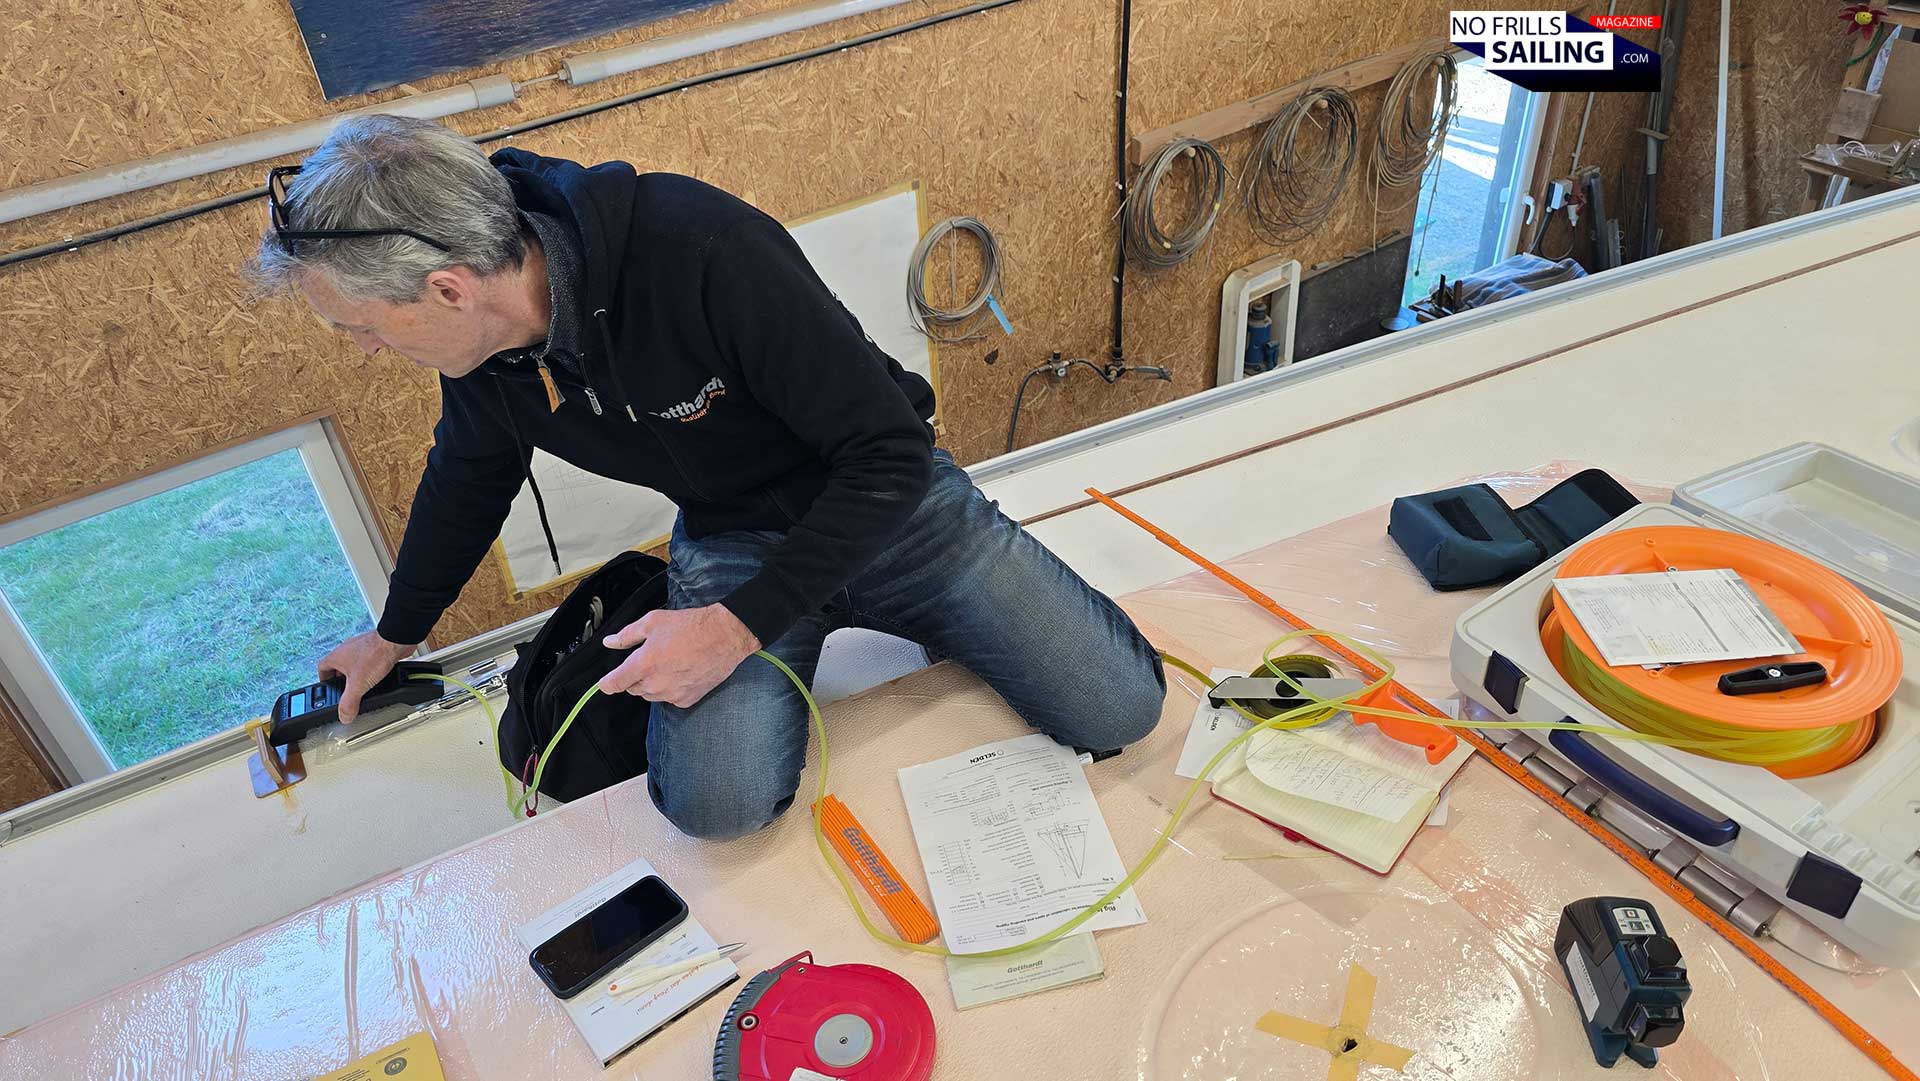
Levelling tool: Fire up the laser!
Did I mention the need for measuring tools in order to make it happen? One of the very important instruments is the levelling laser, Sören unpacks and activates right away. It starts to project a thing red laser-line both horizontally and vertically. Having such a gadget makes life so much easier, he says. Ah, speaking of making life easier, have you already inscribe the NO FRILLS SAILING-newsletter?
If you do, you won´t miss any new article from now on. The newsletter is sent at the end of each month, containing shortcuts to all of the published articles in this blog. Remember, it´s up to ten full in-depth articles per week, that´s a new one every third day! So, if you haven´t, do it now, it´s free and very convenient. But back to the boat now …
Where´s the line?
Everything that is going to follow now, each measurement, the data as a whole we are about to collect, follows a certain set of – in essence – very simple trigonometry. As a mastmaker needs to understand where attachment points are, how long each segment and part of the rigging is (including the lengths of shrouds and stays) and where the mast will receive loads from both the sails and the standing rigging, it´s a collection of some twenty individual numbers we have to thoroughly correct. And this with utmost care for accuracy.
Essential tool: The laser!
Which brings us to the laser again. Fist thing Sören does is to try and arrange the laser´s vertical beam in such a way that it exactly fits the middle between both chain plates of the boat. This may sound odd and easy, but it isn´t. The Omega 42 has a beam of 3.10 meters, so even the tiniest change of the position of the laser causes the beam to vary greatly, often swinging left and right harshly. That is why I initially stated you´d need a calm hand.
Gauging in fractions of centimeters
Eventually he made it: Now the vertical beam exactly matched the desired positions. We refrained from touching any component now, as Sören took the measurements: Distance between the chainplates along the beam of the yacht, and to be sure, he also measured the distance between each chainplate and the centerline axis of the boat. Because yachts are handmade, they are never really exactly symmetric, he says. And this, as he asserted me, goes for classic yachts like mine (which indeed had been laminated in the exact same mold out of which all of the other some 160 classic Omega 42s had been cast) as well as for modern present-day boats! No matter how nicely a CNC-machine may have carved out the prototype.
You need to have calm hands …
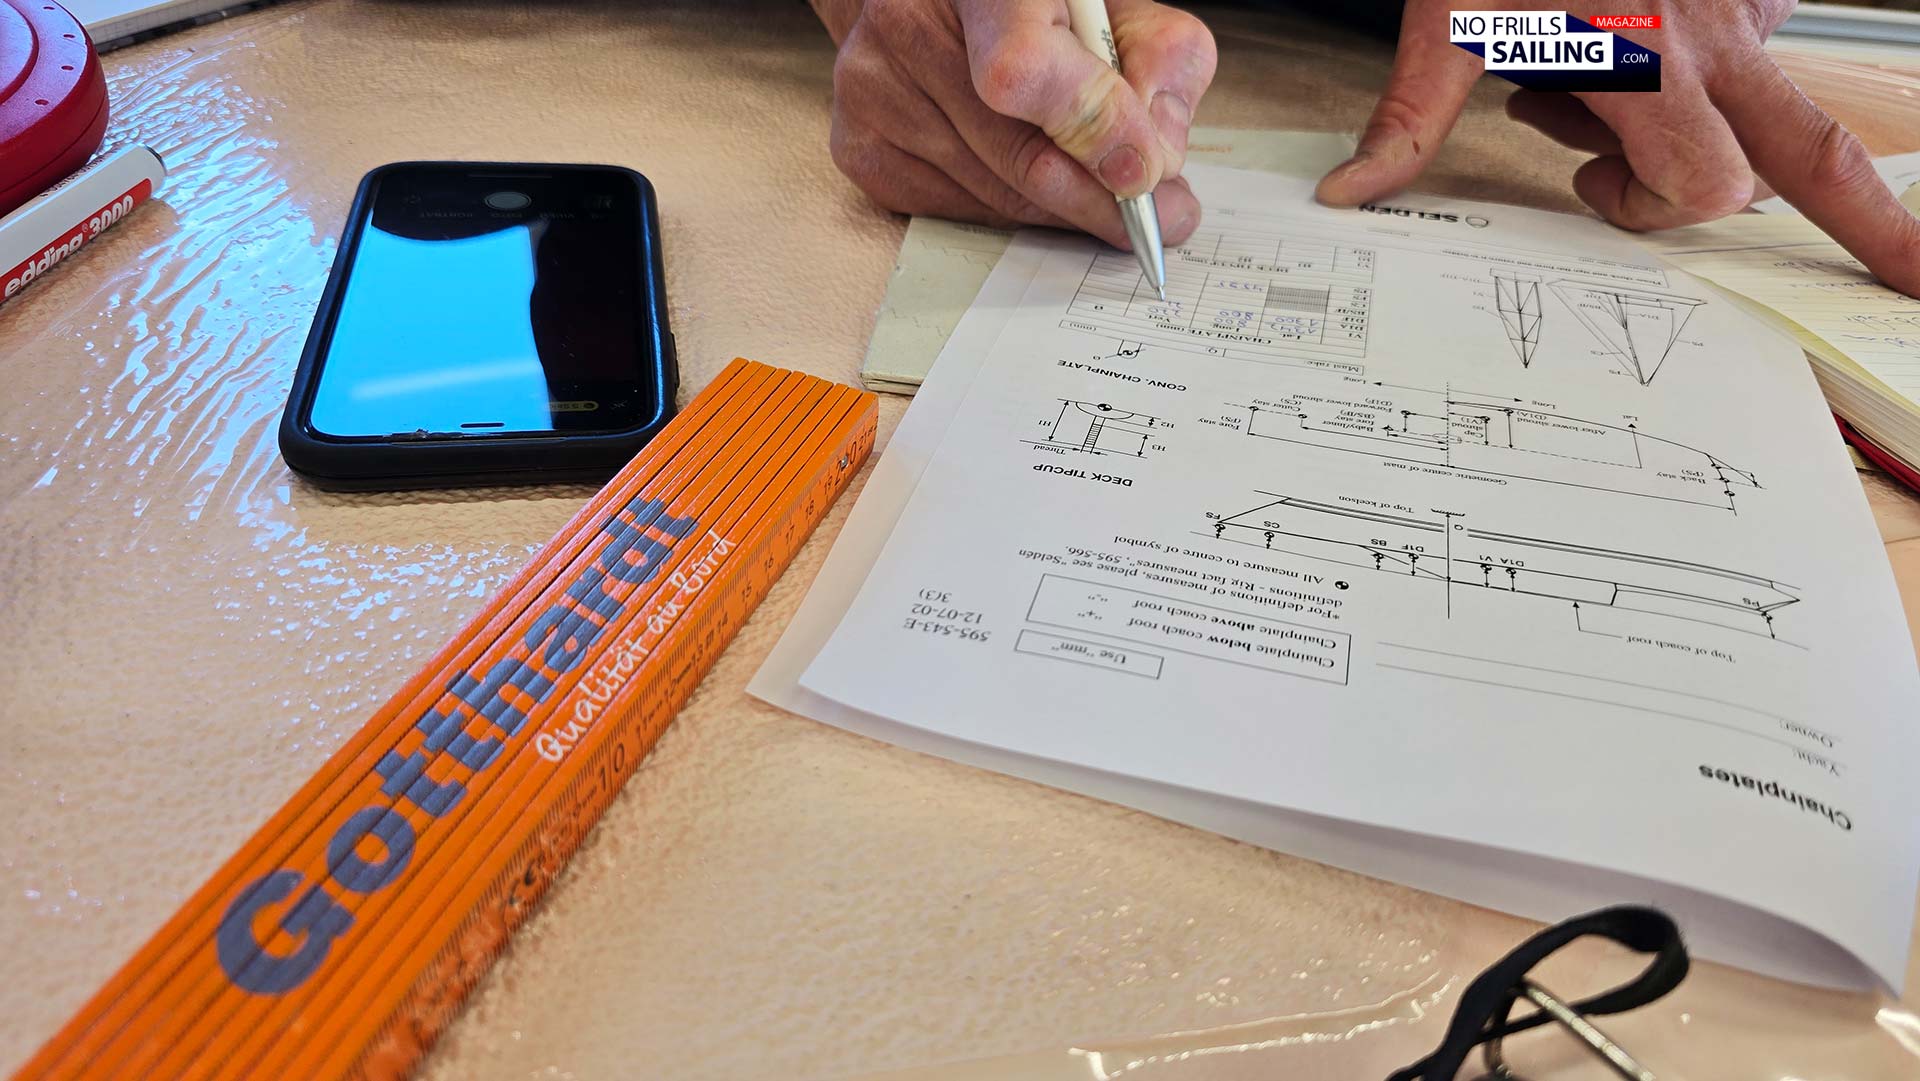
Sören seems to be an old-fashioned rigger: Instead of working with a fancy app, conveniently typing the numbers into a tablet, he has his little ledger where he takes handwritten notes. This book may very well contain measurements of a great many number of different yachts, ranging from series production boats to “exciting” one-offs. And it is surely not his first, nor his last notebook of that kind.
Taking notes is essential
We repeat this with the forestay chainplate: First arranging the mock-up thoroughly to have it placed exactly within the centerline of the yacht, then determining the distance between chainplate and mast. This one is called the “J” value. Next up will be the distance my mast will have under deck, which is a very important value as well.
Determining “the Bury”
Riggers call it “the Bury”, or short “Q”-value. It is the distance between the mast´s stand, the foot, and the ceiling where it cuts through the deck, encompassed and held by the deck ring, the one you saw at the beginning of this article. As I stated before, it´s a bit complicated in the case of my boat as the opening for the mast hasn´t been cut yet into the deck. So we´ve had to work around that issue as well.
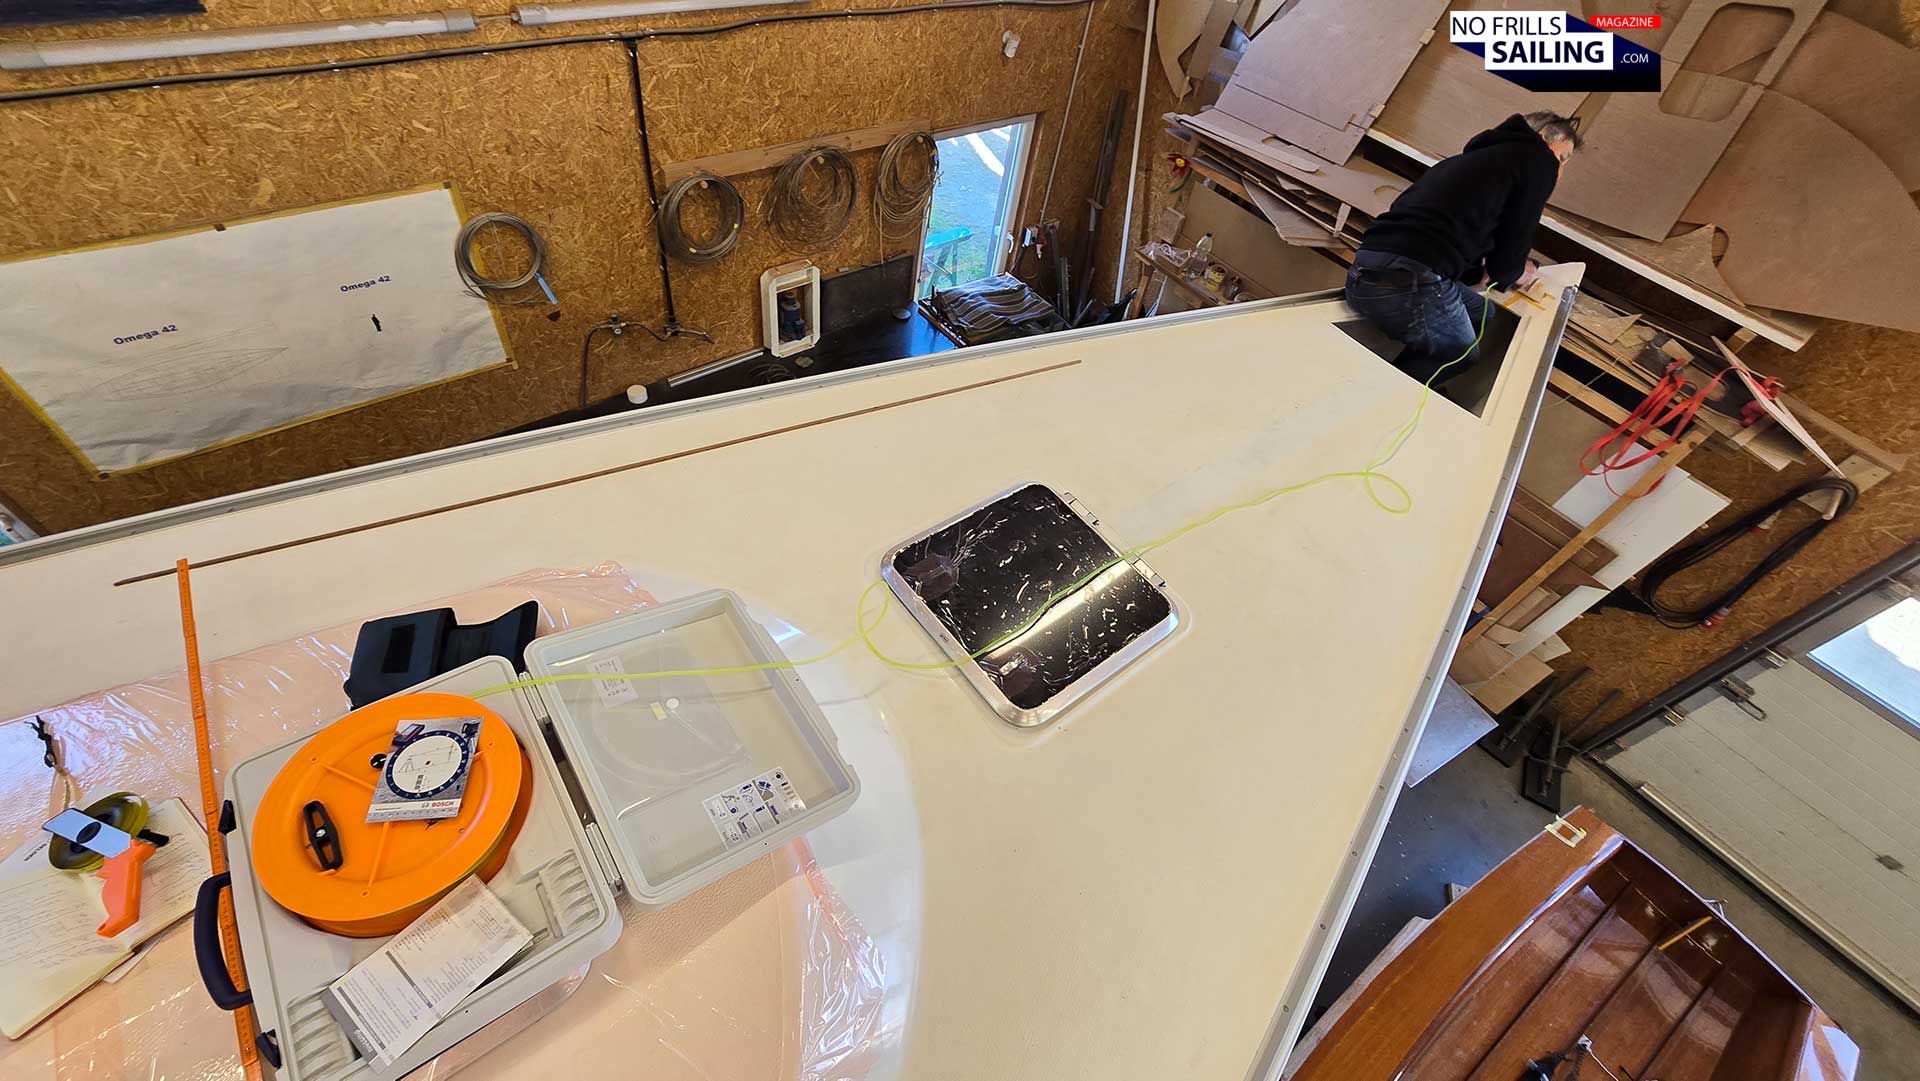
The Omega 42 has a keel-stepped mast
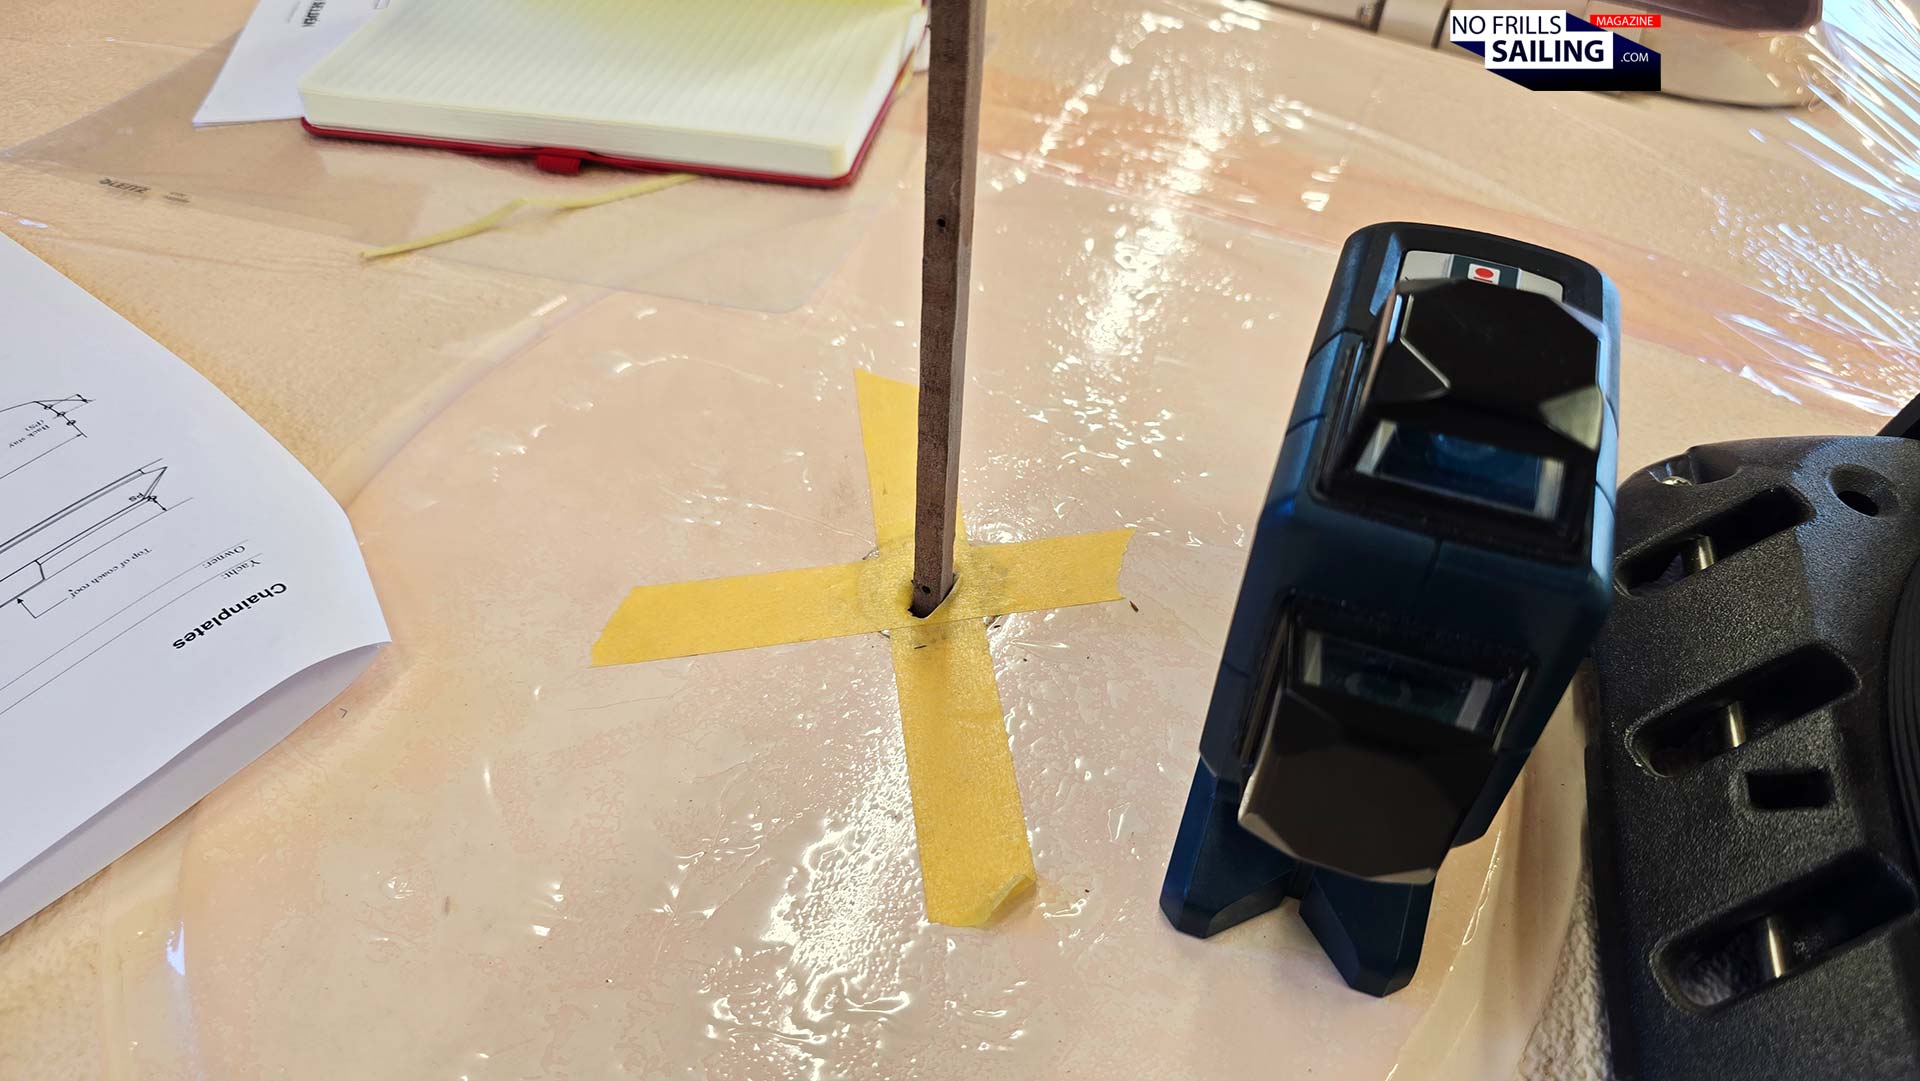
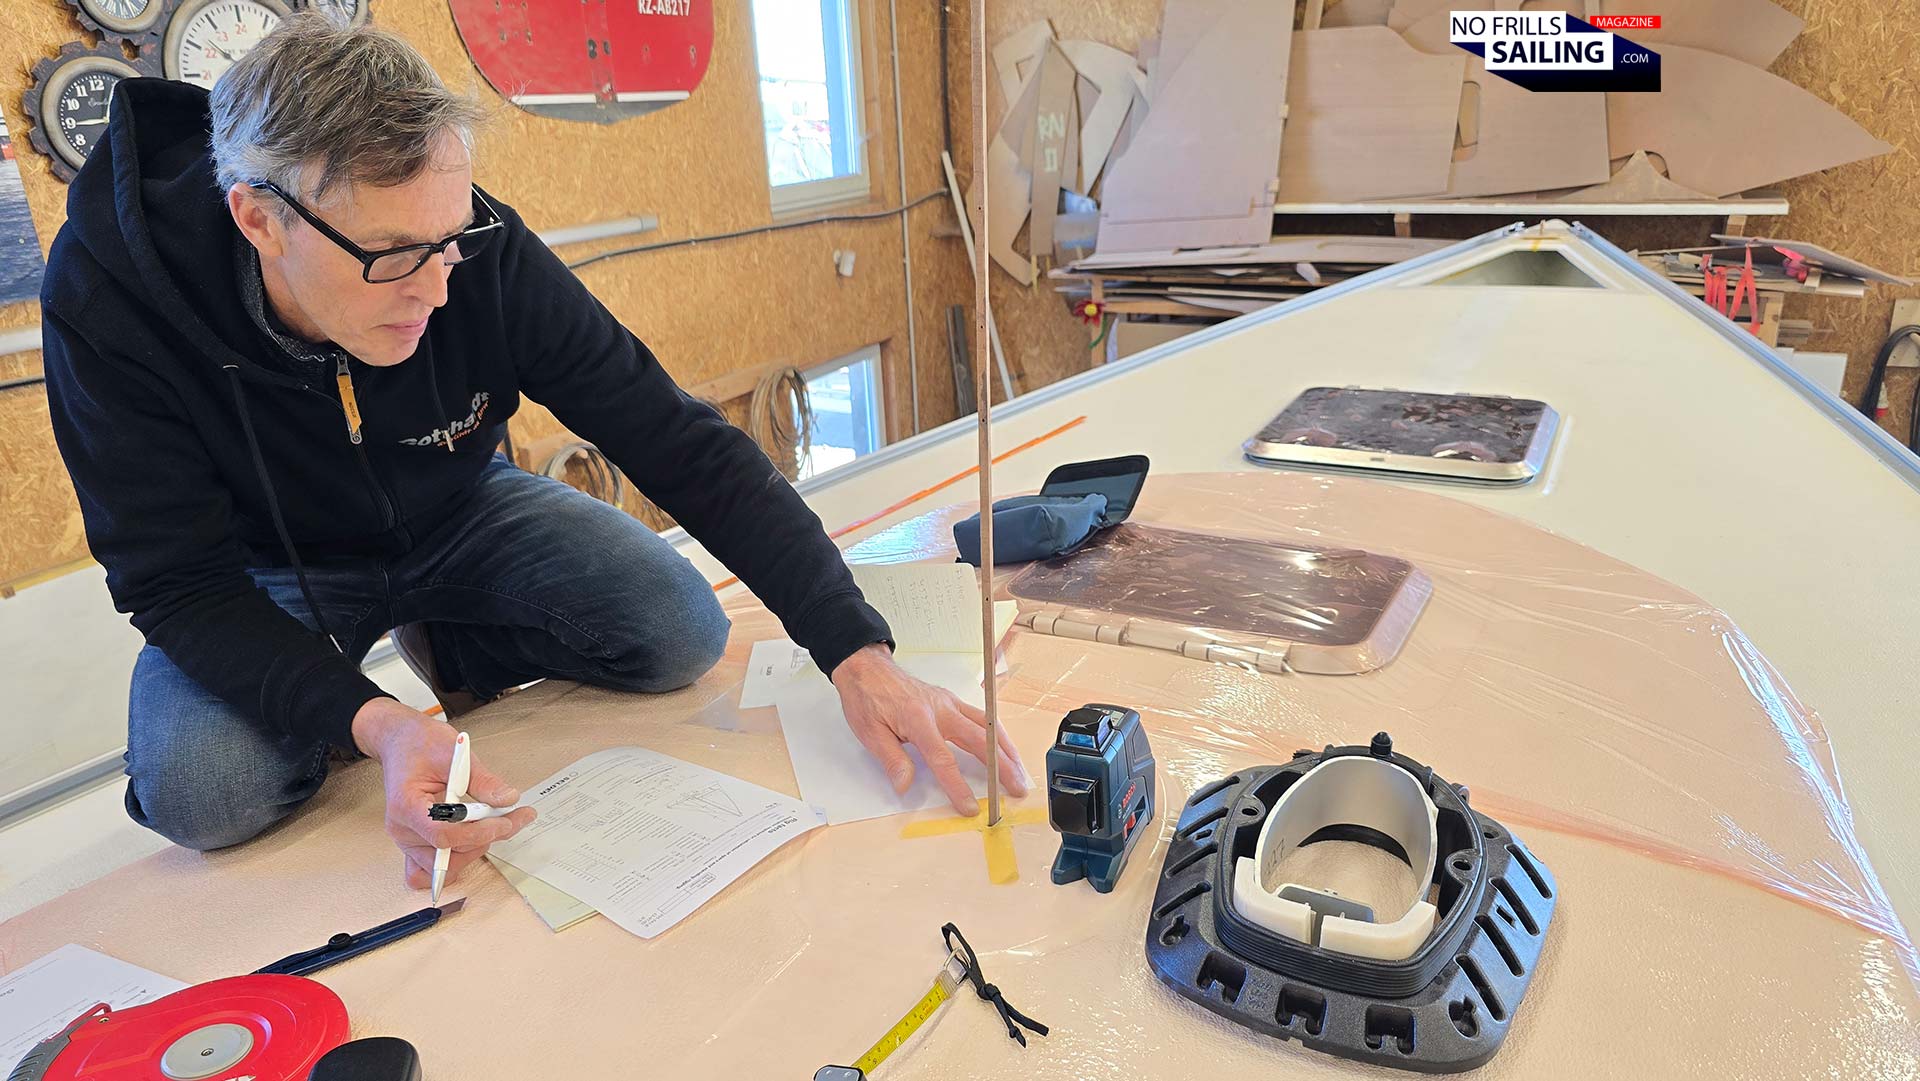
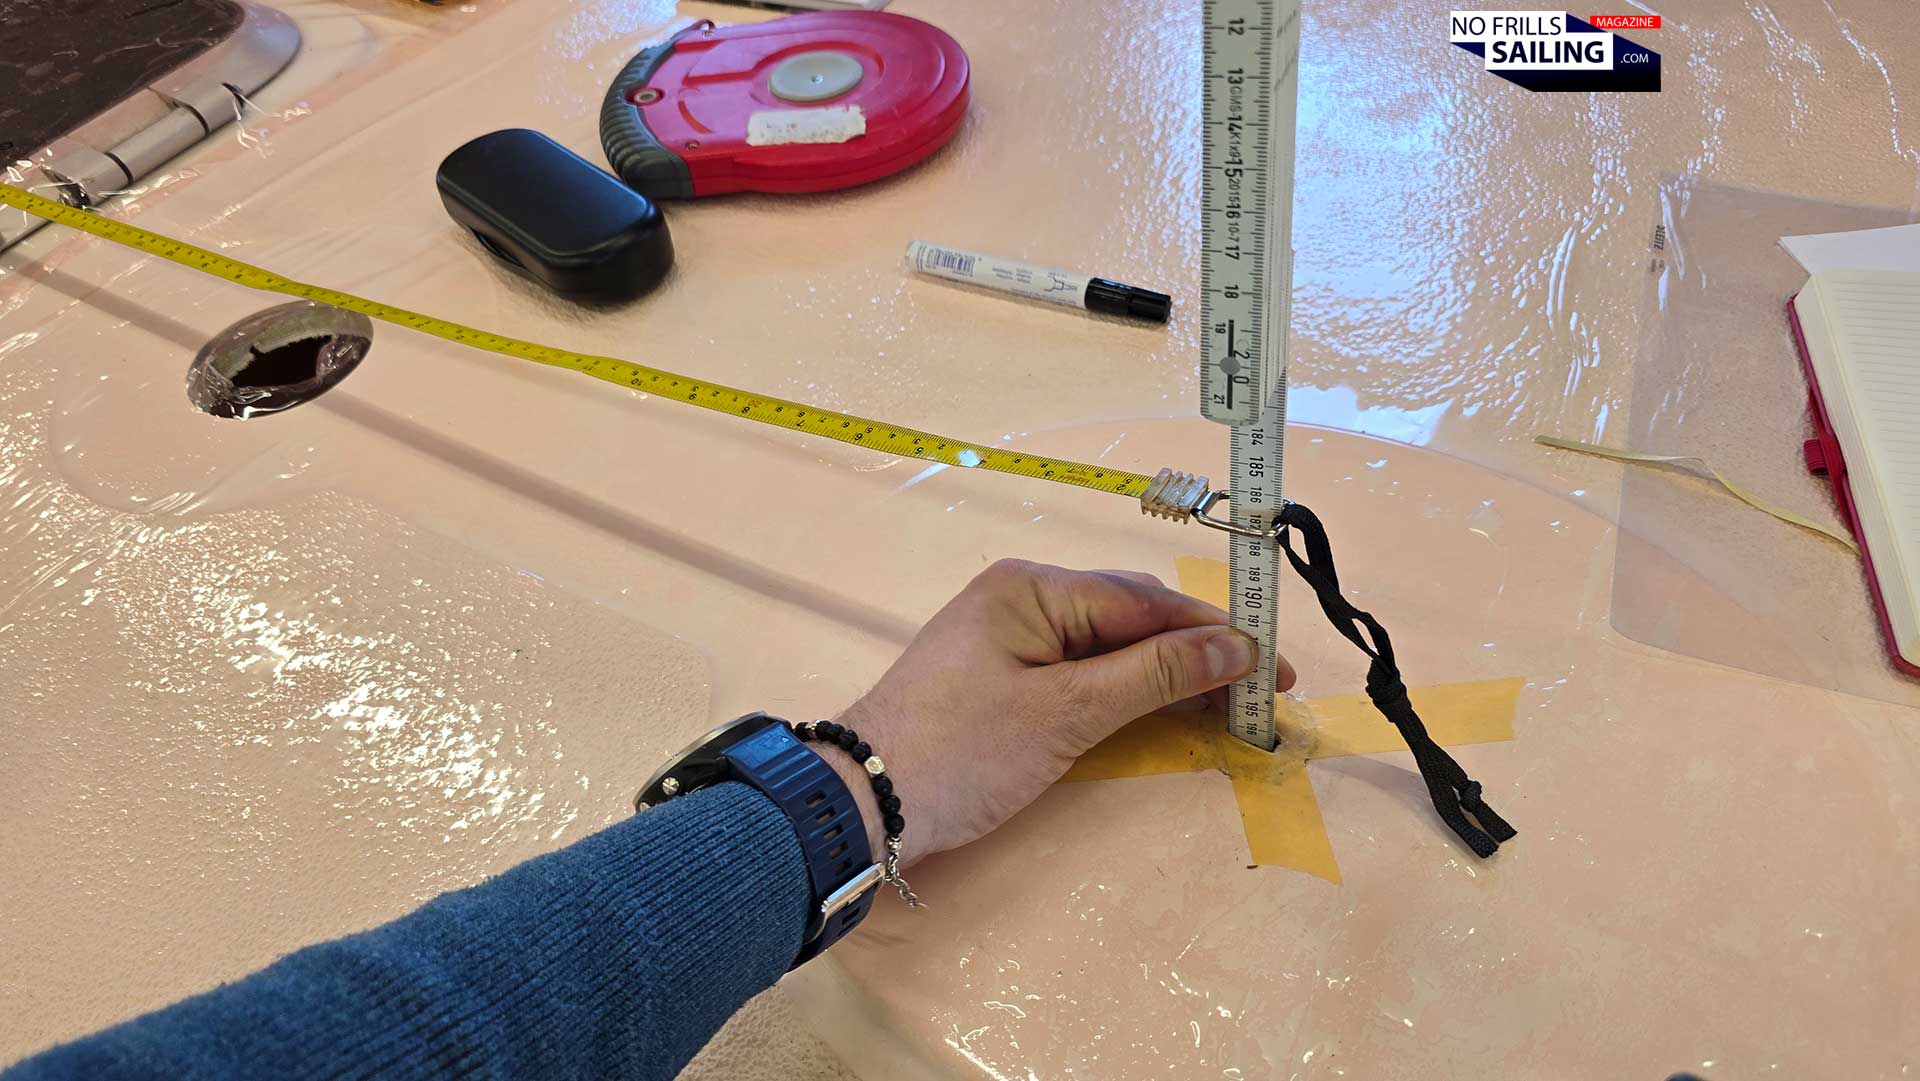
Jonas had already drilled a small hole into the deck and had also dopped a perpendicular from here down into the salon. This way the guys could determine the exact position down below on the thick laminate where the mast stand will later be attached to the GRP structure of the yacht. Sören took a thin, straight piece of Teak we found in the material storage of the shipyard, and pierced it through the hole from above until it hit the bottom down below. We followed …
Dropping the perpendicular
… arriving in the salon, we saw that the Teak exactly met Jonas´ center point. Also, the markings indicating the mounting position for the mast fitting base turned out to be exactly where we needed them. Nice! All we needed to do now was to mark the Teak rod with the Edding and note the length from end to the marking. Voila, that´s the “Bury”, or Q-value of my keel-stepped mast.
Marking the exact position for the keelson
Yes, the Omega 42 has a keel-stepped mast. Something you nowadays see very, very seldom in cruising and series-production boats, it´s more often utilized in all-out racing yachts and one offs. Both concepts have their advantages and right-out disadvantages. As for a cruisier, a deck-stepped mast is much safer in case of dismasting: Once broken and coming down, it will clearly cut off outside of the yacht, making it easy to getting rid of it without damaging the watertightness and hence safety of the boat´s internal space.
That´s “the Bury” right there.
But a keel-stepped mast of course will distribute the stresses induced and much more so the compression force from the shrouds into the boat´s structure. It is considered better trimmable and overall a bit more stable, yet it at the same time sails “wet” as keel-stepped masts have the tendency to leak a bit into the salon of the boats. Which one you go for needs a thought-through decision, but deck-steeped masts have become the rule for modern boats.
Greetings from Pythagoras …
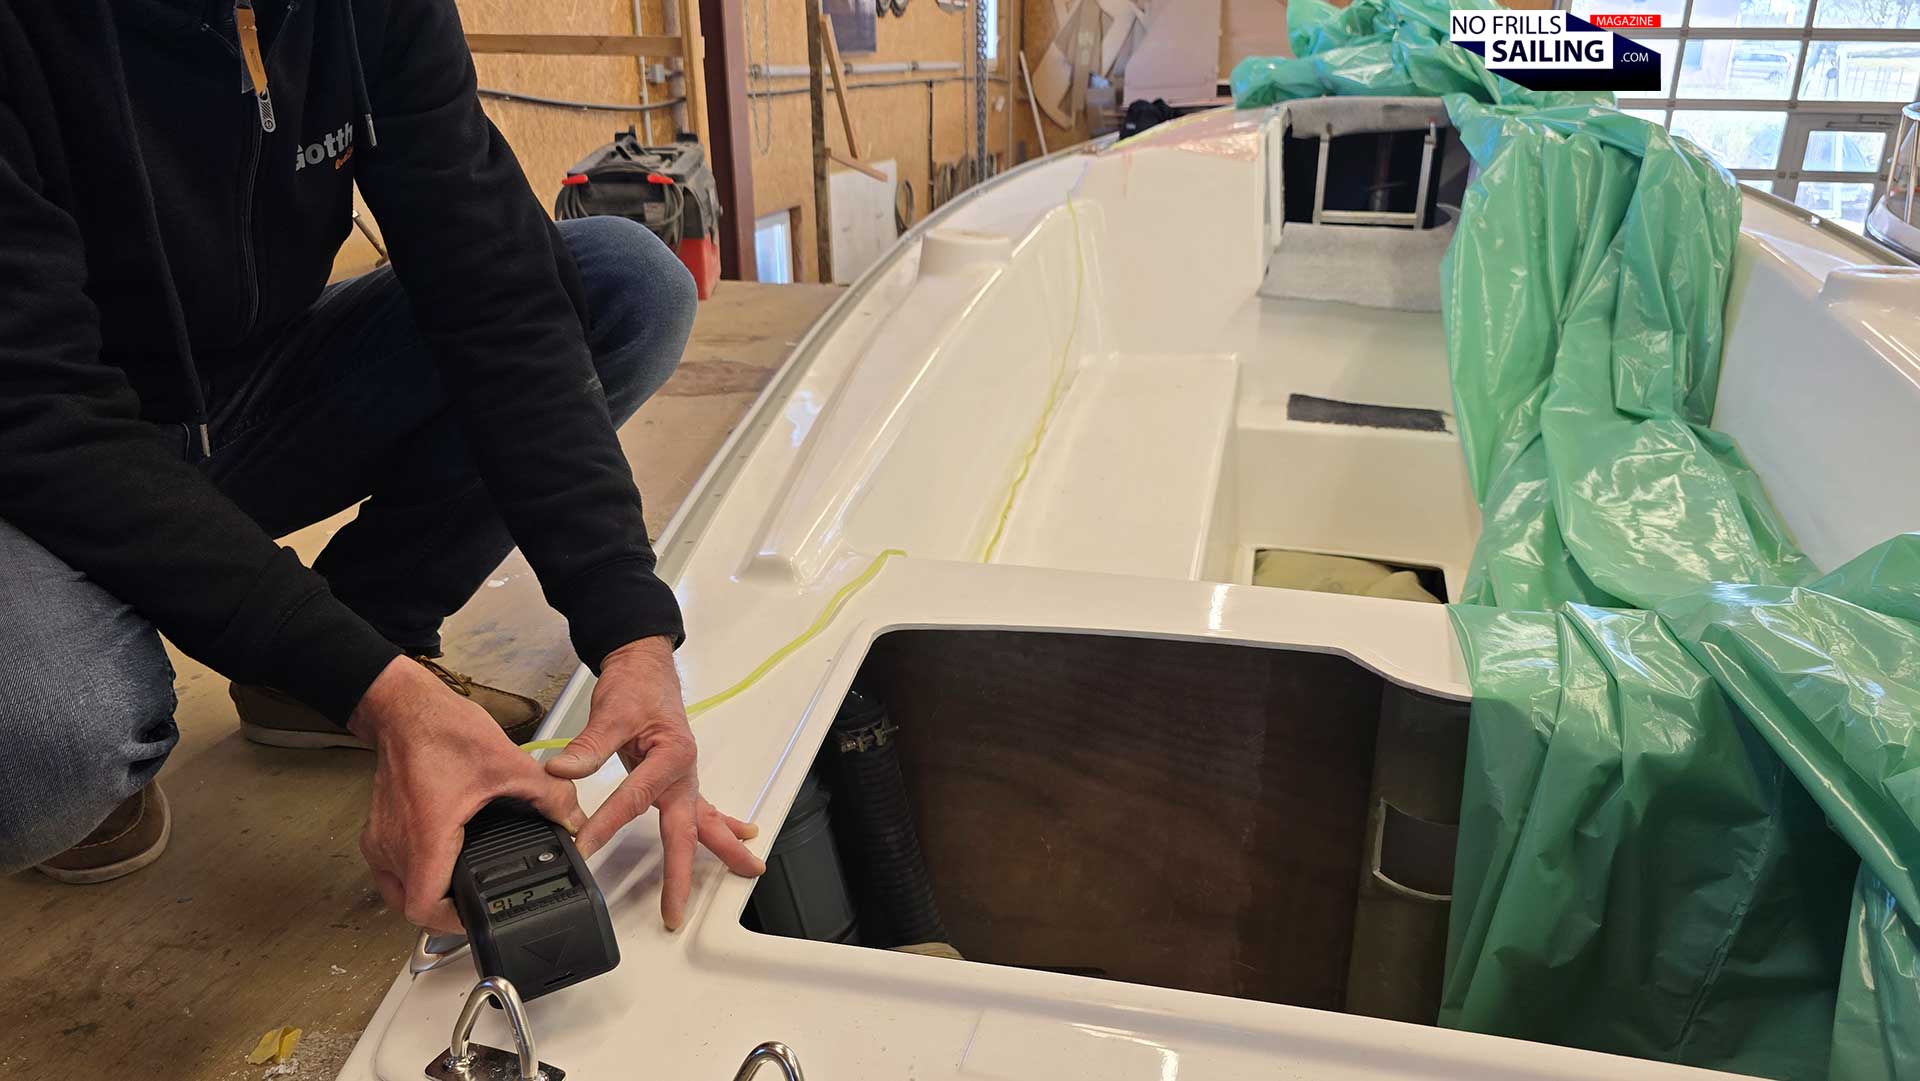
After determining the Q-value, we utilize the Teak-rod in the center point to make some more measurements. Next to the J-value (forestay chainplate to center point), it´s the distance between the mast to the rear attachment points we need now. Here, the Omega 42´s rigging plan features another specialty nowadays rarely seen: Flying backstays.
Length measurements
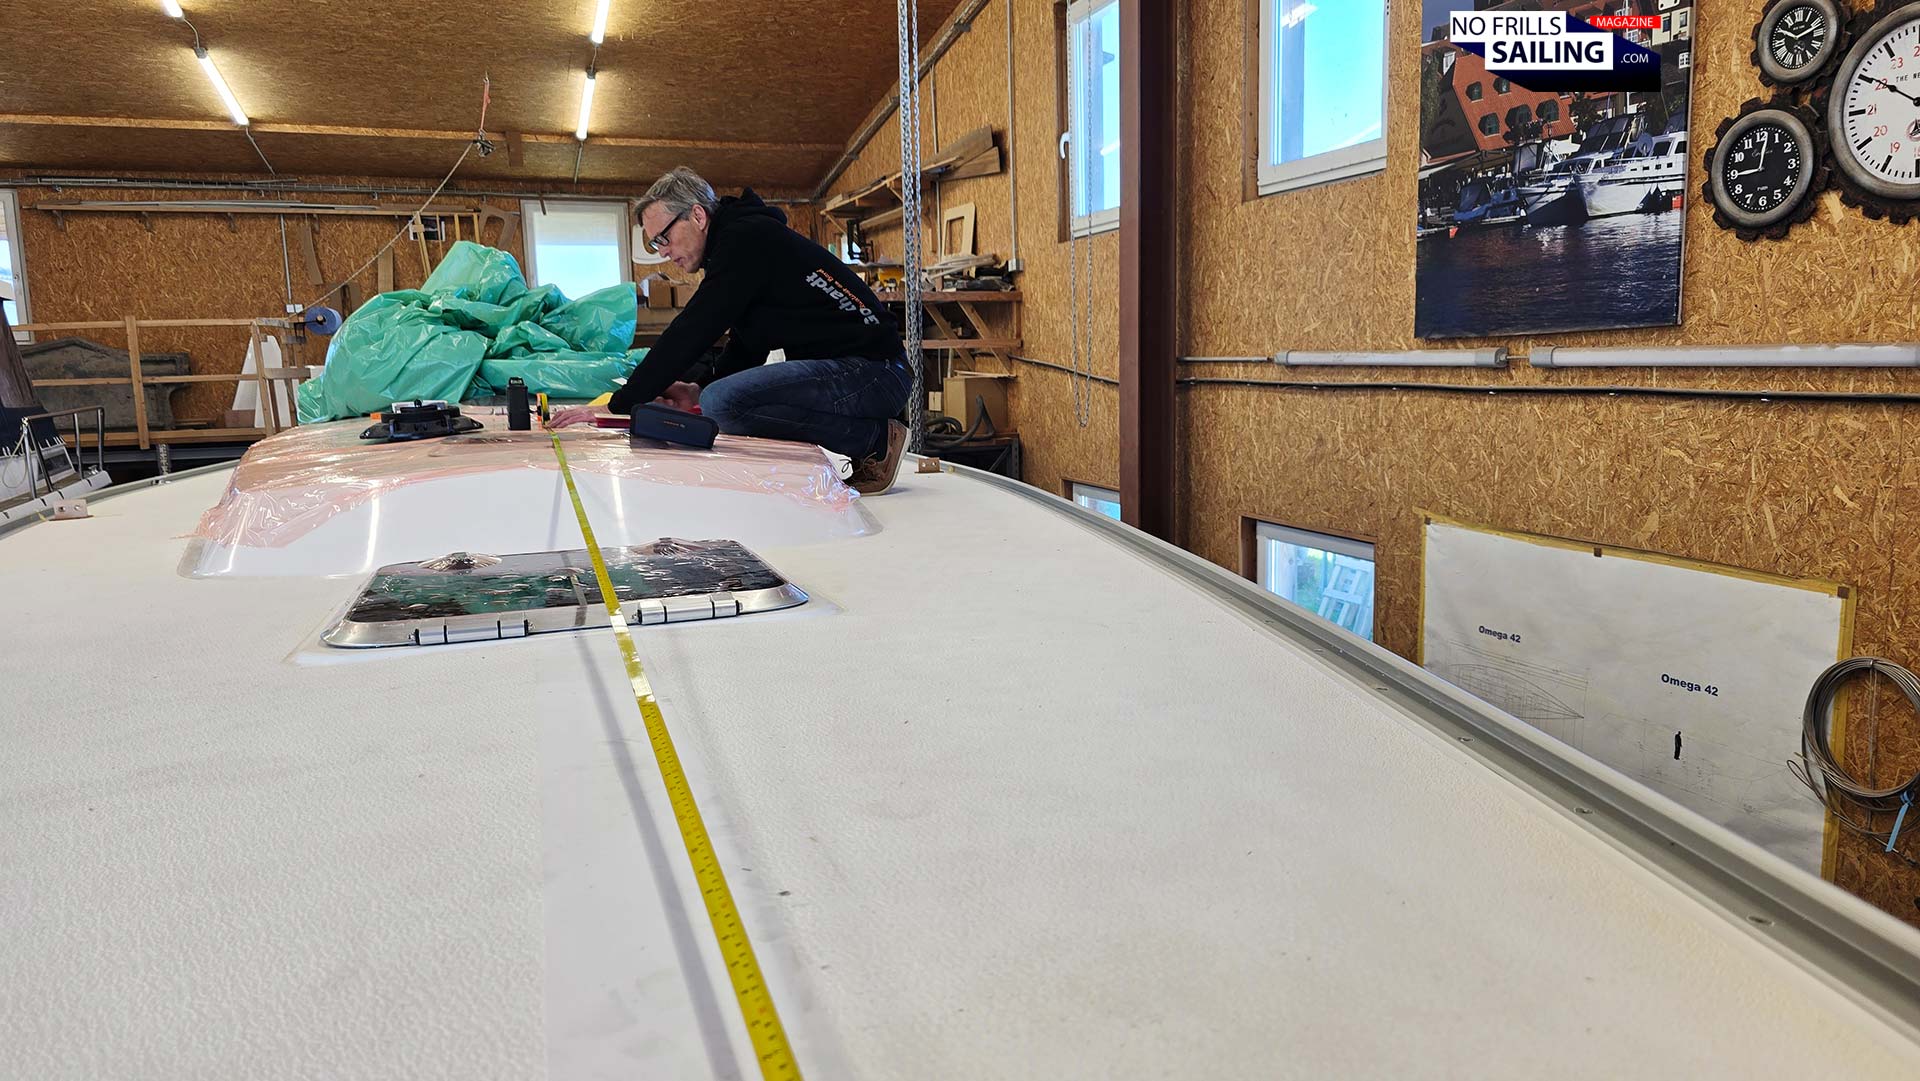
As you may have noticed whilst reading the articles on the marriage process of deck and hull, the boat received no less than four solid fairleads at her stern. See the picture here. This is because the mast has two aft trimming instruments for later sailing: The backstay, connected at the masthead and flying backstays, attached a bit lower, exactly where the forestay is located at the front of the mast, click here for a photo).
All along the centerline …
The backstay, of course, is a very valuable trimming device to control the mast rake, mainly to iron out the Jib´s “belly”, creating a flatter profile in strong winds to protract reefing. The flying backstays however are utilized to stabilize the mast in downwind or running points of sail, which is an important measure on the Omega 42: Breaking masts were a bit of teething trouble for the first boats of that type, especially for those carrying the single-spreader rigging. By determining the longitudinal distances from mast to forestay-chainplate and aft fairleads, a simply Phytagorian equation brought clarity about the lengths of those stays.
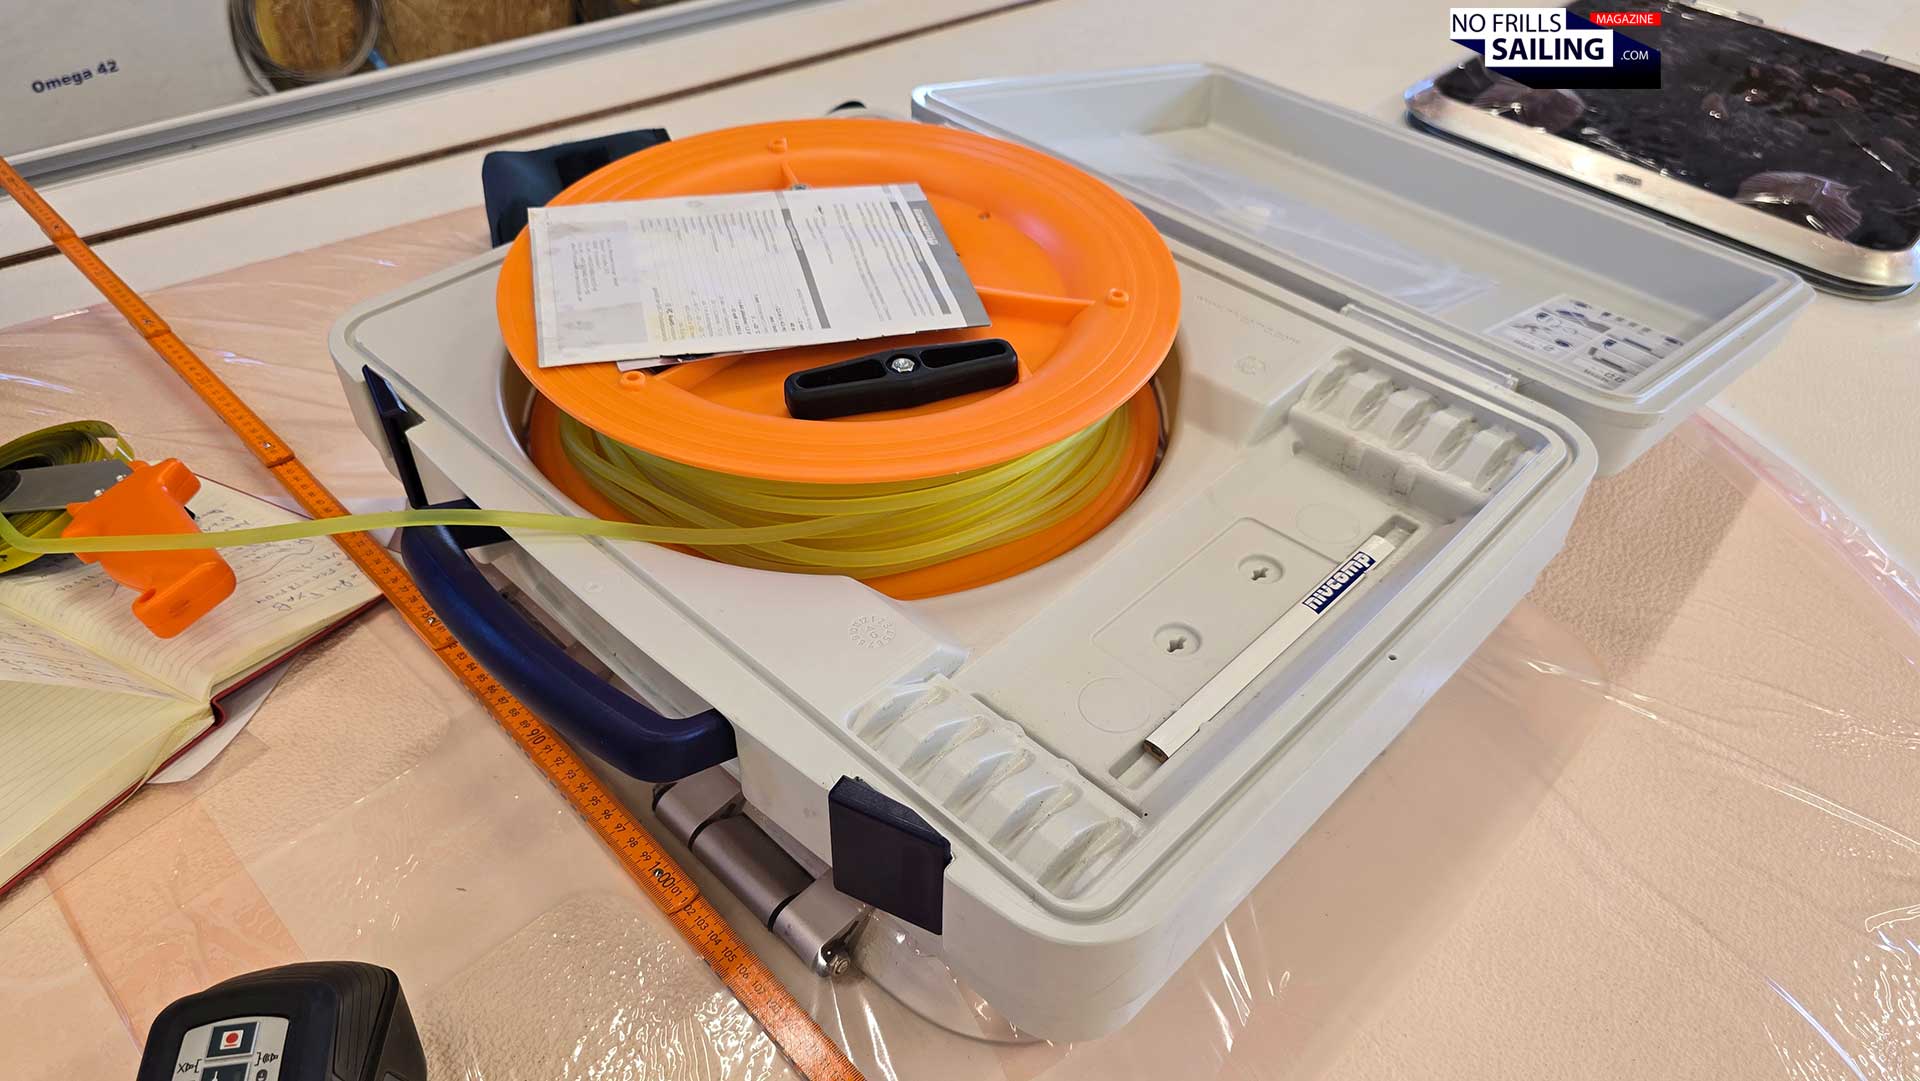
Introducing the hose levelling gauge
What followed now was very interesting: A new gadget! Sören hauled aboad a huge plastic box with the name “Nivcomp” written on it. He opened it and it revealed a large coil with some greenish-yellow fluorescent hose coiled up on it. A bit proud, with a smile he says: “This is a hose levelling gauge.”, and smiles insinuatingly.
Now that´s an interesting tool!
It was a bit funny as this moment reminded me of Monty Python´s “Meaning of Life”, where the surgeon for the rich takes out the “machine with a ping!” for the leady in labor. So what does this machine do, really? The yellow-greenish hose reel, fully uncoiled, can be as long as 24 meters, providing a total range of almost 50 meters around the central unit. At the end of the hose a handheld digital device is mounted. Once activated, all Sören has to do now is to hold the device exactly at the desired measuring points, which are the chainplates in our case.
Hose levelling device in action
The hose levelling reel works by measuring the hydrostatic pressure differential between a central liquid reservoir inside the big box (central unit) and the said handheld sensor. The hose itself is filled with the liquid. So by changing the position of the sensor relative to the “home” reservoir, you create a difference in hydrostatic pressure. This difference is then translated into vertical distances. And here´s the trick …
Gauging height differences of the forestay
… by knowing the exact height difference between the center point (on the deck of the boat right where the mast´s deck ring will be placed) and the chainplates, Sören can calculate even more precisely the lengths of the shrouds and stay-cables. It´s also very convenient to quickly double-check his calculations and initial measurements made by hand. So, it´s much more than Monty Python´s “Machine with a Ping!”, for sure.
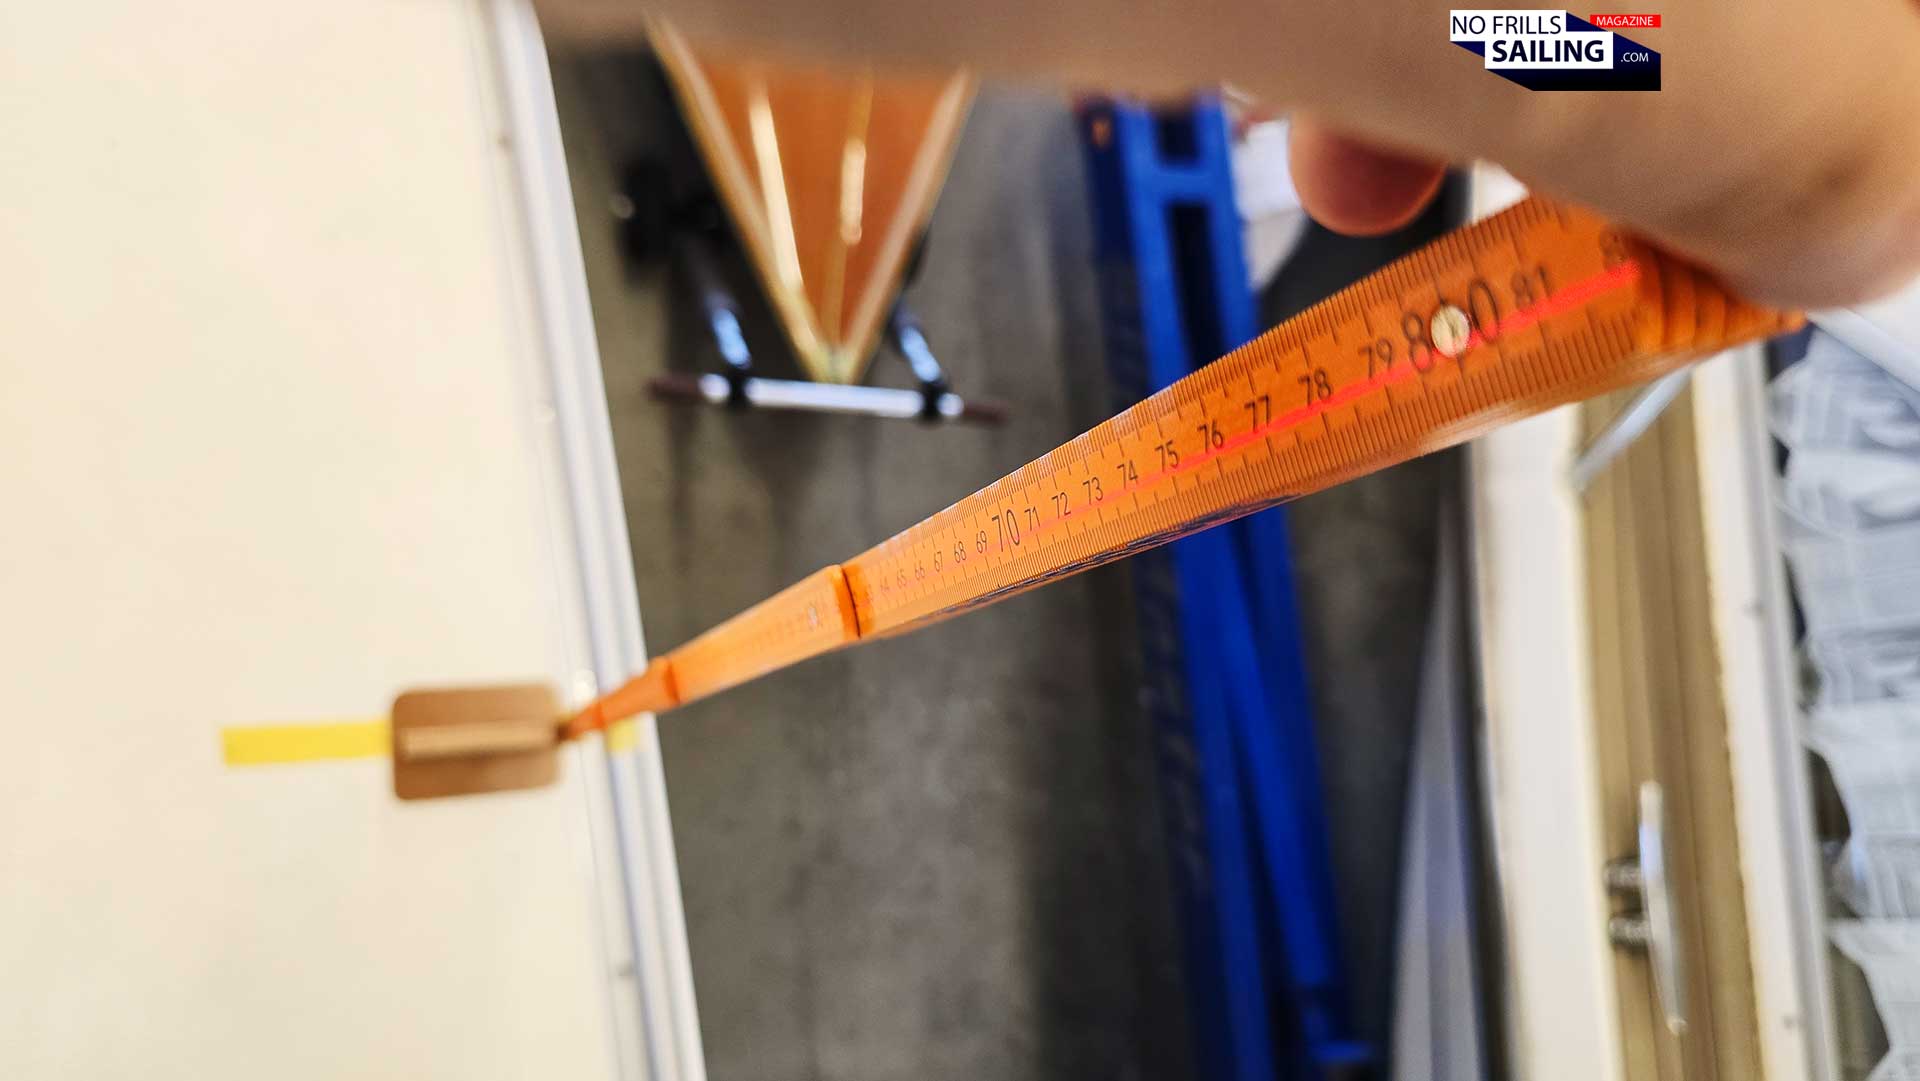
A thorough double-check of the measurements
Did I say “double check”? Well, Sören triple-checked all of his measurements. Both by the hose levelling thingy as well as utilizing no less than three (!) different rulers. Why? Well, you may think that working with such a level of precision might not be required because the terminals connecting shrouds and forestay to the chainplates offer a decent amount of finetuning anyway, right?
Each attachment point is checked
Well, yes and no. First of all, and notwithstanding the fact on which boat and for which project he does it, Sören´s honor as a craftsman and rigger kind of coerces him to do his work as precisely as possible. It´s a question of work ethics for him: He just wants the shrouds and stays to be produced in the perfect, exact lengths so that later adjustments via terminals would only be made to trim the mast´s rake, but not to “cover up” irregularities or too long cables.
Again and again: Taking thorough notes
Secondly, Sören employs the code-of-conduct here on my yacht as if I was ordering a rod-rigged mast. You may have seen such boats on boat shows or in harbor. These are mostly high-grade racing boats or absolute luxury yachts. Instead of a steel cable the shrouds are made of one continuous piece of steel – a rod. Hence the term “rod rigging”. For those yachts there are no classic turnbuckles: These have to fit neatly! By working as precisely as it would be necessary for a rod-rigged yacht, my “ordinary” steel cable rigging will surely benefit.
You´d better have a system here …
In the end it takes him more than three hours to gauge, write down and check all the individual values needed for the Seldén engineers to produce my mast. After finishing taking notes into his ledger, Sören fills in a pre-printed rigging sheet by Seldén. You can download this right away from their website here, it´s a great source for information around this topic. Also, there´s very cool PDF with rigging facts and – for later when your boat is in the water – a very, very detailed rigging and mast tuning guide, click here).
What´s up next?
While Sören is bringing his handwriting skills to a new height, I unpack one of the large turnbuckles from the rigging hardware he also delivered today. Fitting it to the wooden mock-up chainplate, it quite nicely gives an impression of how this all will look like in a few weeks time. So what will be up next? Sören sends the measurements to Sweden right away after arriving back in his office in Hamburg on the same day.
Just a quick check: The terminals
Seldén engineers put these data into their computers and a program will determine the production plan, as well calculate the statics, force-loads, threshold values and much more. After signing it off, the mast will very soon enter production, as only two days after we had parted I receive a projected delivery note from Seldén factory: When finished in the Gothenburg factory, it will right away be transported by heavy duty truck to Germany, assigned to arrive in just three weeks! Wow, that is fast, man!
Can´t wait to see them in real steel
I hope that Sören could persuade the guys back in Sweden to take some pictures of my mast in the making: I´ve already seen the Seldén factory in France – which was absolutely awesome and interesting! – and it would be cool to receive some work-in-progress pictures of my own piece, especially the tapering process would be exciting to watch. We´ll see.
Advertisement
Custom boat adventure: Working with professionals is paramount!
Re-iterating on your hypothetical question from the beginning of this article: Would you dare to do these measurements by yourself, now that you´ve seen how intricate and elaborate it is? Yes, it´s “just” a few values and it is “only” simple eighth grade Pythagoras triangulations. But boy, three hours of high concentration! At least I personally would not try this at home myself. I mean, these numbers are used to build a mast. One that will have to withstand the trials of offshore sailing, maybe storms!
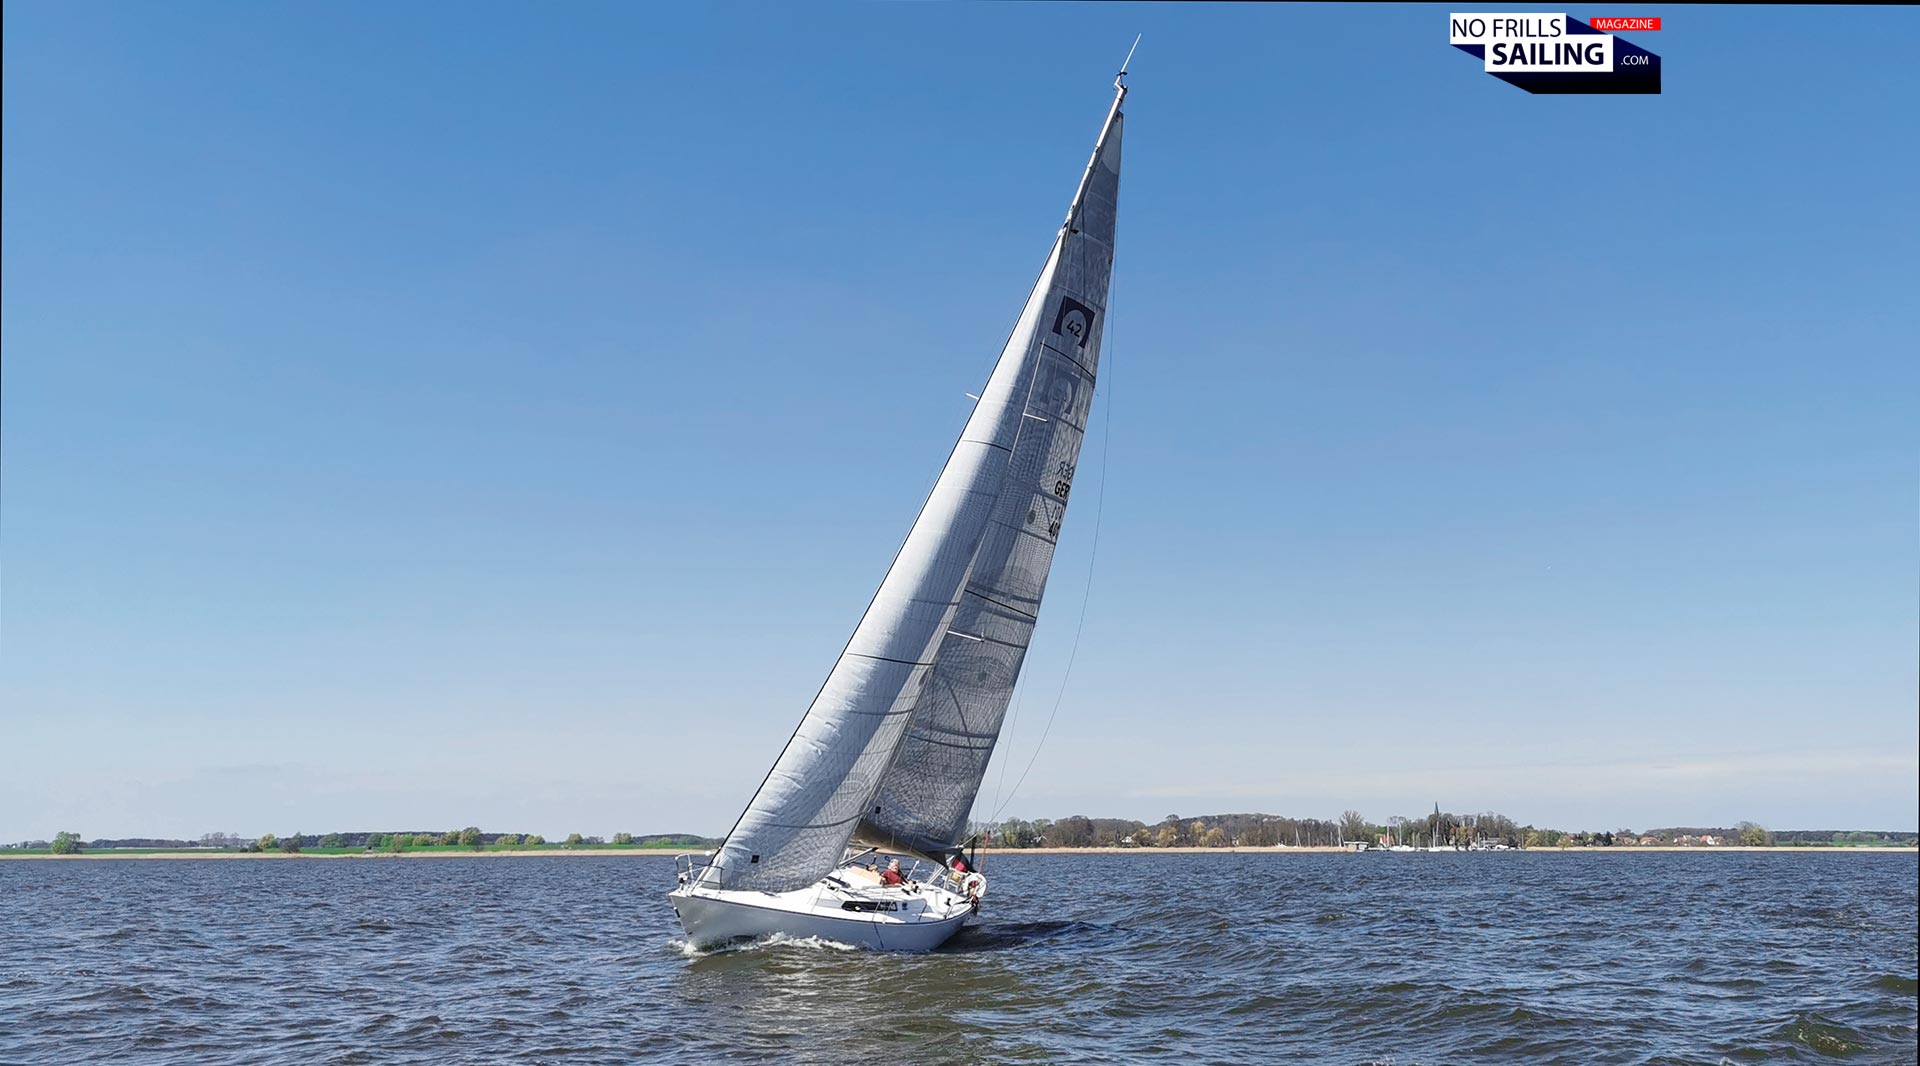
… it´ll not be that long until …
Especially for the Omega 42, which is rigged as elegantly but also as crazily as a Clipper-ship, clearly overpowered, very demanding to control, with lots of sail area. Nope, I do better trust the professionals! Happy that Sören of Gotthardt took his time, I´ve learned an awesome lot, thanks, mate! Now I am eagerly waiting to see the brand new custom made mast arrive, let alone, seeing it fly the brand new sails for the first time! And so can you.
Related articles on masts and rigging, you might find interesting: