The bottom paint is a crucial part of any sailboat´s passive protection against crustaceous fouling of the submerged part of the hull. Furthermore, the epoxy-primer layers are the effective barrier making your boat truly watertight and impermeable. Doing the job by yourself is an undertaking that can safe a lot of money, but it needs meticulous planning and wise choices when it comes to products. This article delves into this topic and how to prepare and supply yourself with just the right amount of paint and proper tools.
This week I again visited Yachticon headquarter not far from Hamburg to collect my order of antifouling bottom paint and receive a final proper briefing by their specialist, Dirk. In this, I thought it might be interesting for any other newbie amongst my readers who is planning to safe a lot of money and do the bottom paint of their sailboat my themselves as I plan to do. So, let´s take a detailed look at my shopping basket – or rather shopping cart – which products I chose and why and what is crucial for your project too.
Why am I doing this? Well, after selling a total of 100 yachts myself in my former life as Beneteau dealer, I also sold 100 bottom paint-packages. Even for my last own boat, the First 27 SE I had one of our own shipyard´s professionals do the antifouling job. I just thought it was time to go through this experience myself. Another factor is the saving on money: A professional full bottom paint-job for a 42 footer like my Omega 42 with epoxy primer layers and antifouling would cost around 10.000 to 15.000 Euros easily. So that´s a huge cost-saving factor if I do it myself. And lastly: Who doesn´t came across those horror stories of sloppy done cheap work, literally falling off after one season? You never know it for sure unless you do it yourself, right?
How much bottom paint does your boat need?

So usually that is the first question. It´s the same for any paint job in any environment, be it the new white kitchen at home or the hull of your yacht. The difference is of course the three dimensional surface of a yacht, it´s not easily calculated like a the square walls of your home. Here´s a simple formula: Multiply the length and the beam of your yacht, to get the rough square dimensions. Then a factor is needed to scratch off the surplus area. For a “normal” standard monohull that factor is 0.75, for full-keeled or very beamy boats take 0.85, racing boats and very slim yachts would go with 0.65 as a factor.
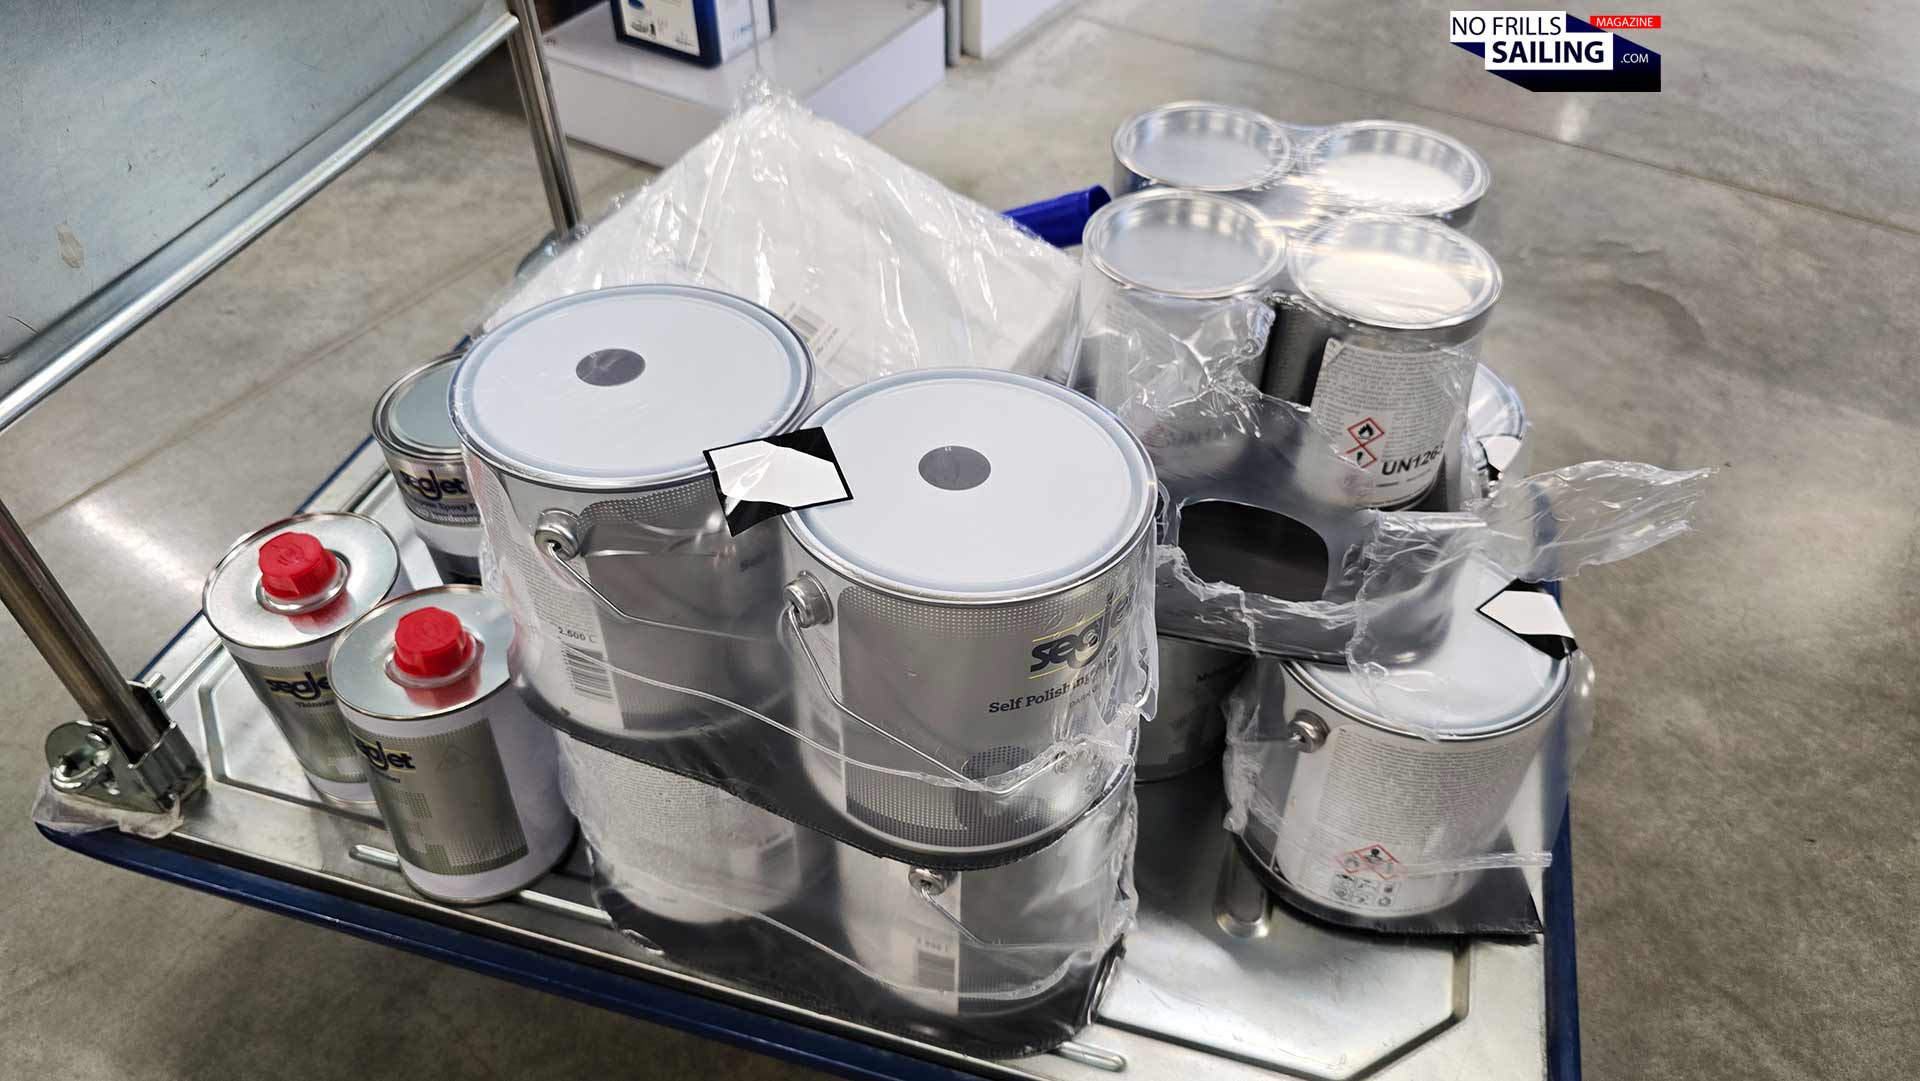
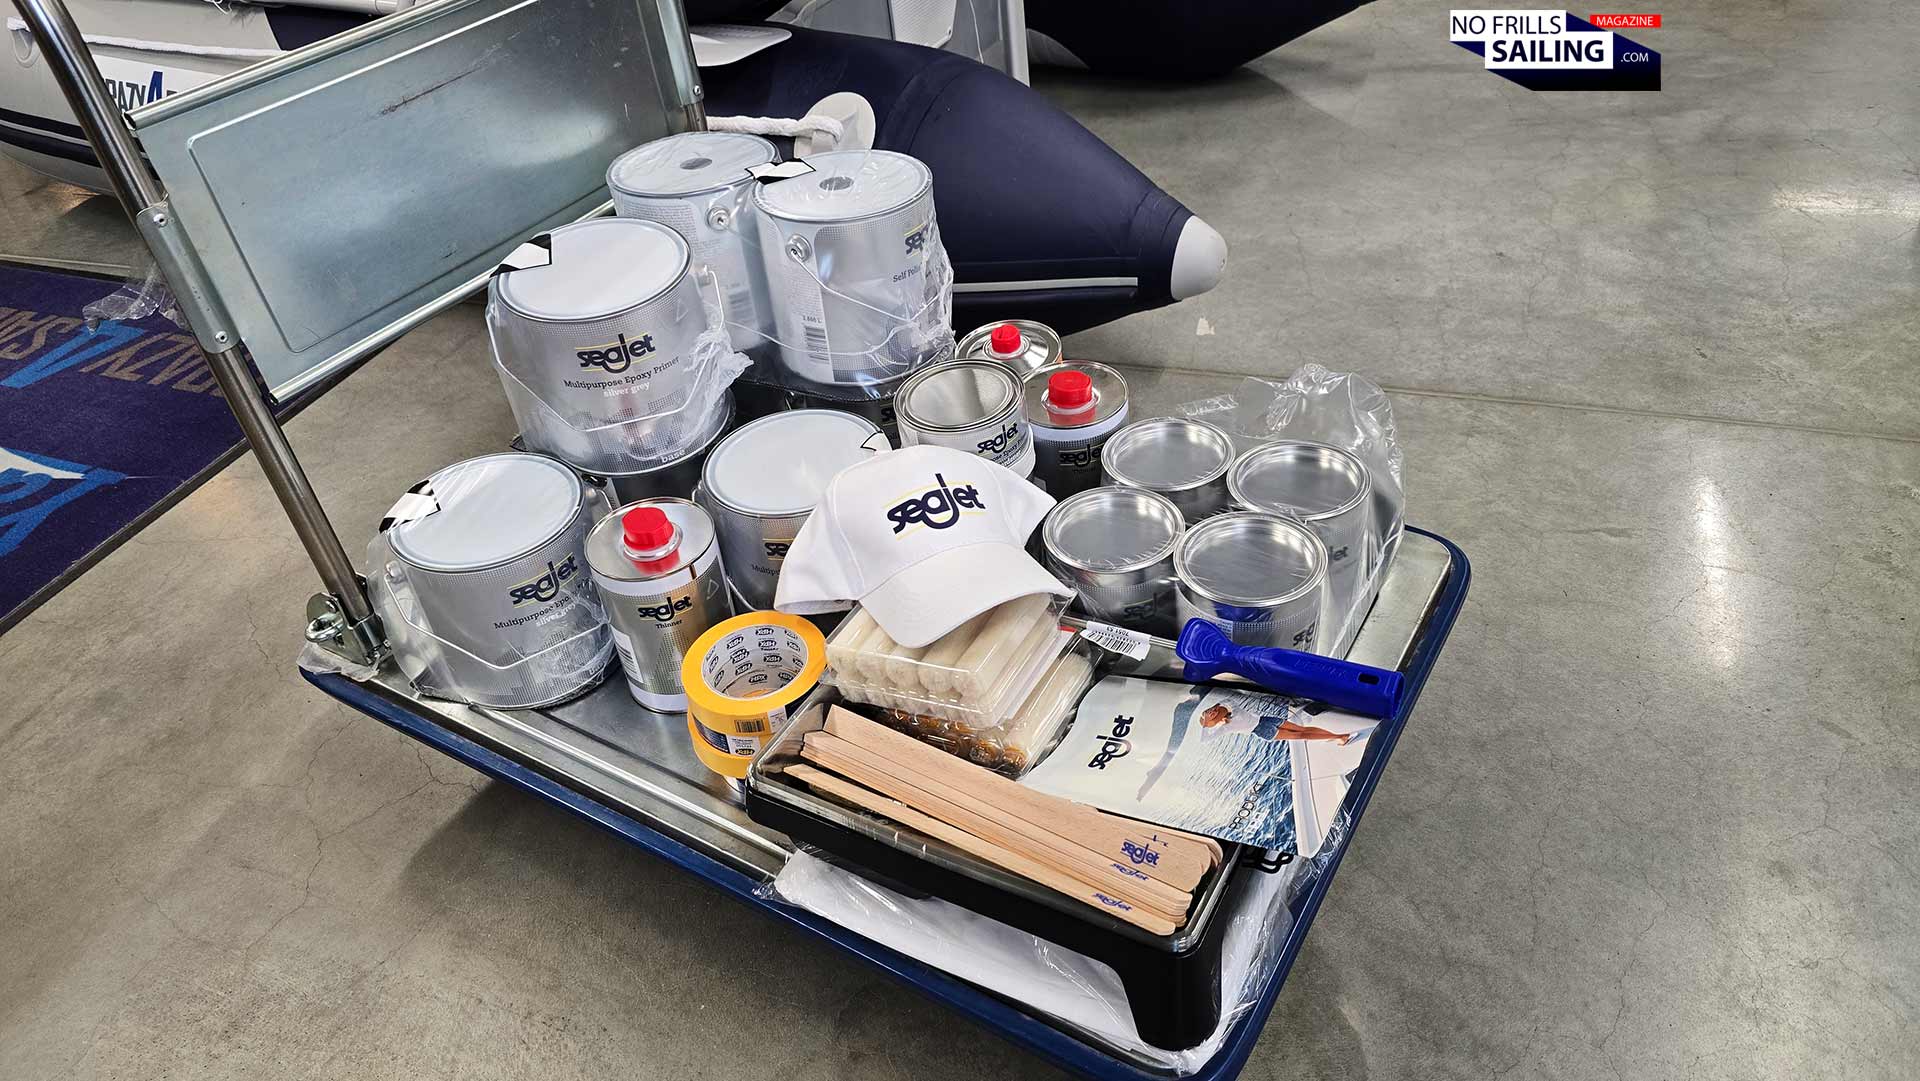
I was lucky because Dirk Milaschewski, Sales Manager at Yachticon and paints specialist, did all of the calculations for me and in fact had already loaded the cart with all the products I would later need. No matter for which bottom paint brand you will later go for, it makes sense you ask a similar pro like Dirk for suggestions and for calculating the right amount of paint. You should add like 10 to 15% more just to be sure, as the above stated formula can only be a rough estimation. Each manufacturer also offers product data and spreadsheets you may check just to be sure to have the right amount – or not to buy (and throw away as waste) too much of it.
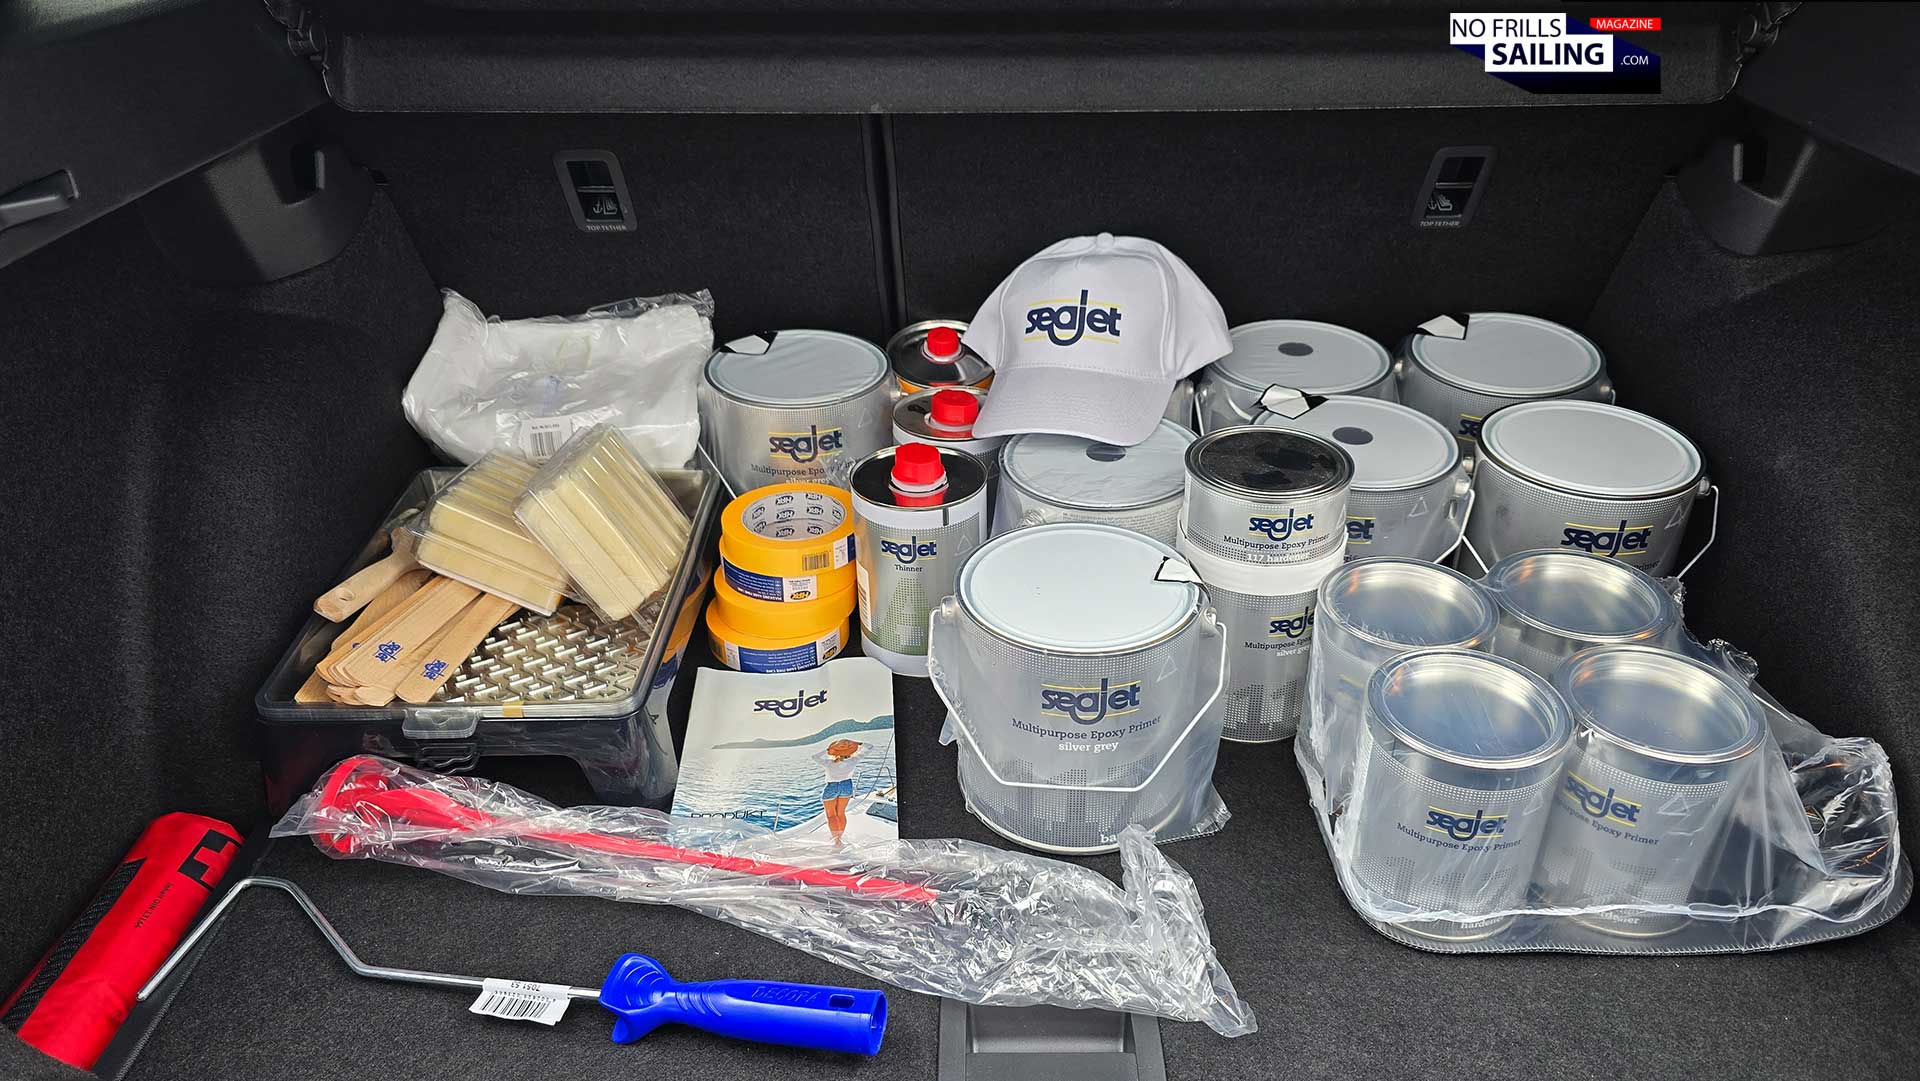
As for my shopping cart, I was really surprised how little it was and how kind of scant it looked. I mean, don´t get me wrong: The budget needed for such a rich loaded cart is around 2.500 Euros, that´s a tough spending, but I was like: “So these few cans will be enough for my huge 42-footer?” Yepp, they will, as Dirk re-assured me. So let´s take a more detailed look at what he had been loading onto the push cart for me – and why.
Choosing the right antifouling products for your sailboat
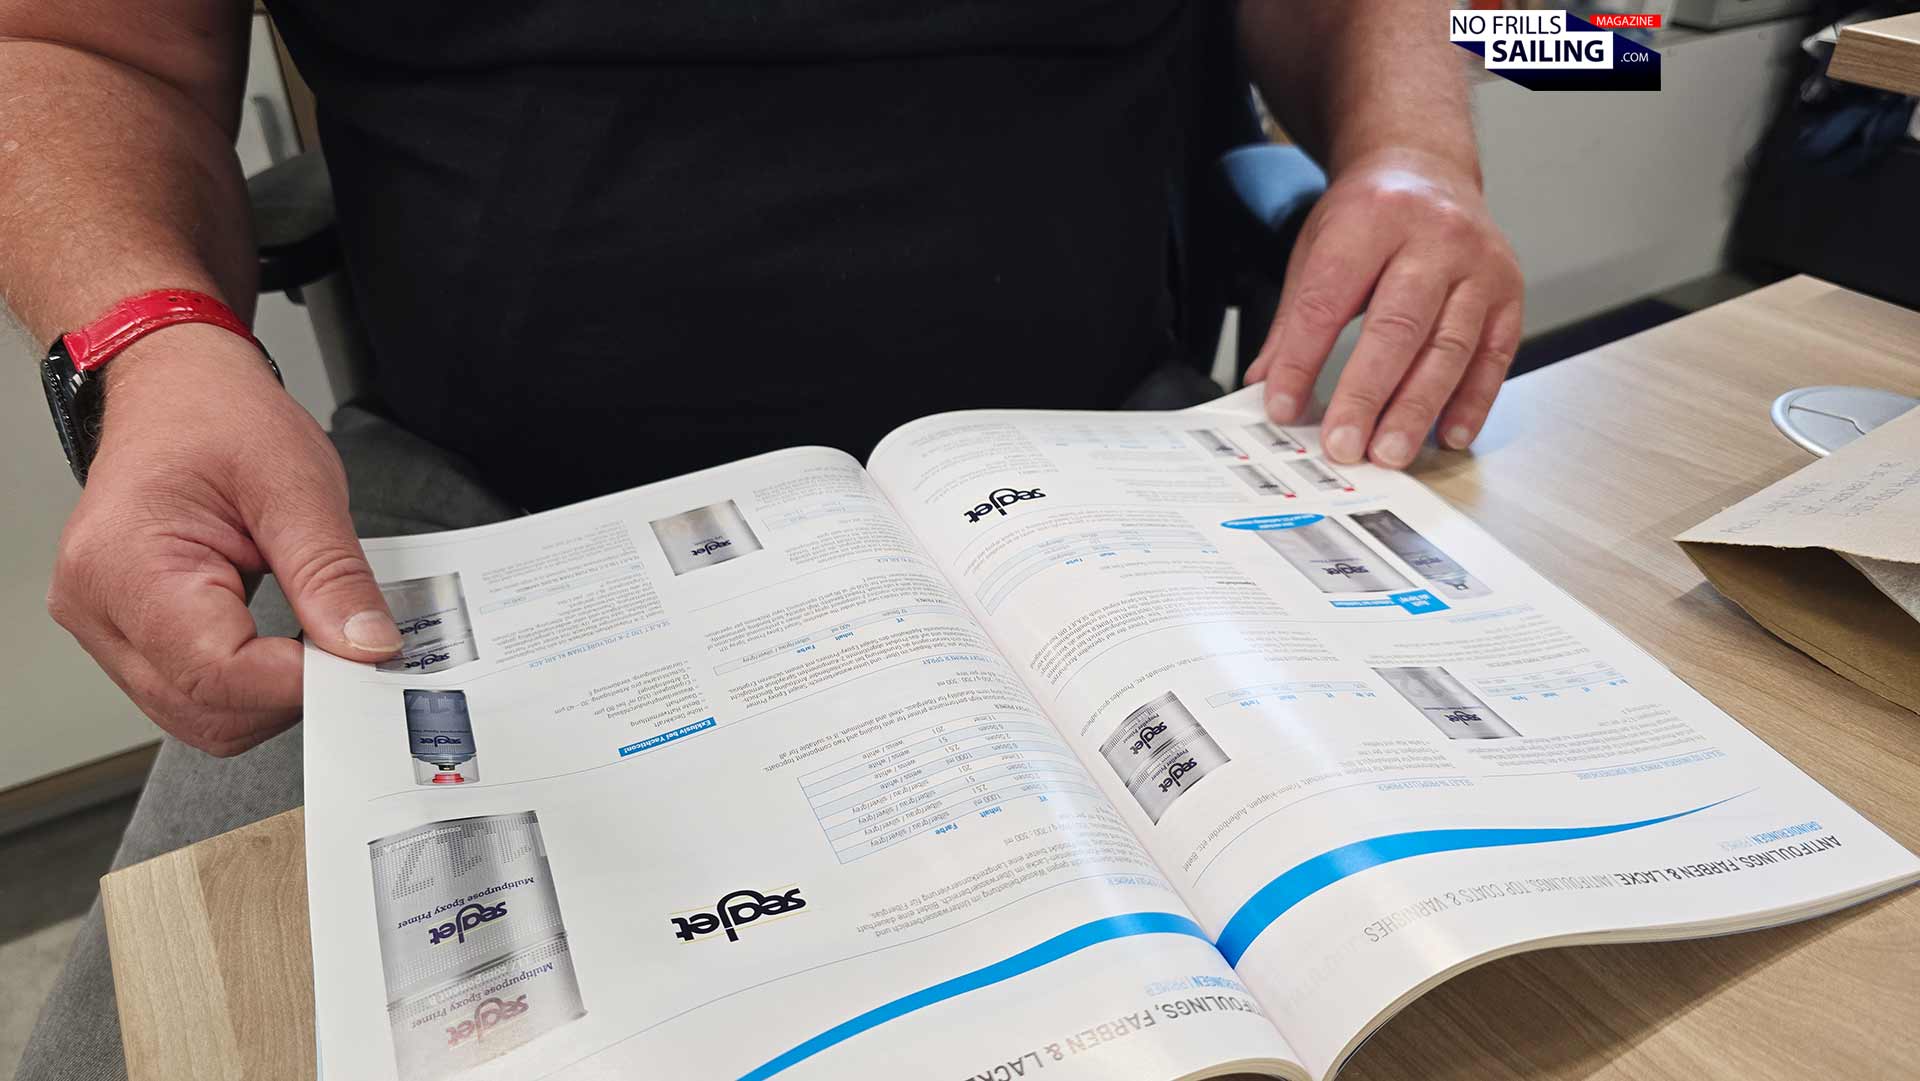
If you were seeking a hint on which would be the best or most fitting antifouling paint or brand from me, I just can´t give such a suggestion to you! You might check this article for a deeper understanding, but in general it is said that your type of boat, your sailing area and sailing habits (meaning speed and frequency of usage of the boat) will determine the type of bottom paint your should choose. When it comes to brands, there aren´t all too many – and I went for Seajet.
This is a well renown Japanese manufacturer, Chugoku Marine Paints, which is servicing their professional (commercial and military) clients since 1917. So that´s quite a track record, I would say. Here in Europe, especially in Northern Europe, International paints from Akzo Nobel and Danish Hempel are widely used, for America, Pettit, Sea Hawk and bargain Blue Water paints are among the top used brands. Again, I prefer Seajet for many reasons, you should ask fellow sailors and local professionals at your marina which product they´d recommend for their particular area.
The importance of epoxy primer layers
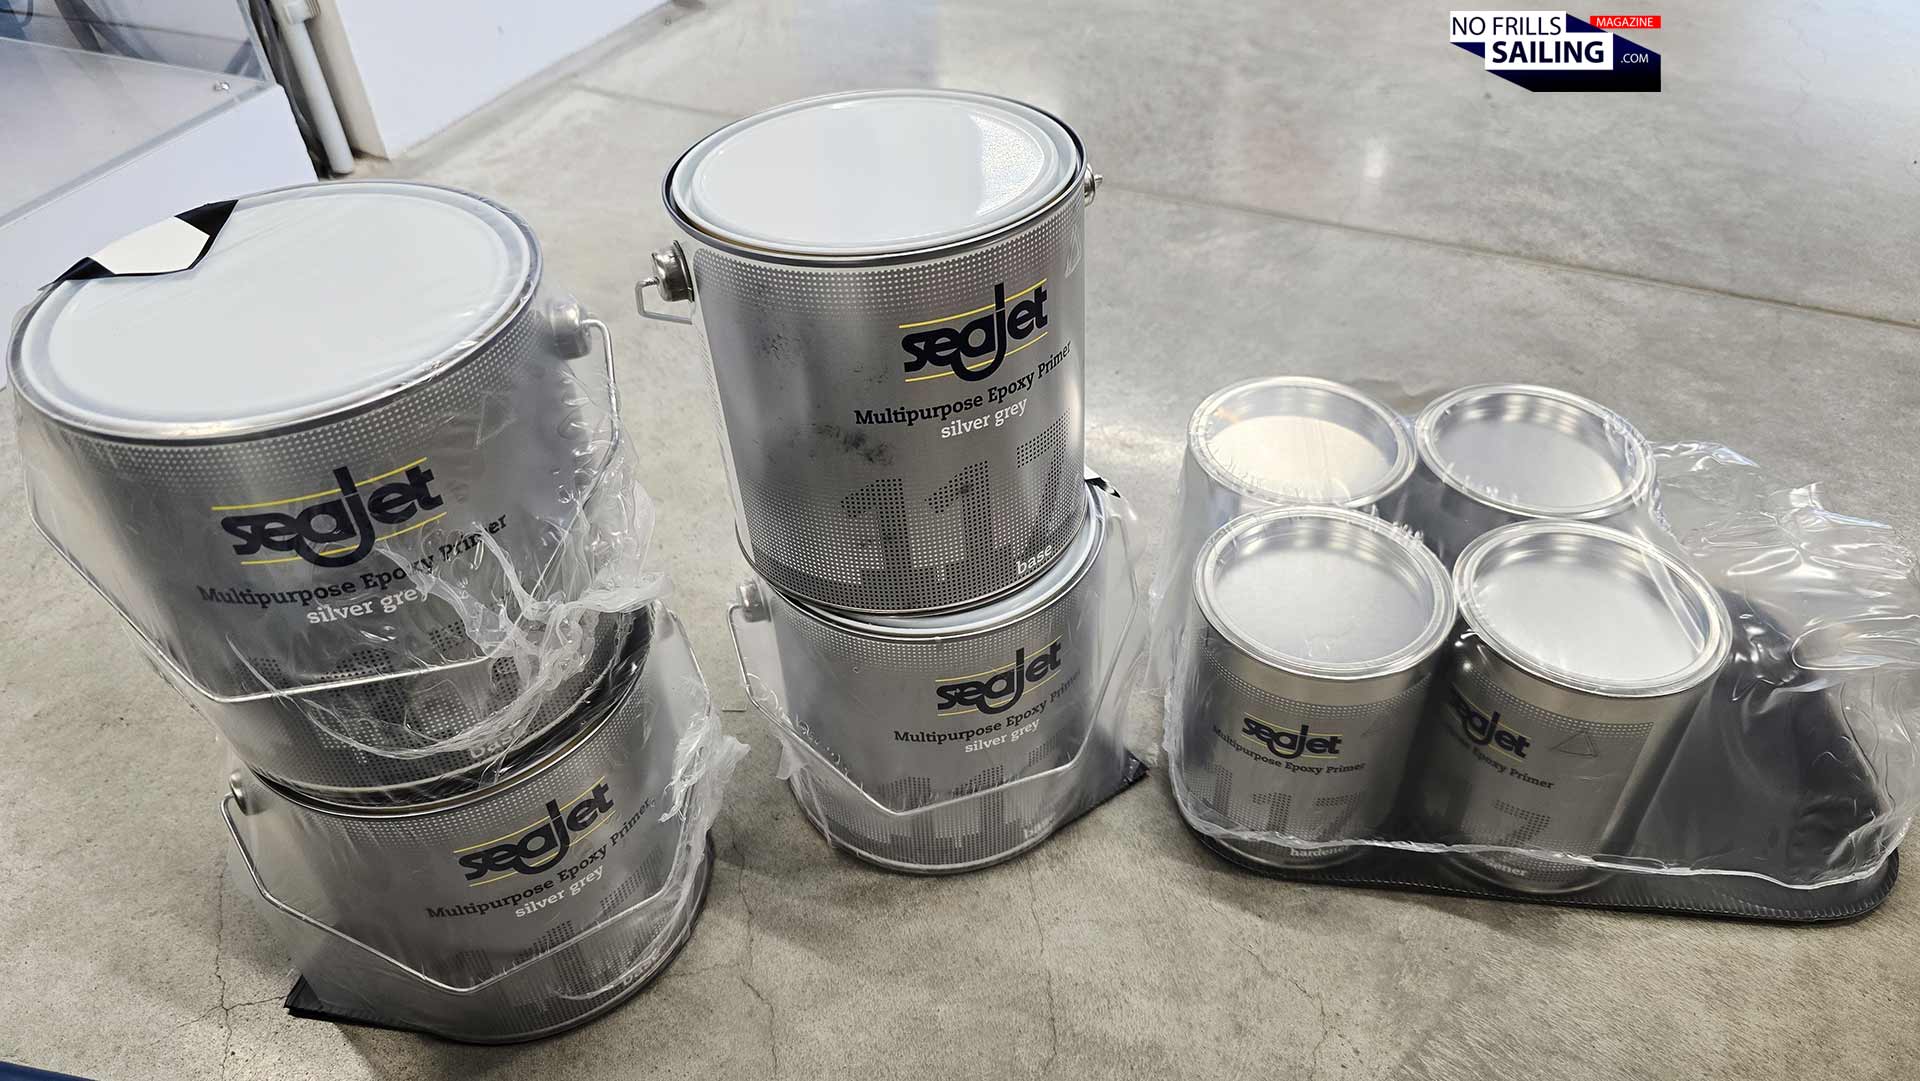
It´s quite some basic boatbuilding knowledge, which always comes as a surprise for newcomers and first-time boat owners: You yacht is not waterproof! Especially simple polyester-composite hulls will allow certain amounts of water to permeate the GRP layup. This is due to osmotic pressure and “normal”. But of course, you don´t want to have a water-saturated hull, which can be a trigger for osmosis preferably in hand-laid layups. Vinylester and epoxy-hulls are “better” in this case, but as all of the shipyards making GRP hulls suggest: A true watertight barrier is needed. This is called the “primer”.
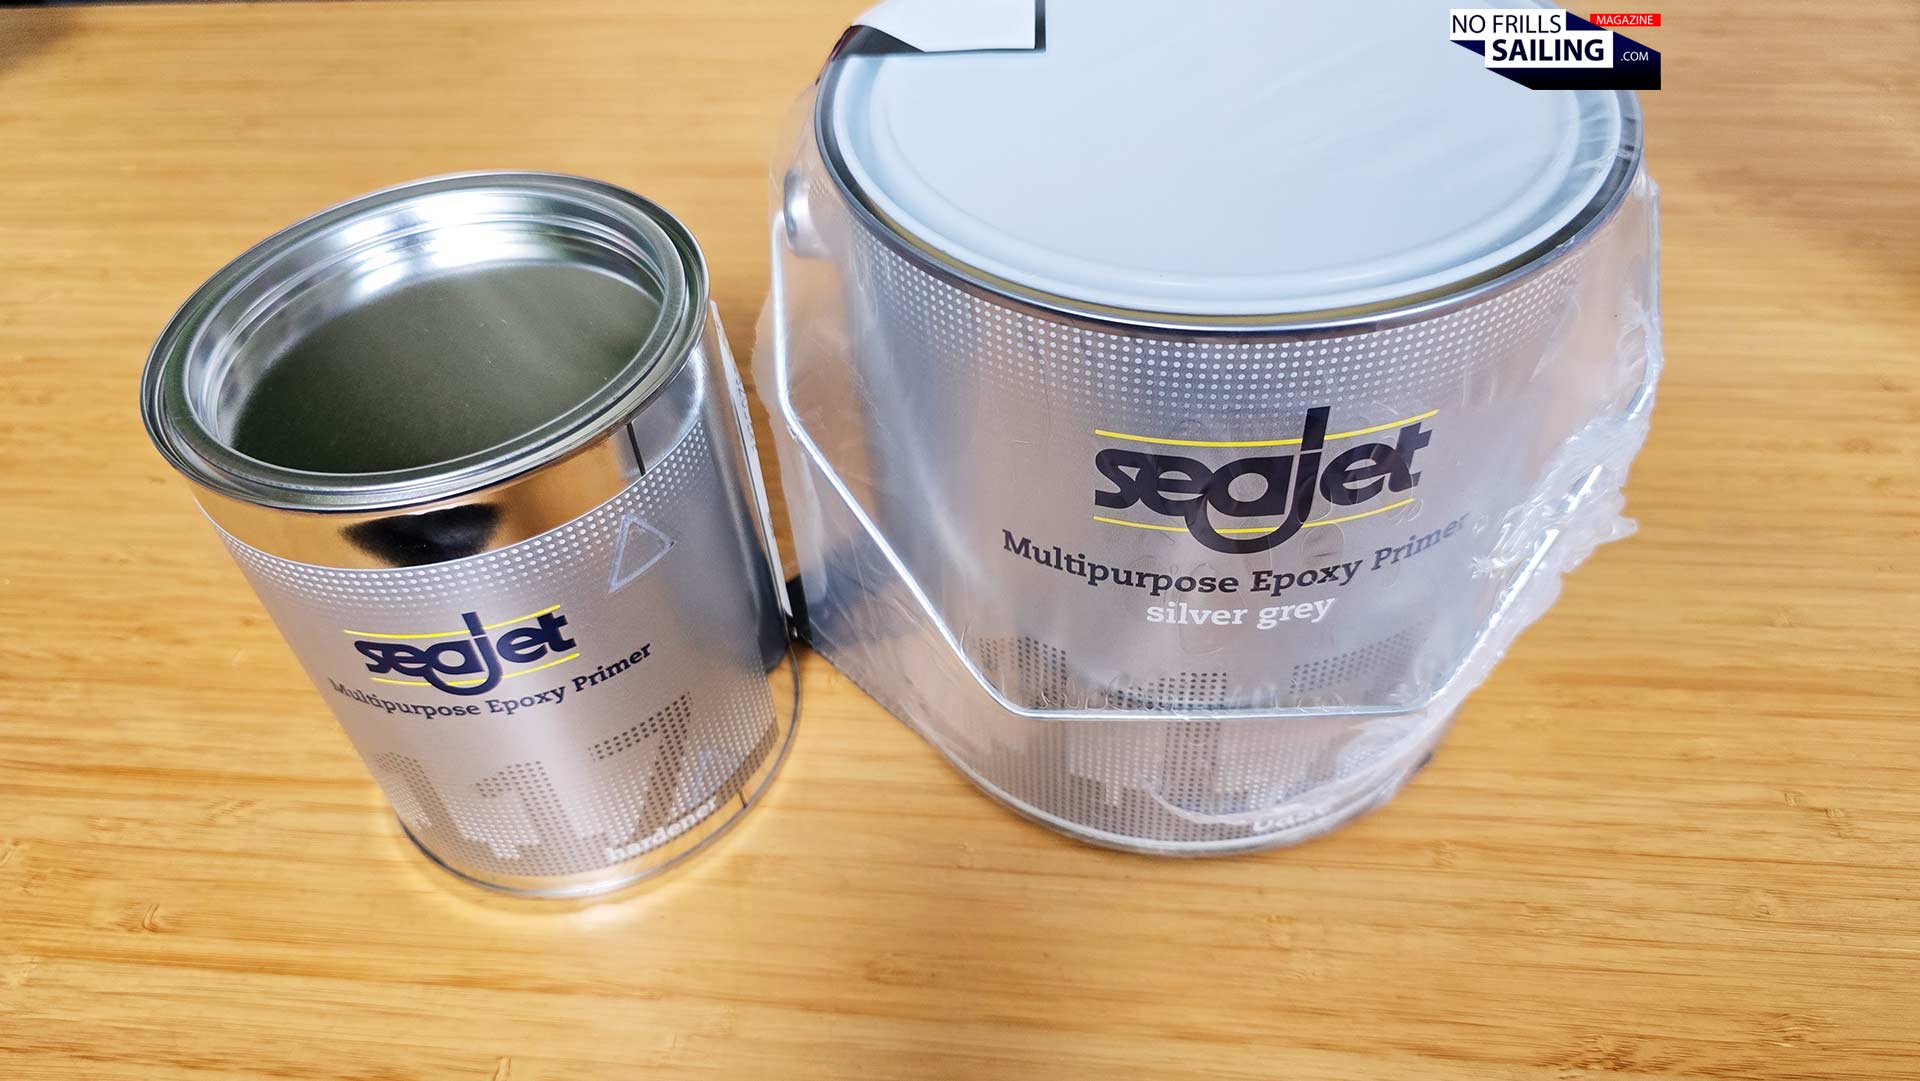
Checking the Seajet products, and this will go for most other brands as well, I realize that the epoxy primer paint is a 2-components mixture. There´s the resin on the one hand (the bigger can) and the hardener in the smaller can. Usually, the mixing ratio for both is pre-determined by the cans. As for Seajet, I just pour the hardener into the resin can (which therefore isn´t filled up to the brim) and give it a thorough stir. That´s it. If your products aren´t pre-dosed, check very meticulously and dose appropriately! Because if the ratio is messed up, the mixture will either harden very fast (too fast to being applied thoroughly) or it won´t harden at all! It would be a very expensive waste of material, and lots of cleansing work to get rid of the smudged hull areas.
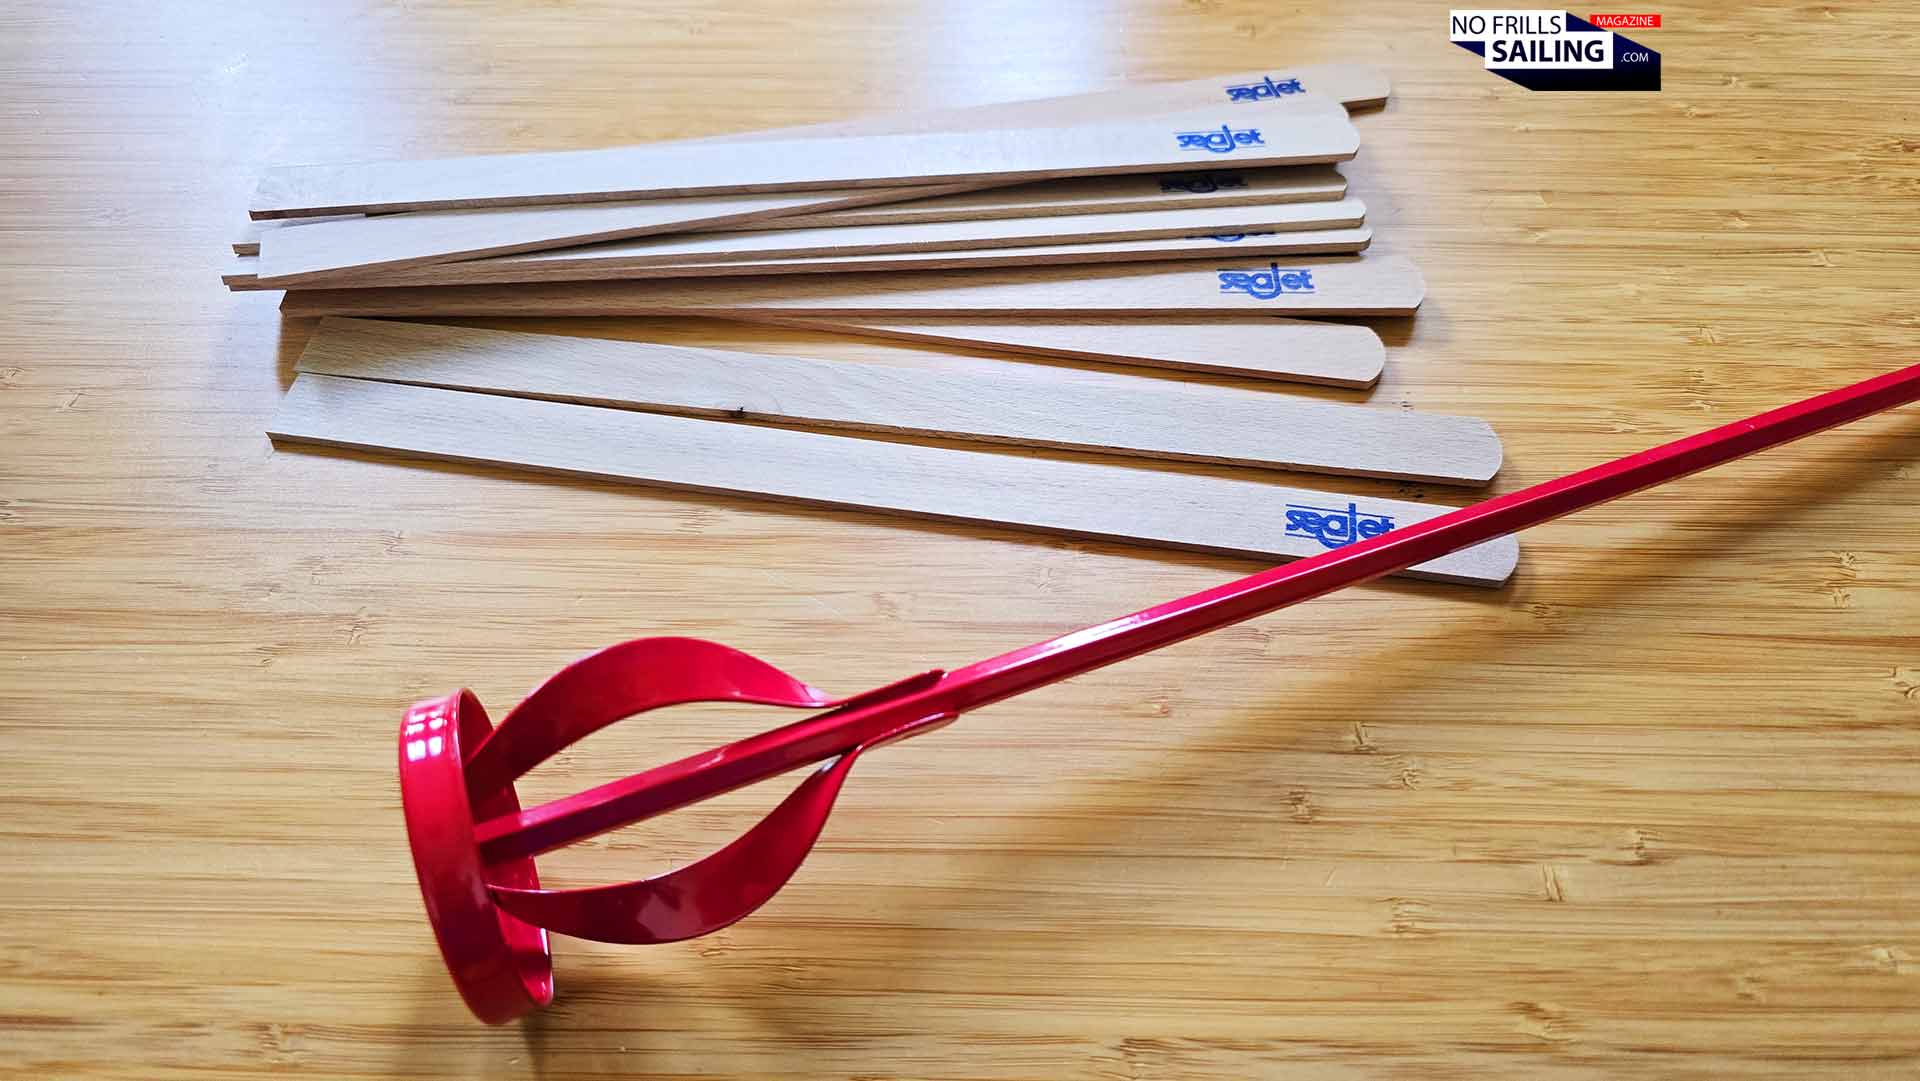
Mixing it thoroughly is another topic to care for. Normally – and Dirk also provided me with some big-ass wooden spatulas – you would do it by hand. The mixture has to be blended absolutely evenly so that all of the resin has contact will all of the hardener. It is recommended to stir at least full 4 minutes! Which, by hand, is very tedious. And let´s not forget, the real tedious paintwork is up next! So the better solution is utilizing a mixer put on an electric drill or boring machine. This way, you make sure everything is just perfectly mixed – and you are ready to go. But hold on, not so fast!
Keep an eye on the drying time!
Planning your bottom-paint action involves much more than just shopping the right products in the right amount! One of the biggest questions connected with painting the primer and antifouling evolves around the numbers of layers needed. Again, different brand and product, different suggestions by the manufacturers. As for my Seajet-combo, Dirk recommends to do four layers of primer and three layers of antifouling paint. That said, this amounts to seven days, right? Well, not so much.

If you look at my timetable above, you might see that I have six days planned for actual painting, starting tomorrow evening with prepping of the hull. So how do six days and seven layers go together? This is where the drying times come into play. It is recommended – for Seajet, nota bene – that one layer needs at least 12 hours drying time before the next layer can be applied. More is okay, less is not so okay. That is why I´d need the first three days for applying the epoxy primer. But for the last epoxy layer and first antifouling, it´s a bit different.
Dirk says: “After four to five hours, depending on the temperature inside the workshop, you check with your finger: If the epoxy surface feels sticky without material actually sticking to it, then you put on the first layer of antifouling paint right away!” This means, on the fourth day, two layers will be painted. That amounts to six days in the end. Still open is the question of those two areas of my boat where I cannot paint for now as she is resting in two cradles. See the red marked areas in the picture below, if you cannot imagine what I mean. Two possibilities here: One, the boat is jacked up each evening with those cradles slightly displaced so that I can paint the free areas in the evening as well.
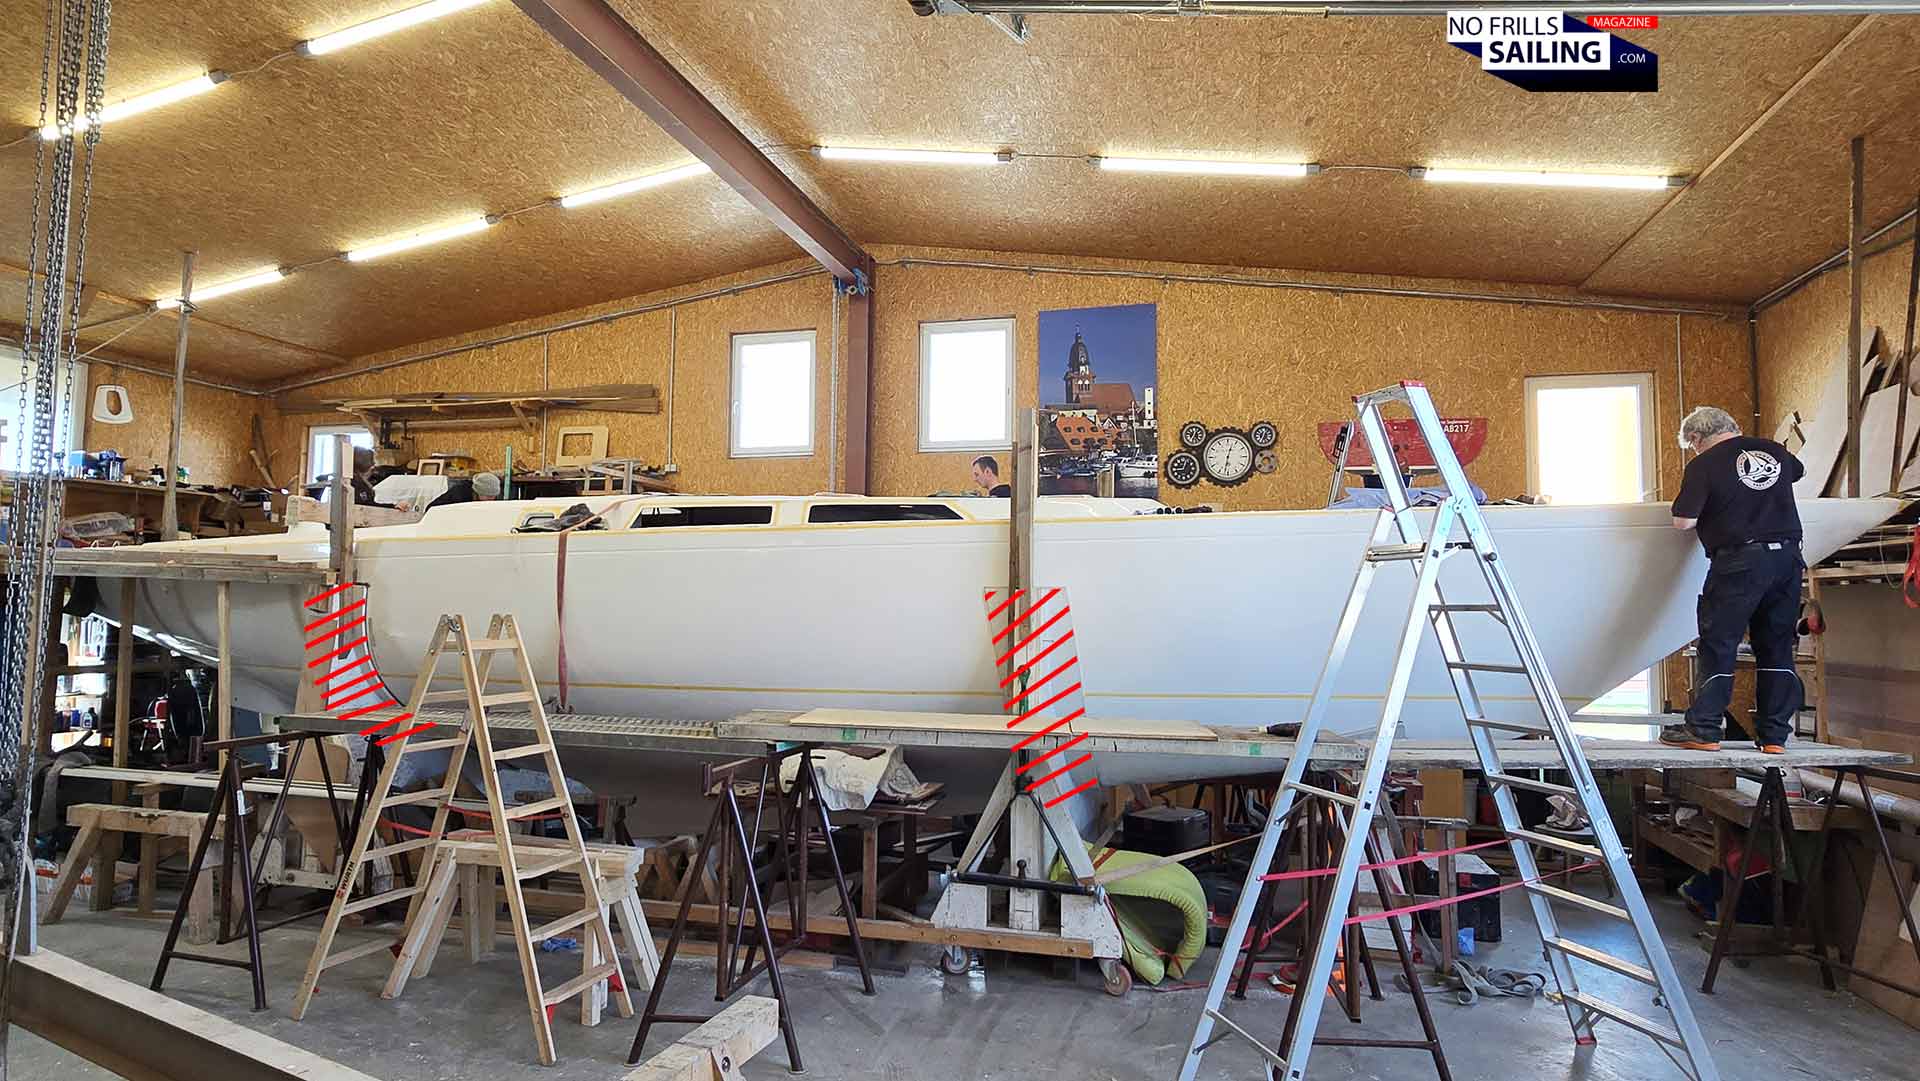
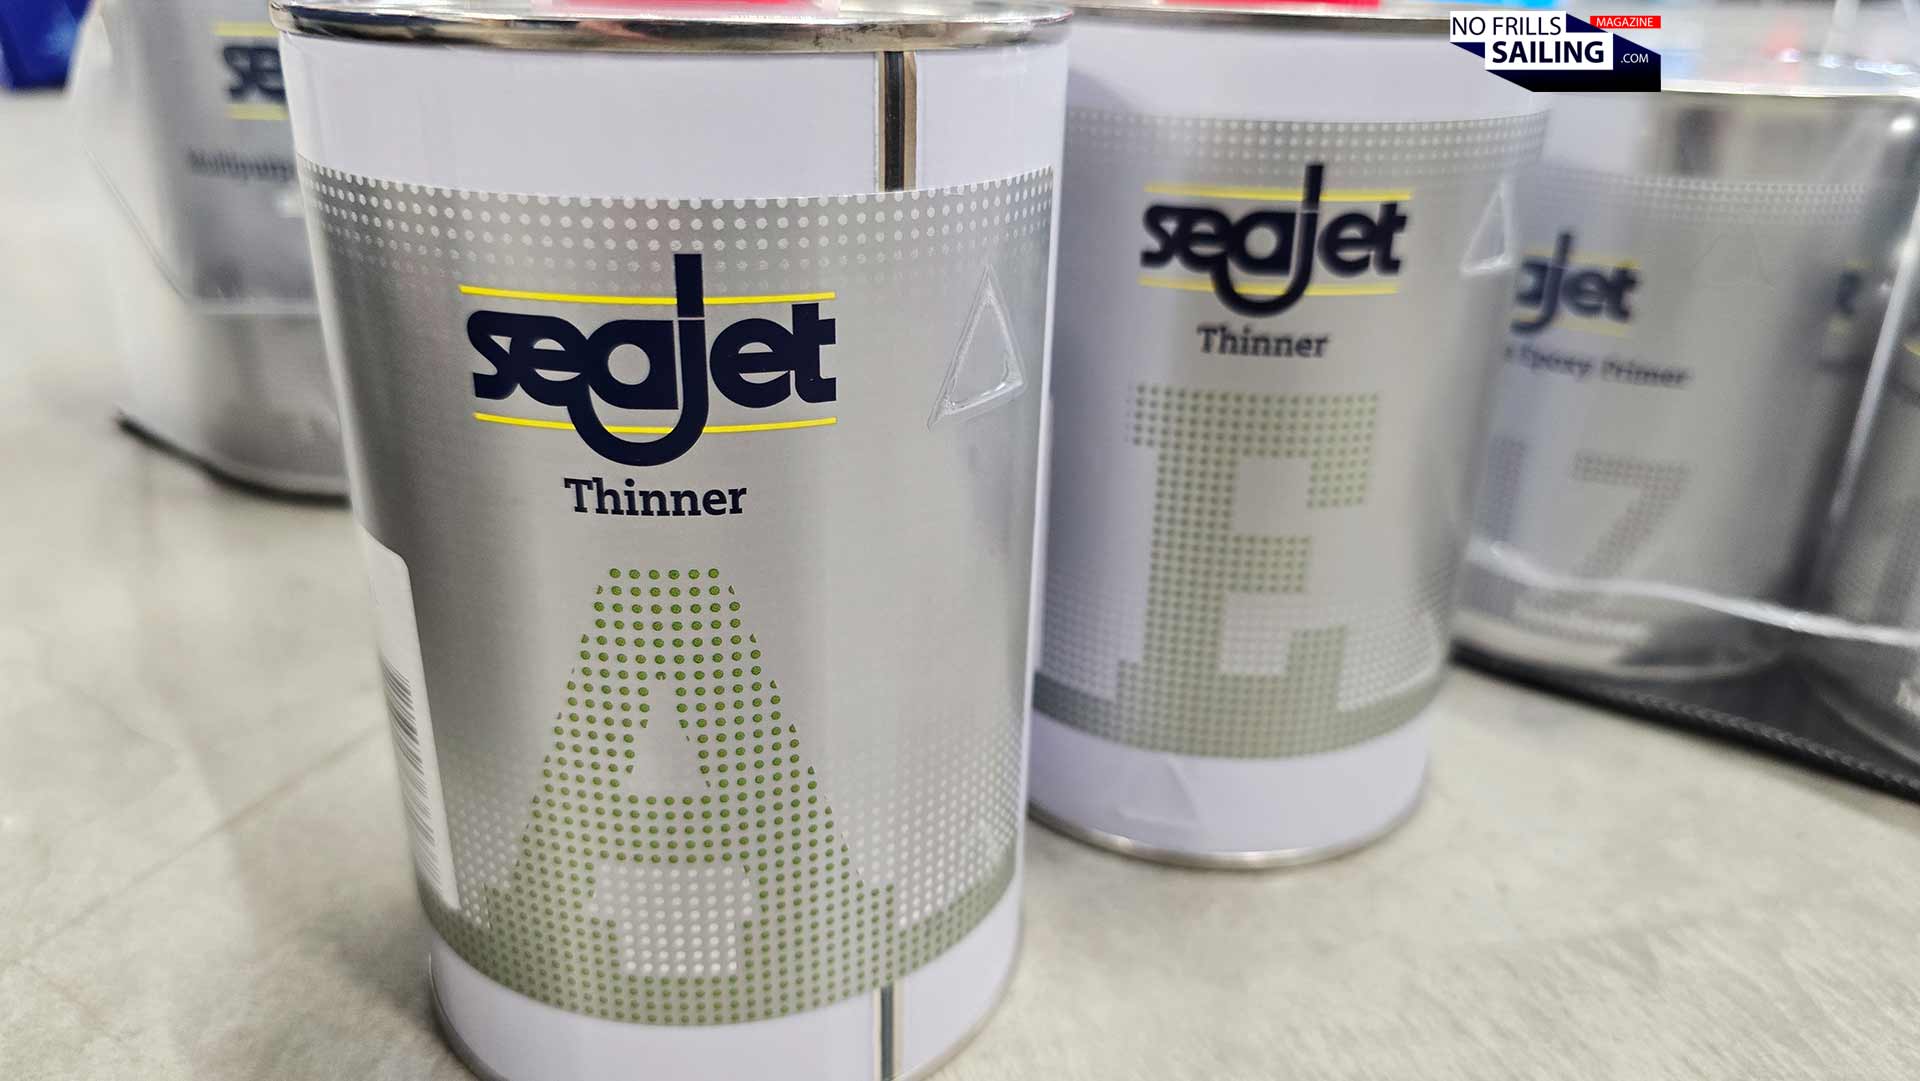
With the cradles again being put the next morning to their original location, I would be able to paint the whole hull during this week – but this creates a lot of work for the guys and I don´t think they will provide me with that extra-service. Instead we probably will do it the way it is done in any other shipyard as well: After the boats has been painted, I´ll need another six days to do the free-cradle areas. And not to forget the keel, which has not been fitted as of now and also needs the protective epoxy- and antifouling layers. I think I will know more tomorrow when I arrive in the building shed. But you can see, that it is not just painting right away: Taking into account drying times and the intricacies of the building situation, it needs much more scheduling and thought going into this. Ah, besides: “If you need to thin out the stuff a little over time, take thinner too”, Dirk suggests. But behold: The “A” and the “E” on the bottles indicate which one is for antifouling and which one is for the epoxy – you cannot use just simple acetone here!
Painting? Rolling!
Another topic where there´s as many opinions and recommendations as there are boats, I suppose, is the way you actually apply both epoxy primer and antifouling paint to the boat. Mostly, bottom paint will be rolled. That said, Dirk recommends not the usual kitchen-paint rollers from your local home improvement store, but one that is slimmer sized. This way I will be able to achieve a smooth and nice surface quality, will have running “noses” or excess paint/primer being squeezed out of the roller.
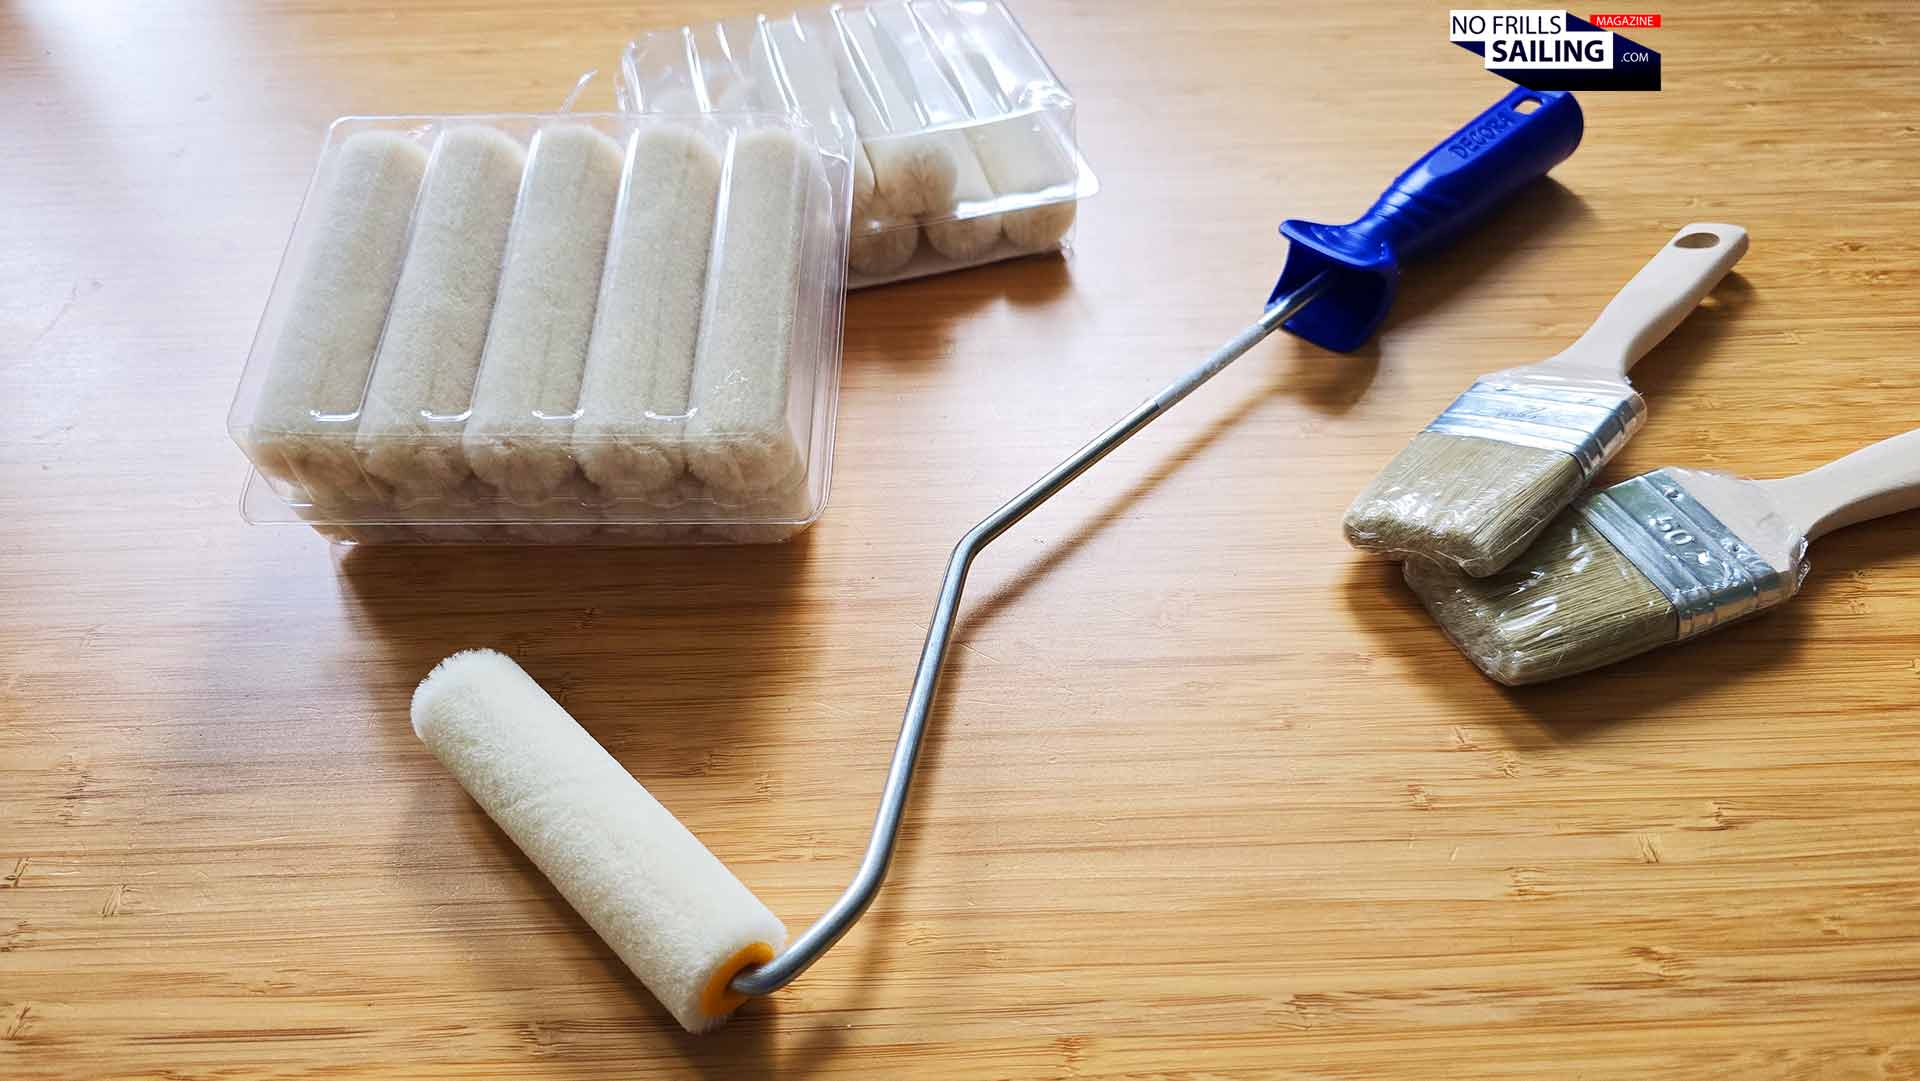
Especially the epoxy-hardener combination is chemically active: After some time (and I will tell you later how much) it will start to take apart the roll. Although I went for a solvent-resistant product, it will eventually happen. “When you start to see those little fringes coming off of the roller and stick in your paint, it will be time to change the roller”, he says. There is no need to try and “wash” or “rinse” these rollers, they are single-use and throw-away products, even though I´d love to prevent as much rubbish as I can. My roller has a width of 100 millimeters and a diameter of 17 mills. The fringe material is velours, but looking at the tools shelf at Yachticon, there are other options, costing roughly double the price.
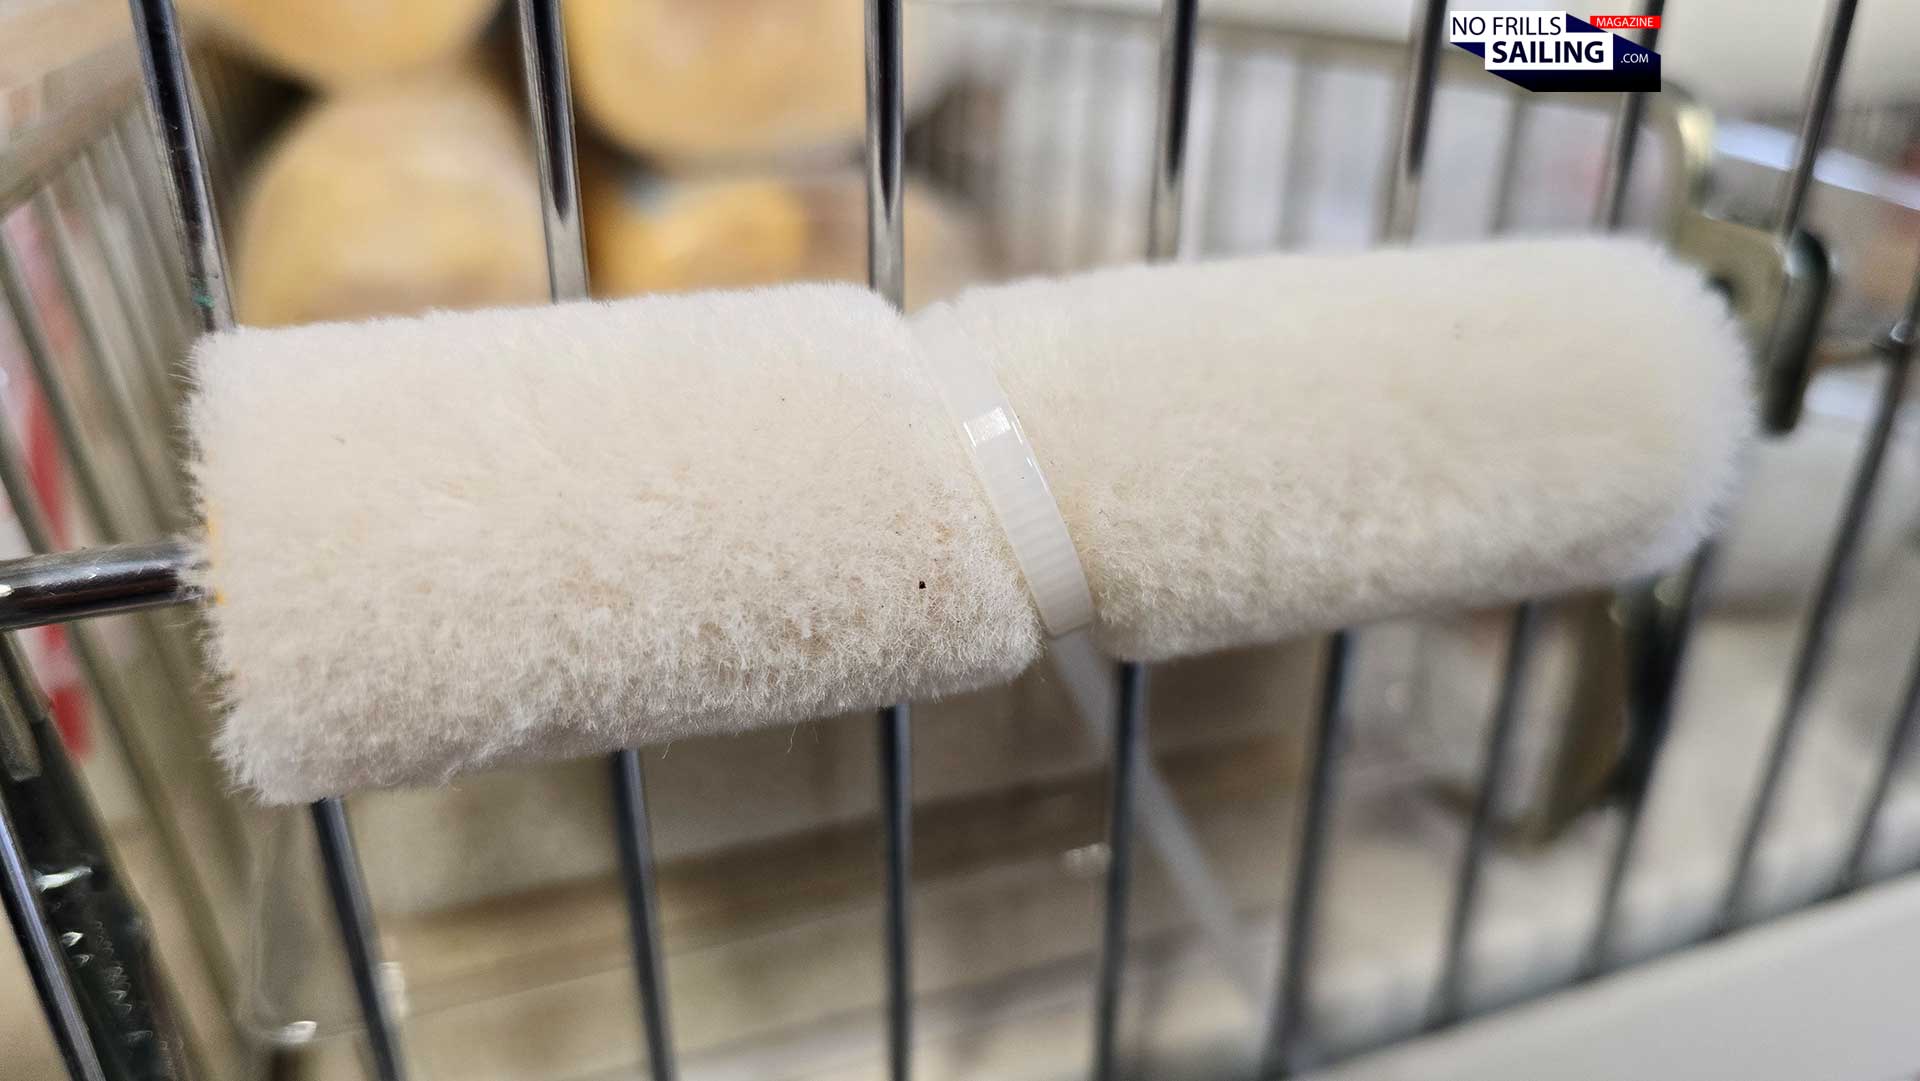
And there are cheaper solutions, mostly made of soft foam. Dirk does not suggest taking these, as – from his decades long experience – those mid-priced velours rollers are just working out fine. I got 18 rollers, which means three pieces per layer. I am sure that this will be sufficient enough. Lastly, talking about the must-have tools and materials before starting to apply the bottom paint, is the masking tape. And here I promptly ran into a little tripwire here … I dared to call it “painter´s crepe tape”.
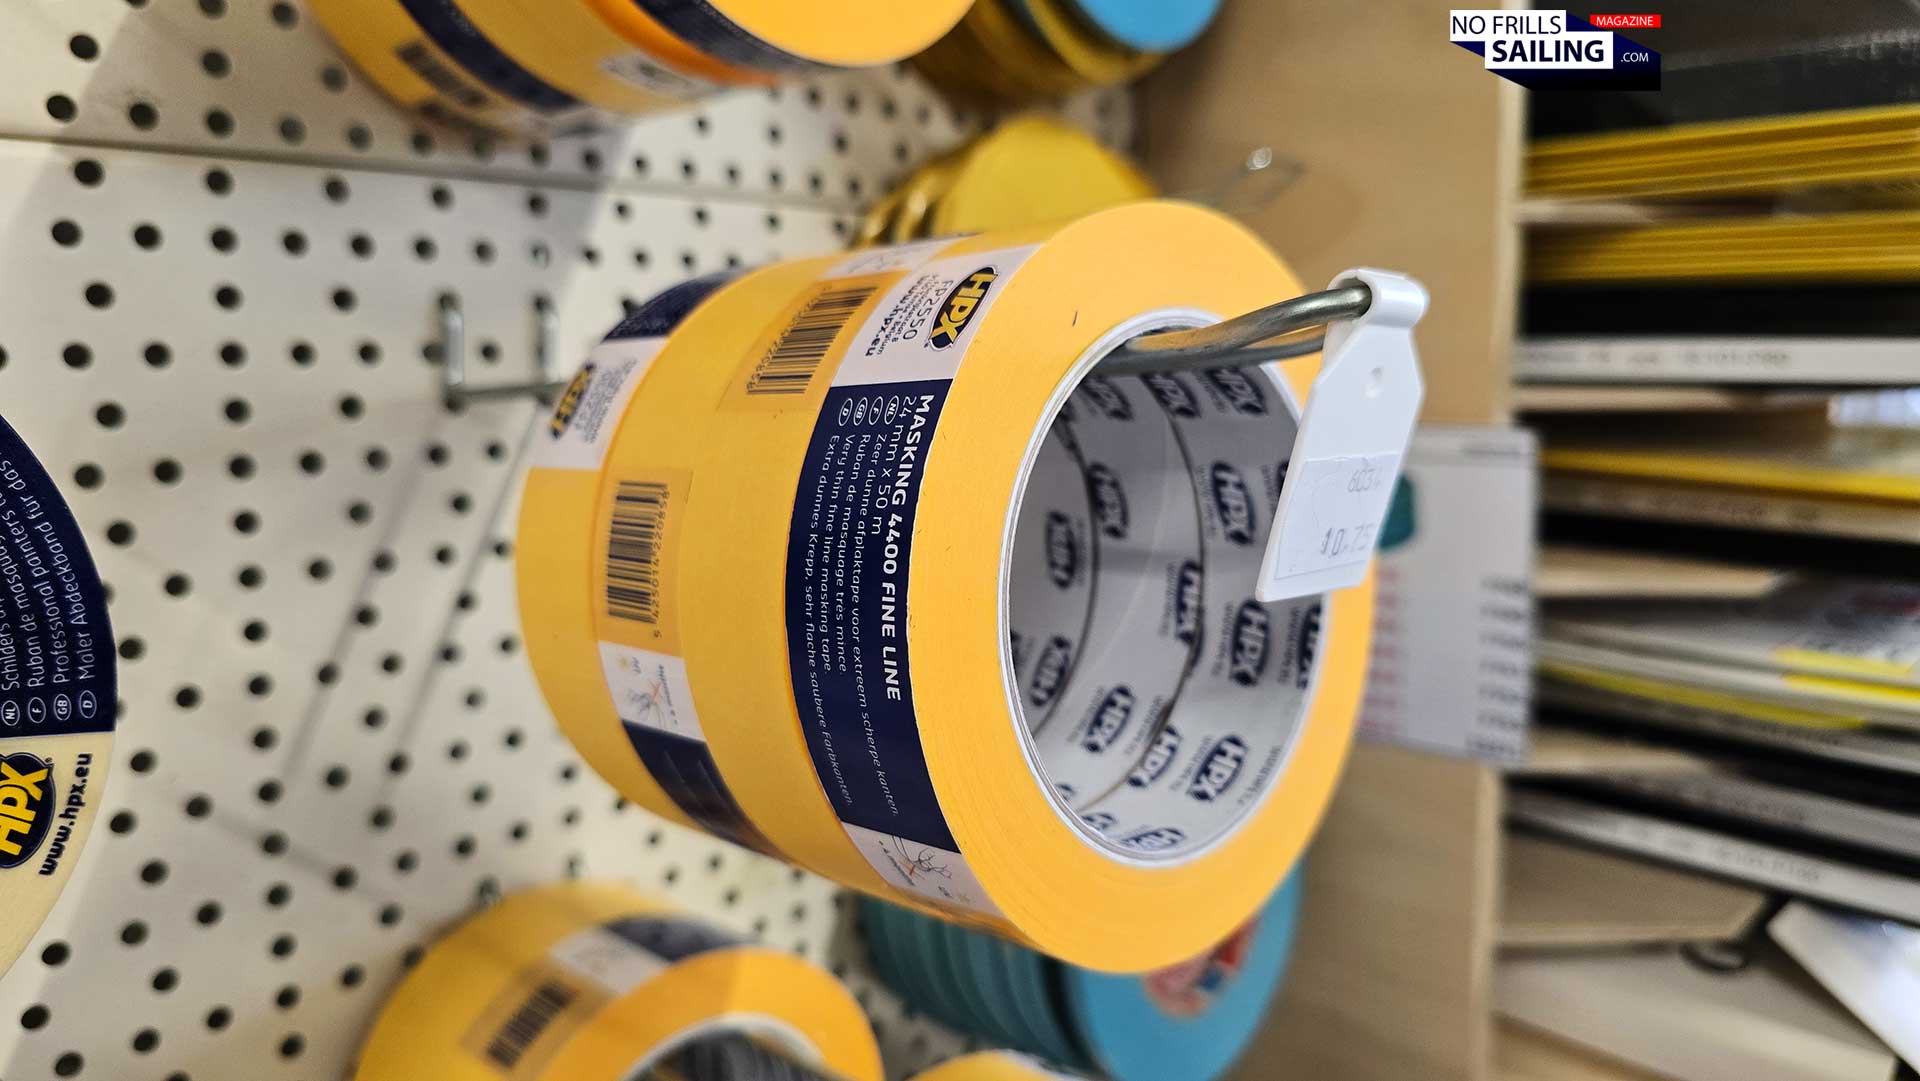
Well, that´s a proper marine-rated masking tape. Ordinary painter´s tape does not stick all too well, remember, you will put in onto the blank, polished, smooth gelcoat. He hands me four packages of masking tape, which will do for the approximately 20 meters of waterline all around the Omega 42 hull. Are we done now? No, not really, as there is one very important topic to talk about and be prepared for: Health and safety when handling biocides like antifouling paint.
Antifouling is no joke for your health: Safety measures
I have been elaborating on that specific topic a lot when talking to Yachticon´s General Manager Sales, Andreas Tegeler in my previous article about chemistry in sailing. If you want to dive deeper here, check out that one! But in short: As the name anti-fouling implies, this stuff must be hazardous by definition to being successfully repelling encrustation. On the other other hand, in order to keeping the paint in a liquid form, it needs a solvent, which usually is a hazardous agent.
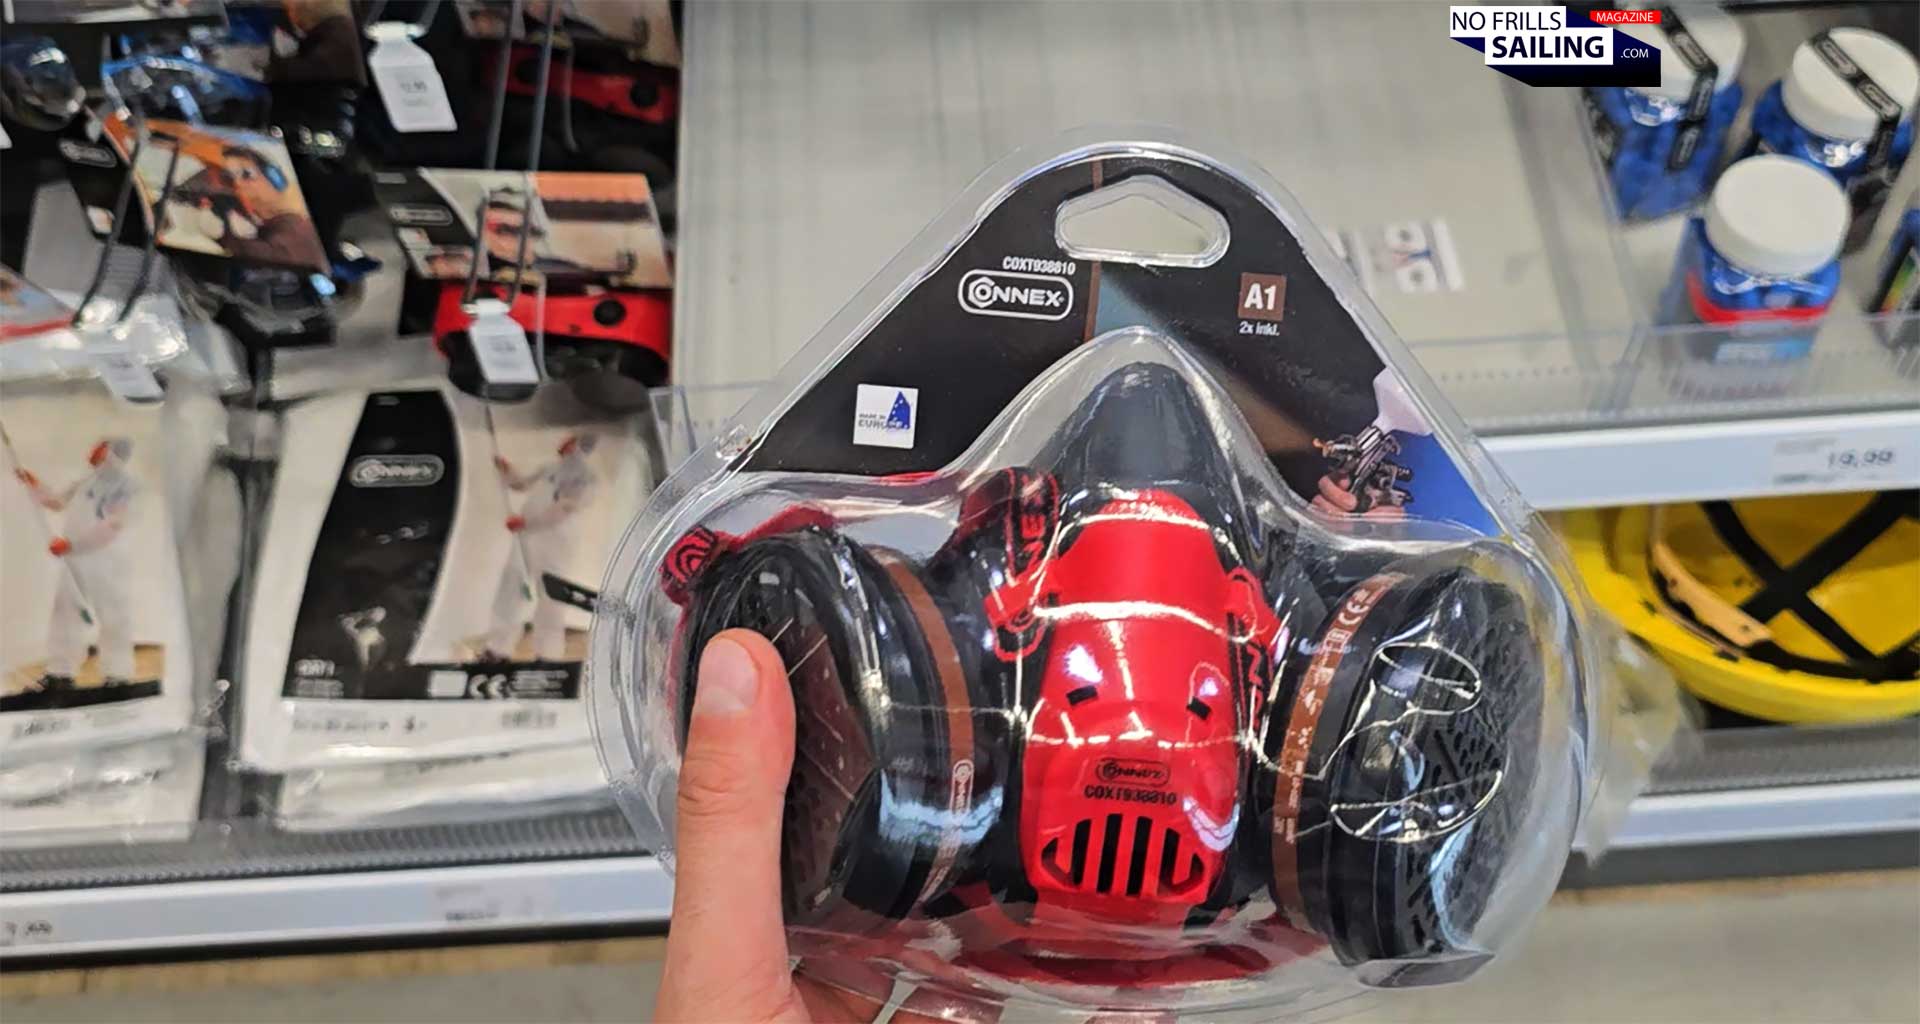
It goes without question that I have a little stopover at the next big home improvement store to buy a breathing mask. But behold, if you rejoice now that you can after all utilize you last stack of Covid-masks for a good purpose, that won´t work! You need a proper mask that is able to filter hazardous organic vapors, in Europe usually marked with an “A” or “brown label”, in the US your breathing mask needs to comply with NIOSH regulations, a solid black band indicates that you are on the right track.
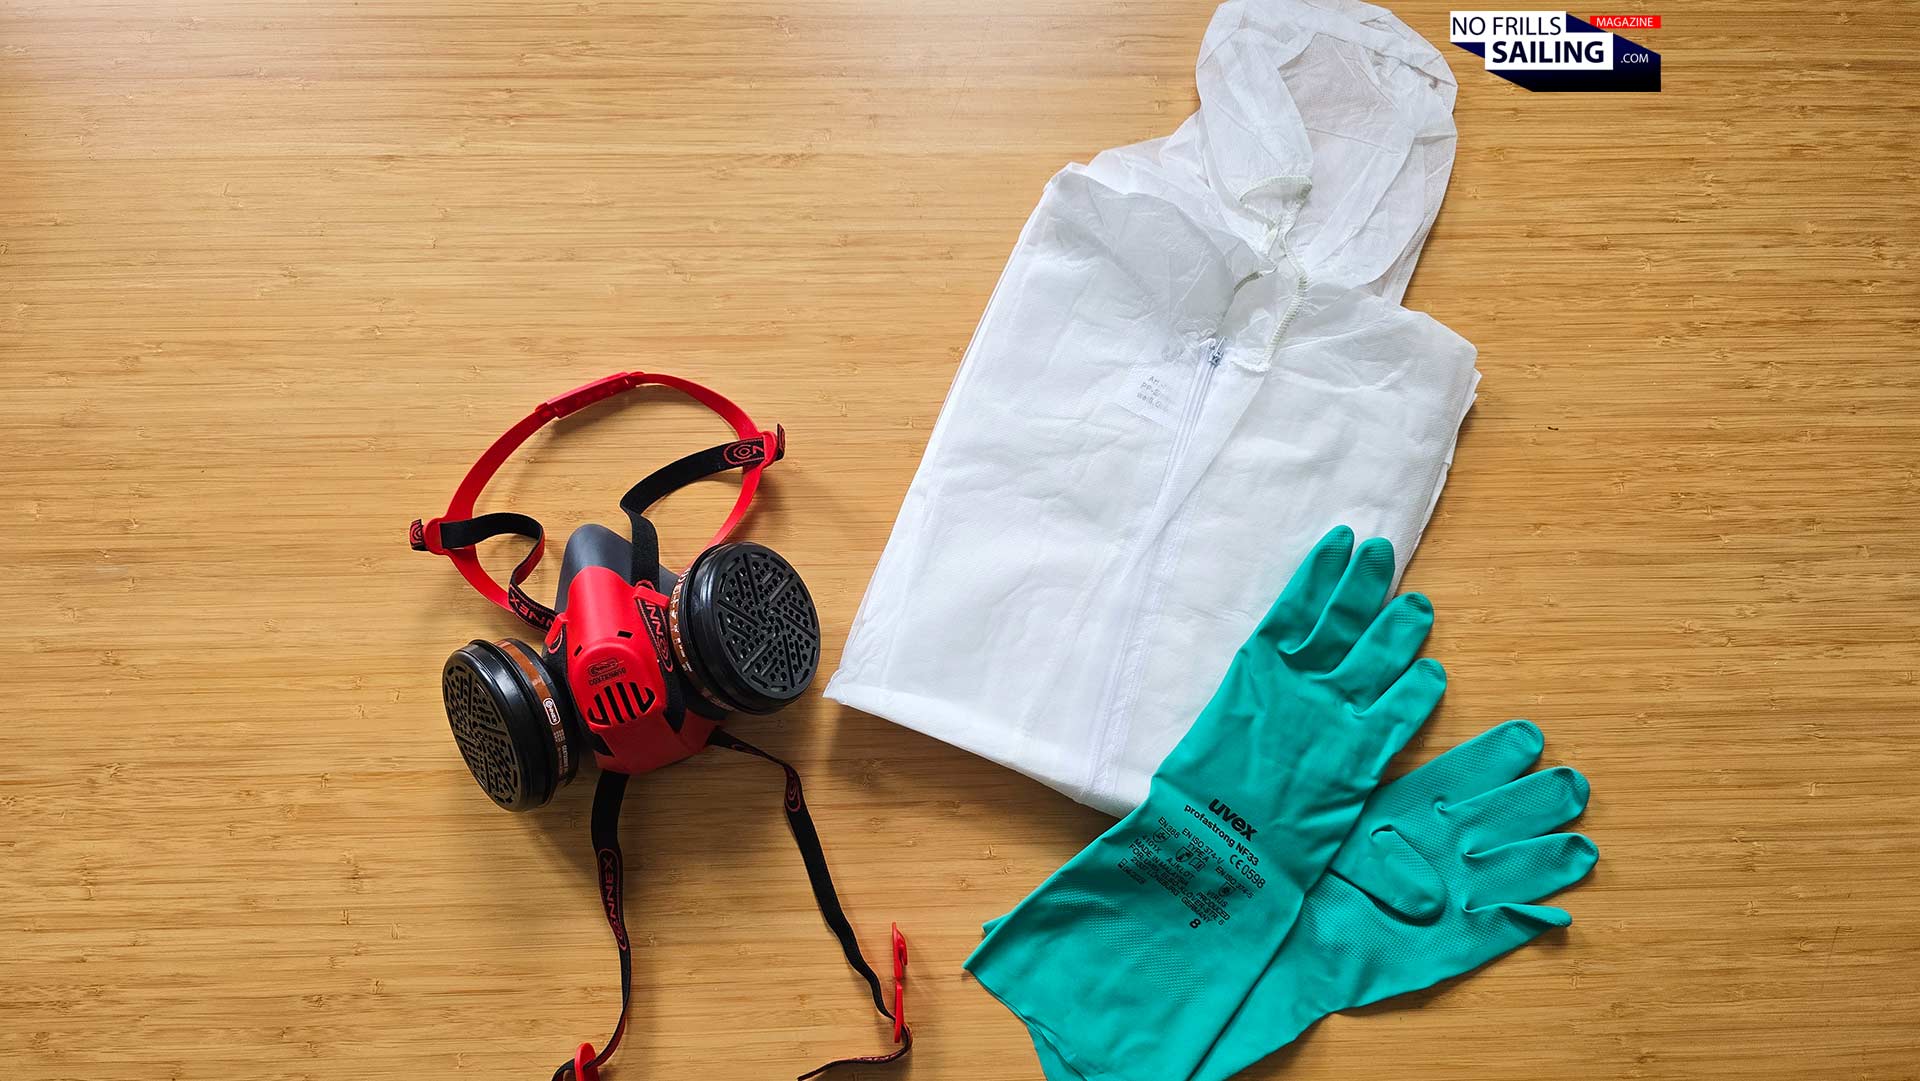
As I still had my old 3M-breathing mask at home that had done me very, very good service back in the days when I was refitting my first ever boat, the King´s Cruiser 33, I thought that maybe its filters would be gone, used up or simple too old by now. And it´s true, the filters (often containing degradable contents like activated charcoal, have an expiration date you should respect. I´d rather went with a brand new mask, adding another 40 Euros to the total bill. Apart from than, a coverall to protect your clothing and – very important too! – chemicals resistant (Latex for example) gloves should be part of your shopping list as well.

Well prepared: Let´s do this!
So, that´s basically it! A trunk full of material and products to finally start the bottom paint process for my new sailboat. It is a trunk half-filled, and maybe now you understand my surprise about how few products these are in the end. I mean, will it be enough for this bog boat? We will see! Tomorrow afternoon I am going to arrive in the shipyard, unloading and preparing the hull for a week´s work. Cleaning it from the dust of months of working action, dedusting and degreasing it thoroughly, only after I have “activated” the already sanded hull with a smooth 120 grain sanding-action beforehand. I am so much looking forward to this!
This whole undertaking will not only save me 7.000 to 8.000 Euros which are better to be invested into sails or other equipment, I must say that I always wanted to at least do a bottom paint once in my life, just to being able to know what it is like. It will be backbreaking, I know, and a tough workout for my arms. But in the end I will have the certainty that there was no slipshod work, no inferior materials used and drying times have been respected. Proper work, done with my own hands. What do you think? Is it worth it?

Expect at least two more articles in this series about how it felt like to pull off my DIY bottom paint project: To not miss them, you may subscribe to my monthly free newsletter right away here. Ah, and there´s another question I have for you: Would you prefer to see, instead of reading, about these things in the future? I am thinking of maybe widening my publishing activities to YouTube videos. So please tell me: You prefer reading those long articles or would you rather like to watch a 15 to 20 minutes video instead? I am looking forward to your constructive comments, as usual.
Thanks so much, Dirk and Yachticon for the briefing, so much education and the proper choice of high-grade products for my new boat´s bottom paint!
You may also be interested in these related articles:
Chemistry and sailing, how can this go together?
Having your sailboat´s bottom paint done by professionals.
This is what happens without antifouling bottom paint