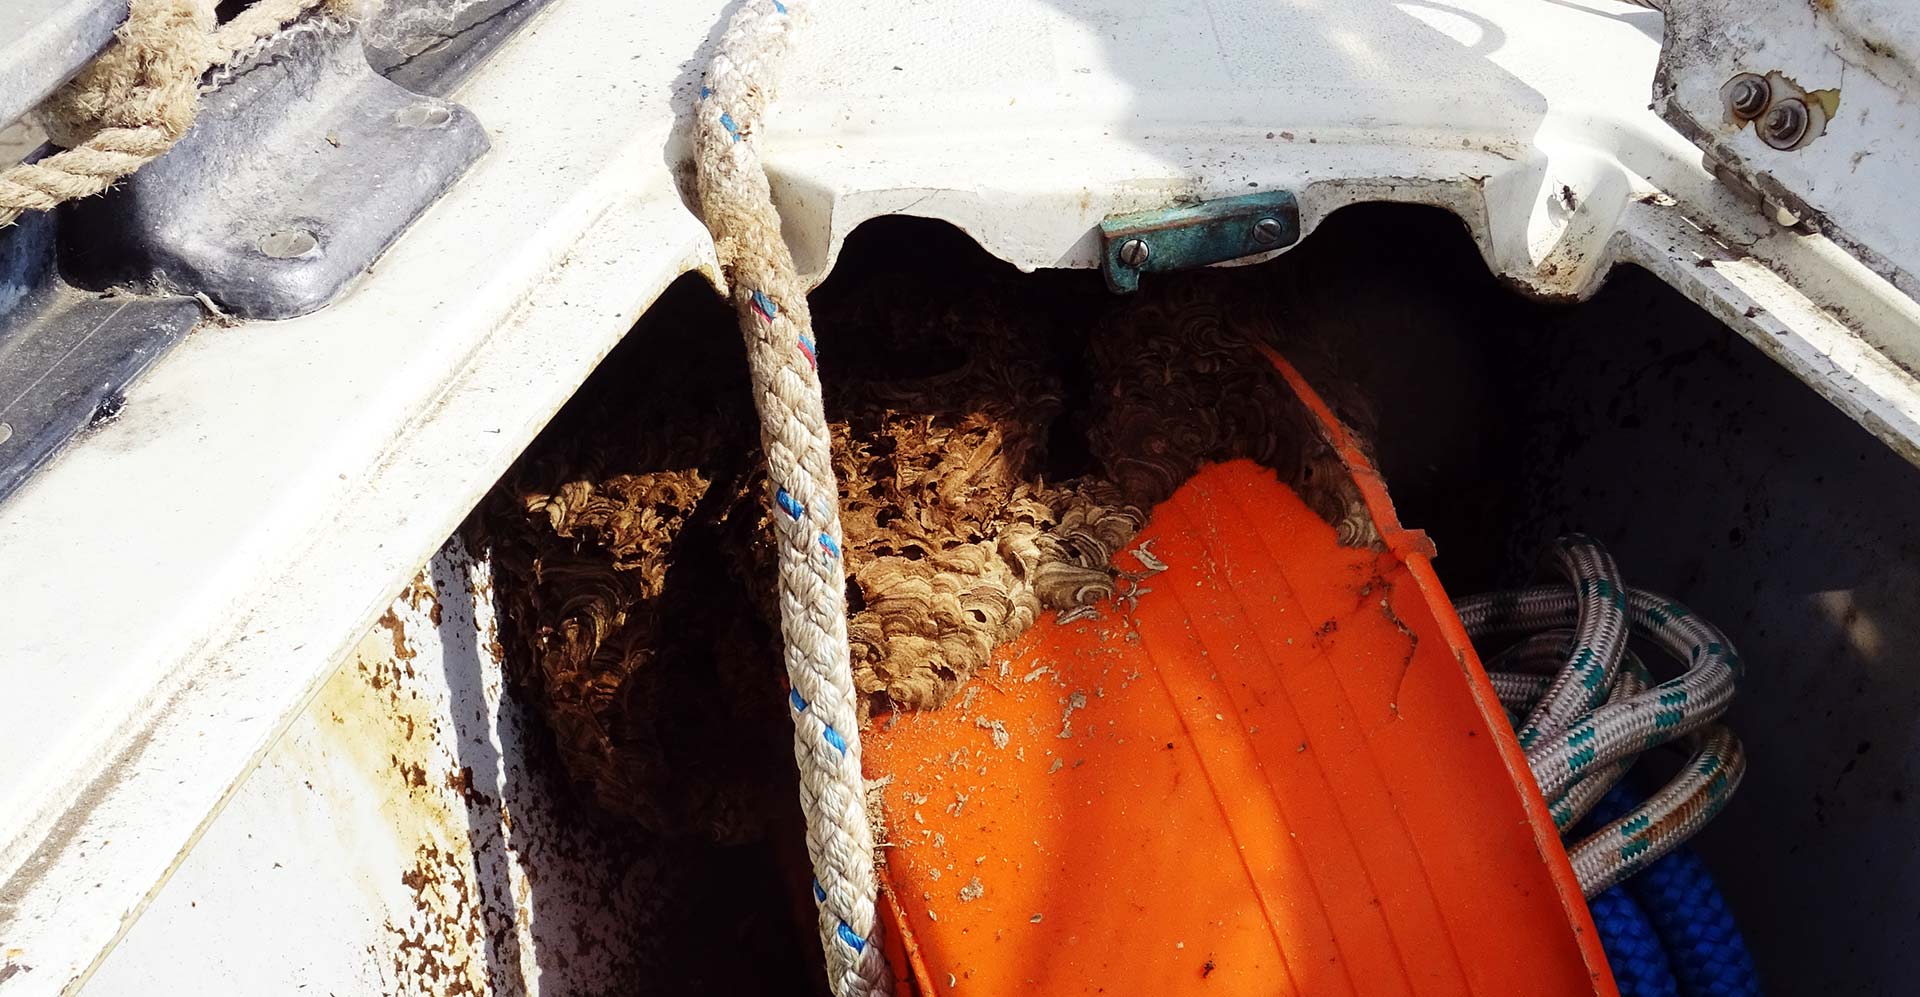
Before I recently relocated my yacht from Hamburg to Luebeck where I live now decided to give the boat a thorough cleaning session to have it arrive in style at her new marina. Upon opening the anchor chain locker, a not so welcome surprise grabbed my intention, because I was soon stopped by a shocking discovery: Just as I opened the chain locker – I thought that it might be a good idea to begin at her bow – I fell back on my buttock facing a huge nest that was growing all over in my chain locker. A quick check on the net revealed: Hornets! When the first shock was over I looked thoroughly but – lucky me! – couldn´t spot any living insects. The nest was empty and I was happy to finding it long abandoned.
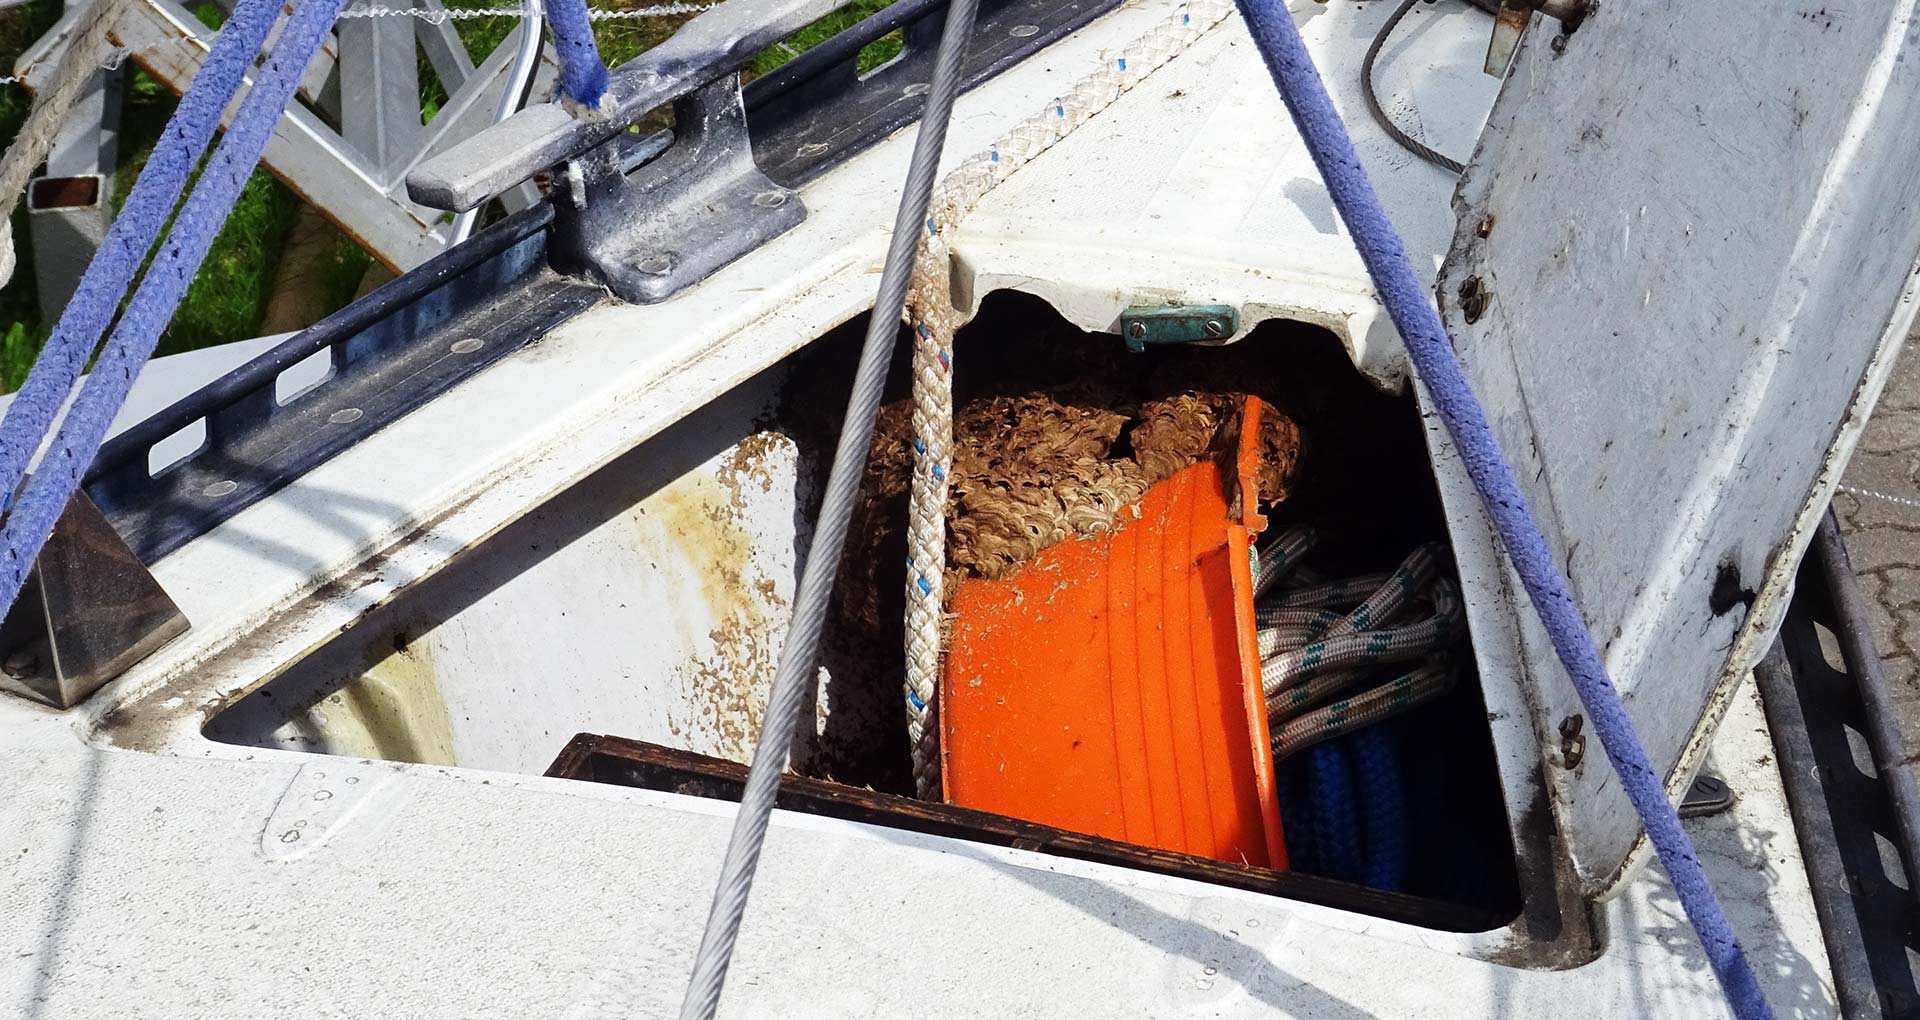
Well, from their standpoint my boat was the best place to settle down: The chain locker was dry and dark and could be entered via just one single little entrance, that be a hole to get the fingers in to open the hatch. The Hornets used it as their entrance. The bow then was nicely kept dry by the tarp – so why not found a colony here? The nest was huge, it was creeping all the way up from the bottom of the anchor chain locker and grew all around the chain and the anchor rope. I was kind of disgusted (it smells awful!) and fascinated by the beauty of this thing.
I was really lucky to find it abandoned because Hornets are protected by nature conservation laws here in Germany. If still inhabited, the process of removing the nest is to be done by a specialist and – although I doubt that this complex nest could have been removed from the locker – it certainly would have troubled my time table. The transport had been ordered in the new marina I had all crane appointments set up. And, of course – having living Hornets all around me here was not a nice prospect as well.
Cleaning the anchor chain locker

Did I say I was lucky? Maybe, but removing the nest was a mess: The Kärcher pressurized water-gun did a great job … at first. Since such a nest (in all it´s beauty and complexity) is made of spittle in the end, it takes just pure water to make it crumble and dissolve to goo. Brown, admittedly stinking, goo. The chain locker is also the hold for the gas bottle supply of my yacht and by this the locker of course is vented, but soon the goo was choking the small outlet and I had to scoop the awful soup … I will spare you any further details. In end then, I vacuumed the rest of the sauce and eventually the whole thing was emptied and clean in the end.
Clean? Well, that lies in the eye of the beholder because I wouldn´t call this clean. After 45 years of constant use by my pre-owners the anchor chain locker of ma yacht was a mess. I decided to give it a full and thorough refit and began to take out the gas bottle locker. By looking at the main gas bottle connector and the tube I noticed it was rusty, rough-running and the tube was brash – I took it all apart and god rid of the stuff as well. Let´s have it done properly!

In the end I had the chain locker emptied – look at what a big volume this little boat provides here! – and cleaned it all away again. After sucking out the last remainders of the hornet´s nest I took out rests of Silicon and other stuff deep down in the drainage left over by the pre-owners and vacuumed it again. Then I decided to have the chain locker sanded (yes, there it starts again) and primed the whole internal of the locker with Epoxy. Time to move on.

In my stock of paints and varnishes I was lucky to finding another unopened can of Pre-Kote primer which had served me very well during my refit-efforts of the bilge and the interior of the boat which I had sanded down, primed and re-painted in white all over the place two years ago. As the anchor chain locker is a place of constant dampness and partial flooding I wanted to have this place done as watertight as it can be made – that is why I added yet another layer of Epoxy before I began to paint the anchor chain locker with International Pre-Kote.

Repeating this procedure two times I had the whole compartment painted with three layers of priming and two layers of Epoxy which I found sufficient. In doing all this I was constantly thinking of how I could protect the freshly refurbished anchor chain locker from the aggressive heavy weight of the anchor chain itself so that the chain wouldn´t rub off the freshly applied layers – but I haven´t had the right idea until now. Time to move on.
Making a new gas bottle locker
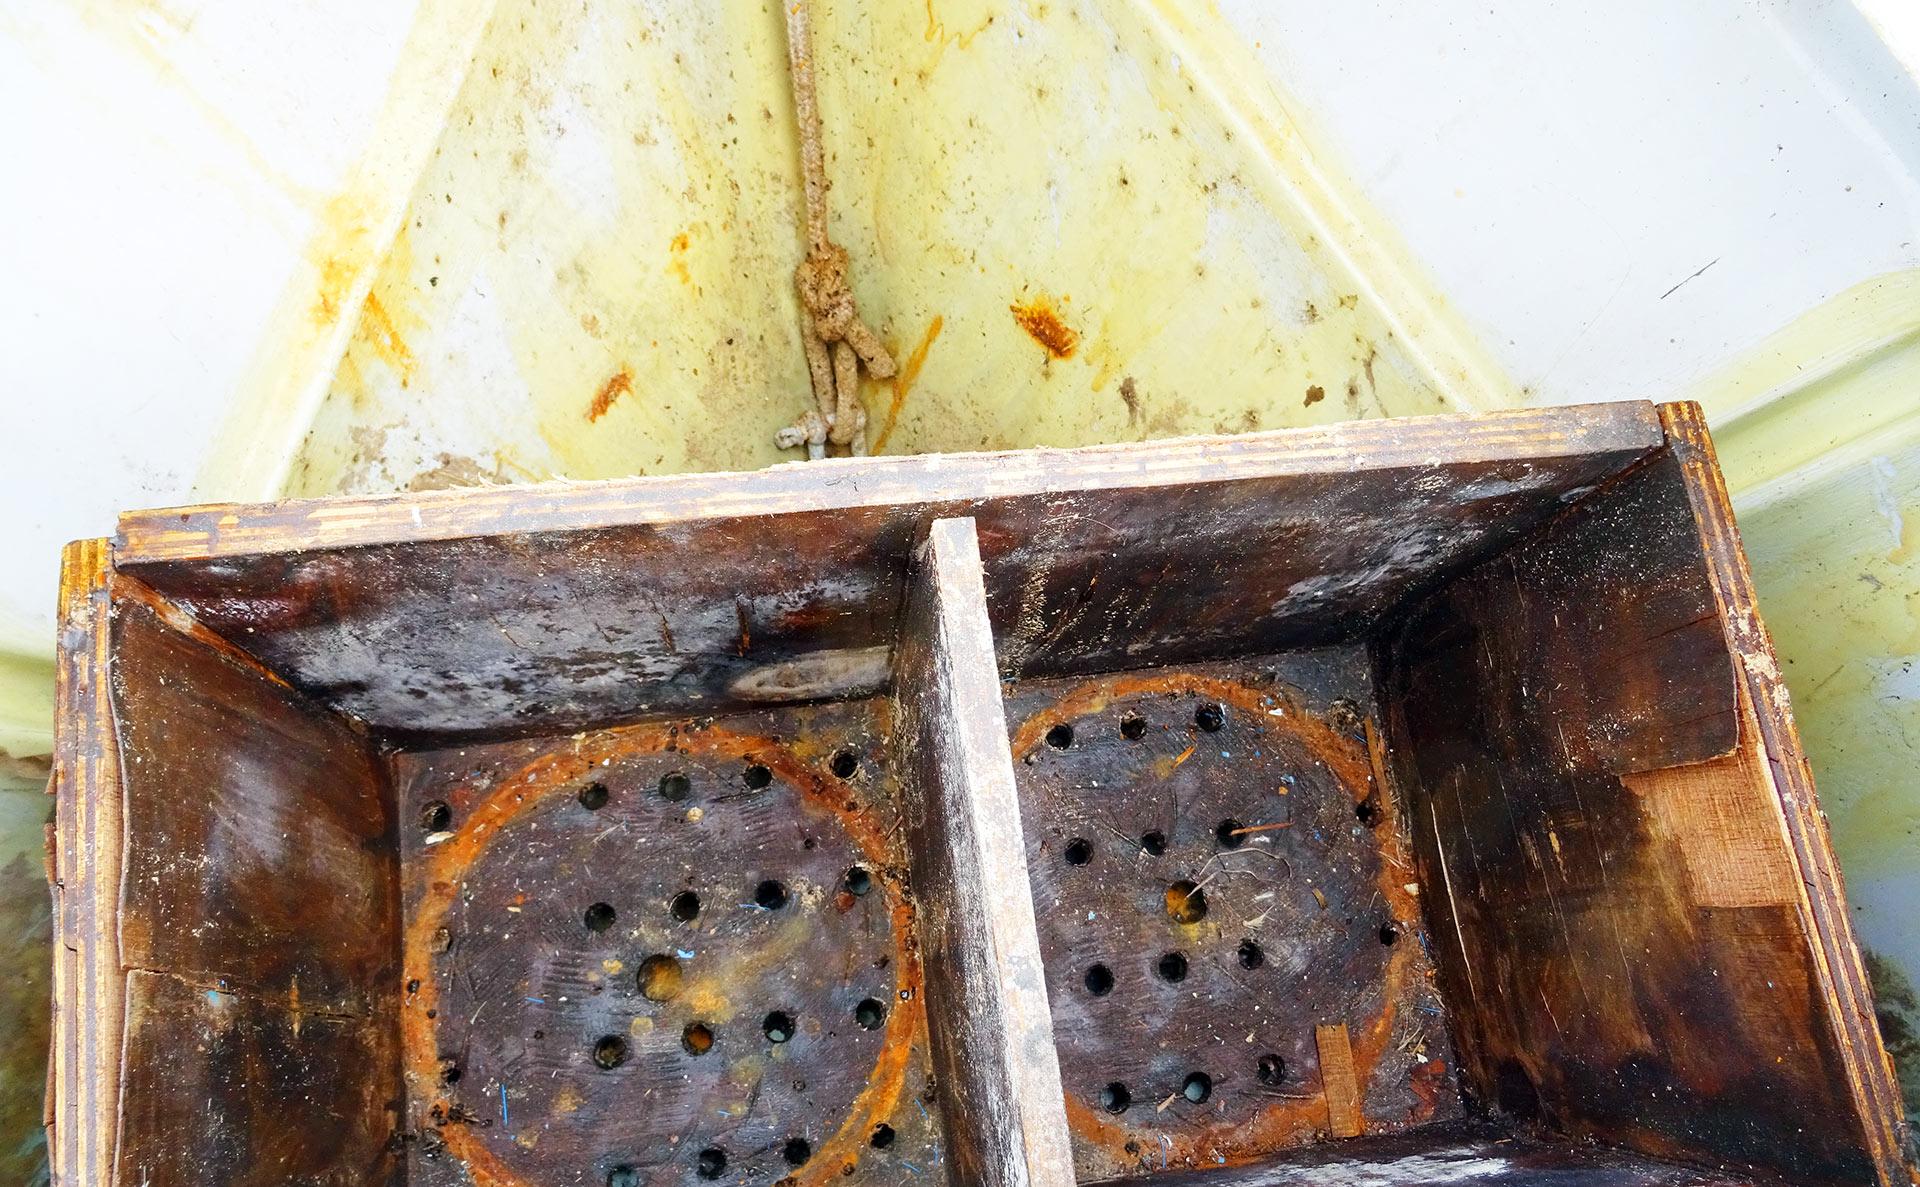
Oh dear, the gas bottle locker! As I took it out I realized that the wooden locker had been in a very, very poor condition. The wood was virtually rotting away, it had been dissolved most of the structure of the gas bottle locker so that it was clear in the very first moment that this thing was nothing more than a bunch of rotten waste. Once made from MDF-plywood reinforced with waterproof paint the power of constant dampness could clearly be seen: Upon applying pressure with my bare hands the wood was crumbling away to dust.

I used the old locker to take some measurements and disposed of it. Back from the home improvement store I brought some solid Beech tree plywood. I thought this might be the best compromise between weight and quality. Massive wood would have been far too heavy, plastic is something I deny to use wherever I can. Some sawing action later the five parts of the new chain locker had been ready for assembly: A big, easy puzzle for the craftsman.

As the gas bottle locker must as well be rigid enough to secure the fairly heavy gas bottles in the bow (where rocking action of the moving yacht are quite heavy) at the same time the locker must be made safe. That be some air ventilation holes in the bottom to have possible leaking gas sink down to the lowest part of the anchor chain locker where the ventilation to the outside is mounted. I also added some bigger ventilation holes at either side of the locker.

After mounting the new parts I was fairly happy with my work, the new gas bottle locker is just awesome! I again applied two thick layers of Epoxy to the plywood which was literally sucking in the resin. It hardened very fast and in doing so the plywood became waterproof. Now it was time for the last steps of this project to have the anchor chain locker refitted thoroughly.

The all new anchor chain locker of my King´s Cruiser
Again, thinking back of my efforts in refitting the old, filthy bilge of my King´s Cruiser 33 I had some very nice experience with International Danboline, a special purpose paint for wet places (like the bilge) and lucky me I still hade a full unopened can of this paint in stock. In fact it hadn´t been Danboline white which would have been my first choice but grey. Nevertheless I didn´t want to spend another 20 Euros or so for having this spot painted white so I painted the anchor chain locker in grey. With the gas bottle locker I did the same.
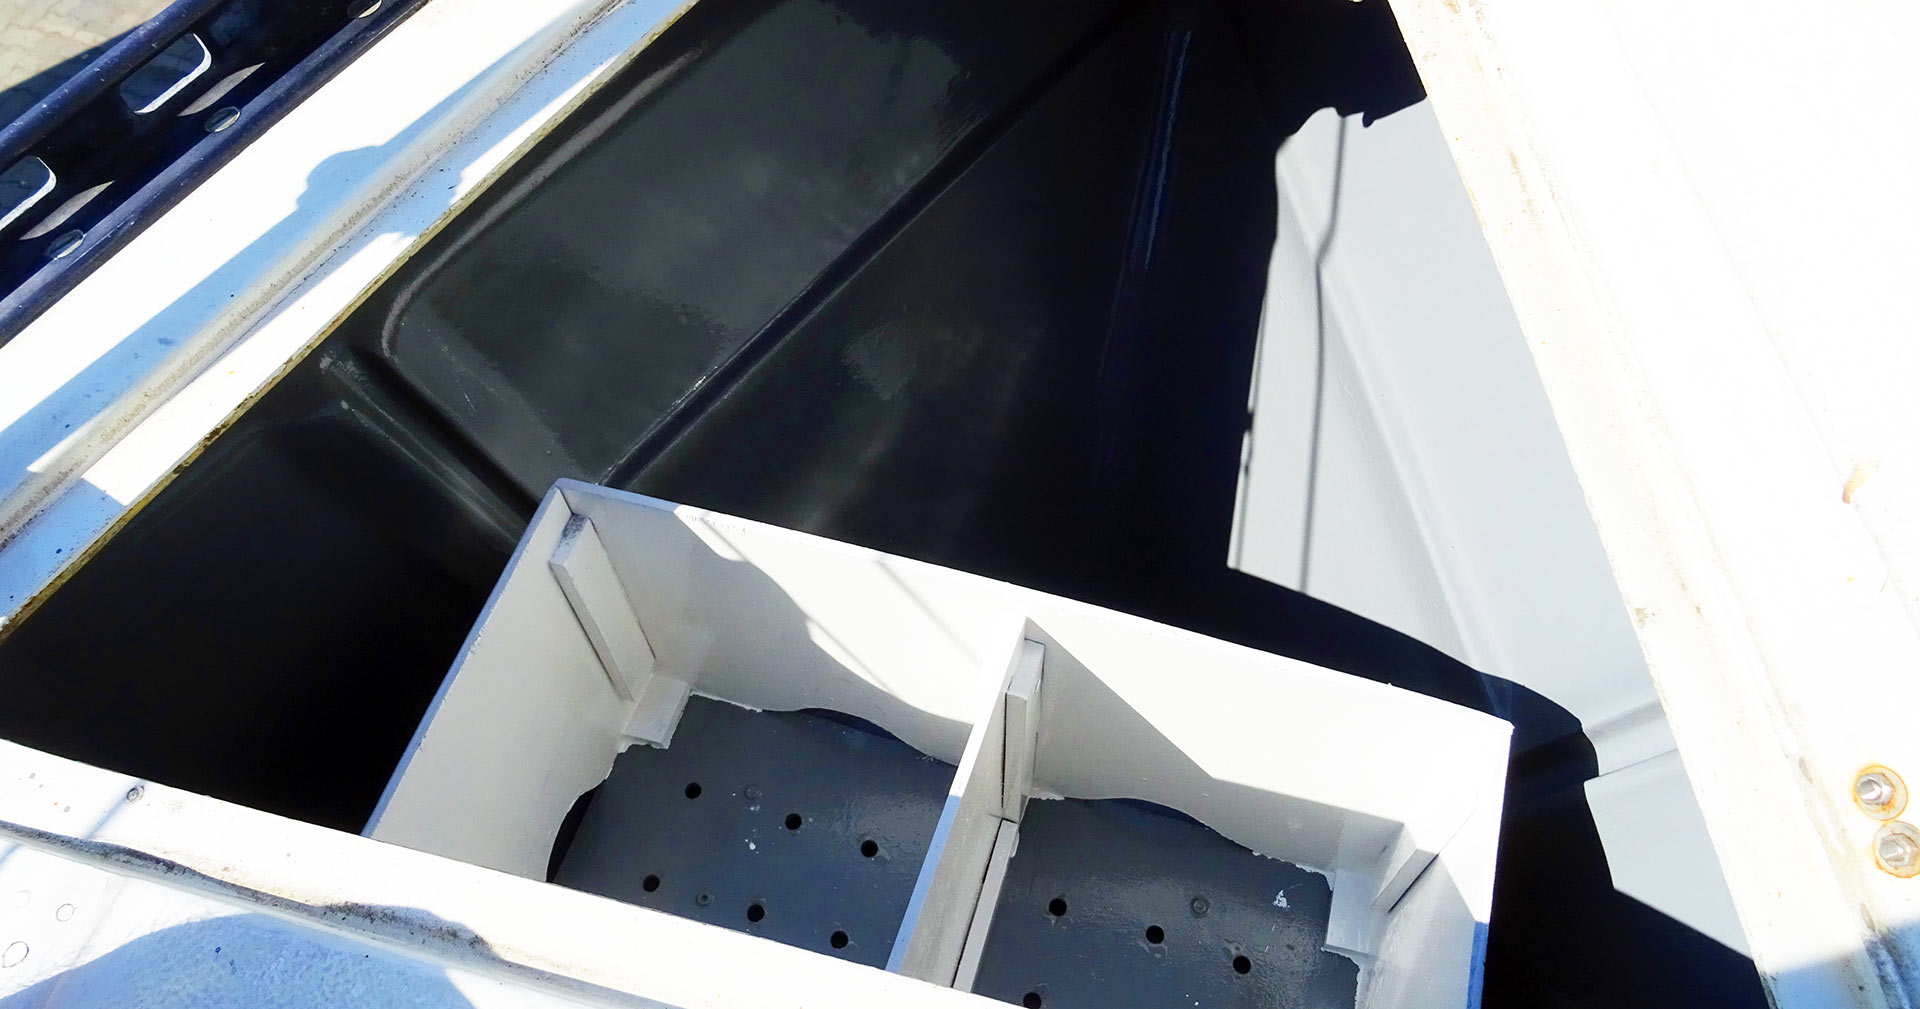
Some ordinary white varnish was then used to paint the sides of the gas bottle locker as well as to add a nice touch. I know that nobody will ever again take a look inside here but … well, I know that it is done quite nicely and this adds to the personal value of the boat. In the end, I have now completely refurbished the old anchor chain locker and this weekend´s work has paid off quite nicely indeed! Thinking back to where I started with the old locker, the newly painted is a very nice thing and boosted my pride for sure. Now I´m going to mount a new tubing and gas-valve and this item can be crossed off of my to-to-list.
Sailing yacht refit addict? Read here more:
Refurbishing an old filthy bilge: Parts 1, 2 and 3