Oh yes, it was about time indeed! My boat, the 1975 built King´s Cruiser 33 had been recently moved from her dry land berth near Hamburg to her new home port of Neustadt – so to speak, from the North Sea to the Baltic Sea – read about this yacht transport here. But before my yacht was going to reach her new home I decided to dress her up a bit to appear fit for this worthy occasion: Time for spring cleaning!
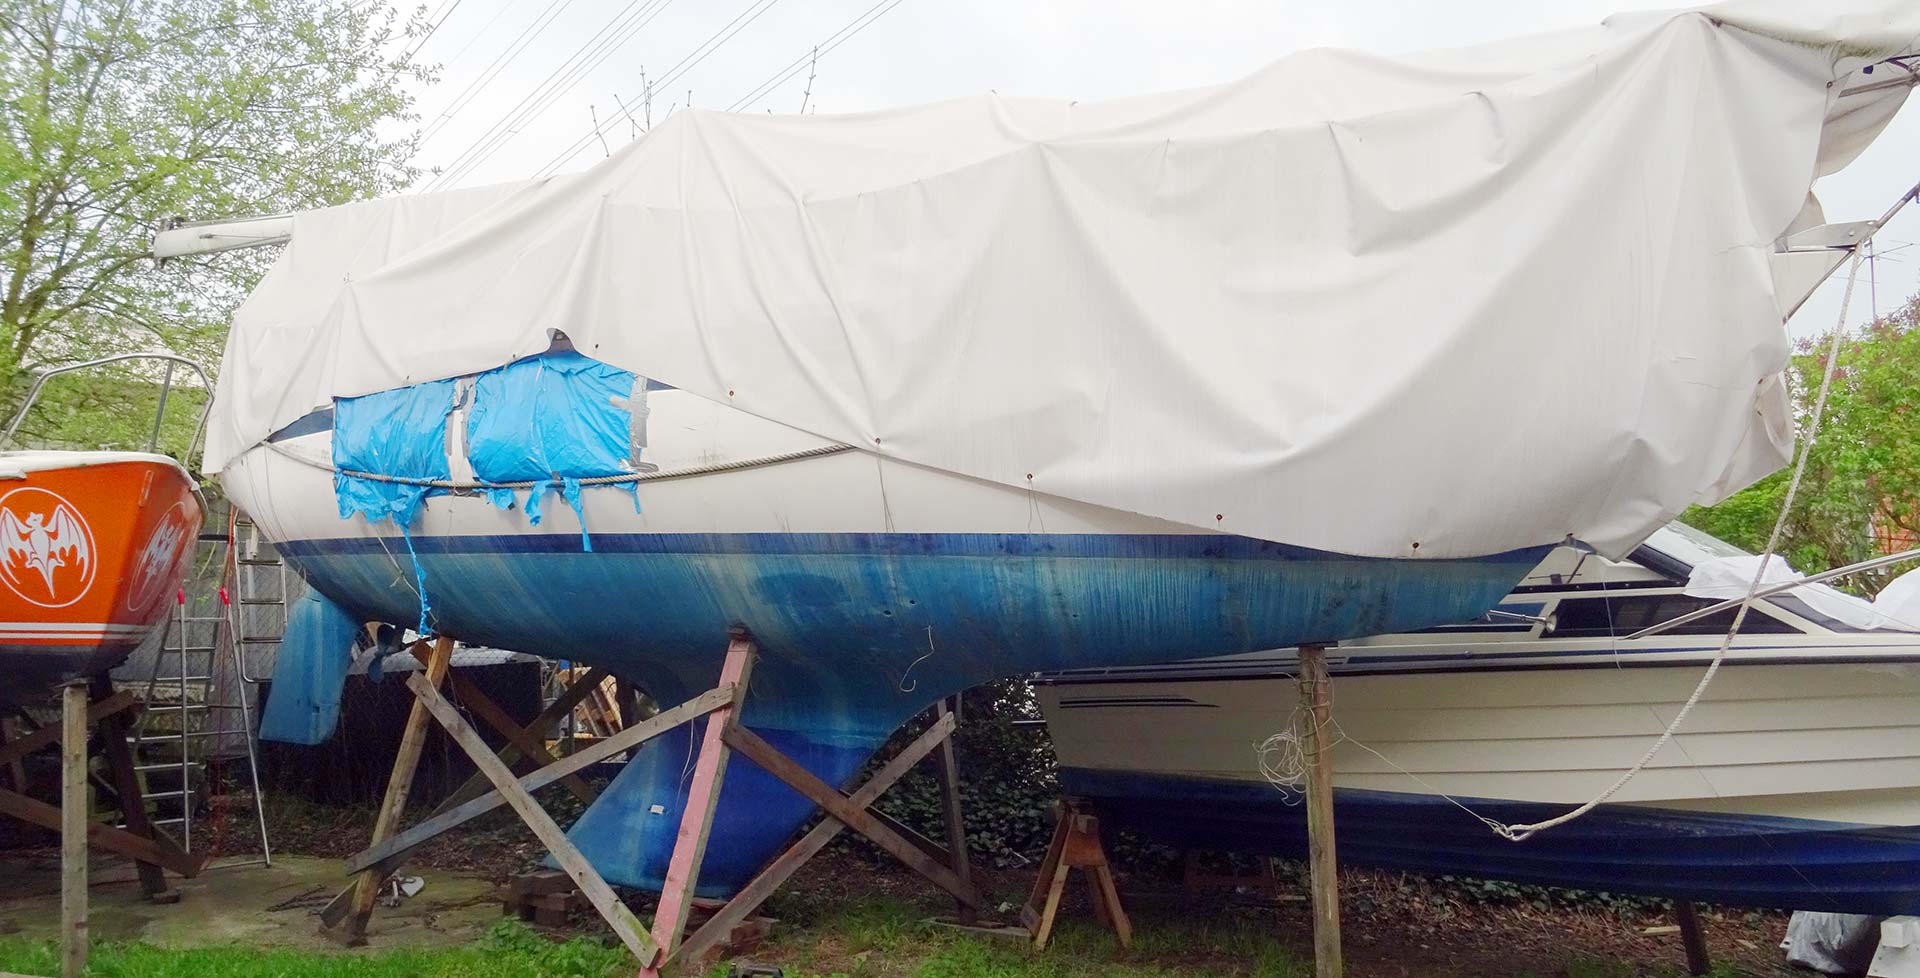
The boat has been put under her tarpaulin by the end of the year 2015 and this tarp had not been removed since then. It was keeping most of the bad weather elements and of course the UV-rays of the sun away from her, but this medal has a second side: It also kept stuff inside that otherwise should have left the boat. I am talking of all the dirt and dust of some 2 years of continuous refit action. And boy, how awful did my proud boat look!
Yacht Refit produces a load full of dirt

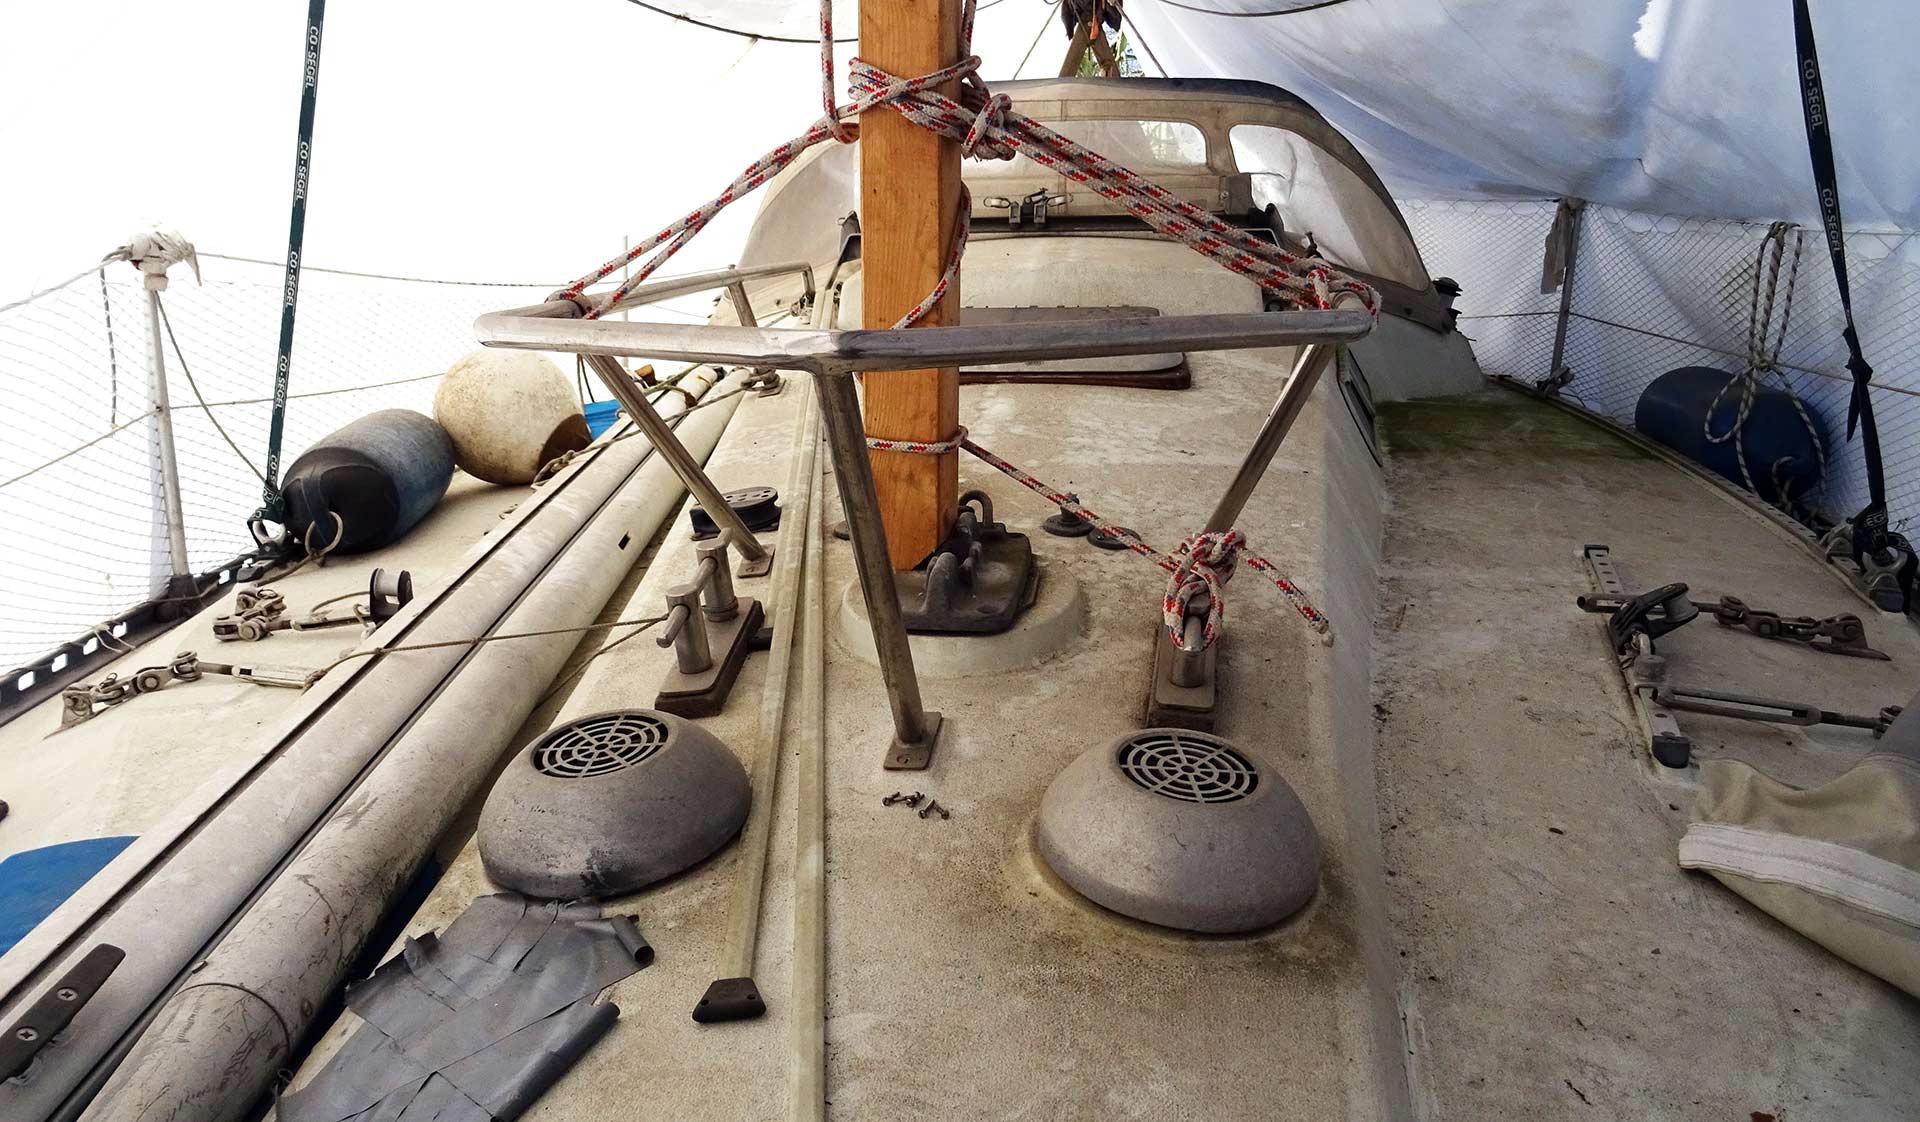
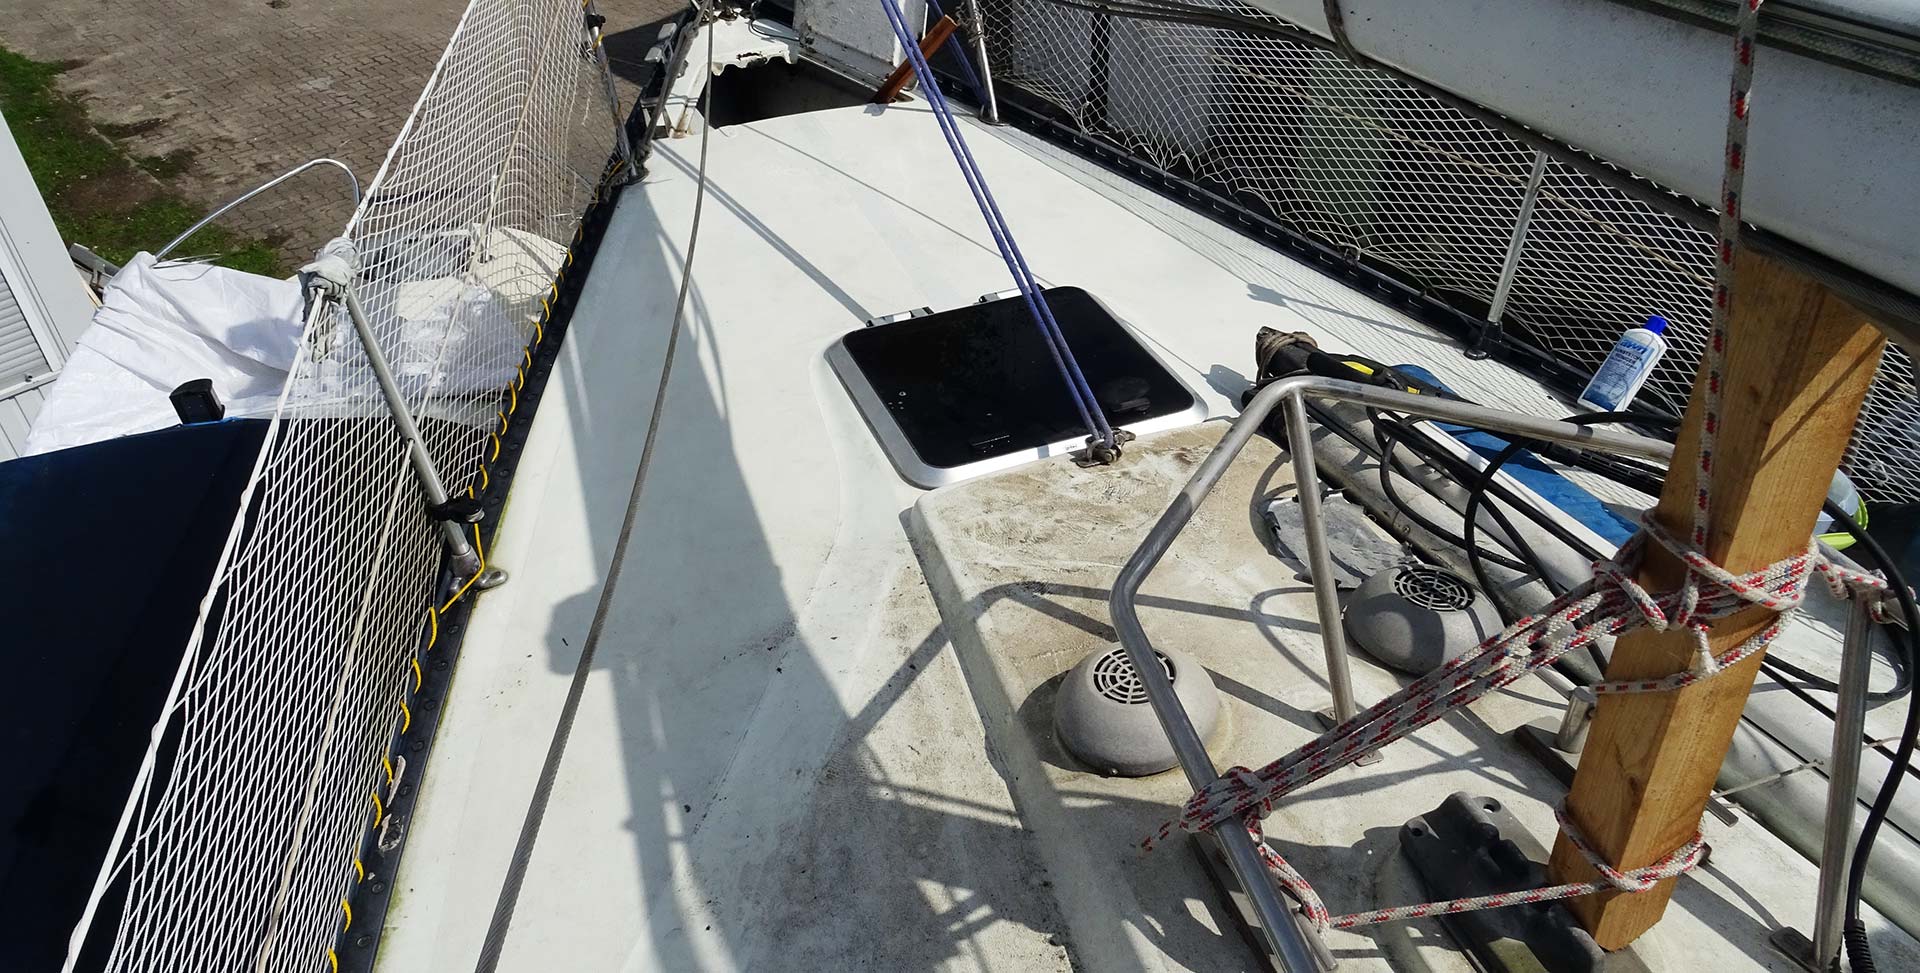
You see, most of the time when I enter the boat I come up over the ladder, keep my head down under the mast that has been put to rest on the pulpit at the front and a large wooden X at the rear, open the hatch and climb down the entryway. I never go on the deck and by no means enter the fore deck – what for? As I am doing just an interior refit, there is no need at all.
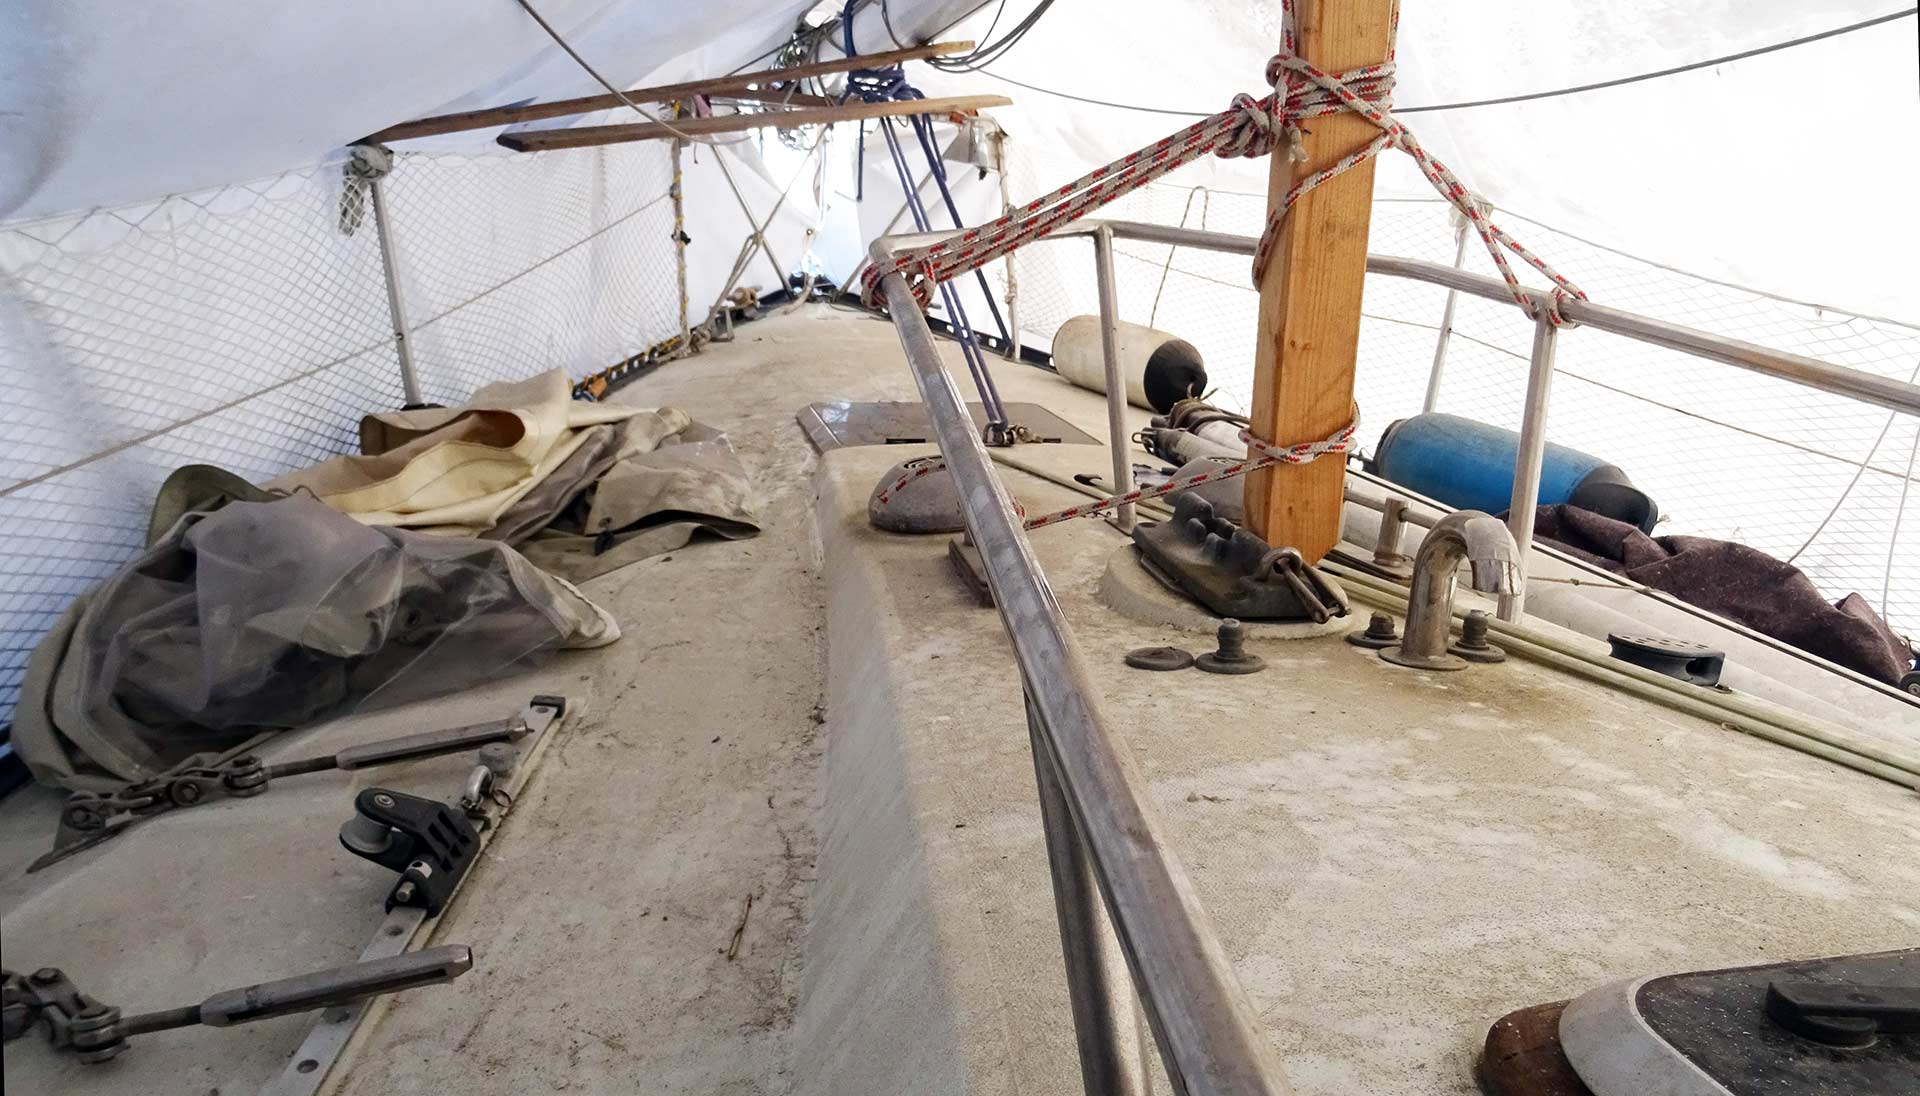
But the two years of constant sanding down GRP, sawing wooden timber and teak batten and sanding again all the nice things like the Teak panels or the nice Teak chart table produces such a load full of dirt and dust that it must have reached several kilograms by now. I do open the hatches to allow at least a whisper of “fresh” air to get into the boat, but naturally, under a large tarpaulin, there is hardly any airflow.
But what have been able to escape the boundaries of the internals of my yacht inevitably must be stopped by the large tarp and will eventually sink down onto the deck of my boat. And this is what the poor yacht was looking like after 2 years of refit: Like an old hulk, long left alone by it´s owners. The boat had made such a miserable impression on me that I couldn´t take it and – I admit – I found it embarrassing to have her moved to her new marina in such a terrible state.
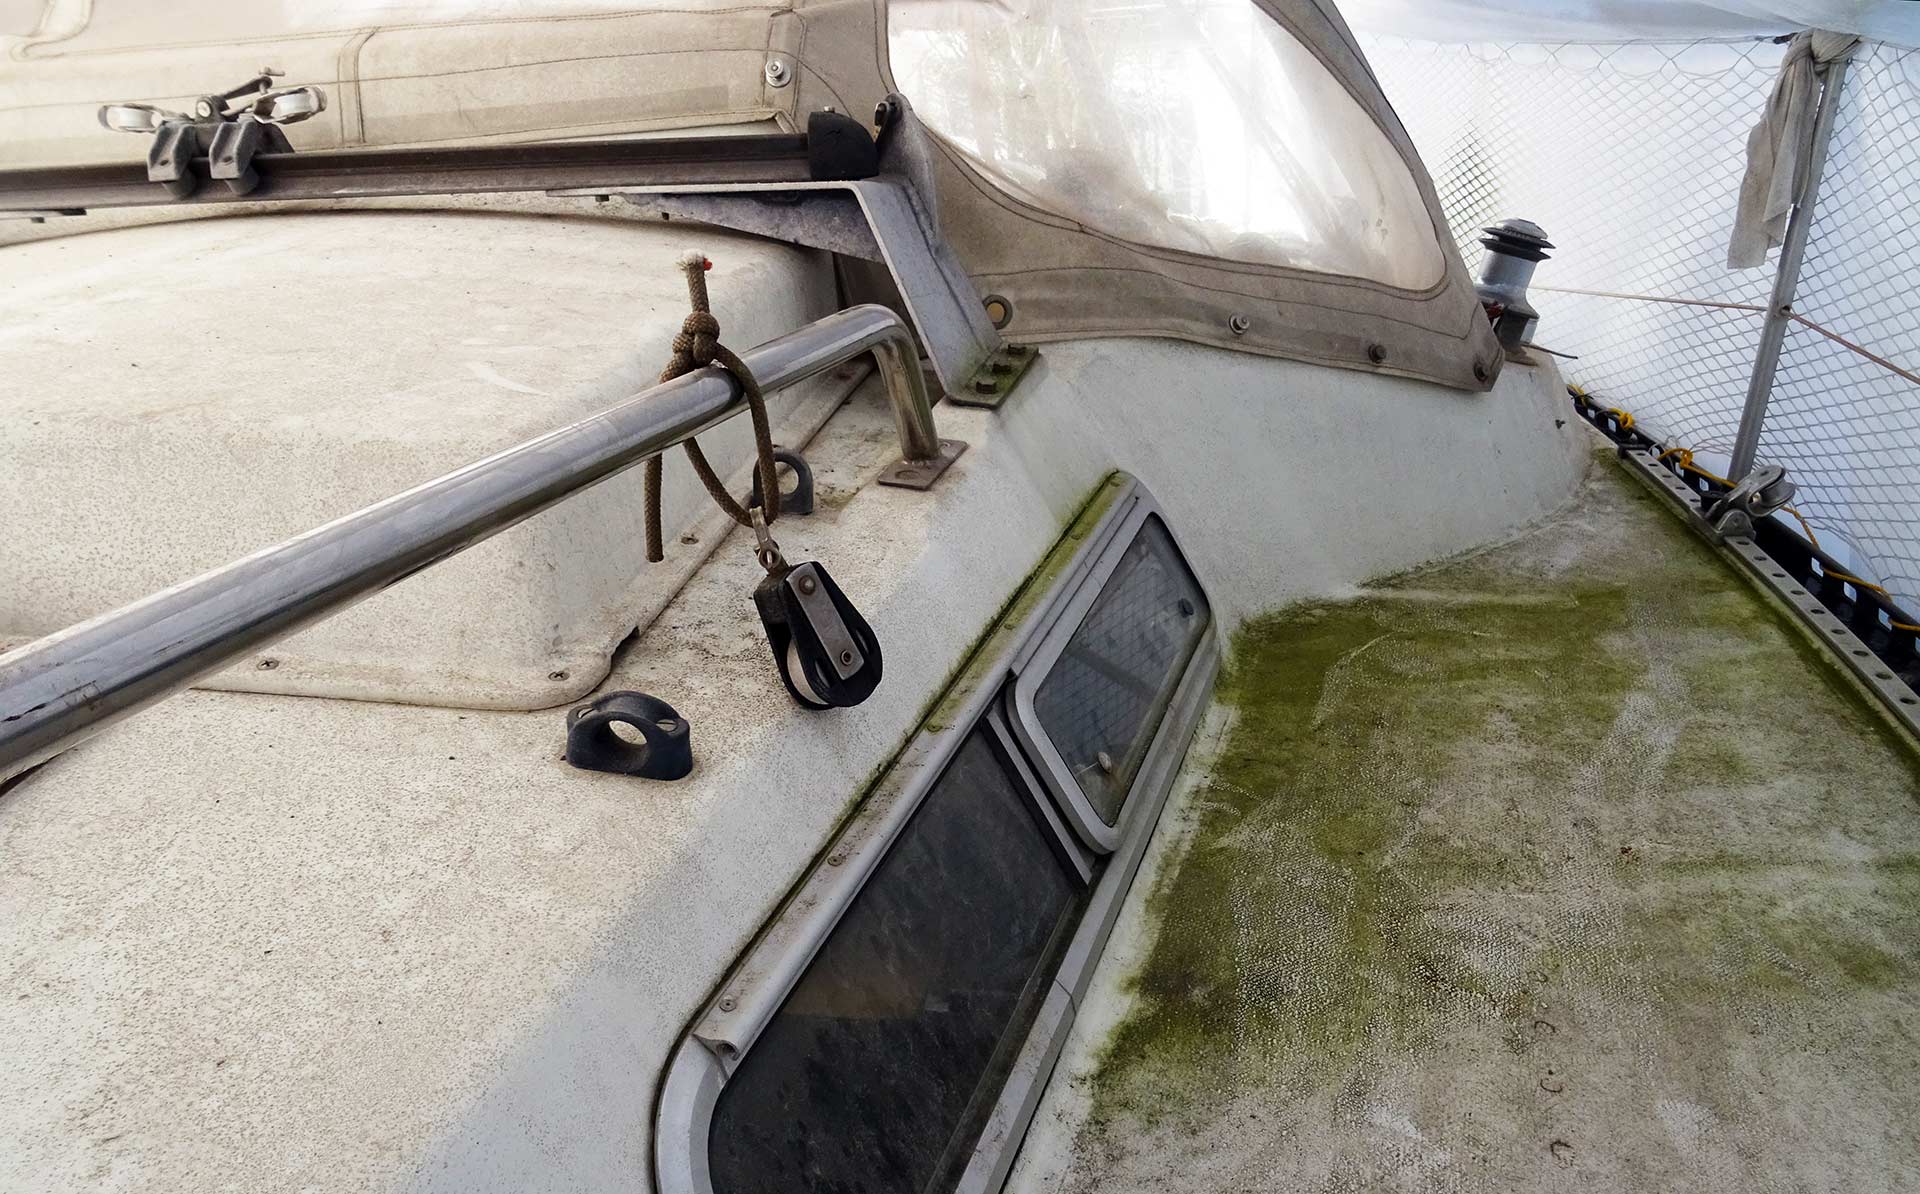
So I chose to clean her up. Not the full program as this will be done when the boat is finished and will be brought to water again, but at least I wanted to make her look pretty and clean so that she won´t make her new neighbors at the new marina wrinkle up their noses in disgust. Let´s go!, I thought and got some cleansing products, connected the hose to the tap and took a day off to try to bring my yacht a bit nearer to her old glory.
Gelcoat cleaner: Products to choose from
Back to the cleaning action. In the past I had made very good experiences with a GRP-cleaner from a company called awn, which is a big German marine stuff retailer (read about it here). So I got myself a nice palette of products which would make me able to get the boat clean and shiny again.
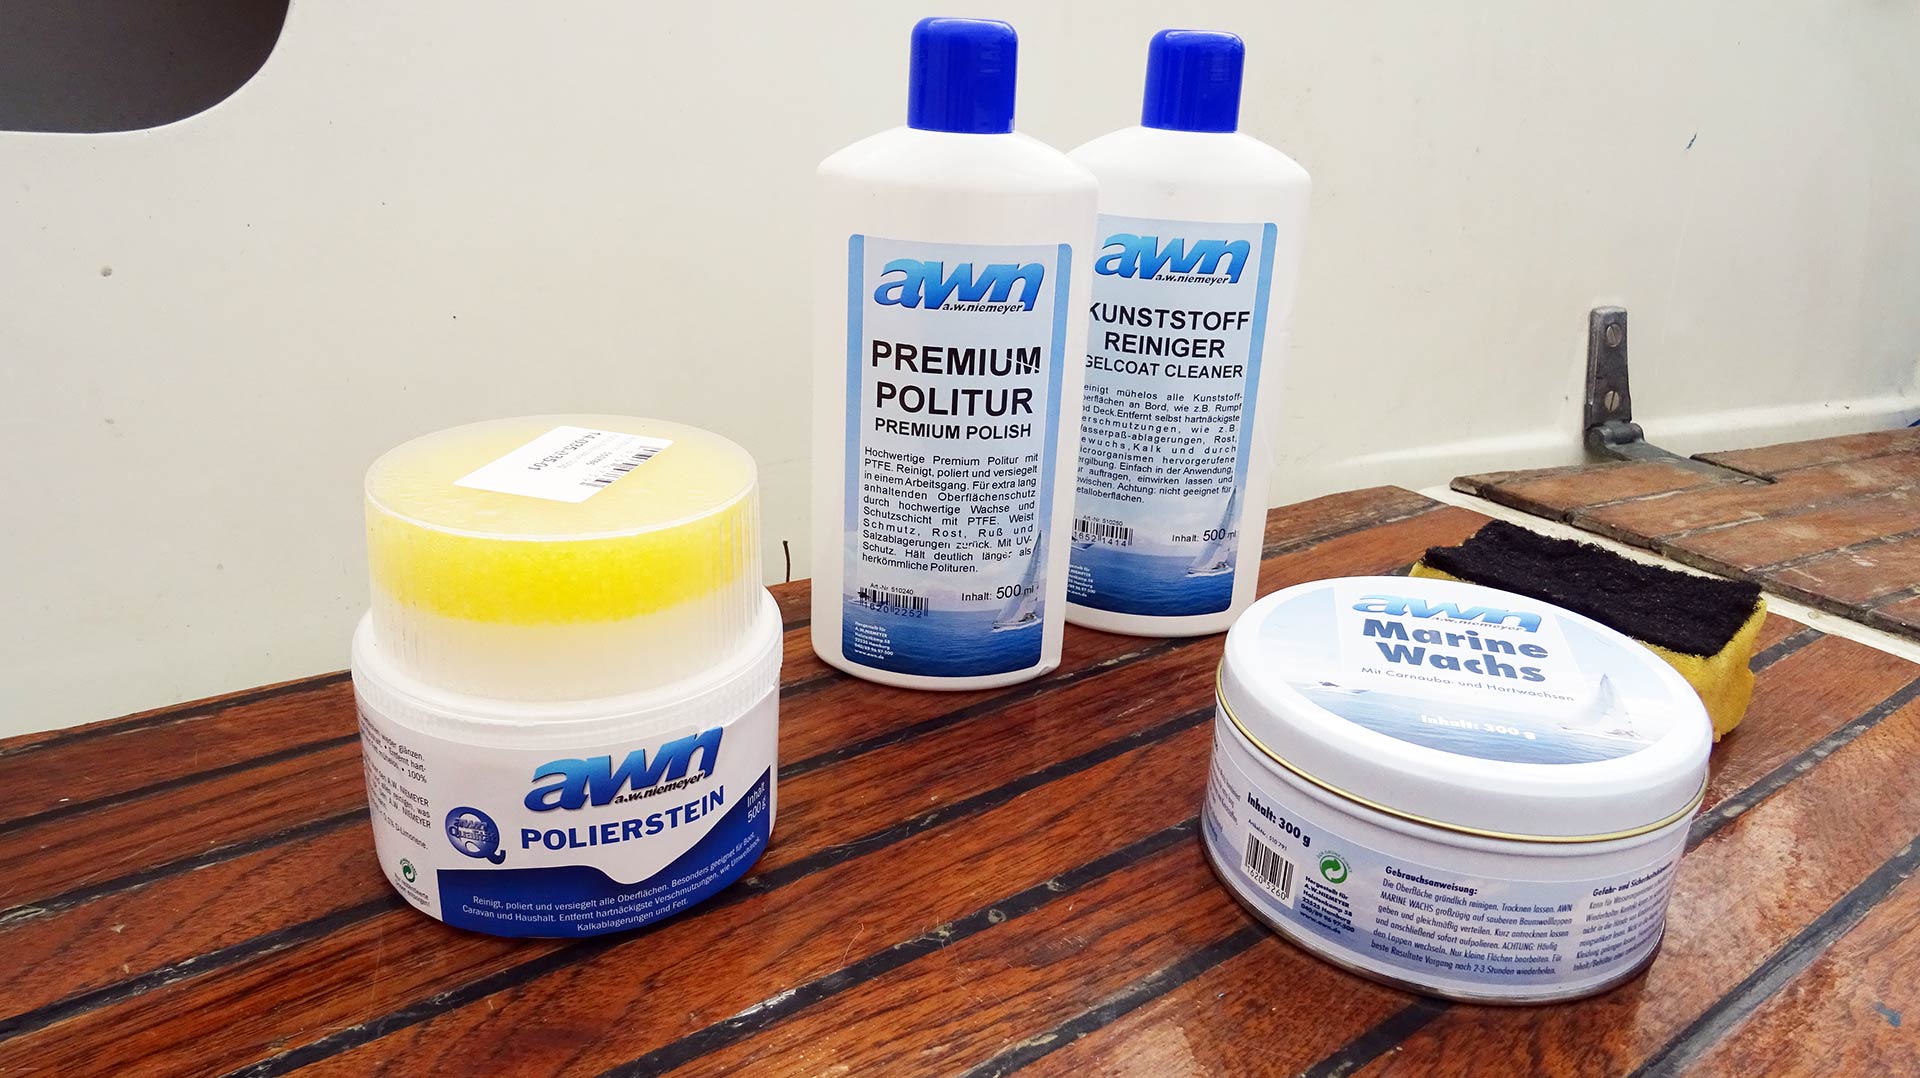
Other than the GRP-cleaner, of which I was using up no less than four bottles in the end to get the whole ship cleaned, I was happy to acquire a polish (as a two-step system), a detergent for the persistent stains and a wax for the last step, the finish of the boat. Clearly, getting her clean was my first task and so I went on to apply the stuff.
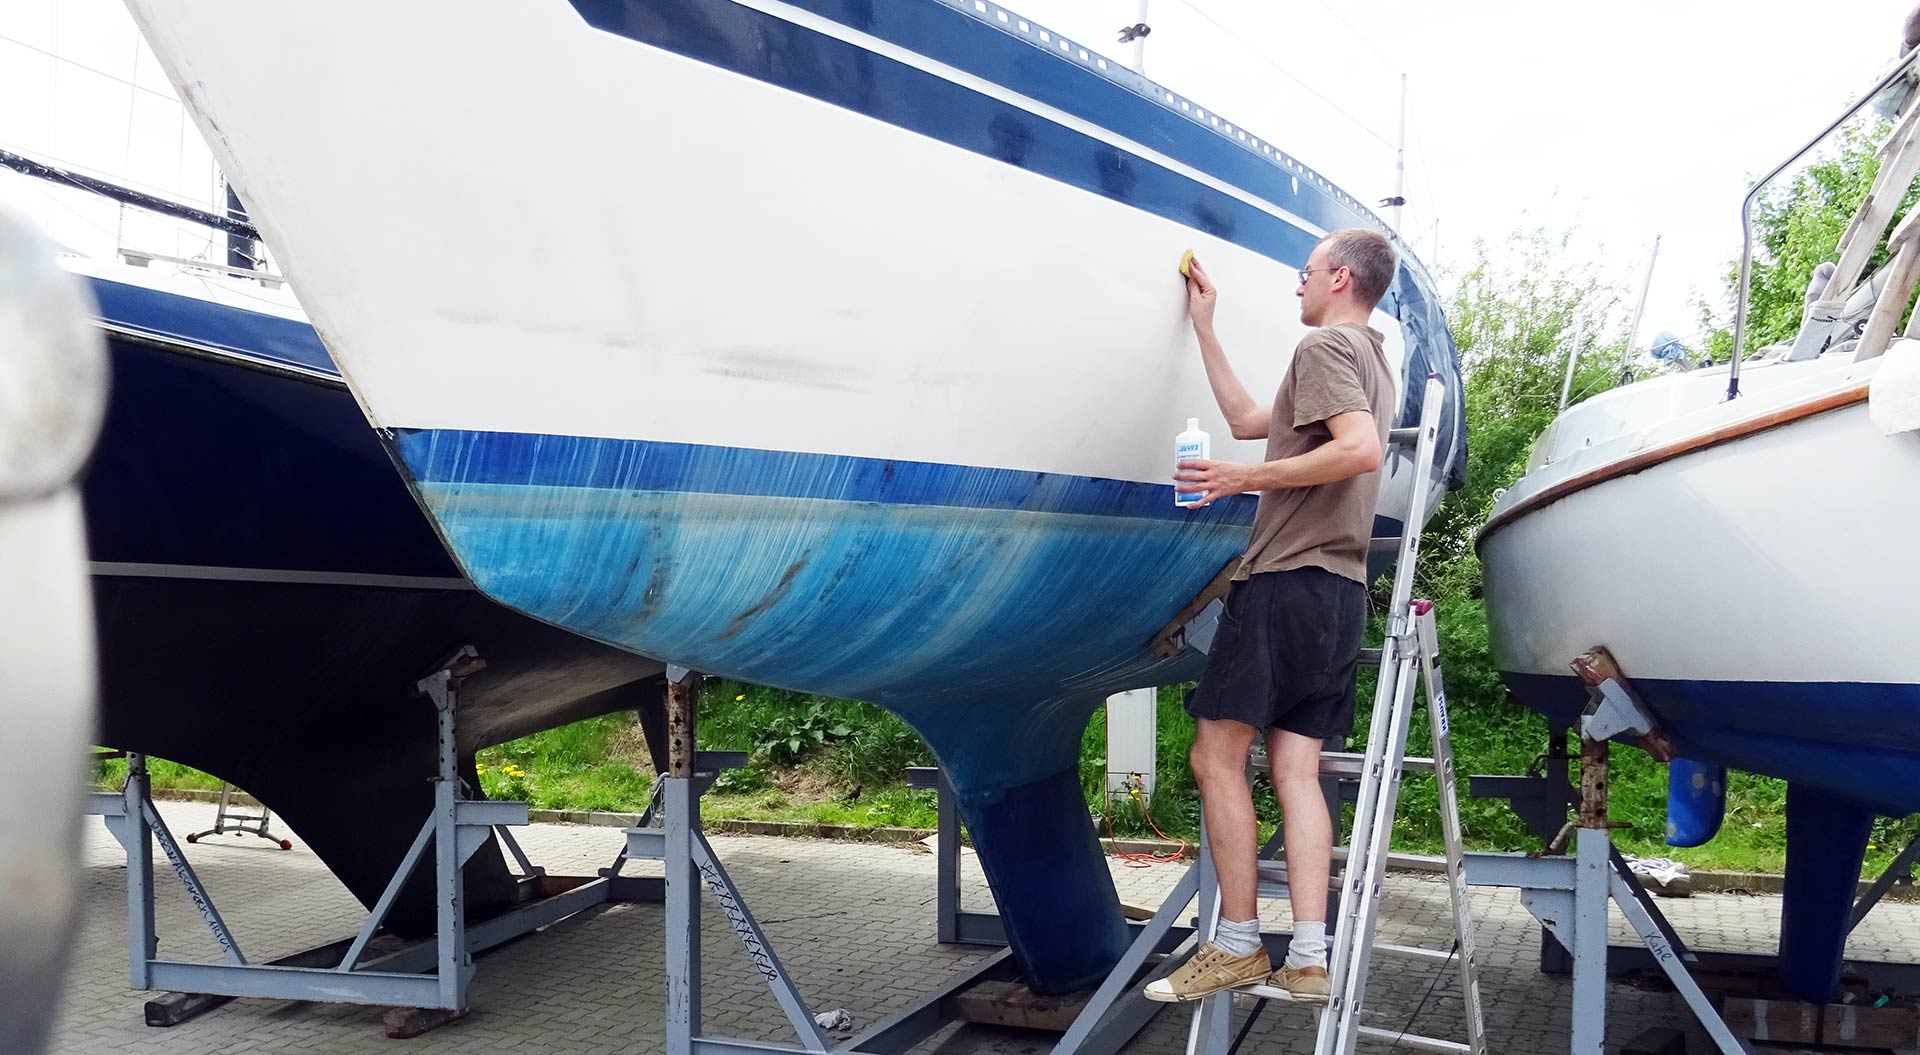
I can tell you, it works like nothing! I use a wet sponge – don´t get it soaken wet – and put the pure unthinned cleaner onto the GRP. It is pure magic! The cleaner will produce a little spume but not too much. I rubbed it a bit and gave the all too dirty spots a good scrub and then I washed it away with the pressurized water-gun. Perfect!
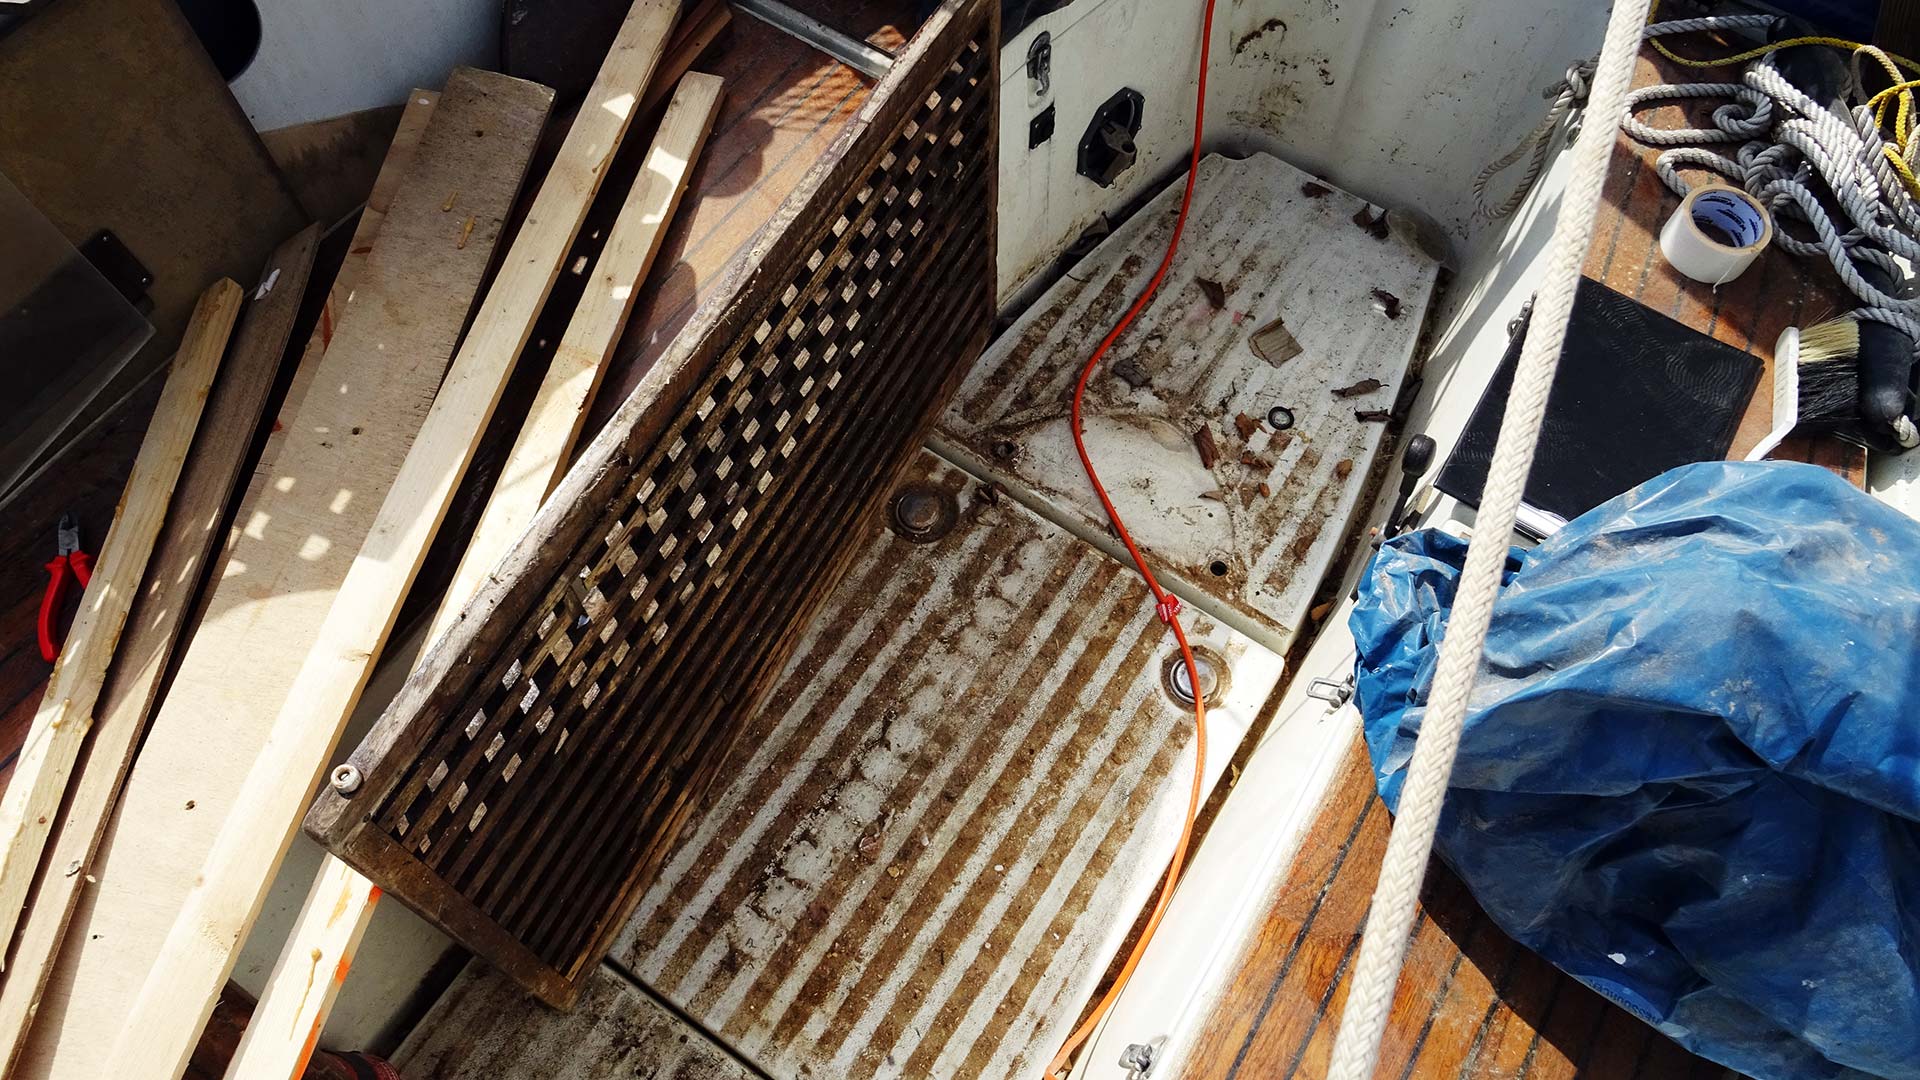
But, hell, it was a loadful of work! Just by raising the gratings (which of course will be refurbished completely as they are done by good craftsmen and are prettifying the cockpit so nicely) I witnessed a thick layer of dust, sanded Teak and dirt. The cleansing agent had to prove a lot today, but it worked just as fine as I had hoped!
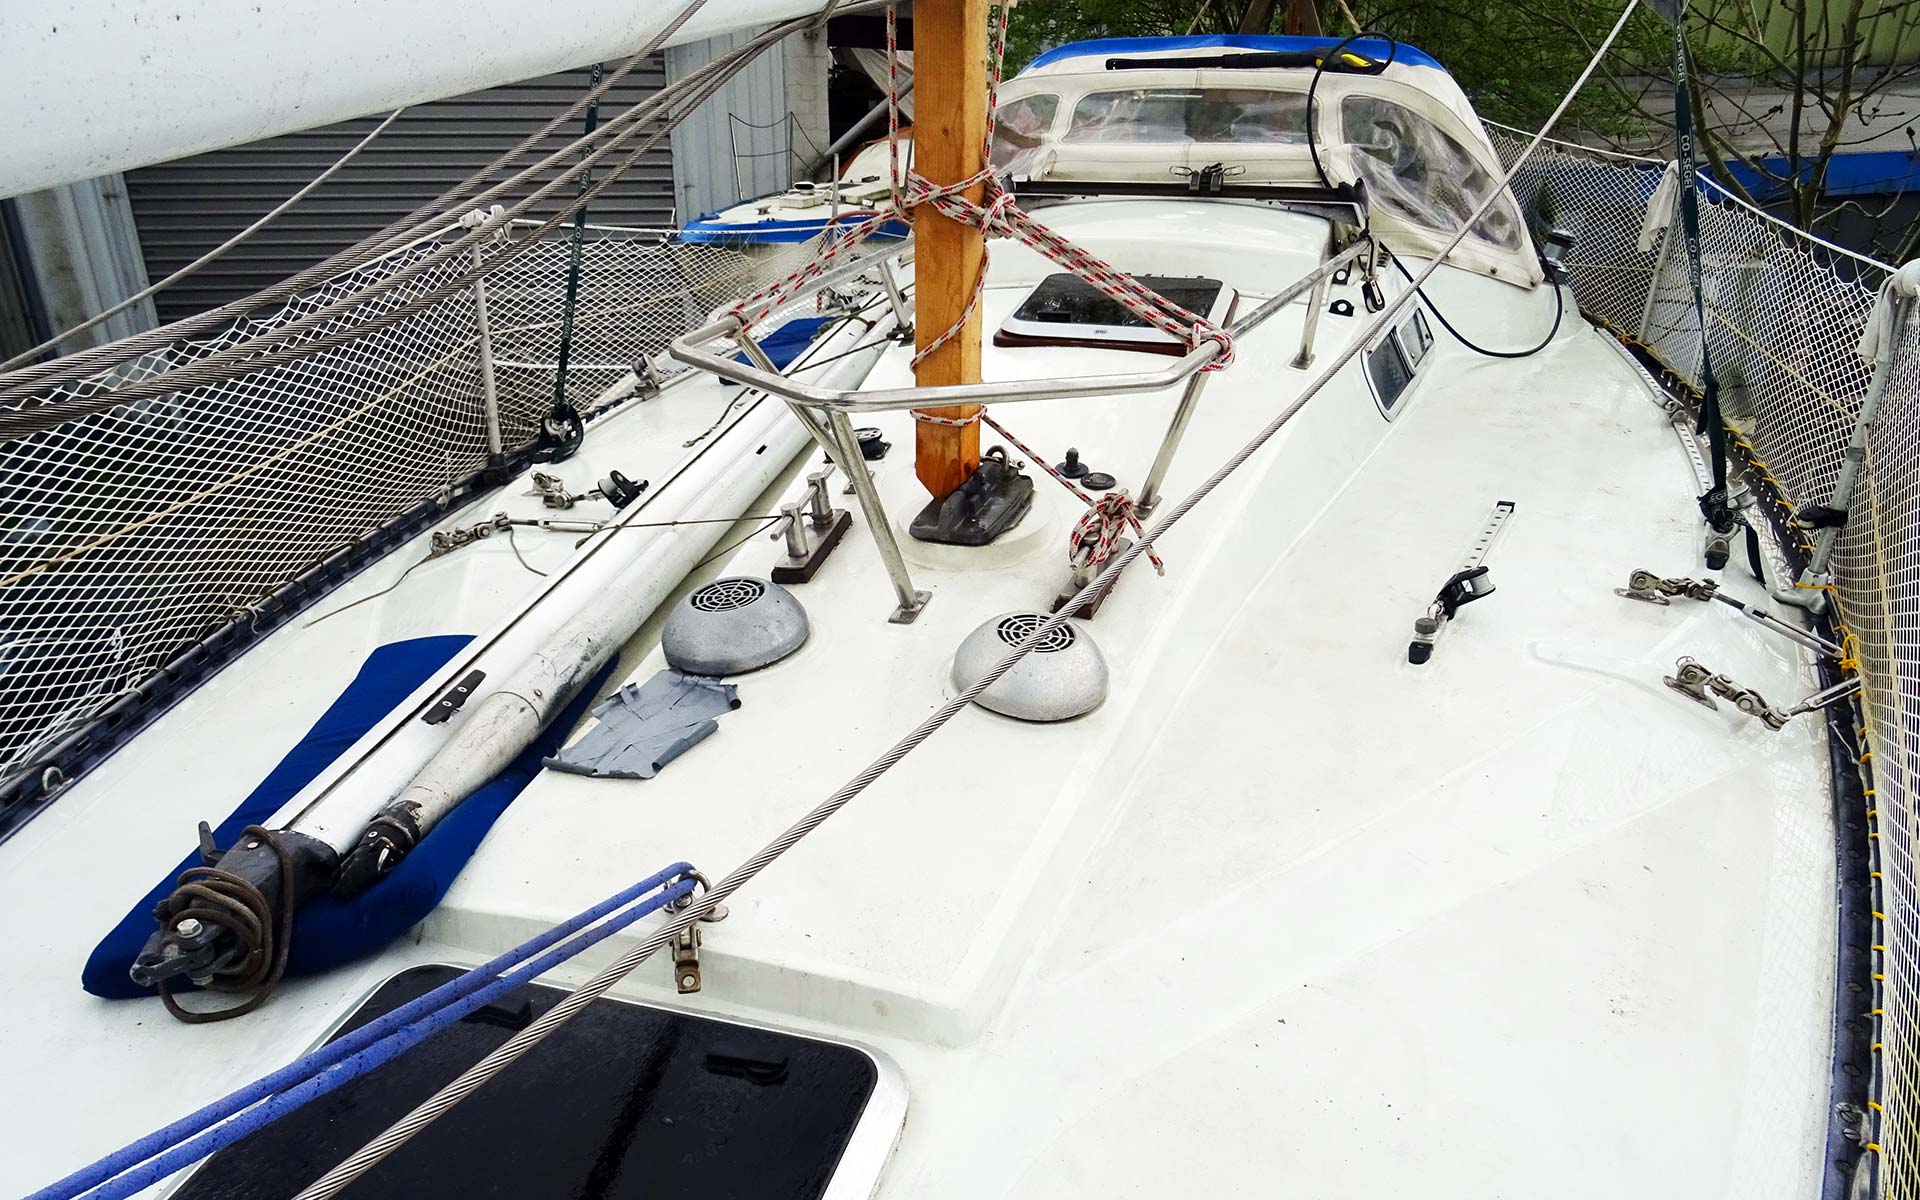
One hour later I stood on a deck that was so shiny white that I could not trust my eyes. Was this the dirty filthy hulk I was boarding just hours ago? Man, it was a boost for my ego and a nice reassurance that I indeed wasn´t just the owner of an old bucket but the happy sailor of a merry yacht for sure! Let´s go on and clean the hull!
GRP cleaner – before and after
It´s a mess, to be clear. It is a tedious and dirty work and it gets onto your arms. I wasn´t used to these constant rotating movements of my arm and soon the muscles got sour and a nice aching accompanied my current state of being. Nevertheless, what had begun must get brought to an end and so I was biting together my teeth and went on.

The stern section of the boat was a particularly dirty part of her hull and it´s a nice example of the effectiveness of the awn-GRP cleaner. Again, I applied the unthinned agent to the GRP and began to scrub off the dirt with an ordinary sponge, the ones we use to clean our dishes with. After doing so, a splash of fresh water will wash off the agent and the dirt – and a pure yacht white will re-appear.
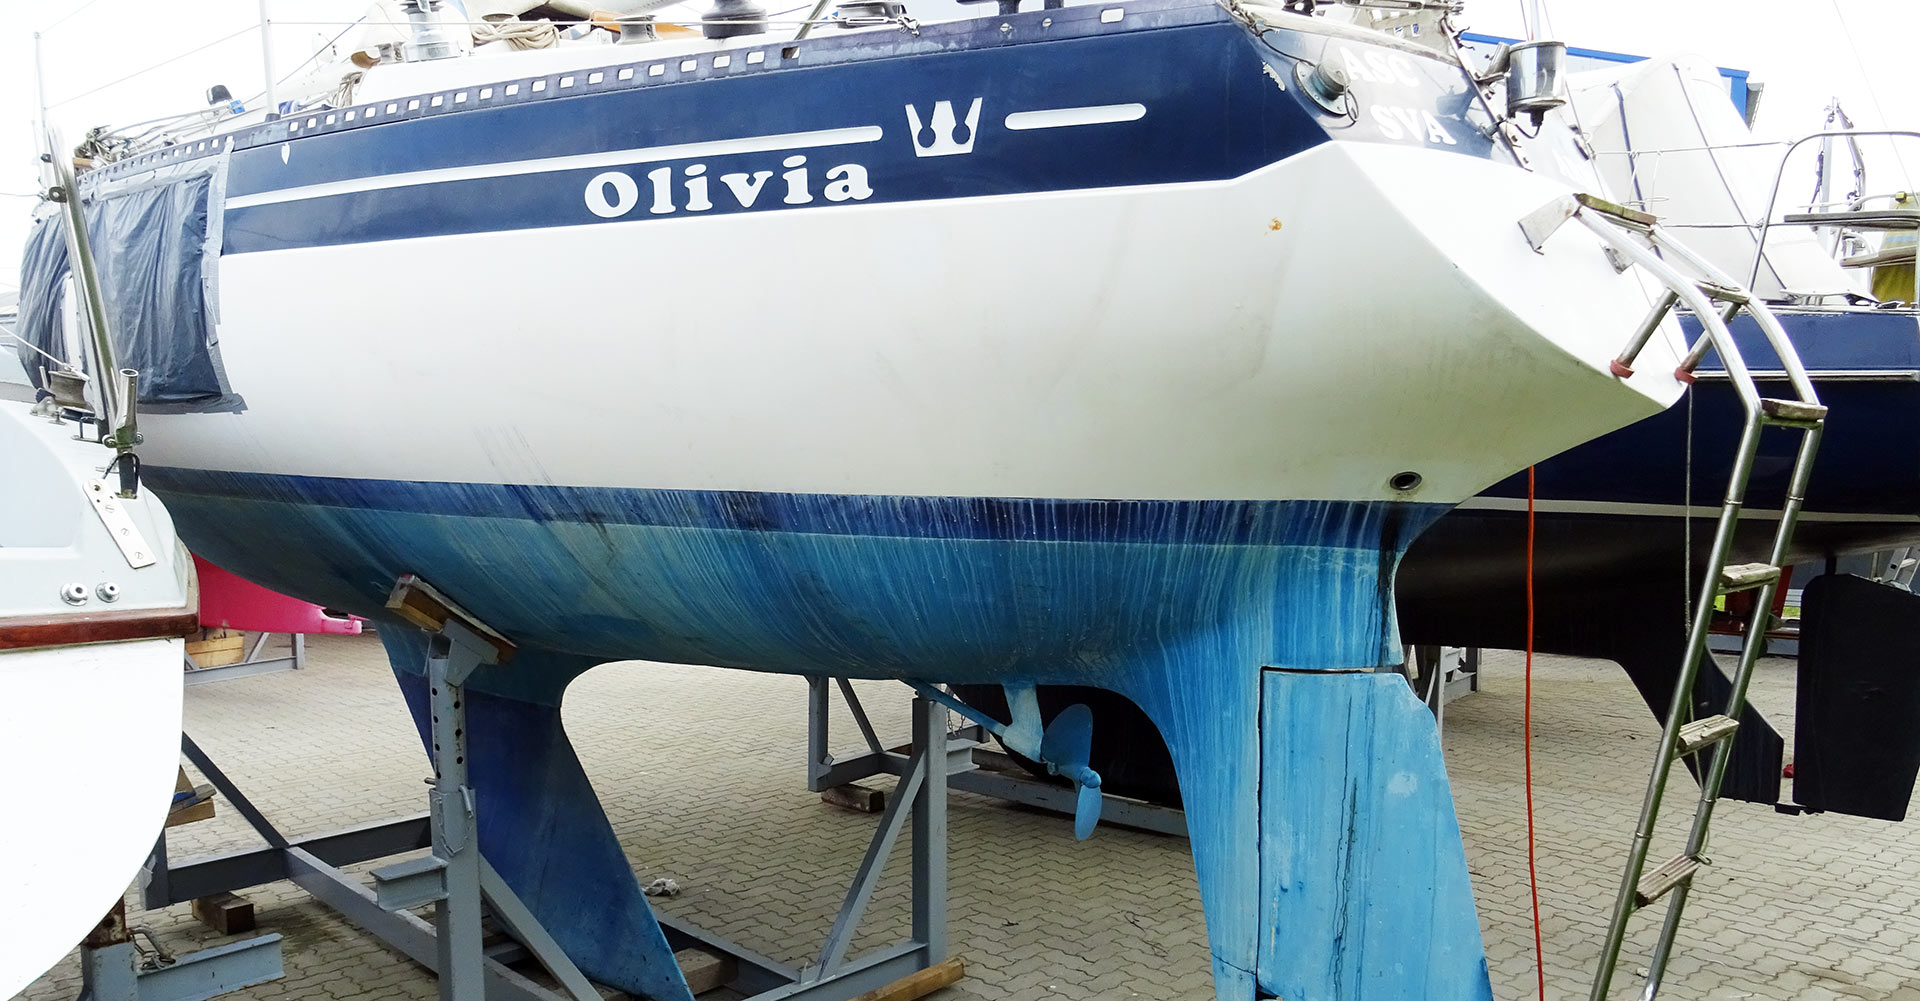
Of course, not all of the stains and dirty spots are to be removed by an ordinary sponge. I was firmly aware of the fact that this cleaning act now was just the foreplay to a much bigger project: For this I would need a polishing machine and one or two days of constant work more. Anyway, the achievement of my own hand´s work was quite satisfying and I could gladly let go my boat to be brought to her new berth on dry land.
How to polish a GRP yacht the right way
Arriving at the Baltic Sea I was informed that the delivery of the polishing machine was delayed and so at least I wanted to try out the “hard stuff” polishing agent. As I understand it, this is not just a detergent but a mere paste which contains tiny particles, like a scrub in a tub, which will sand off the dirt from the GRP in a matter of a fraction of a millimetre. No harm to the Gelcoat, of course.
You cannot do it properly by hand, I knew, but at least I wanted to try out these products and so I startet to polish a small section of the bow. And behold! It is working out just fine – even with the more than unappropriate rotation of my arm. I can´t hardly wait for the machine to arrive! Look at the yacht how clean she is!

GRP cleaner – what a nice surprise!
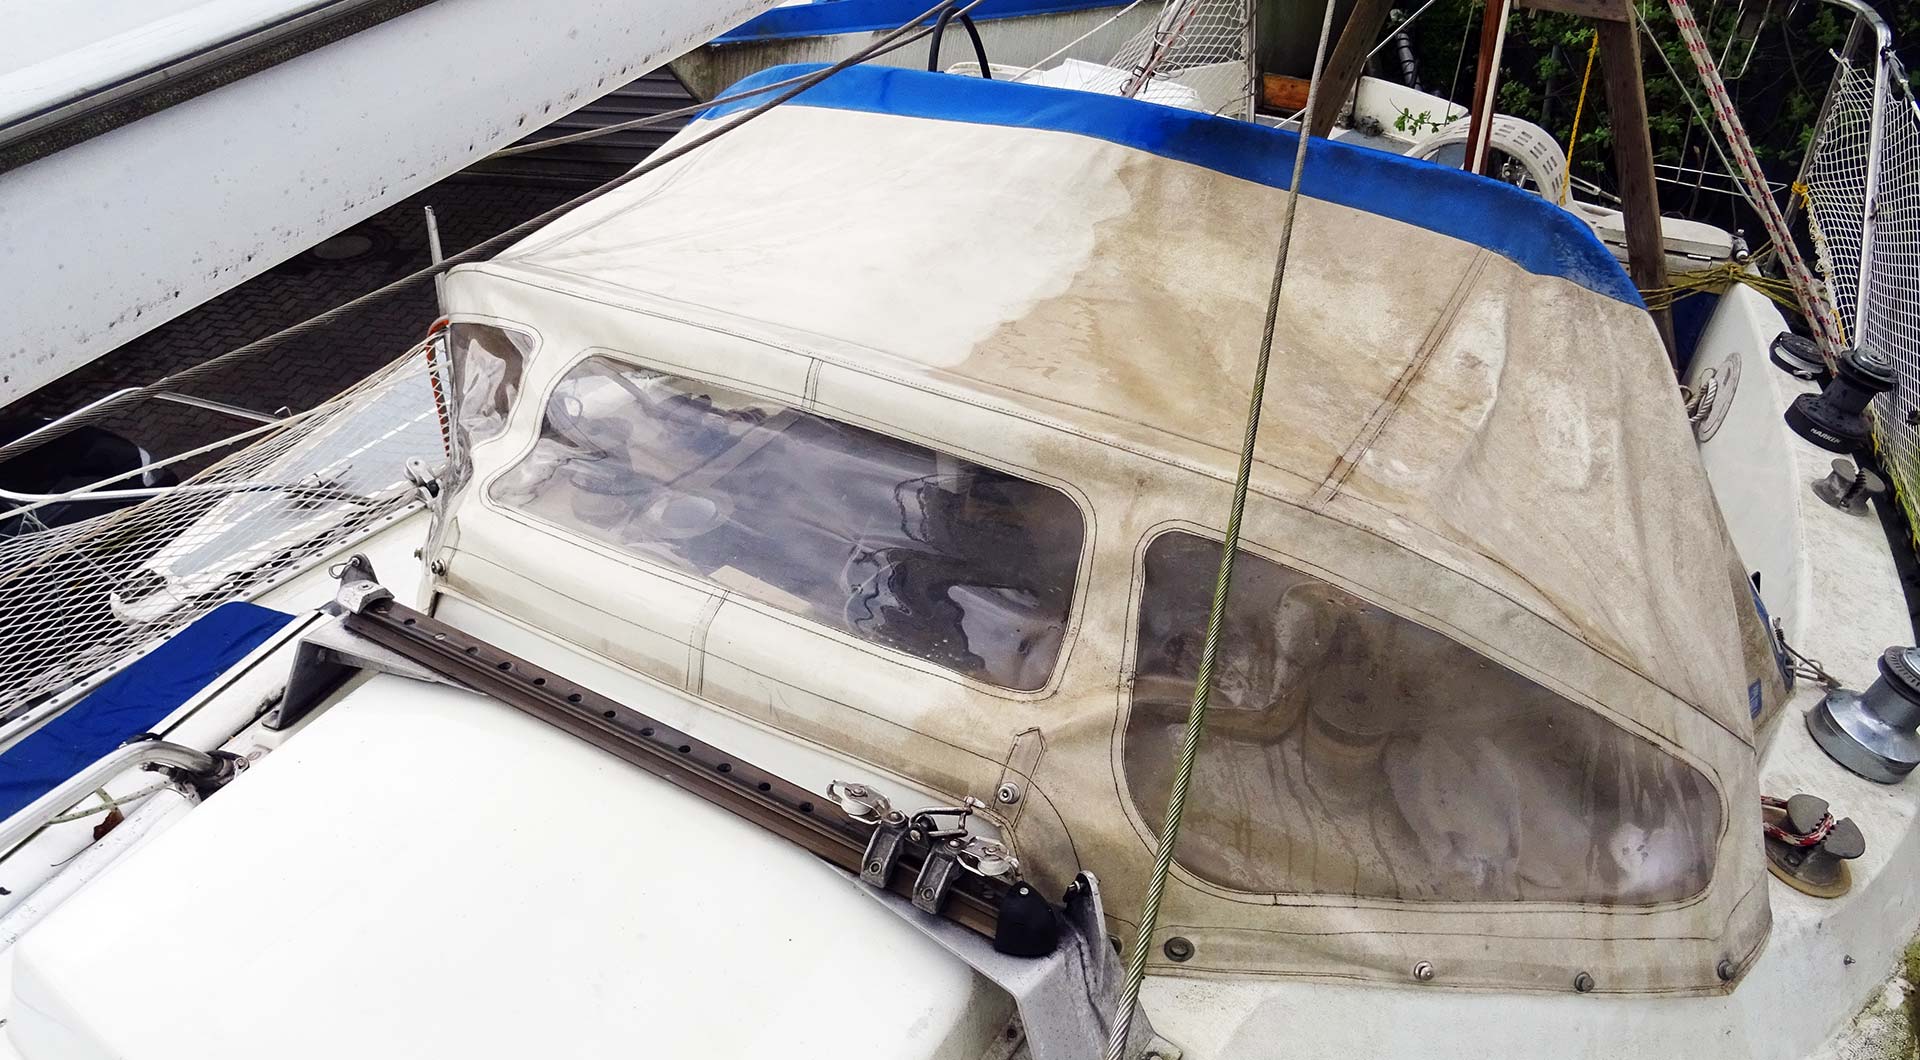
After doing the work I came here to do I did have some of the GRP-cleaner left over, but no dirty spots any more. I noticed the bad state in which the sprayhood appeared to be and – let´s give it a try, I thought, and applied the detergent to the leather of the sprayhood. Wow, what an effect! Halfway through the cleaning act I couldn´t find a word but just say “Wow!”
And so the spring cleaning of the SY OLIVIA took place two years after she left the water. There is plenty of work still ahead of course but the recent developments, all the progress made and the fact that my boat now is to be reached in 20 minutes rather than in 1.45 hours car drive makes me believe that I can speed up refurbishing and shrink overall refit time. Maybe … maybe … let´s hope, that OLIVIA will be back in the water by next year. I´ll do as much as I can!
You may also like to read:
Spring cleaning a yacht – inside
A DIY yacht´s tarpaulin as a low budget solution
Black hole yacht refit?