You may have read parts 1 and 2 on antifouling and have gained some insight in why to equip your boat with a high quality underwater hull-treatment: That is for preventing osmosis, although this is highly unlikely with vacuum-infused hull, secondly, you ought to have an antifouling product that is suitable for a) your type of boat and b) for the area you are sailing in.

Last week I pulled out GEKKO from her part-time-drystand in our showroom as one big step in the watering process of the boat was about to start: Working on her antifouling and underwater hull treatment. Originally I had volunteered to work on my boat with my own hands as well but my tight schedule prohibits this. At least I can take a look over the shoulders of my dear colleagues fulfilling this task.
Working to a hair: Waterline marking

First step when preparing your boat is the marking of the waterline. Many manufacturers of sailboats do deliver their yachts with clear waterline marks. With Beneteau these are usually small, very thing and barely acknowledgeable stripes which are made of Gelcoat every meter or so from bow to stern. That is not the case with my First 27 SE that does not come with any pre-marked signs. Which is understandable: The 27 is a thoroughbred racer and I know many racing skippers who do not have any underwaterhull-application at all to save weight and reduce drag.
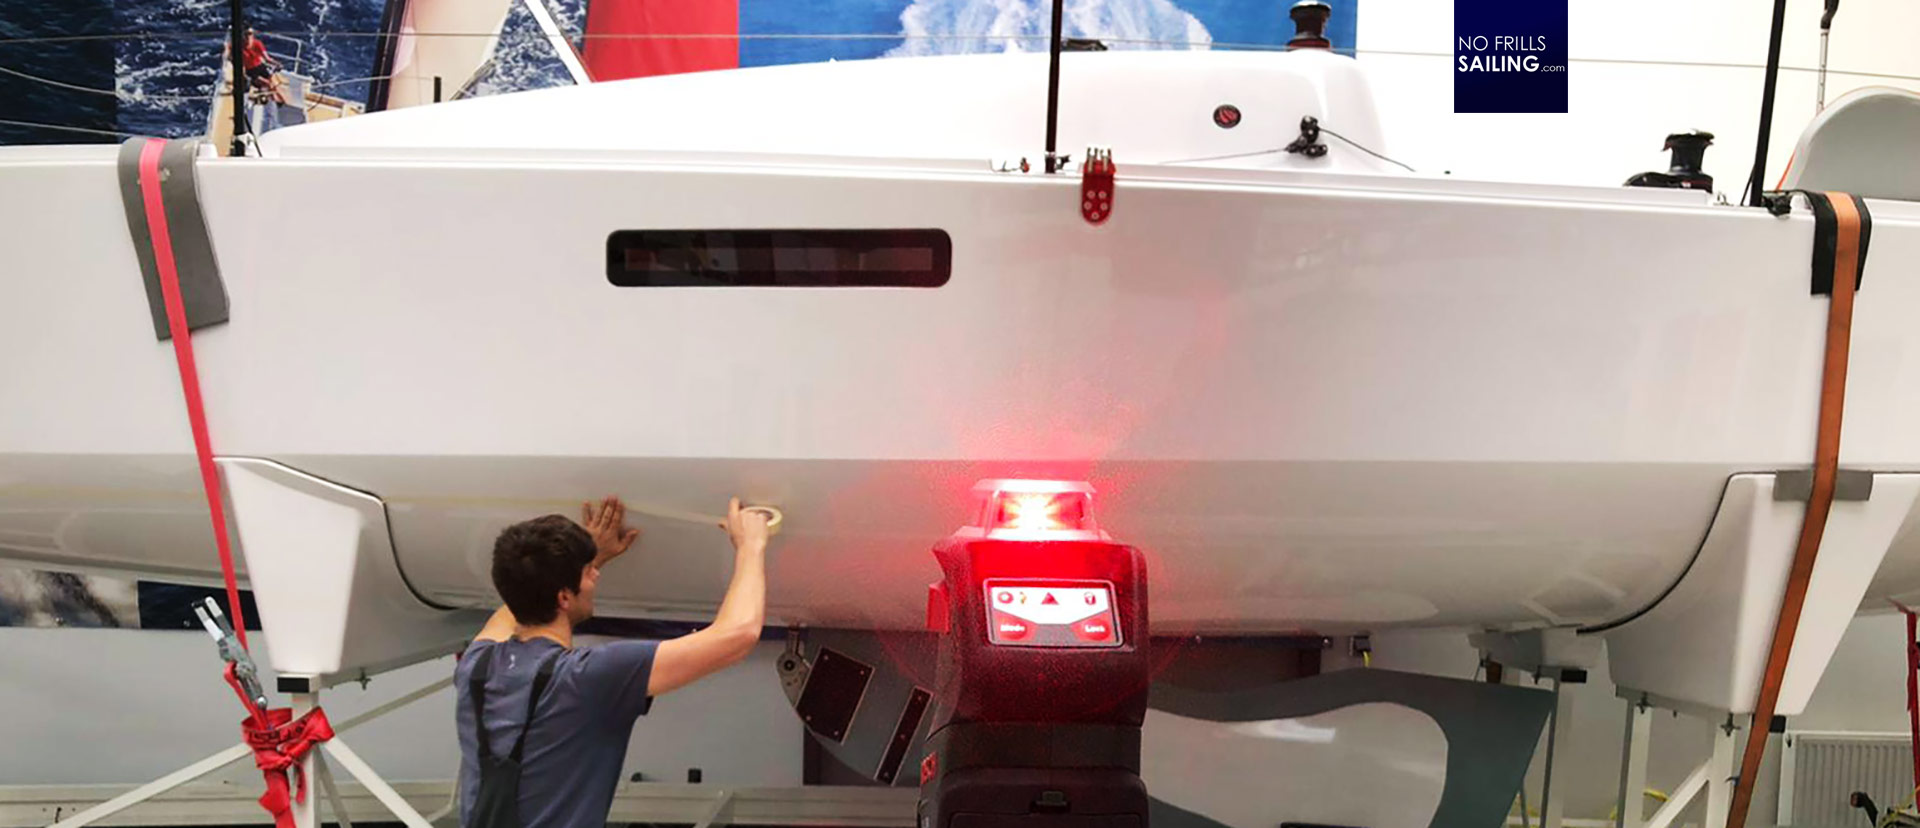
Well, my boat won´t be raced (as of now) and as such I need antifouling – so I need a well marked and accurate waterline. That cannot and should never be done by pure eye-measurement and means of sloppy work. A boat with a wrongly applied waterline won´t just look awkward in the water but may also not be protected well from marine life. The best way to mark the waterline is by utilizing a laser-device. These can be found in home improvement shops and may be subject for rent or borrowing at craftsmen like masons or tilers.
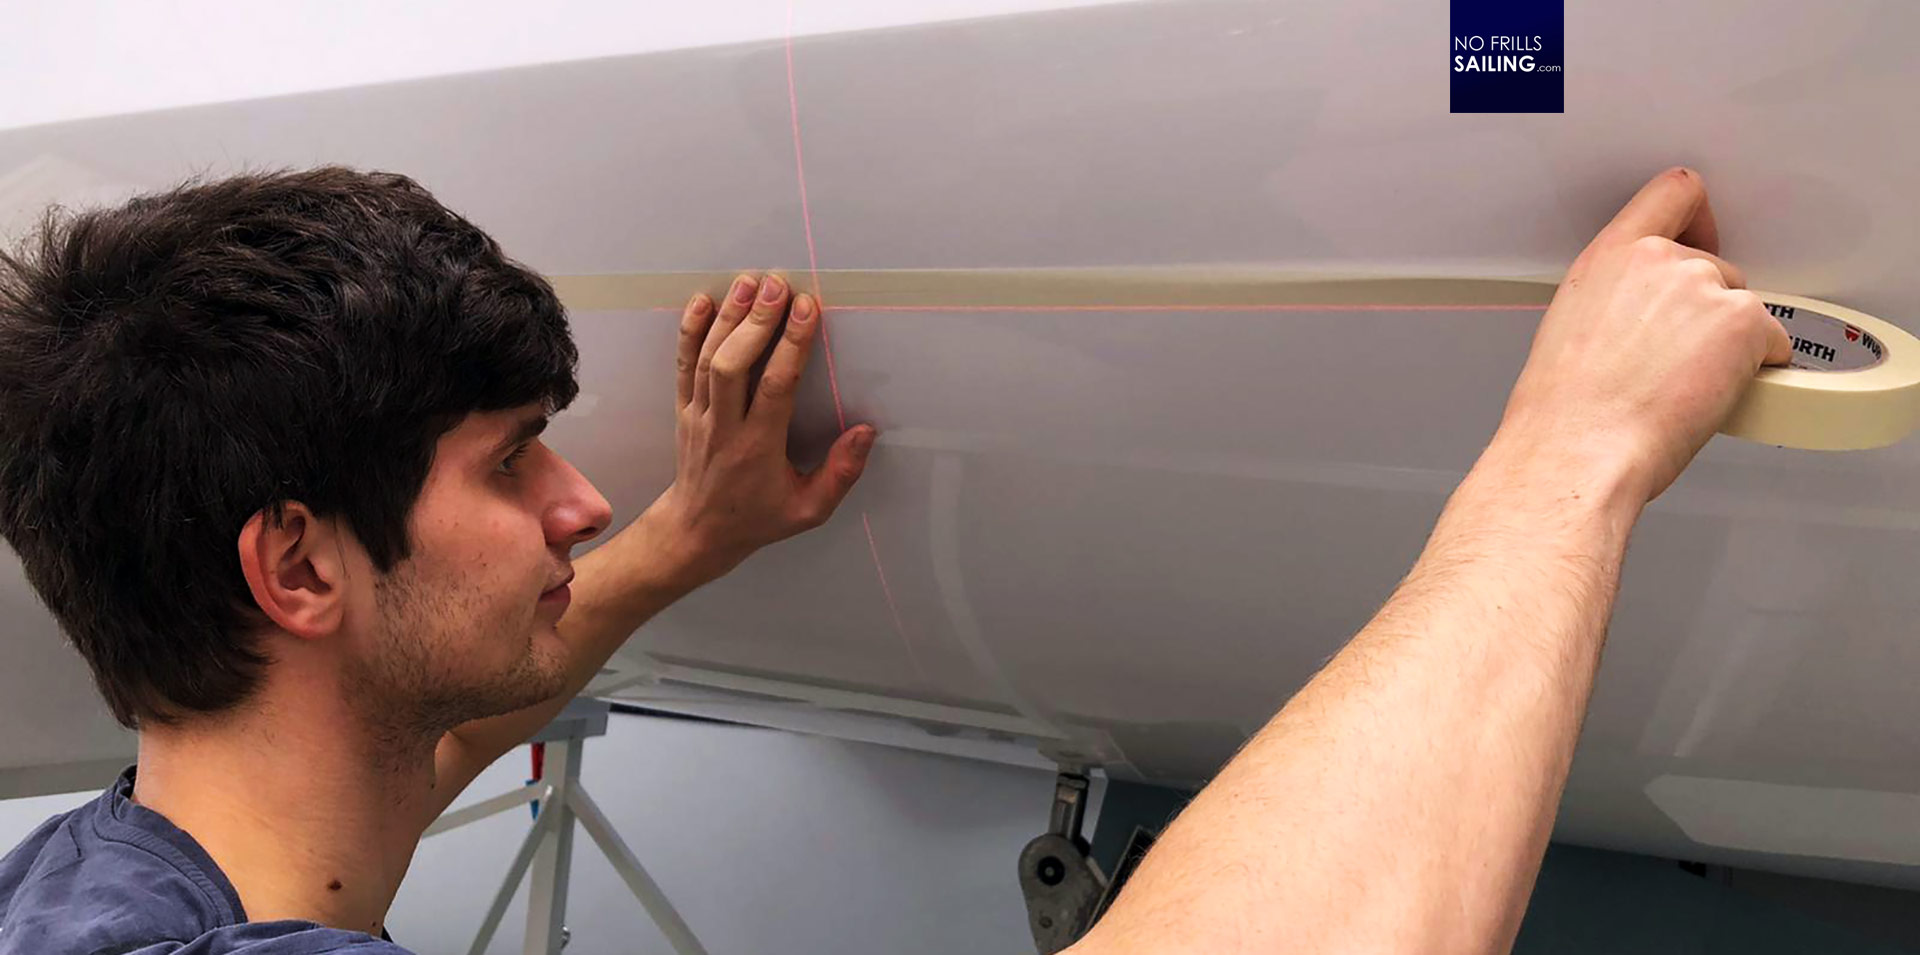
Now, how does the laser work? First of all, it aligns itself automatically to a true horizontal position. This levelling is done withing a second or so. The rotating head reflects the red colored laser beam 360 degrees. The boat itself is of course not levelled to a precise horizontal position because it is on the trailer. By looking onto pictures and a PDF provided by Seascape we can now re-position and adjust the boat. The starting point of the antifouling on the bow is 1 centimeter below the red stripe of the Beneteau-brand logo. At the rear the end point of the antifouling is exactly at the underside of a rudder blade mount. By turning the crank of the front wheel of my boat trailer I can lever the tilt of the trailer and thus the horizontal alignment of the boat. All you have to do now is to bring down both starting and ending point at stern and bow to be crossed by the re laser beam. Where the red stripe is projected onto the white hull, this is now where you begin to apply masking take and thus mark the waterline.
Sanding the fresh hull
Because of the fact that the laser isn´t a really strong one (we don´t want to melt our boats, won´t we?) you need at least a working environment with dimmed light. We have tried it outside under a clear blue sky and a shining sun – no way! So, a shed or a garage is needed, or, if done outside, you´d wait till after sunset.
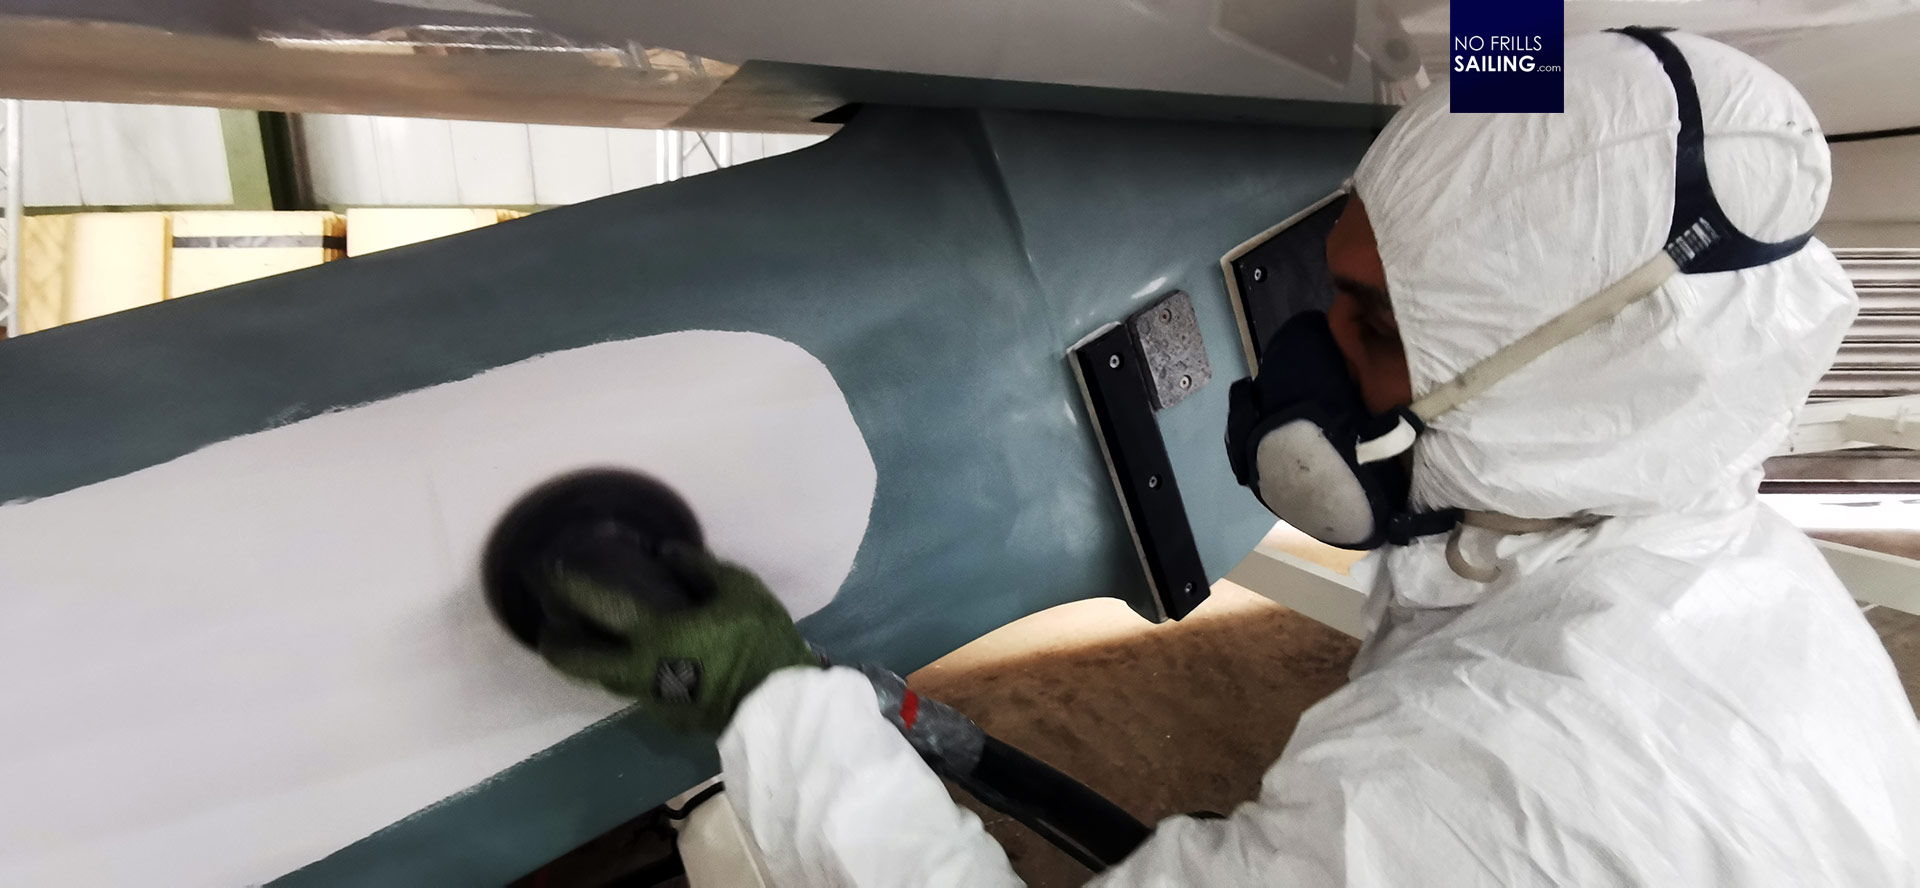
Now that the boat is ready we brought it to our yard where we have a huge workshop and employers specialized in this kind of works. Next step was the sanding of the hull. Why must we in a way destroy the freshly manufactured brand new hull? Well, there are two factors: When a boat is laminated and taken out of the mould there is a kind of parting agent, a wax-like layer, still sticking to the boat. So it is not the pure Gelcoat a boat is delivered with but also the rest of the parting agent from the yard. This layer of wax first has to be taken off because – as its name implies – it is meant to separate things from each other. The antifouling paint needs to stick to the hull, so it´s out of question that we have to remove this.
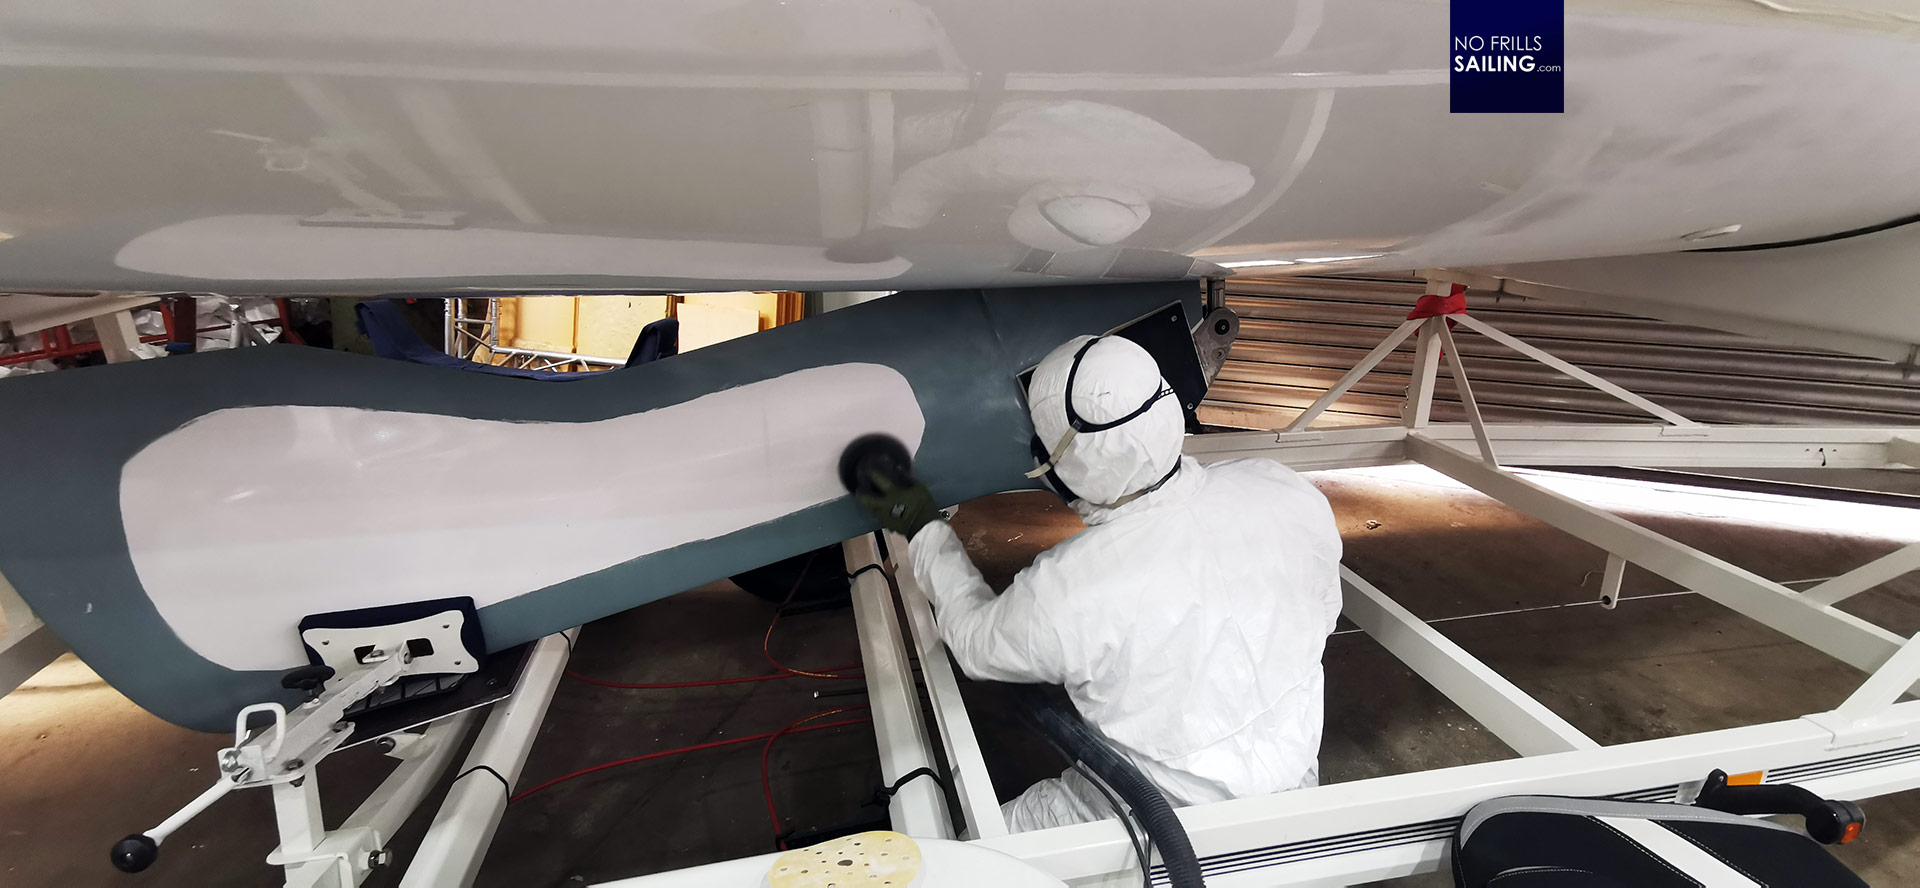
Secondly, in order for the first layers of priming paint to stick best to the hull, the very smooth and sleek surface of the glossy Gelcoat needs to be “opened up” and roughened by sanding it down a bit. In this manner, the adhesive power of the paint is increased and the bond between hull and paint is much stronger. To sand it down we use an electric orbital sander (with a 150/180 grain sand paper) that is attached to an industry standard vacuum cleaner. Our workers must wear protective clothing and a high-grade dust mask (LINK) because the fine particles of both the dust of the sanding process as well as the antifouling paint itself are toxic, if not carcinogenic.
We prefer to sand dry, some say that sanding wet is far better. From our point of view, if sanding wet, the papers will wear down and clog with the sticky dust very easily so that our workers would have to change sanding papers much more frequently – this technique (then utilizing 240 grain sand paper) is more appropriate for working areas where dust must be prevented at all cost. In our workshop, that´s not an issue so of course we choose the easier and faster way.

Which antifouling is the best for my boat?
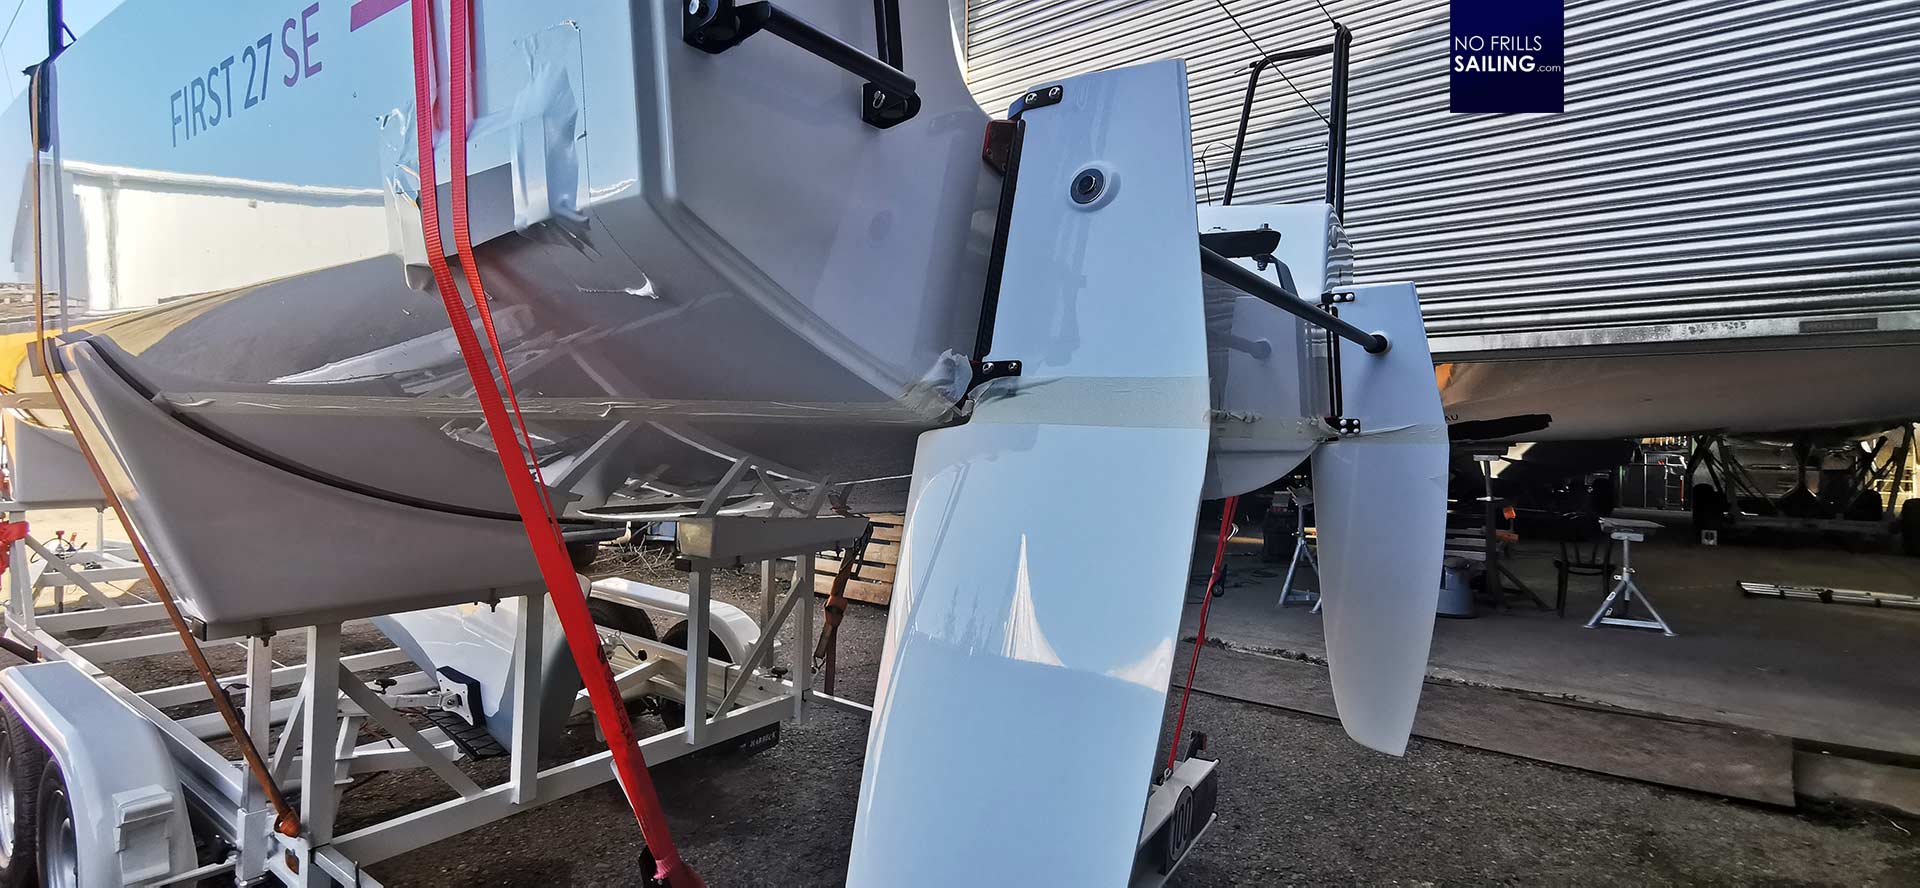
My colleagues will take one full day do prepare the boat´s surface with the sander. They of course sand down the hull and the keel. They also sand down the surfaced parts of the rudders and the engine duct that opens up to allow the electric engine to be lowered. I guess in a one or two days time they will start applying the first layers of priming agent. But which to choose?
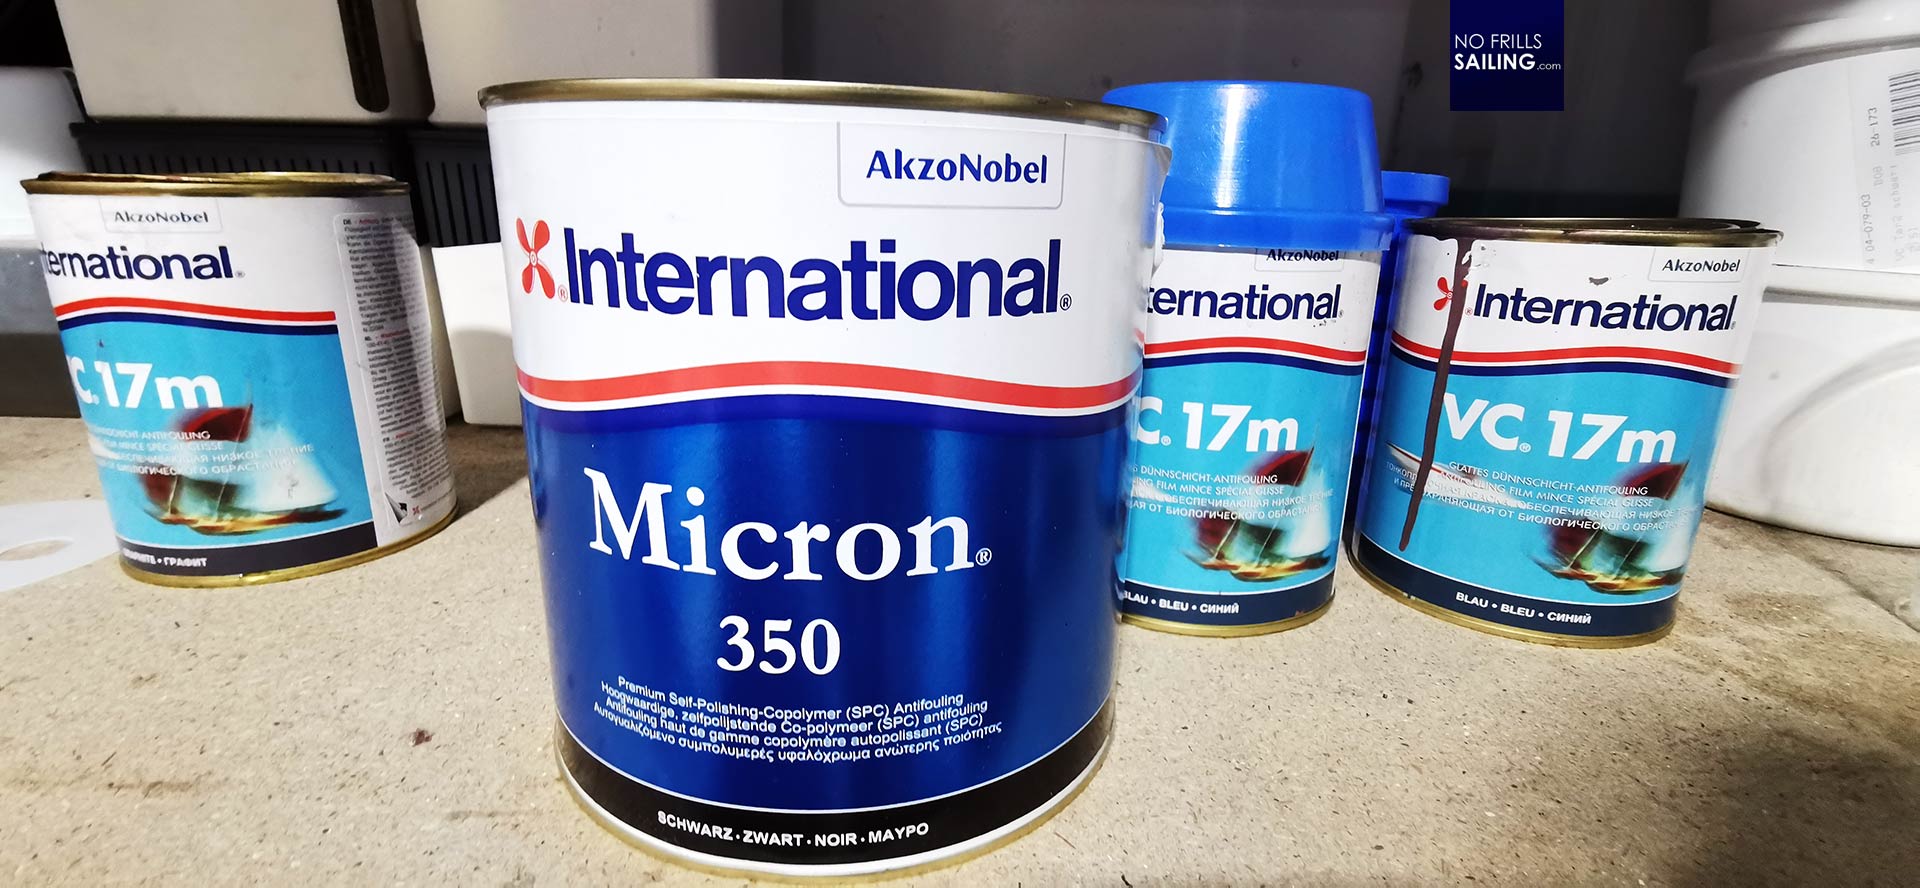
We have very good experience and feedback from our clients with antifouling systems provided by AkzoNobel´s brand International. I personally have refitted the whole interior of my last boat by using primer and Top Coat paint of this brand and I am happy that our technicians emphasized on using Internation products again. For the Baltic Sea we went for 4 layers of epoxy-priming agent called Interprime 450. As a bonding layer between osmosis-prevention and antifouling I chose a black colored Micron 350 which suits the Baltic Sea best. So, now it´s waiting time for my mates to finish painting: One step further to finally watering GEKKO. It is exciting as hell, I can tell you!
You may also like to read:
Antifouling series, parts 1 and 2
Do it yourself: The Dudley Dix Mini 650
The DIY winter tarpaulin