Slowly – very slowly – I am beginning to see a real progress of the refit program of my King´s Cruiser 33 sailing yacht. That´s because things begin to fall into place: Where I was merely doing preliminary work up to now or was just crossing off items of my list which cannot be seen in the first place, now more and more step of procedures emerge which will really change the look of the boat´s interior. Until (read articles Part 1, 2 and 3 here) now I was preparing the material for the mounting of the Teak ceiling.

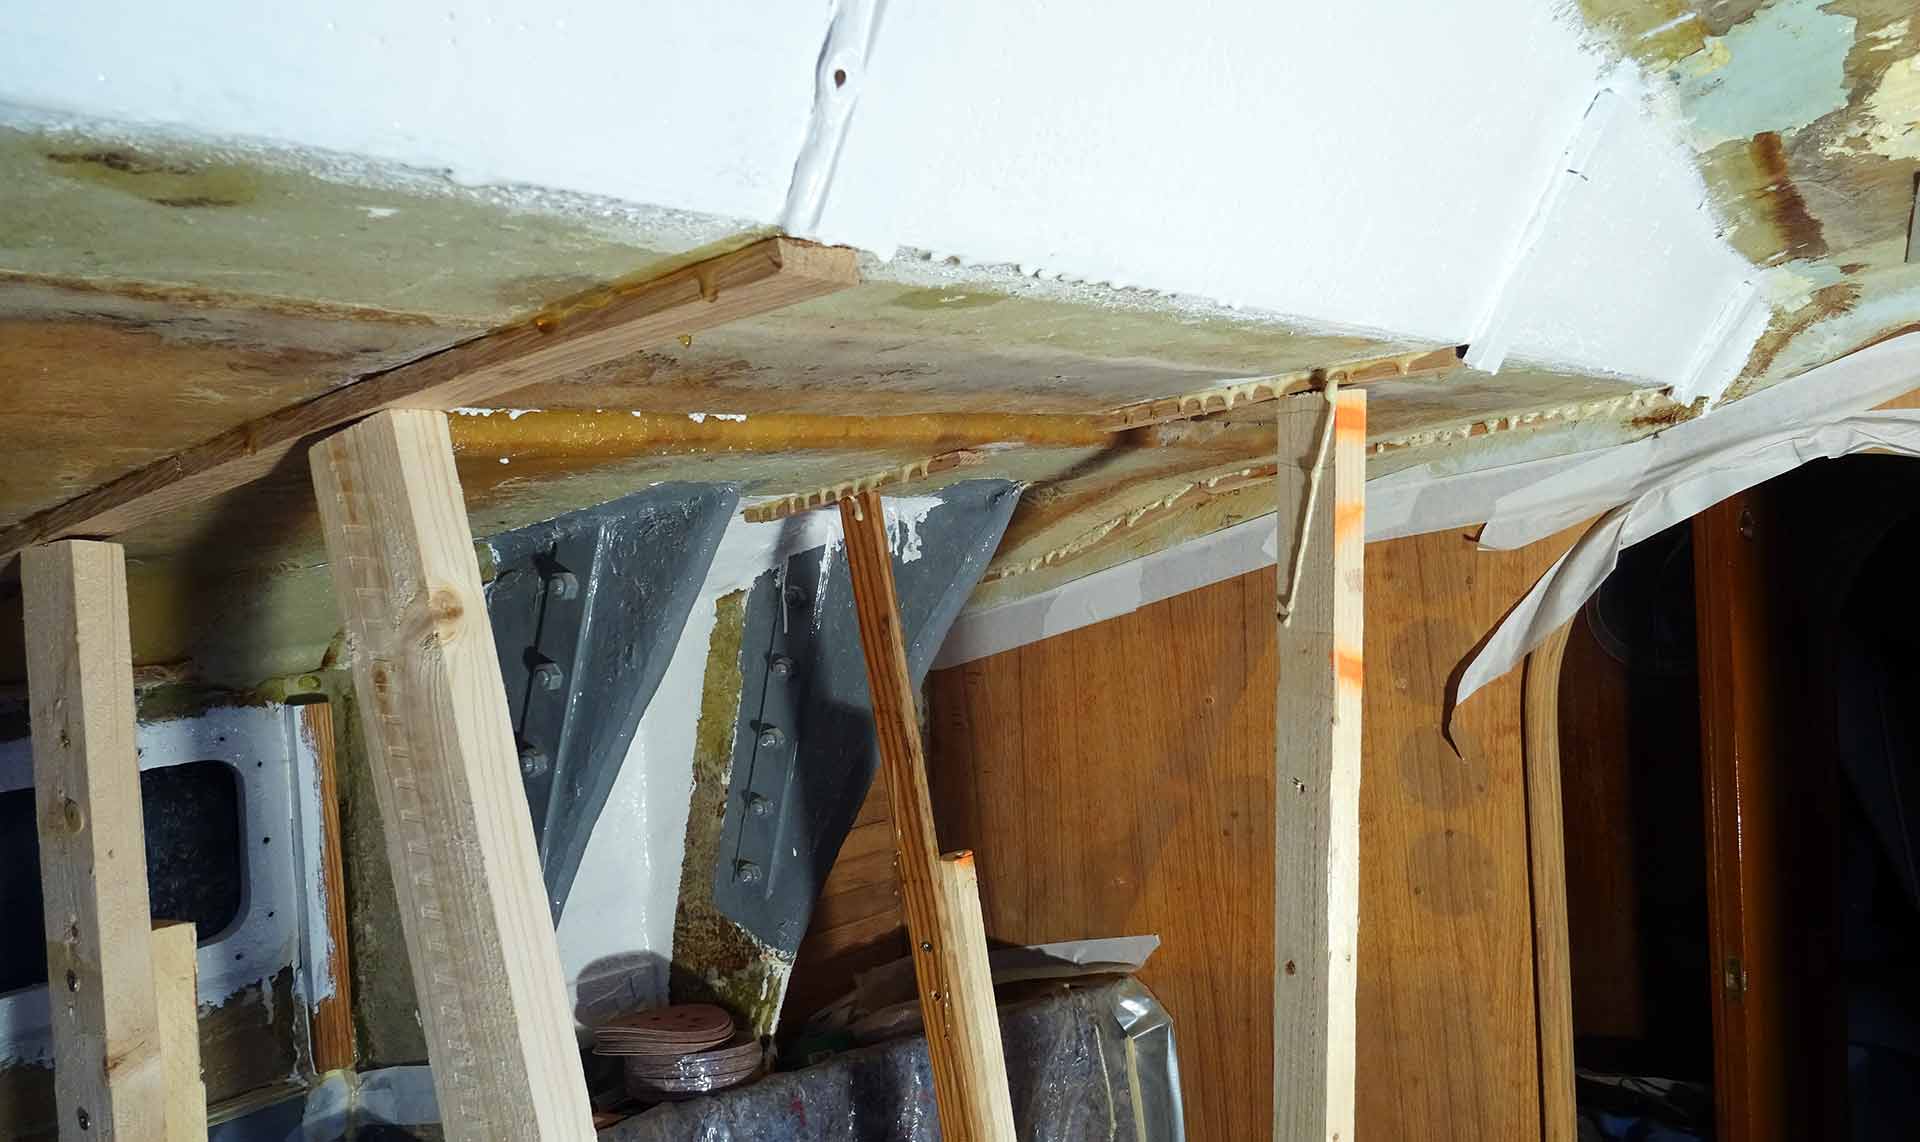
I did sand off the GRP surface, applied Oak stringers as mounting base for the ceiling battens with industrial glue and had everything primed with Epoxy. After drying, the whole area was painted in yacht-white for three times as I plan to maybe have the ceiling battens fitted with a certain spacing: One could then see through to the bare white GRP. Now it was time to have the very battens fitted.
Taking the right measurements

Which is a tricky thing since the roofing area is tapering to the front which means that the uppermost batten has to be cut to fit. Teak is a very expensive timber: For the roofing I did buy 20 meters of it and had to pay some 150 Euros flat for the battens. So you ought to take the measurements very carefully in order to avoid any unwanted wasting of the precious timber.

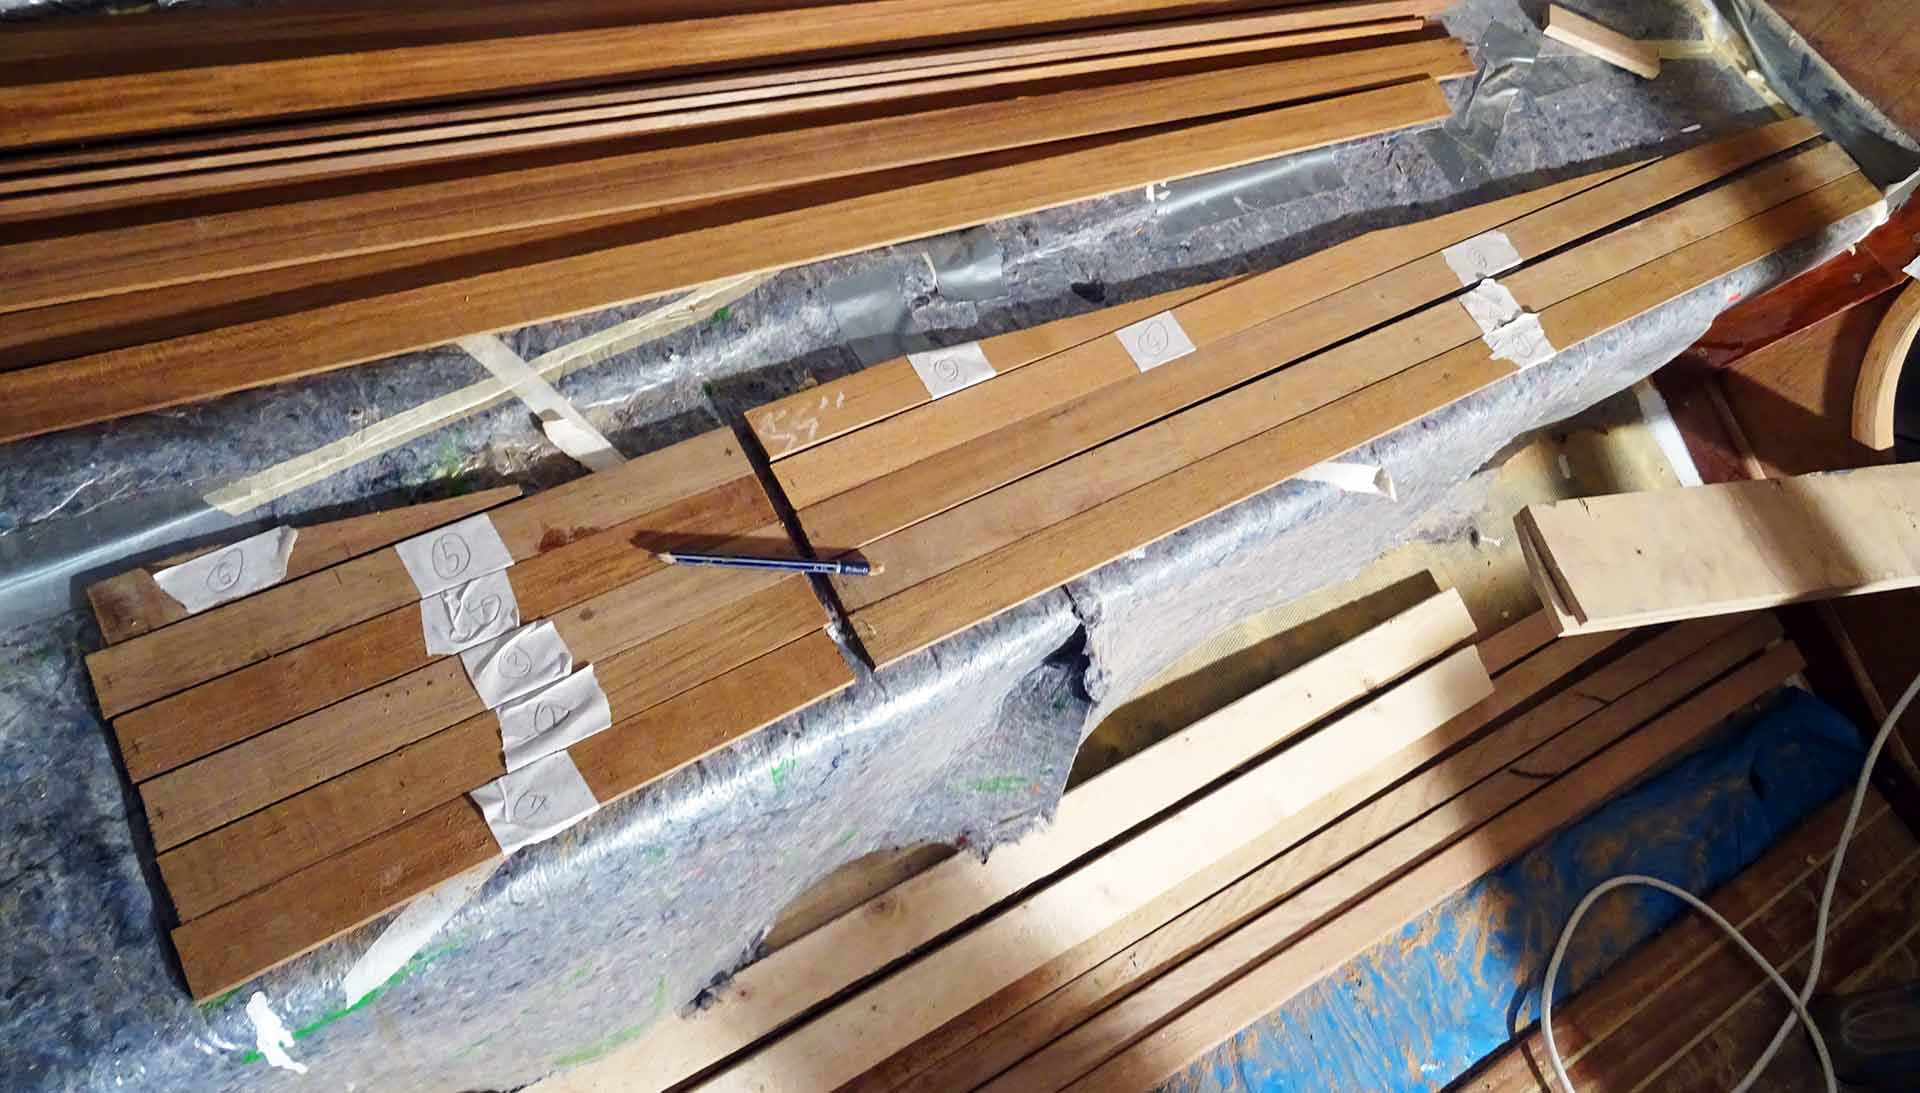
I had to take an individual measurement for each and every single batten since in itself the boat is not very symmetrical. That was a painstaking process: Cutting the first 11 strips of Teak battens took me about 2 hours in the end. I did mark every batten individually since each one has its own unique fitting to the boat´s roof.

As it was done with the Teak panels before, I then went on round the edges of the battens fronts to achieve that classic boat look we all appreciate on “old ladies” like mine. That too took some time, in the end those 11 battens would cost me some 3.5 hours net working time: A lot compared to what still lies ahead. Nevertheless, the outcome justifies this tedious effort, I would say.
Fitting the Teak battens: Which spacing?
Applying 1 mm bore holes for the brass screws finished the rough work on the Teak battens. I then wanted to make a decision on the final design of the roof ceiling: Should I opt to mount the battens with or without a certain spacing. Therefor I put the smaller strips to the ship´s side by means of Gaffa tape to see what I liked most.

Since the Teak panels of the saloon are made without spacing between the individual battens and the roof covers will be painted flat white, I think it´s the best to have a mixture of both here: A spacing of 4 mm between the battens will create the shiplike appearance as well as it will provide for a flow of air – you all know how much condensed water can be found overhead after a night aboard.

Next steps of the Teak ceiling refit
The coming days will be like this one: Cutting battens, fitting them to the base mounting and having them sanded to get the desired round edges. I guess that´s another 5 net working days. In the meantime I was sealing the backsides of the teak battens with Epoxy – glossy painting would take too much time here.

I also began to put Oak base mountings for the roof panels to the ship on port side, which will be the next big thing. But one step at a time: Slowly but surely the new saloon in pure Teak takes shape. It´s a damn thing that I´d have to wait until next spring to have everything mounted and finished since I need to have the porthole windows mounted first – and this is a job I cannot do in these low temperatures.
Other interesting articles matching that topic
Making a Teak Ceiling Part 1
Making Teak Furniture
The perfect Chart Table


