Winter time is nearing fast and this turns my refit schedule upside down: Low temperatures will keep me from glossy painting all the wooden fittings, I was hoping we get a fairly warm November. Now we have snow and temps well below zero. Well, not enough trouble at this frontline: As usual when finishing one item in yacht refit, two new ones will suddenly pop up. This is what happened after I finished making the Teak panels for the saloon (read the article here). I noticed that the big portholes in the ship´s side needed more care than I thought …

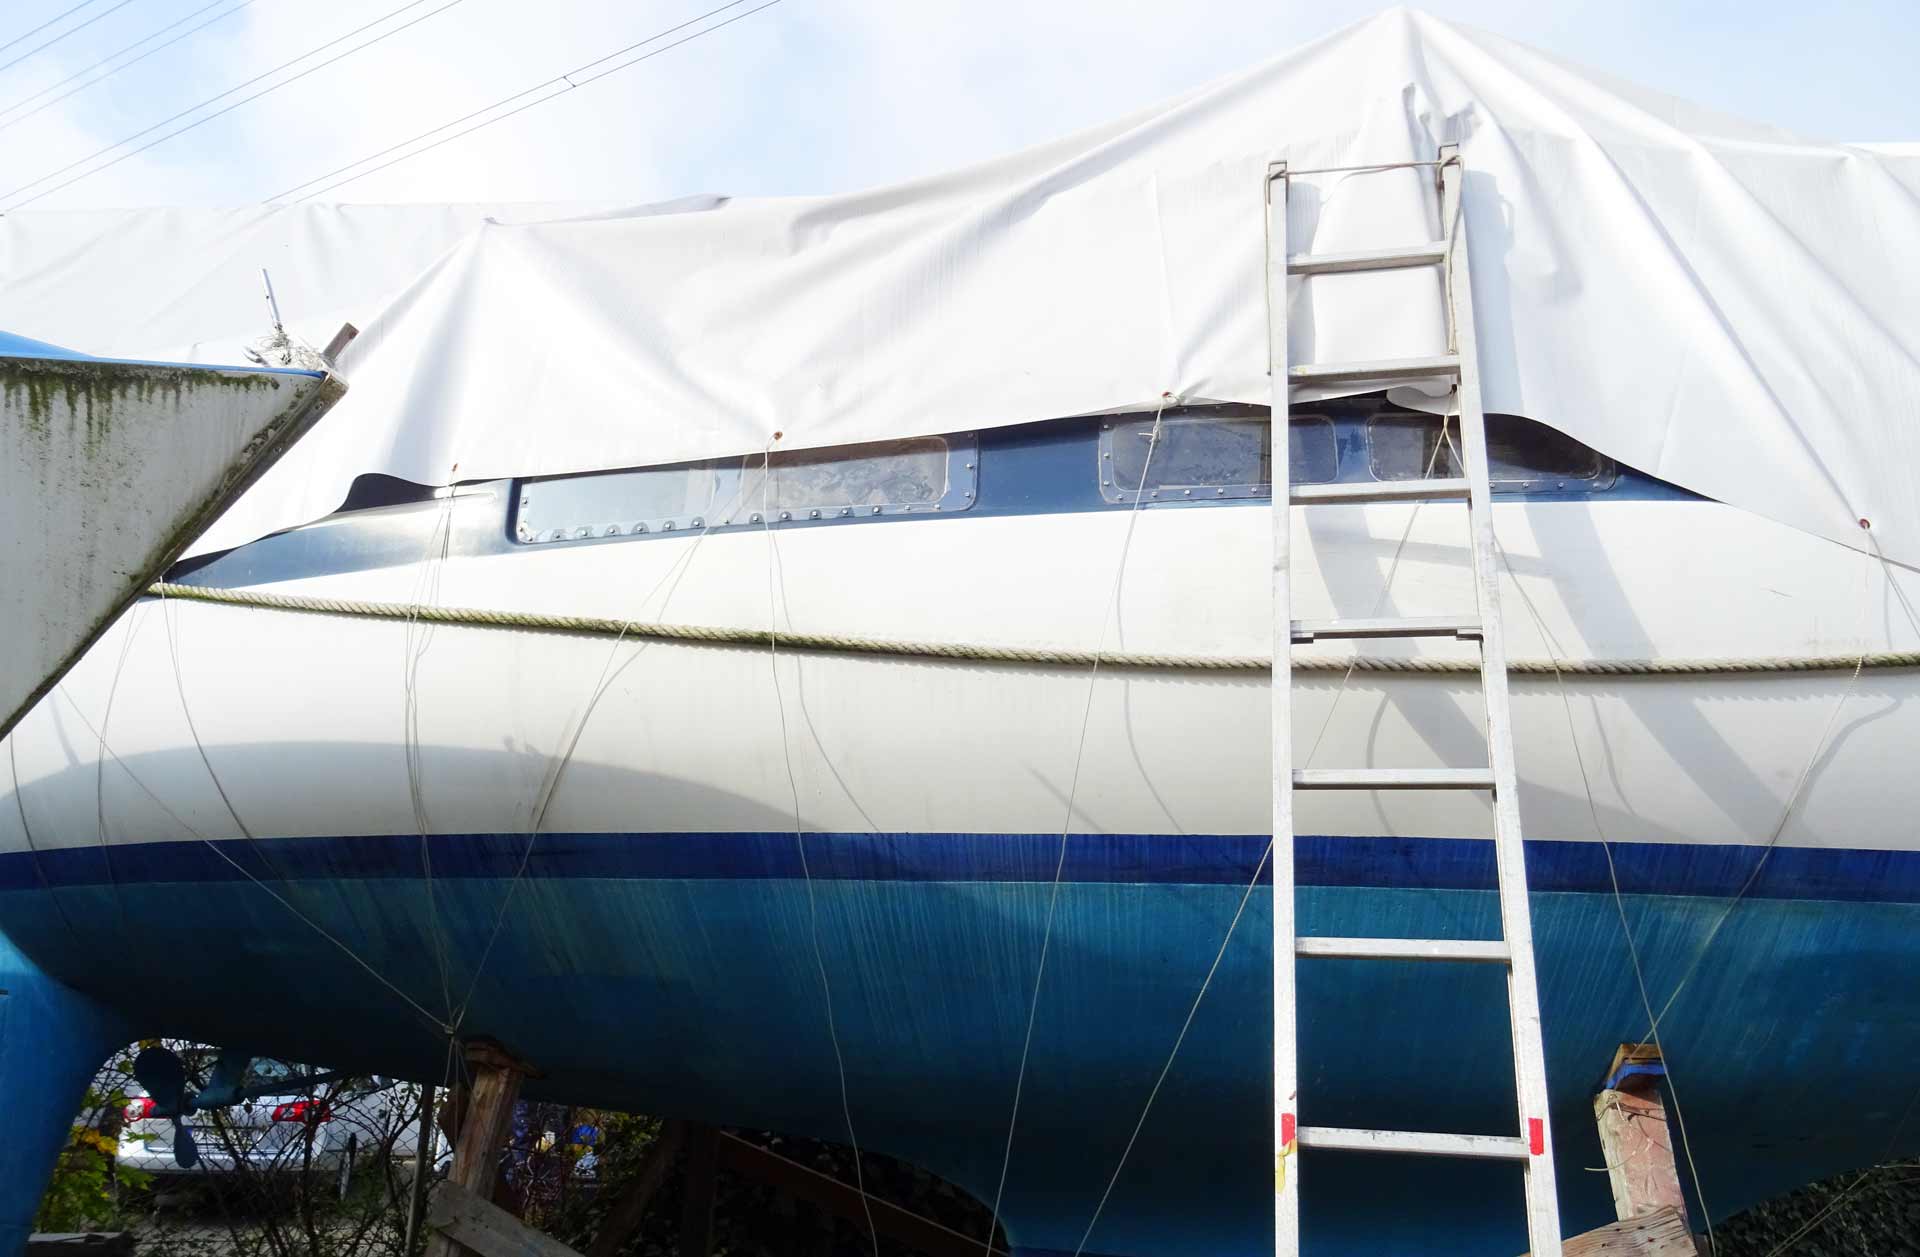
The Kings Cruiser 33 sailing yacht features no less than four big portholes (or shall I call them “windows”?) placed in the decorative blue stripe some 40 centimeters above waterline. Each window is devided into two portholes. Given that this boat was drawn by Pelle Petterson for Fiskars back in 1974, it´s a kind of revolutionary concept to have so much light in the otherwise dark cabin. I love these windows, especially when sailing fast and heeling, one can see green water rushing by when these portholes are fully submerged. This in mind, it´s clear that those windows have to be absolutely spotless and watertight mounted. I wasn´t so sure if this was the case anymore.
Assessing the Risk of Water Intrusion via Portholes.

Most of my working time is spent inside of the boat so it was a nice time to work outside for a change. Placing a ladder at the freeboard of my boat I climbed upwards to assess potential damage, wear and tear of the sealing seams and the overall condition of the porthole glass. Well, it´s not glass anyway, it´s poly-carbonate plastic – called Plexiglas.
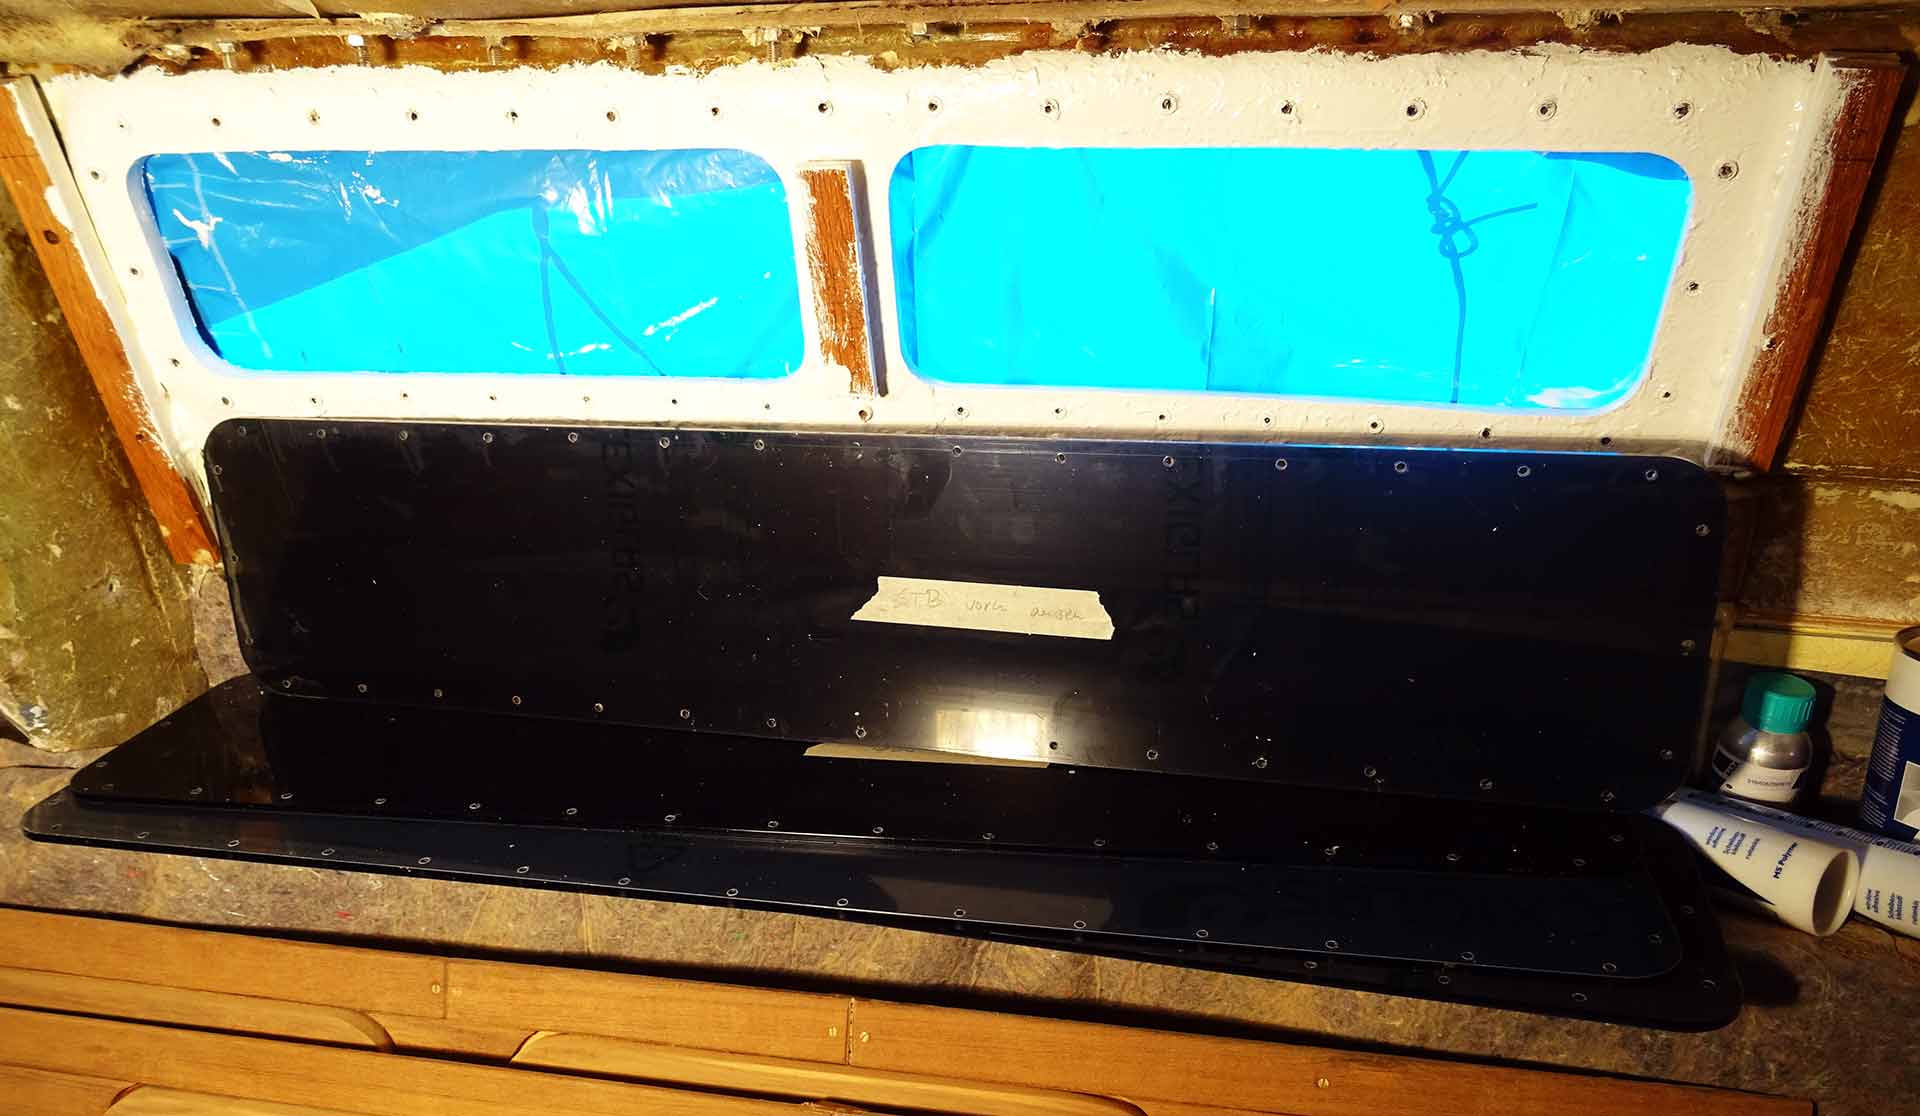
The mounting technique of the windows has been done in a very simple manner: The windows are screwed to the hull by some 50 screws each. Between hull and window is a sealing compound (with which I am going to have much fun in the coming weeks!). No glue was used as well as no rubber sealing anyway. I am astonished that this kind of plain mounting kept nicely tight over a cause of 40 years. Well, mostly dry I shall say …
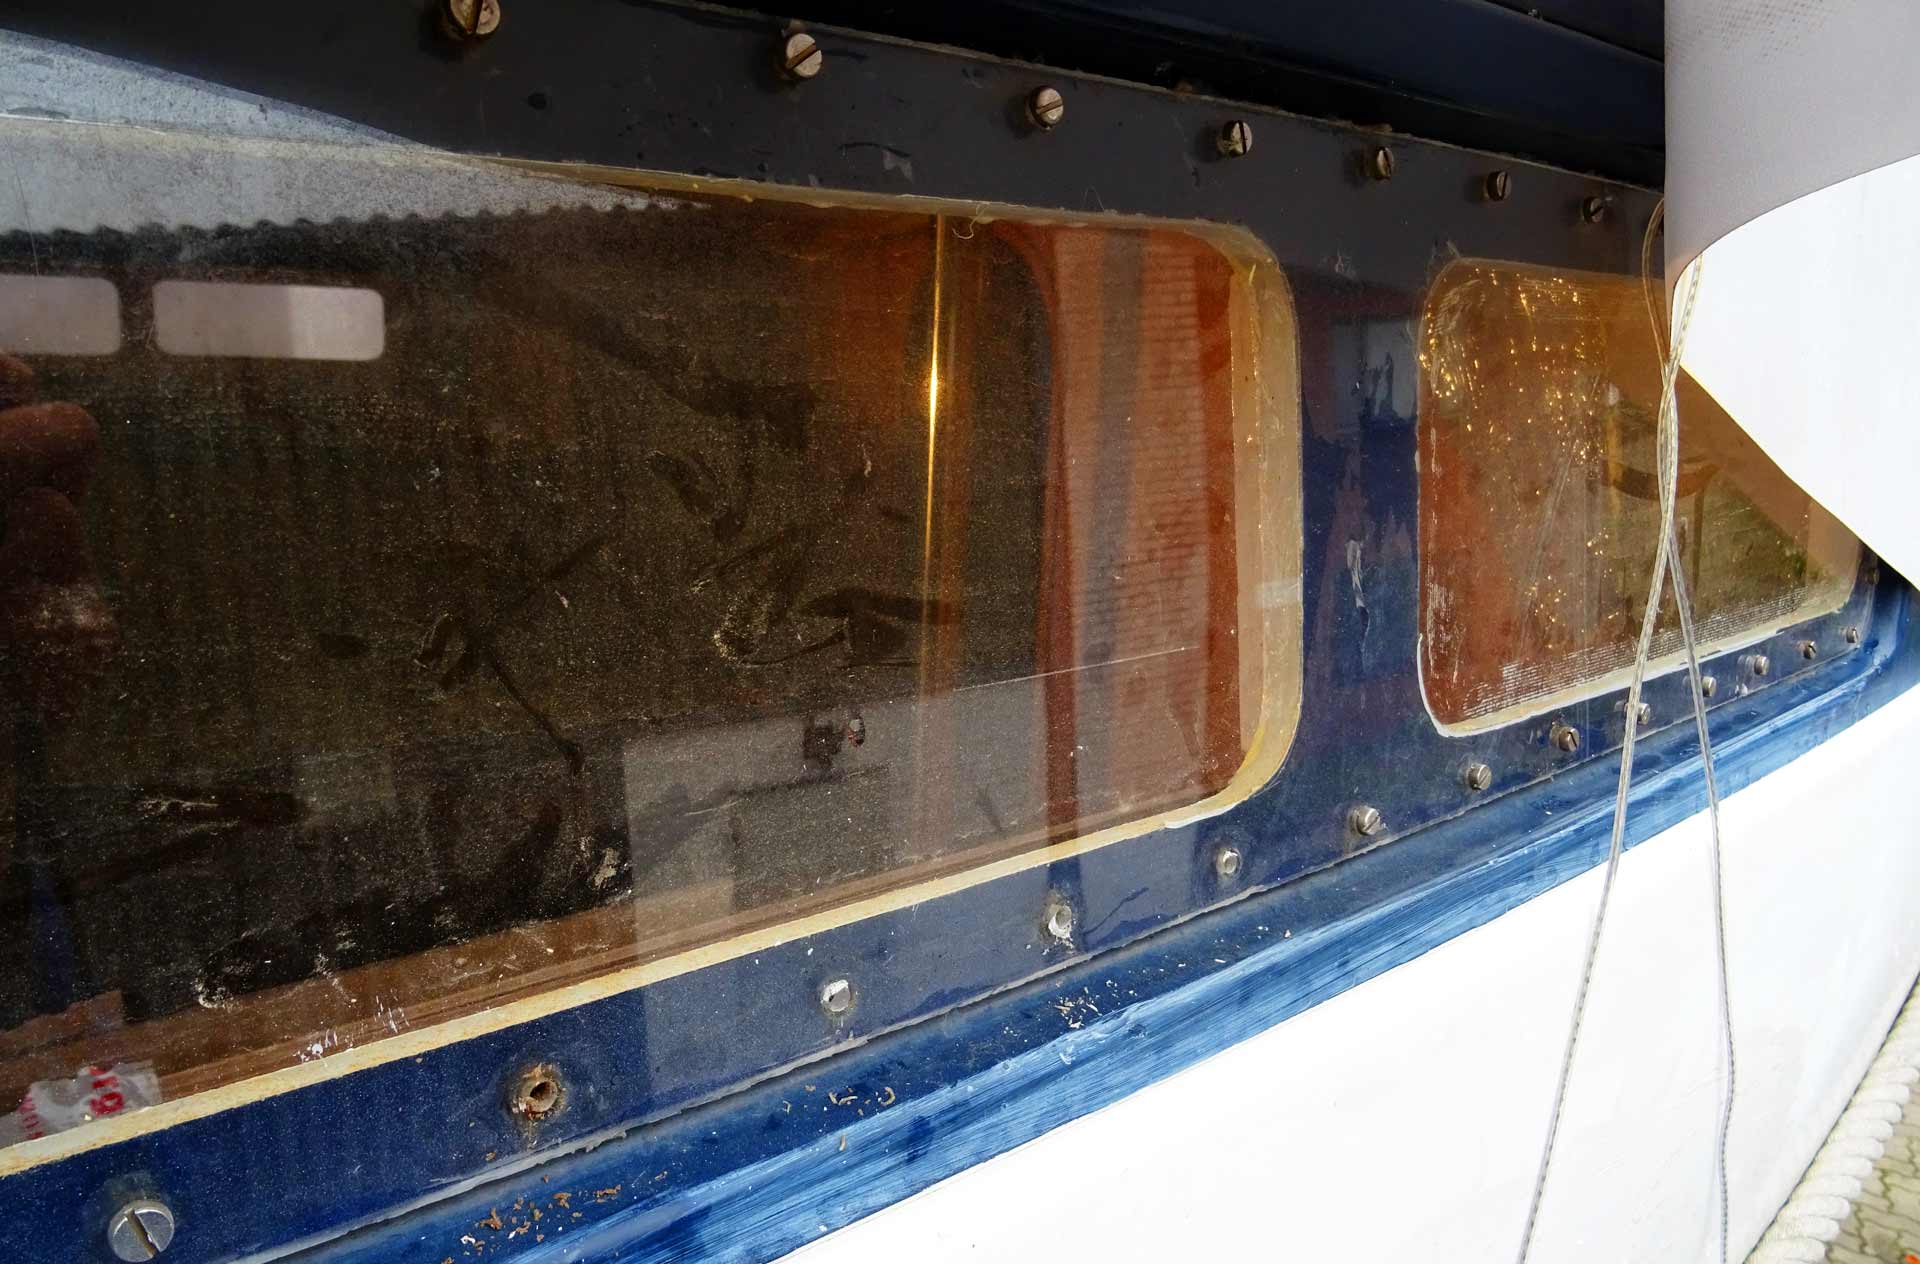
What was also bothering me was the fact that on my boat the windows don´t really look nice. The edges of the Plexiglas-windows have not been rounded or sanded down, screws are drilled into the hull without any supportive or decorative washers and generally speaking – this configuration does hardly appeal to 2016 standards. Of course, these aren´t safety-related things mostly, but I am going to have some things changed.
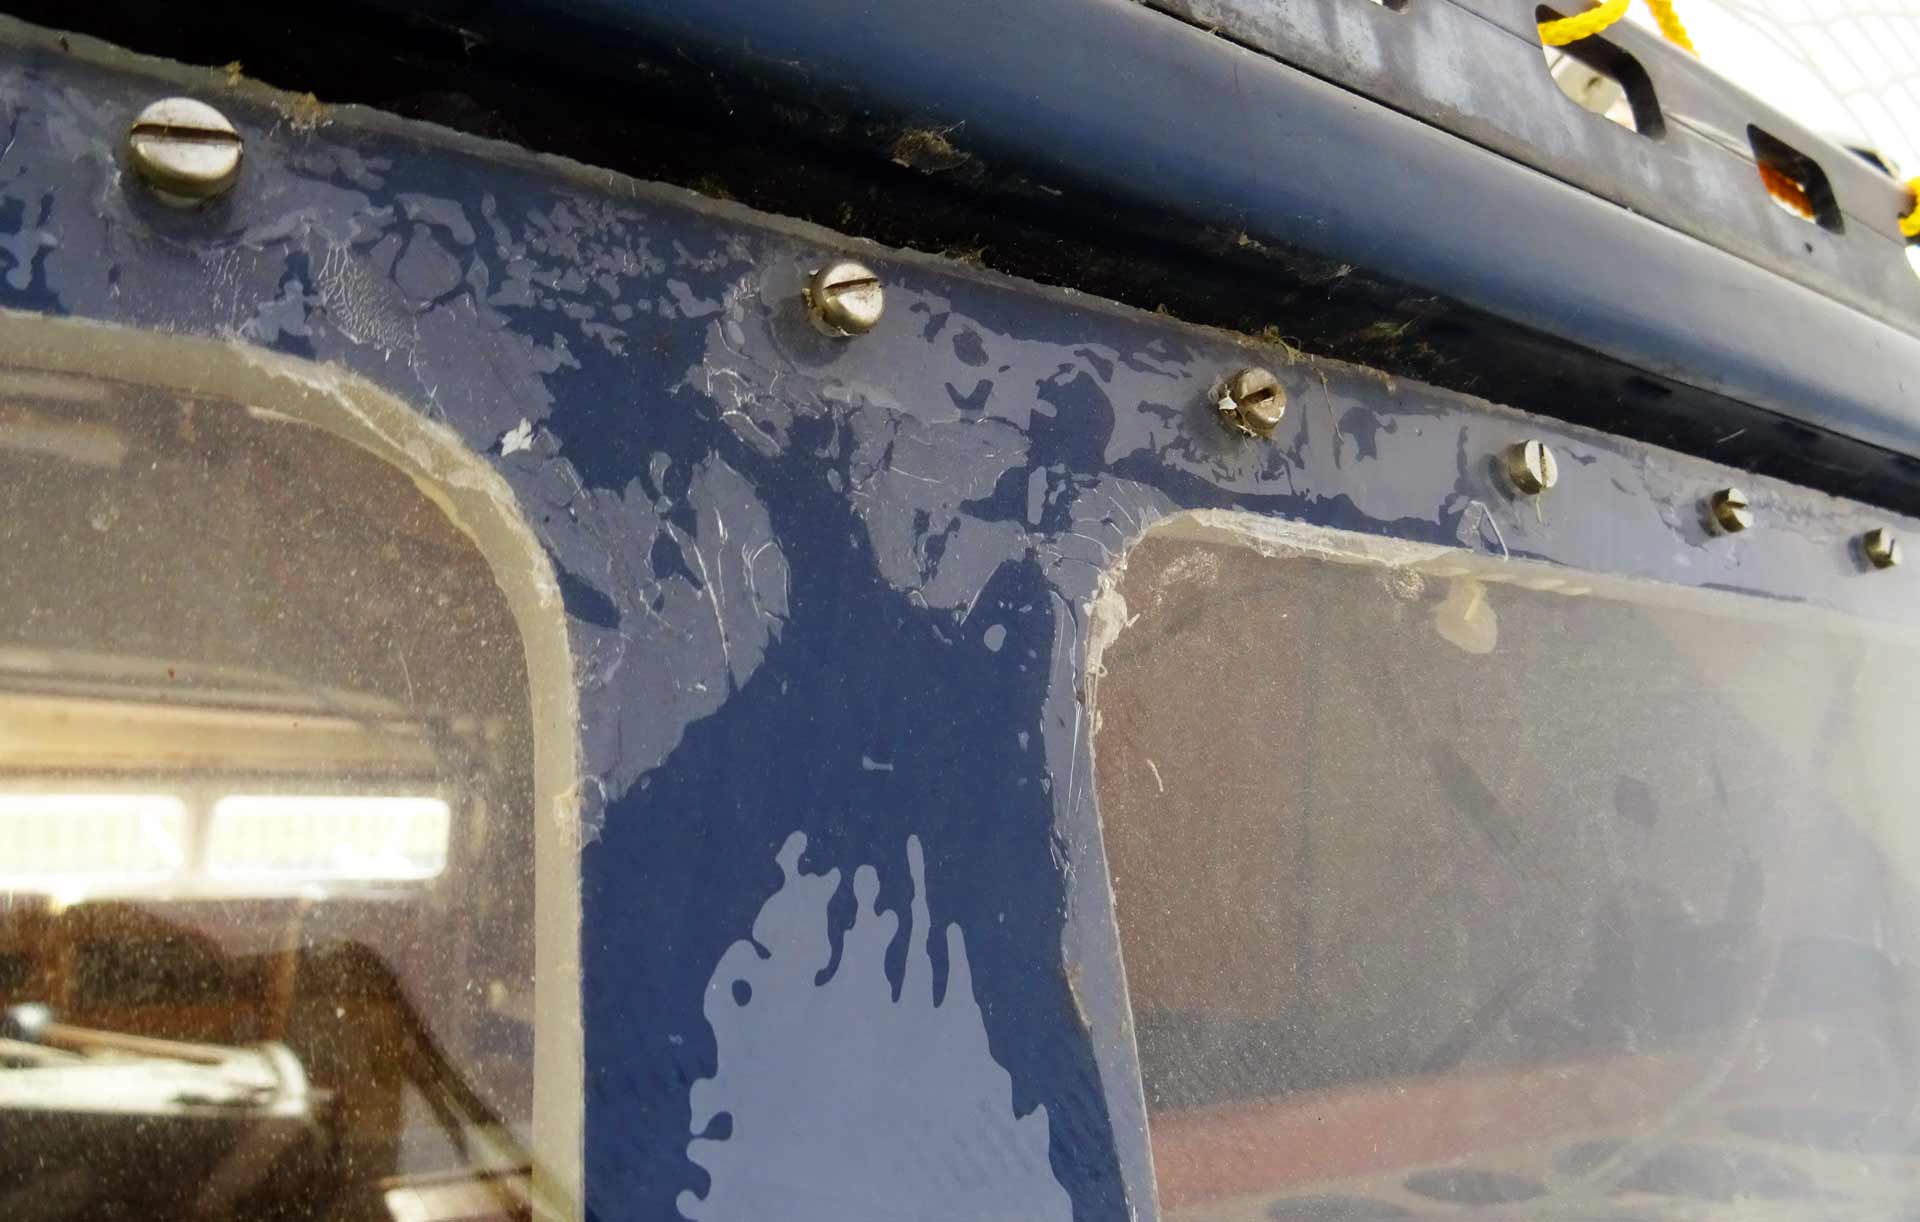
Really disturbing was a fact which was revealed by taking a closer look on to the sealant application between window and hull: I could clearly spot large areas where the seal came off or was too thin to form a watertight connection between window and hull: That´s where water could penetrate easily into the inside of the boat – something I am determined to prevent. I was somewhat shocked to spot a few of these spots, somewhat relieved of having made the decision to consecrate myself to that topic, even if it means a further delay in the other tasks and a new task as well.
Removing the Porthole Windows
There was another premiere while doing that job: This is the very first item on the boat´s refit program I couldn´t do alone. So I employed my wife to climb the ladder to hold on tight to the crews whereas I was turning the bolts from the inside in unscrewing. That´s some 50 nuts and bolts per window. Special fun was the port side of my boat: Standing right next to our yard´s fence, I did have my head within a thick bush of thorn-wearing wild brier. Nice.
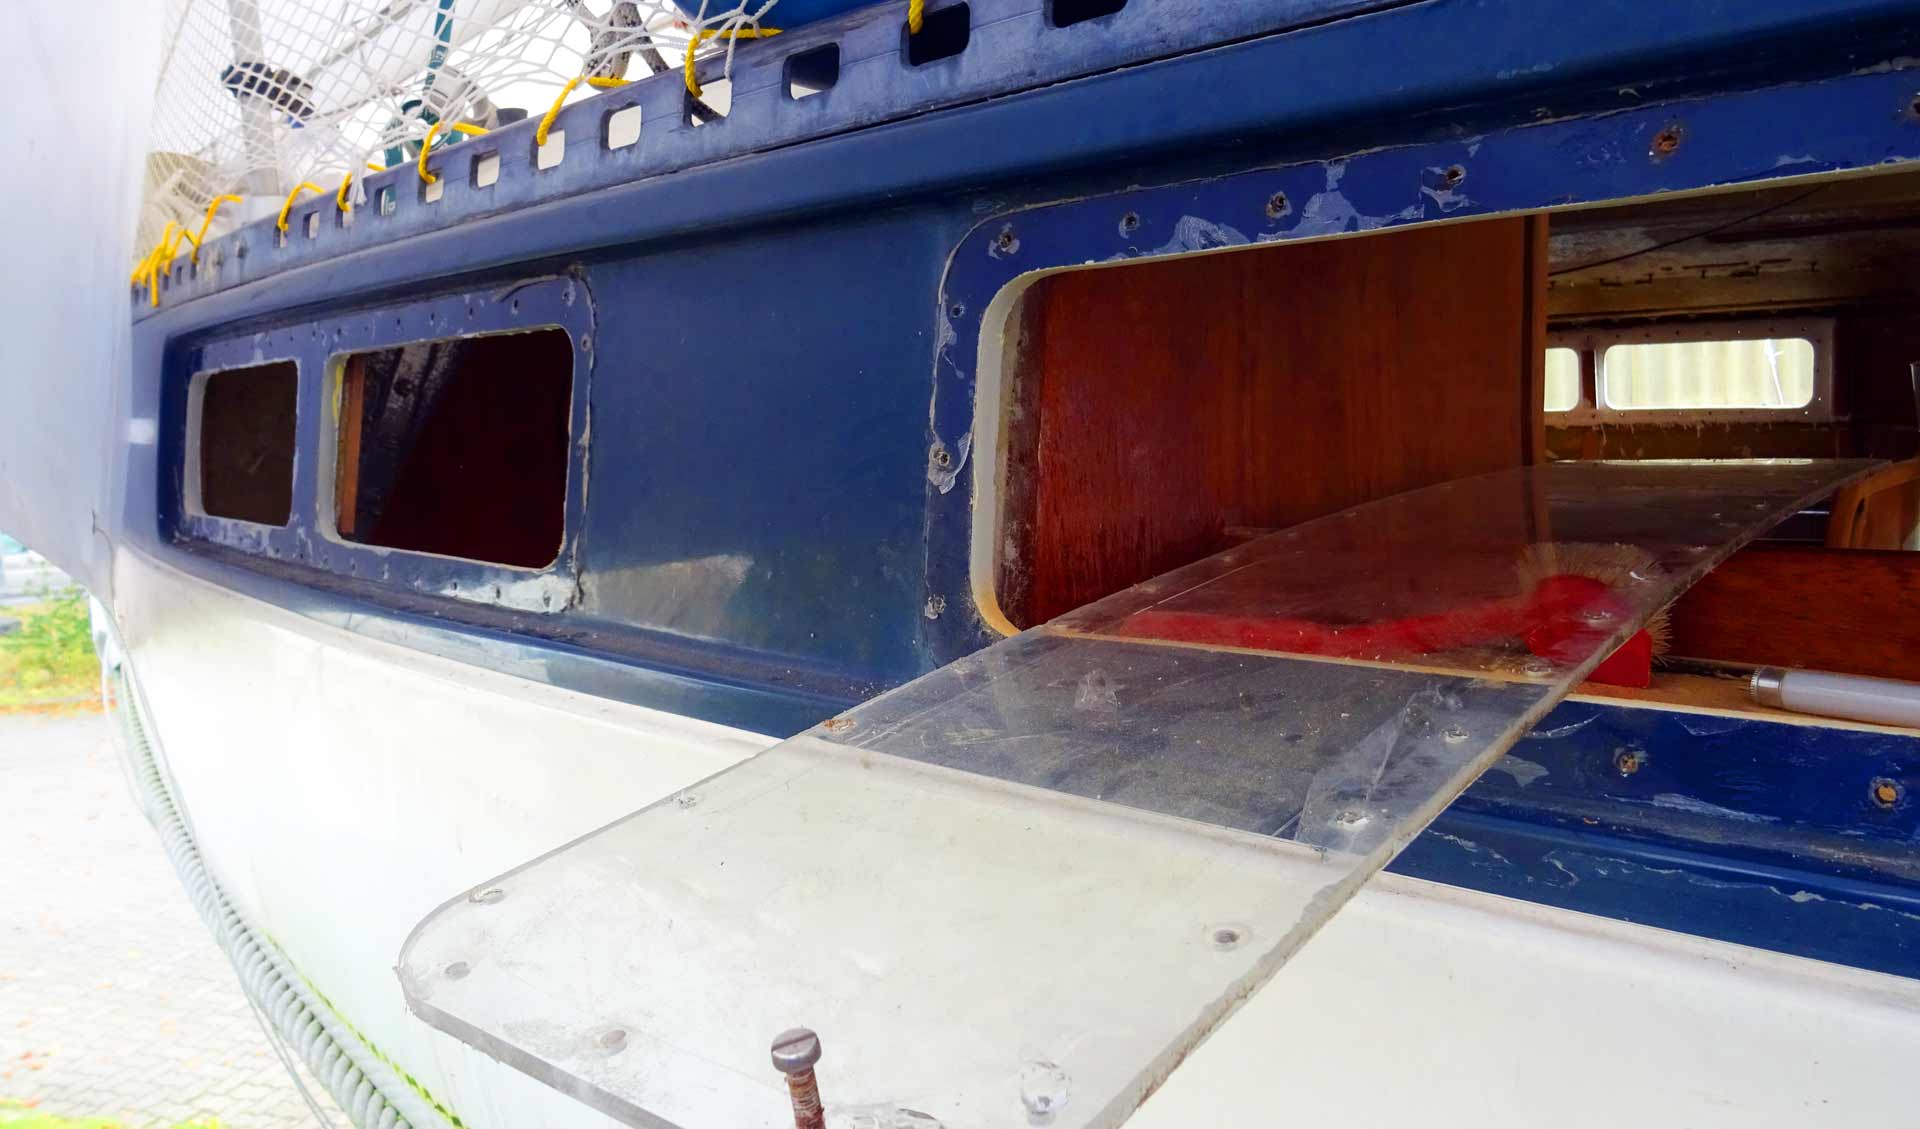
When the last bolt was unscrewed I took off the windows by annulling the Plexiglas. Unfortunately one of the four windows got broken – Plexi does break so easily! – but I managed to get off the remaining windows without problems. Why did I care so much? Because I do need the old windows as patterns for the new ones: Each window has its very own and unique measurements. Furthermore, the bore holes for the screws have been drilled individually.
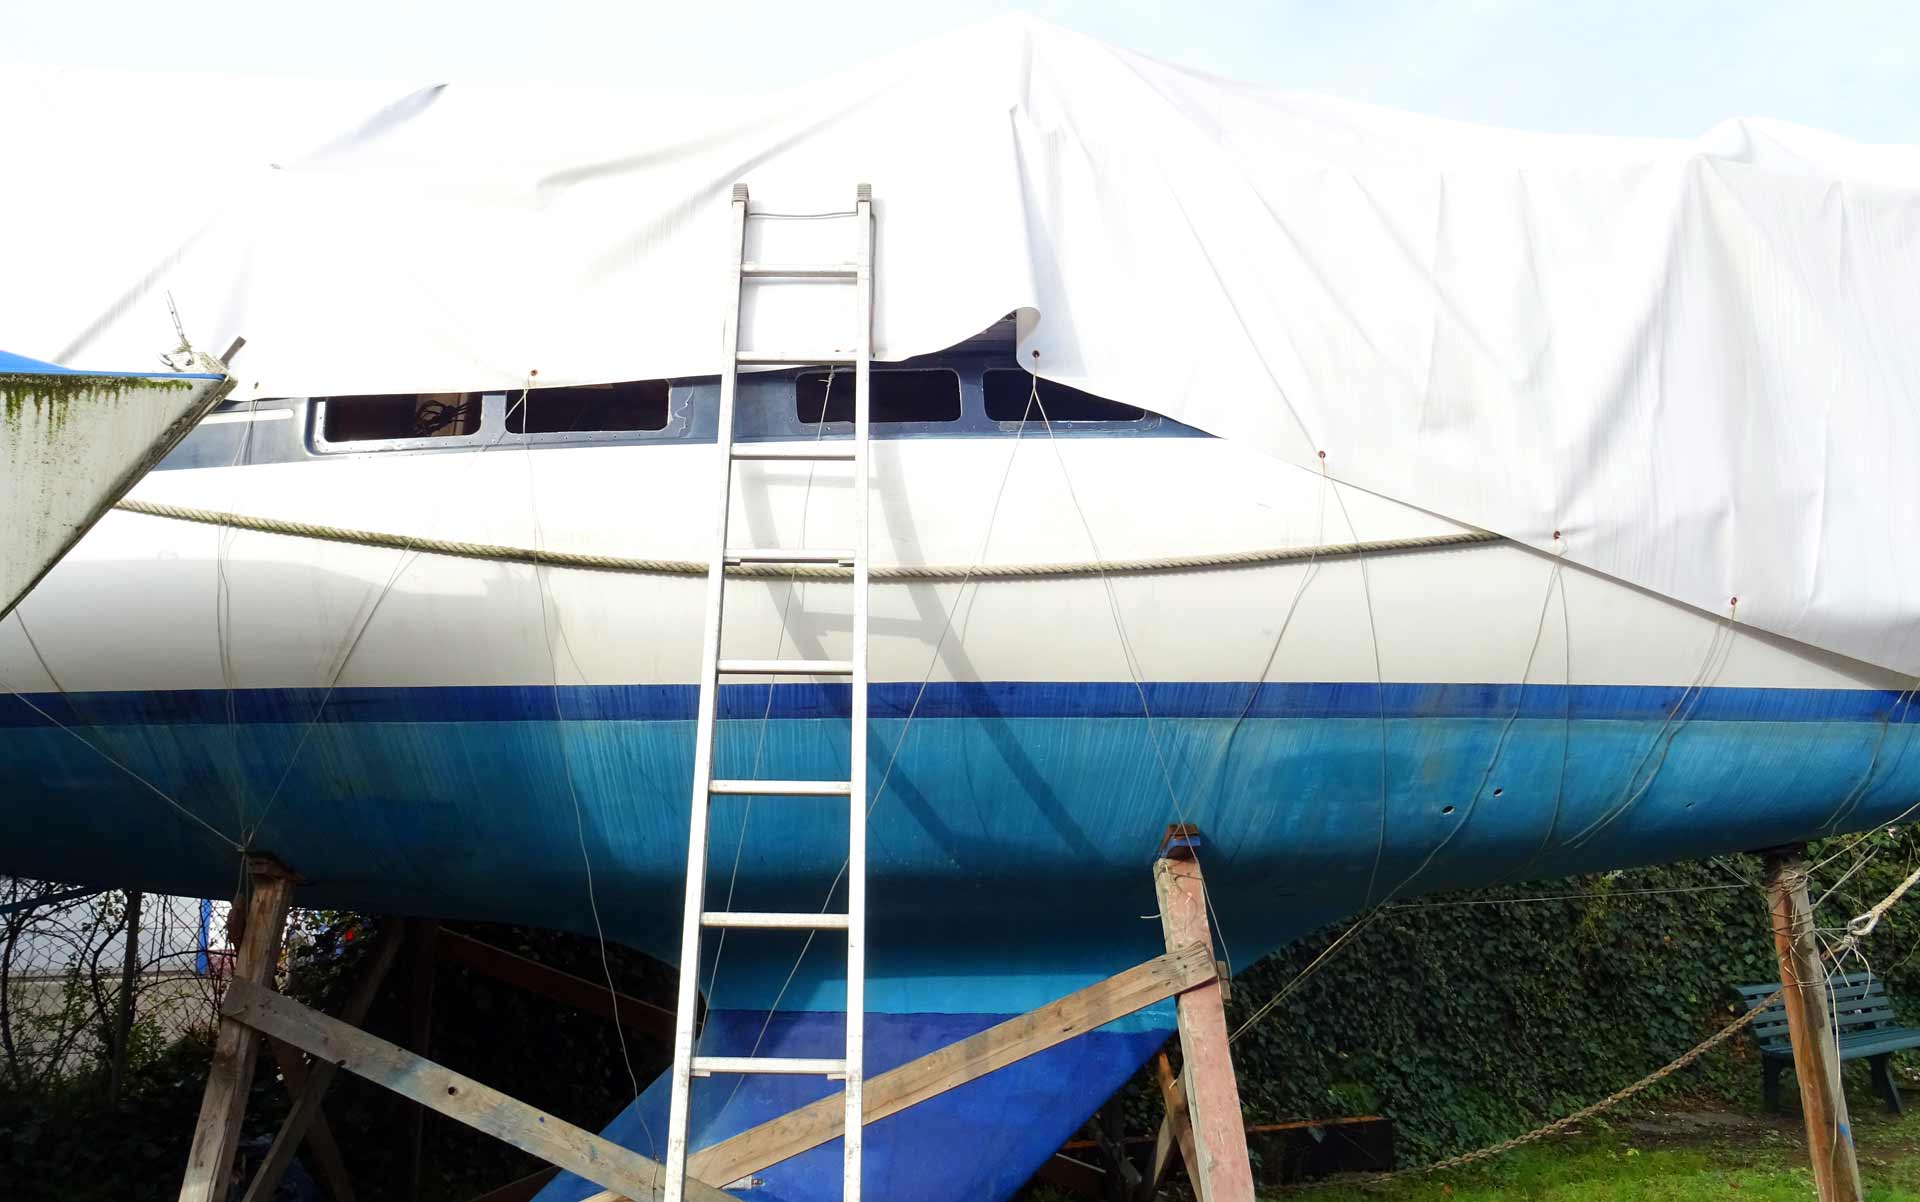
Poor SY OLIVIA! Seeing her like this reminded me of a hulk. A dead ship. A ghost ship. It is time to get back on the portholes. It really bothers me that temperatures dropped this much during the last weeks and that now my hands are virtually tied. Nevertheless, I am ready to resume work whenever the temps climb up again over 10 degrees.
Next Steps: What´s coming up?
At first I decided to not go for the original window color with semi-opaque Plexiglas. I must admit I like ths somewhat dimmed lights in modern day cruisers, like I´ve seen so many on the Interboot boat show or the last Hanseboot here in Hamburg. I think it creates more private atmosphere and I really hate installing pleats or even worse, curtains.
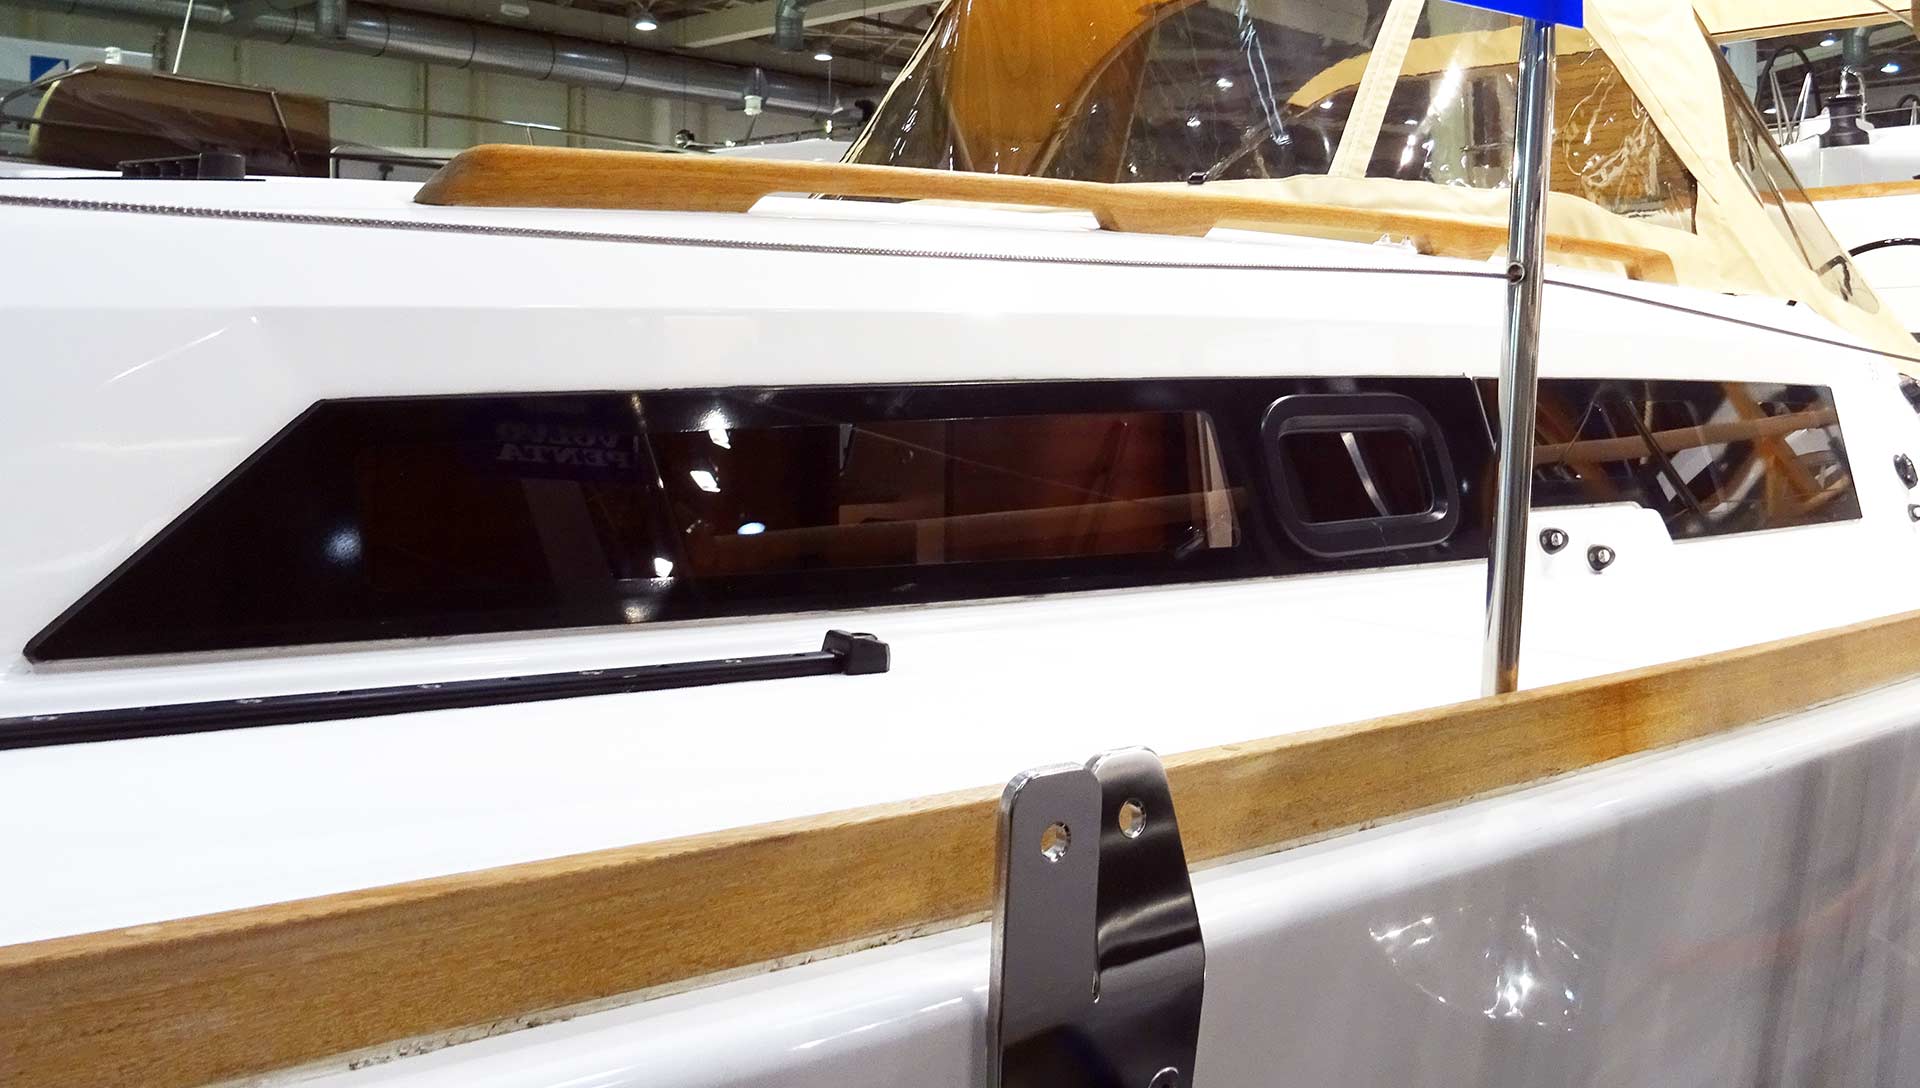
So the role model could be a Dufour sailing yacht as seen in Hamburg. See the details: They have tinted glass and behind the glass there´s an opaque layer of … something … in plain black marking the area where the glass is glued to the hull. This is what I want for my ship as well. Taking the old windows to a plastics-processing company nearby, I receive brand new Plexiglas windows three days later: Sawn by a laser, these new windows look just perfect.
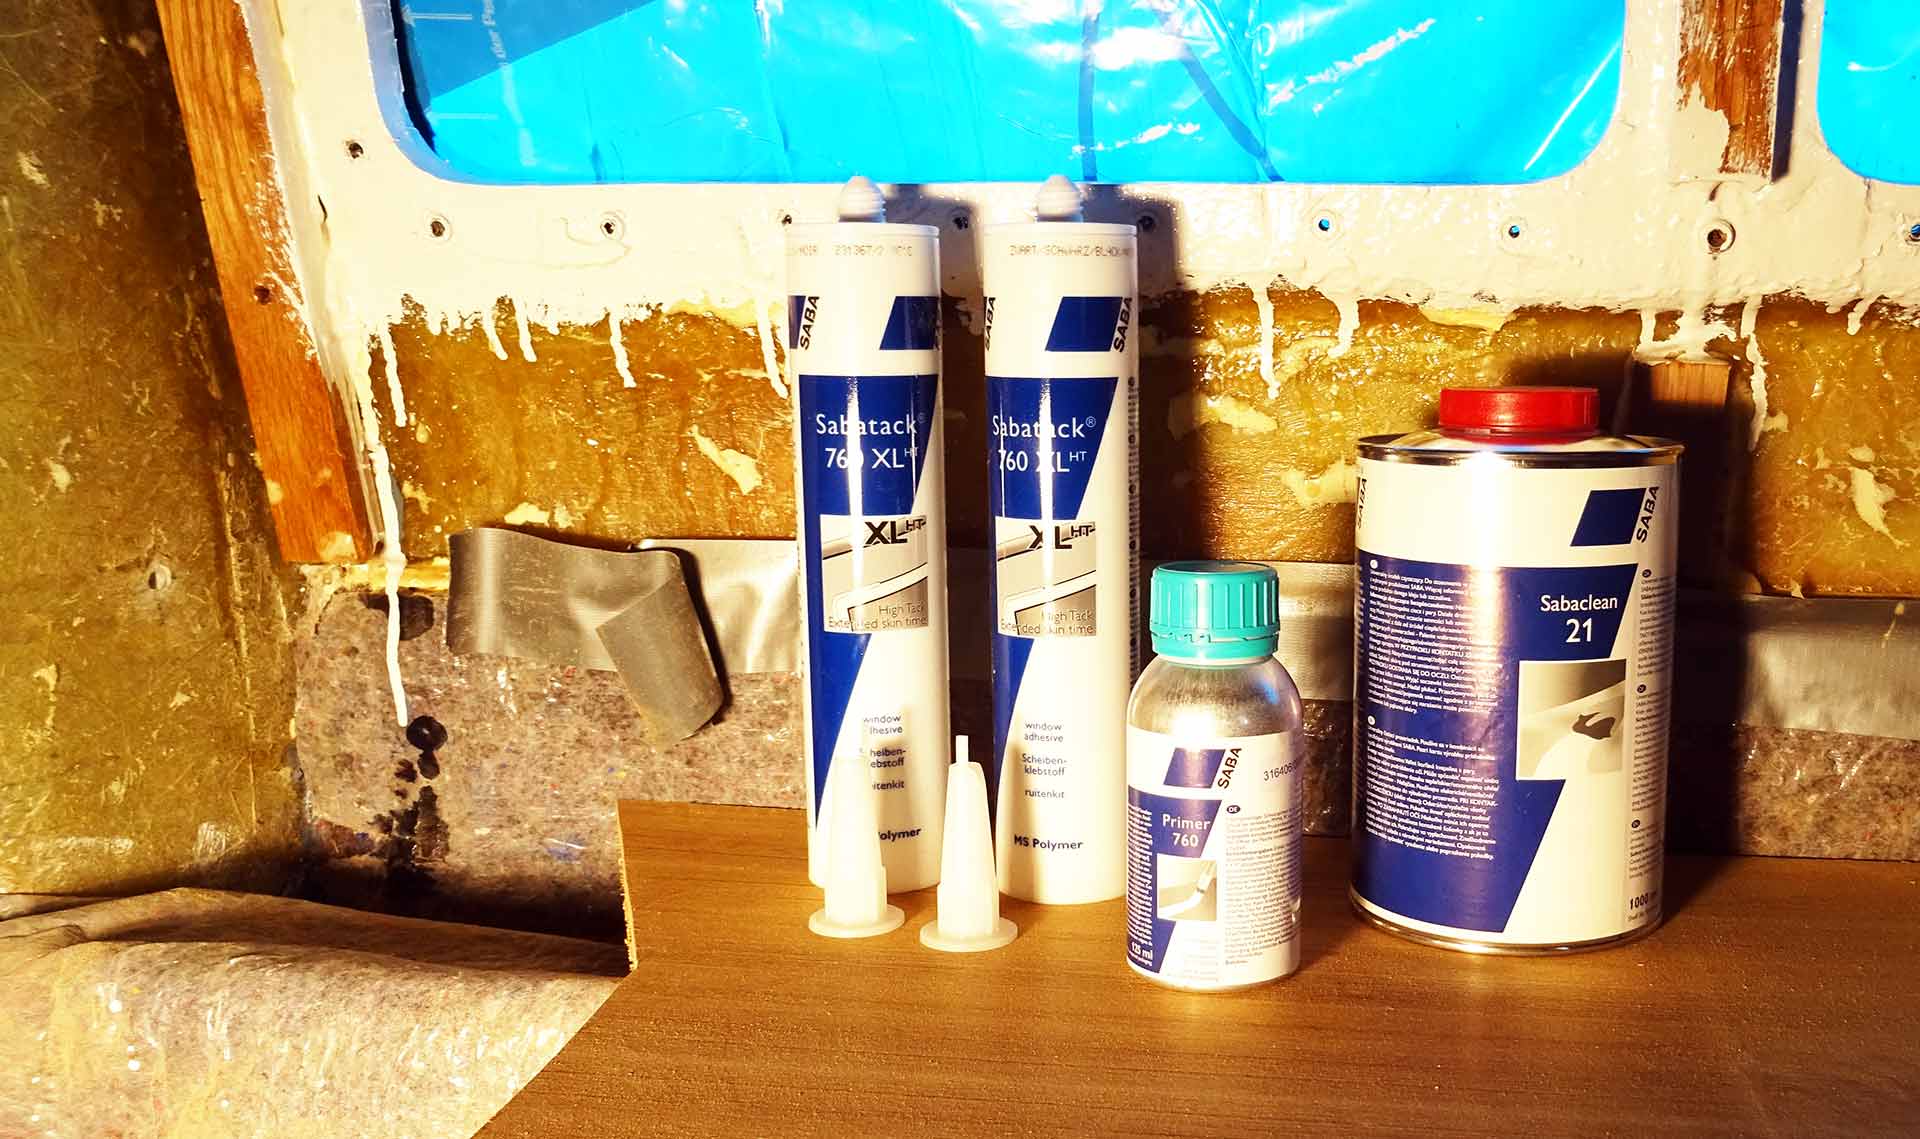
Reading through the net and asking people how to best get the windows back on, I get the best help during a call to a German company called Saba Adhesives where a very competent counsellor helps me out. My pre-owners did “glue” the windows with ordinary silicone sealant. Which is a no-go on a boat. “You must get rid of the silicone, clean thoroughly and prime the surface first”, they tell me at Saba Adhesives. “Then it is just the right glue and technique.” Sounds easy, doesn´t it?
That´s where I end up now: The boat has been sealed by a makeshift garbage bag construction and a lot of adhesive tape. I am awaiting warmer temperatures to get off the silicone, clean the surface and get on the new windows, get them tight and waterproof so that I can fit the freshly built Teak panels at last.
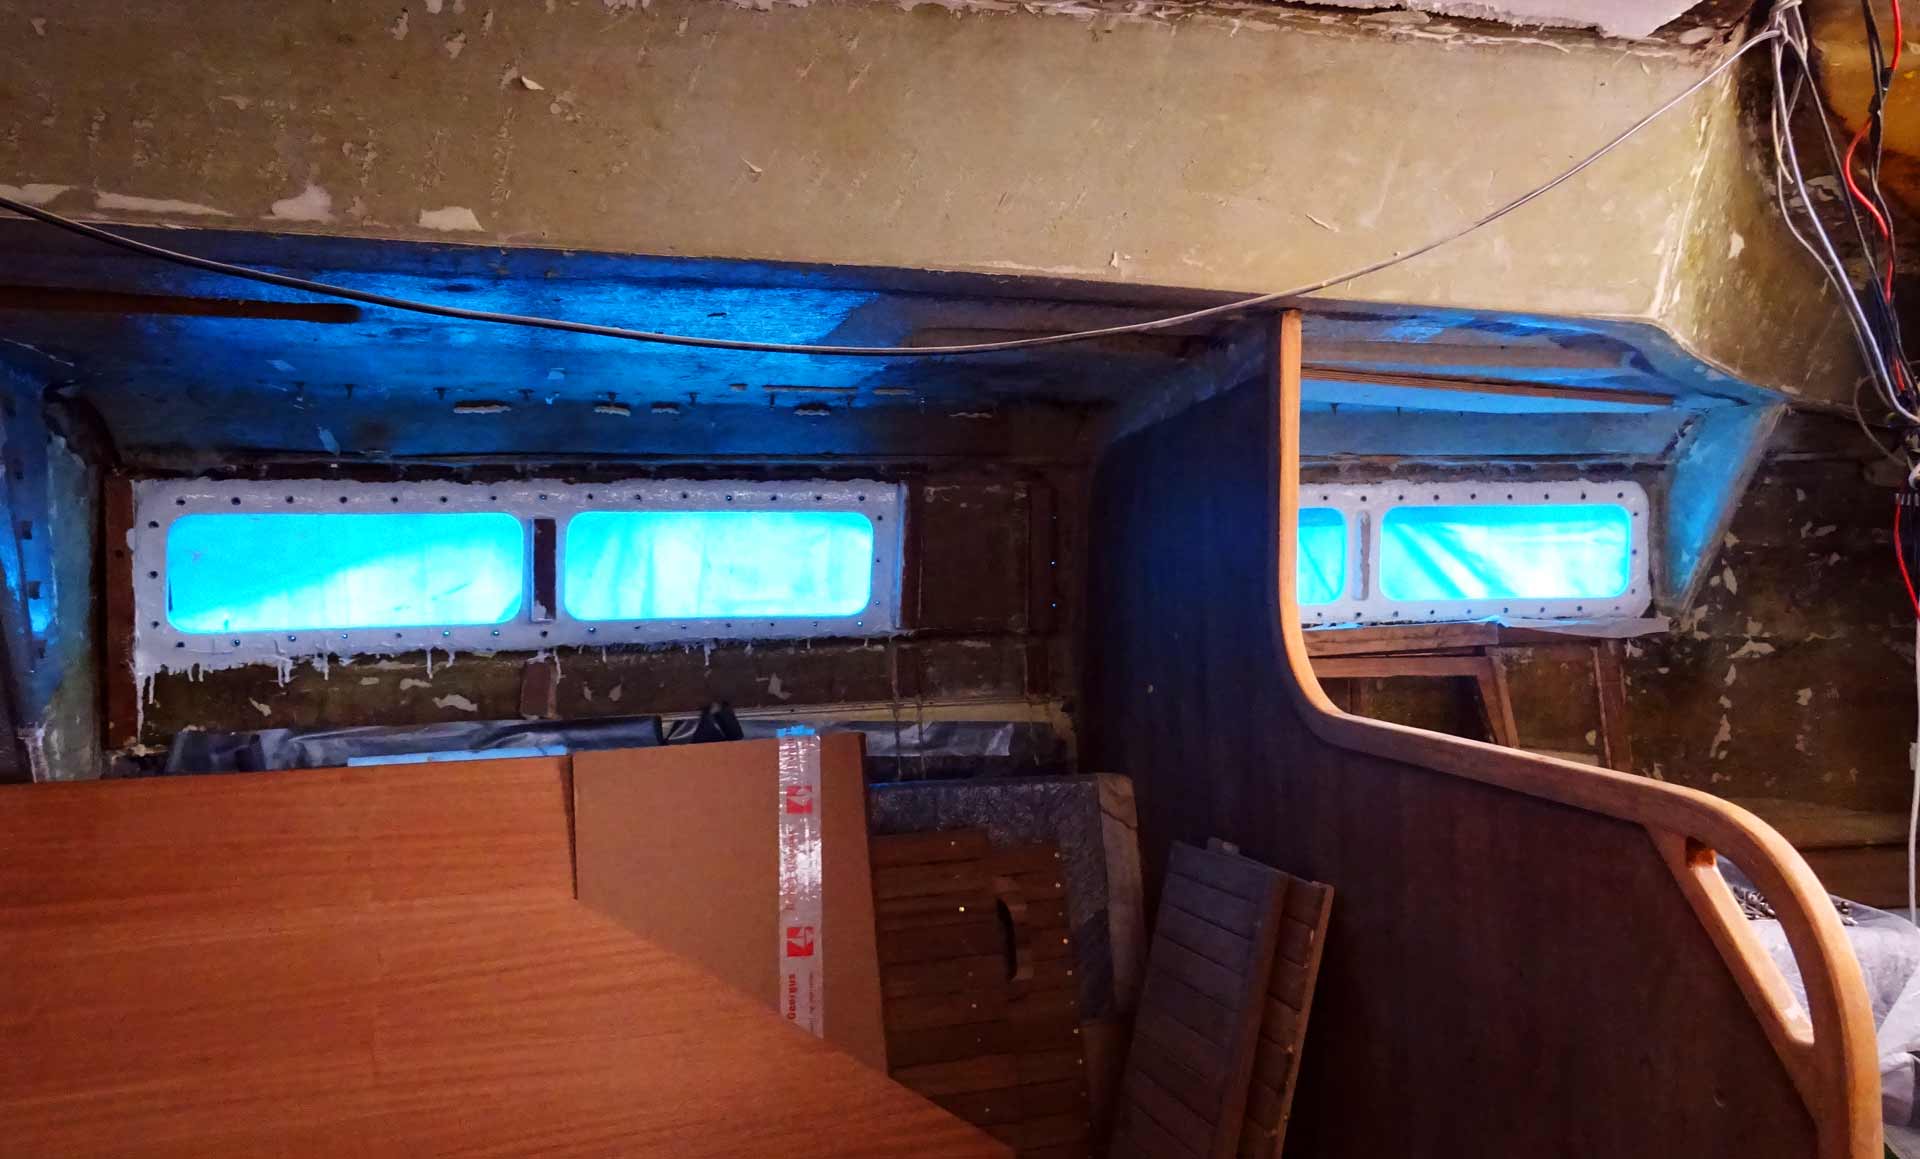
In the meantime, I do have Caribbean feeling inside the boat due to the color of the garbage bags: At least something to dream while working in these cold icy conditions. There´s still the entryway, head and fore cabin where I must sand the bulkheads. Stay tuned for sequel to this first yacht porthole article.
Other interesting articles about sailing yacht refit:
Refurbishing an old, filthy bilge
Testing dust masks for work & safety
Making a DIY tarp for winterizing your yacht