In the last weeks I was able to witness the work of our GRP and gelcoat-pros in the yard. A fascinating step-by-step process of repair works on a boat of us. The owner of the boat notified us that he detected some seriously big looking cracks in the gelcoat around the starboard Genoa winch. As the boat is still under warranty and the damage on first glimpse did not seem to have originated by faulty use of the owner, we took the boat to our yard.
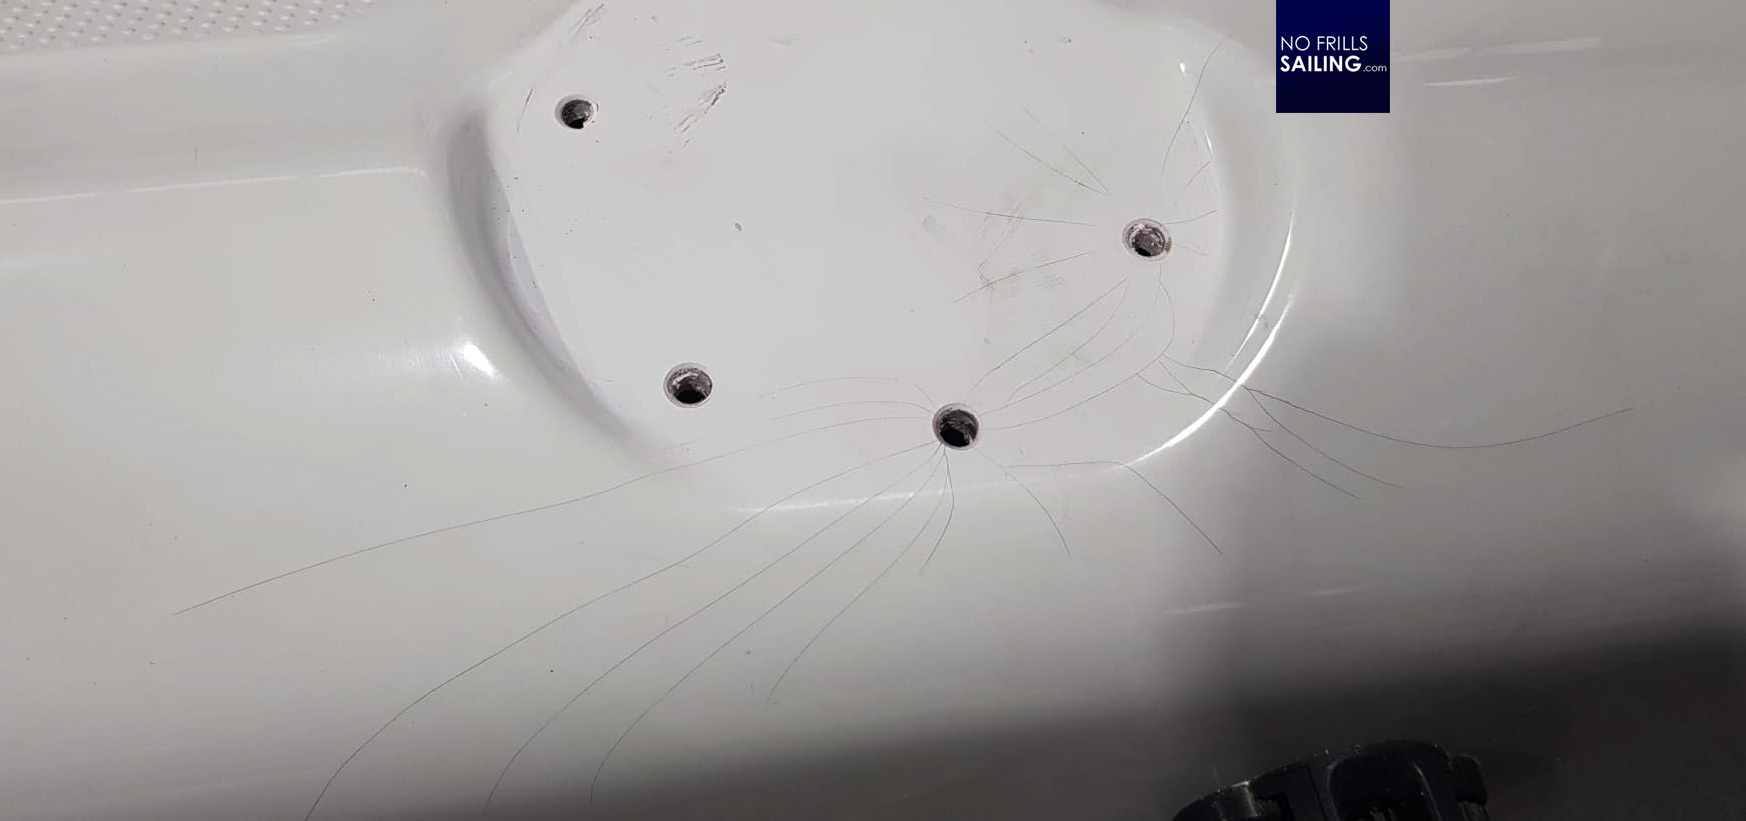
Taking off the winch we could clearly see thin hairline cracks around two screws of the winch. We documented the cracks and notified the manufacturer by warranty claim which was quickly accepted and so our specialist for GRP works started to use his magic. We hired Olaf from famous Meyer Werft Papenburg where he was working on big cruise liners, laminating everything from water slide shoots to Disney figures.
Superficial crack or deep cut?

First step of his work – almost like a doctor of some kind – was to determine the seriousness of the case. There is a difference between a thin superficial crack of the gelcoat surface and a really deep cut in the laminate. “Glass fracture”, as he calls it. And so, after disassembling the winch, he started to clean the surface of any dirt and grease.
Having seen such damage a thousand times over, Olaf looked at me and said that he didn´t believe in a small crack. These fissures did not seem to be originating from – quite common – expansion or stretching of the surface. Also, superficial cracks by mechanical loads, seemed out of the question. Taking off his glasses, he said: “We have to open the fissures.”
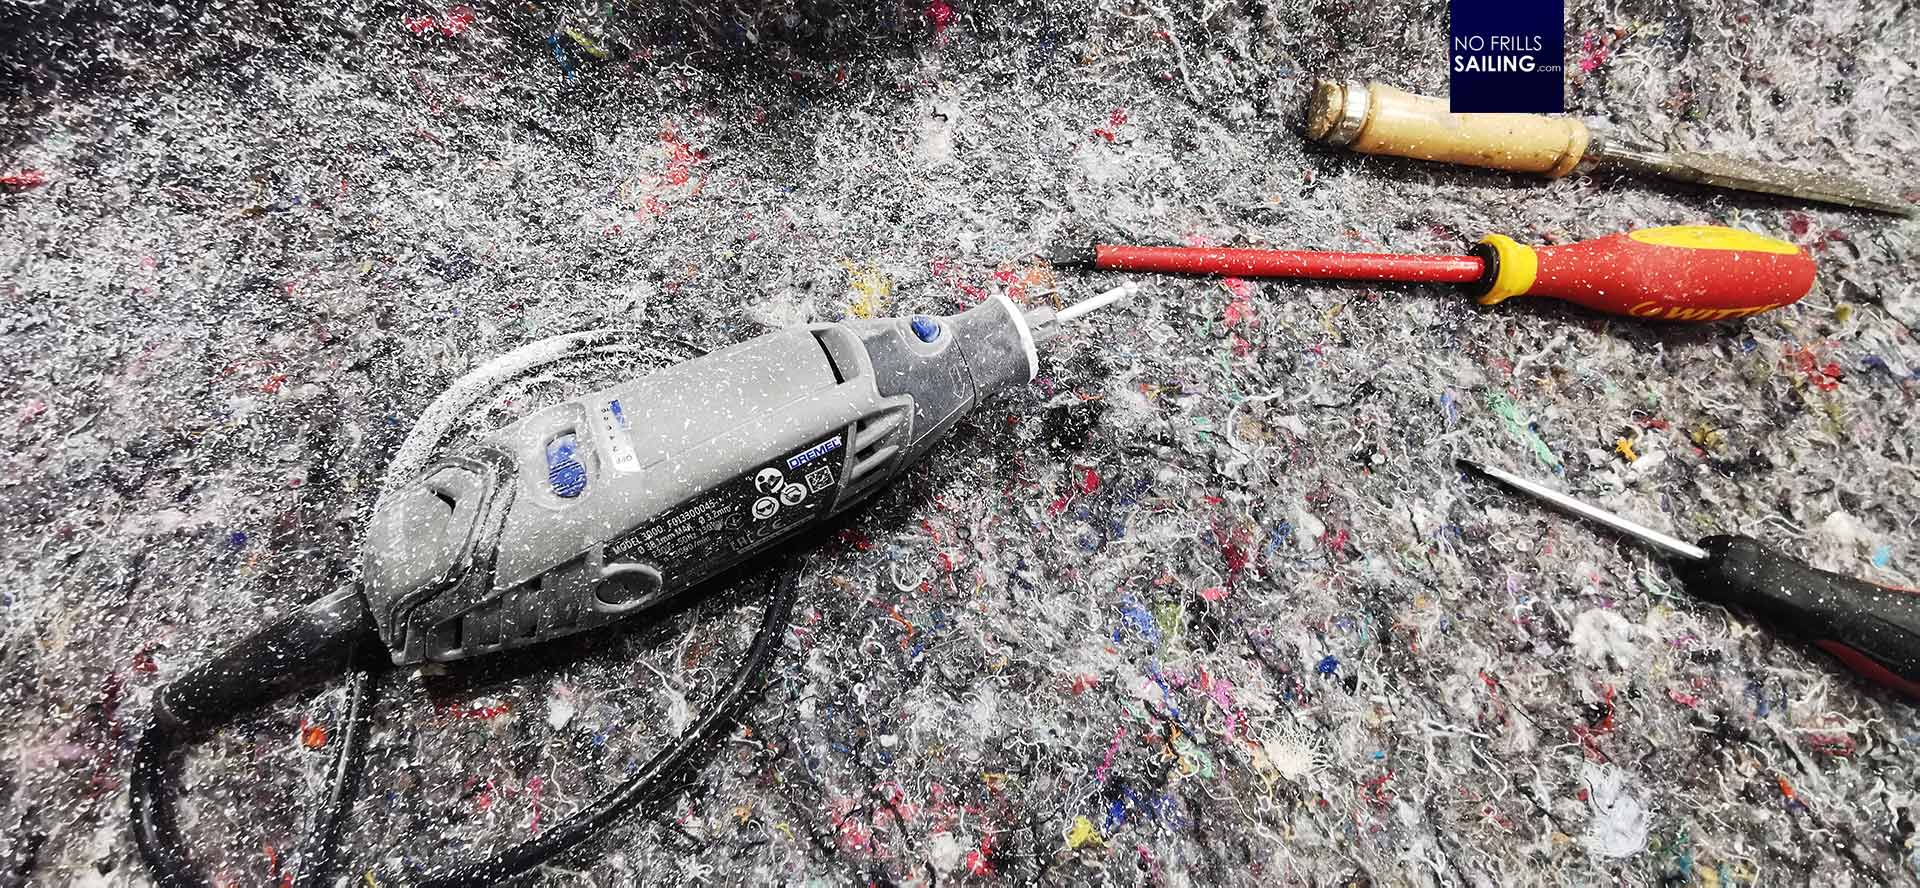
The tools of a GRP-repairman are, compared to what these guys normally use in our yard, rather nimble and light. A Dremel, some different bits and sandpaper does the trick. Olaf wrapped the cockpit floor and the boat in protective foil and started to work.
Working like a dentist
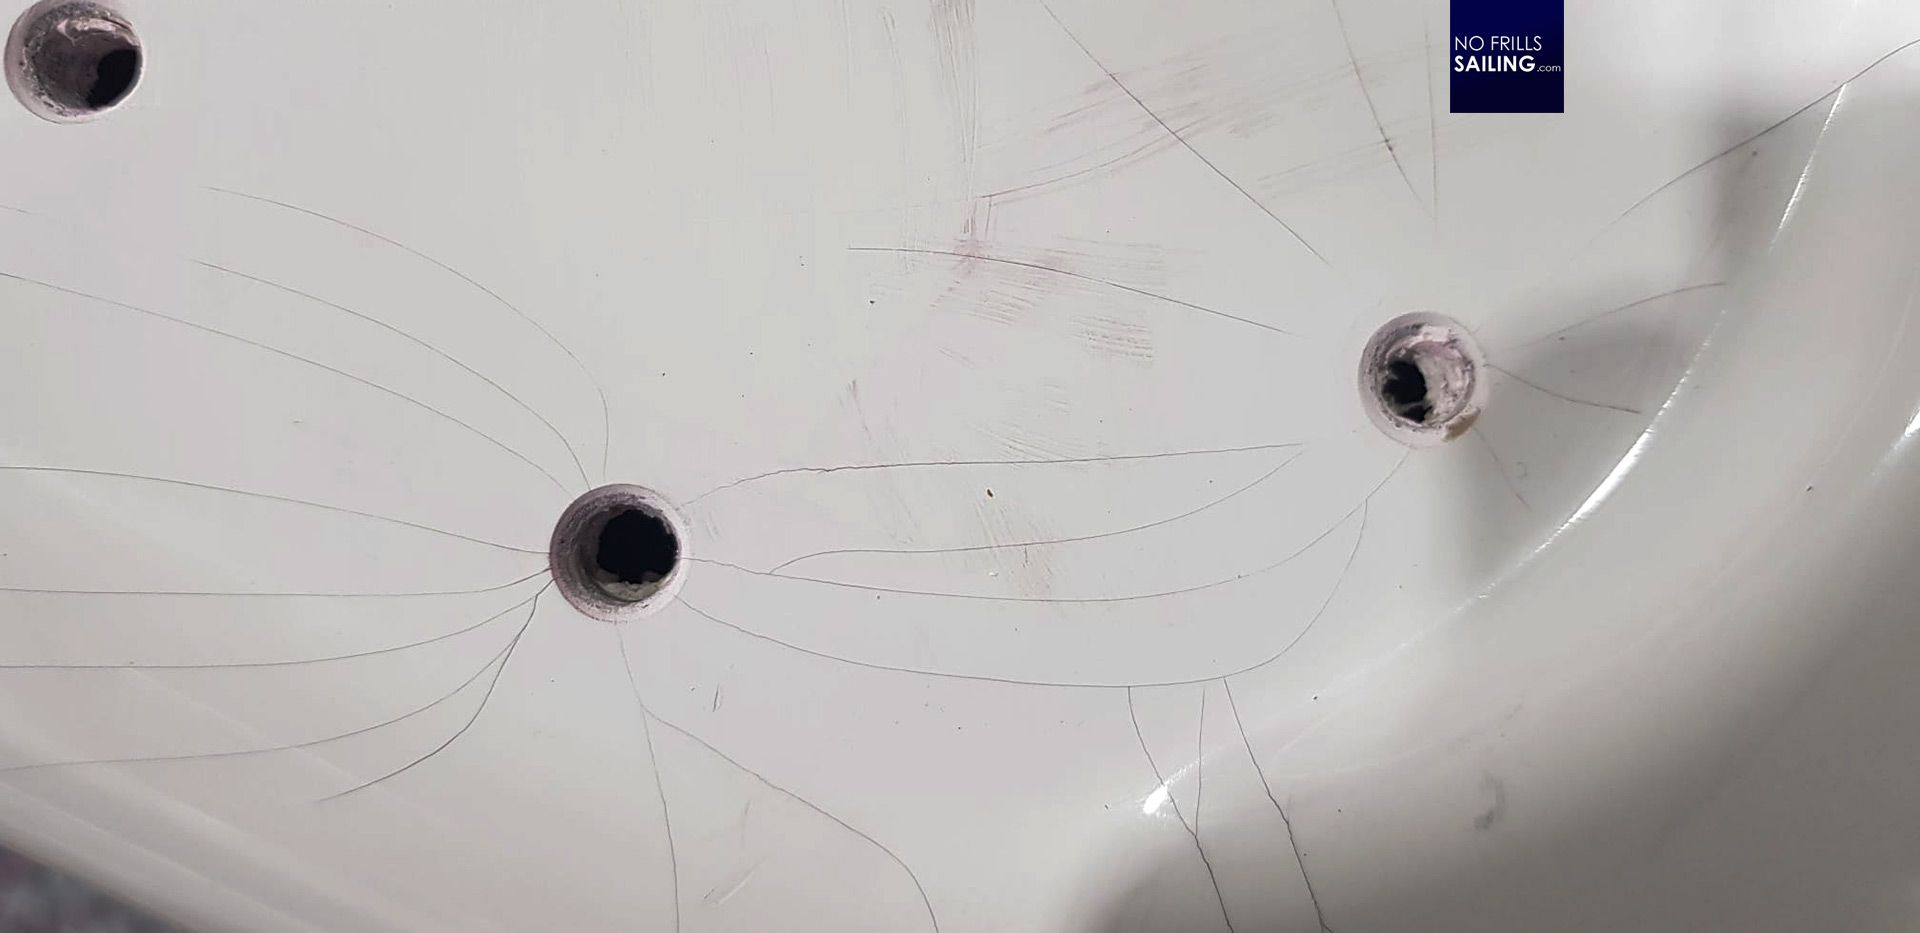
After a couple of minutes, sanding all along the fissures, Olaf had milled away millimeter by millimeter with his tool. Following the cuts he thus lid bare the cracks and move by move drilled a bit deeper along the cuts.
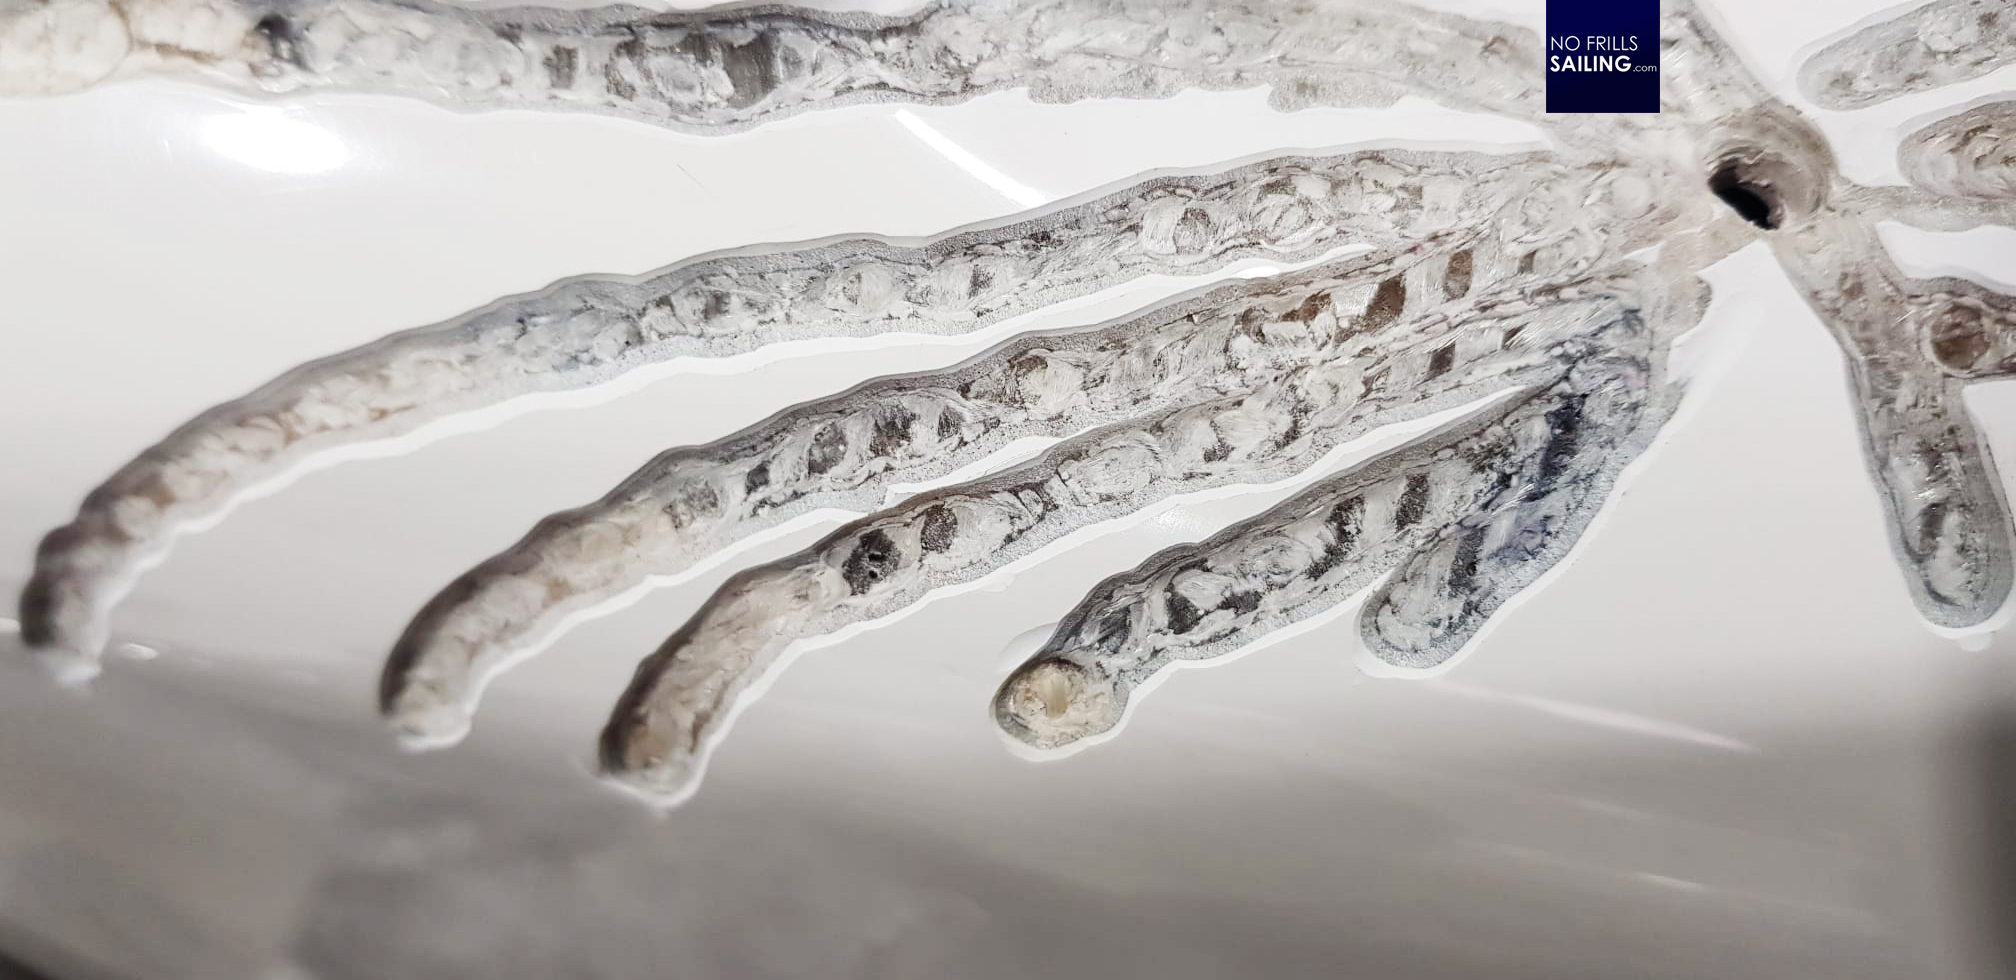
Of course seeing this hurts the eyes of a sailor: Laminate should never lay bare and those cracks, as ugly as they were, seemed nothing compared to the more and more opening thick cuts. Like a fern growing on the coaming, like a grey sort of aggressive mushroom the cracks grew in size. And so did the worry lines in Olaf´s face.

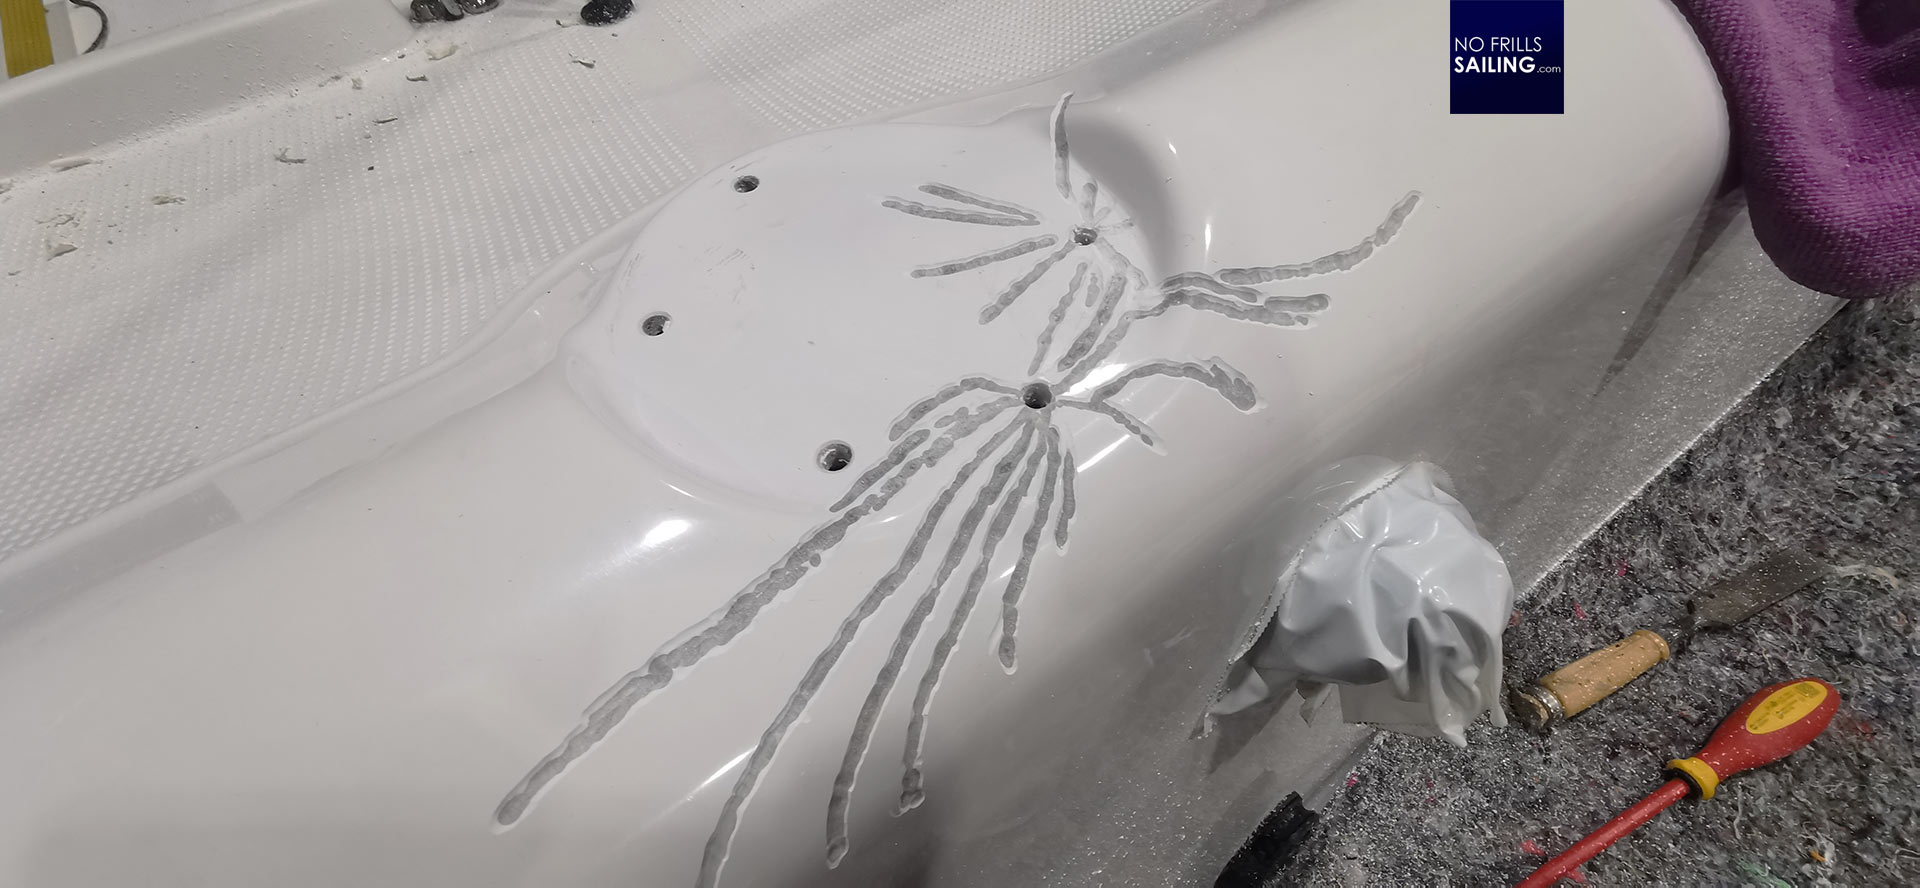
After two hours the whole labyrinth of cuts had been opened by him. Just like a dentist taking away the rotten and dead parts of the tooth, he had carved out the damaged glass. “The cracks go deeper than I thought”, he said. And so, after installing a new drill bit on the Dremel, he began working for another hour to cut free wider and again deeper into the laminate.
This is done because the cracks are too big to being just re-filled with pure gelcoat. If the cracks had been superficial, this would have done the trick, but not here. Doubling the working hours, Olaf was about to put in some more Epoxy and glass fiber to add strength to the winch mount, close the wide “trenches” and give back the structural integrity this part of the boat needs.

Filling in the blanks
Especially this part of the boat needs to be strong as there is a lot of load diverted from the winch into the hull. When under pressure, almost all of the force of the wind is coming down the sheet and goes into the hull via the winch. And so Olaf started to mix the Epoxy components.
Three layers of Epoxy and glass fibres are then brought into the open “trenches” of the cracks. Each layer was allowed to dry and it has then been sanded down. After two more days working on the “injury”, the filling process was finished and the sanded surface not only looked strong but also felt this way. Although it looked almost empty, the wide cuts are now filled rock solid with GRP – and this in itself has a strong bond with the surrounding laminate.
Olaf sanded it down and after three working days smiled: “Let´s wait until parcel service delivers the original gelcoat components from the yard.” Only halfway through the project, putting on the white surface sealing and re-assemble the winch are still open to be tackled. Looking from the inside of the boat, we also discovered that the washers countering the winch had been a bit too faint for our taste. Olaf had an idea …
Read more in part 2 of the “Smart repair”-series in a few days and see how it ends.
You might also like to read:
Black hole boat refit?
A filthy rusty bilge – brand new
Buying a bargain hull?