It have been some busy weekends for the King´s Cruiser 33 refit program: I am now in the midst of the woodworks. Small steps and one at a time, I´ve begun to focus on the refit of the yacht´s head, which may be read here and here. In doing so, I´ve made my first experiences in working with Teak. I´ve decided to go for real massive Teak instead of veneered plywood. Why´s that?
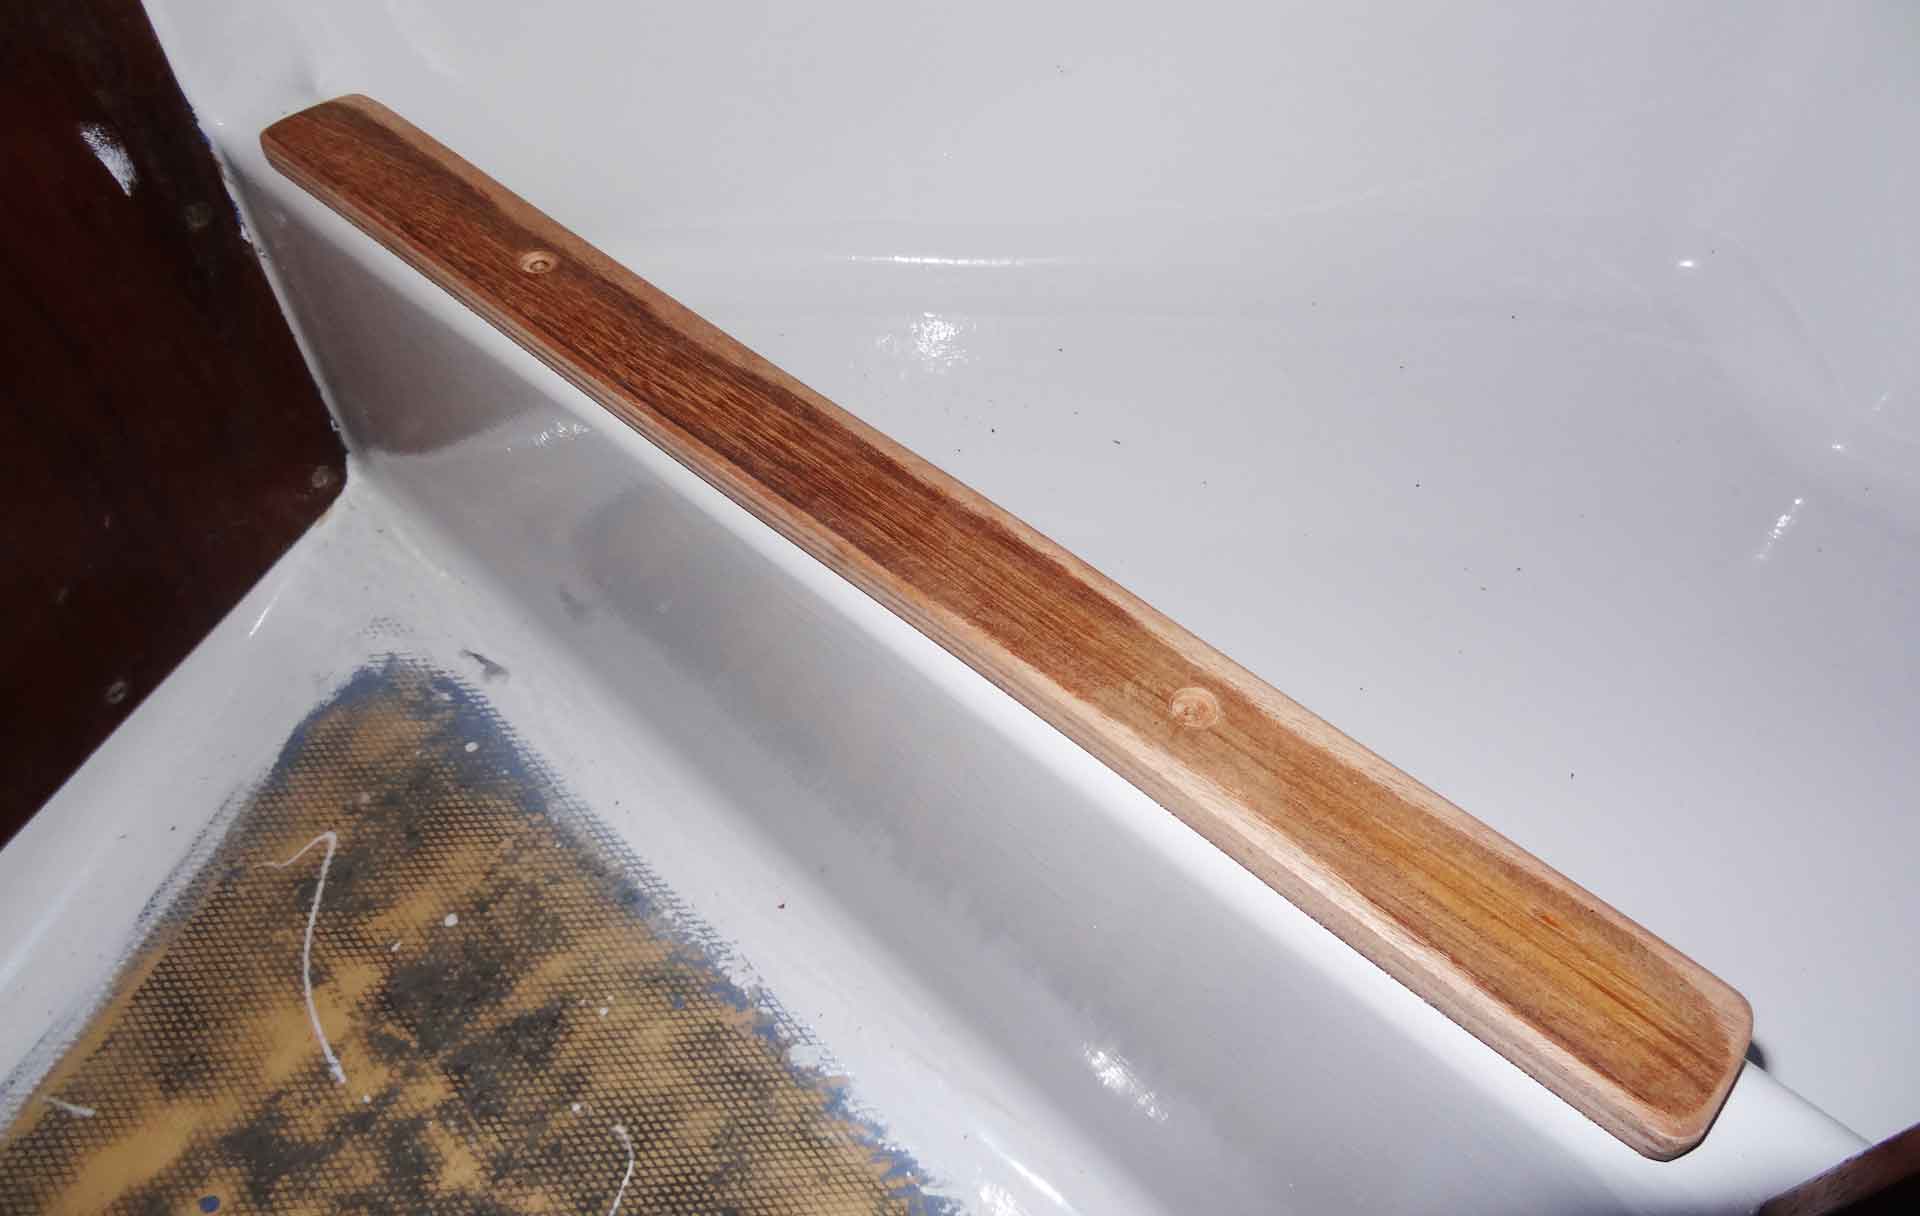
Well, it all began with a small tread. After painting the ship´s interior in shiny new white I noticed that upon entering the head one´s foot is likely to step on the newly painted areas. As I am kind of a perfectionist, I want to preserve as much of the refurbished ship for as long as possible, so I though it might be a good idea to manufacture a small tread. Since there´s a lot of Teak at hand, I found a suitable piece which I sawed and sanded to fit, applied two bores for Niro screws and found it cool. Somehow there arose an idea to add some more Teak to the head …
Best Teak for the Head

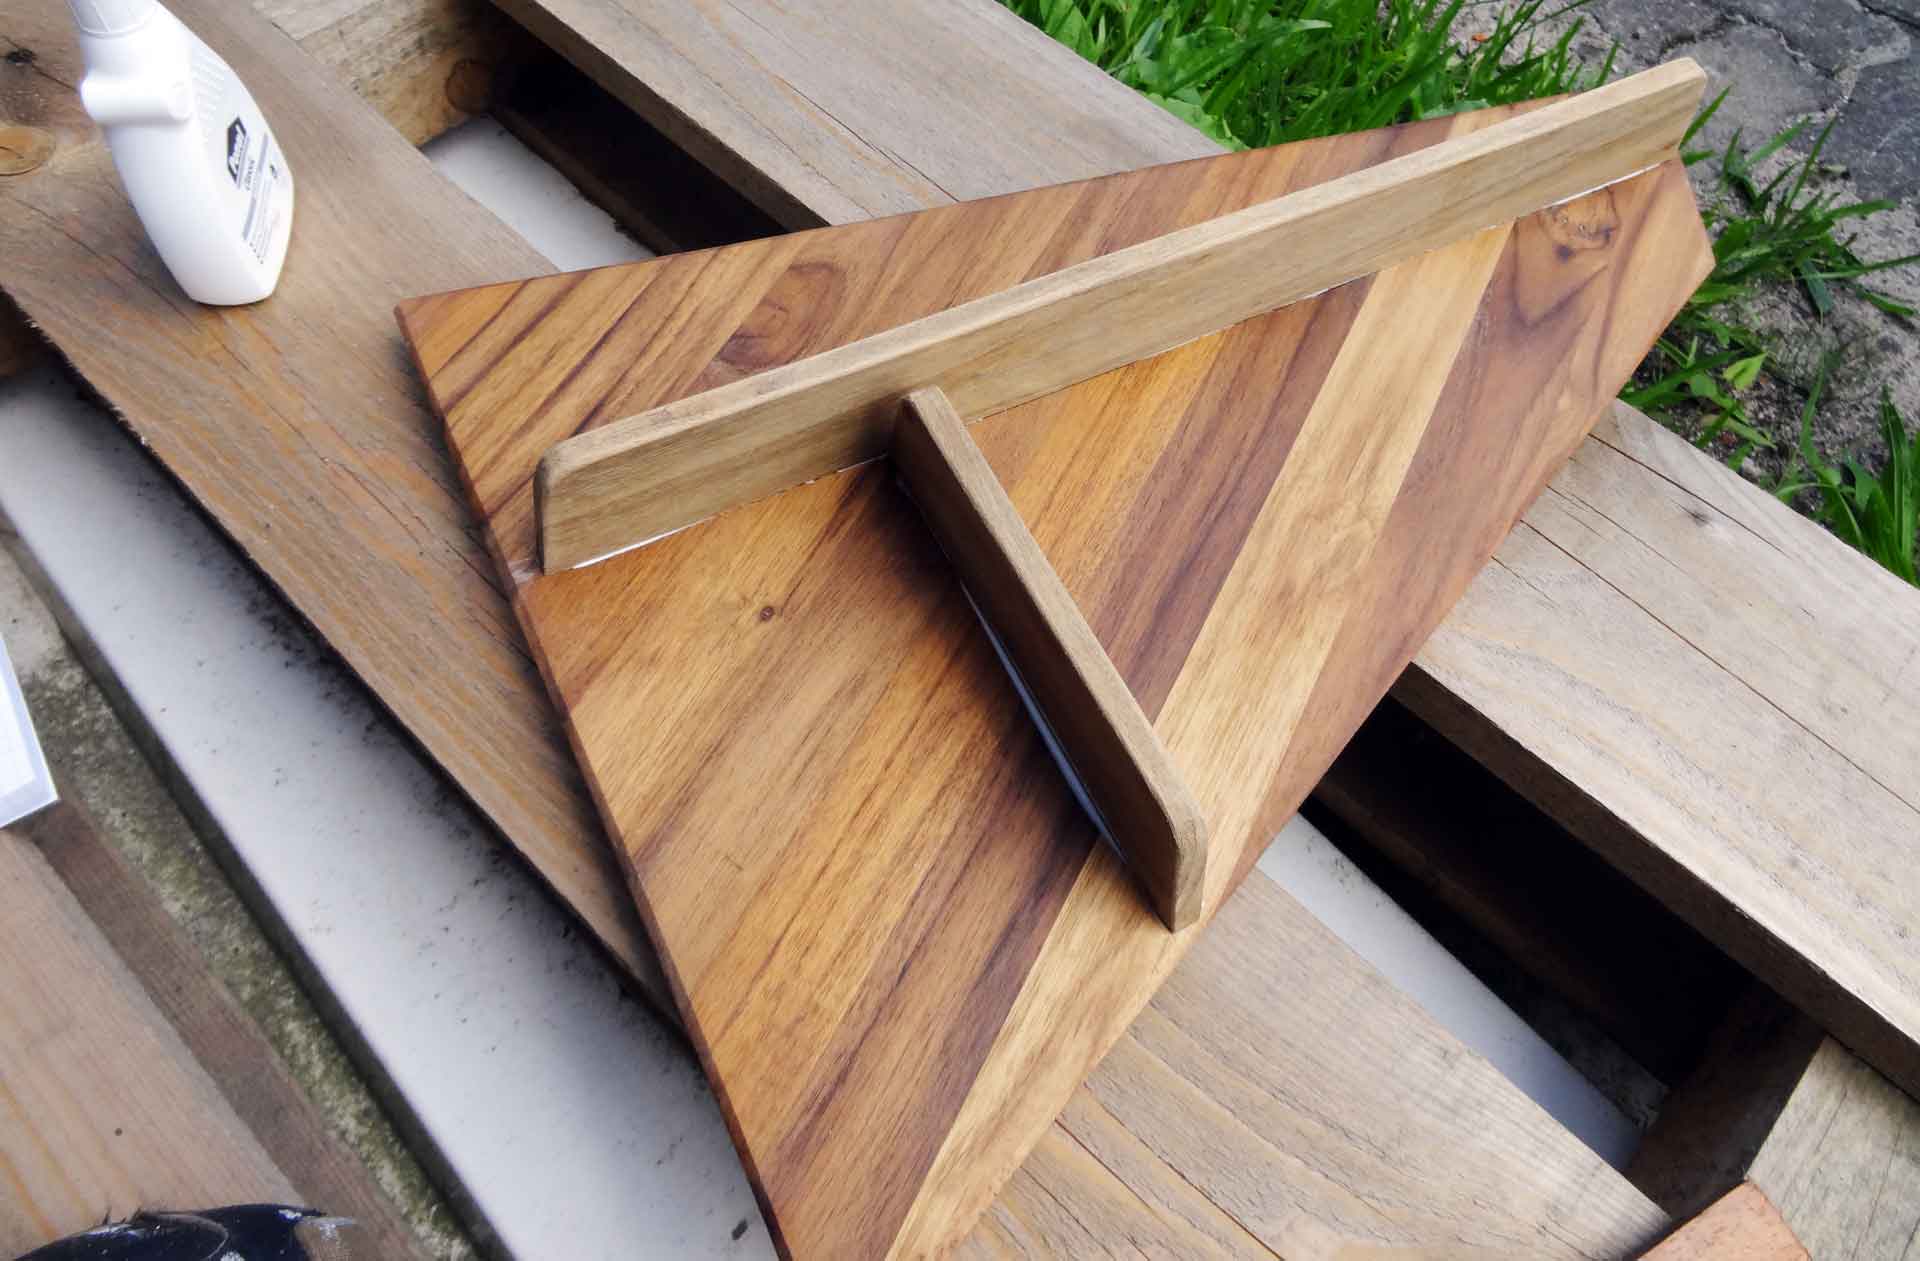
As you may read in one of the previous posts I came up with making gratings for the head which turned out to be all too expensive. So I opted to have them manufactured by my own – simple inlays would also have an enhancing effect of the ship´s head. So I began to saw and glue and sand.
In the end I produced two panels for the head´s floor, a stand for the new pumping toilet and an inlay for the sink which I won´t use anyway. As it turned out, working with massive Teak is pure fun: Sawing the hard wood is – provided using the right equipment – a no-brainer.
The new wooden parts look awesome, especially after varnish is applied. I opt for International Gold Spar, which is the paint of choice for me since I do have only the best memories of working wiith products made by International from painting the yacht´s interior which can be read here (LINK).
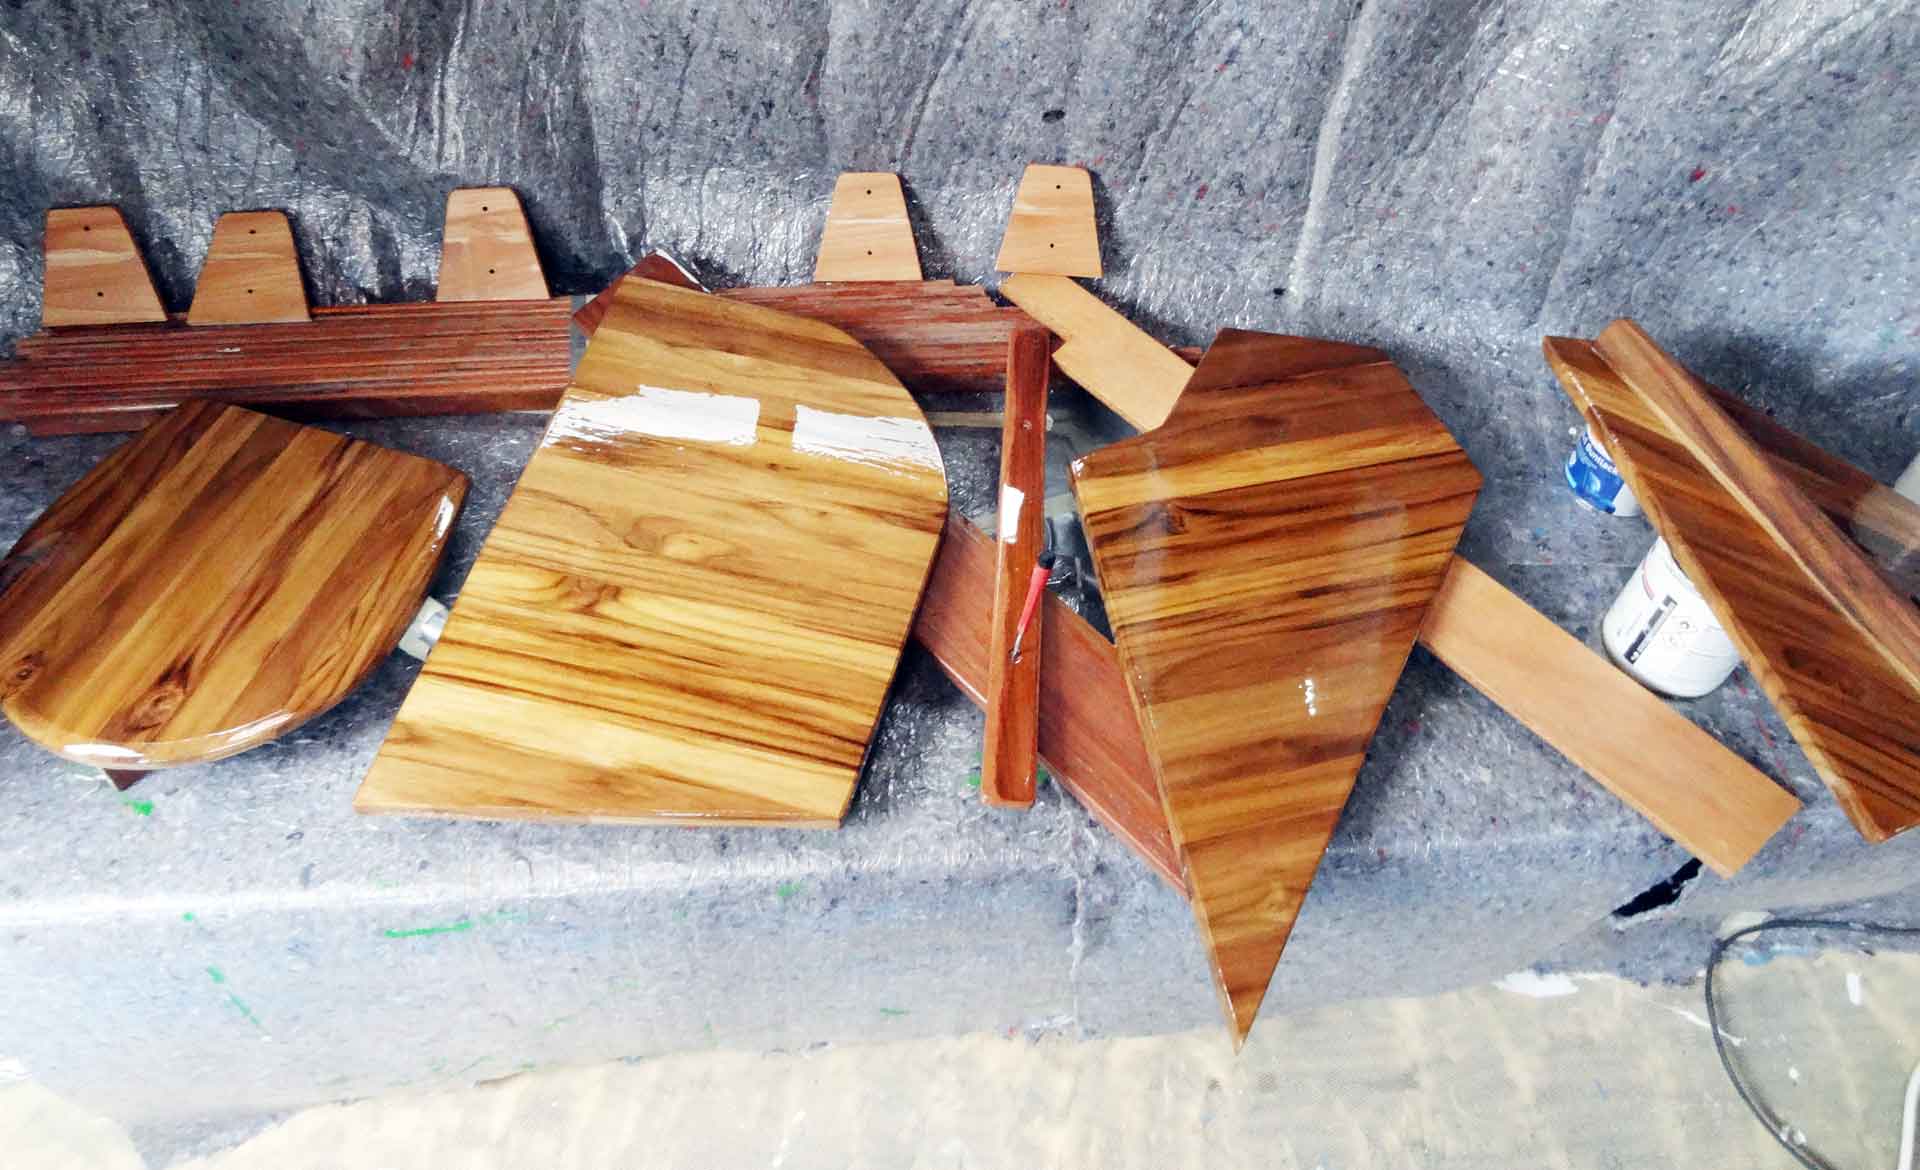
Gradually changing the paint/thinner ratio from 10 per cent to 30 and later 50 I then went on to have at least three layers of 100 per cent varnish applied to the wooden parts. I let the stuff dry thorough for one day before applying the next layer. The outcome is just awesome: Teak is a very classy material but if varnished properly it just has an alluring look. Of course: I bought FSC-certified wood from a dealer who can guarantee for a lawful cultured and cut product. I do not want to be part of the rainforest destruction.
Refurbishing the Yacht Head
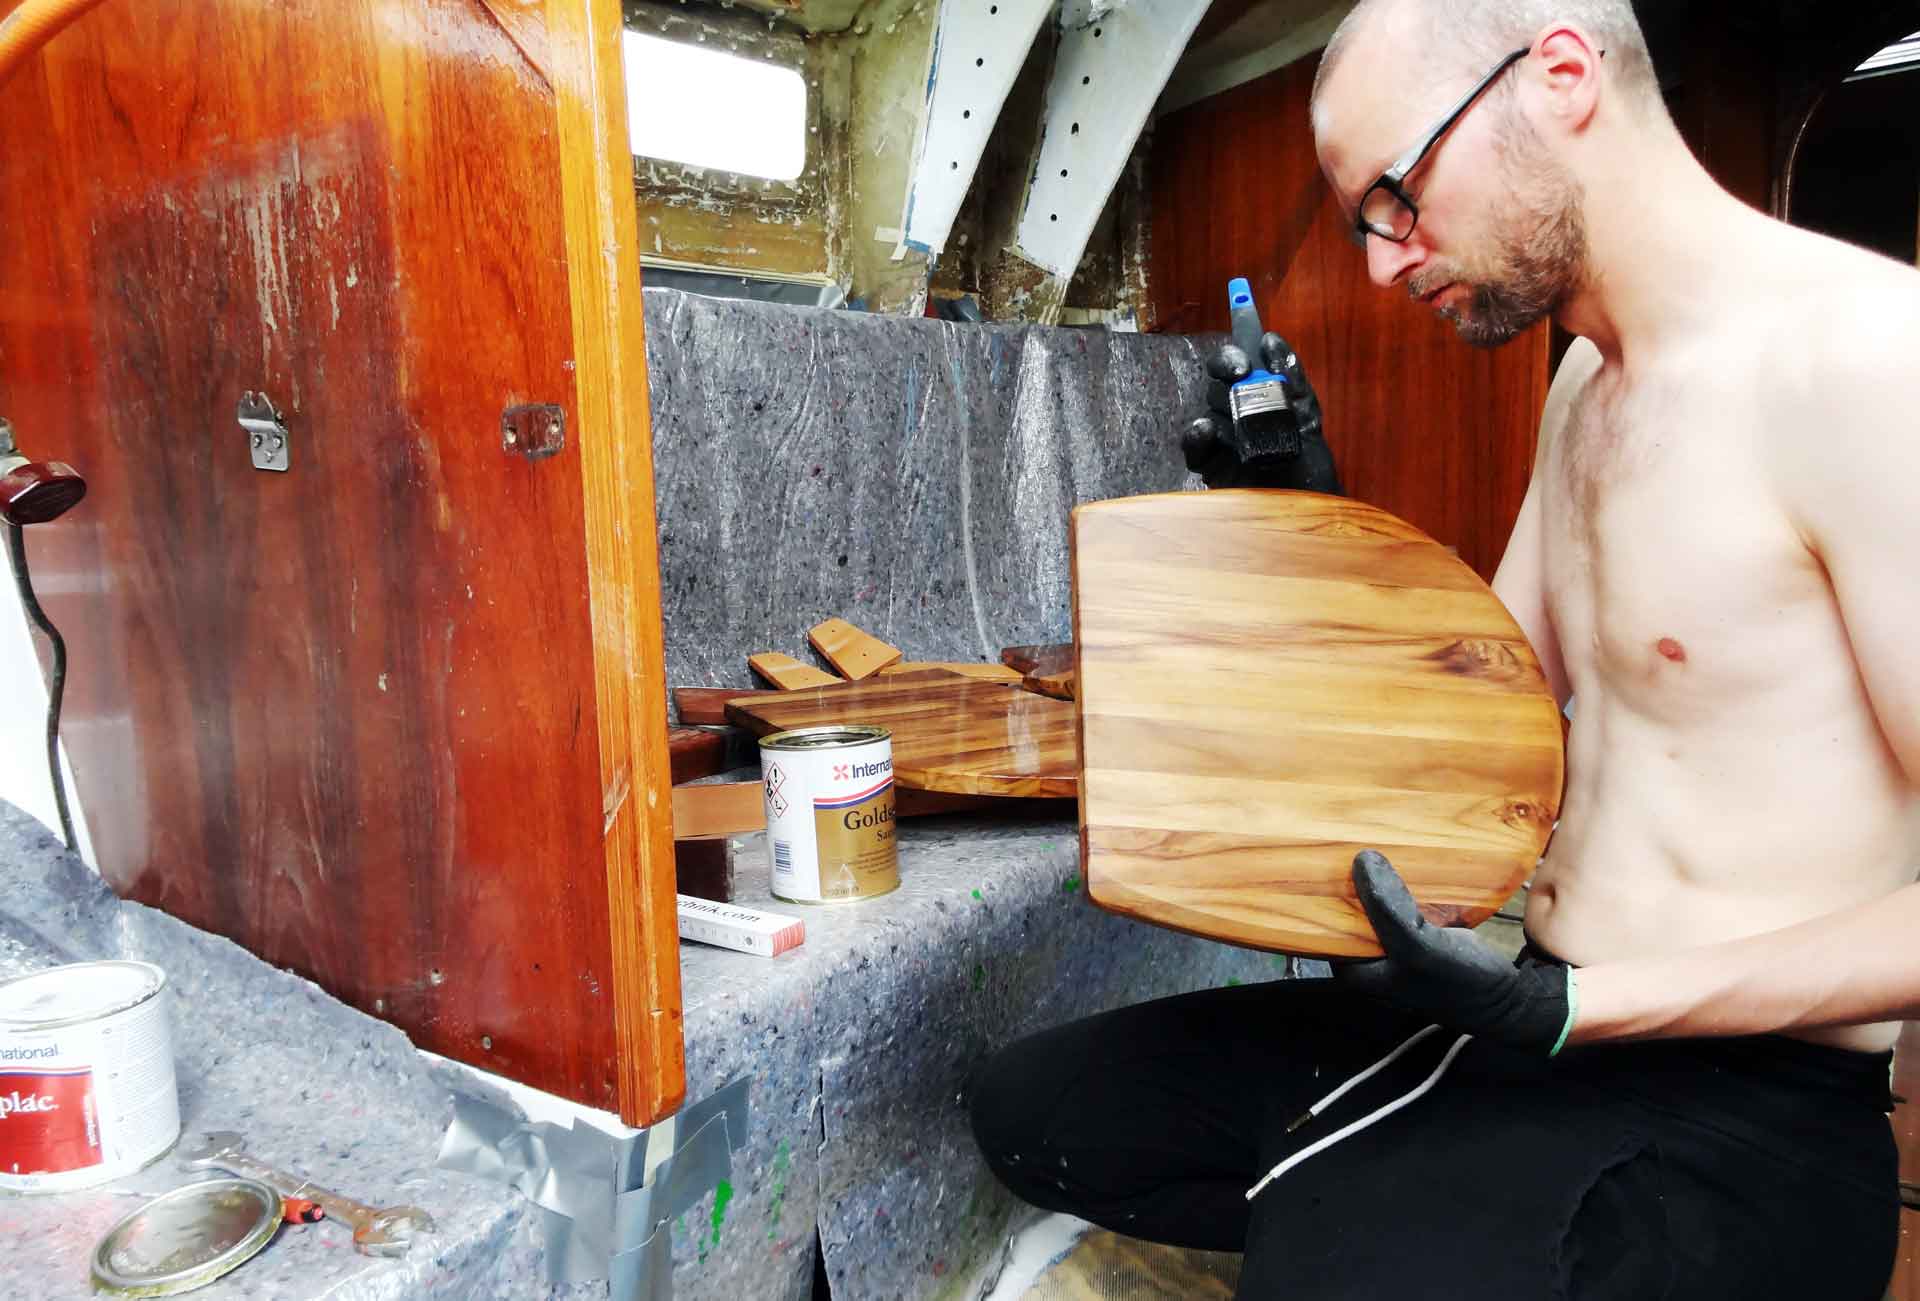
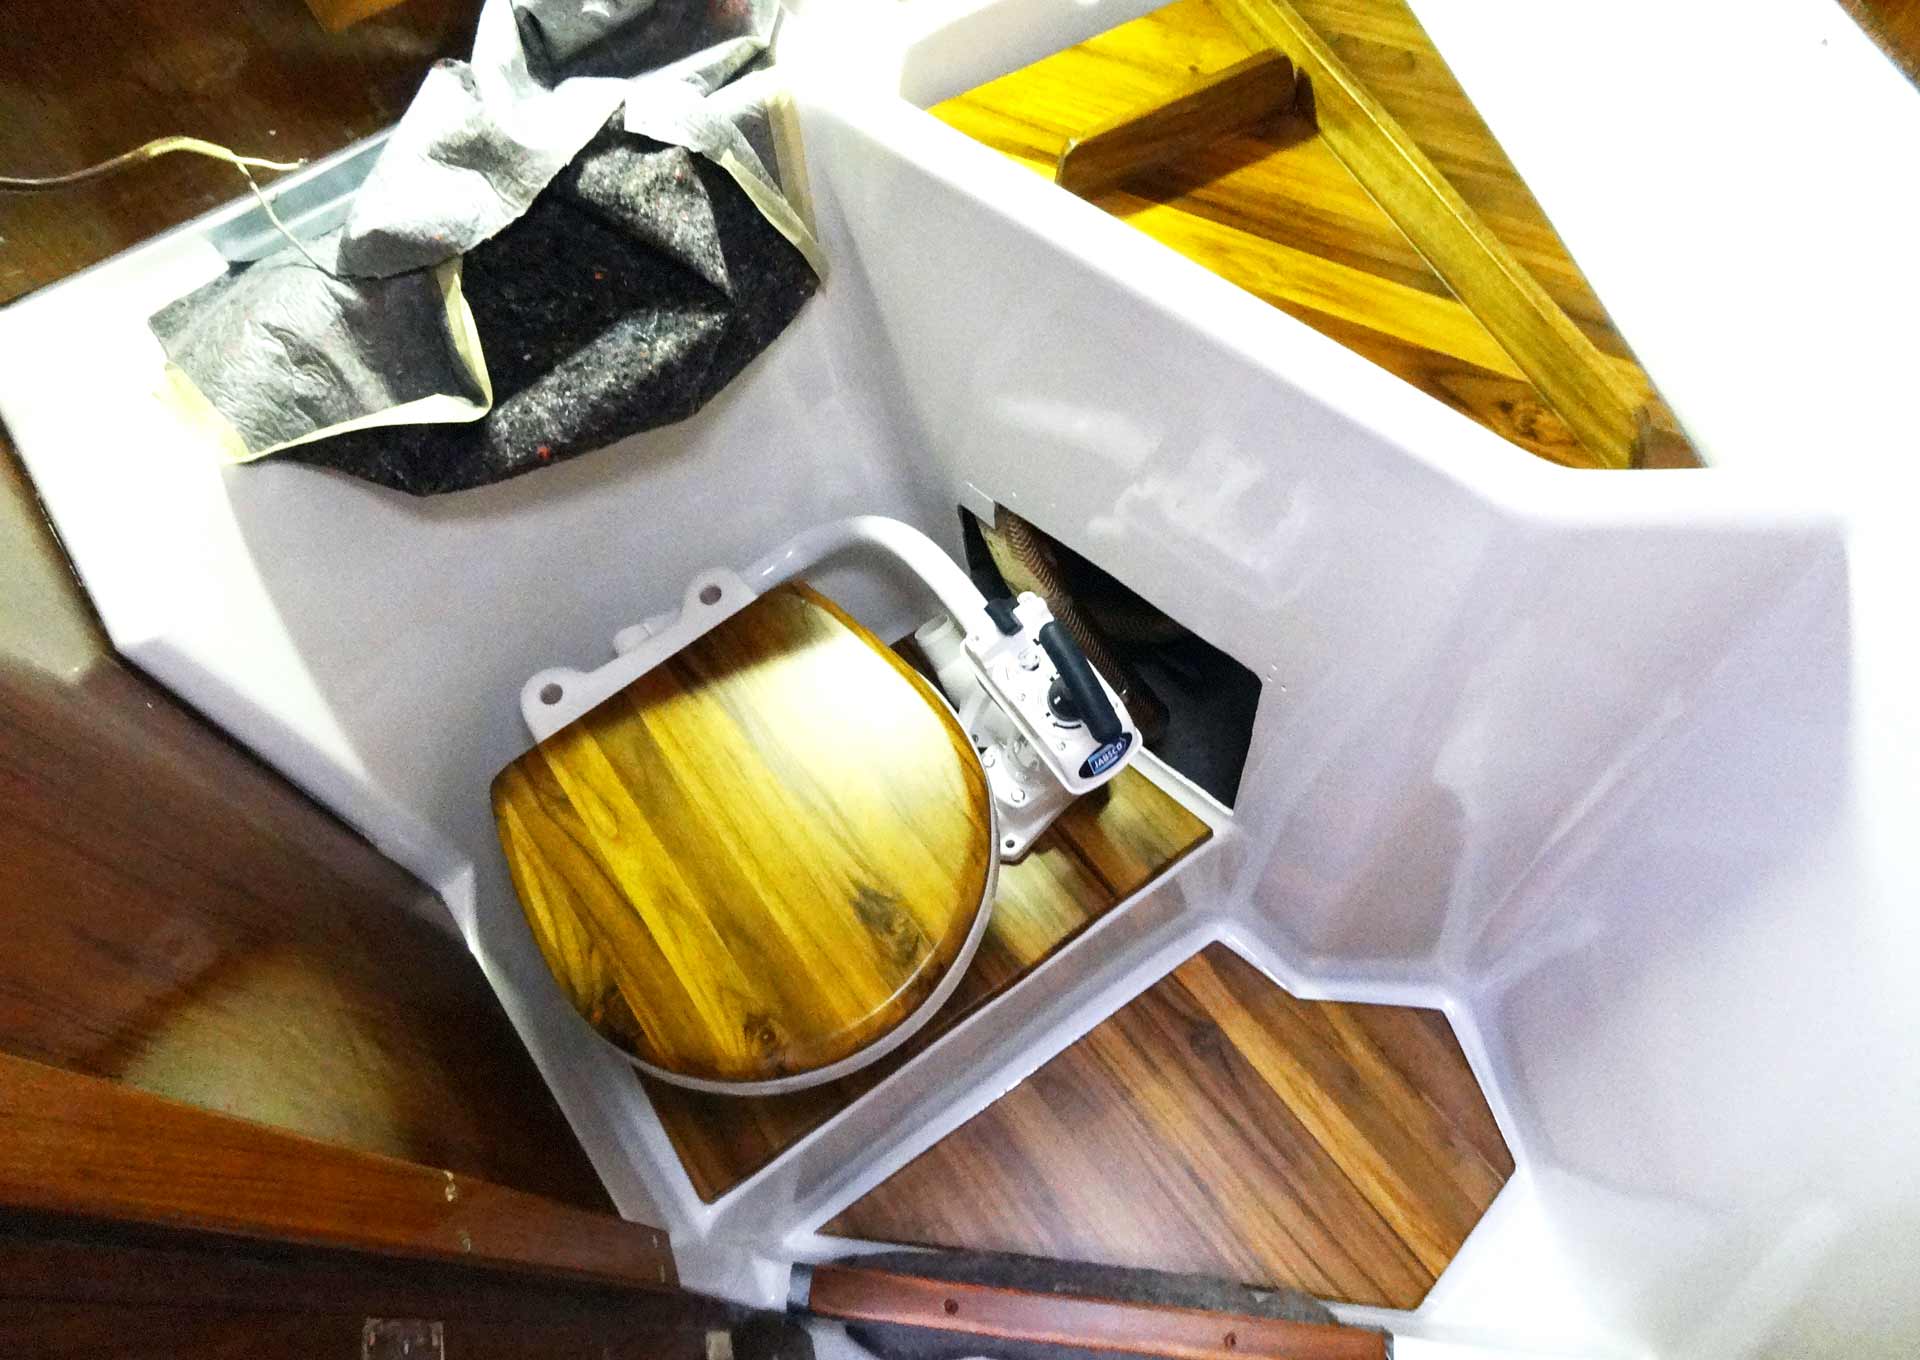
By adding a classy touch of real Teak to the head I decided to “tune” the new Jabsco pumping toilet as well. And since there was so much Teak left from the big plate I´ve bought there suddenly came the idea to replace the original Jabsco parts from the toilet – seat and lid – with custom made parts.
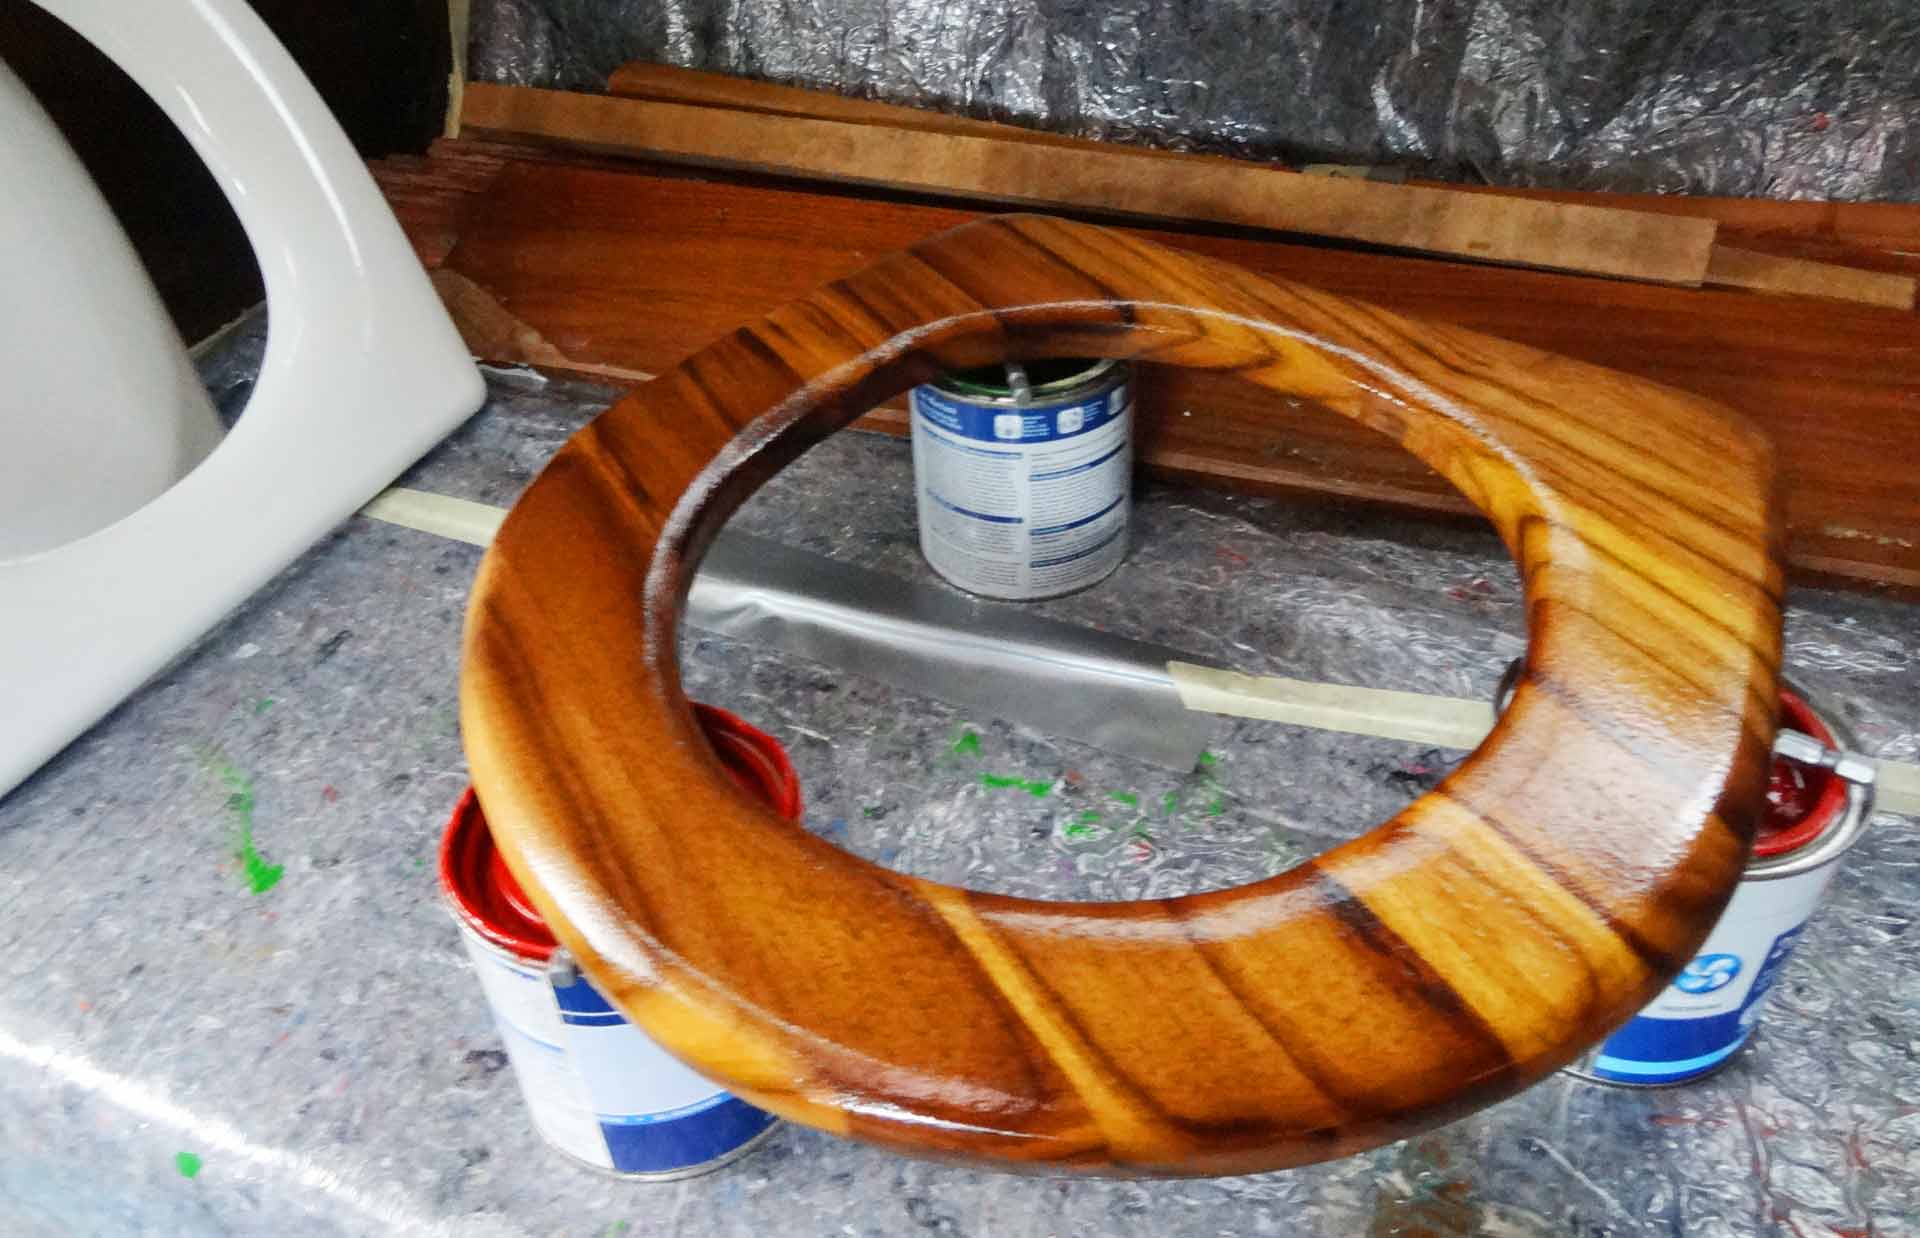
Along with a toilet lid – which looks absolutely awesome – I also sawed a new seat. I am confident that these new parts will considerable boost the atmosphere of my ship´s head. It´s not that kind of cold white appearance of the toilet – which always does look a bit awkward to guests upon their first encounter with a pumping toilet – but a warmer, noble look of the Teak.
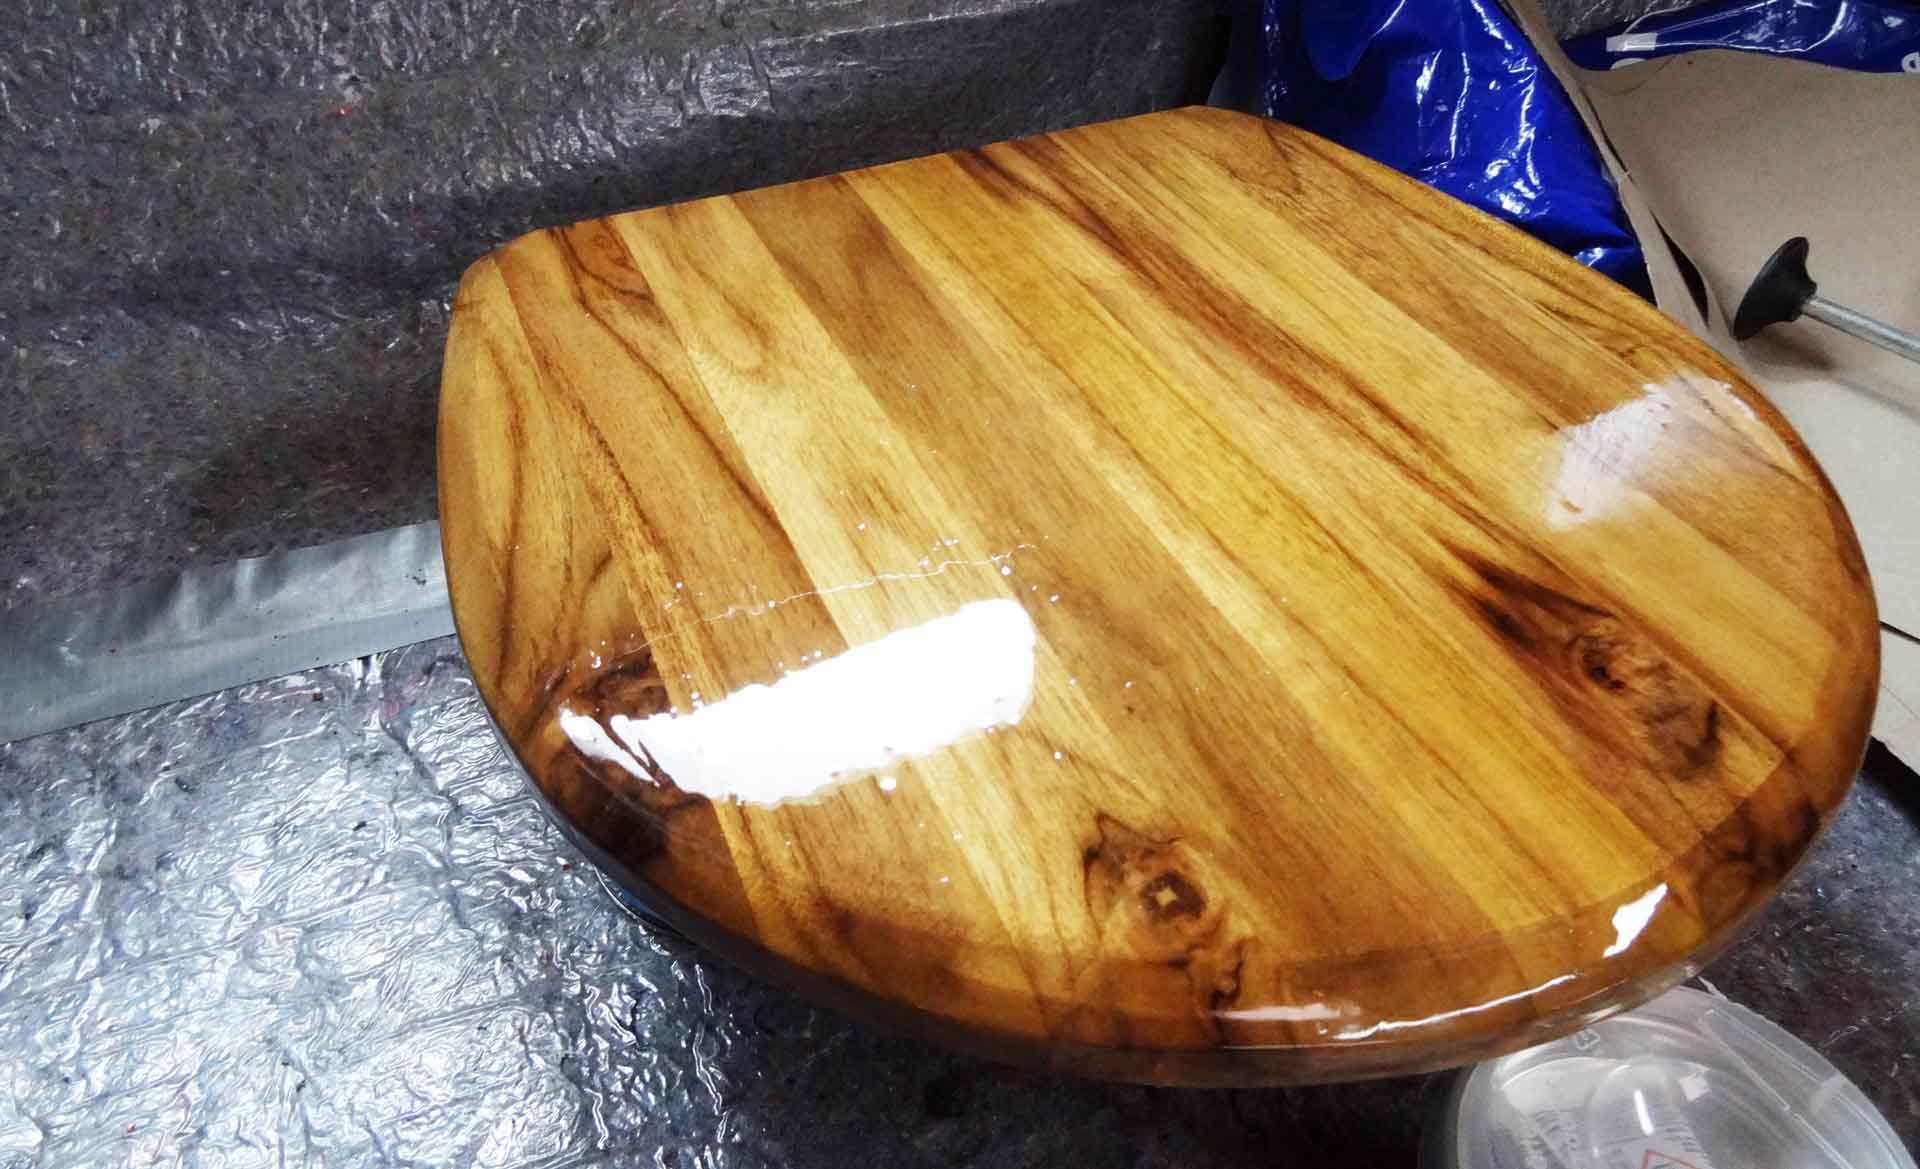
Both lid and seat will along with the other newly made parts and in interaction with the wooden bulkheads I am going to have refurbished during the coming weeks the share of wood in the head will be much greater than before. Well, it´s not a Hallberg-Rassy, I know, but will considerably add for a cozy feeling in here.
More Work ahead …
Upon doing this mere “cosmetic” kind of work in the head there´s much more: Valves and piping. I checked the valves and lucky me they aren´t suffering from corrosion. Instead, they can be operated with ease so there´s currently no need to install new valves here. It´s a different story with the tubing.
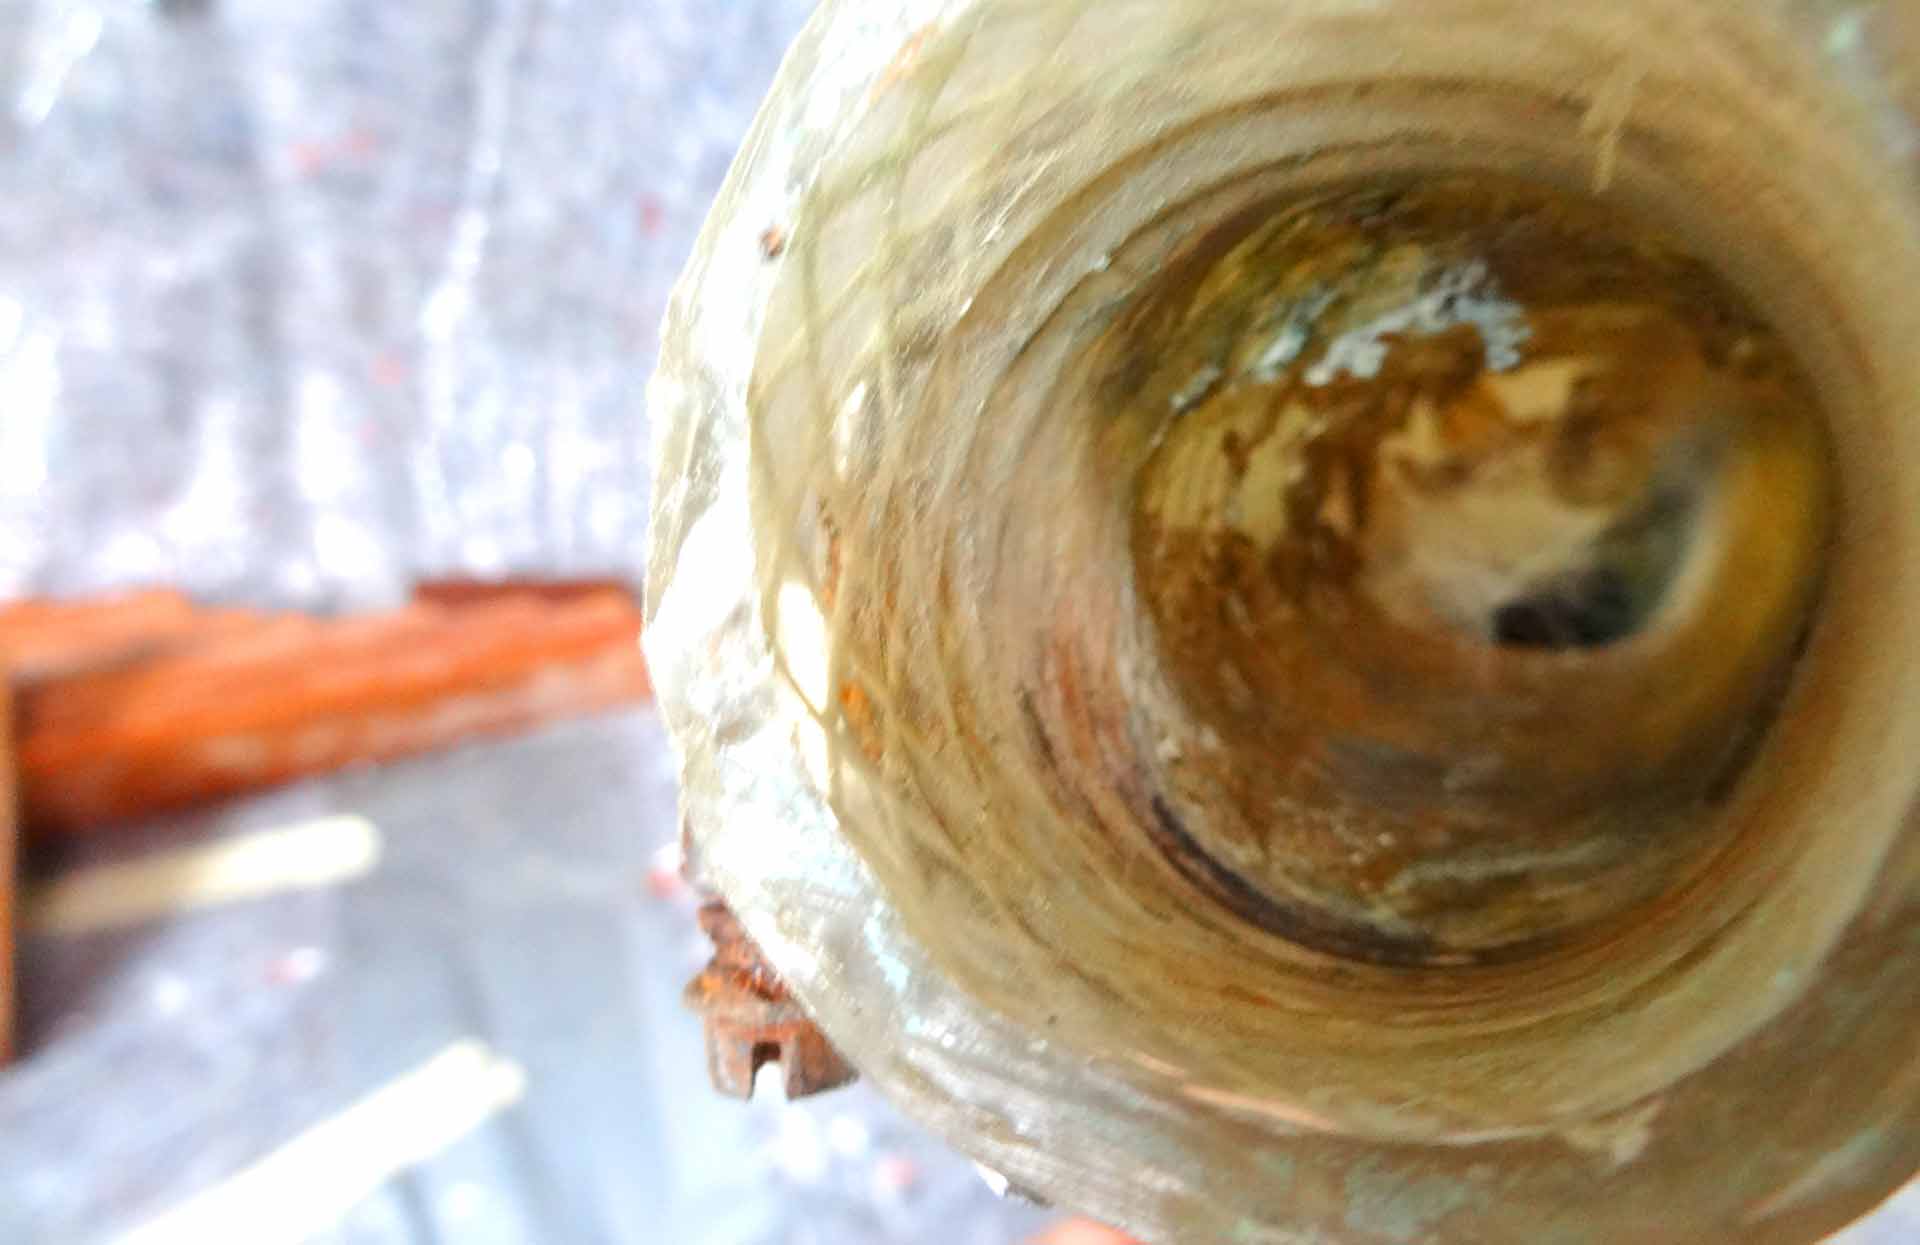
Back in those days when I was emptying the boat after purchase one of the first things was to get rid of the 40 year old pumping toilet: I avoided looking too much to the details here. But after removing the tubing I couldn´t help but have a closer look into the pipes. Let´s put it this way: That´s a load of encrustation!
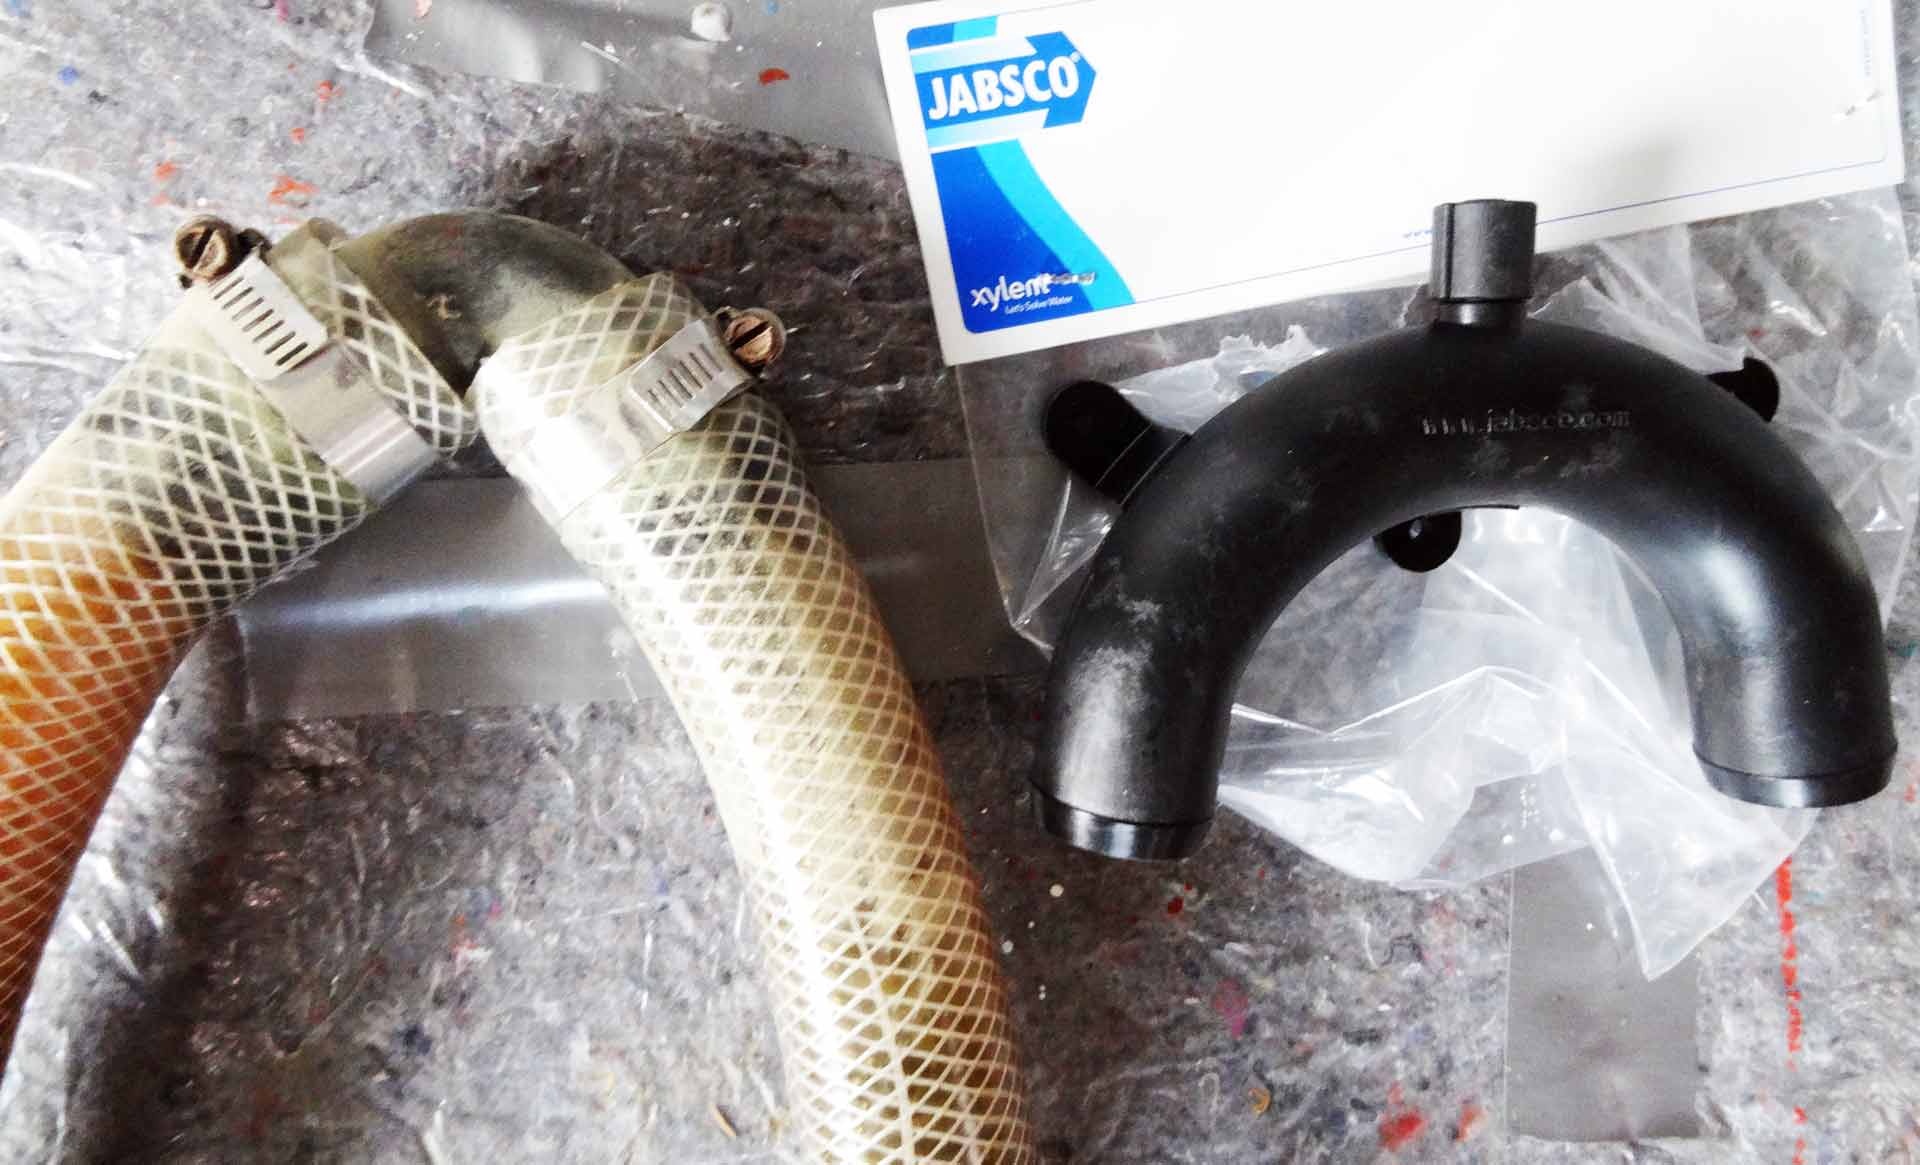
So I went on to buy all new tubing for the toilet, smell-proof of course. And a ready-made siphon with de-aeration was a matter of course after seeing the provisional installation of one of the pre-owners. It´s one of the coming items on my list to have the piping installed – right after all woodwork is done here.
A New Chart Table
As it is so much fun doing joiner´s work for the ship, I went on to have one of my biggest dreams connected with the refit of SY OLIVIA come true: A new perfect chart table. I did have some plans, or let´s call it dreams. Since the original chart table is out of questions due to material fatigue, heavy weight and – from my point of view – an unfavorable construction – I measured the chart table of my dreams and went on to build it from scratch.
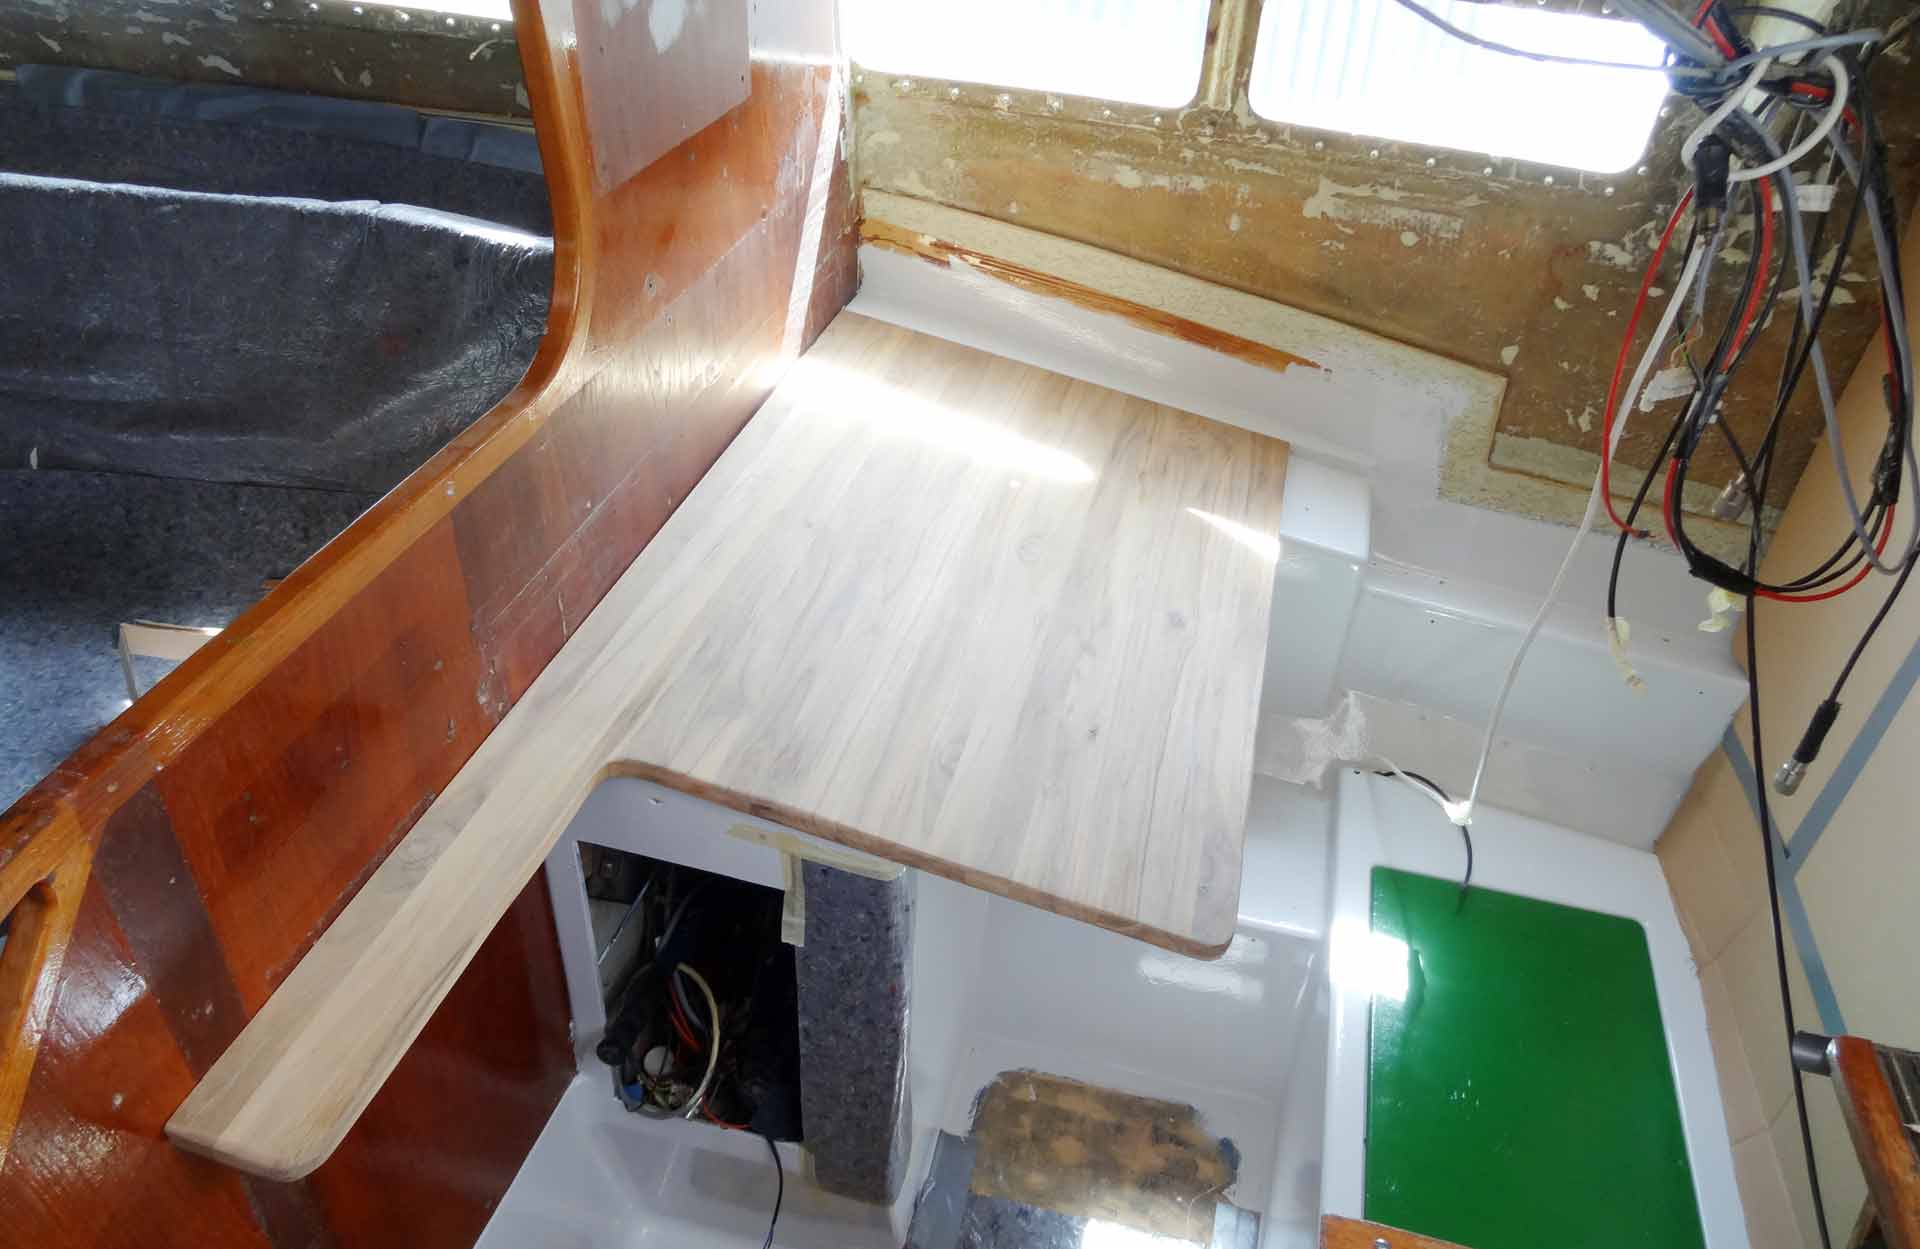
The new chart table should be simple, light weight but fulfil any needs connected to this place: I want a lot of space to do navigational stuff, working the VHF, checking weather or doing the logbook. I thought I didn´t need stowage for charts, as most chart tables offer within the table itself. So I sawed the tabletop, added rounded edges, sanded everything and – it was just perfect! So easy.
I refrained from having a foldable table in favor of the quarter berth since I have some special plans with that area of my boat.
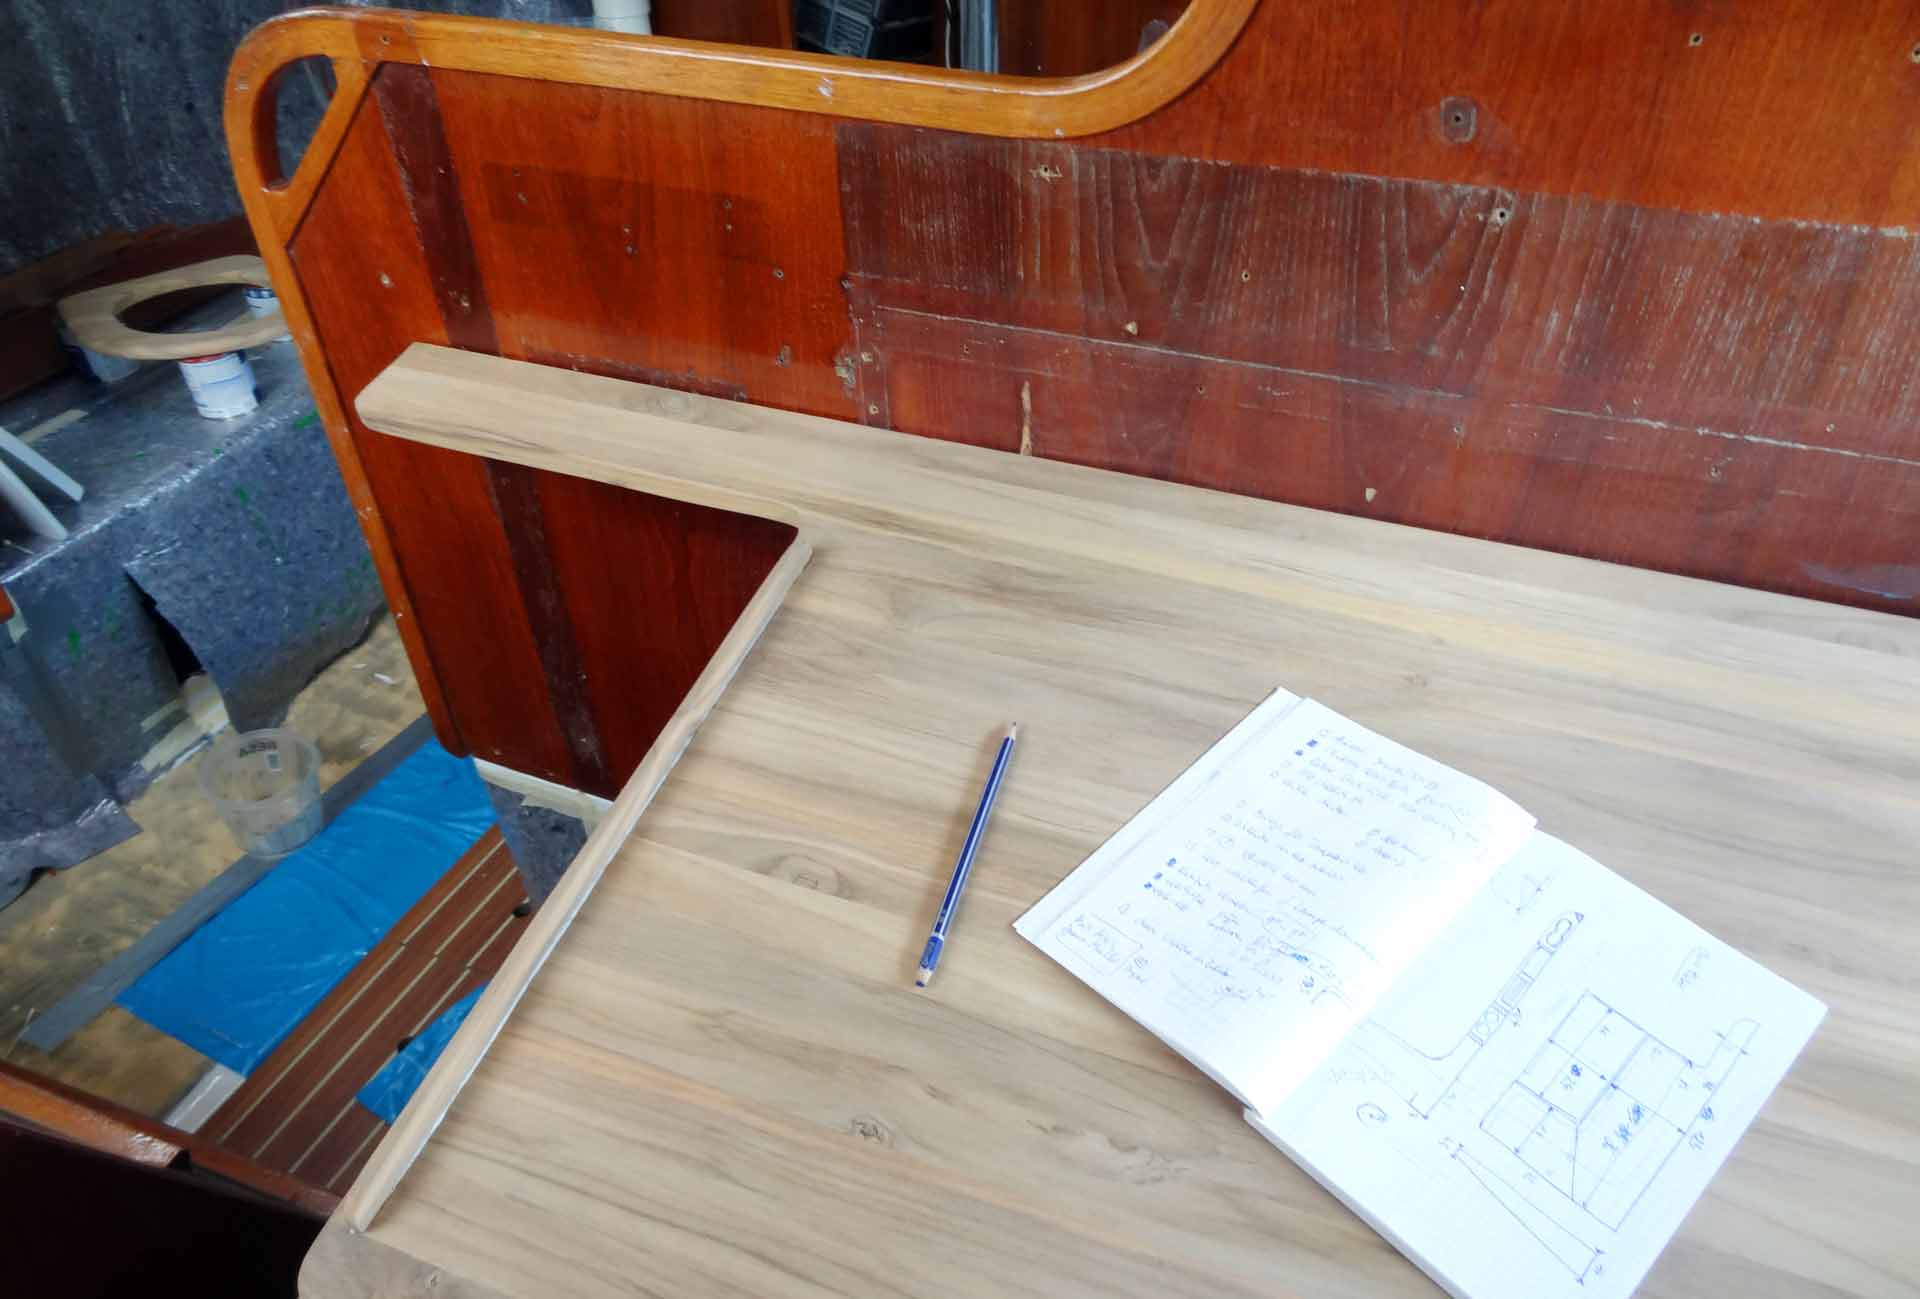
At the left side there´s room to build a stand for binoculars, the table itself can house charts of all sizes and after adding, where the tabletop joins the forward bulkhead I will add caskets to have all kinds of pencils, the ruler and divider stowed. I also opted to add two ledgers to prevent charts and pencils from falling off the chart table.

Sitting there was a whole new feeling, even if the chart table is far from being finished. Nevertheless, I could experience at least a bit of what it would be like to sit here and work out the waypoints of tomorrow´s leg when underway – until then it will be a pleasure to sit here during my refit-breaks and whilst doing calculations.

One Item off … one more on
Back home again some thoughts bothered me about the chart table. Do I really want to have it without stowage for charts? Where to put the charts instead? They have to go somewhere anyway. I sat down and did some sketching. And in the end I opted to have stowage after all: Next weekend I am going to manufacture the casing of the chart table, add a folding table top, saw the caskets for binoculars and navigational stuff and build it by means of glue and screws.
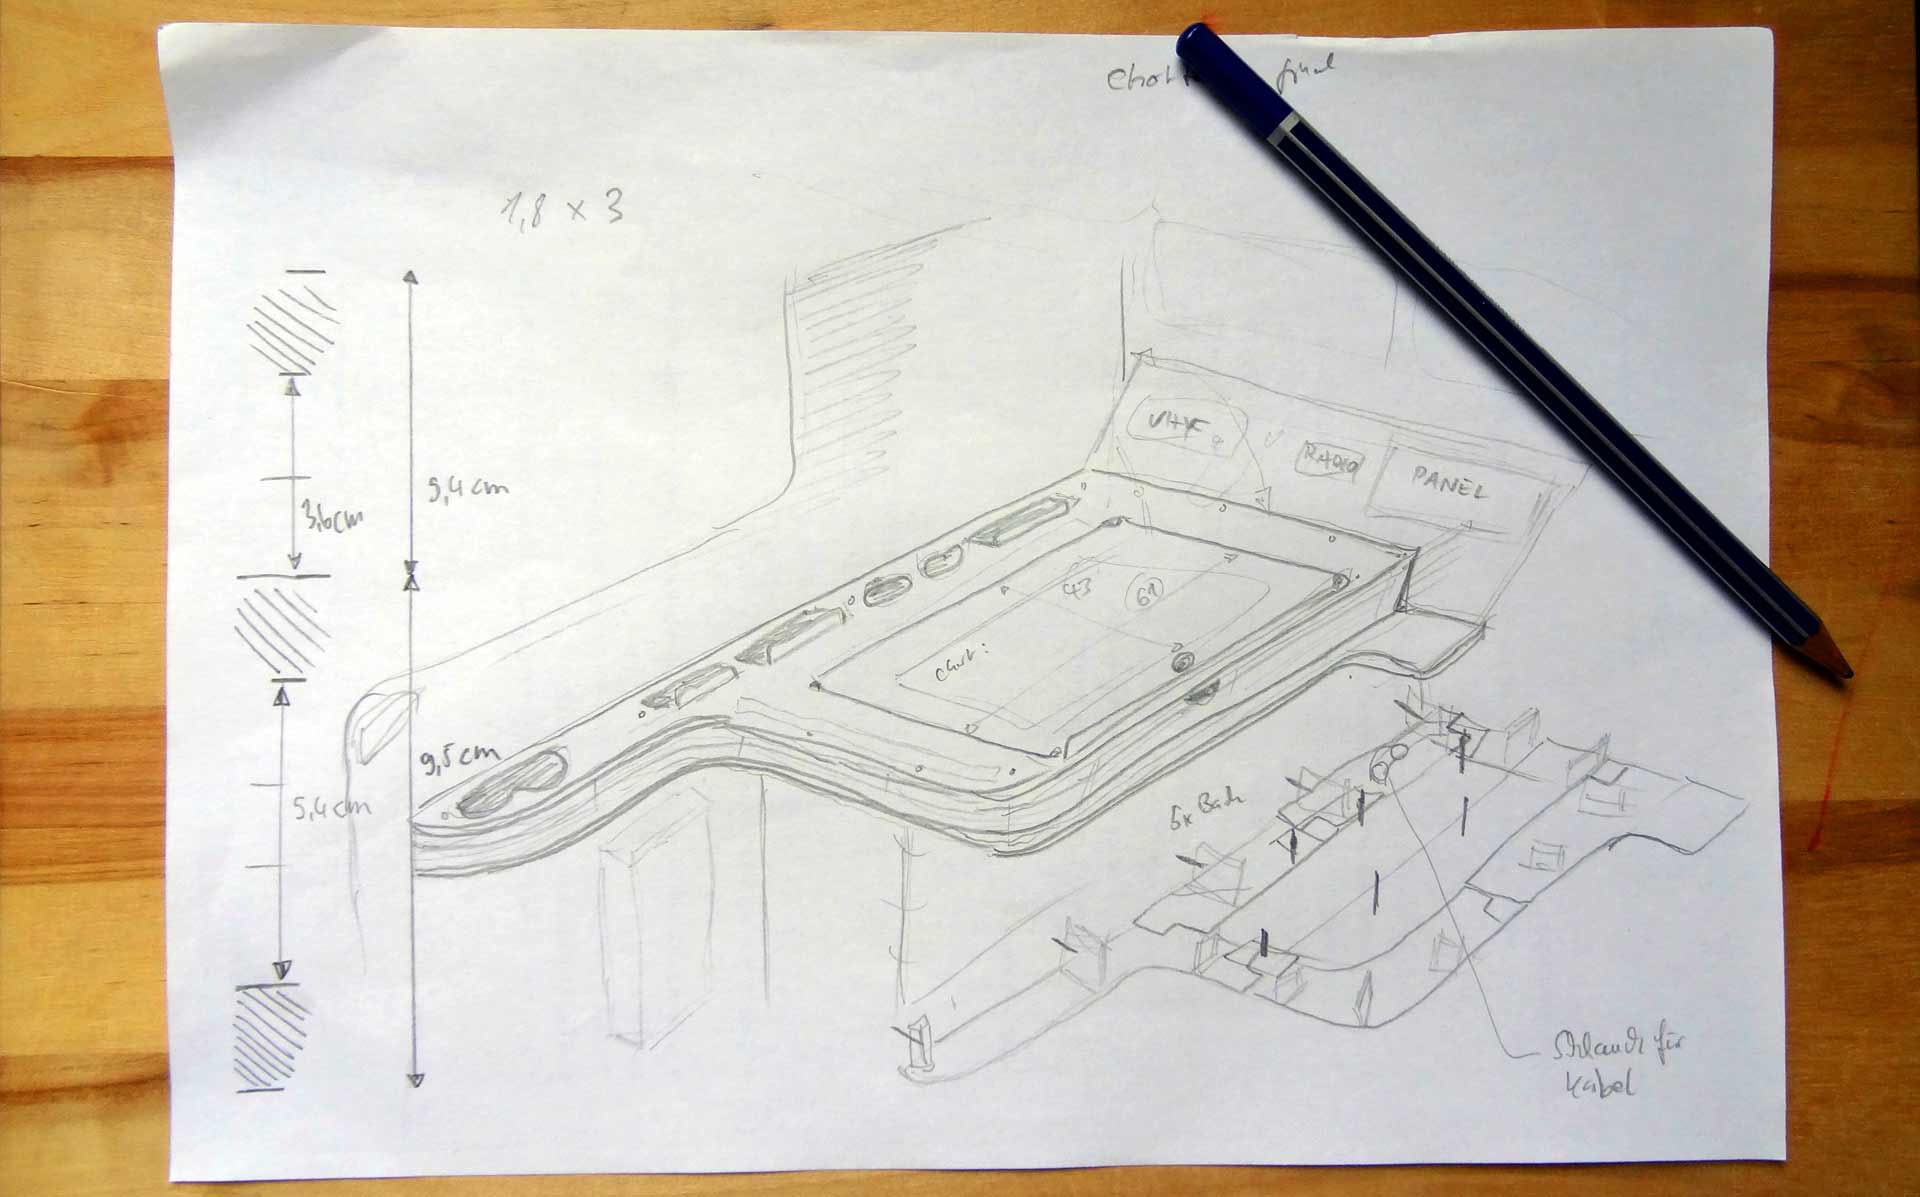
That´s one item off – one more on. The stowage will be 3.6 centimeters deep, leaving enough room for a load of charts to hold here. Again, using Niro screws and bolts the whole construction will be bolted to the GRP superstructure beneath it. And, oh my, the next thing is in sight as well: How should I shape the panel for VHF, radio and electric panel? I do have some ideas …
Nevertheless, putting the already finished Teak panels to their respective places in the head it´s leastwise the impression of having completed something here. I like it very much. And after finishing the chart table I´m off to sand all wooden surfaces in the boat, all bulkheads and have them varnished properly, to later do the same to the remaining wooden furniture I want to have re-used in the boat.
Here´s an article on a “Black Hole Yacht Refit” of the SY ZIRKON.
Everything about the refit plans of this King´s Cruiser 33 can be read here