Although the head is my yacht´s smallest cabin I do invest a lot in refurbishing this room. Why? Well, one should feel comfy in this room as well – no matter how small or big it is. Camping style atmosphere is okay, this is what we get used to and are partially seeking when casting off, but a little bit of luxury from time to time and a small treat cannot be wrong. After all I am travelling with my wife and children. So, plans for the refit of my yacht´s head have been made some months ago.
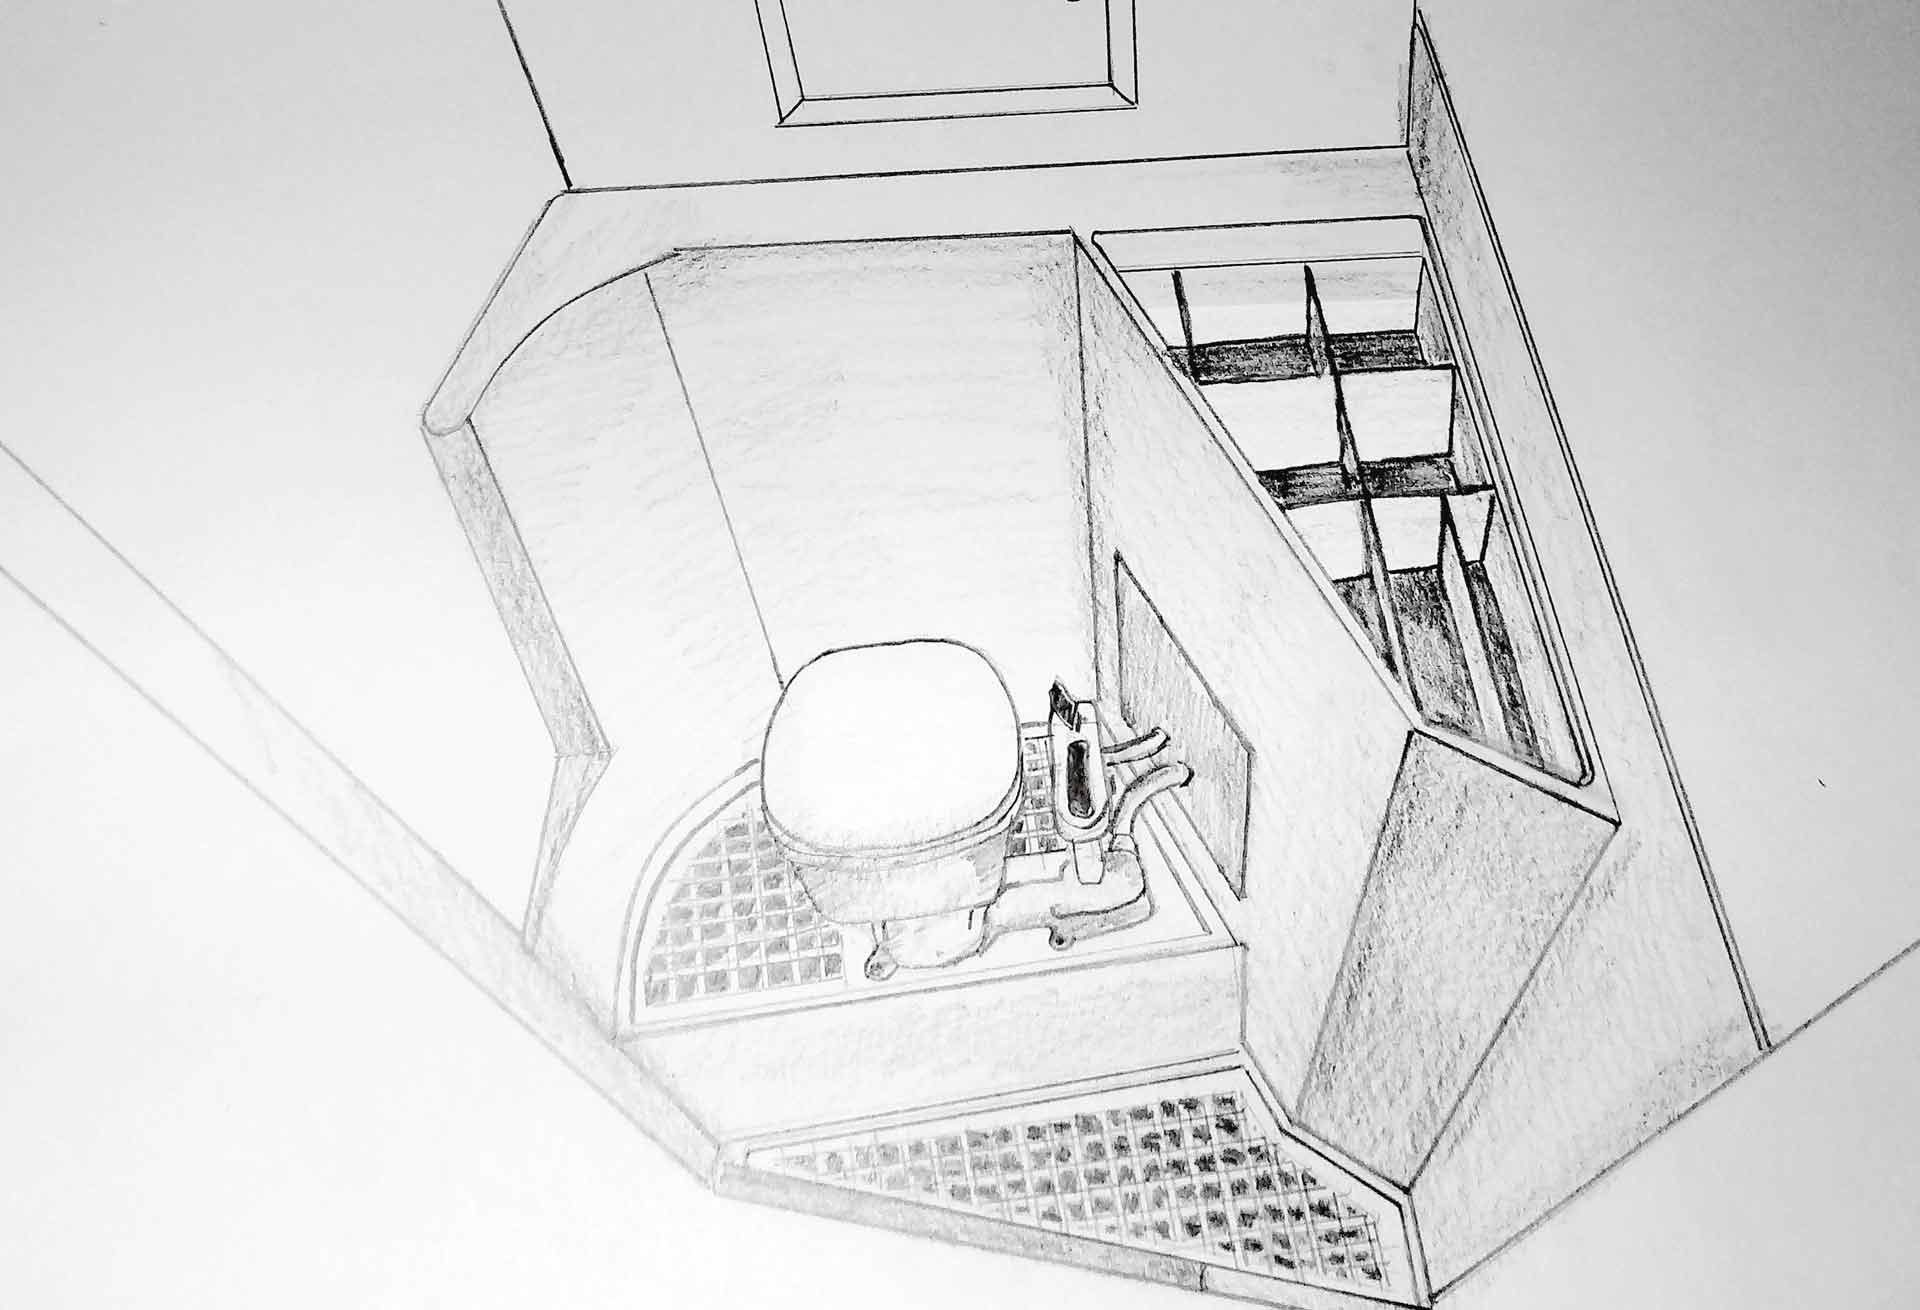
The original topcoat surfaces which have been colored yellow-ish have long been outdated in terms of style so I did sand the first layers off and re-built some layers of primer and yacht-white paint. No question: The old pumping toilet, having served a full life of 40 years since my King´s Cruiser 33 has been built, has been disposed of too. My plan for the head: Adding some more wooden parts, best would be gratings made of Teak, for the sink – which nobody really needs because it is too cramped – will be turned into stowage for toothbrush mugs and other cosmetic stuff. I can thus remove all the little extra mounts here and there from the walls to get a clean, functional interior. This weekend I took the next step for the refit of the head.
A Wooden Dream – Teak Gratings.

They do look fantastic, indeed: Gratings. But for me they are simply unaffordable. Teak gratings do grade up a ship´s interior immensely – inside and on the outside as well. But the problem is: Surfaces of my cramped little head are too small and the forms too complex to either manufacture tham by myself utilizing DIY kits or to have them manufactured by carpenters. So that´s out of question, unfortunately. Instead, I bought a massive 1.8 centimeters thick board measuring 1.70 to 0.90 meters for some 200 Euros. This board is the bases of my woodworks. And what shall I say? It looks awesome.

I do manufacture floor panels – one for the shower tray (yepp, there´s a shower in a 33 ft. King´s Cruiser of 1975) and one as the foundation for the new pumping toilet. Another part of the board is turned into the inlay for the old sink. Last but not least, I am going to have a custom made toilet lid matching the interior´s colors and materials. I did hope to firm a firm that could watercut the gratings from the massive panels, but out of three contacts just one answered, turning down the job being too small for them. The other two didn´t answer at all. German craftsmanship …
Deutsches handwerk …
Tuning a Yacht´s Ordinary Pumping Toilet
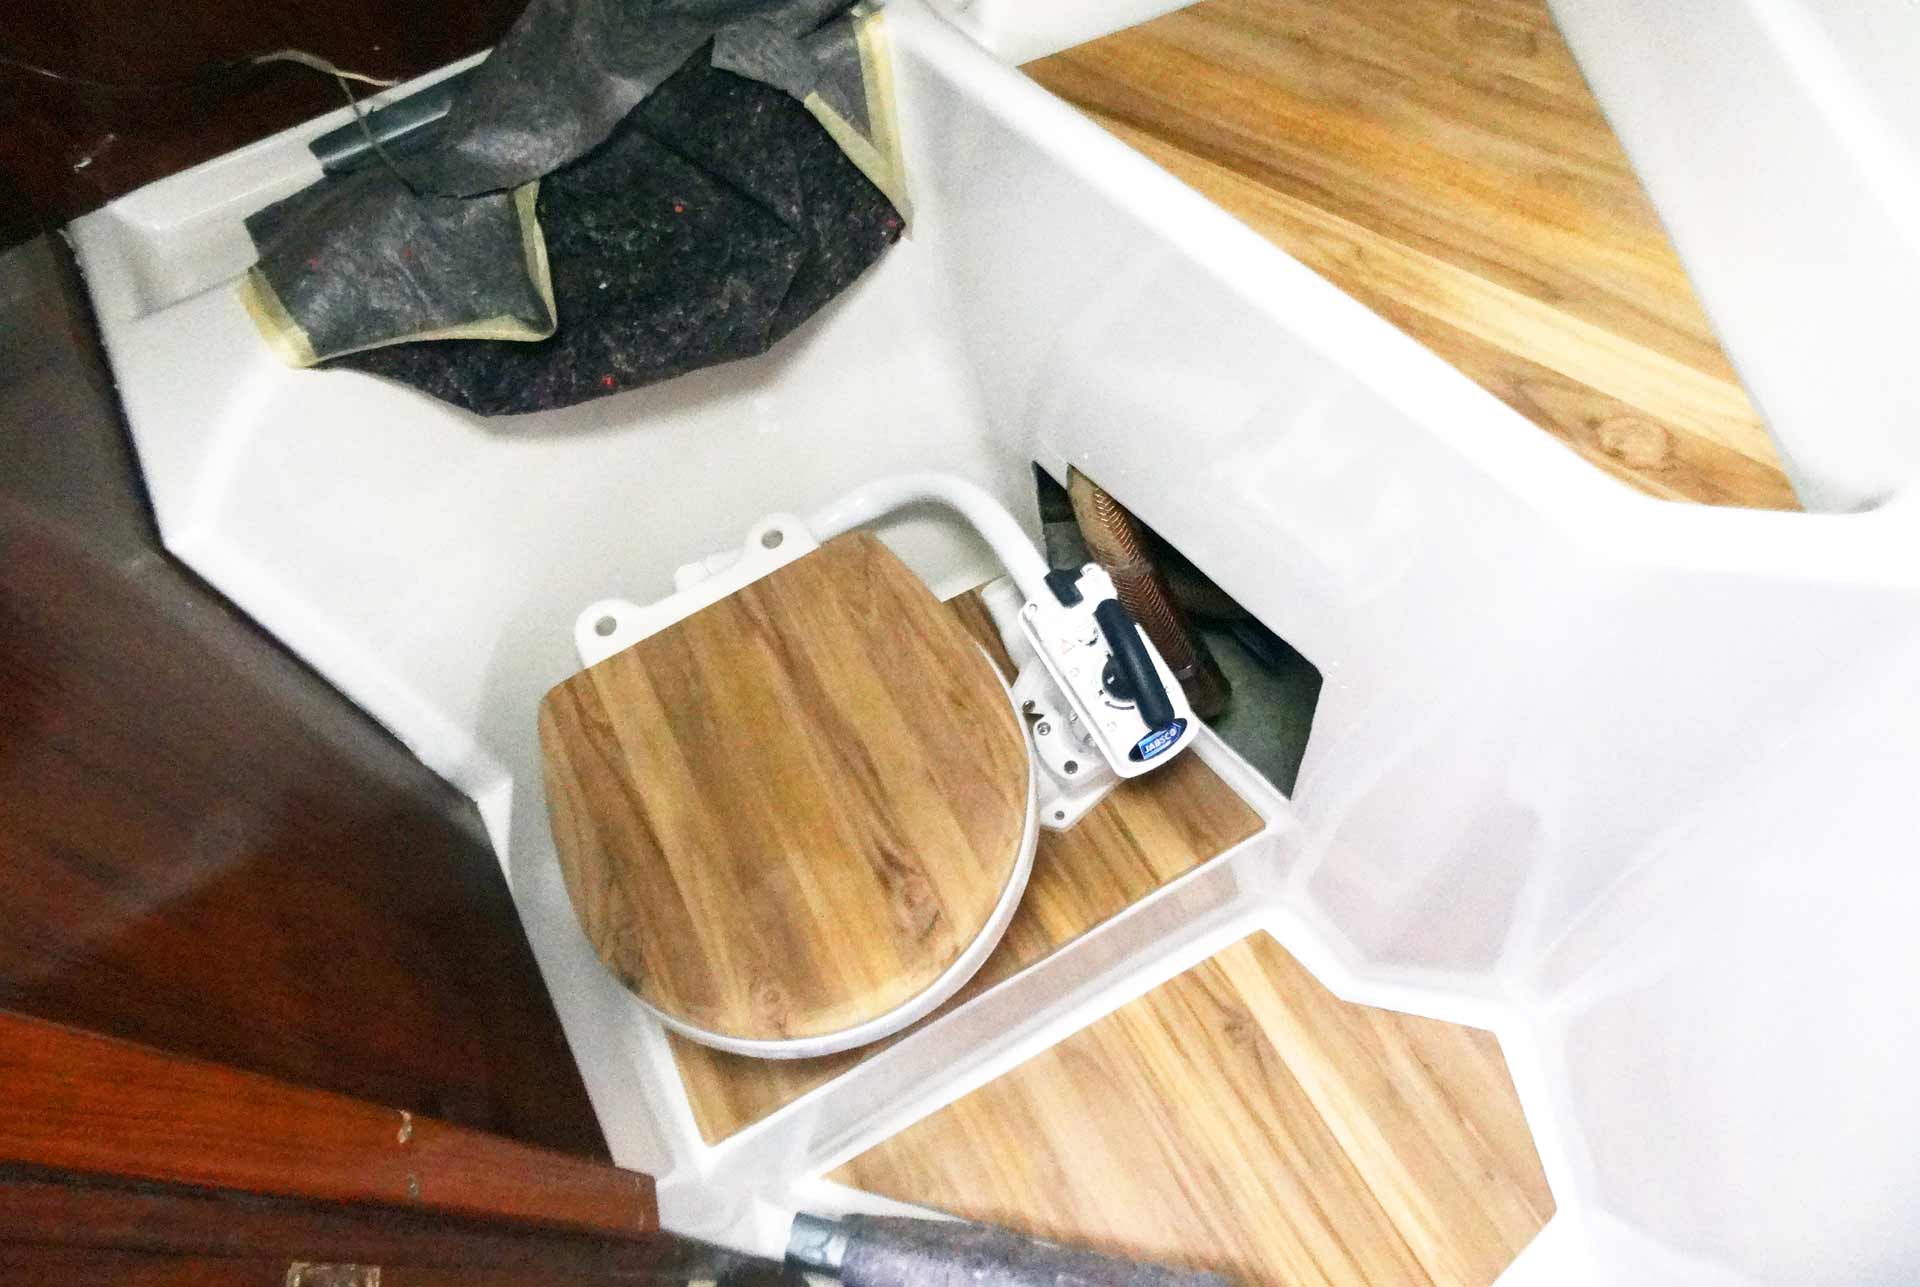
The old pumping toilet did it´s smelly job for 40 years. I got rid of her. Although piping and valves do look okay I guess I will replace the whole system as well. Concerning the toilet itself, I opted for the market leader Jabsco. A reliable product, priceworthy and easy to install. Of course, it´s the compact version or the pumping toilet. Everything else, bigger seats or an electric version would be a waste of money for this small boat. I do want a no frills approach to sailing and therefore I liked the Jabsco. But something wasn´t very appealing …

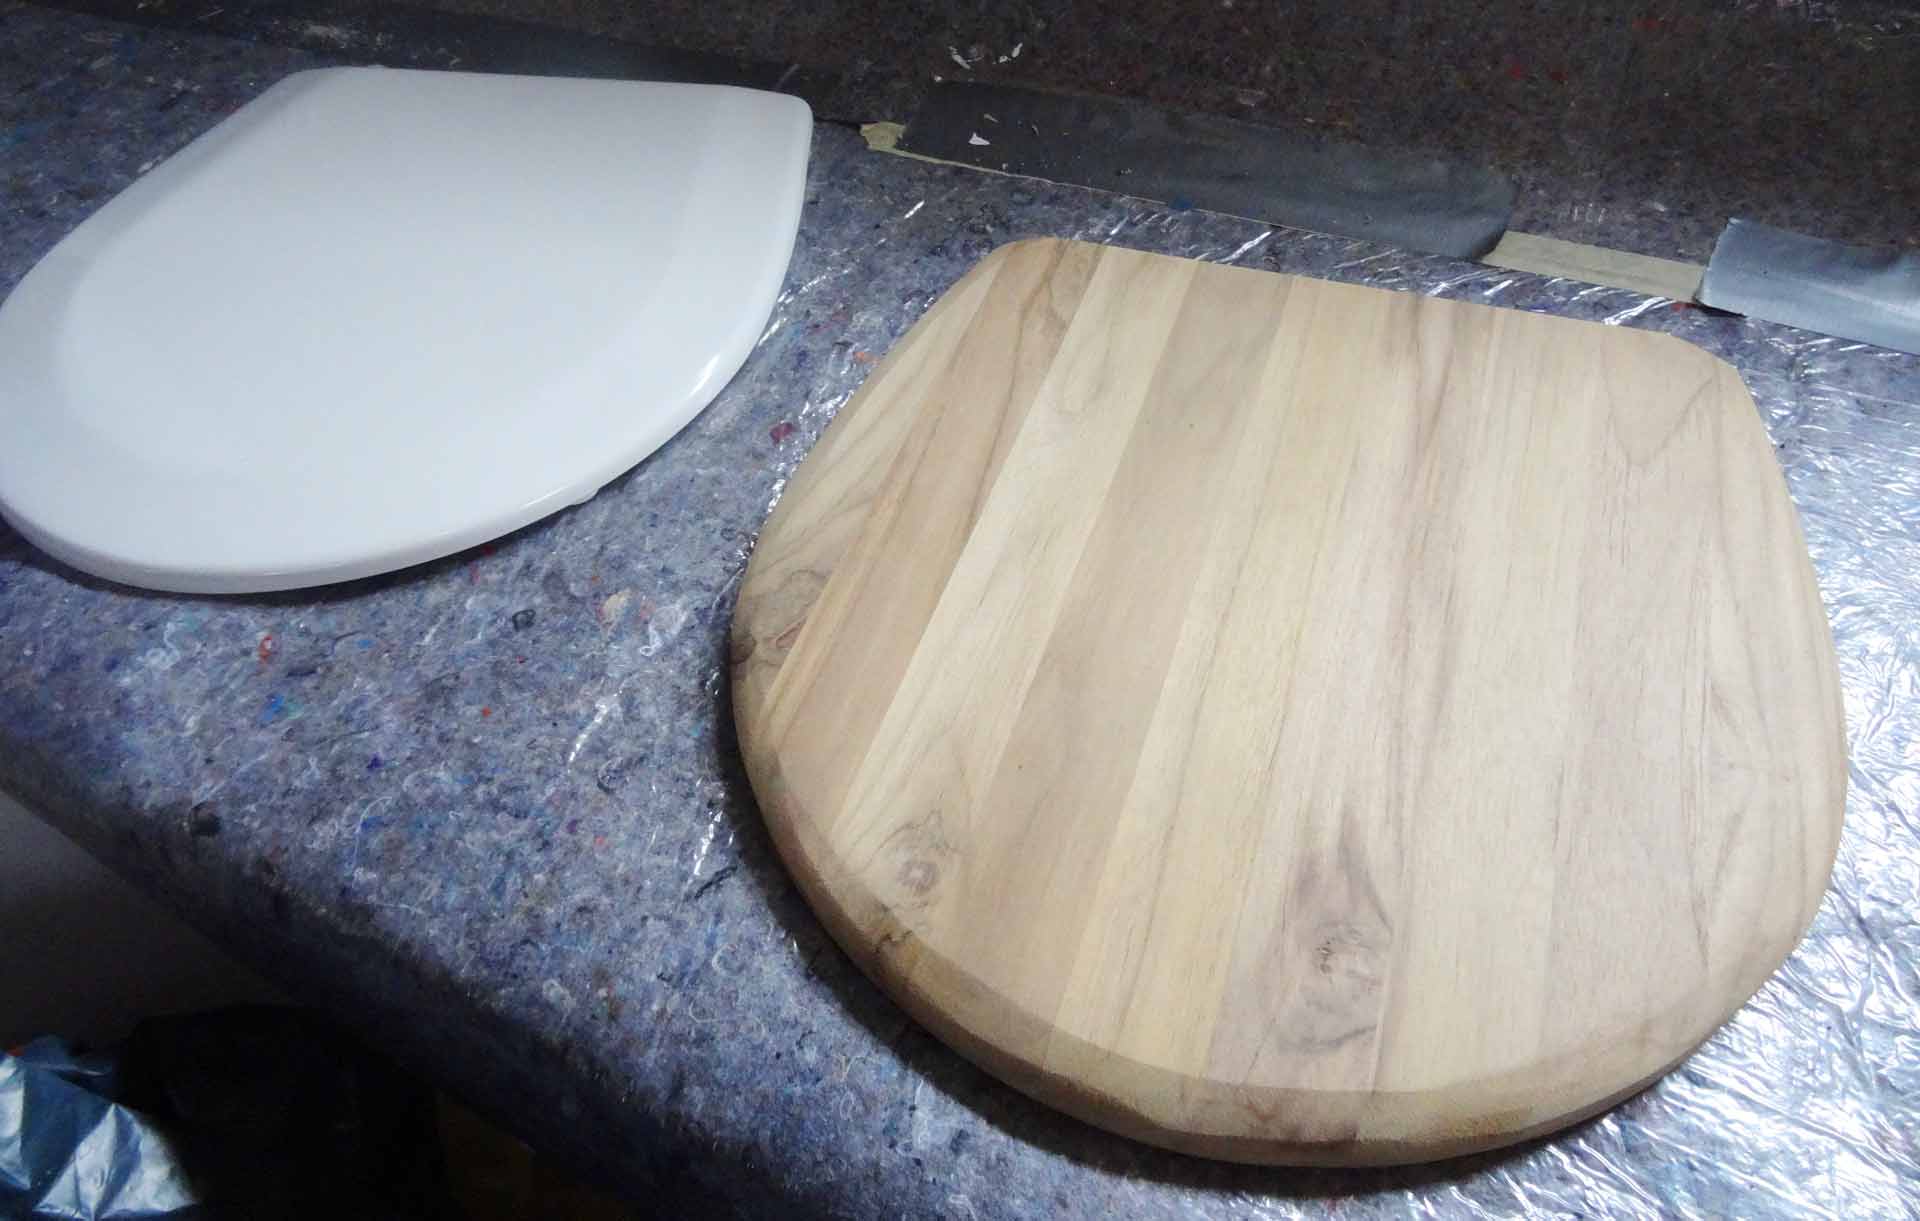
The toilet lid. Let´s put it this way: The lid is okay, but I didn´t liked the color of the lid. Plain white. That won´t match the classy look of the new custom made Teak panels. I disassembly the lid and do sand off the paint with caution. Maybe that´s a good solution? Scratching off the paint to have the original wooden lid varnished again? Oh, my. It´s made of ordinary, cheap pressboard. No option.

So I go on and transfer the form of the lid onto the massive Teak board. Actually it´s a pretty exciting thing: I can test all different techniques, tools, ideas and products here in the small head before applying them onto the bigger cabins onboard. If I make a mistake, it won´t have a huge impact on the overall look of the yacht. I tested different sanding-devices, brushes and varnishes and later the first LED light will be installed here in the head as well as a new ceiling panel. This way, the lavatory is the testing ground of my yacht.
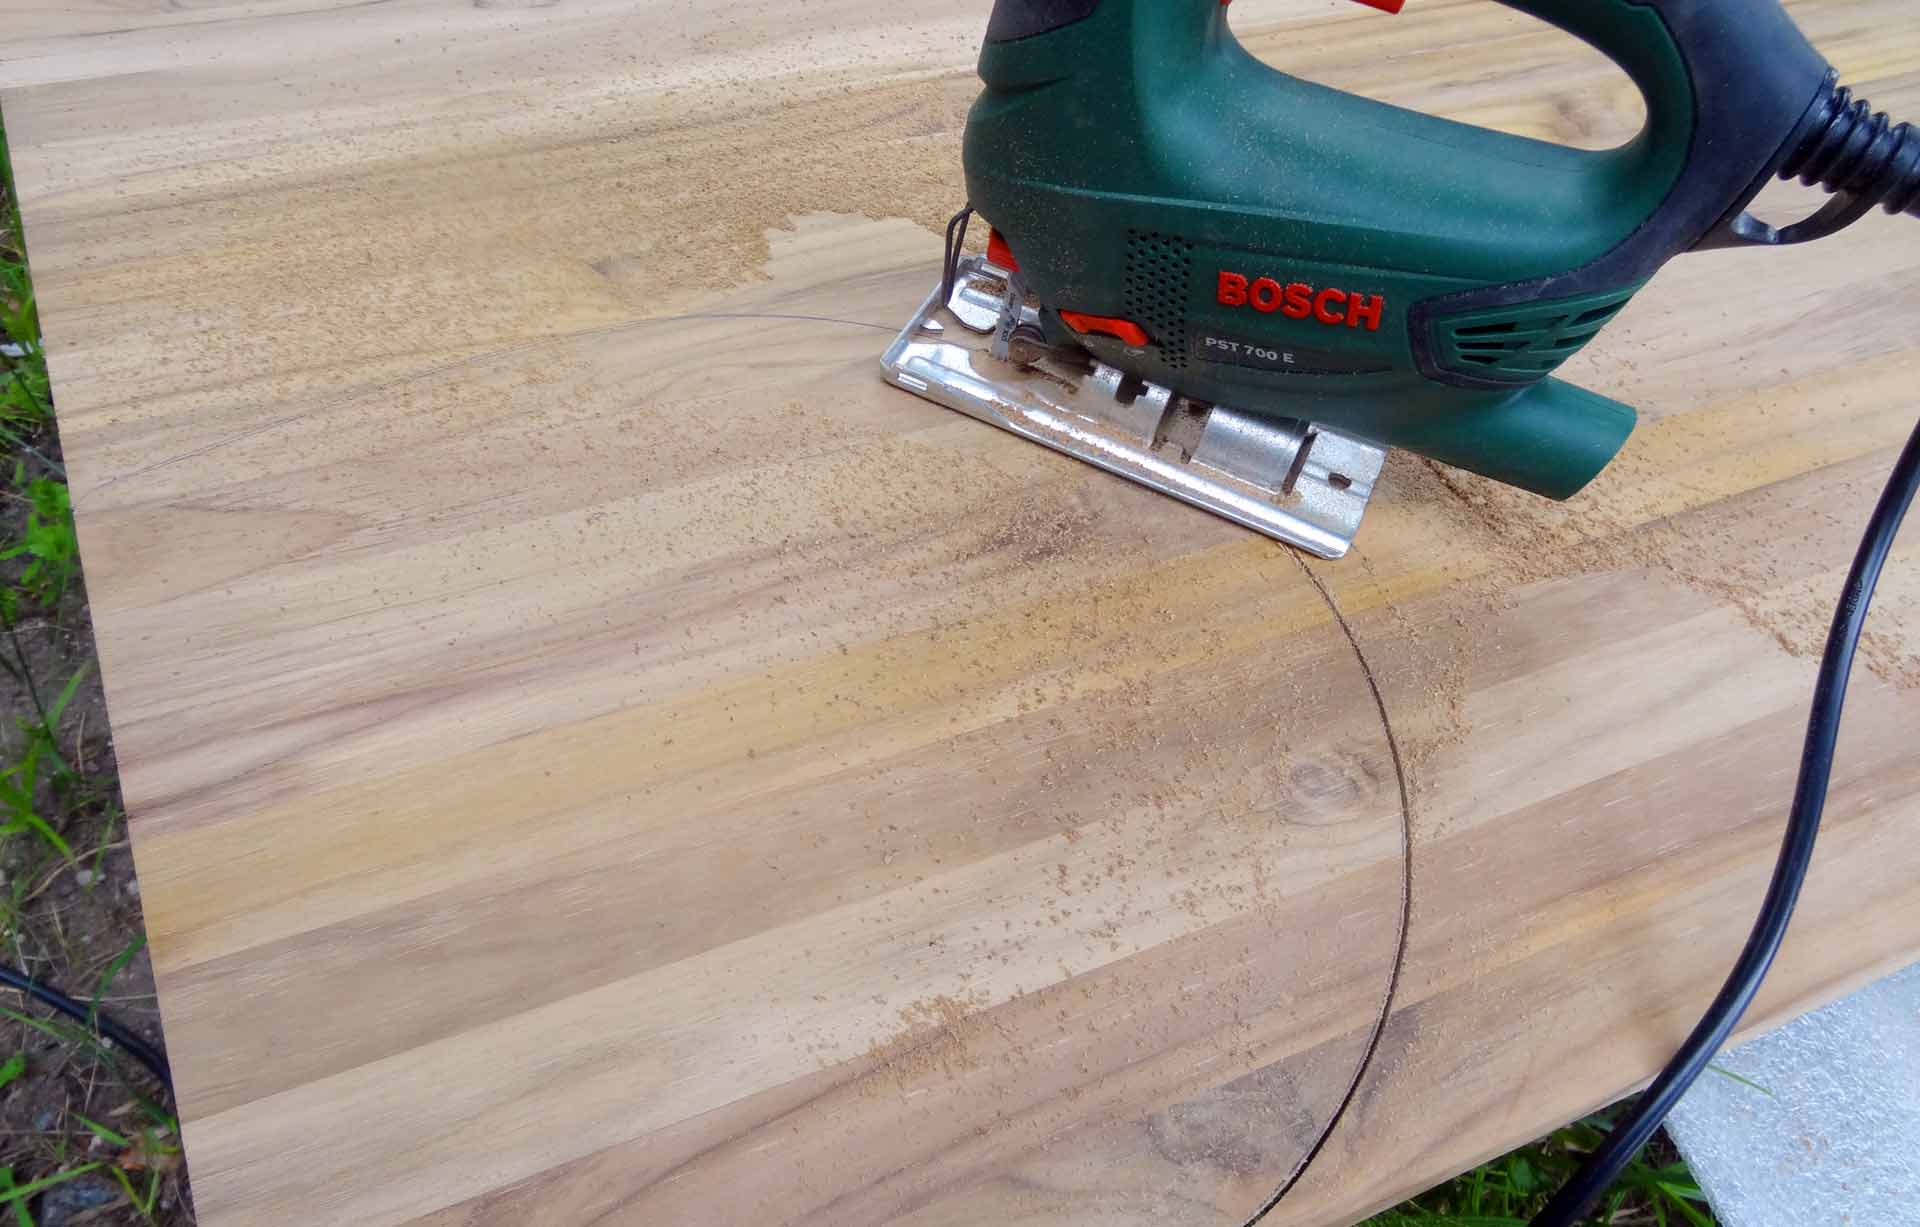
Utilizing a padsaw I follow the dash drawn from the original lid. Amazed by the fact how accurate one can actually do the sawing job despite the fact that I am not a professional craftsman. Well, assumed of course you utilize high quality saw blades, one can easily achieve quite a nice and clean cut. That´s a clear pro for the lore to invest in good tools – work won´t just be done faster and easier, primarily the outcome of the work will be much better looking.
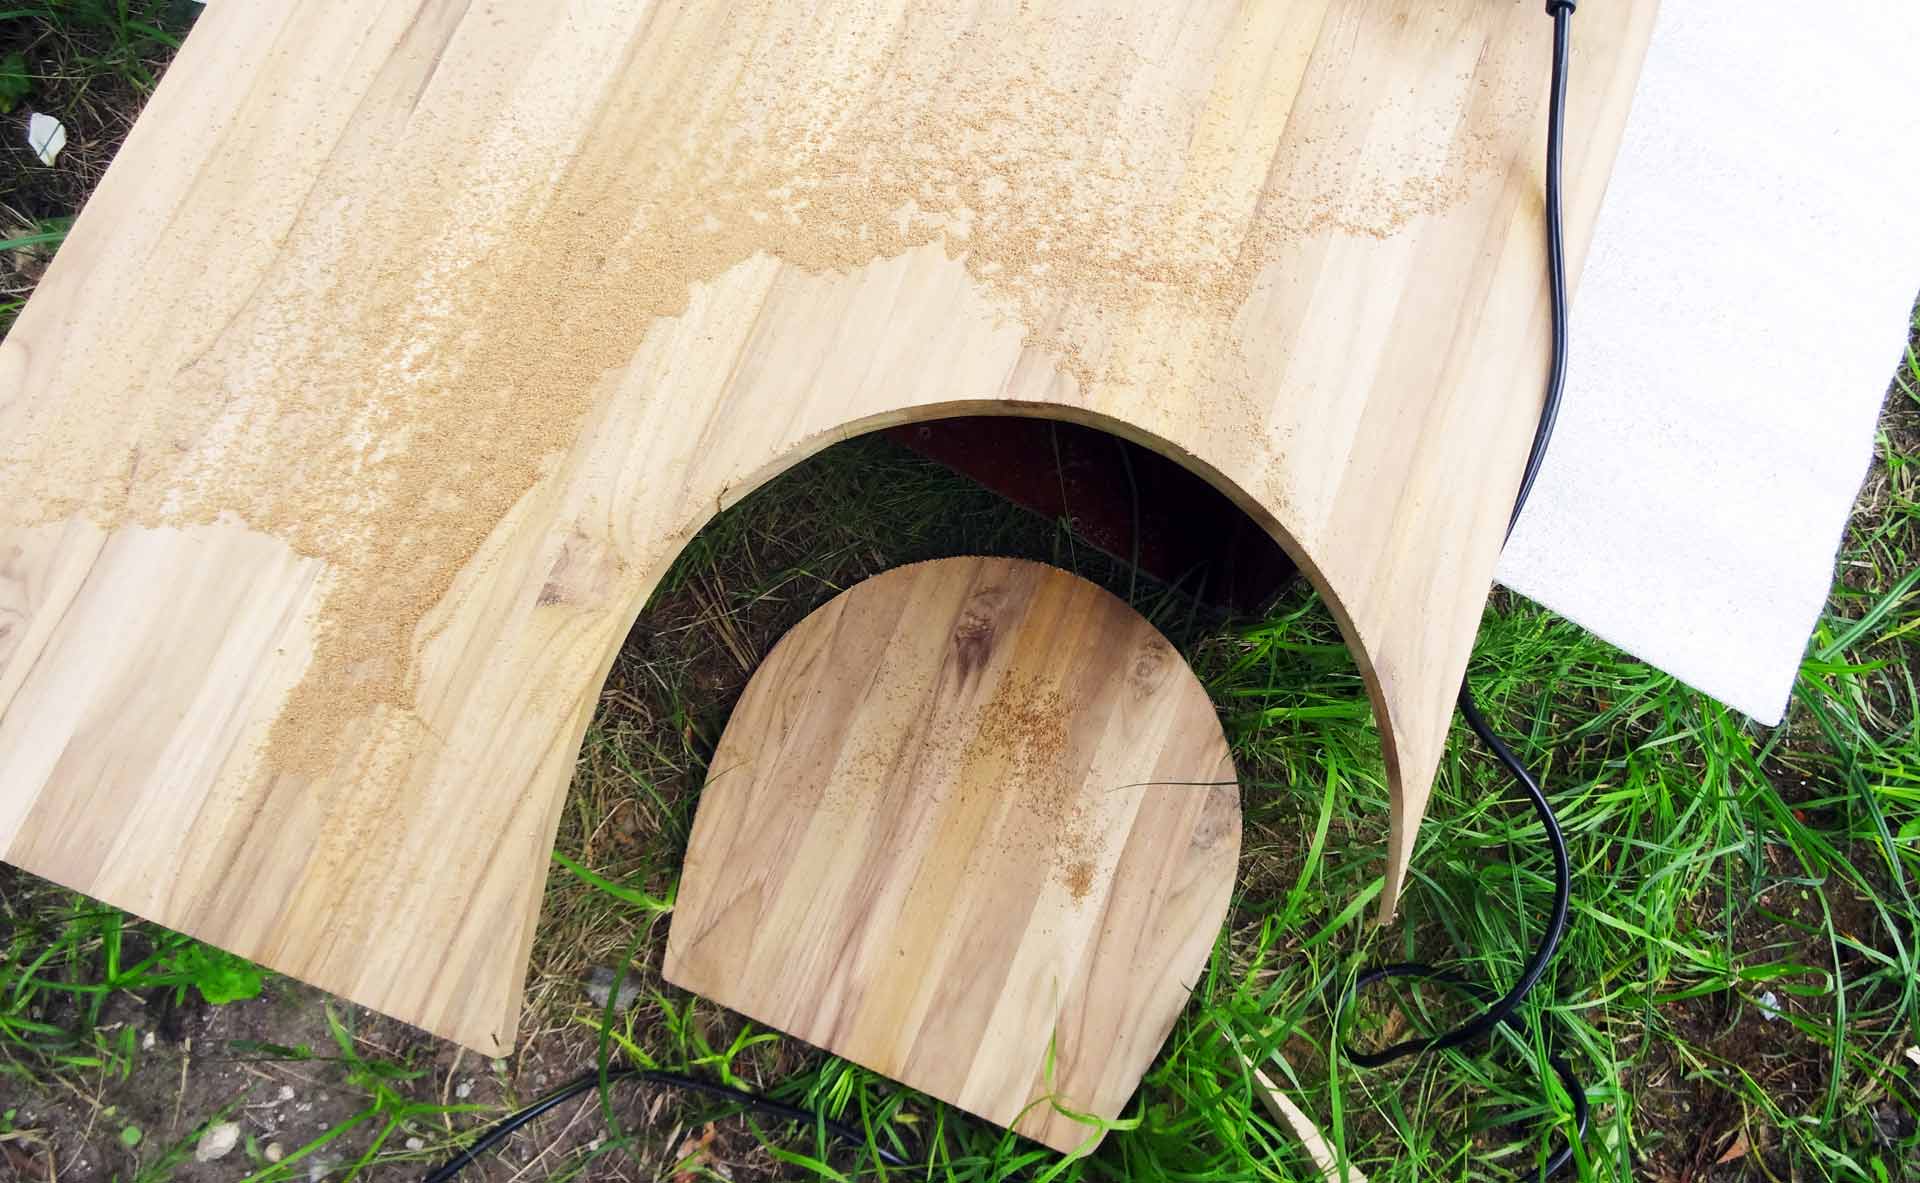
Two minutes of highly concentrated sawing later the blank of the new toilet lid is finished. Now I take the swinging grinder to have it grinded roughly, applying a new form to it, afterwards with a fine sandpaper and by hand adding perfection to the lid´s round edges. I am thinking of adding the King´s Cruiser logo to it, but dropping this idea as too challenging artisan-wise and besides as being too fat. 15 minutes later I am just excited: The new toilet lid made from massive Teak looks just awesome!
This is the procedure I do apply to the rest of the three panels: Using the patterns creating fine lines on the board, sawing the rough blanks and having the sanded smoothly by both machine and hands. For the inlay I am going to add skirtings which will make it easier to fit in toilet paper and cosmetic stuff. It´s less than an hour of work until floor panels, inlay and toilet lid are ready for the next step. It´s time to test the varnish.
Varnishing Teak the Right Way
I do have good experiences with the paint products made by International from previous works of painting the yacht in white and refurbishing the bilge with Danboline bilge paint so it´s no question to opt for the appropriate varnish offered by this brand. The varnish I chose is called Goldspar. This varnish is meant to have a slight gloss though being mostly matt. A satin-like look as promised on the can. But behold: It´s not an easy task to varnish wooden parts the right way – especially fat, oily wood like Teak.
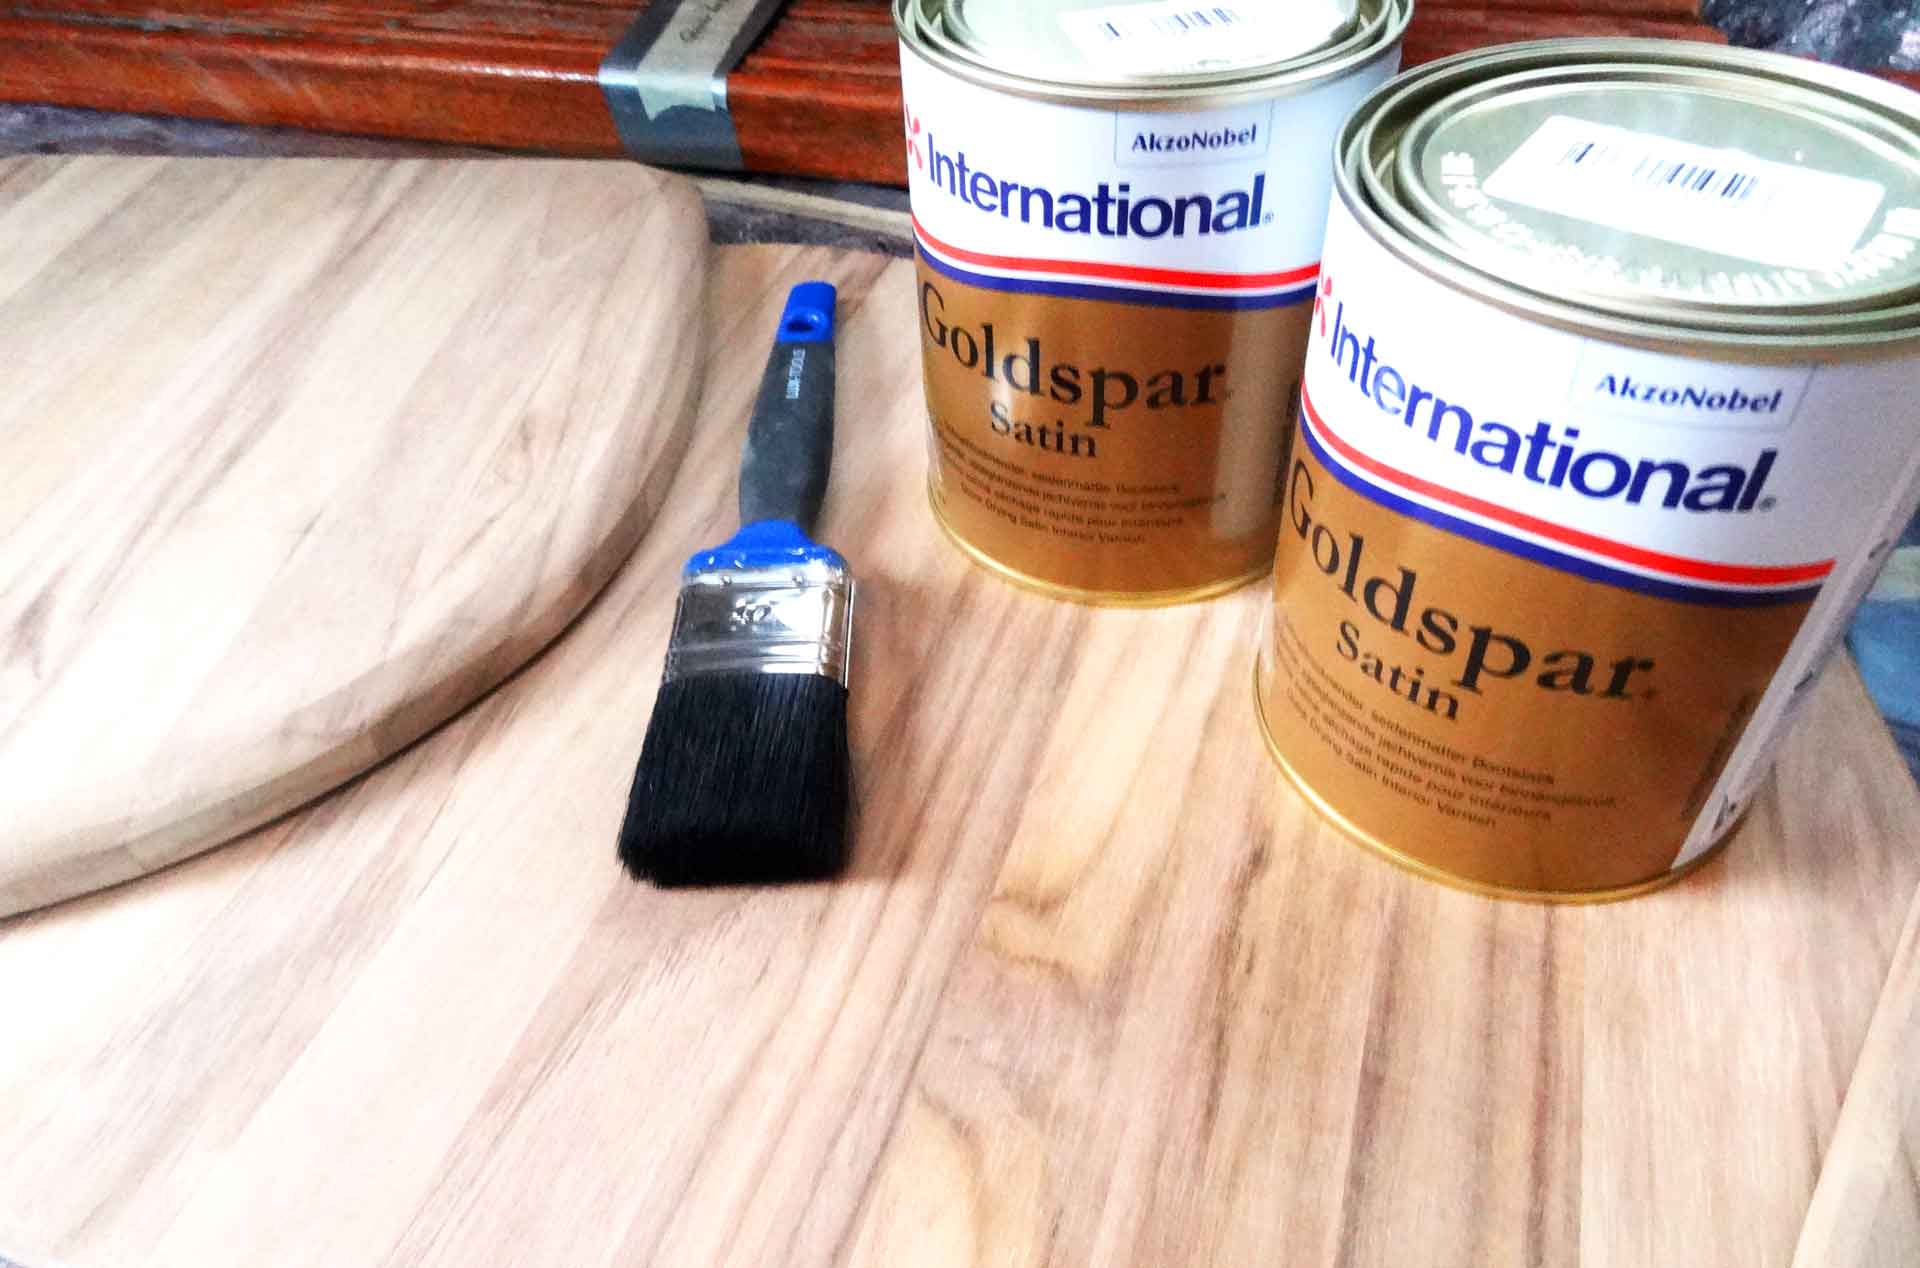
To varnish wood it takes more than just paint the surface with care. To get a super stylish finish, it takes at least 5 layers of varnish. And these layers have to be build up with increasing levels of mixing ratios between the paint itself and some kind of appropriate thinner. As I said it before: When varnishing pure wooden surface for internal use at least five layers of paint are necessary. You should start with a mixing ratio of 1:10 (varnish:thinner), the second layer has 3:10 and the third layer has 50% varnish. All following layers are applied without thinner. Sanding in between is not necessary.
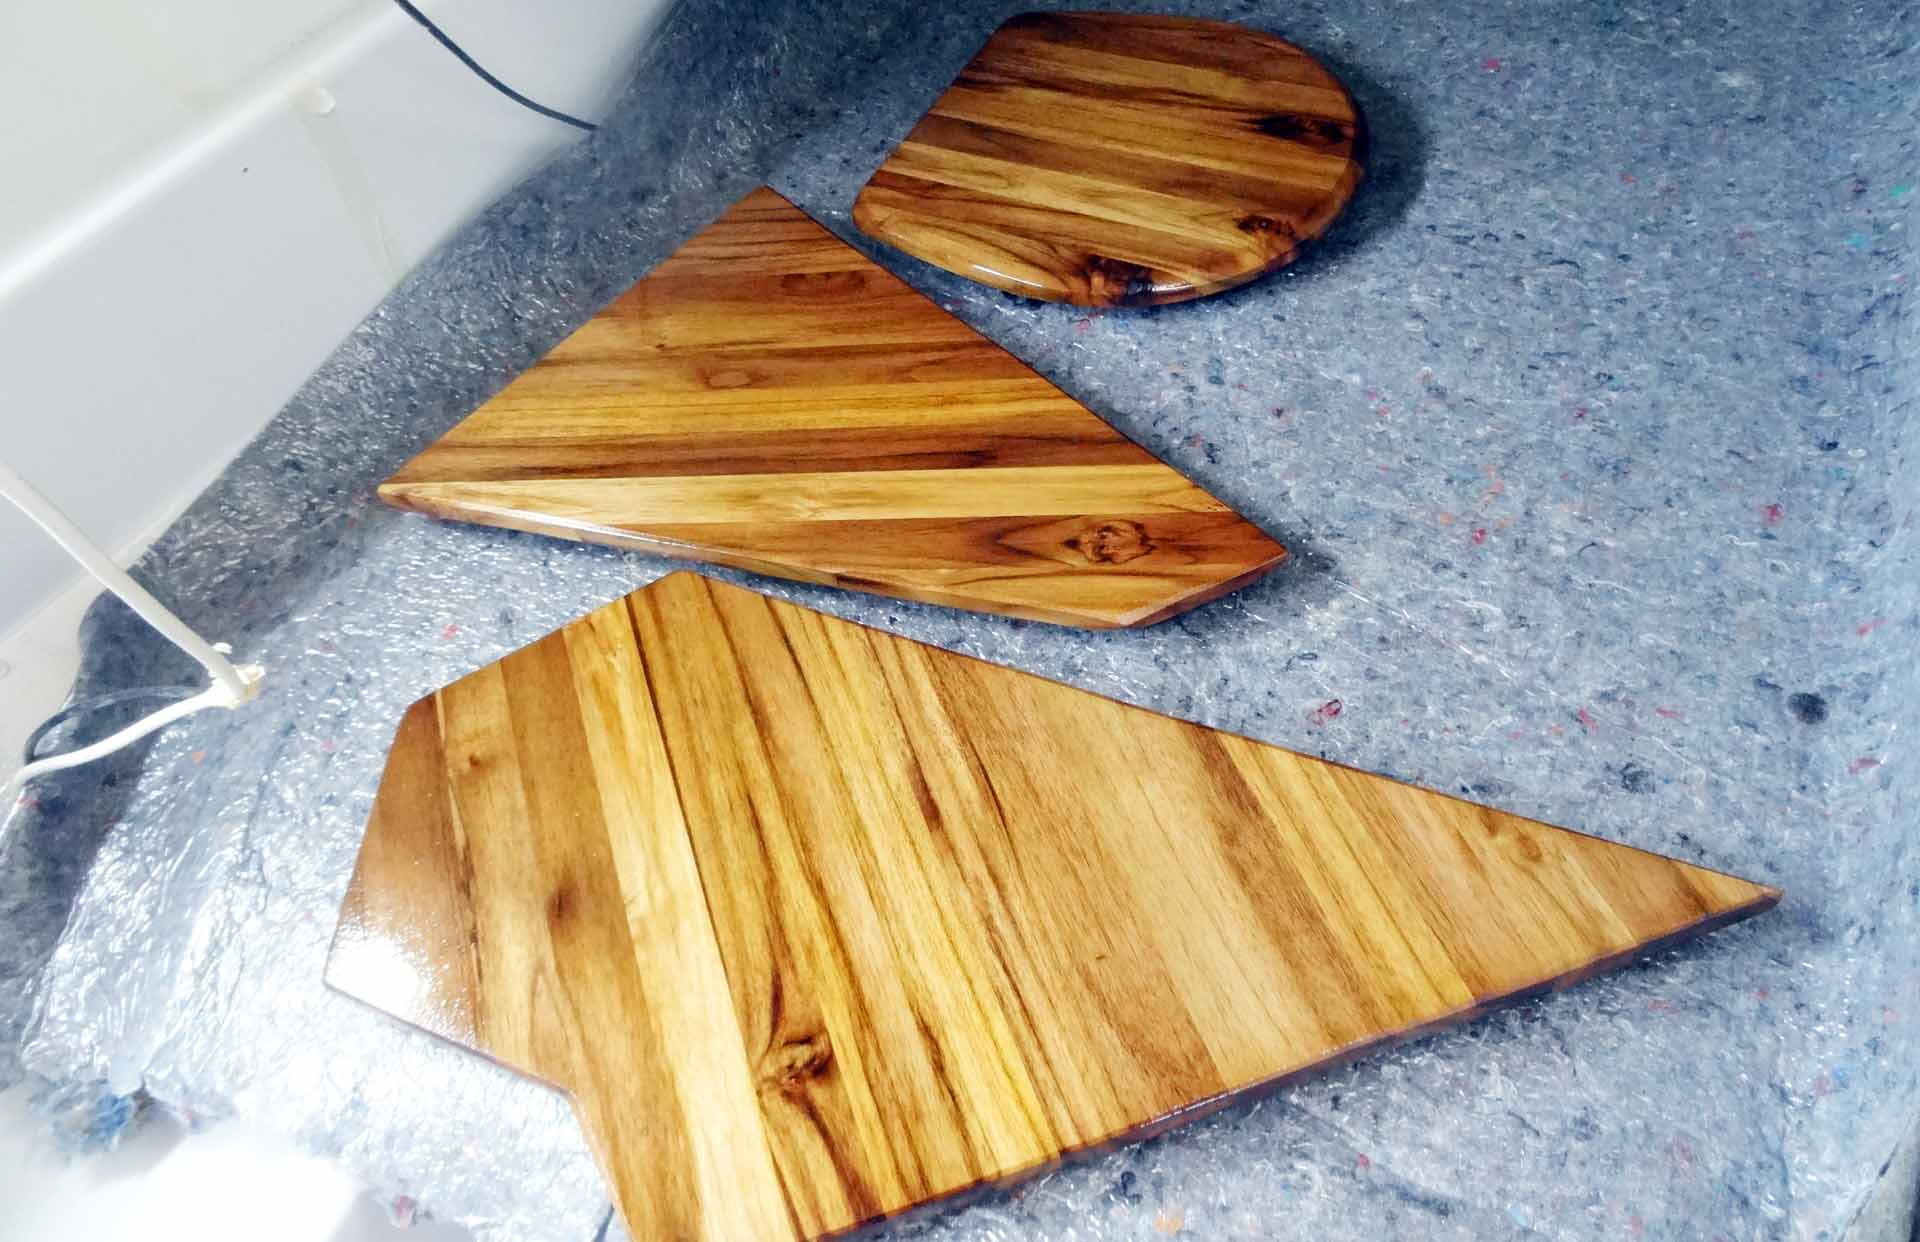
Starting with the first – very thin layer – I am amazed by the outcome! The varnish produces a very lush look. Colors of the Teak seem to explode, the fine grain emerges evermore and the whole part shines in a massive golden complexion. The Teak begins to unfold its full power. No wonder that this fine timber is preferred on yachts. Next to its very special characteristics when used as decking it just looks awesome! After just half an hour of painting the parts have received their first layer. And I just cannot wait to have them installed into the head in the weeks to come.

Teak for Yachts – getting the Good Wood
In the end I am very proud of my work: The new panels do fit nicely, working with patterns on cardboard proved efficient especially when working in narrow and cramped areas like the head and for geometrically complex forms. Applying massive Teak to the room´s interior does enhance the head´s appeal: Well, I know that my selfmade interior fittings cannot compete with style and finish of a Faurby, a Luffe or an X-Yacht but I am sure that my work will at least preserve the stylish classiy shiplike look of the original King´s Cruiser and … maybe … add a little extra.
What comes next? Varnishing all the layers of the panels will take place over the course of this week. Removing the old piping along with the valves to have brand new ones prior installation of the pumping toilet will be step 3, followed by sanding and varnishing of the wooden bulkheads and – last but not least – installing of the LED lights, a new roofliner will close the case. The head will be the first cabin of my ship to be completely finished.
By the way: When buying timber or wooden parts for our own yacht and refit project, you will of course make sure to only invest in FSC-certified timber, wouldn´t you? I could not bear to work with illegally harvested timber.
All articles on the King´s Cruiser 33 refit can be found by clicking here – my overall refit plans can be found here.