As I have often pointed out when writing about my new boat, I am not so much interested in performance-oriented sailing, racing and regattas, but more in quick sailing from A to B when cruising single- or double-handed. Back in the days when I was an active bike racer, a sport which I joined after years of very intensive bike-travel, I invented the term “fast transit” for my kind of biking: Bridging large distances in a quick manner on my bicycle voyages (which took me through the Rocky Mountains for example or through wonderful Japan). Anyway, this “fast transit”-like kind of travel I´d like to apply to my boat as well: That is why comfort is a big thing for me on GEKKO, although I would call it “micro-comfort”. One of which is … my buttocks.

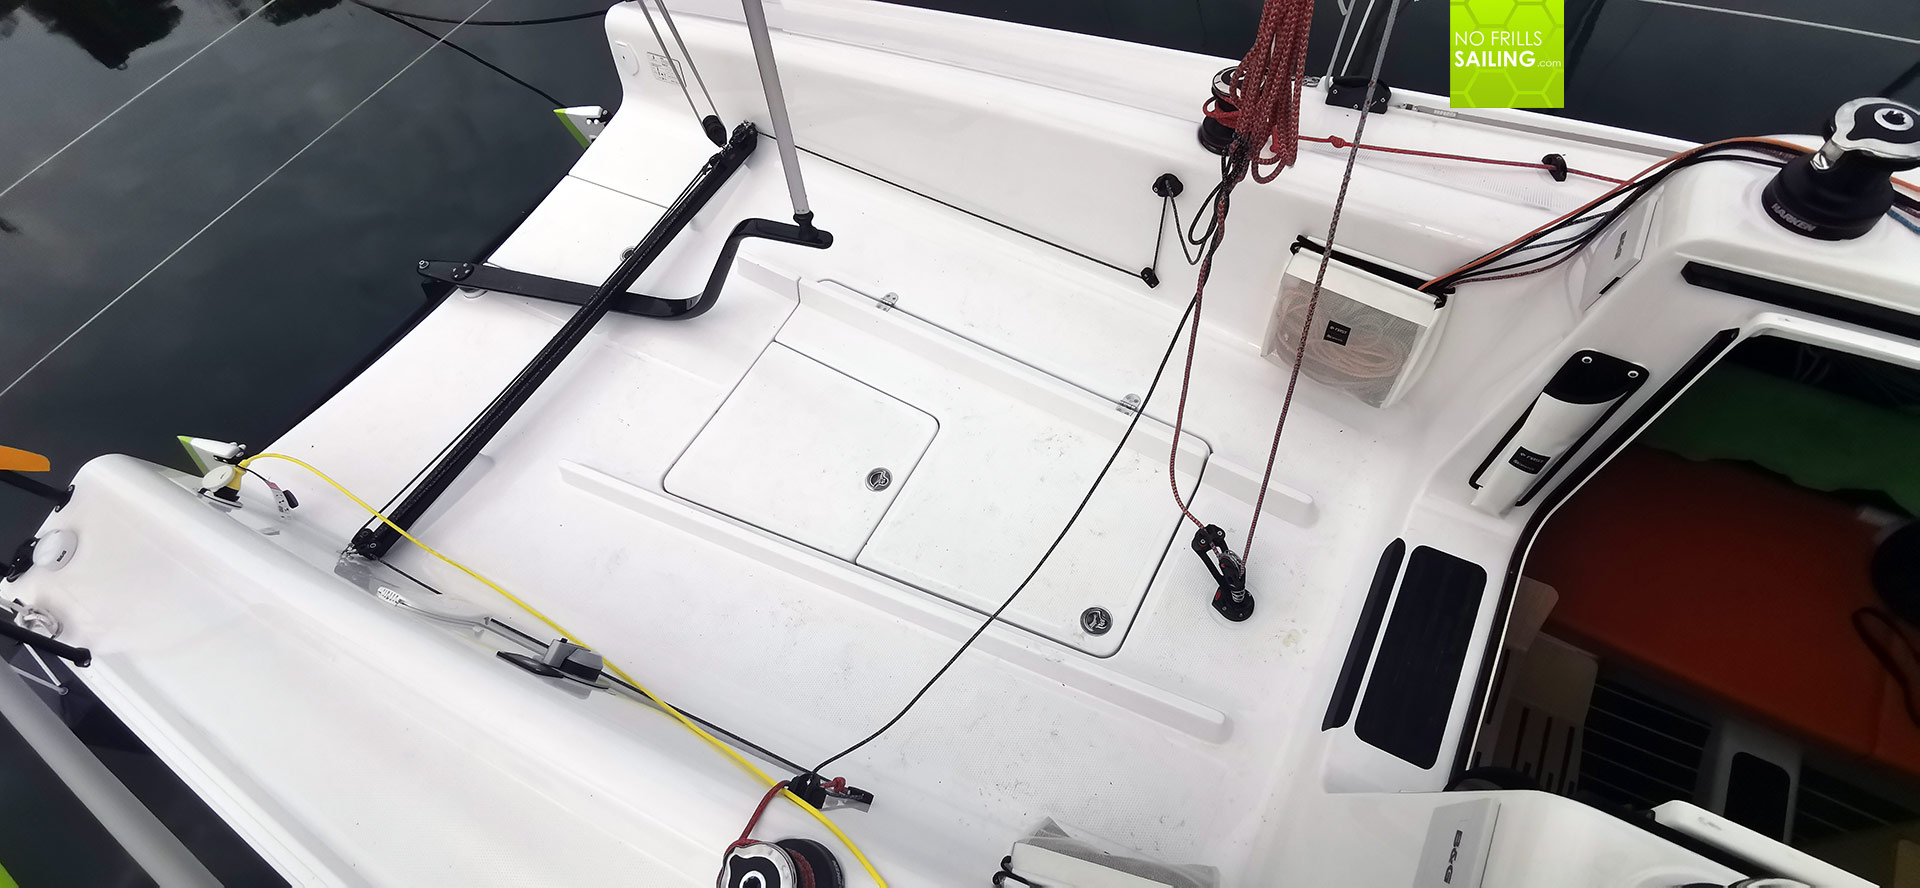
After having sailed GEKKO for some 400 miles now I can say that she is sailing like hell, very fast, very safe, very stable and she lives up to each and every promise made by the Seascape marketing: Chapeau! Nevertheless, I tweak here and there to improve micro-comfort and adjust her to fit my demands. I discovered that most of the time on the water I will wedge myself on windward side of the cockpit´s floor, used my legs to stabilize this position and spend the watches there. I do have a good sight all around her, except for the very forward sector which makes me get up every now and then. But: Sitting in my bottom all the time on the hard pure GRP makes it hurt. After two or three days it becomes very uncomfortable. So, I need a solution here.
EVA-Foam for outside usage on sailboats
Since I have made all but good experiences with EVA-foam in the boat´s salon I did a small research if this material can be used outside as well. As far as I could see EVA-foam is used on smaller craft, mainly open power boats and fishing boats, to improve grip and looks and that it is very much suitable for outdoor usage. Again, logged on to amazon and ordered two new rolls of EVA-foam.
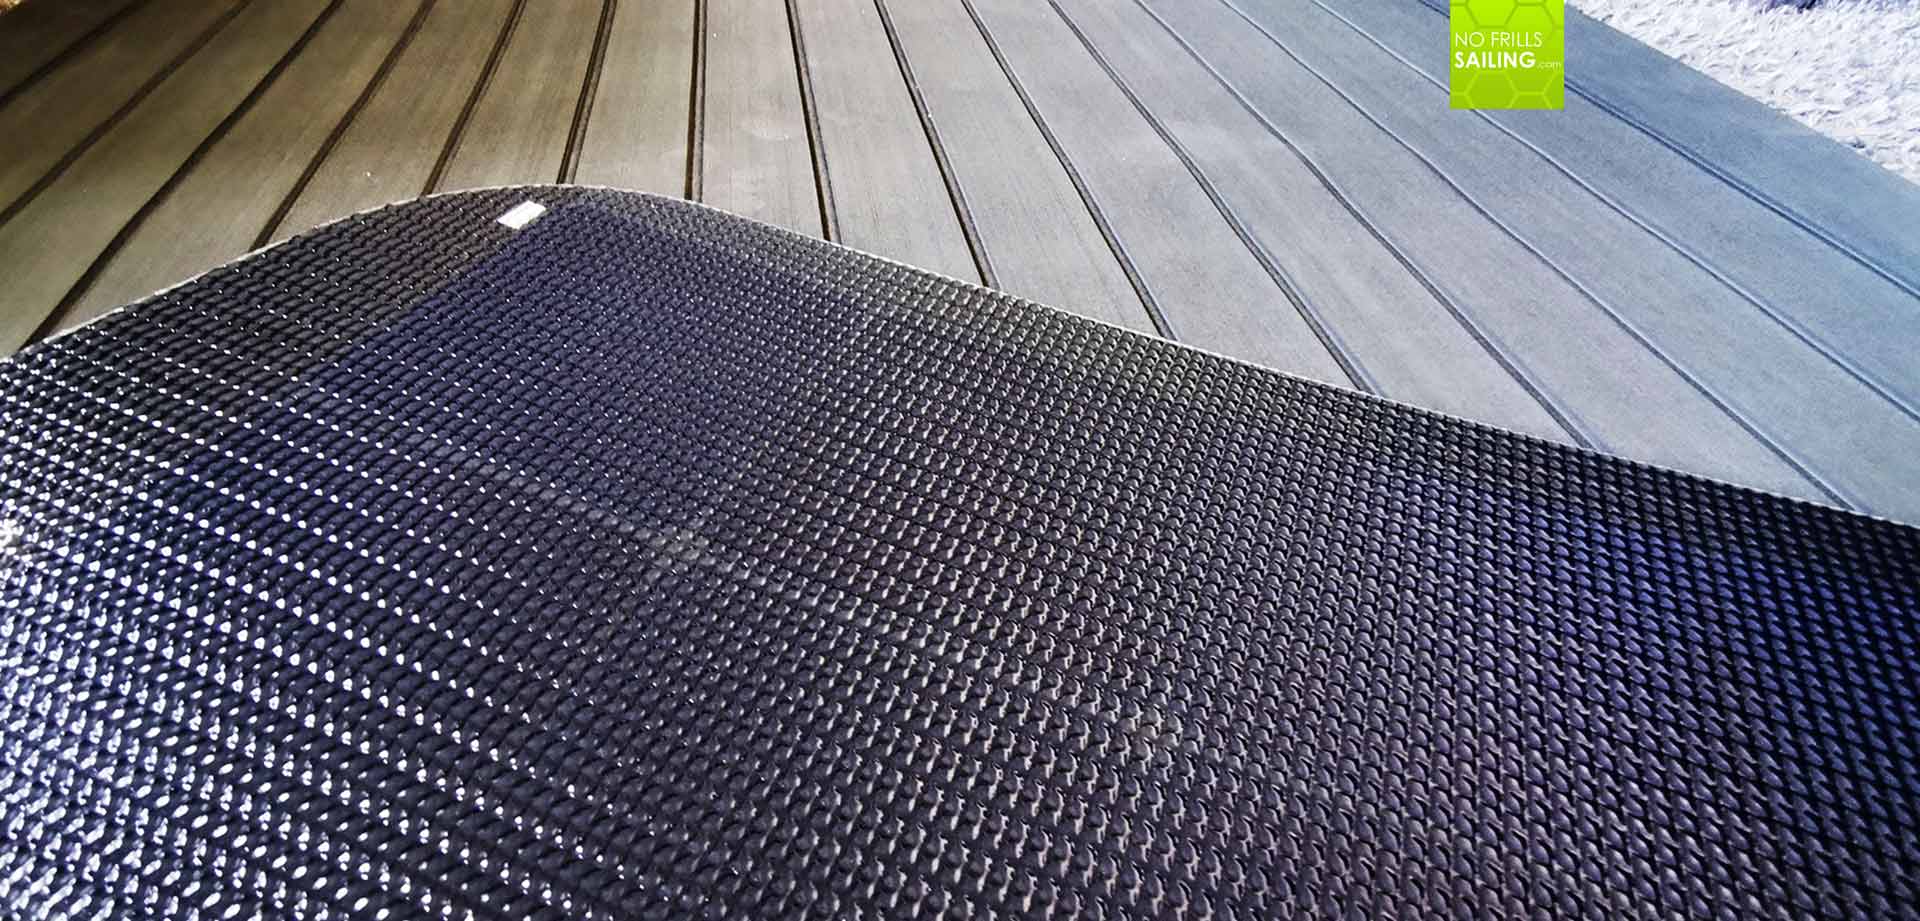
Colors are plenty and you might choose from fake Teak-color, black, white, grey and even blue colored EVA-foam. As most of GEKKO´s forward deck will be covered in black, deriving from the custom made solar-panels I am going to install soon, I figured that a matching color would be imperative so I went for the dark grey foam with black caulkings. I think it´s a great combination.
Arriving at the boat, I counted no less than seven individual parts for which I´d need to manufacture the EVA-foam parts. The First 27 SE cockpit is not a small area, so cautiously as I am I ordered plenty of raw-foam, also, just in case, something goes wrong when cutting it so that I might have some spare material for a second or even third attempt. For later, maybe to repair possible damaged areas or maintain wear and tear of the foam, it might be good to have some at hand and in stock. Now, let´s start.
Some tricky business: Transferring the shapes to the finished panels
From working on my first boat, the King´s Cruiser 33 OLIVIA, I have plenty of experience in making gauge models for manufacturing various panels. Transferring the measurements and exact forms of the non-skid surface of GEKKO´s cockpit is – theoretically – a no-brainer. I went to a pencil shop and bought a large roll of thin parchment-like paper. One might also use paper tablecloth as well. Sharpening a pencil, I went to my knees.
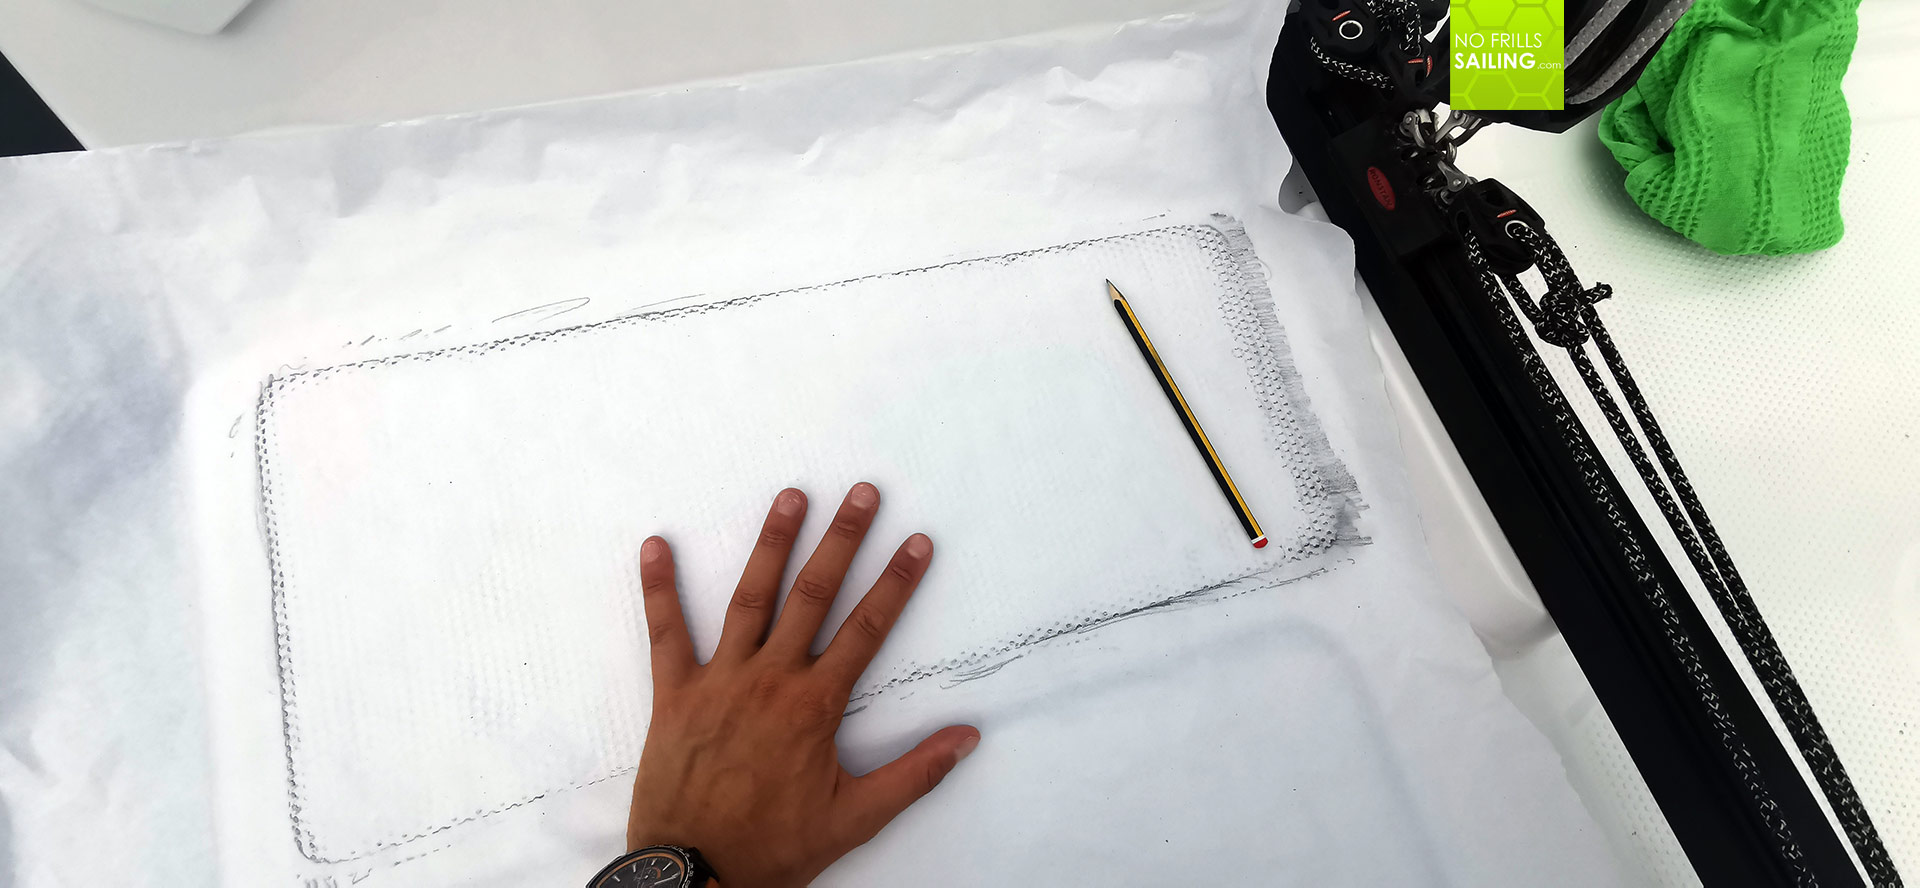
The technique is simple: Just fix the paper on the cockpit´s floor so that it cannot move. I did it with low-adhesive masking tape which is used by painters. I then started to colorize the paper right at the edge of the diamond-shaped non-skip surface and the blank GRP gelcoat, which marks the border of the panels. It went very well and it took me no 10 minutes to have all seven shapes transferred by pencil onto paper. Going home and taking a ruler, I connected the outward points and corrected some all too visible transferring-errors and cut it all out with a scissors. Well done, first part was a no-brainer.
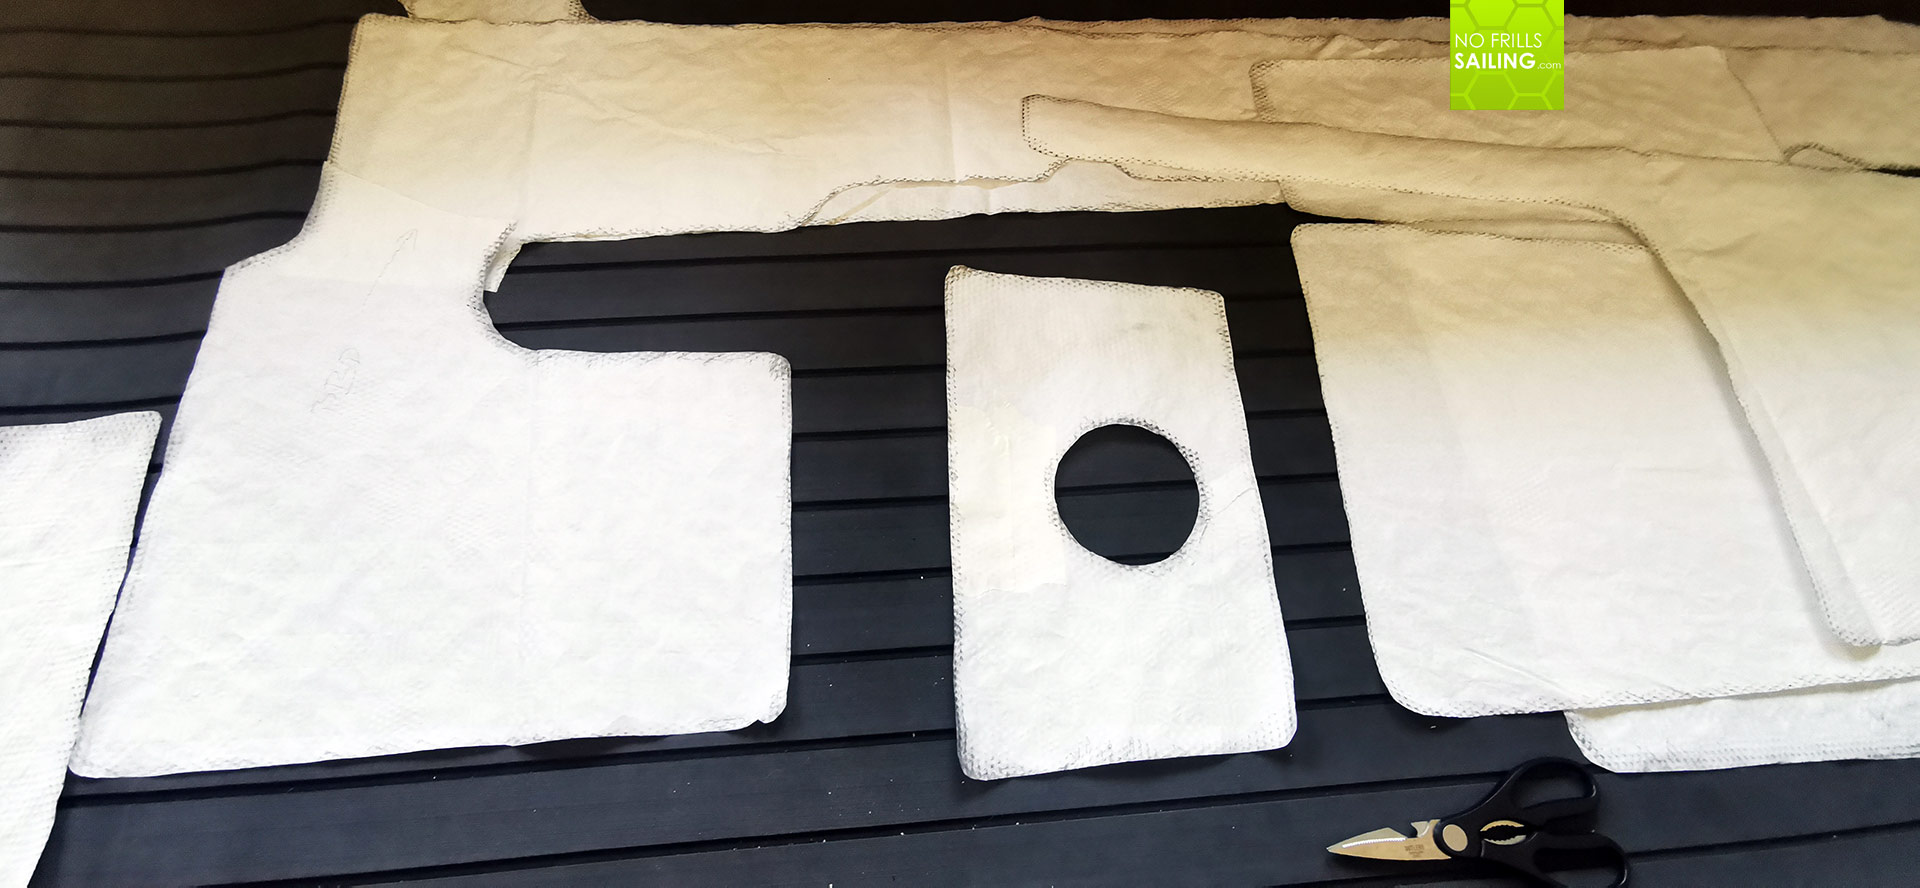
Now, the second one might seem easy, but must be thought through carefully. See – the whole cockpit´s covering must appear fluent and consistent. That means that the fake bars and lines of black caulking should all be running parallel and have the same distances. Because of the fact that the First 27 SE has seven panels, all separated by large gaps, make it difficult to achieve. So I detected the “main” panel which I would use as starting point. Obviously that was the mid-section, smallest part around the ground attachment/clamp of the mainsheet. This was the first panel that got transferred from paper gauge to foam.
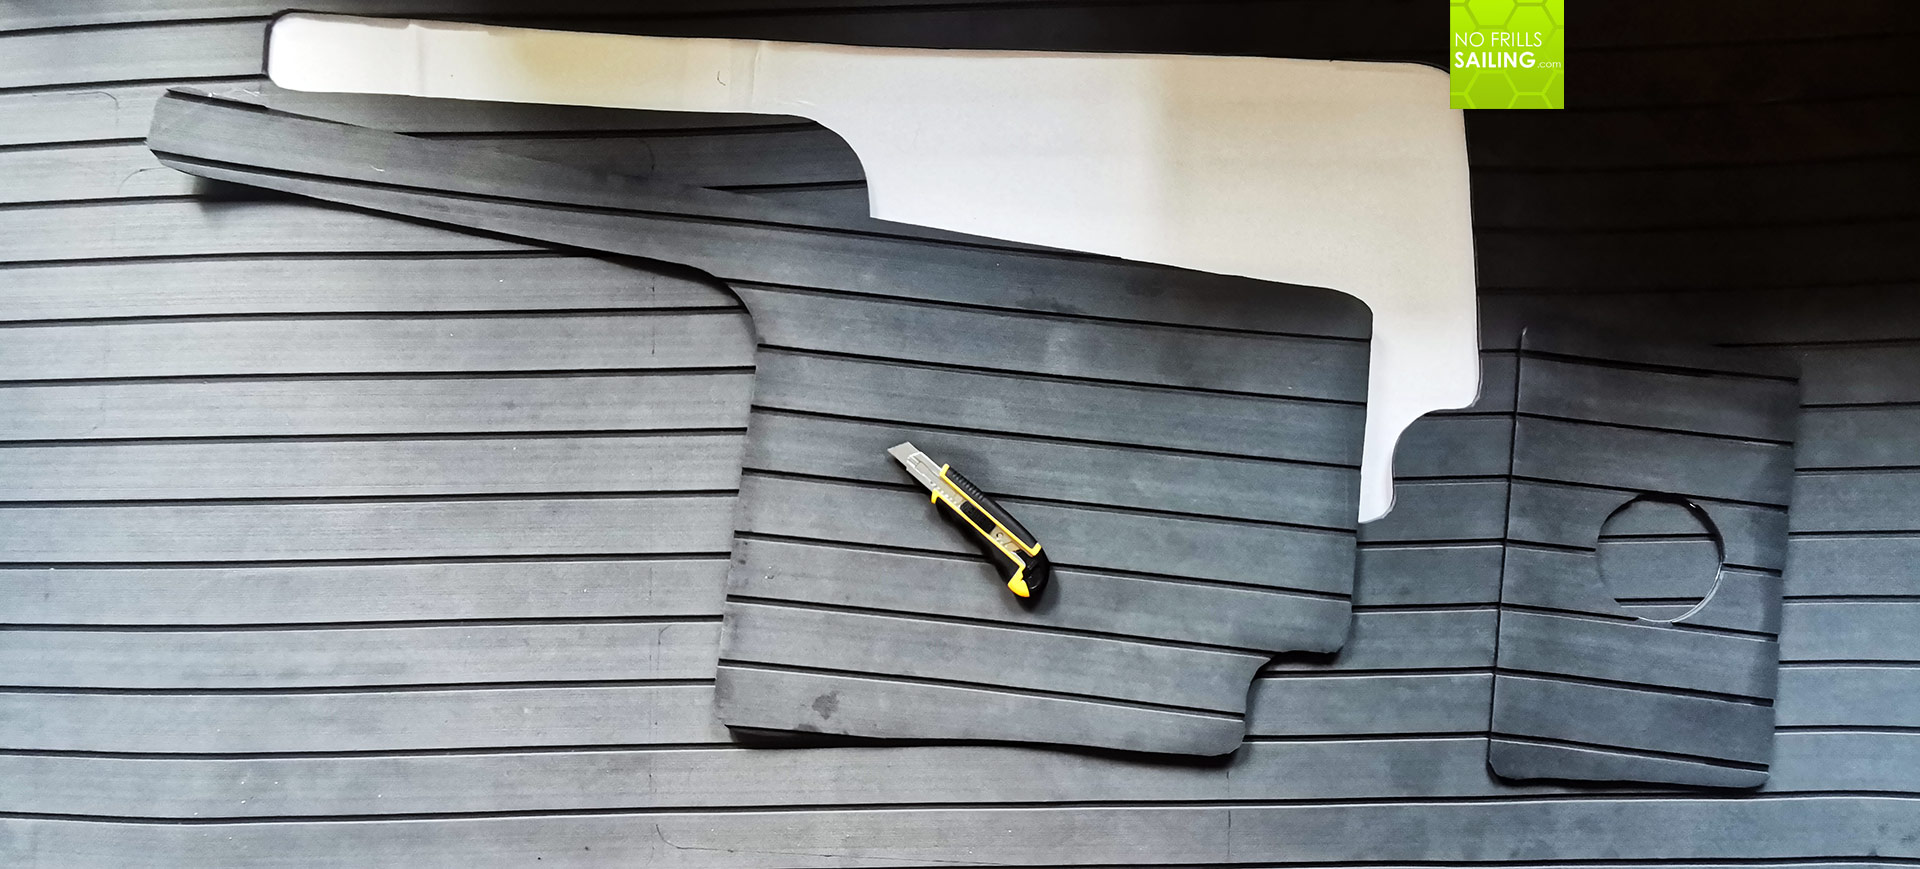
I cut out this first piece and used it to go on with the other two mid-section panels. Now, these three are covering most of the cockpit´s middle floor and will act as sources from which the outside panels and finally the panels covering the stern behind mainsheet traveler will be made of. After transferring the paper gauges to the foam, a ruler again helped to straighten out lines and I finally started to cut out the panels with a freshly sharpened carpet knife carefully. All this also took no more than half an hour.
Dress rehearsal: Will it fit?
Several days later, after arriving from my first big family sailing vacation – about which you are going to read very soon – I´ve had a second dash to the boat with the three “source”-panels in the trunk. I was eager to see if these panels would fit and how the colors would be appearing on the real boat. I must say, I was more than excited.
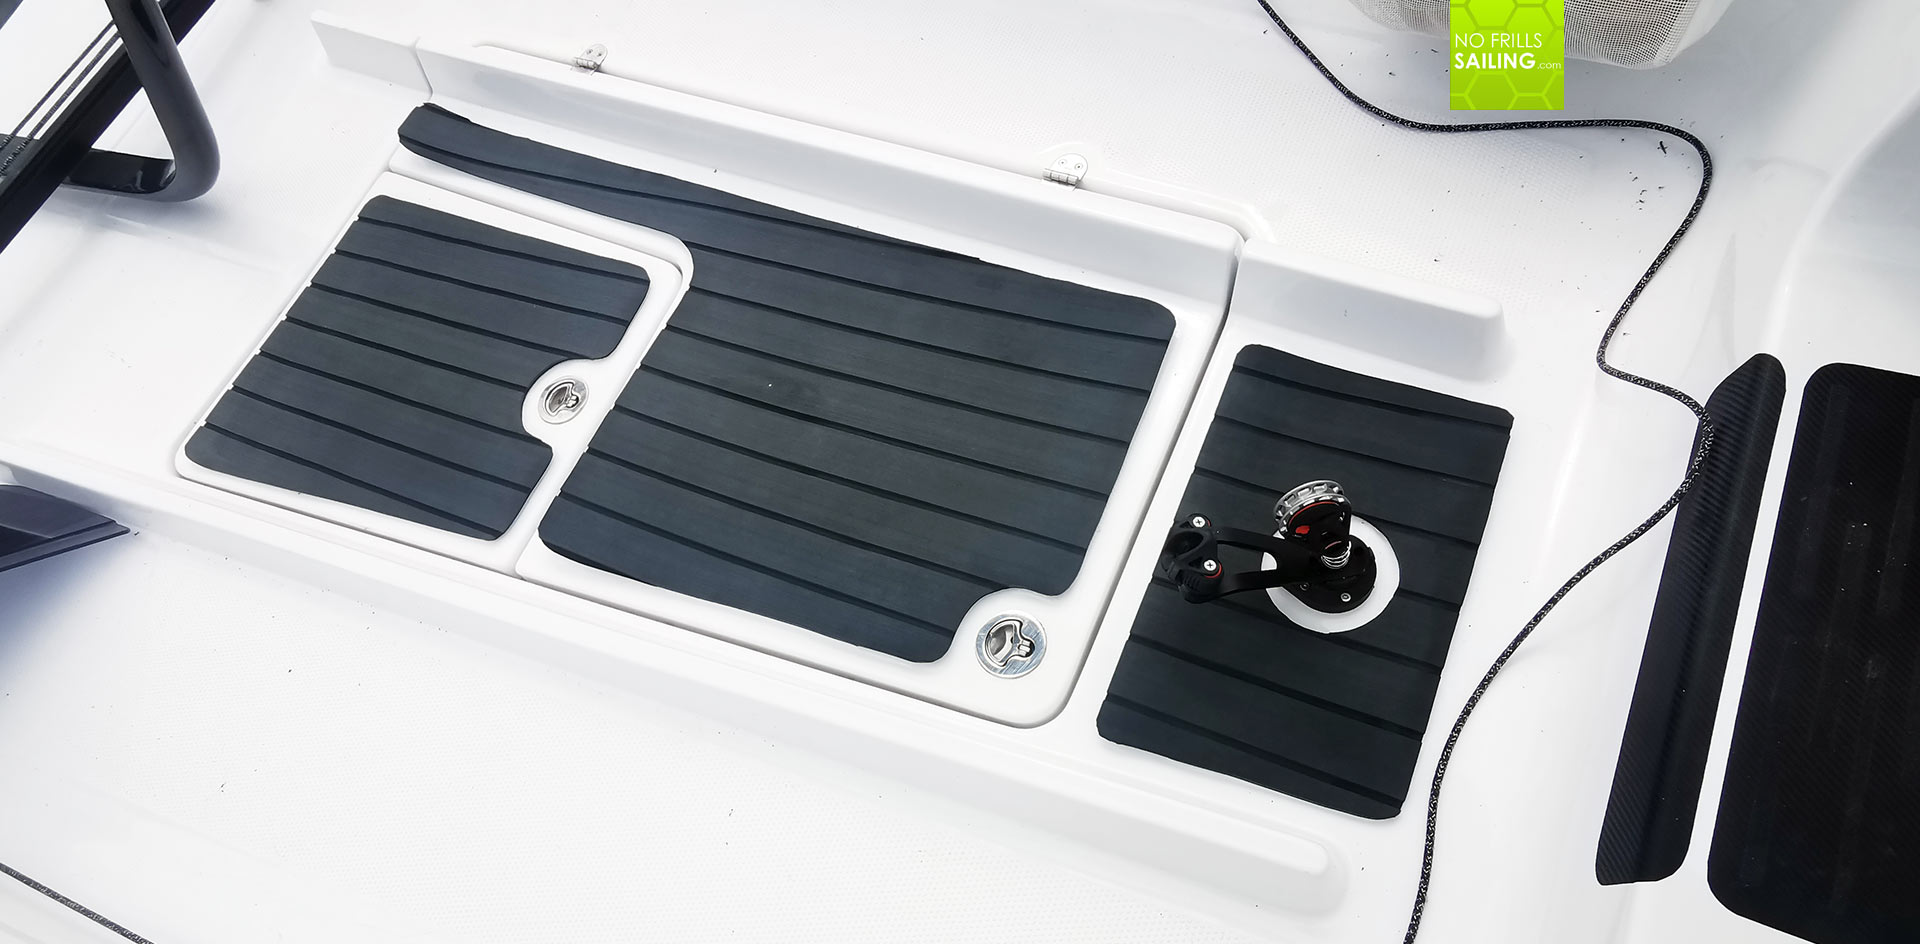
The panels fit just fine and the looks are nice too. The dark grey was the right choice, much better than clean black (like I used in the salon down below) because I think grey won´t heat up in the sun all too much and the grey does not look too aggressive. A downside of grey I noticed right on the spot: Every drop of liquid, every grain of sand, every piece of bread crumps or other stains is instantly visible. On the other hand: I am a cleansing fanatic so I don´t care too much.
Open questions
So I drove home knowing that I was on the right way here. I am right now on my way to France to board a sailing catamaran for a transfer cruise through the Bay of Biscay so that there isn´t any time to finish this project soon, but it will be done right when I am back and the boat tied again to her home berth. One open questions is nevertheless bothering me a bit: How to apply the panels to the GRP of the cockpit?

Yepp, they come with a self-adhesive back and this is working just fine inside of the boat: I am excited every time I go to sleep below seeing the black/white floorboards and the light-grey side covering of the fore cabin in GEKKO, but I doubt the self-adhesion will be sufficient to provide for a good grip on non-skid surface (because contact-surface is reduced to the mere tips of the non skid-points) as well as I doubt that the applied glue will withstand the stresses, UV-light, saltwater and constant, sometimes very rapid, changes of the outside temperature. I bought Pantera glue and will try it this way. So, part 2 will be putting these adhesives to a test. In the meantime: I am happy for this improvement and another one comes right up: How to make the coamings on the entryway, where I regularly sit and monitor the plotter (LINK), more comfortable too? Well, that´s a thing for a next article.
You may be interested in reading these articles:
All Seascape-related articles by clicking the hashtag #thinkseascape
EVA-foam for my boat´s interior
Interior design concepts for sailing yachts parts 1 and 2