Quick update on the King´s Cruiser´s refit program: Since I was very busy working during the last months I unfortunately found very little time to work on my boat. But lucky as I was I could spare some hours during last weekend and return to the site to go on with the interior refit program: This time it´s part 6 of the roofing panels series: Fitting of decorative stripes. But where are we now in the project anyway?
Last time (read it here and here) I assembled the main panels of the saloon roofing and was very proud of my work indeed. Another layer of Toplac in white was applied to hide and seal the bolt heads and I must say the whole saloon looks just so much different from the trashy look it bared for nearly two years now. It´s much more light-suffused, friendly and welcoming. But there are some downsides to this, as you may have seen.
I am not a laser-cutter
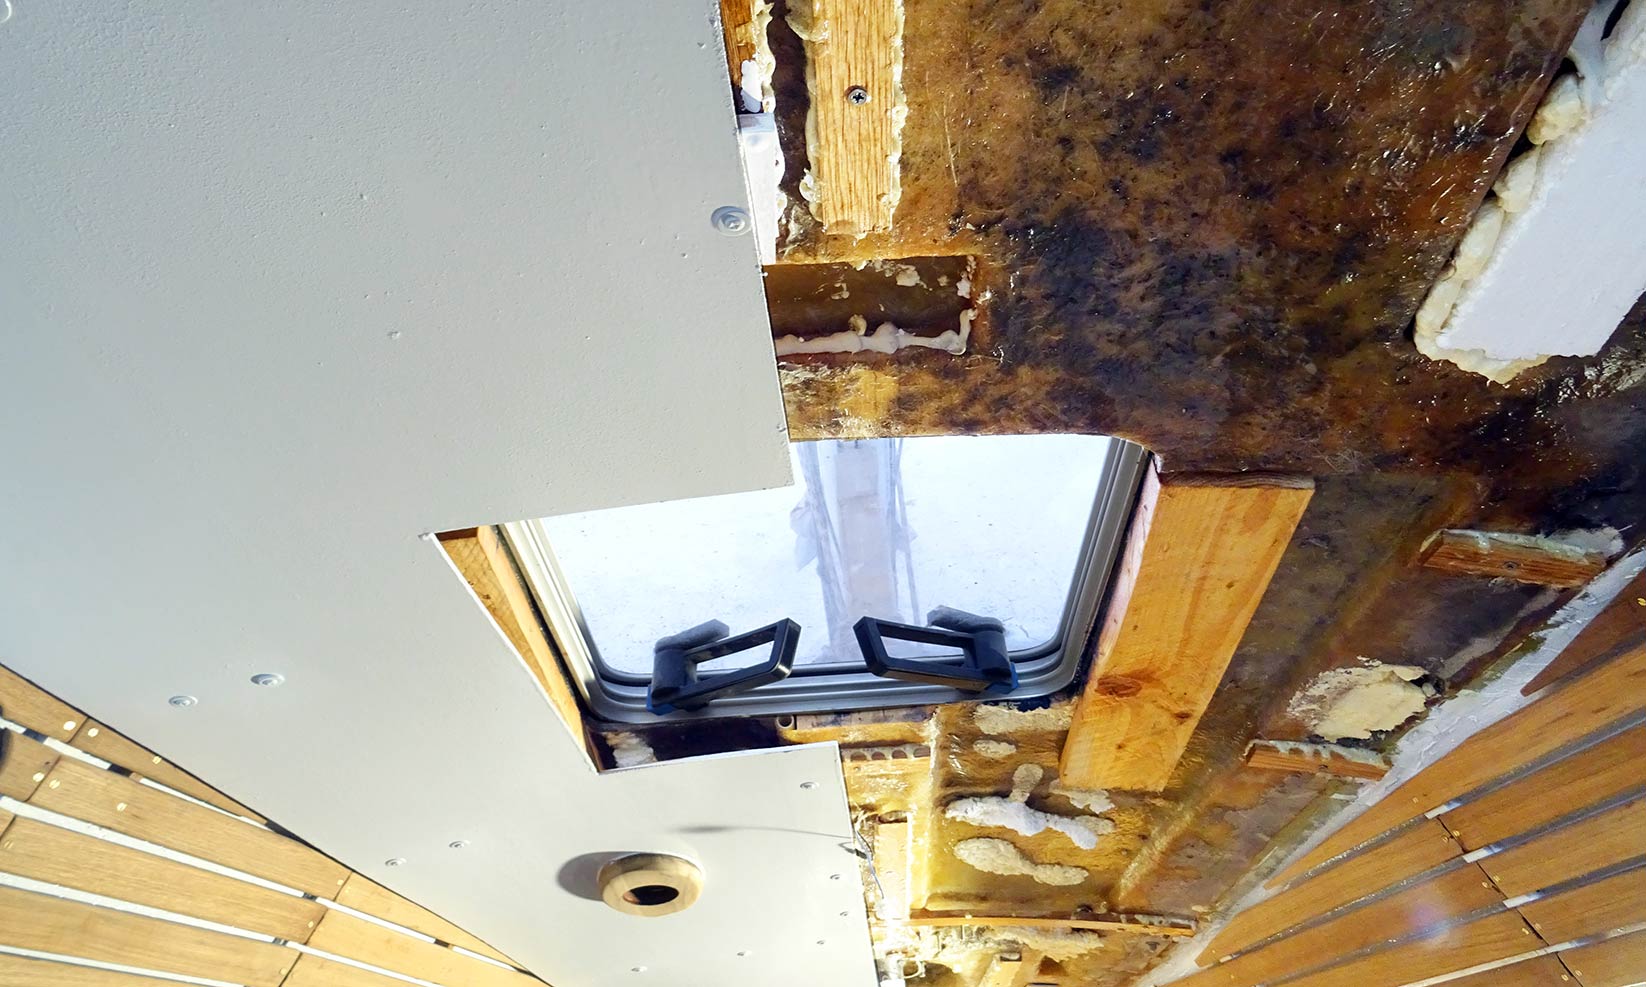
Fabricating roofing panels is a tedious work indeed. Since I couldn´t use the old ones anymore due to the fact that I wanted a nice curvy and bent roofing and removed all of the old substruction to have a new one installed I had to take measurements by myself. I did so by means of taping together stripes of cardboard hoping to be as accurate as possible. As you can see, there are huge seams and lots of clearing between panels. Oh my …
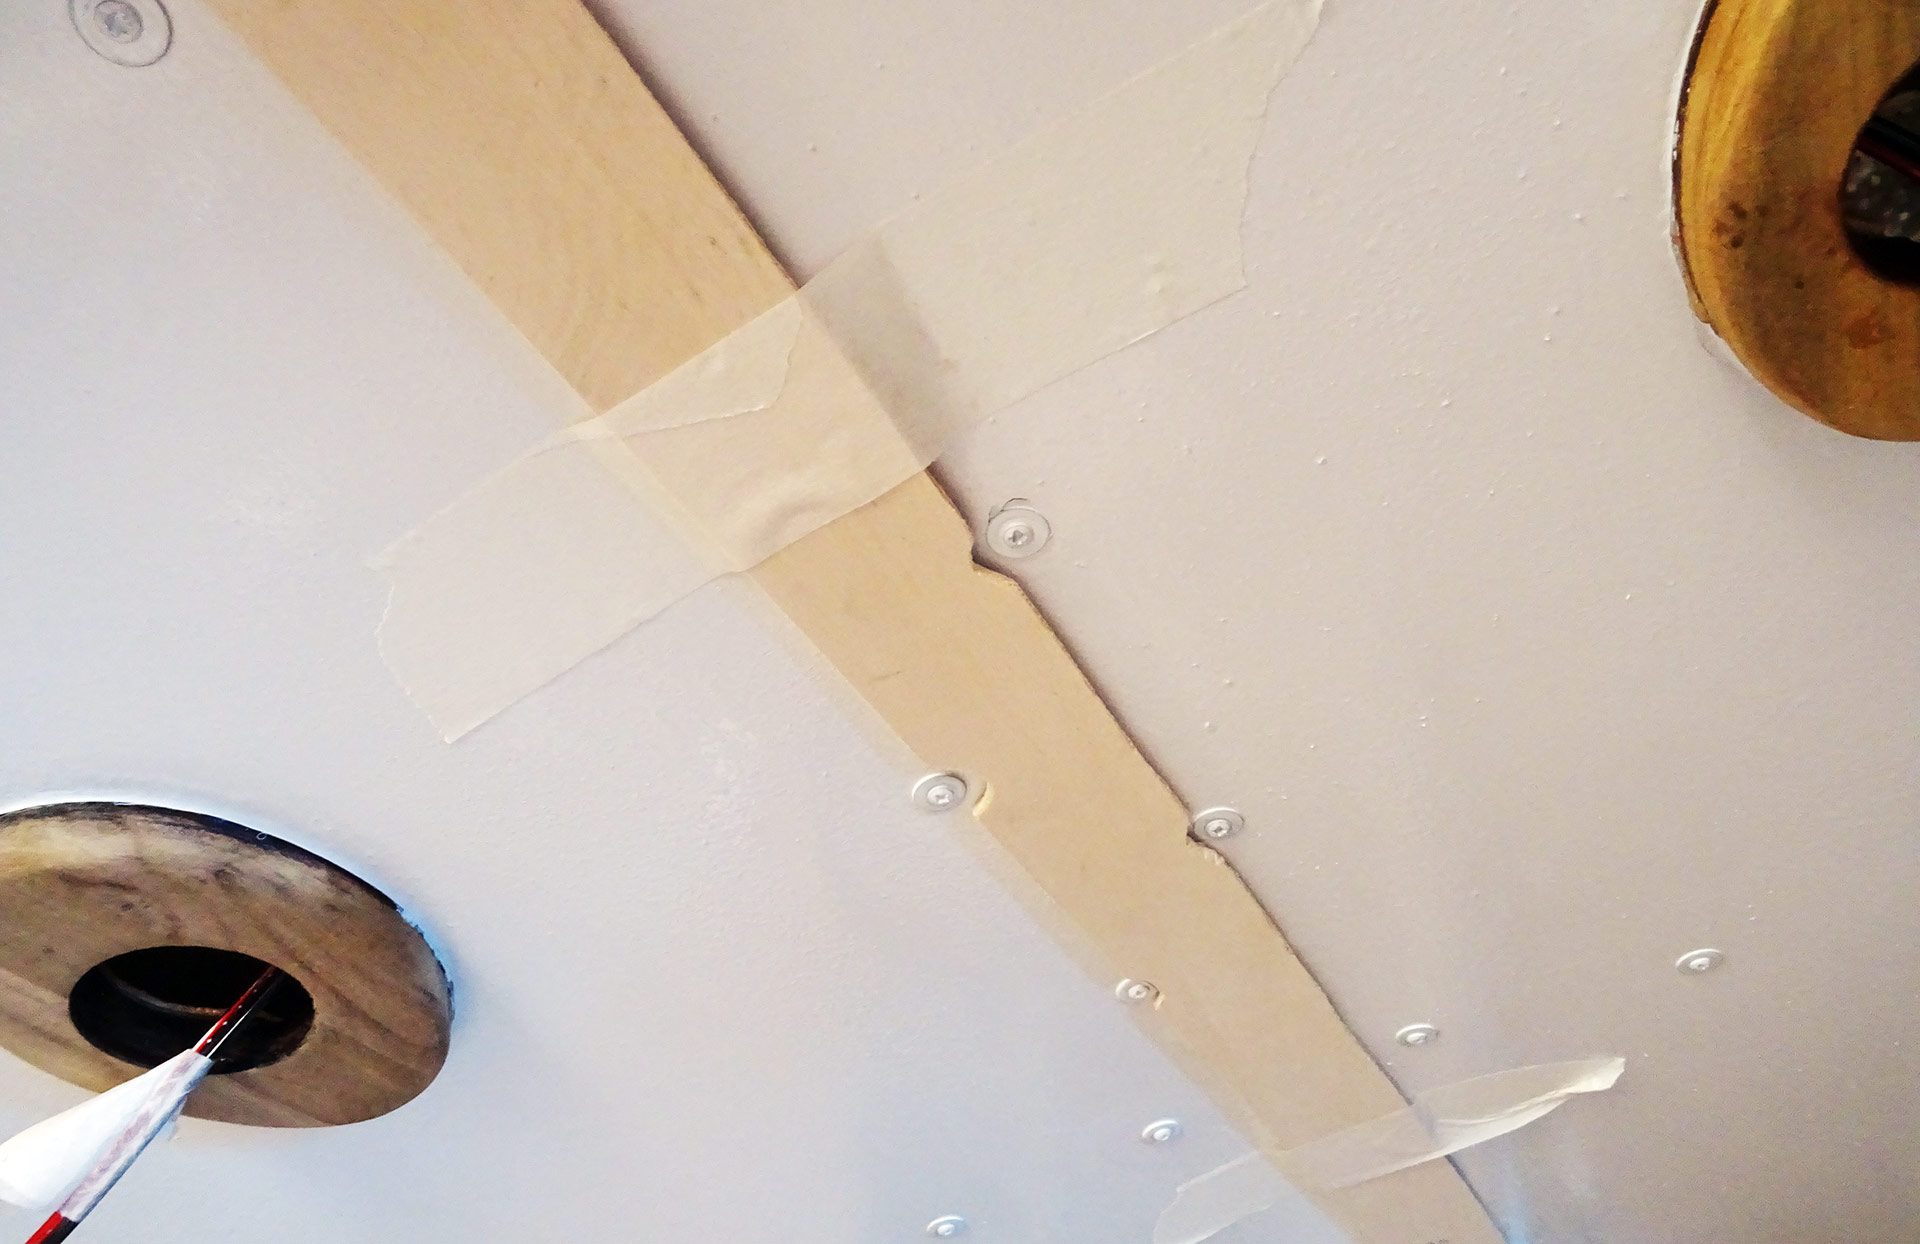
So I decided to go for Teak stripes to cover the large seams. But a single batten of 4.5 centimetres would be too narrow as I would need to drill holes for screws, so two battens are needed. But two aligning two battens longitudinal next to each other perfectly over a large seam can´t be done without a third batten, a substruction if you will. I decided to cut stripes of plywood of some 6 centimetres width. Taking measurements of the very area to be attached and cutting out holes for the screw heads was the second task.
I then taped the plywood-batten to the ceiling and checked if this batten would have a clear and straight area of support all along the roofing panels itself, which it did have. The plan is first glue the batten to the ceiling, later put in some screws for additional rugged support of the whole stripes. Then I cut two Teak batten in size and taped them onto the plywood batten to see if it looks right. It does!
I took off everything to have Teak and plywood-batten glued to each other with D4 PUR-glue and a lot of pressure, which I applied overnight. Upon taking off the clamps I had to sand the Teak surface clean and smooth and seal off the bare wood with Epoxy on the backside (like I did with every Teak made item in the course of the refit-program.
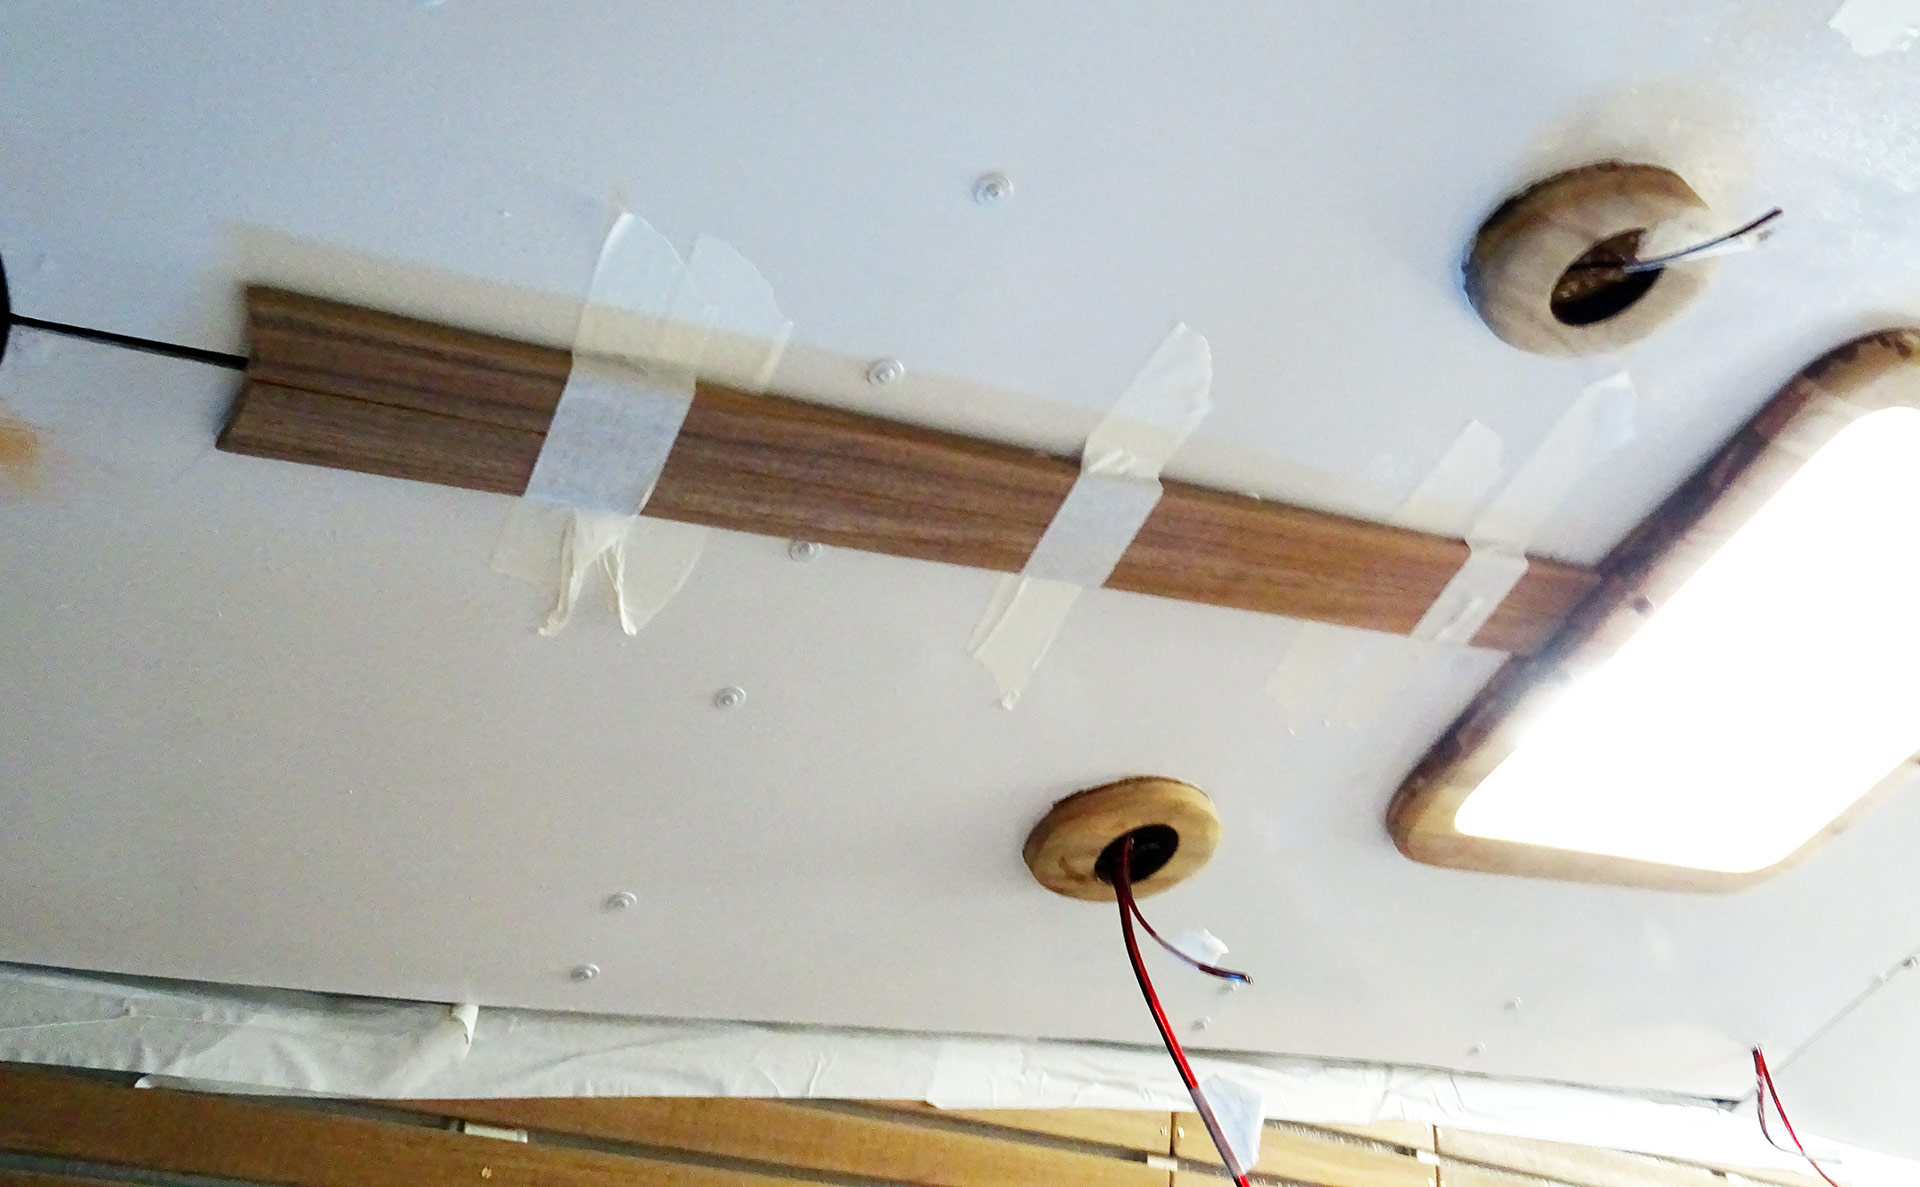
This was a bit tricky since some of the notorious D4-glue was sipping through between the adjoining Teak batten and messing up the “sunny side” of the battens for sure. I had to scratch off the hardened clue, make a new interstice and sand everything by hand that it may look nice. One hour for that one …
Mast framing made of Teak
By the way, do you remember my post about what to do with spare Teak? I did have this idea of making a mast framing with a small access hatch for the mast-wiring of navigation lights (you may read this article here).
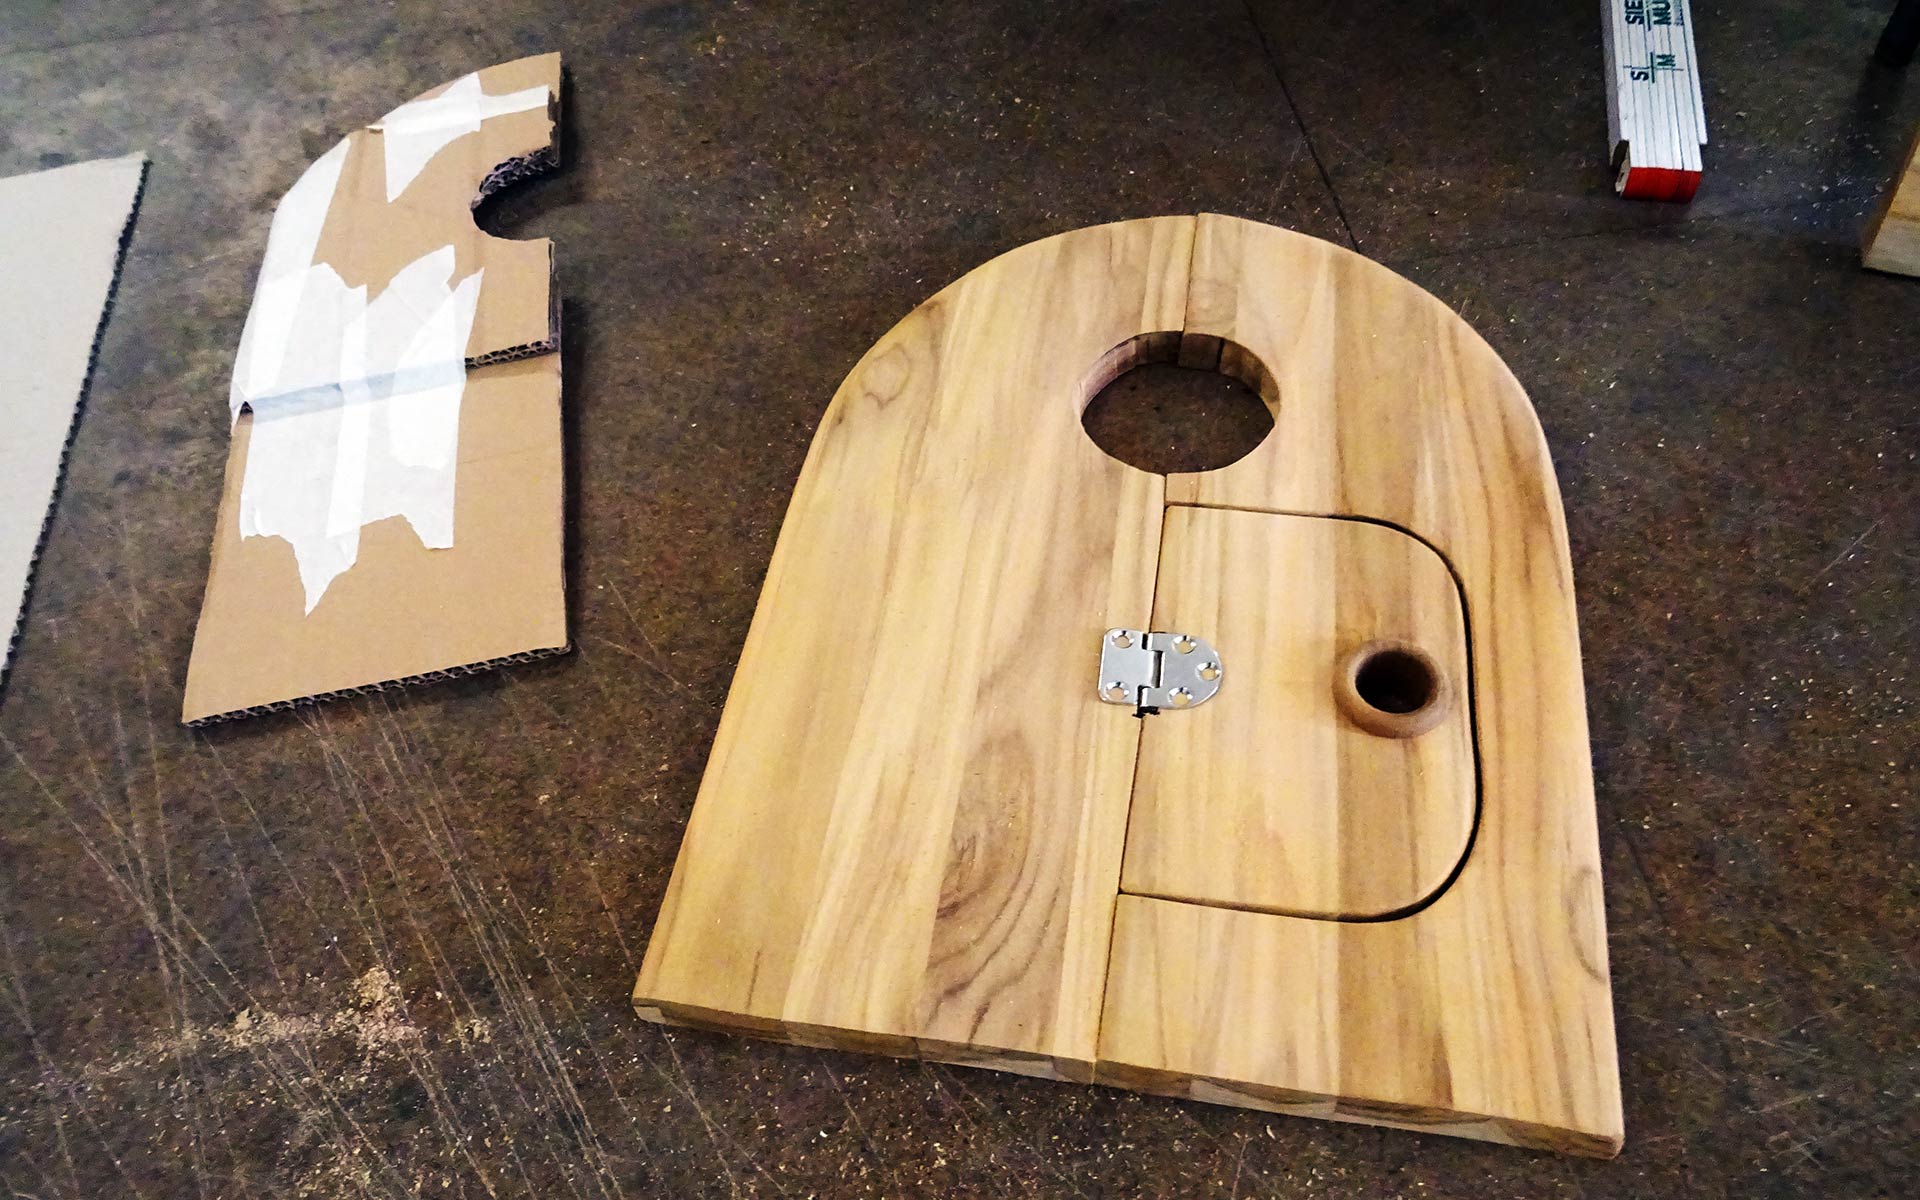
After a long and sometimes awful painstaking process of finding a way to make the access hatch open and close safely, I also glued these two parts around the mast stand and onto the roofing panels. As it is planned with the decorative stripes, the mast framing will later on also be screwed to the Oak substruction underneath the new roofing panels.

But from what I can see even with the supportive stands applying pressure and fixation to the mast framing, this looks very classy. I am very satisfied with my work so far: Although I fear that the access hole for the mast wiring may be too small and the poor electrician who is going to wire up the boat will recite some hefty curses …
Fitting of longitudinal Teak stripes
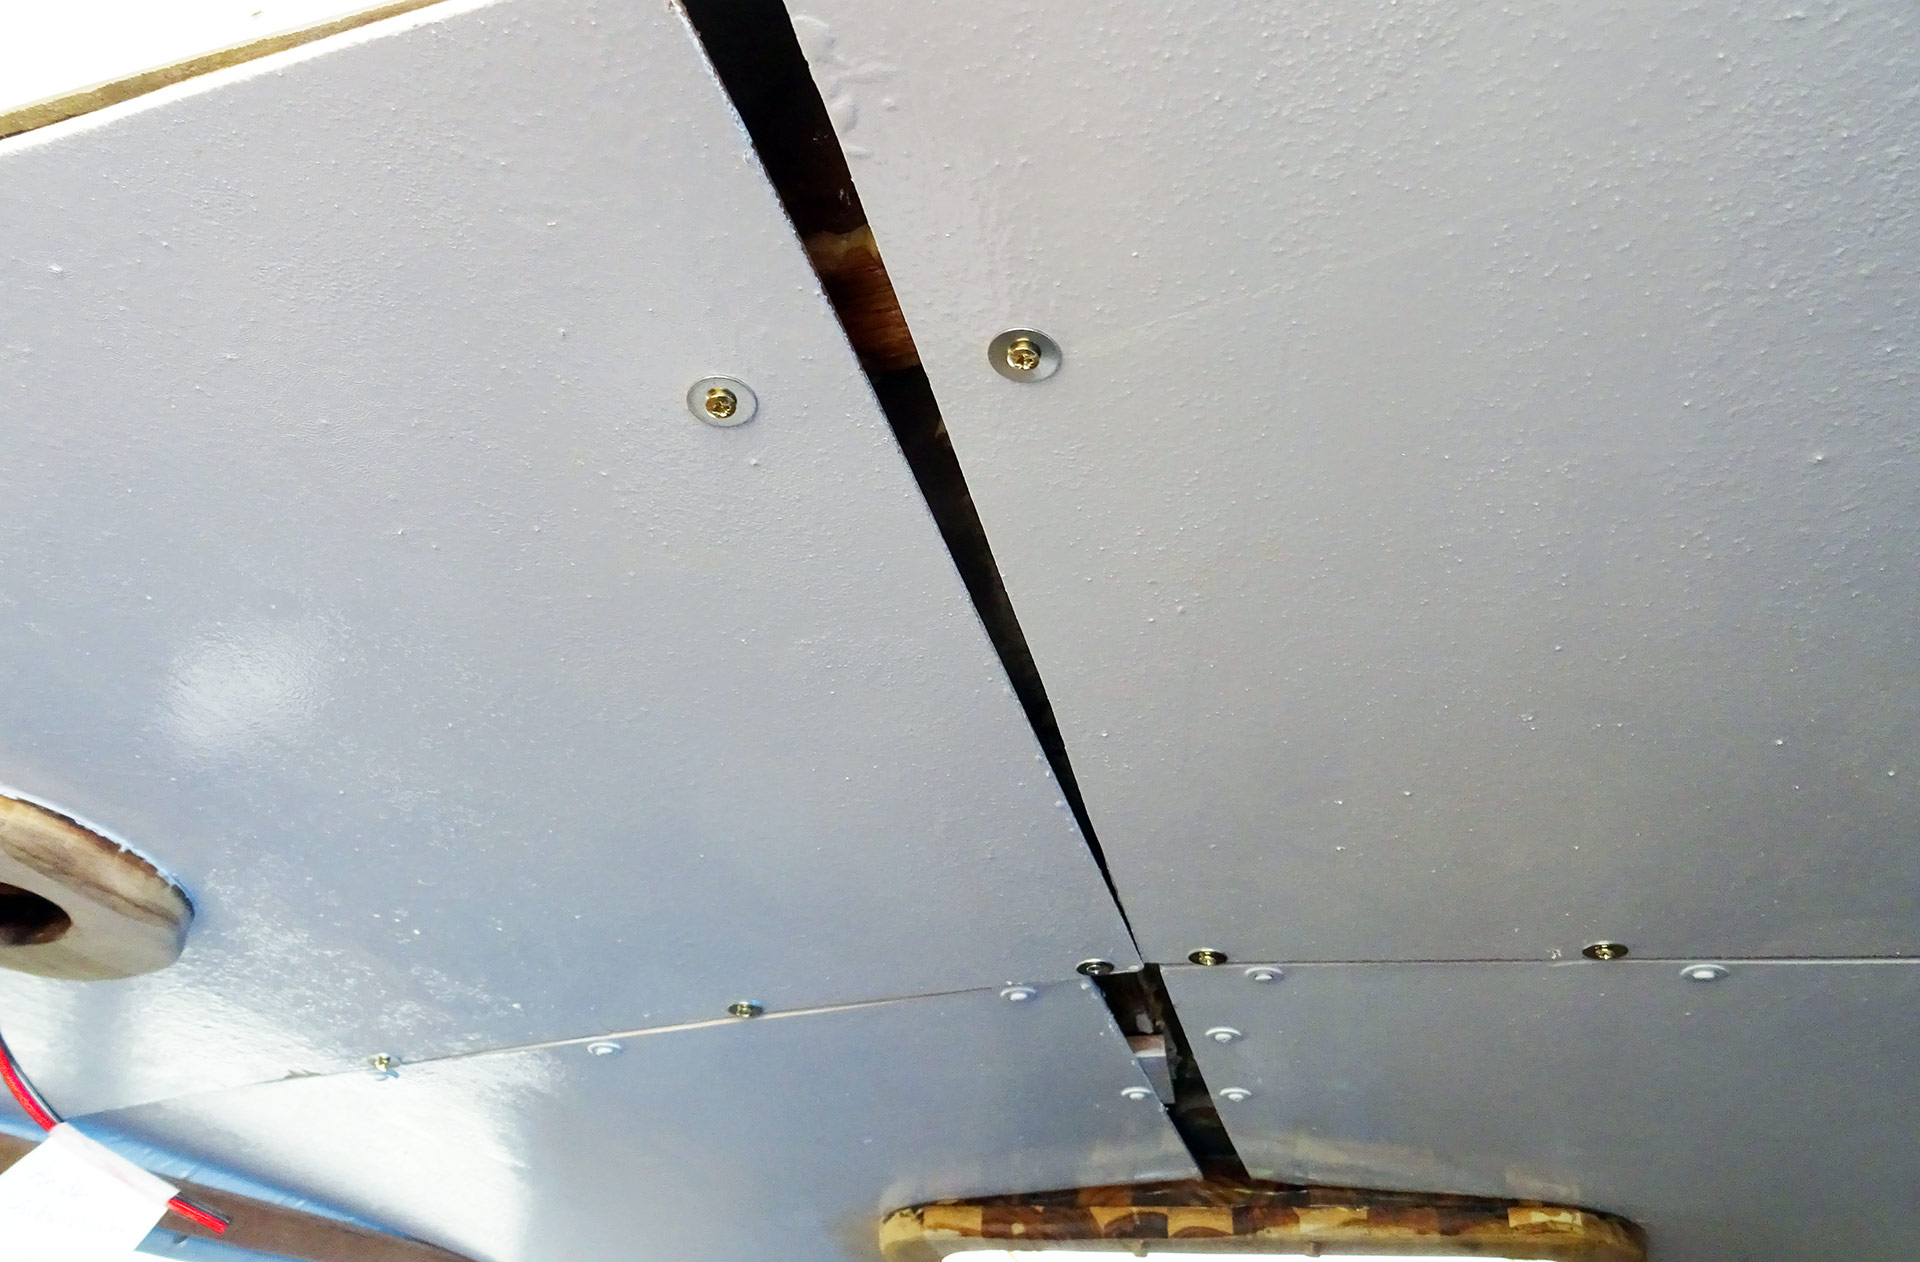
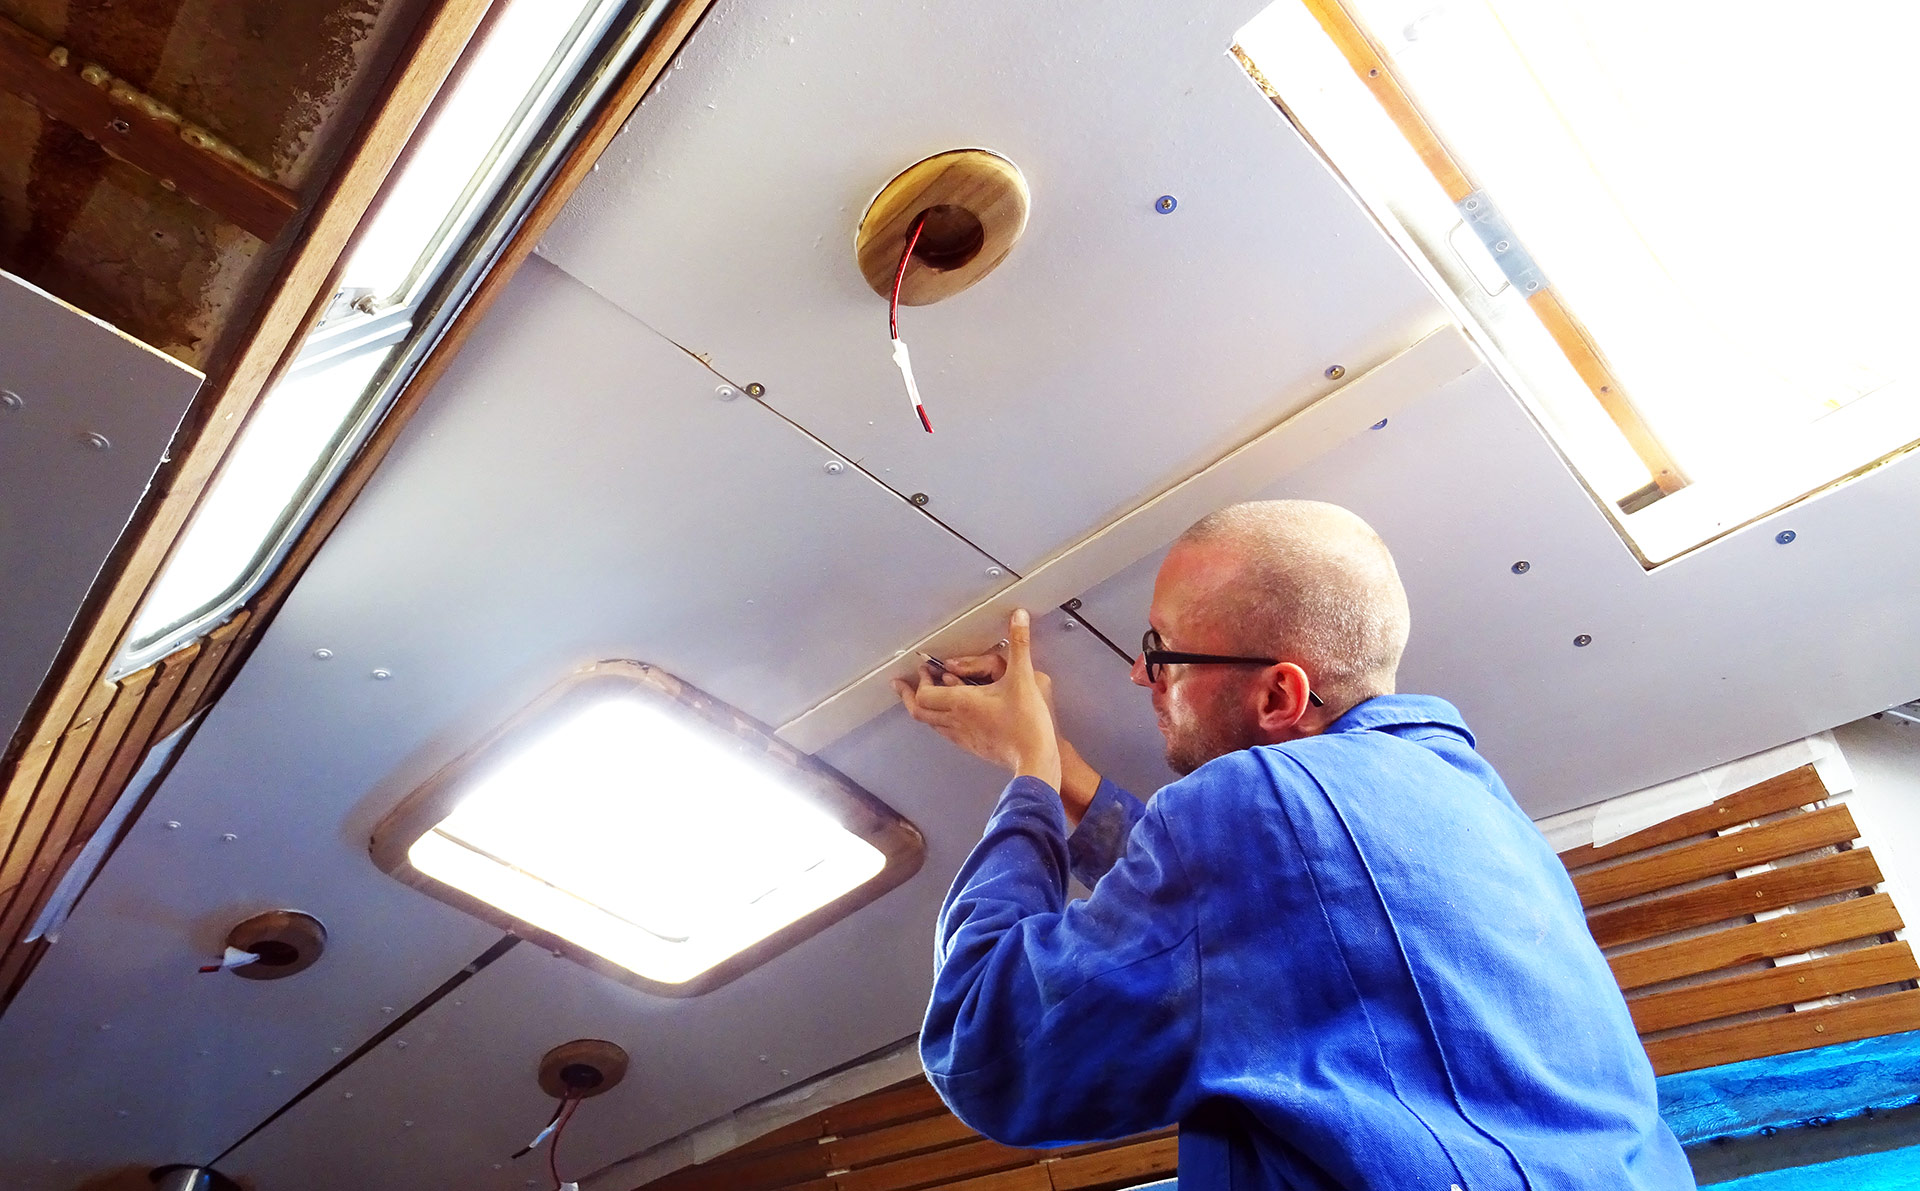
Now it was time to put the whole decorative stripes to the ceiling itself which was done with a lot of Epoxy and pressure by two supporting posts. Upon drying I will later on drill holes through Teak, plywood and roofing panel in defined intervals to have some nice golden brass screws applied for additional support. There´s nor a 3 millimetre clearance between roofing panel and Teak (the thickness of the plywood-substruction) which I will try to use as a snap-under for the transverse Teak stripes (which will be Part 7 of this series)
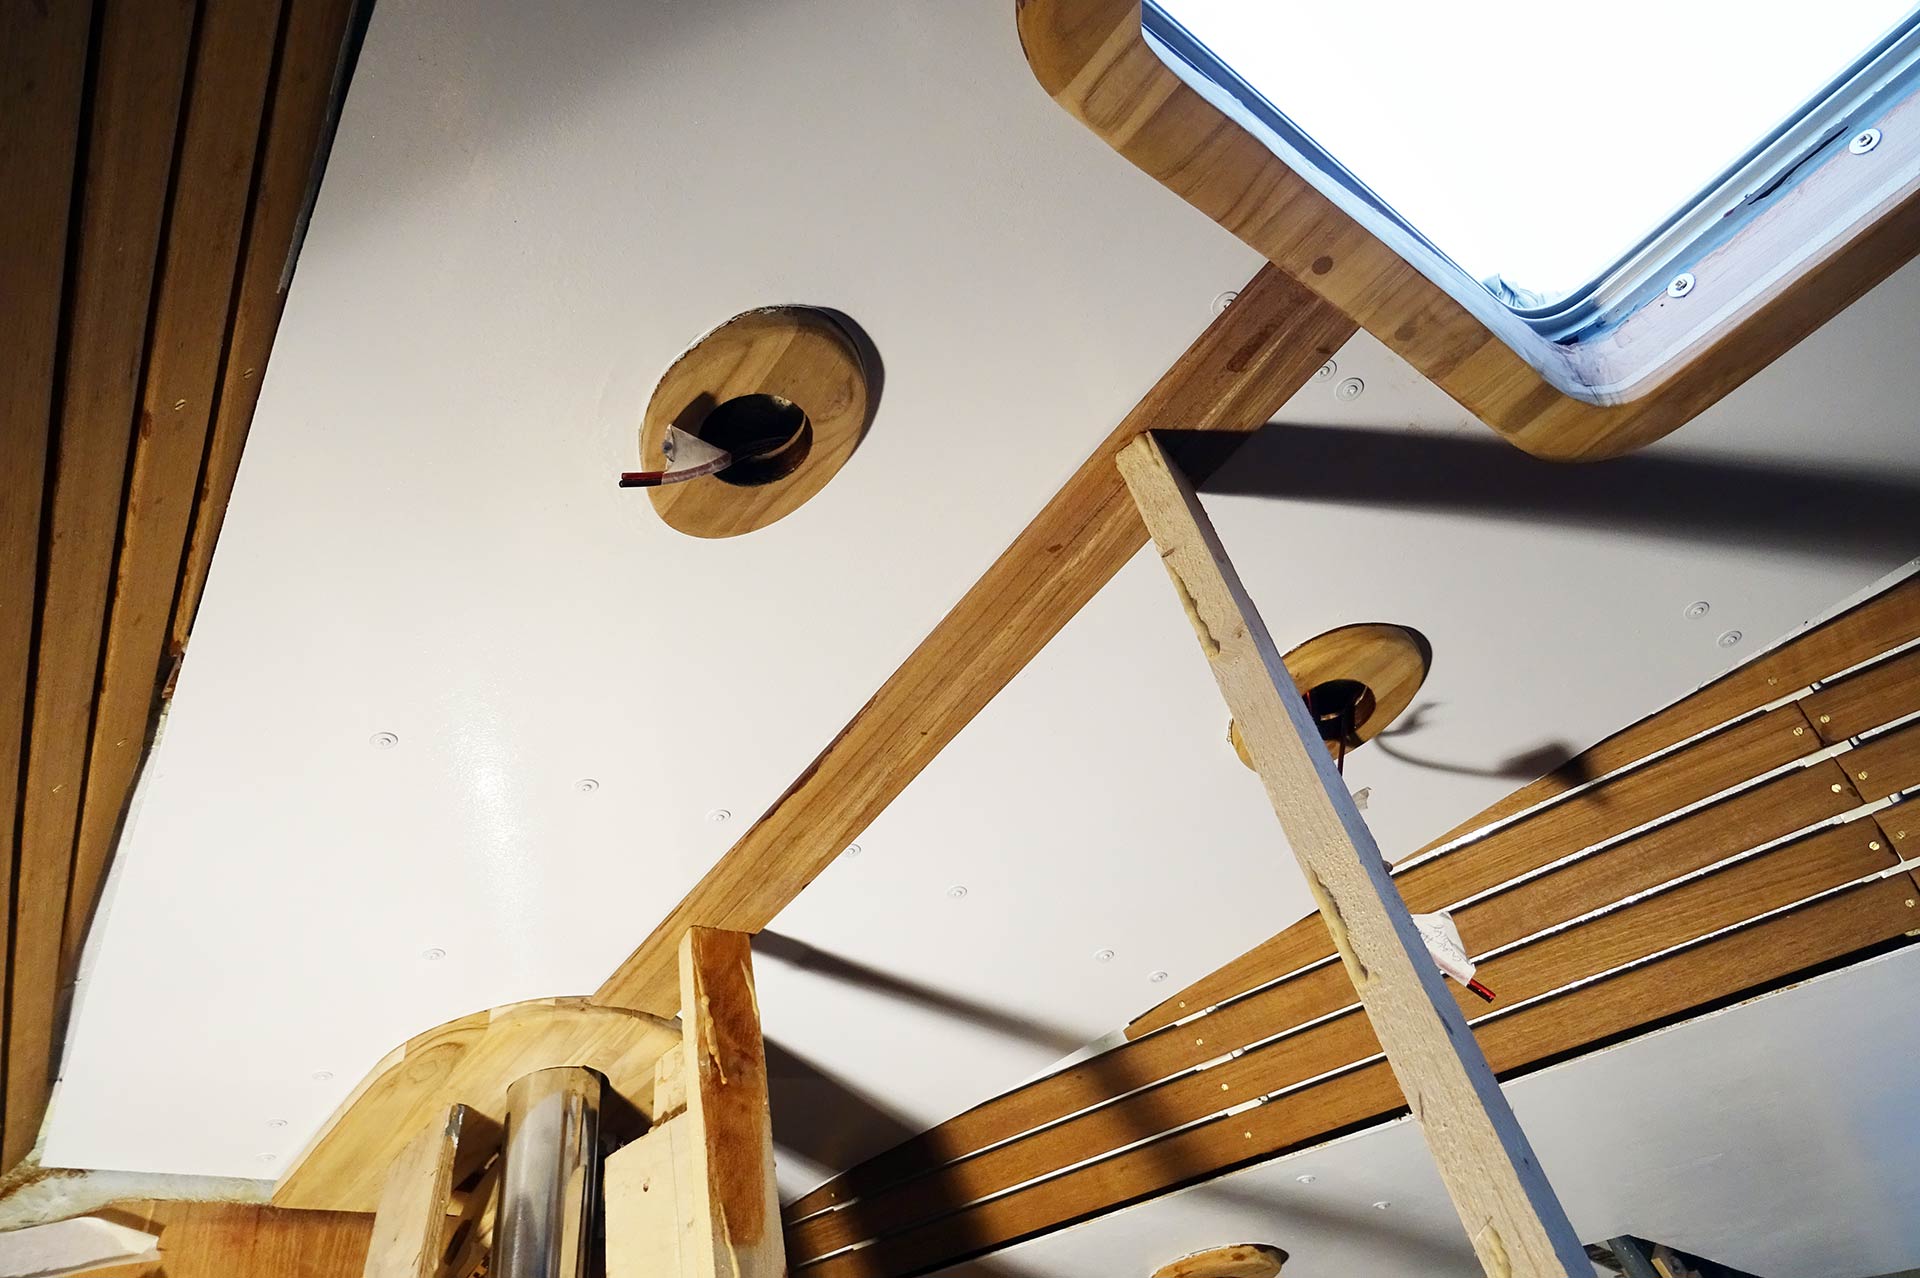
Oh, how I love the Teak-made plinths (how they are made can be read here) for the new LED-lights! It´s a completely different look from the King´s Cruiser I bought originally. Although my work is way behind something we would call “professional”, I would say that the look of this – even now, unfinished – is way more classy and significant that this yacht is in her original fitting.
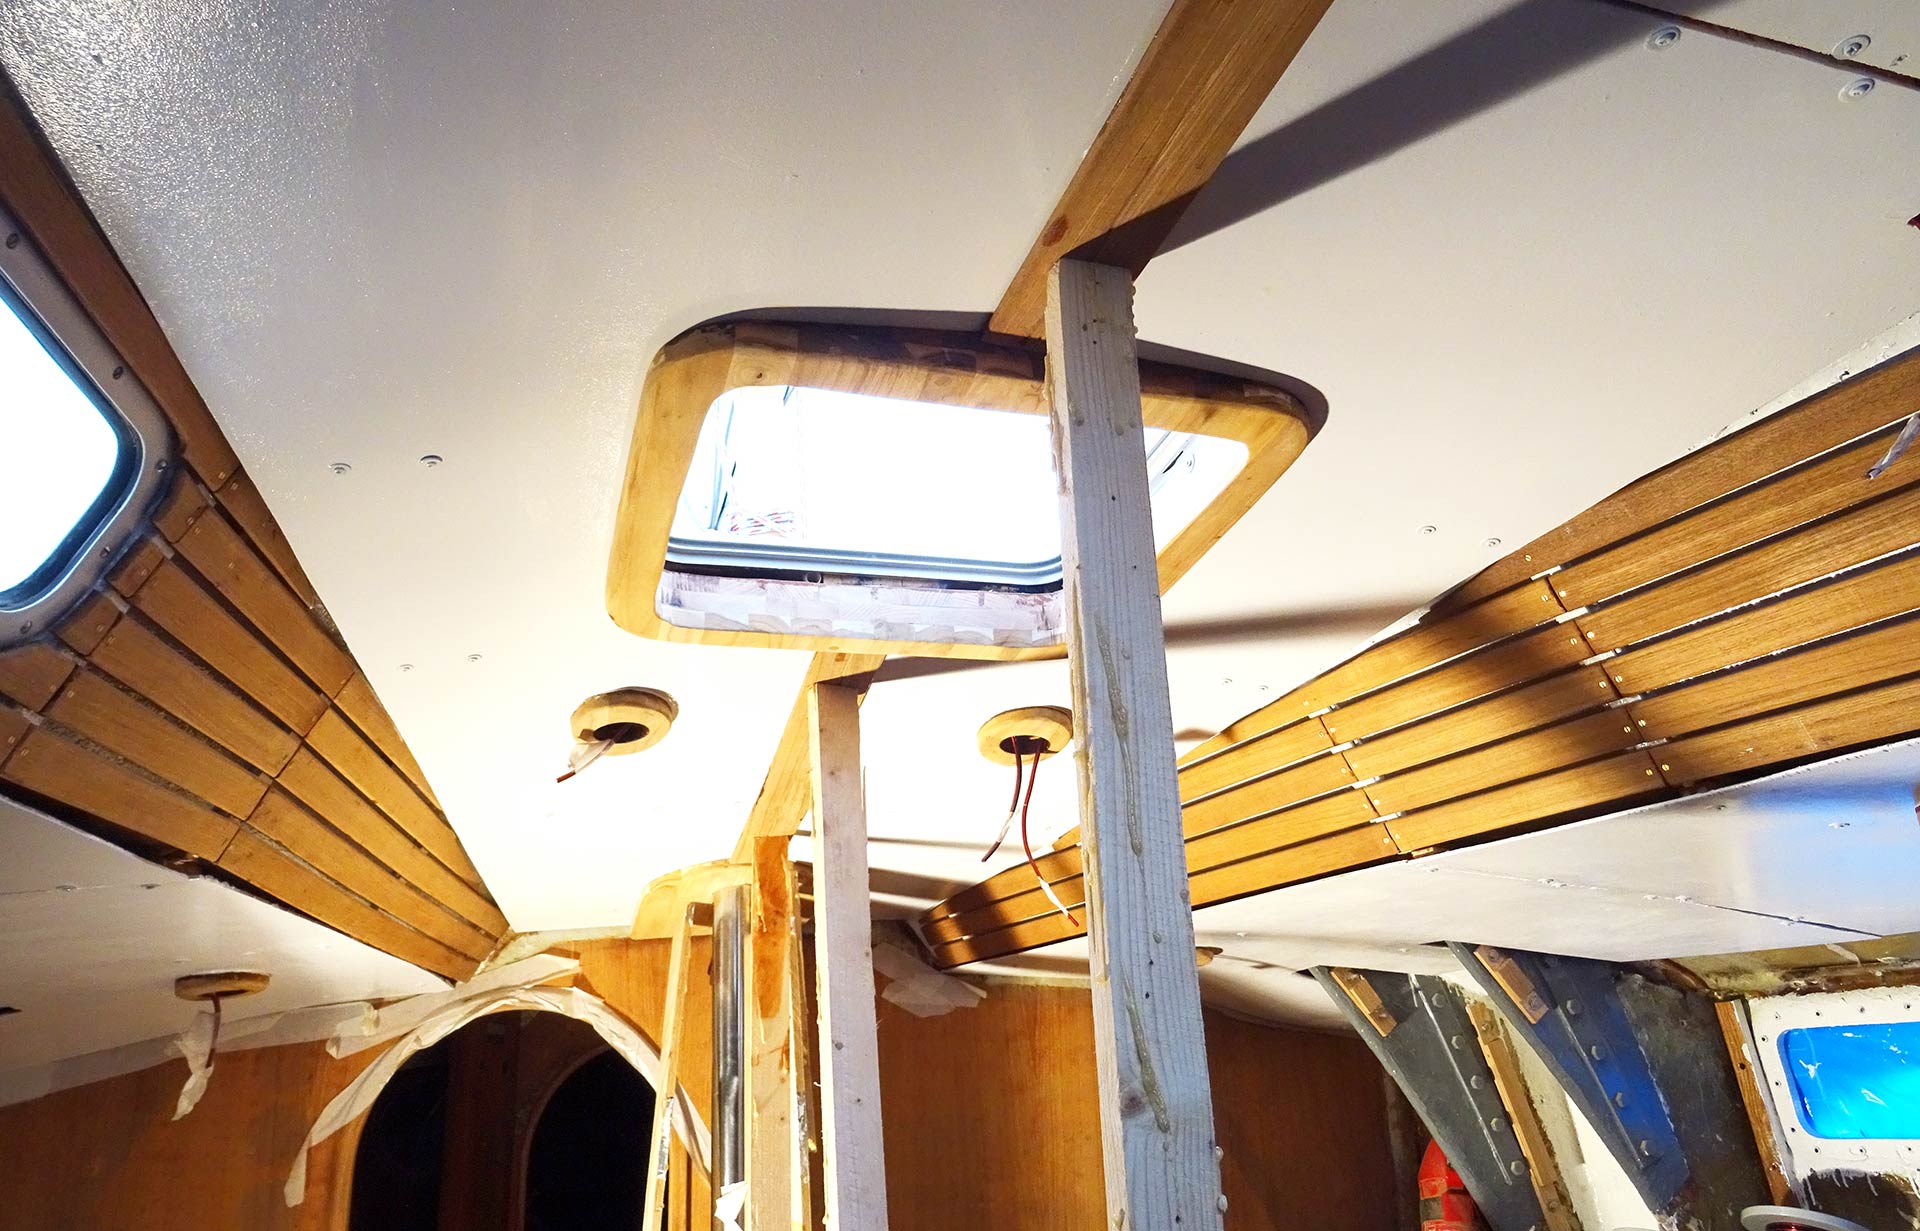
What I will do during the coming refit working sessions will be the fitting of the tansverse Teak stripes all across the saloon roofing panels. Basically it´s finished then. Glossy paint for the Teak and a last layer of white Toplac will be applied in … months to come, when the whole interior has been refitted: There are still some roofing panels missing in the aft part above galley, navigation station and quarter berth, not to mention the entryway, head and fore cabin. And by the way, the fore cabin is going to be a hard thing …
Stay tuned!
Other interesting articles:
Refurbishing a filthy dirty bilge
Beware of sanding of GRP: Which dust masks deliver best protection?
My own little Hallberg-Rassy? The idea of Captain´s Chairs in my saloon