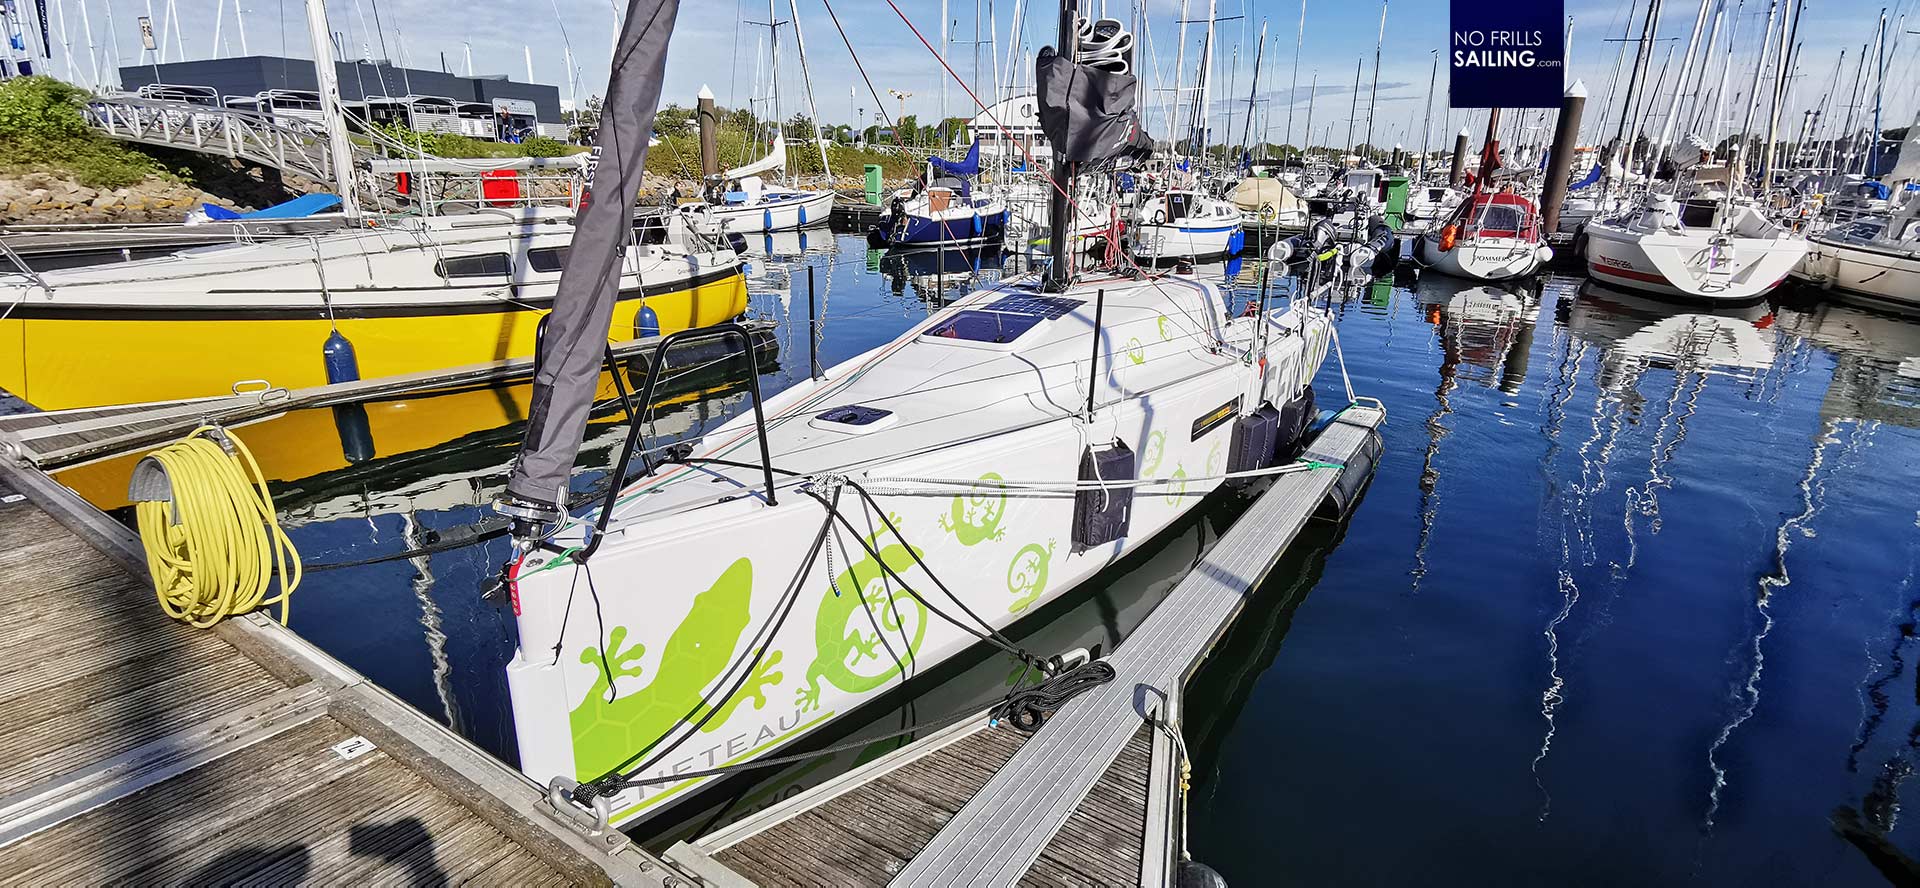
Today was a glorious day. Well, not as glorious as it could have been – sailing wise, I mean – but I´ve made a big step forward in preparing my new boat for some more sailing action. Getting out of bed pretty early on this working free Whit Monday, something past 0700, I looked out of the windows of my bedroom and saw the best summer weather, some last clouds dissolving and – best of all – no wind at all! Perfect, I thought, gulped the morning coffee and drove down to the marina.

A calm is always perfect for working on the sails whilst at the jetty and after launching GEKKO there still was much to do left. As we had been working in a hurry last time during commissioning, my colleague and master rigger Finn had to come up with some workarounds and spare a few points on the list in order to get the job done in time. Now it was my task to finish it. First thing would be the final step of assembling the Jib.
Vetting my Jib

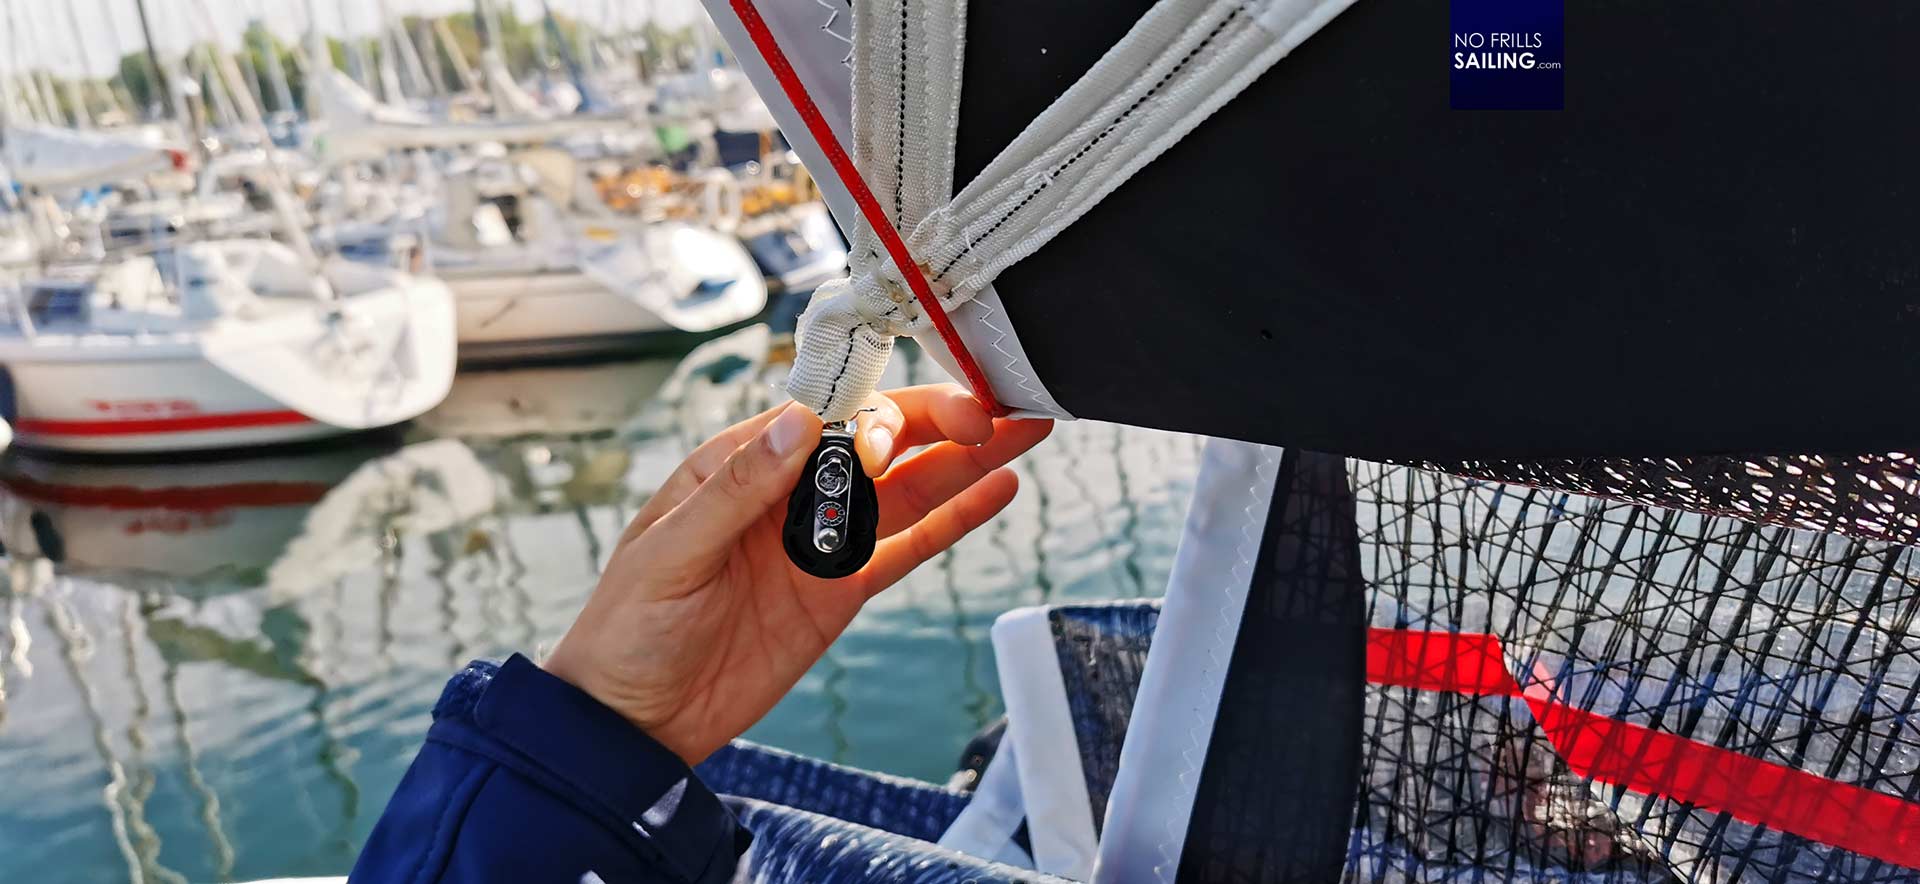
When I posted the first sailing pictures of GEKKO I immediately received a screenshot with a finger-drawn red-circle around the clew of my jib from Sven, boss of Quantum Sails Germany, who said that “something” didn´t seem right as the clew – and the foot of the sail itself – appeared to be abnormally high up in the air. Well, he was right indeed: The reason was that a shackle was missing when we rigged the boat and Finn had to use a Dyneema soft shackle to attacke the tack of the Jib to the furler.

This soft shackle, although perfectly strong enough to cope with the forces exerted on it by the pull of the Jib halyard, was way too long. So I bought some new standard steel shackles, but due to the current raw material and supplier crisis it took many more days waiting to get them delivered. Taking down the Jib cover and loosening the halyard, the sail came down all along the forestay some centimetres so that I was able to take off the Dyneema loop.

Attaching the hard shackle was a no brainer and soon the halyard was tightened again and the sail brought up to the right position again. I had the sheets tight to take a look at the outcome and right so: Judging from visual appearance it all is nice and smooth now, GEKKOs Jib is now finished and ready for sailing all along.

Together with the Jib I have also bought a heavy winds Jib on furler to be attached to the babystay with its own furler so that I can now sail the boat in light winds (with Gennaker – a Code 0 is in the making), in moderate winds with the Jib and heavier winds with the small Jib. Regarding the fore sails I´d say the boat is nearly completely equipped. Now, let´s move on the to mainsail as we had much more work to do above the boom.
Two or Three Reefs in the Main?
There is a kind of religious war going on amongst sailors when it comes to the number of reefs to be put in this sail. Some say that you absolutely need three, some say that two are more than enough. Looking at the boats we sell, two reefs in the main are common, the third is always an option to pay extra for. That was the same with my garments and I went not only for the good ball-bearing mast sliders (which I adore every time I use them!) but I also happily paid extra for the third reef.

Why is that? Well, first of all, me a skipper who is determined to prevent stress under all circumstances. Stress for me, stress for the crew, stress for the boat and stress for the others out there with me. Preventing stress for boat and crew means that especially in heavy weather situations the boat has to be sailing the safest and calmest way possible. Remember: I will be sailing with my kids and too much excessive heeling or pressure in the rigging is no good for their motivation for more sailing adventures. A third reef gives me the option to reduce even more sail area in a strong breeze, stay in motion but have it all in a stress-free mode. Even if I will only use the third reef one in a hundred times out, it will be worth its money, I am sure.
Attaching the Reefing Lines
Having this perfectly calm day with a small puffy wind from dead ahead, I prepared myself to attach the reefing lines. Which in theory is an easy task. Beforehand I had ordered three pulleyes (with the above mentioned extra-waiting time that is appearing to be the new normal now). These pulleyes are made for 8 mm lines and come with a small swivel and a shackle. Their failure load is said to be 600 kilograms which, giving my sailing friends a call for self-assurance, is more than enough.
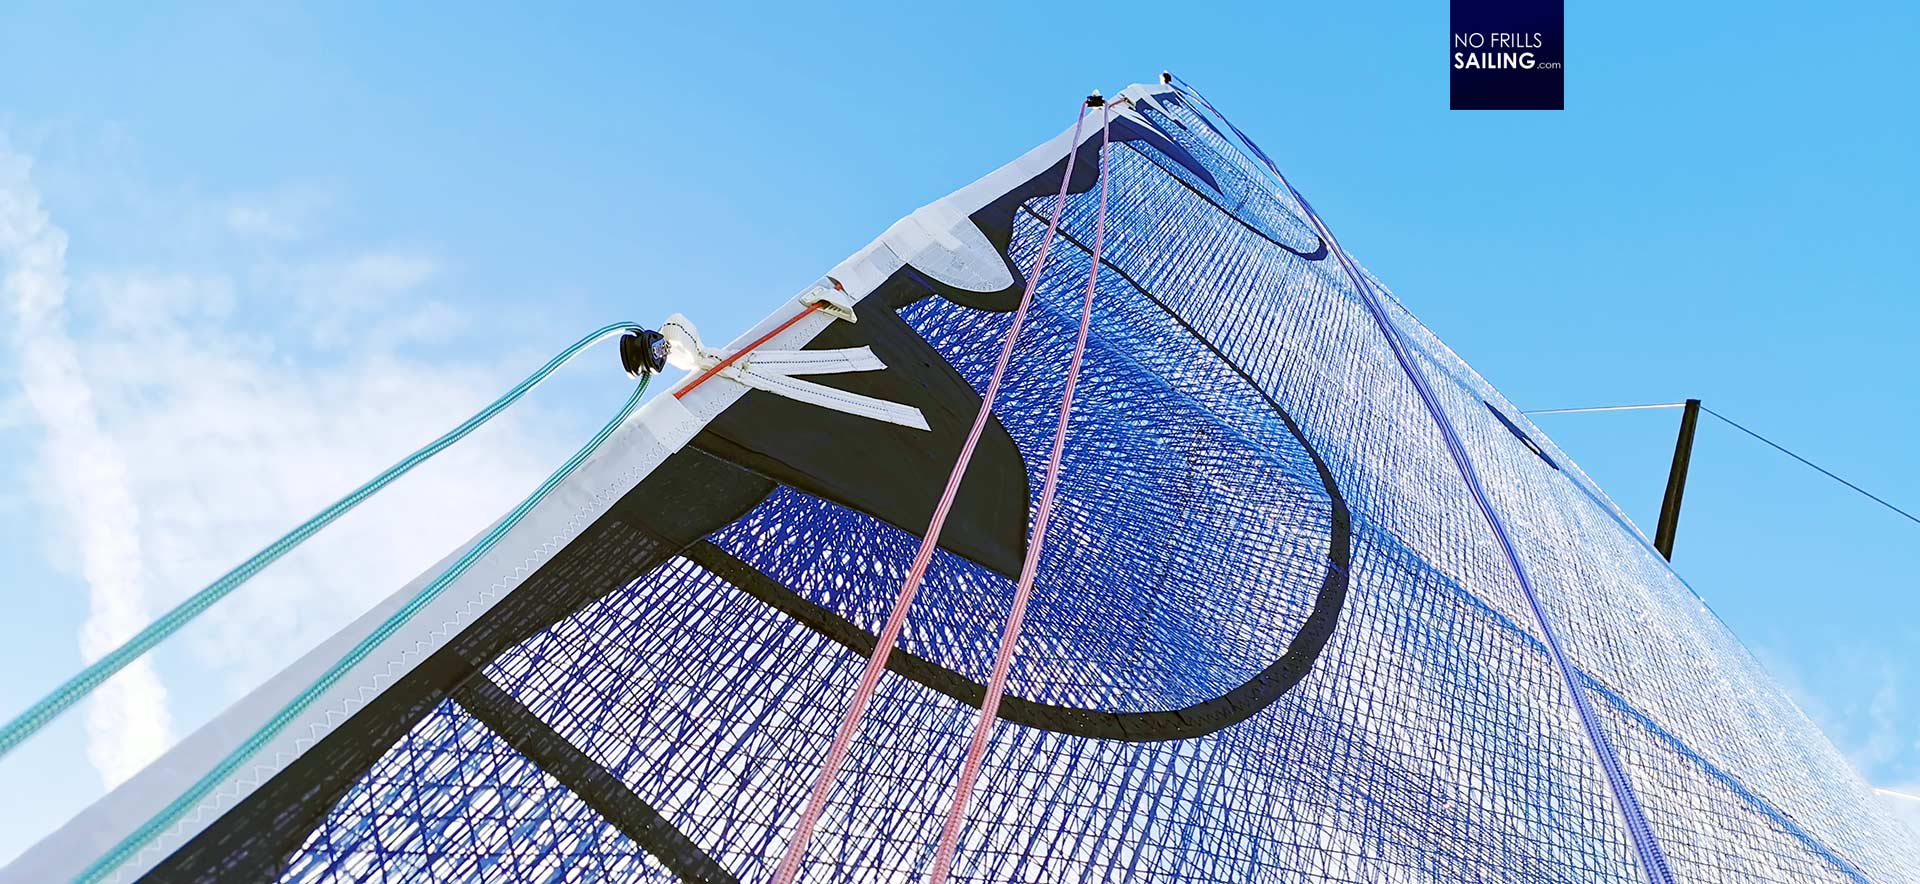
I pulled up the mainsail until the last, the third, reef was reached. Stopping the halyard from getting loose, I went to the leech and attached the pulleye. Now, opening the bracket securing the third reefing line (which at Seascape comes in a nice pinky color) I pulled it out of the end of the boom, place it up over the pulley and down again to the boom.

The end of the line in one hand, opening up the lazy bag with another, I winded the line twice around the boom before securing it with a simple bowline hitch. In this I carefully measured the point where to attach the end of the reefing line. As this line will, whilst reefing, take down the leech via pulley to the boom, I attached it right where the best lever could be applied and least friction would be occur. When reefing, a sailor wants it to be executed fast and without too much force.

Then I pulled up the main to the second reef and repeated this procedure, again attaching pulleye to the leech loop of the mainsail, taking in the reefing line and attaching it with a bowline hitch to the boom. The first reef got the same treatment so that I was able to finish this work in less than 20 minutes. With each reefing line attached, I jumped off board and went away on the jetty too take a look at the sail area still up in the wind with every reef. Even with the small third reef is still a good chunk of canvas up, I thought.
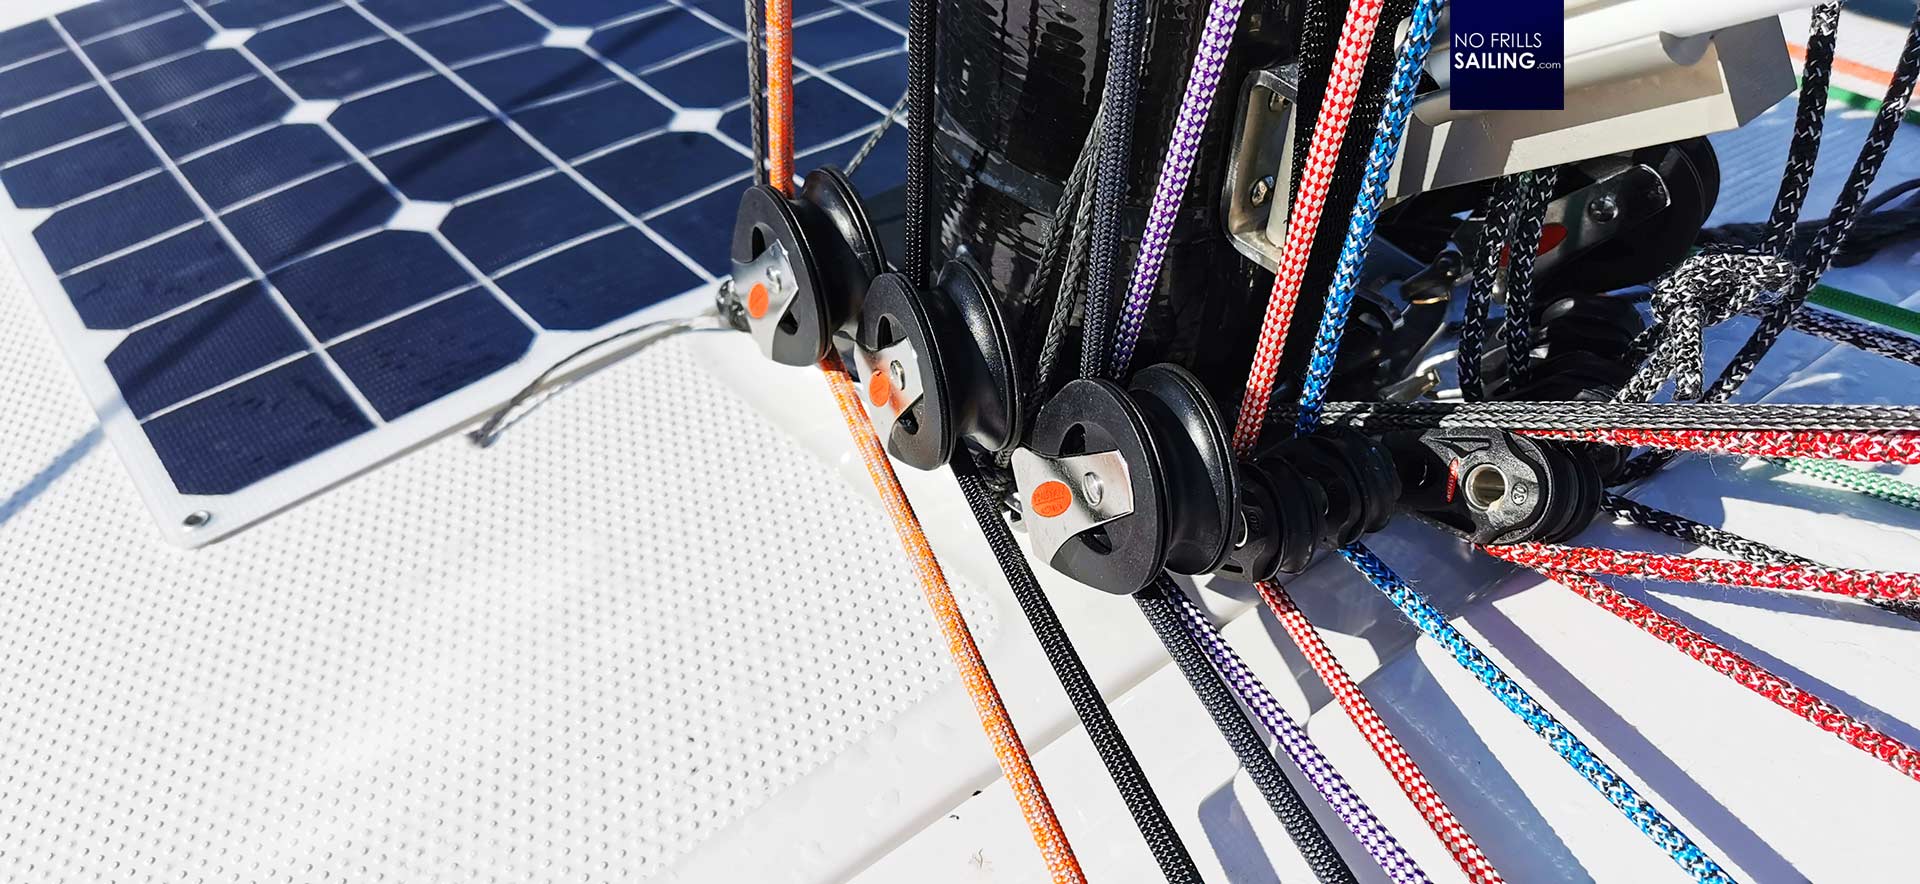
Speaking of the third “pinky” reef: As the standard configuration of the Seascape 27/First 27 SE has only two reefs in the main, the boat does not come with an extra diverting pulleye for the third even when ordered with three reefs. I checked if I simply could “hijack” one of the other pulleyes on the mast foot and it worked just perfectly. Can you spot it in the picture?
Checking the reefing system of my First 27 SE
Utilizing the safe position with virtually no wind and being secured at the berth I took down the main sail and pulled it up again for a “dry test”. Pulling it up, again, was so much fun as it is a literally effortless work of 10 seconds. Which of course is the credit of these marvellous mast sliders which make sailing so much easier! Comparing these works of art and wonder with standard plastic sliders is like changing from a 1980ies Fiat Uno to Tesla. Anyway, that´s another article, I guess …

So, taking up the mainsail I watched how the reefing lines would pass through the pulleyes and if there were any obstacles hindering future – real – sailing action. There were none. Seeing the sail up in its full glory with all three reefing lines attached, running through their newly installed pulleyes was a kind view and somehow a stone fell off my heart: Up until now the incapability to reef was putting a “No” on any chances to go out with my small kids. No it´s a definitive “Go!”.
Then I rehearsed single handed reefing action. Which on big boats, like our Oceanis, is as easy as ABC and done alone with no effort. Two-point-reefing systems are easy, safe and very convenient. Not so much with the First 27 SE. Two-point-reefing systems are okay for cruisers but on small tracing boats these are considered over the top. They are causing too much friction in the system and increase reefing line lengths as well as the need for double the number of pulleyes. So, on GEKKO, we have a single-point-reefing system which means that the reefing loop in the luff needs to be secured by a simple – but effective – lack hook.

I checked this but no matter how hard I tried it seemed that the hooks (steel snap hooks attached to a Dyneema loop) are too short to be hitched to each other. The loops must be put to the gooseneck and we had fitted them accordingly, but they are too short. Now, that´s a problem that will be solved quickly but again I saw that my triumph was a bit pre-mature: Reefing wouldn´t be possible right now without the right sized lack hooks.

Another round of Modifications ahead
I noted the task and took down the mainsail as I couldn´t solve this problem right now. But anyway, these two hours at the boat this morning were very successful nevertheless. Packing the mainsail, locking the boat, controlling all mooring lines and securing the boat I prepared myself to leave. There´s still some items to get worked through, but for now I left: I had an appointment in a clinic for my PCR-test as will leave for Slovenia for our first post-Corona big boat delivery outside of Germany.
No time for a quick dash out, which would have been great in so many aspects. The wind was more than predestined for another Gennaker training session and surely I would have rehearsed reefing the main (despite the hook-problem) too, but duty called me and so I left. I will return next week with a new – and fitting – lazy bag and hopefully the right sized lack hooks for the luff. In any case, getting up this morning so early was the right thing to do and that´s what they say, isn´t it? The early bird gets the worm …
Here are some more articles which might be of interest for you:
Heavy winds to Brindisi: Delivering a 46 footer in a stormy Bora
A pretty perfect summer sailing trip
Heavy winds in Denmark