You are probably thinking of doing the antifouling of your sailboat by yourself, now that you´ve arrived here at this article. It´s a valid thought: DIY can (and will!) save you a lot of money, because a professional bottom paint-job and buildup from scratch for a 40-footer can easily exceed 10 grand. I´ve done it myself and this fourth and last article will show the outcome, the advantages and the challenges of this task. You may decide if you want to tackle this big undertaking yourself too.
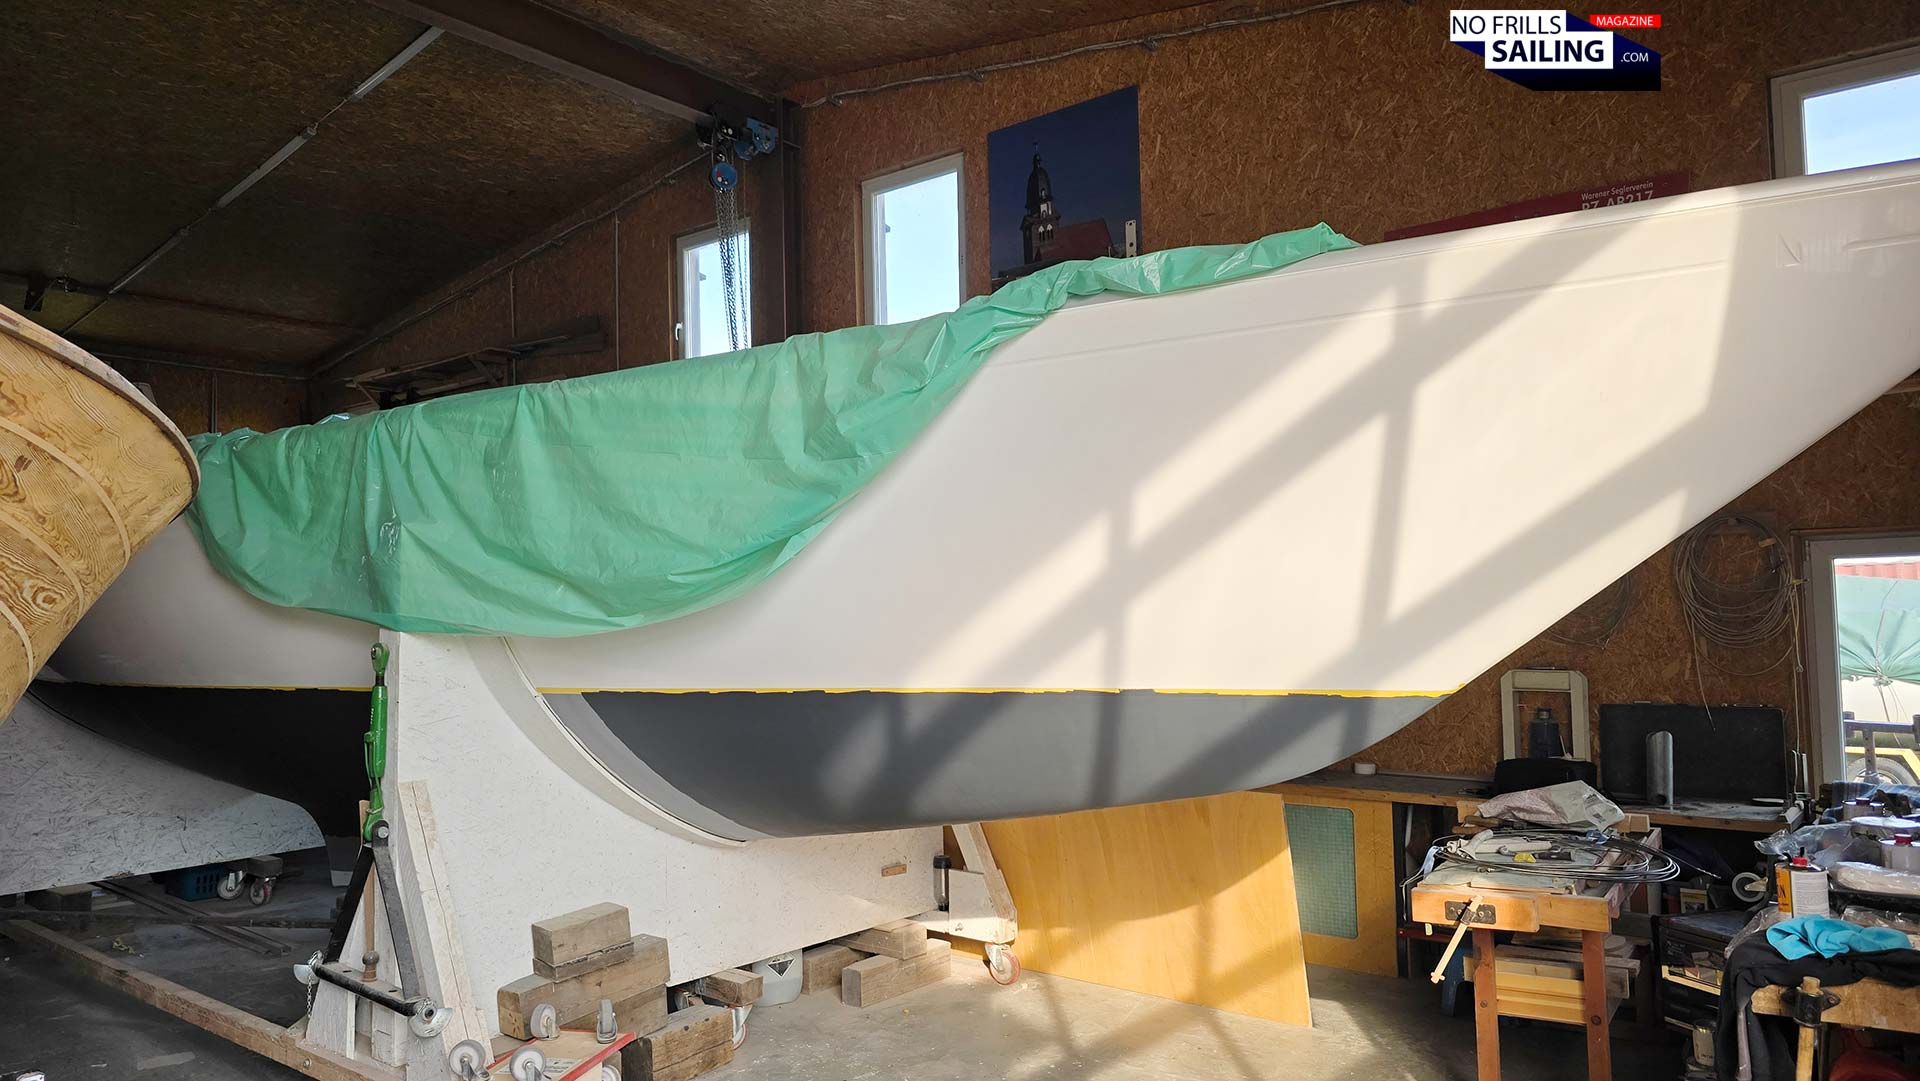
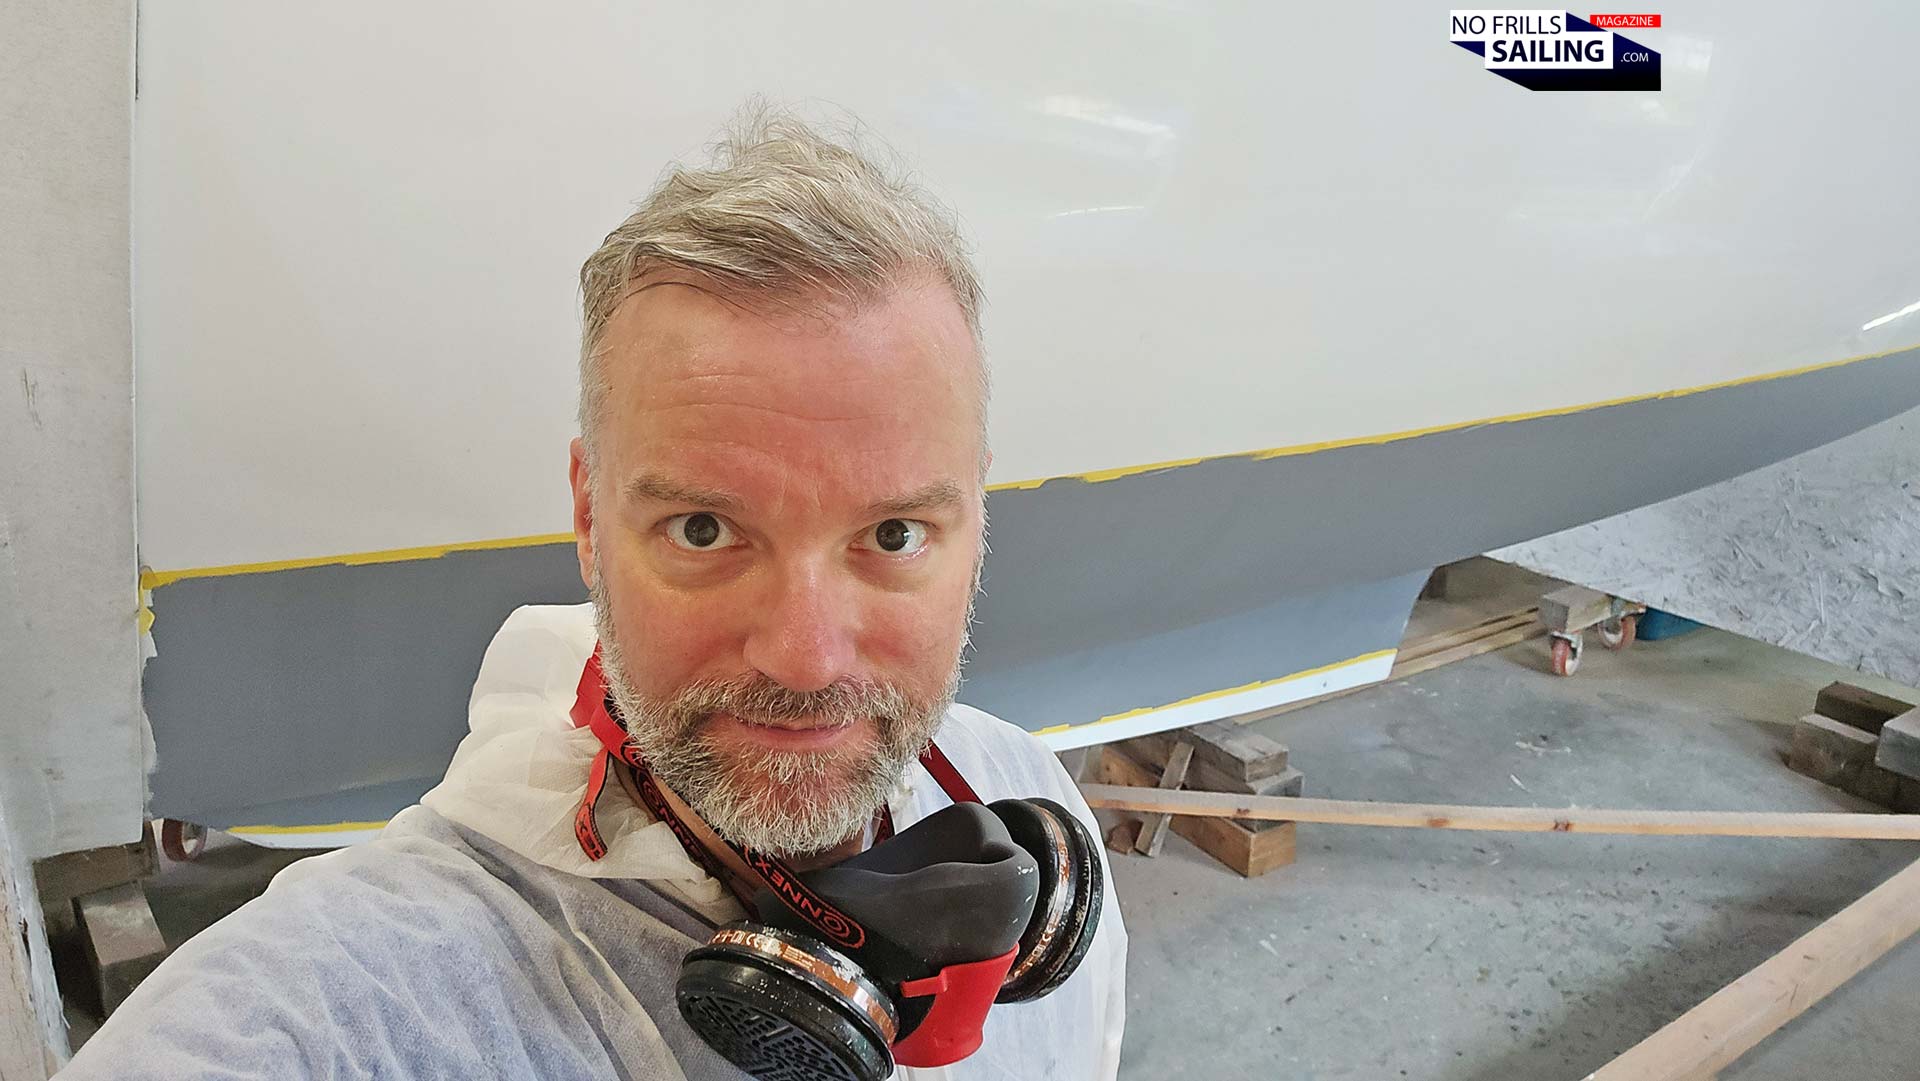
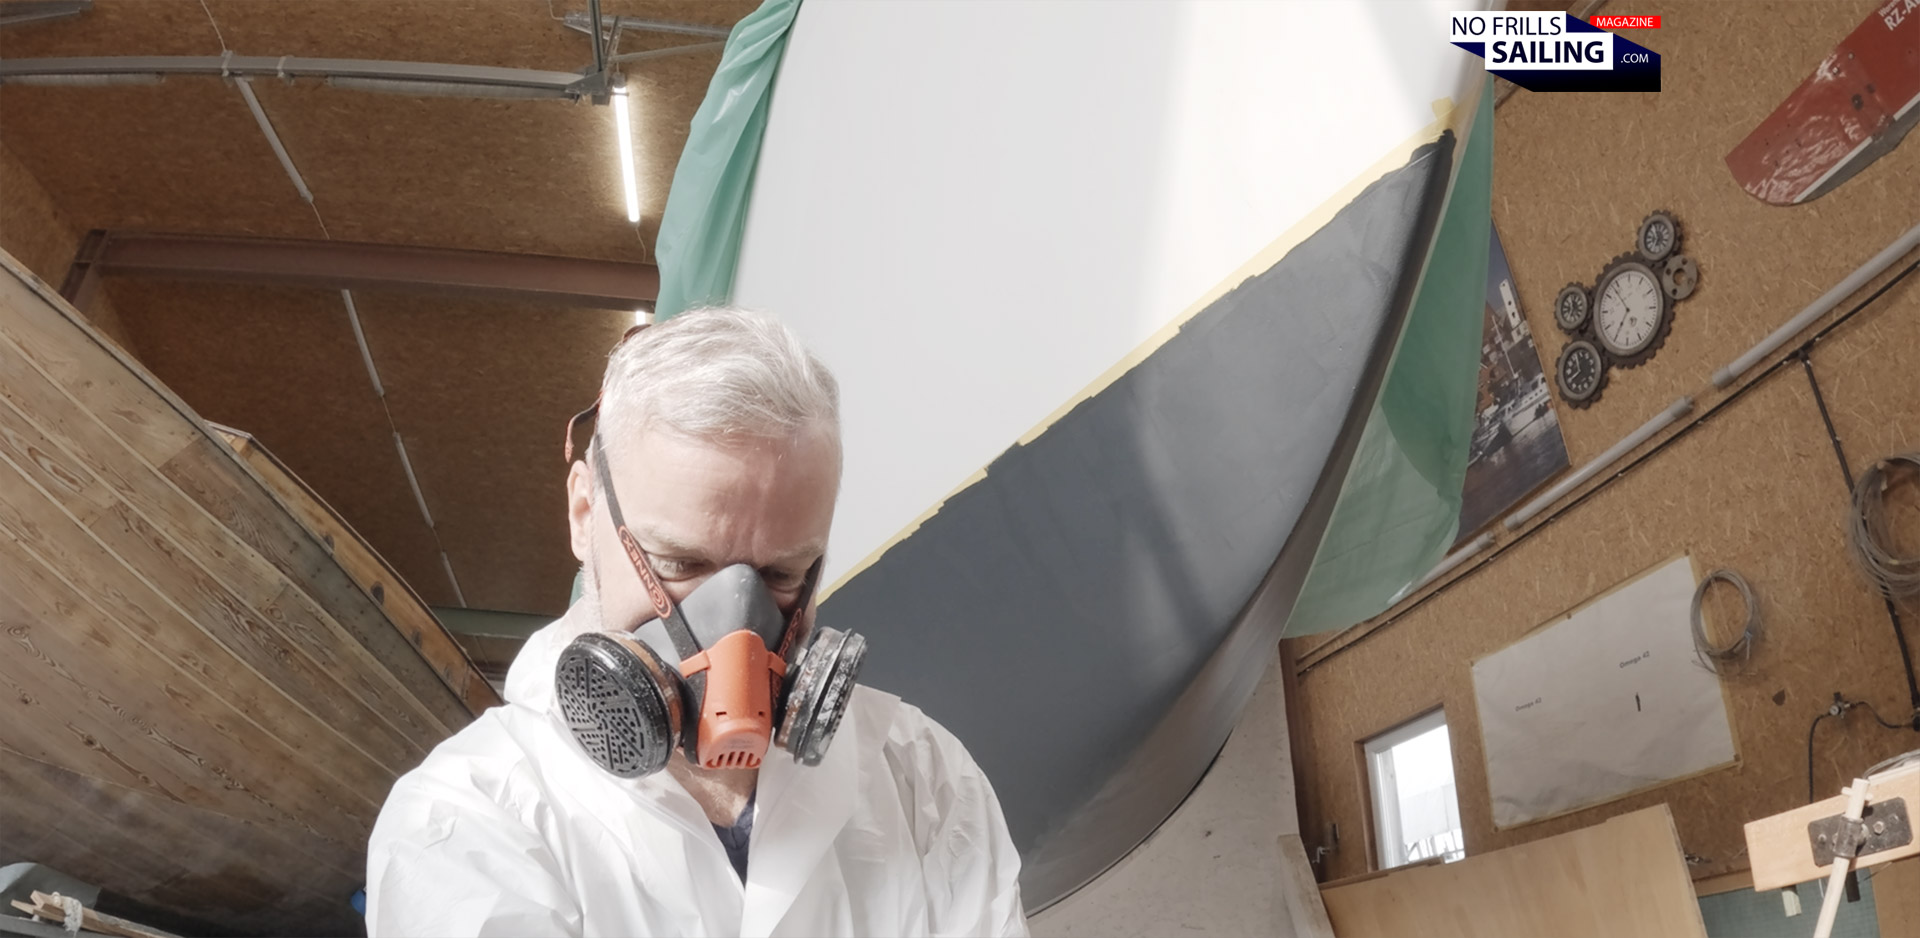
There she is: My boat with her brand new complete buildup of fresh antifouling! As the sun shines through the building shed´s windows, I take off my breathing mask, slip out of the soaked gloves and breathe deeply in relief (though it kind of stinks chemically) – finally, I have made it! The bottom paint of my sailboat is finished and I am done here.
Done. Finished: The bottom paint for my Omega 42!
For me, doing it myself wasn´t really a hard question to answer: Facing a total bill of between 13.000 to 17.000 Euros easily if I had awarded this job to a professional, it was never really something I had to think about for long. Additionally, after having sold a total of 100 sailing yachts myself during my career as a yacht broker, telling my customers that a thorough, well-made antifouling bottom paint is really indeed that expensive, I wanted to check out by myself if my sales arguments were true in the first place: Is it really that hard? Does it really take so long? And is painting a full boat´s hull really that back-breaking? Regarding the latter, you should check out my previous article where I delved deep into the wearisome and exhausting working conditions, this fourth and final article now deals with finishing the work and my learnings. Let´s go …
Filling the last gaps
Advertisement
… but first: It´s sanding time again! As you may probably have already read, sanding is in fact the single-most stressful and arduous part of the whole undertaking of the job. It grinds your arms and will force your body into working-postures which aren´t really healthy for your back! Sanding a yacht´s hull is just shit, to put it mildly, and so I was happy when I could finally put away the grinding machine a few days ago – just to be “shocked” that I apparently had to plug it in again.
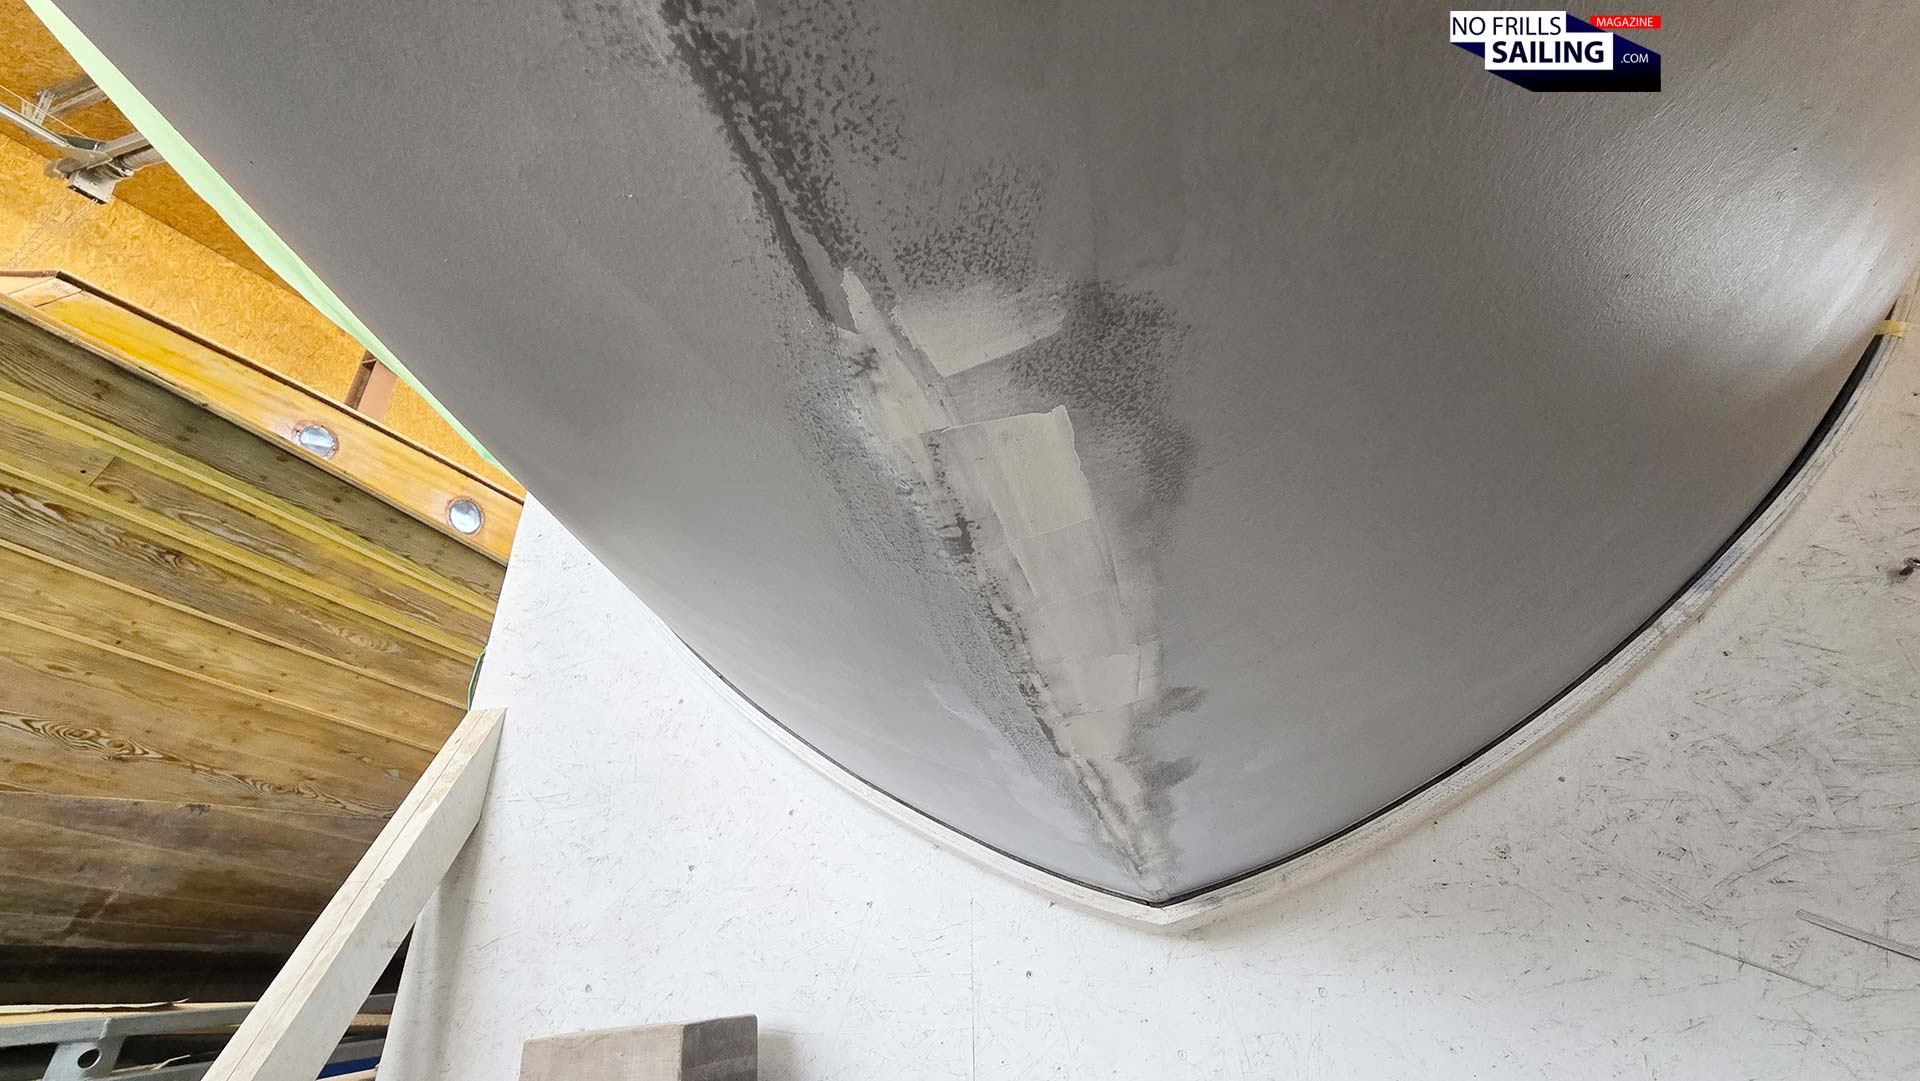
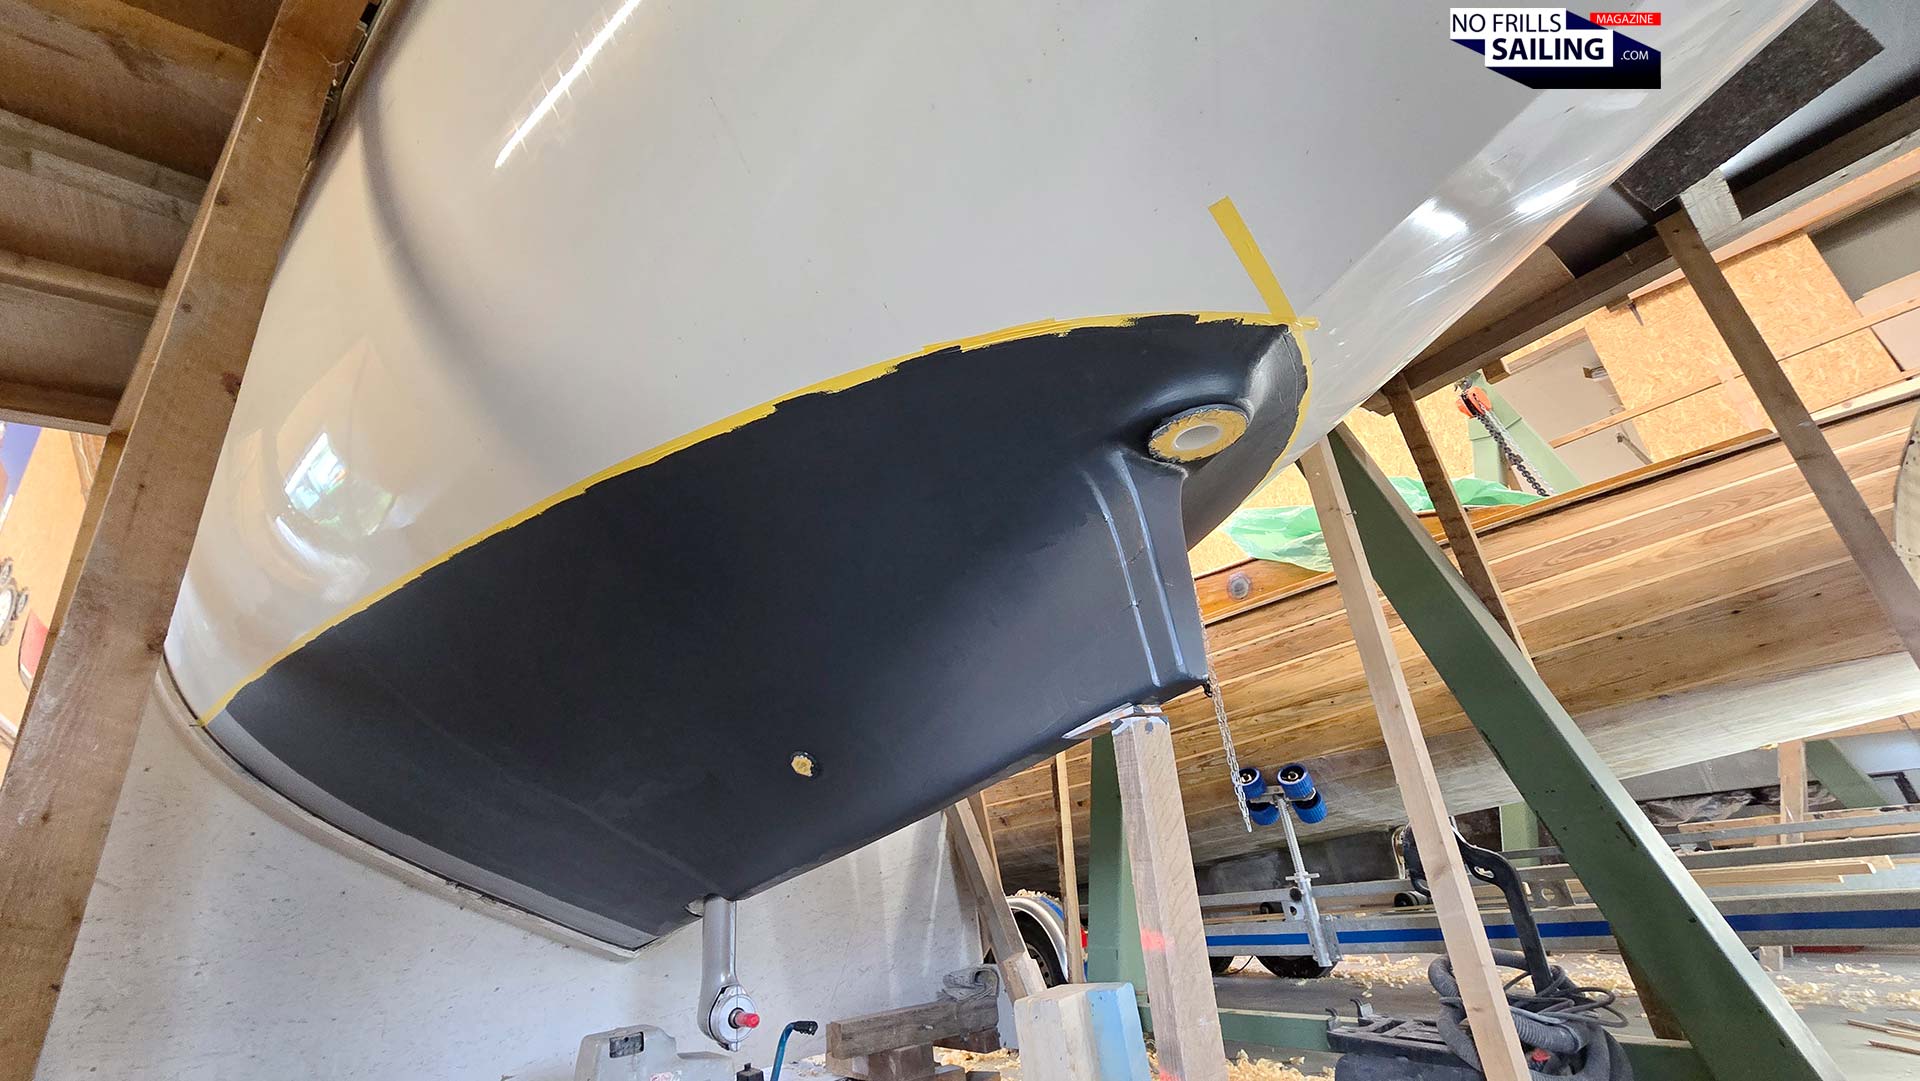
Last epoxy filler on the hull
It was after the third layer of primer-paint had been put on by me. After leaving the shipyard, the professional boatbuilders inspected the hull and – of course – found some imperfections. Especially all along the seam where the two halves of the hull had been joined after lamination (check out this article to understand how a GRP boat is built inside its mold). So, arriving the next day, full of joy that today the fourth and last primer-layer would be painted, Jonas, master boatbuilder, smiled and handed me the grinder: Sanding time!
Sanding again – I hate this job!
It was only after I had painfully sanded away the surplus epoxy filler material and made for a smooth hull again that I was allowed to mix the 2K-primer again and grab the roller. Now, if you wonder if you “can do it” and if there´s something special in terms of application of the epoxy, techniques for achieving a nice looking, smooth surface without any running noses, spillage and imperfections, you have chosen to click on the right article, because, frankly, that was one of the most pressing question I had asked myself as well in the first place: Would I be able to do a bottom paint like a pro? First of all: I am sure that if I´d shown my final result to professionals, they would almost certainly niggle about details here and there, sure. But you know what? After awarding bottom paint jobs to pros, we always found imperfections, smaller and bigger faults and even had one catastrophic failure when a full antifouling cover came off. So, no worries, if you respect the data sheets, mixing ratios and drying times, you will figure it out pretty fast!
The more the better? Bottom paint epoxy primer.
So what´s about the epoxy primer – many comments and private messages asked. Why even bother? See, any GRP hull, especially those hand-laminated in polyester resin, are prone to osmotic water ingress. This is miniscule, but can eventually lead to osmosis and costly repairs. Your brand new yacht is not watertight when delivered, it needs a protective and fully waterproof barrier. This is, of course, the primer. Depending on the brand you go for, manufacturers suggest different numbers of layers, it´s mostly a minimum of two layers.
Applying the last epoxy primer layer
Since for the bulk of your yacht´s lifetime you will never ever again have to renew or repaint that epoxy resin barrier, I suggest you go for the maximum layers suggested by the manufacturers. In the case of my Seajet 117 primer, that´s four layers. When working with the primer keep in mind that this is not a “paint” in the classic sense. It is a two components mixture of an epoxy resin and its hardener. As I have emphasized in the previous article, I cannot stress enough that you will have to be very, very accurate when bringing together these two components! Both in terms of the mixing ratio and in terms of thoroughly mixing them! As for the Seajet 117 the ratio was not easy.
Staying focused
The ration between resin and hardener is 68:32 in volume or 73:27 in weight. Working “by volume” requires special gaging methods so it is much easier if you go for an accurate scale. Nullify the scales after you´ve put on the blend-pot and pour in the resin at first. 730 grams of resin plus 270 grams of hardener make … 1 kilogram of mixture. Easy! You can of course pour the smaller hardener can into the resin can and mix it all together, which makes sense if you know you will use up the whole contents, but I wanted to save precious primer for later (you´ll understand why when you´ve read the full article). For applying one full coat of primer to my 42-feet long hull, I needed three mixing sessions in total: 1.000 grams, another 500 grams and 290 grams. That´s a total of 1.79 kilogram of primer per layer – 7.15 kilograms for the whole boat.
Drying times, their variations and your adjustments
Let´s talk a bit about drying times. Primer hardens with an exothermic reaction that is induced by the chemical components and the outside temperature of the working space. There of course is a minimum temperature you´ll need to provide in order to being able to work with this material. As for my boat, we are in high summer June now with outside temperatures around 30 to 35 degrees Celsius. I´ve learned very quickly, right after I´ve applied the very first layer of primer to the hull, how damn fast epoxy resin will become more and more tacky and its liquid properties degrade over time. The premise is to work quick.
I am sweating like a pig!
But of course, you cannot work too fast because you need a certain time to roll out the stuff onto the hull, cover a certain area and smooth it out with multiple strokes to achieve a consistent, nice surface look. After 45 to 60 minutes in the job I noticed the material becoming more and more sticky. This is when I added thinner to the mixture – not too much and very carefully – thoroughly mixing it with a wooden spattle, to get back to the nice, fluid viscosity of the initial mixture. Again: Not too much thinner! Remember that you´ll need to add a bit more material now as the volume of primer now contains thinner that will evaporate, leaving behind the epoxy. With this technique I was able to “stretch” the working time window very well.
Before antifouling: Remove the tape!
The same goes for the antifouling paint, but I found it wasn´t that apparent. Make sure you utilize the proper thinner though: Not every solvent is compatible with every base material in the first place. As for my Seajet products, I went for the special “E”-thinner for the epoxy-primer and “A”-thinner for the antifouling. Check out my shopping cart-article if you want to dive deeper into the product-catalogue of a full bottom paint project. As you can see on the picture above, after the final fourth layer of primer had been successfully applied, I took away the masking take indicating the waterline. You shouldn´t use the one same tape for the whole process. Here´s why …
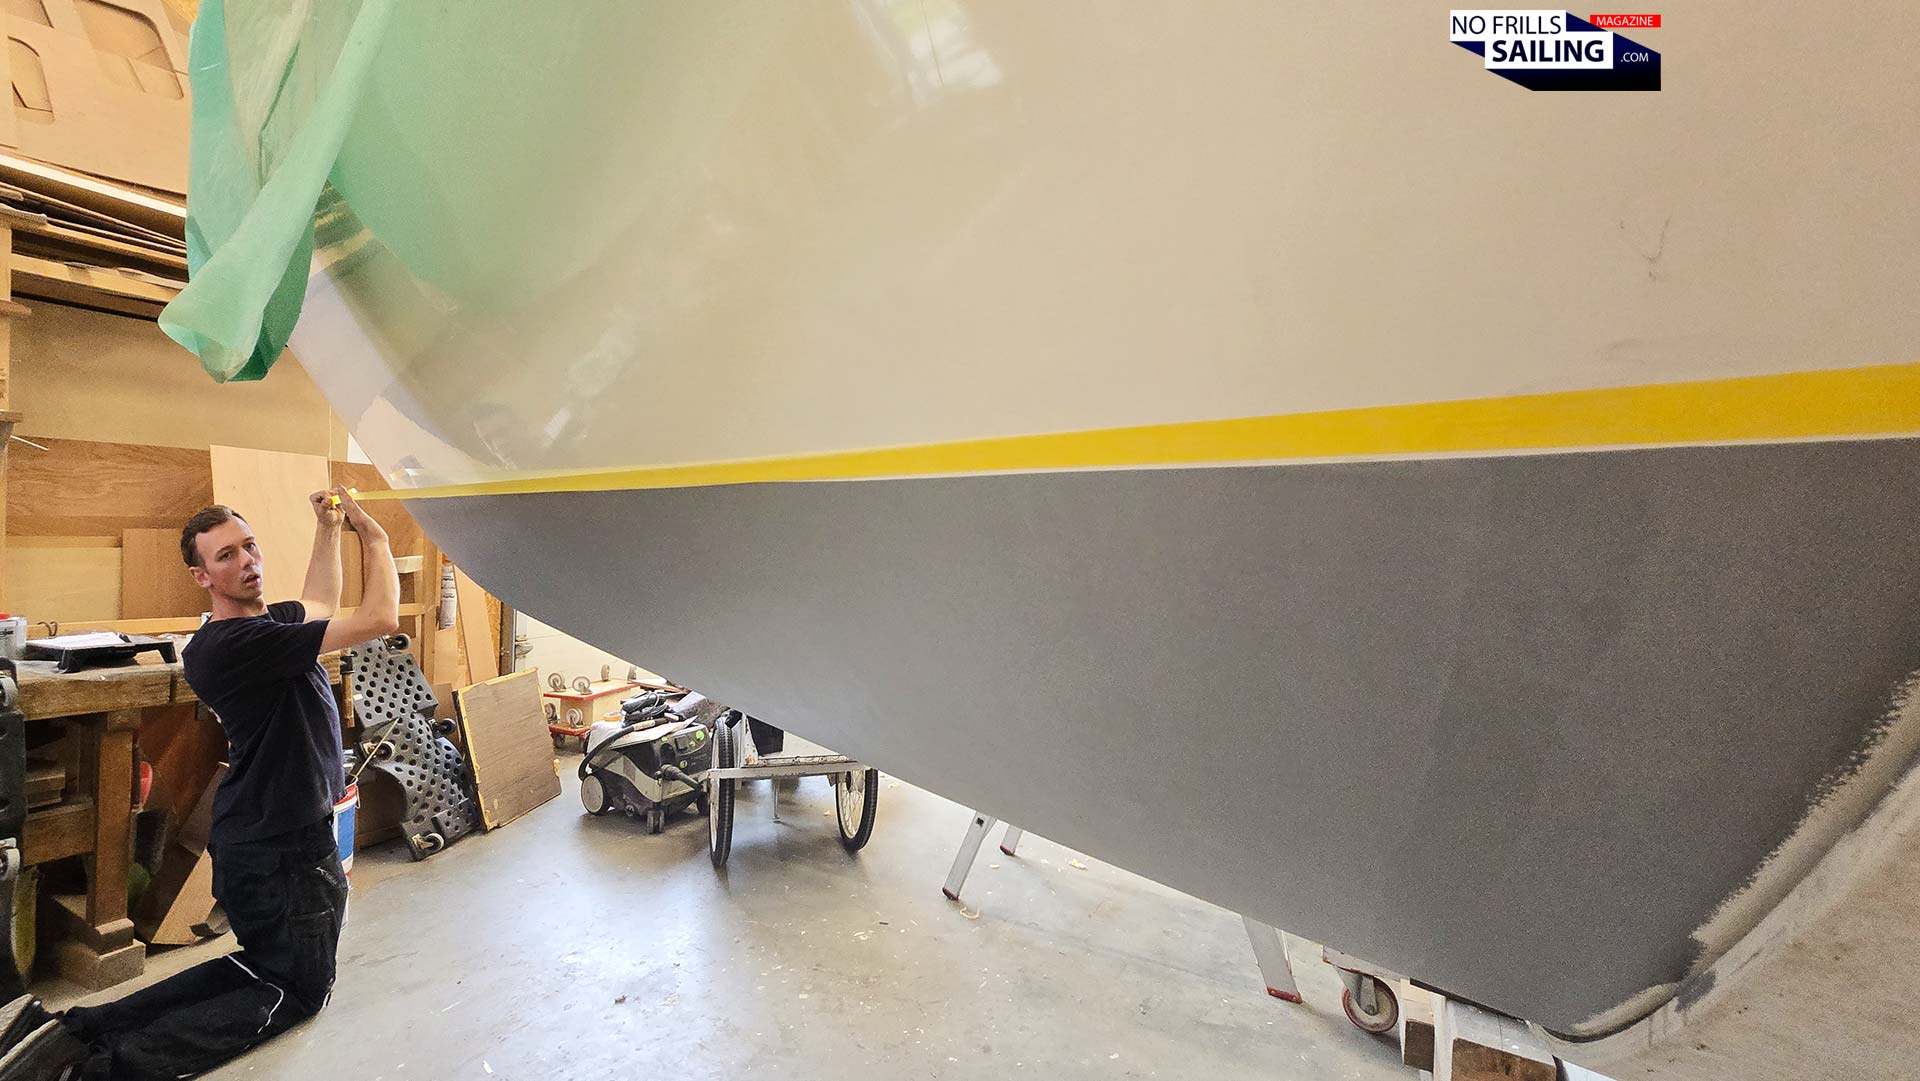
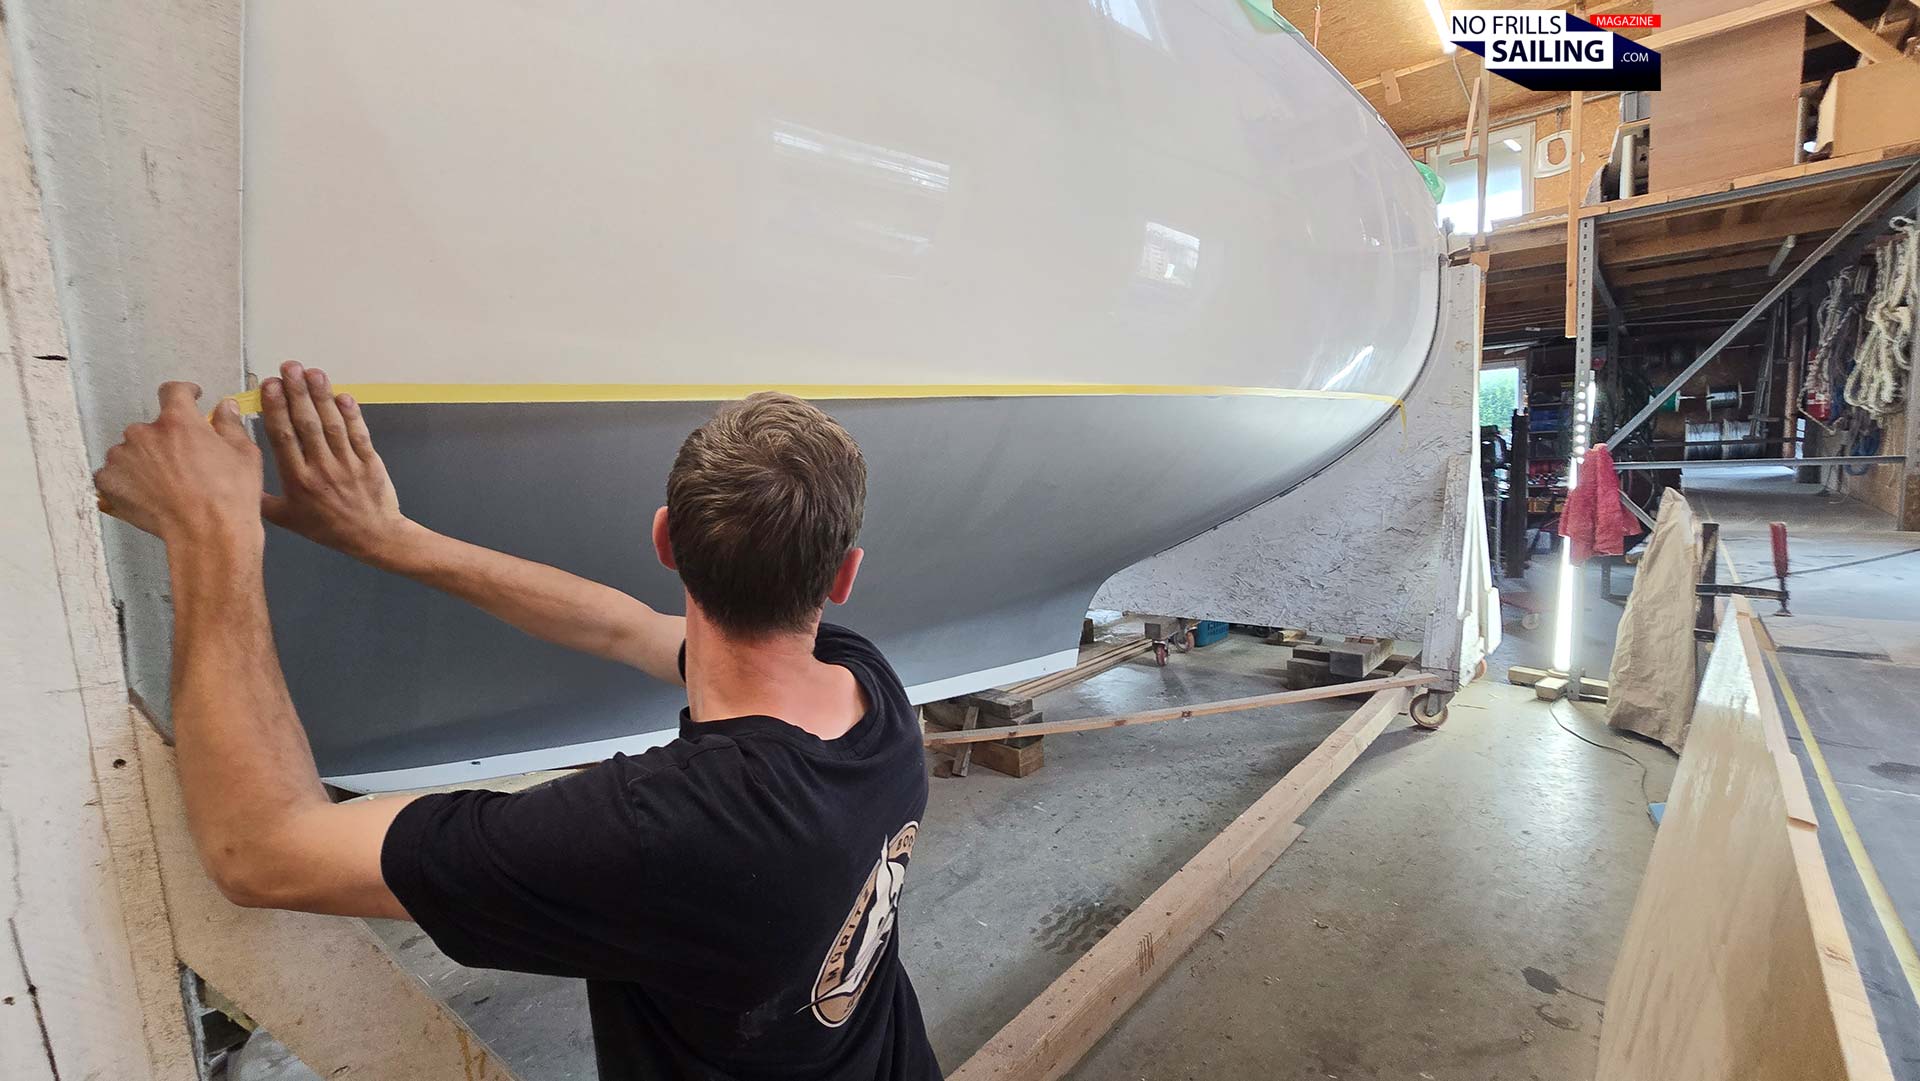
The art of an accurate waterline
Finding the waterline for your boat shouldn´t be a problem: Most manufacturers add gelcoat markings into their hull every now and then, making it relatively easy to determine where it is. Others will provide detailed schematics with measurements where to find it Part 3. Make sure that you add, let´s say “one or two fingers” worth of material above that construction or design waterline. A laser will help to put on the masking tape accurately. So after I had ripped away the masking tape after finishing the fourth layer of primer, I saw how shitty my waterline masking turned out in the end! Oh boy, a real zig-zag, apparently, my waterline did already incorporate waves …
Can you see my zig-zag?
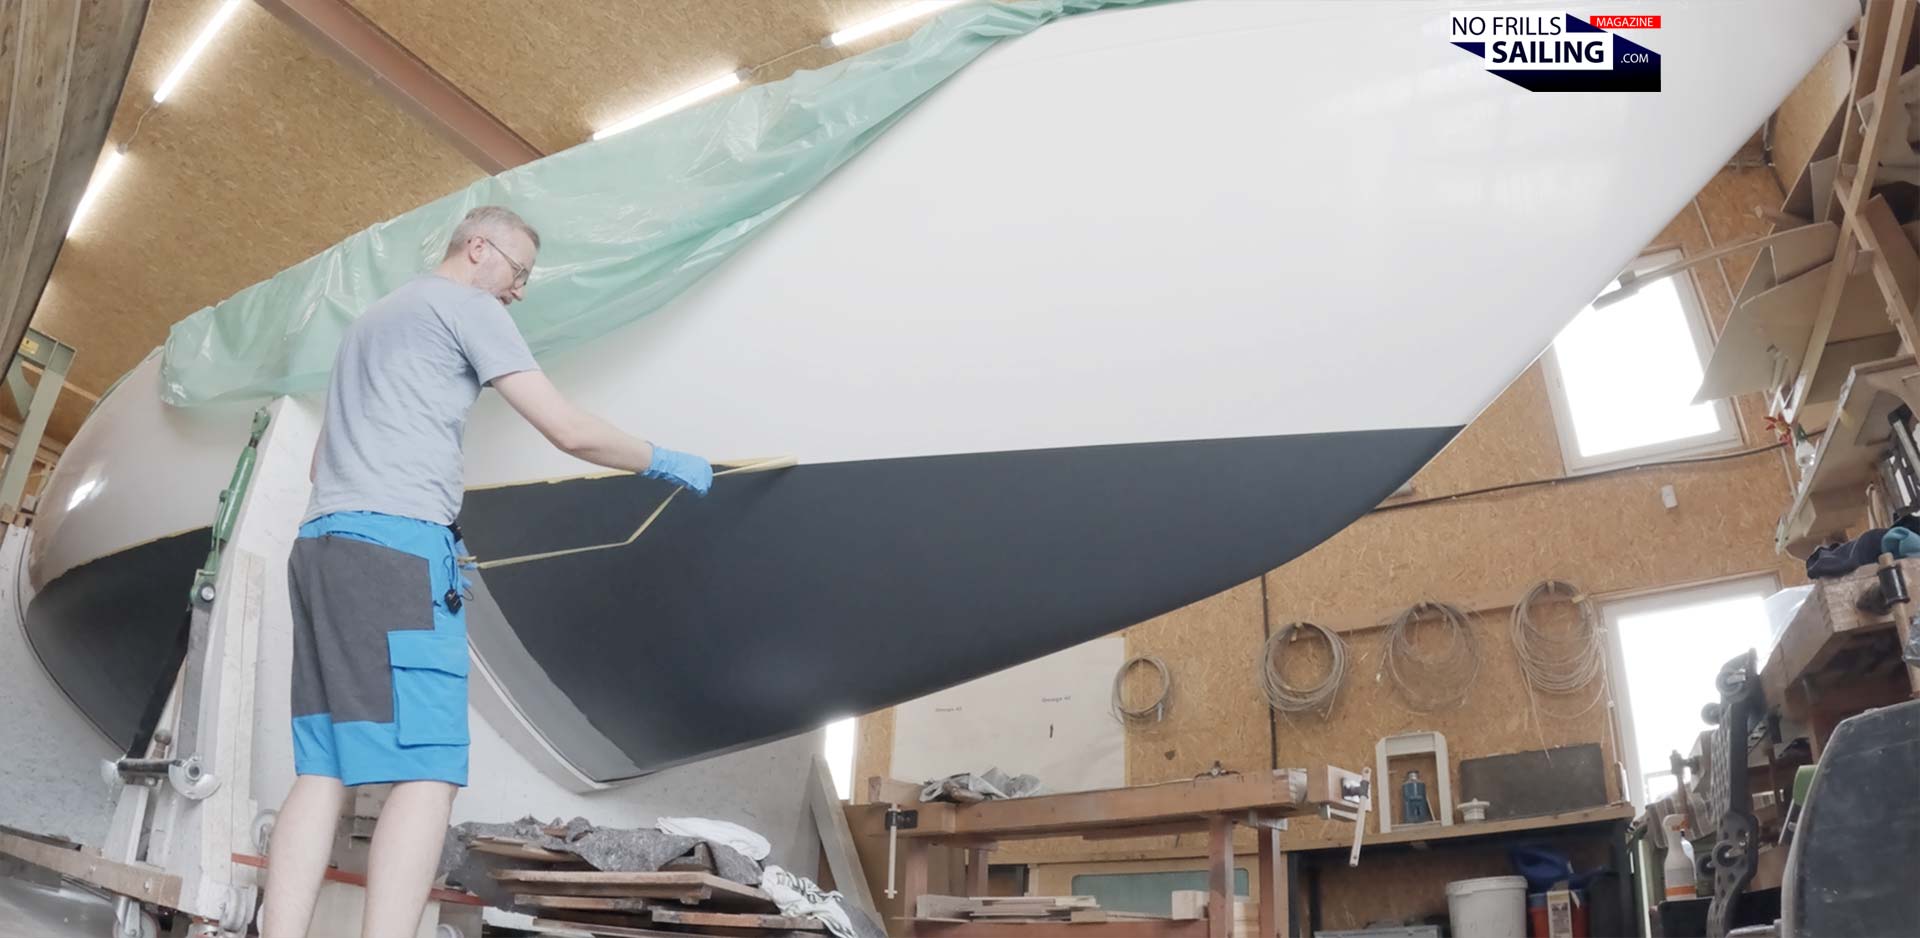
Boatbuilder professionals have a certain technique in applying masking tape. After realizing that – despite my greatest efforts – I couldn´t get the tape to form a nice bent line following the waterline markings, I asked master boatbuilder Jonas to help me out. And now I learned how a pro is utilizing masking tape: It´s not that you stick on part after part, 20 or 30 centimeters of tape in little steps working your way all along the hull! Nope! Jonas would stick one end of the tape to the bow and unroll the whole length of the tape for the said part. Then he would – very, very slowly! – follow the curvature of the hull, kindly and spectacularly smoothly closing in onto the perfect shape.
Jonas knows the trick
It was a masterclass, truly! I´d never expected such a simple sounding task of taping the waterline to be so complicated! Jonas would squint is eyes, putting on a funny face, indicating that he was totally focused. With very calm hands, he would pinch the tape up or down, just millimeters, step by step forming the shape. Wow! I would have never ever achieved this outcome! Moreover, Jonas was able to nullify my dilettantish zig-zag. Masking the waterline for the antifouling requires the new tape to be about two little millimeters above the primer-waterline! The idea is that the antifouling paint would later fully cover the primer. If you look very closely onto the pictures, you will see a slight white stripe indicating these surplus 2 millimeters.
Finally: Applying the antifouling paint!
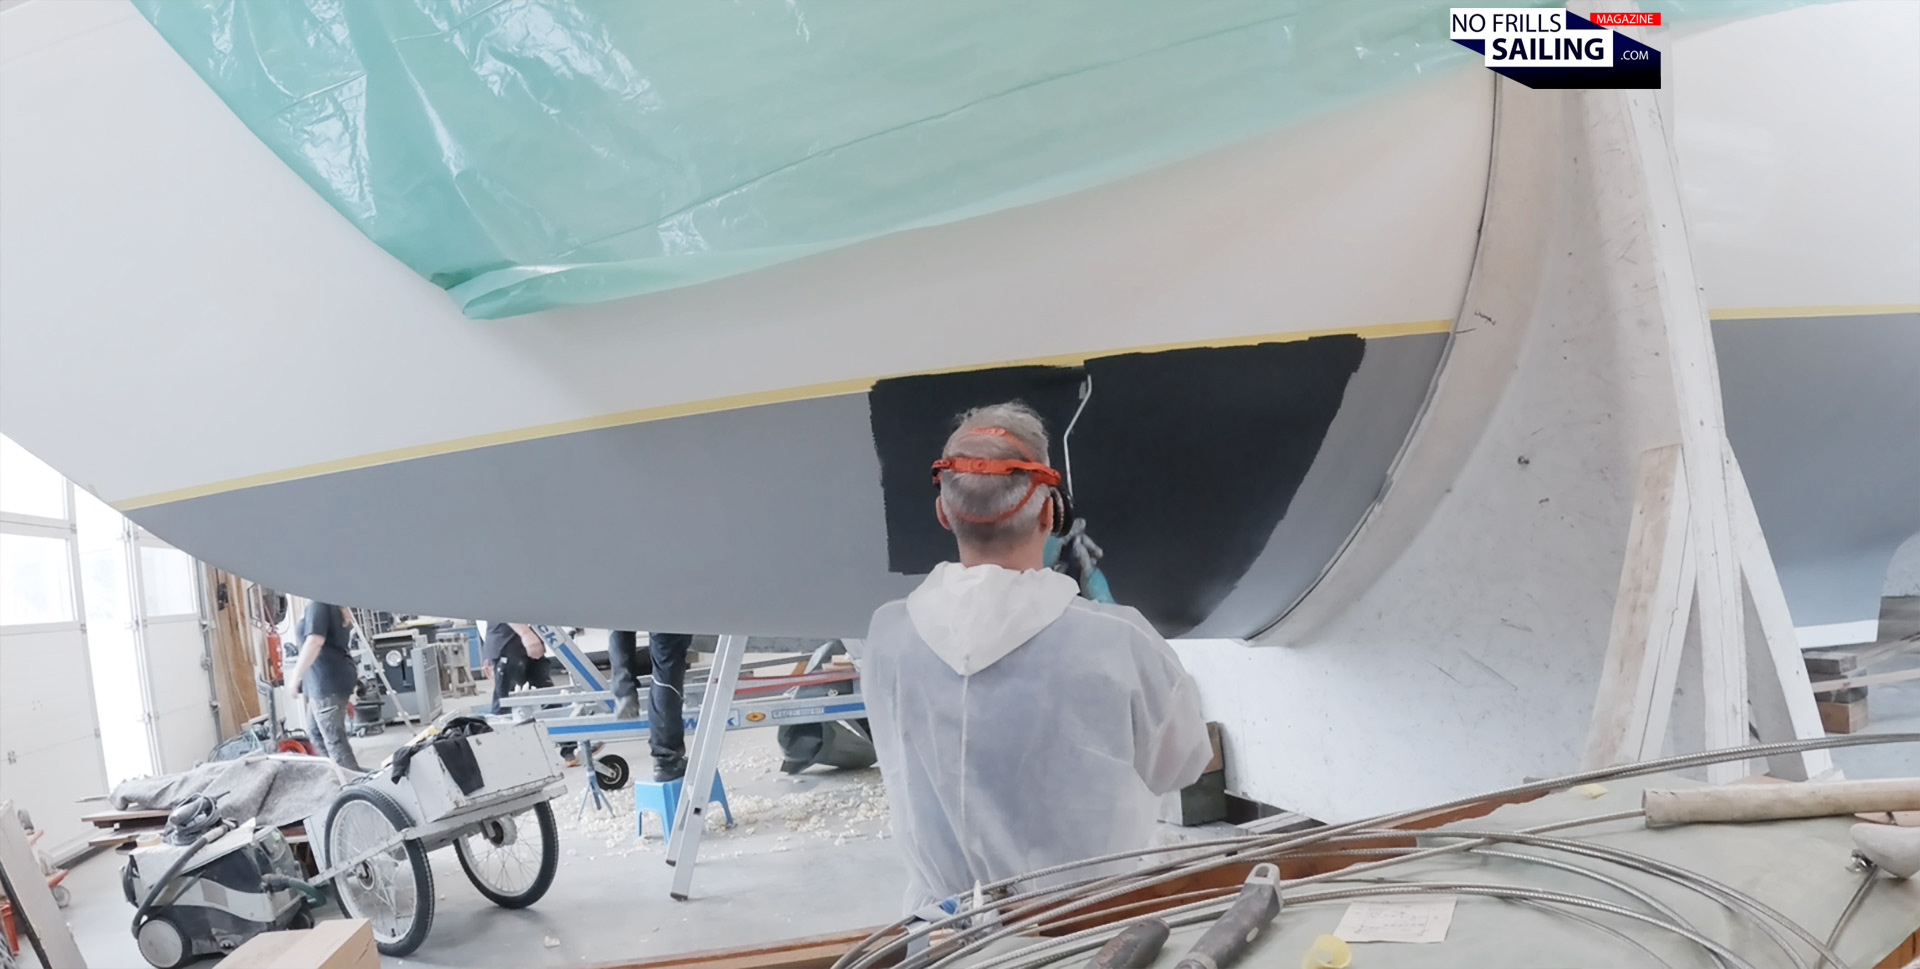
On the fourth day – I know, it sounds a bit like in the Bible – something special happened. Whereas after the first three layers the epoxy primer needed at least 12 hours of thorough drying time before another fresh layer was allowed to go on top of it, for the final and fourth layer, it was different: After I had applied the last primer and renewed the waterline masking tape as described, it was now time for the first layer of antifouling paint. As the rule of thumb goes: “When the last primer is still sticky but won´t stick to your finger, it´s best time to do the first round antifouling.” So you don´t really work wet-in-wet, but kind of.
The first antifouling layer
As I had absolutely zero experience other than checking if my finger would have primer sticking to it, I asked the professionals in the shipyard for help. Due to the really hot temperatures the epoxy dried fast – having arrived at the last part to cover at the stern, the guys said: “You can start with antifouling in the front right away!” It was drying that fast! Apart from the fact that I literally swam in my own sweat underneath the protective coverall and my arms were already hurting, I rejoiced: Let´s do this!
Getting accustomed to the new material
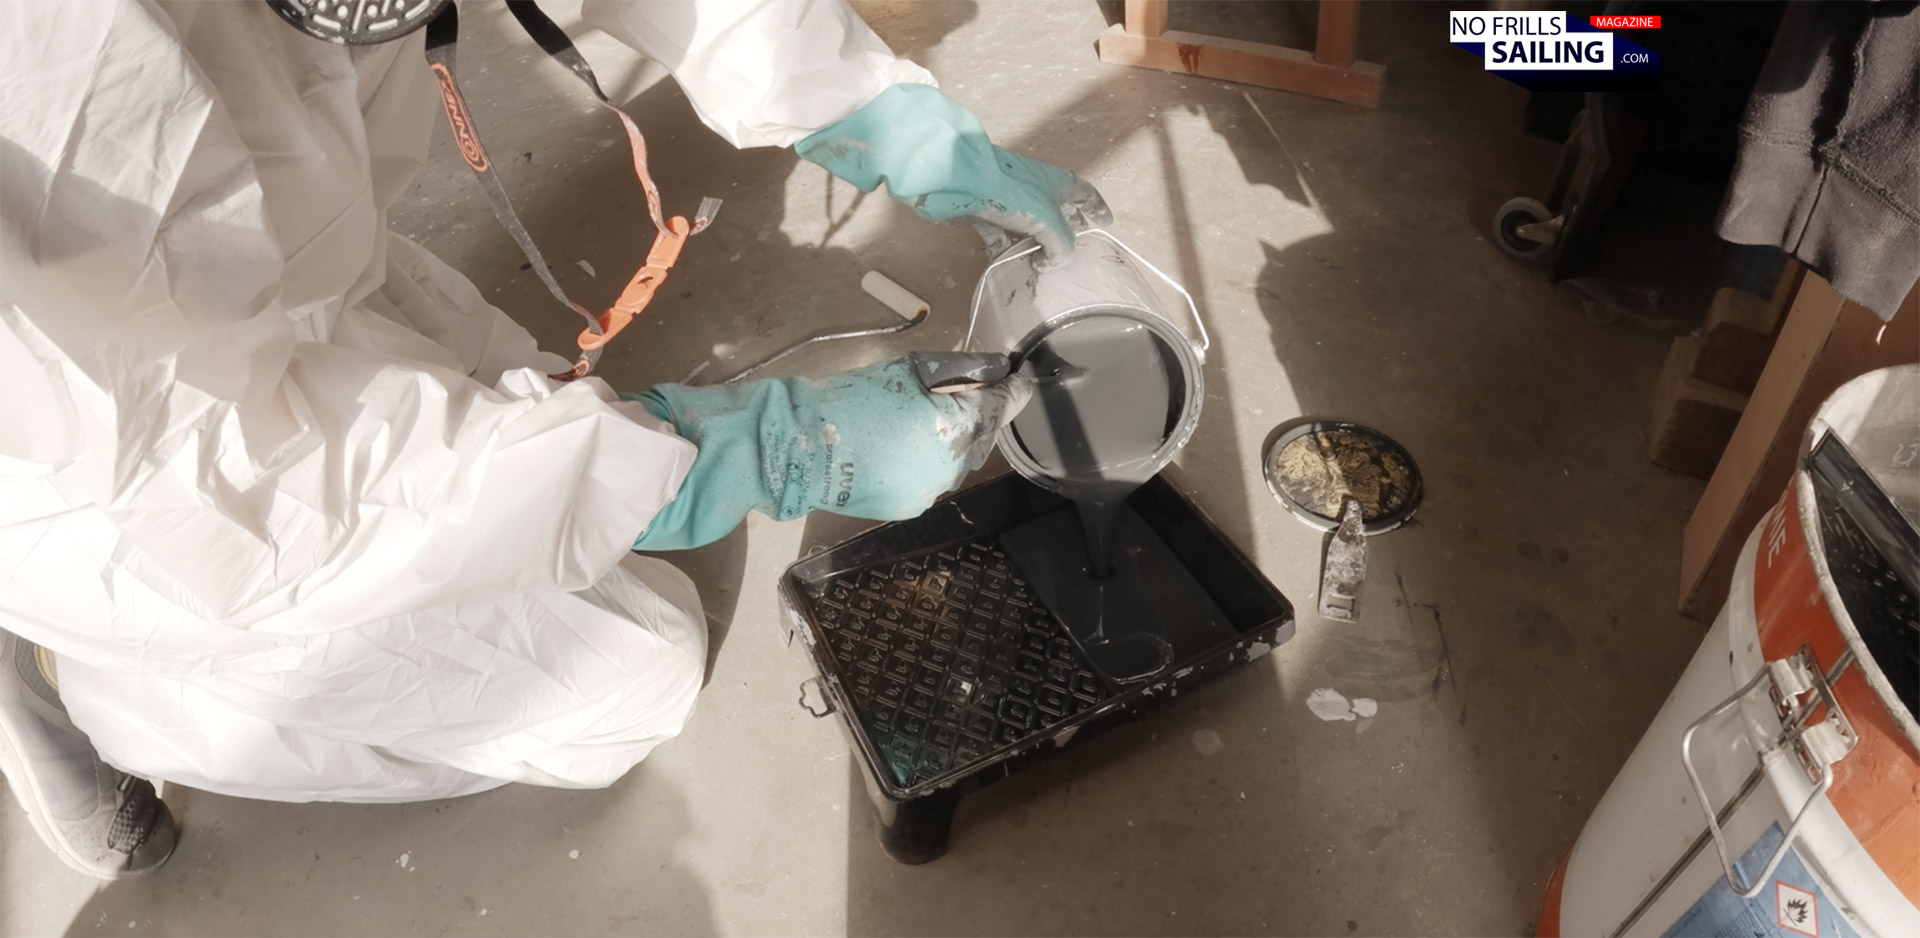
So I opened the first can of antifouling paint. In my case, best suitable for the Baltic sea was the semi-soft self-polishing antifouling type 033 by Seajet. I opted for anthrazite as the color, possible would have been black, red and blue as well. Originally I hoped for a white-kind of color, but that was the lightest tone available. The paint just needed a thorough stir, it wasn´t nearly as sticky as the epoxy resin, which needed a lot of effort with the help of electric beating to liquify again. So, how is painting antifouling like? At first, the paint – in this case it indeed is real paint – felt much less viscous and it tool me a bit of practice to get accustomed to this and not to spill so much. Take this into account as well.
The “mounting” of bottom paint layers
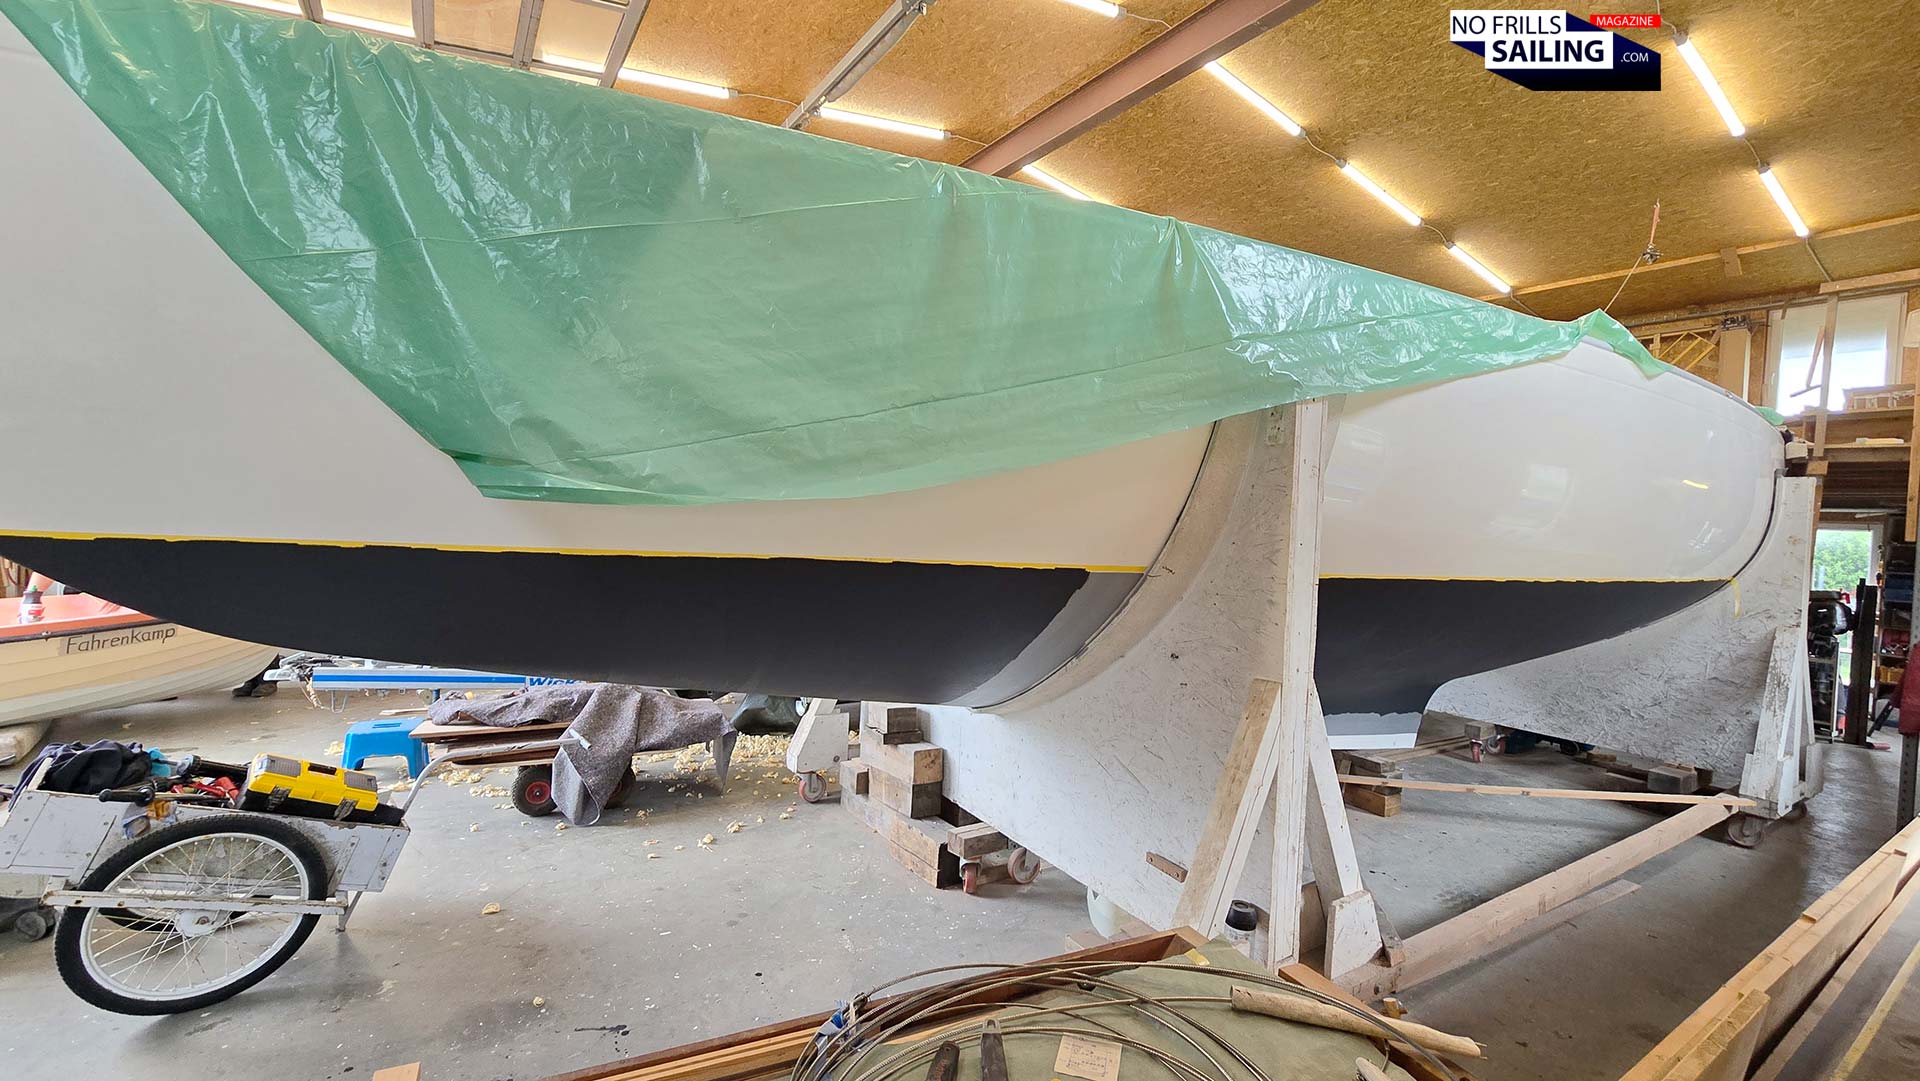
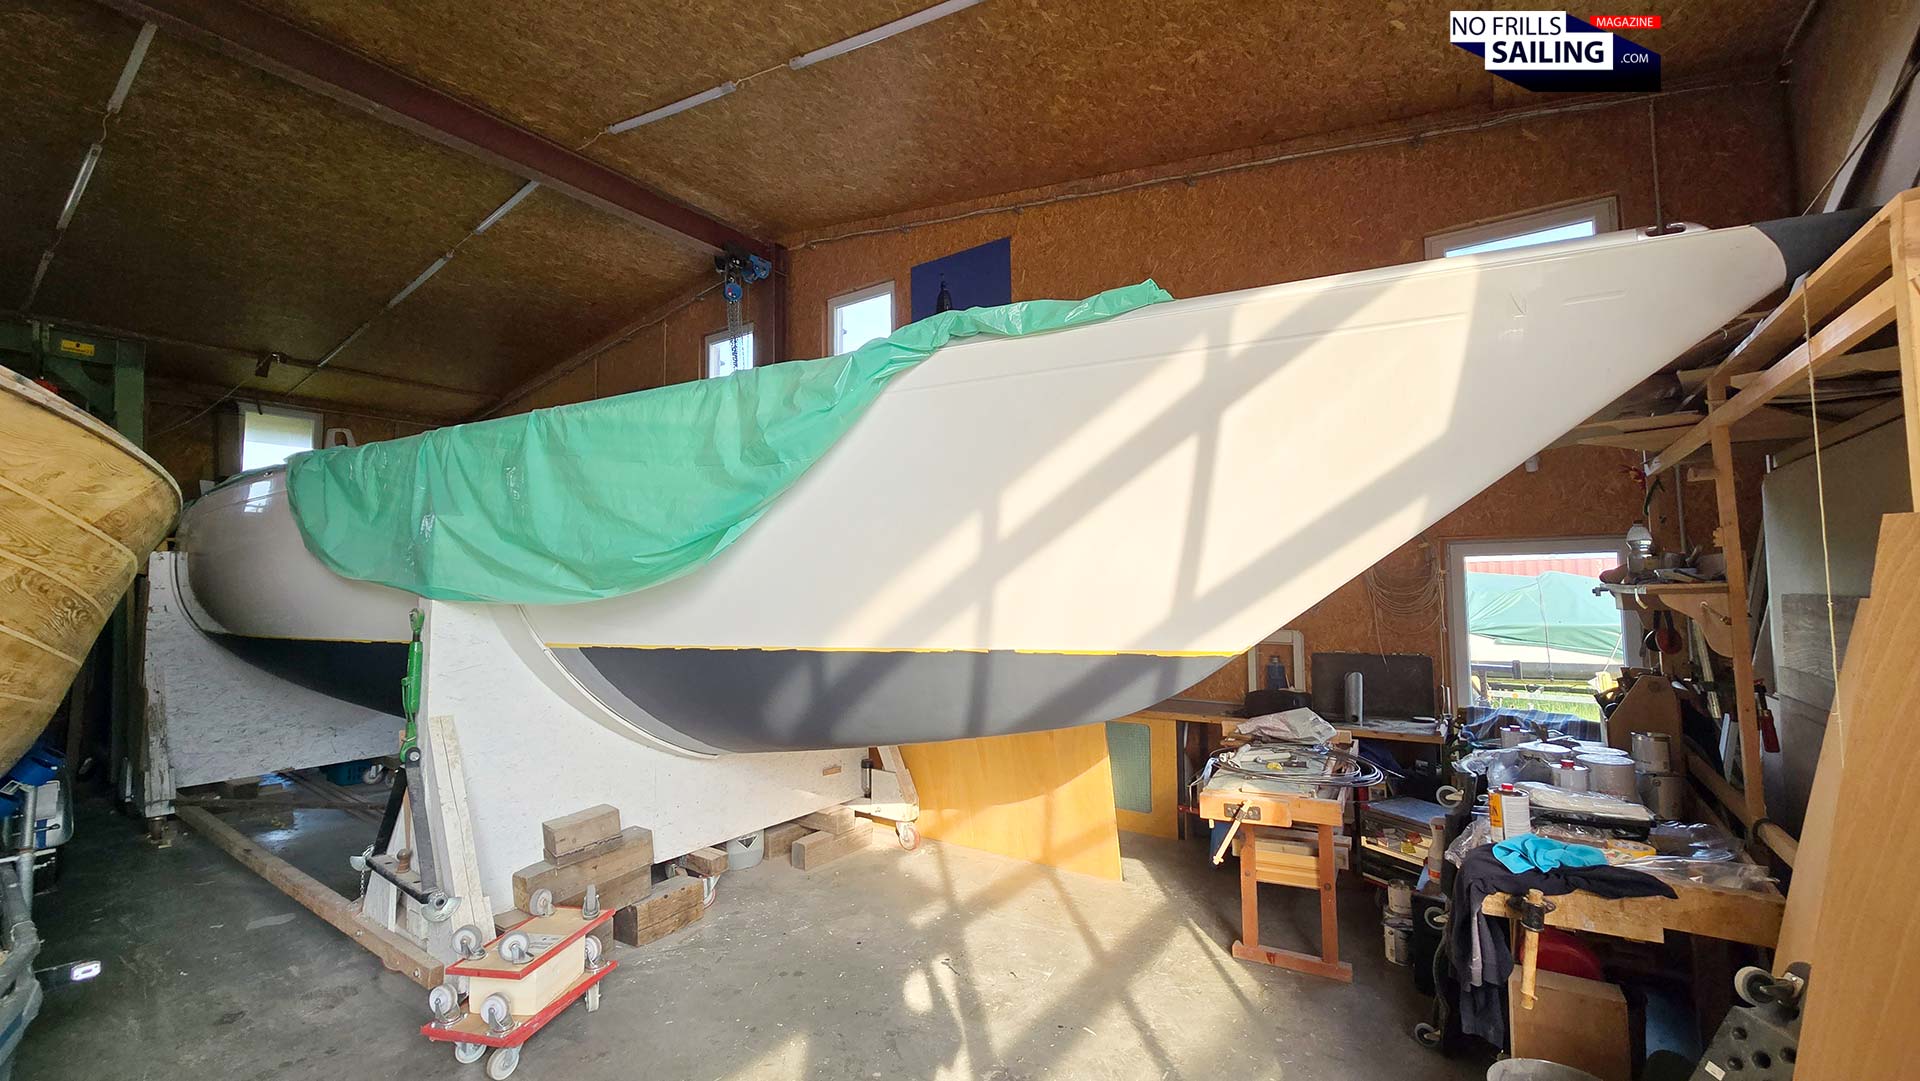
You´ve probably asked yourself why I haven´t taken out the boat of its building cradles. Well, that is because the building shed is too low (especially the factory gate) to house the Omega 42 with keel attached. This is why the keel of my boat has not been mounted by now: It will indeed be one of the last steps after completion of the works at the boat. In fact, mounting the keel can only be done outside of the shed – and afterwards the yacht cannot go back inside anymore.
Why working offset?
Another reason is also that we have no means to kind of “suspend” the yacht, hang it up. The crane does not support the full weight of the hull and there aren´t any attachment points. This means we have to proceed like this: I will build up the bottom paint for all of the uncovered areas. After finishing the boat´s interiors, well, honestly after finishing the whole boat, we will haul her out where the keel (which itself needs a thorough epoxy-cover as well too) will be attached. Then we can fix her with makeshift posts. After this has done – provided the weather conditions are dry and warm – I will paint the rest.
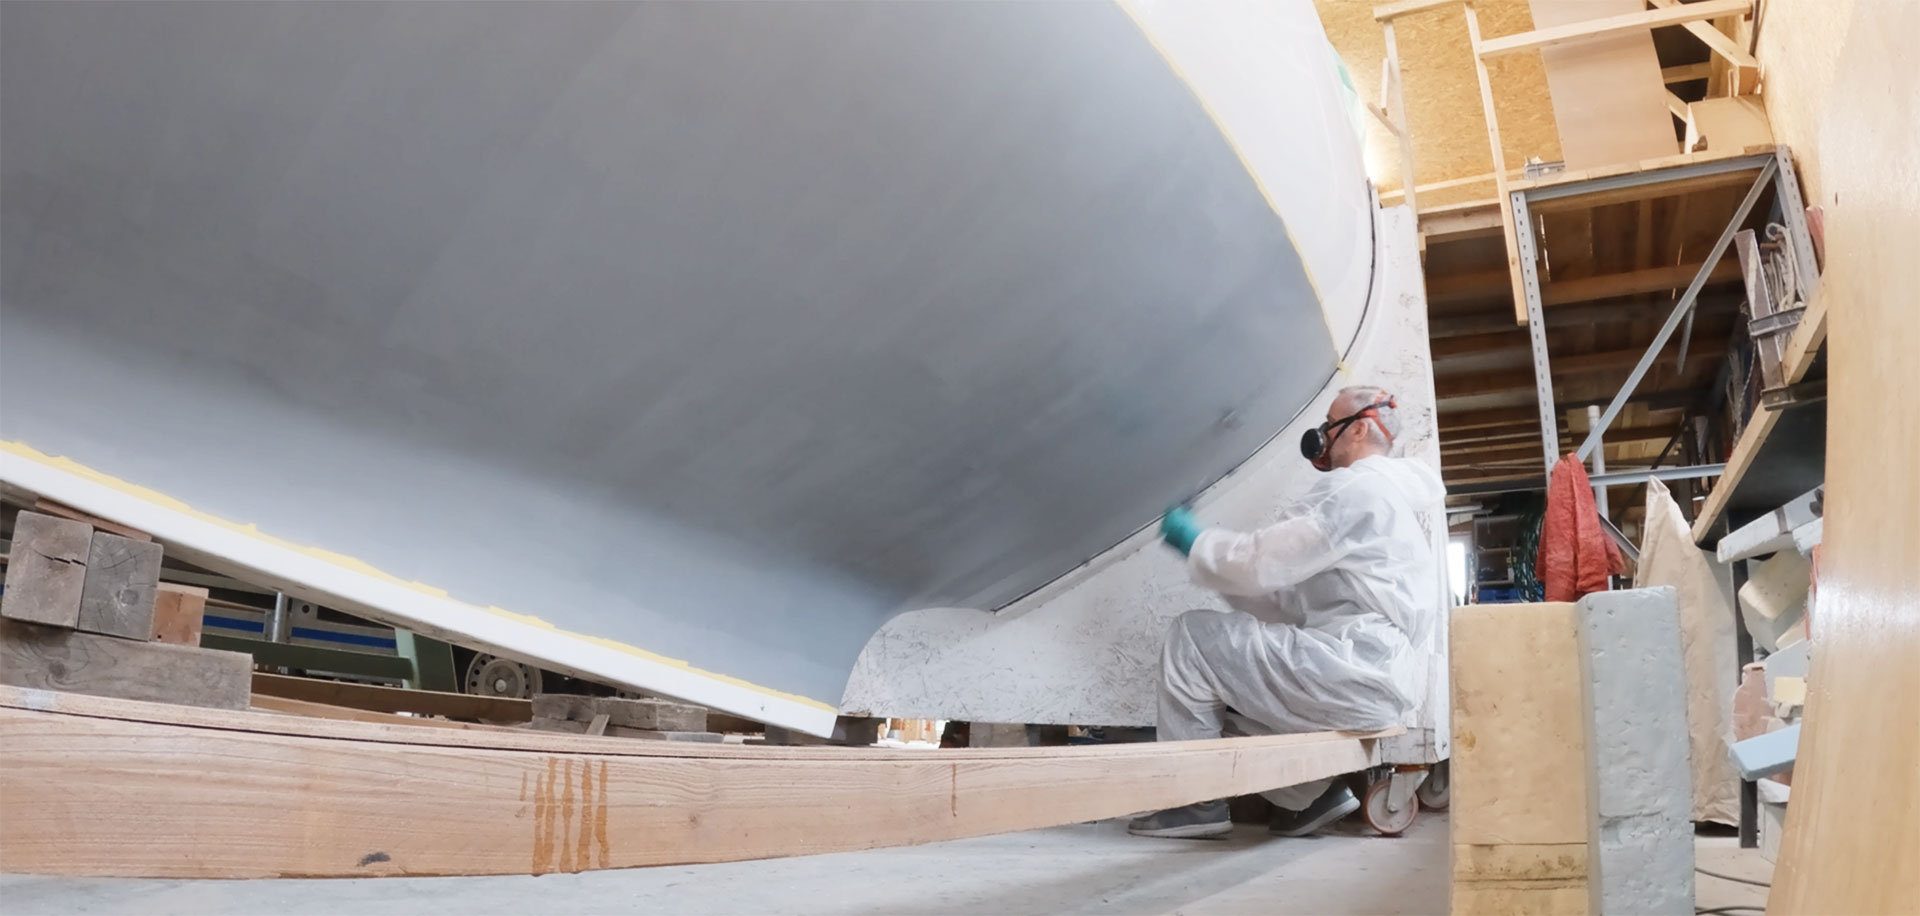
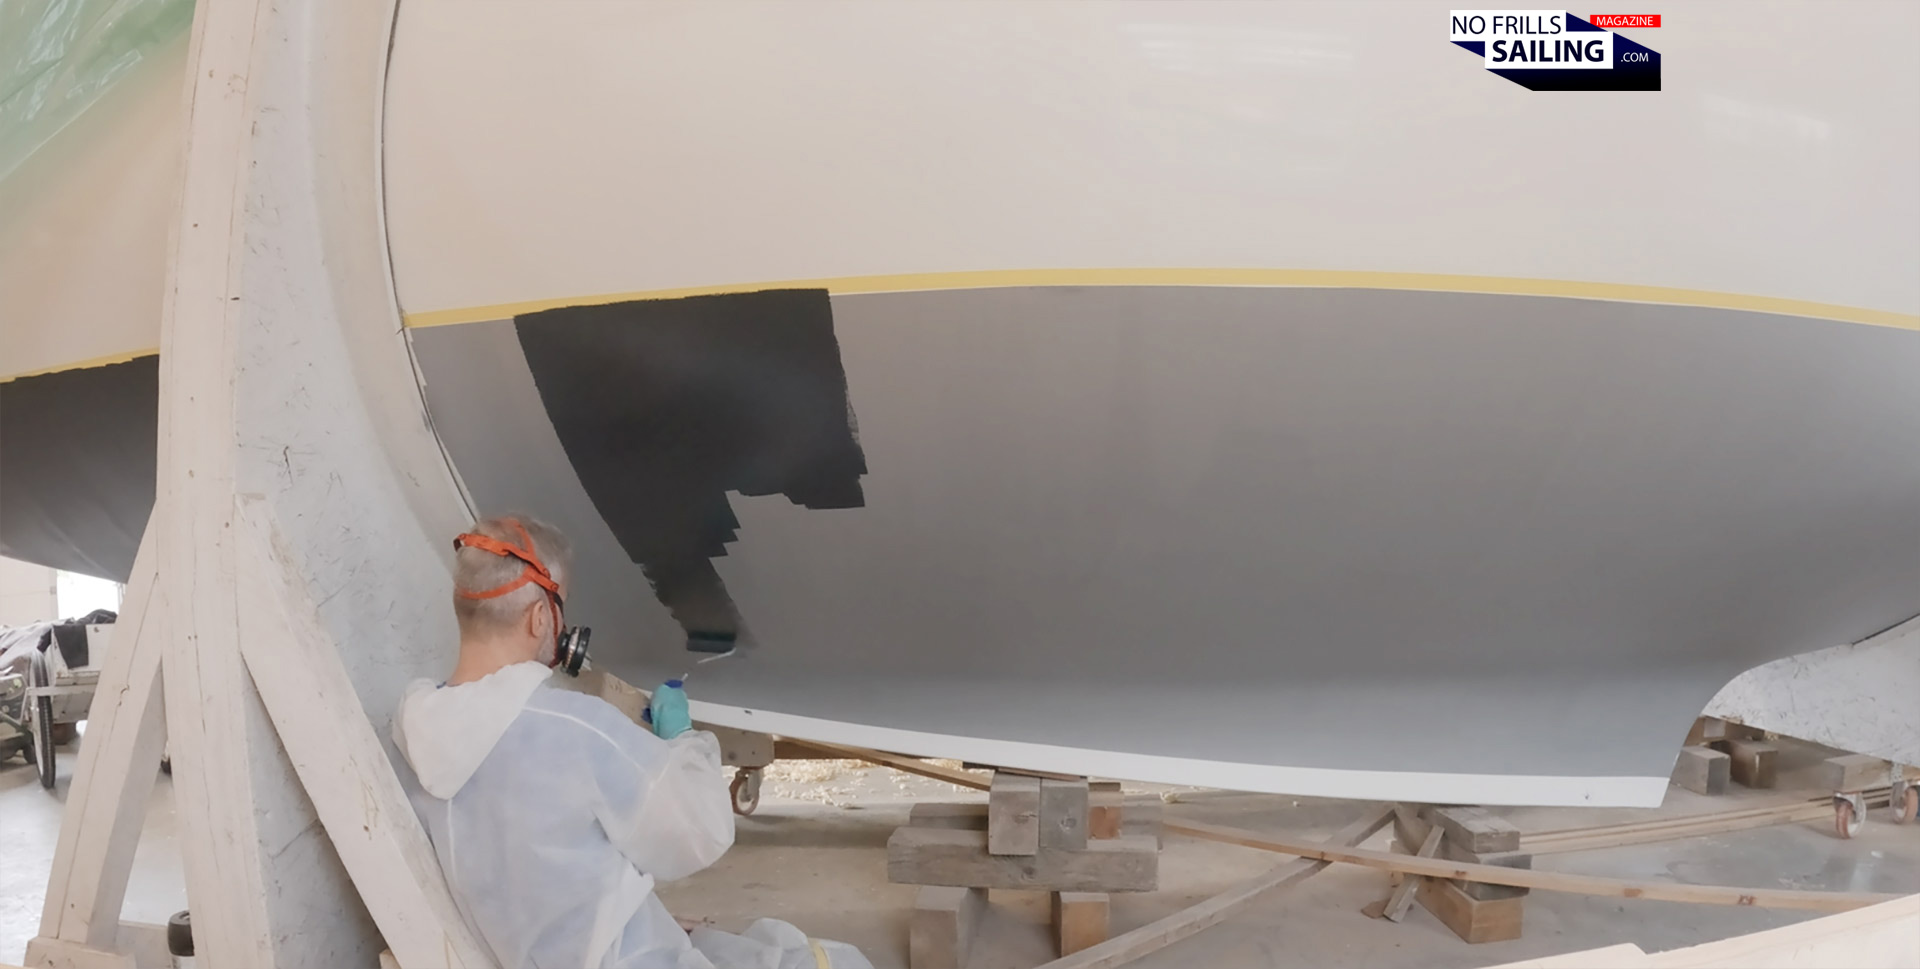
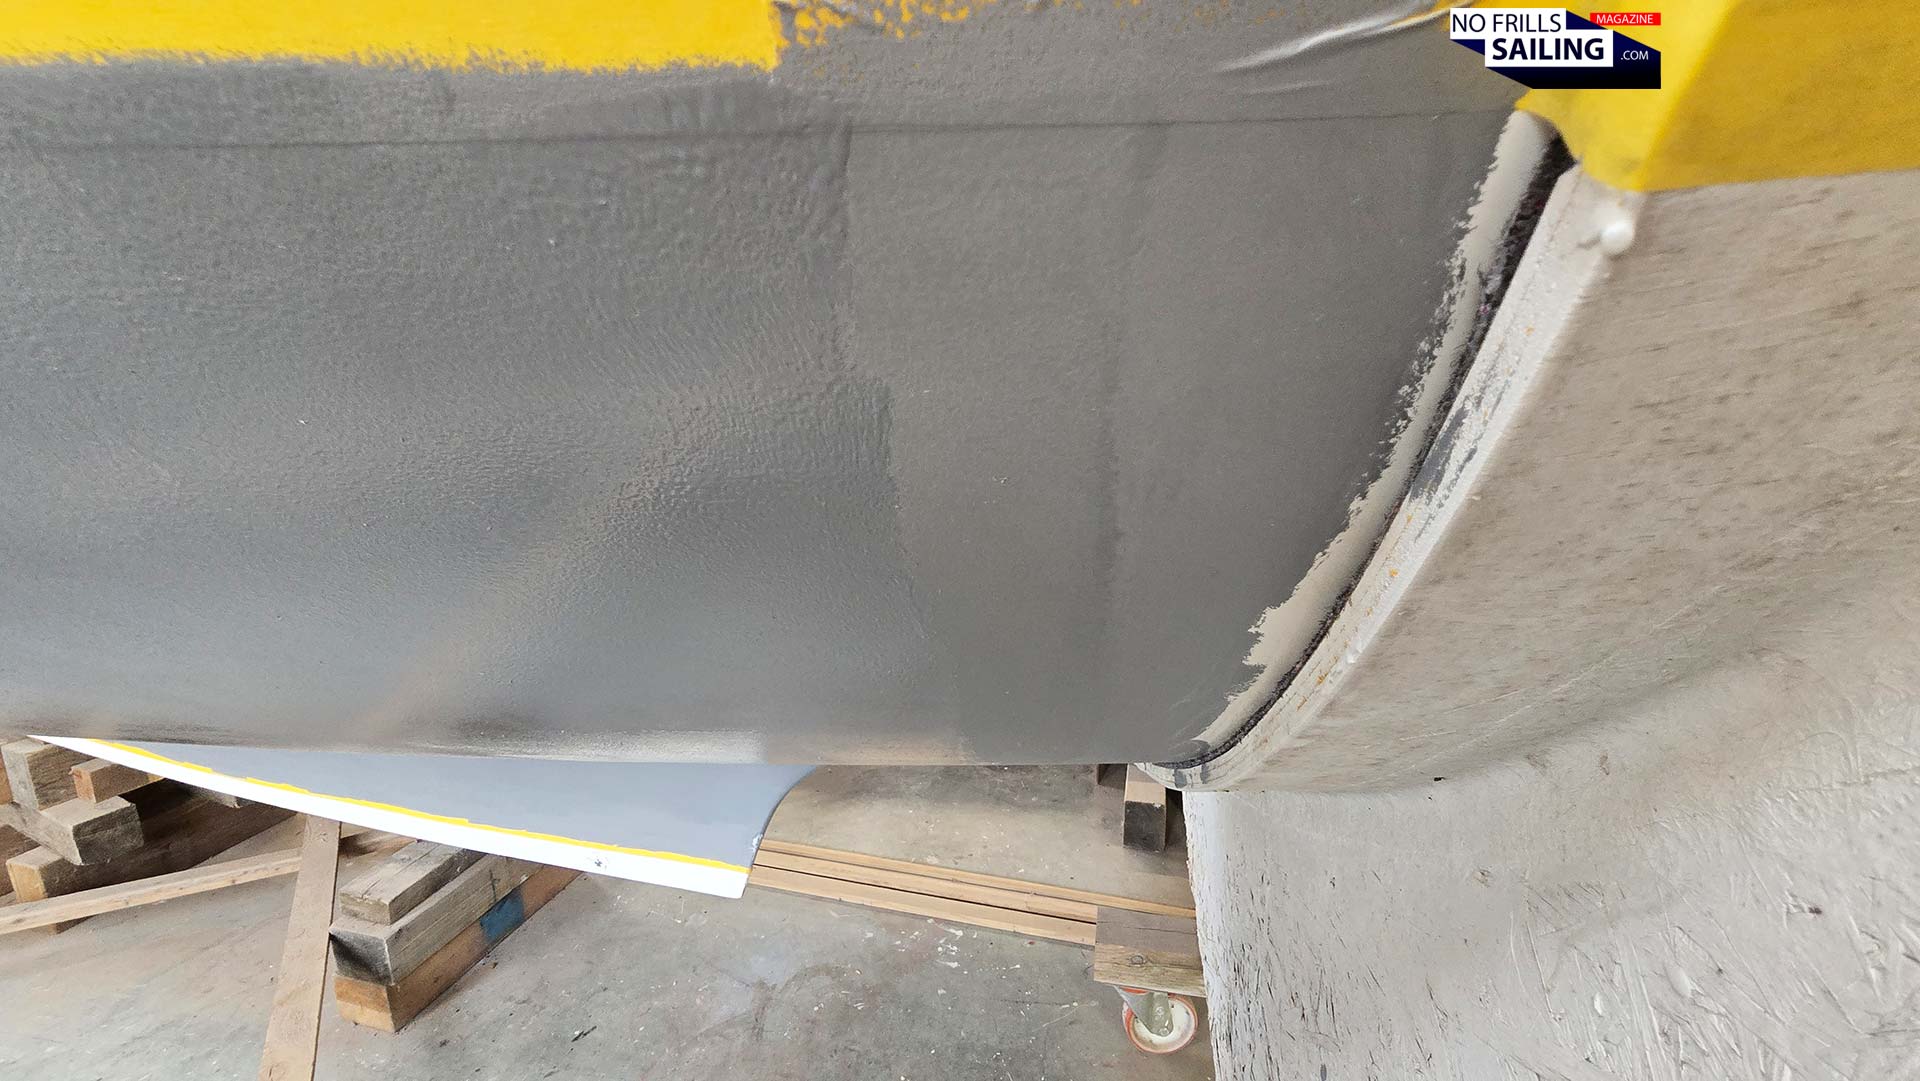
Can you spot the four primer-layers?
In order to do so, the layers of both the epoxy primer and – a little less important but still – also the antifouling cover need to be painted in a special way which the professionals call “mounting”. As you can see on these pictures – look closely! – each new grey primer layer starts a bit offset to the side. “Leave a space of about half the width of the painting roll when you start to work on a new layer”, the guys told me. In order to make sure that I can distinguish the different layers properly when working (because of the breathing mask I couldn´t wear my glasses …) and for sanding later, I added color-pigments to each new layer. Not much, just so that you can see where the different layers start. Can you see it as well?
Proper “mounting” of the layers
So why am I doing this “mounting”? Later, when the keel is attached and the building cradles are removed, the task is to close these gaps in a way that the water-impermeability of the hull is guaranteed. If I had painted all layers in top of each other, a sharp “seam” would inevitably form, potentially not lockable with the newly applied layers. By overlapping the old and the fresh layers (after thoroughly sanding those and “activating” the surface again) it would be possible to form a fully watertight cover and seamlessly close the gaps.
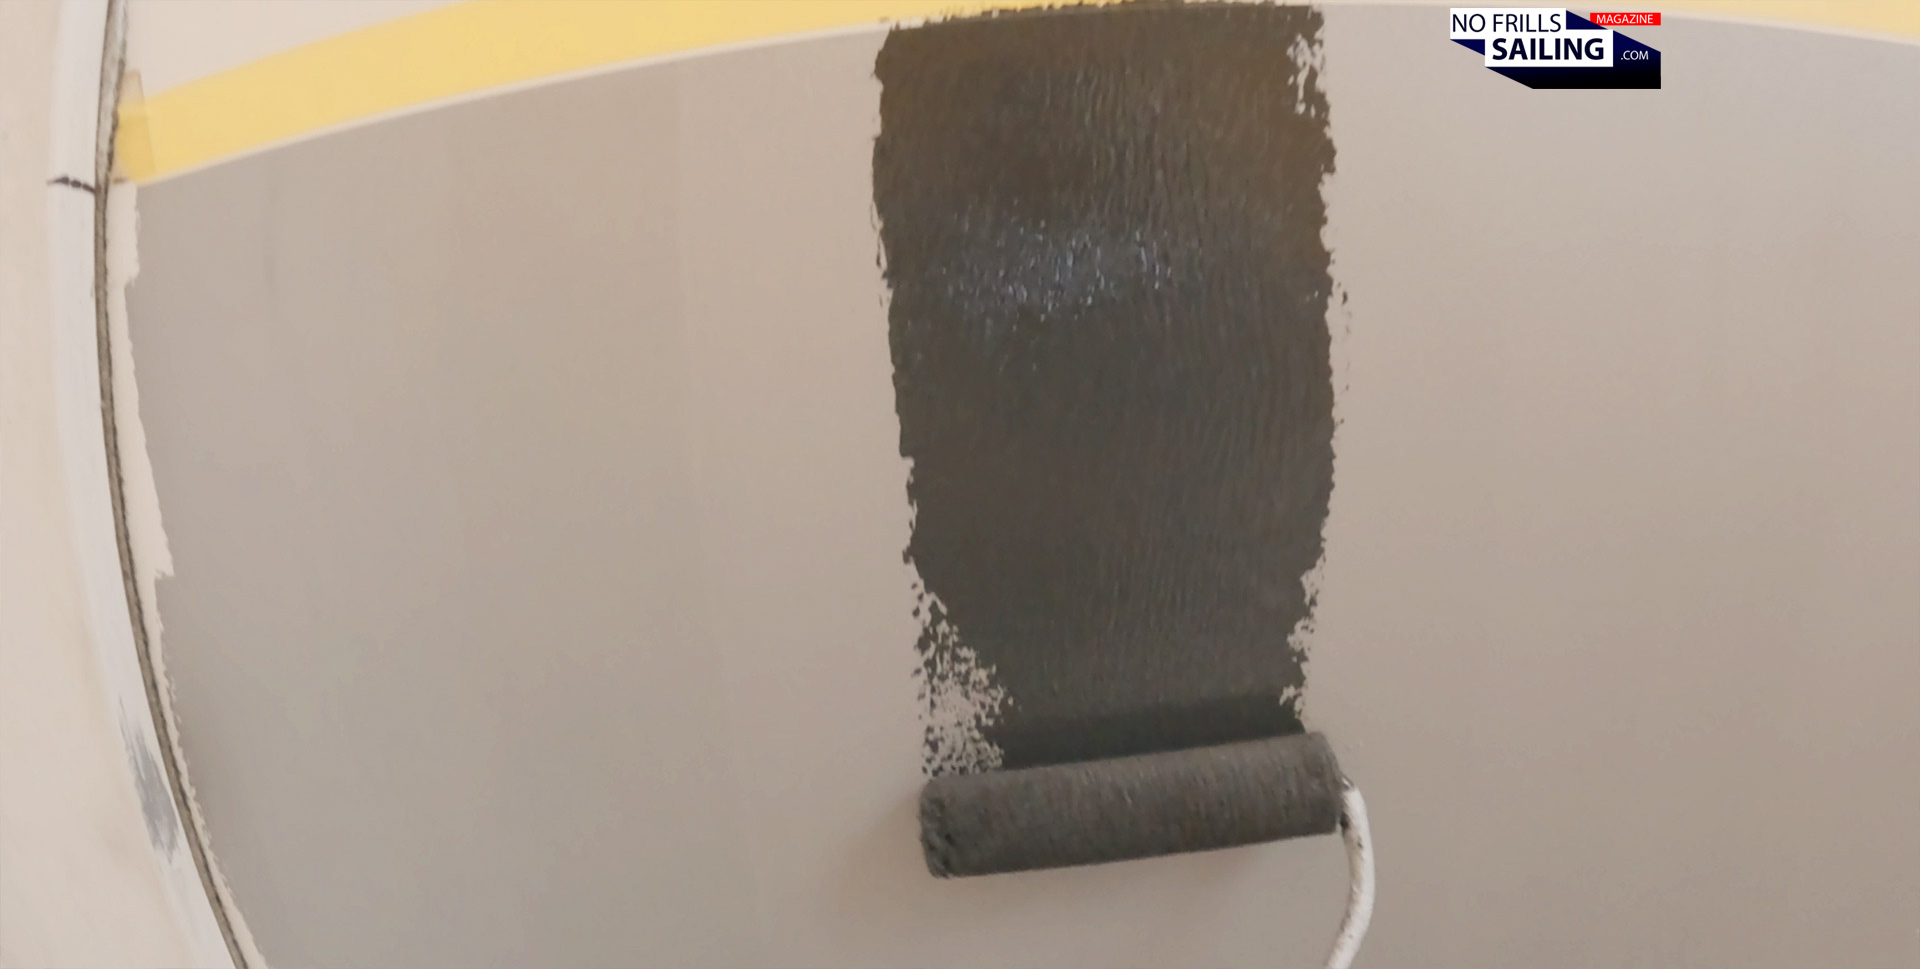
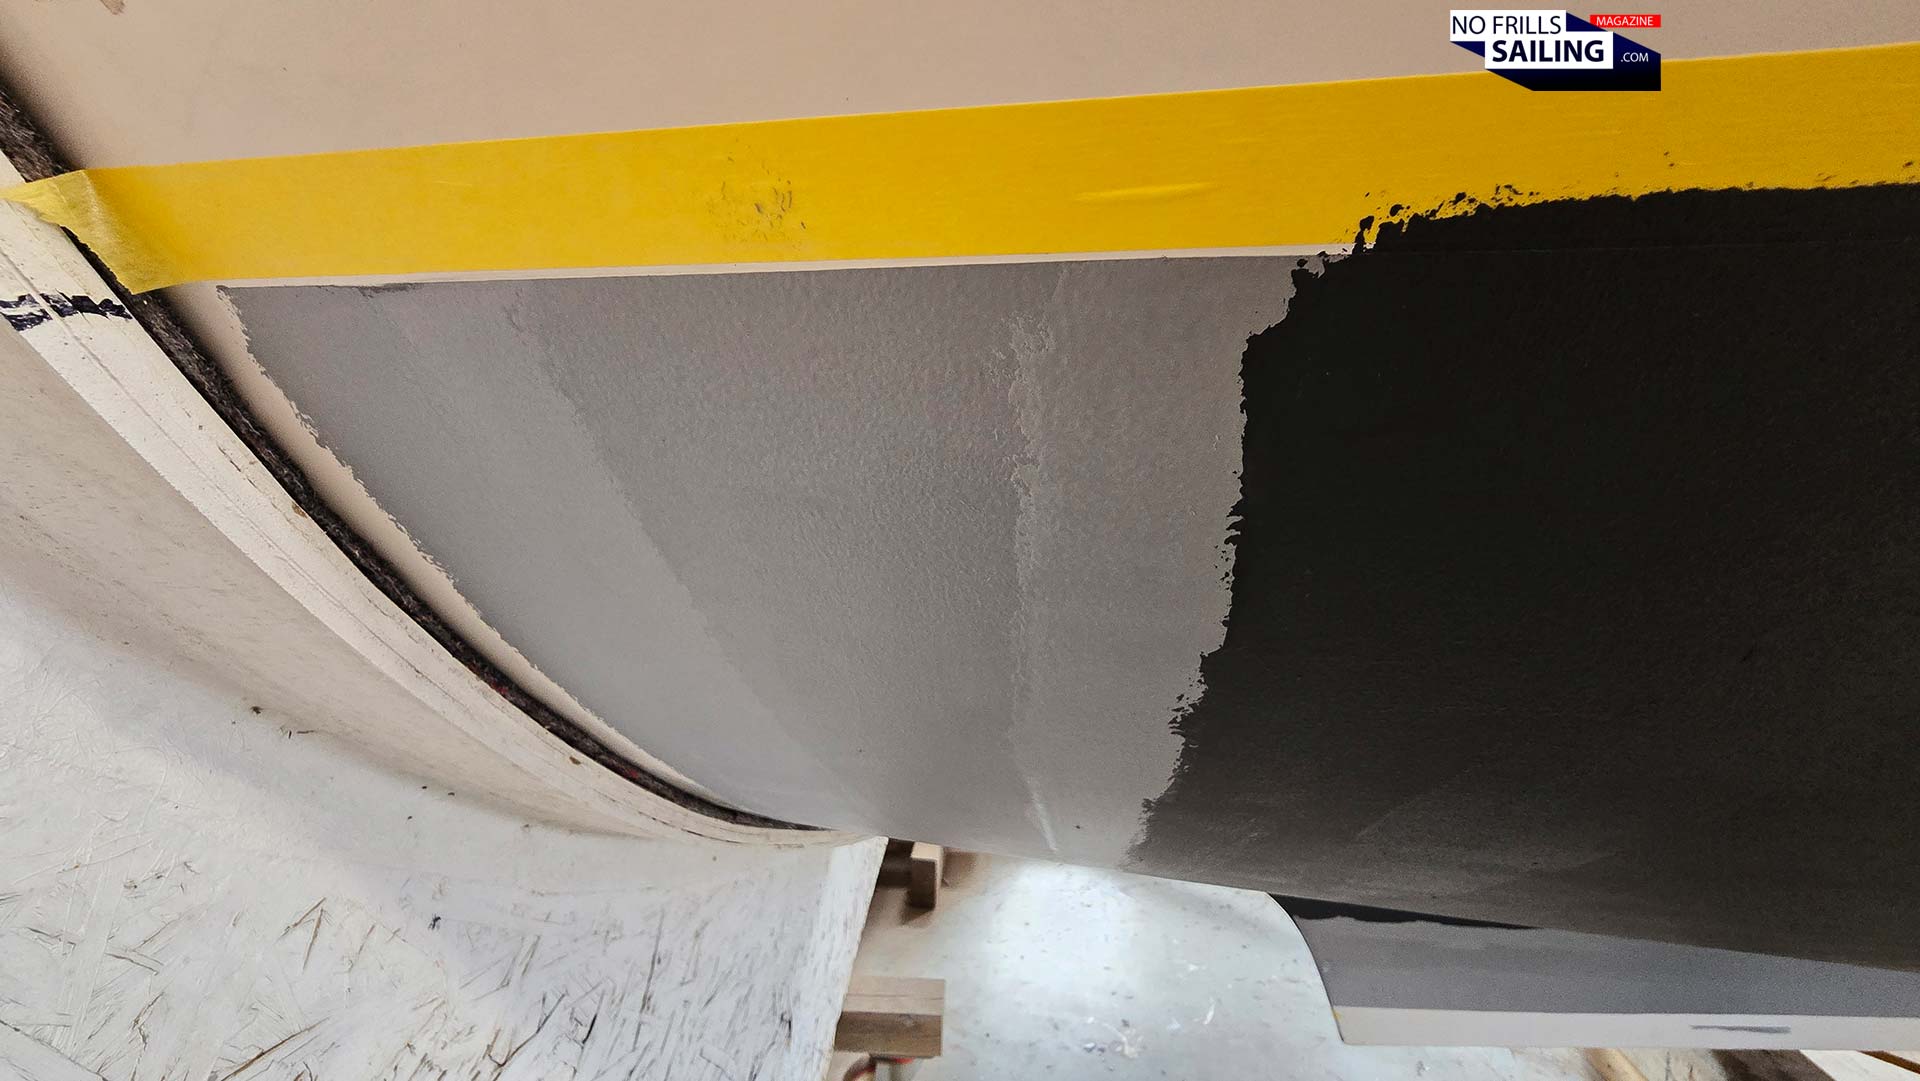
Adding the antifouling to the mounting
Another reason for the mounting-technique is that instead of having one huge “bulky” seam between old and fresh painted layers we now have seven much smaller seams. It will be much easier to cover those up, sand them down and later, with a last complete fourth antifouling layer achieve a unison, smooth and beautiful outcome. And that is what we want, right? A smooth hull that will allow an optimal hydrodynamic flow of water when the yacht is sailing finally. Is it really that hard to roll out both epoxy primer and antifouling?
Achieving a consistent, smooth surface
I can remember back in the day when I worked for the boat dealership that we occasionally had internal discussion about poorly painted hulls. The guys fulfilling the tasks had a lot of explanations why the quality of the surface couldn´t live up to the expectations of both us as the dealer and the clients, who had paid substantial amounts of money for professional work. I could see the points of our craftsmen, but never experienced the intricacies of painting a submerged part of a yacht´s hull myself: Now I would finally get to know it!
Working with epoxy primer
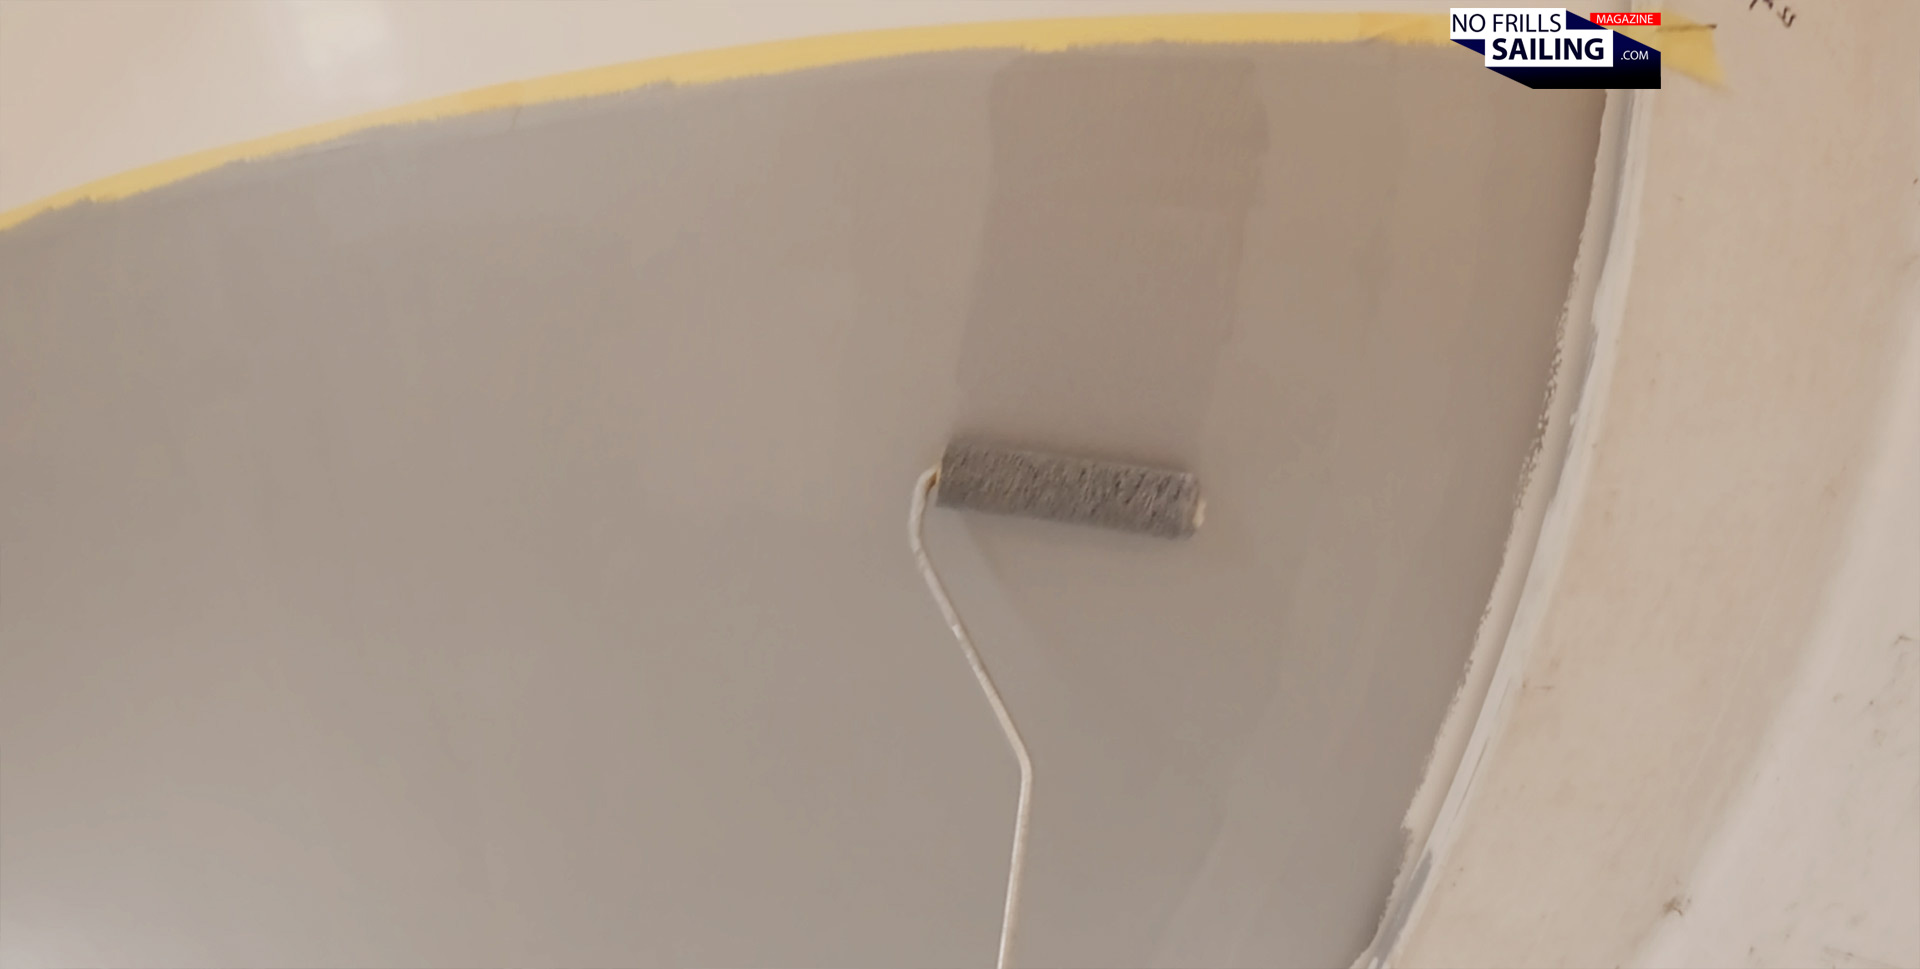
For the epoxy primer: As I already mentioned, this material, once mixed, will immediately start to harden. The warmer your working conditions, the faster this process proceeds. At first the viscosity is nice and rolling out the material is easy. As it is sticky right away, there´s seldom spillage. But as time goes by, the epoxy starts to harden. It will become much more sticky so you´ll need to thin it out a bit. I developed a painting pattern where I would either start at the waterline above my head or at the keel flange, working my way up again. I never painted wider parts than 50 centimeters. The problem is, that when you have finished one “stripe” like this, you need the stuff to be still slightly wet in order to make for a good connection to the next stripe you are painting.
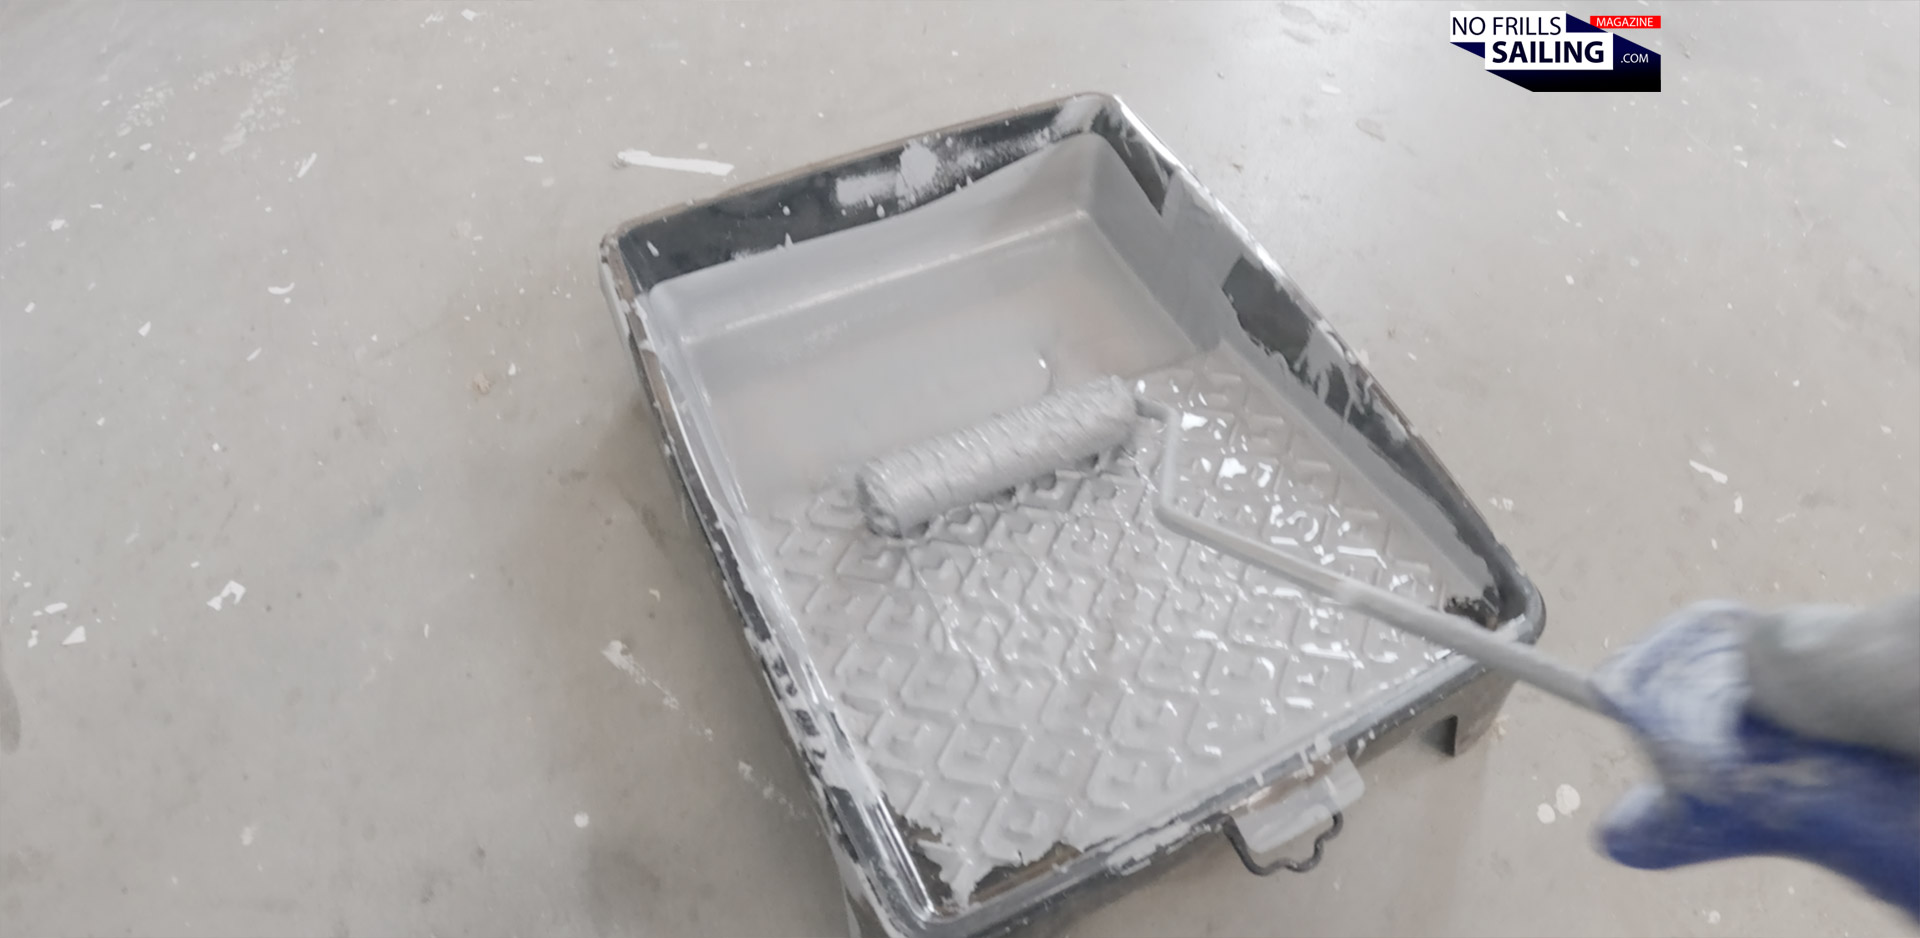
Antifouling: 1K paint
As for the antifouling: Once you´ve mastered the primer, it becomes very easy. This paint dries much slower, so there´s no need to hurry. The viscosity of the antifouling is far more fluid, so you should start your first strokes with far less paint on the roller! For the first layer of antifouling I spilled a lot, so be aware that this can become nasty. But don´t be lazy and take too much time for the paint-rolling on the other hand as well: I saved one full day in the end as it had become so hot that day (+35 degrees Celsius) that I was able to add the third and final antifouling layer only a few hours after the second had been finished.
Is bottom paint hazardous?
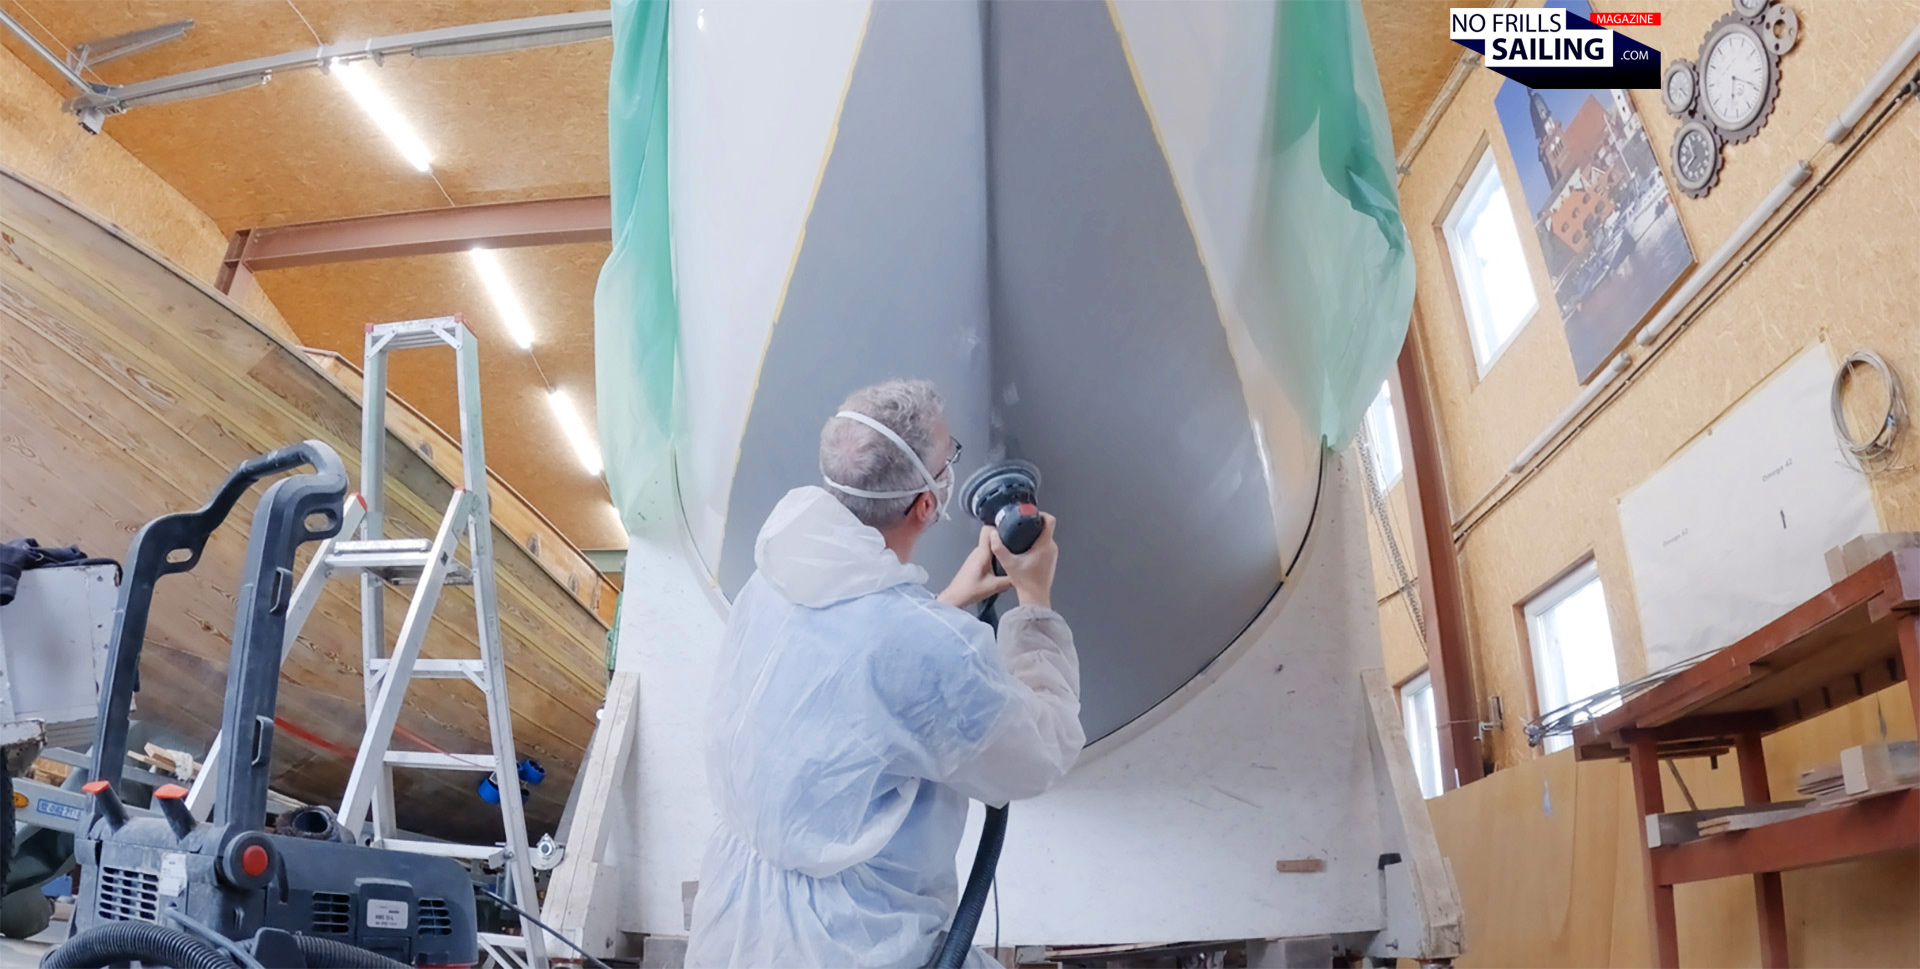
If you want to delve deeper into the health-and-safety related issues, check out my article on chemistry and sailing where the General Manager of Seajet´s German wholesaler, the Yachticon company, takes me deeper into the intricate details of biocide bottom paints. As a quick reminder: Yes, both primer and antifouling paint contain solvent agents. Their fumes – organic gases – are hazardous and pose a serious threat to your lungs. Wearing an A1-rated mask (for Europe) or a brown-label mask (for the United States) is absolutely customary! I didn´t do this on the very first day (because absolutely nobody was wearing a mask in the shipyard …) and I can tell you, I was plagued with a humming headache during the following night, experienced a sped-up heartrate and felt a very unpleasant “burning” sensation when breathing!
Never without an A1-mask!
SsssSo, don´t do it, get a proper mask and wear it! For me this proved a bit tricky, because this mask did not allow me to further wear my glasses. So I needed to work really close to the hull, exposing my bare, unprotected eyeballs to spritz and splash coming off of the roller. This is why I never rolled in line with my eyes but a bit offset to my face. Wearing protective glasses (which should seamlessly fit the mask!) is a big advice – keep that in mind when shopping your tools for this undertaking! Another thing you definitely should come up with is a protective coverall and gloves.
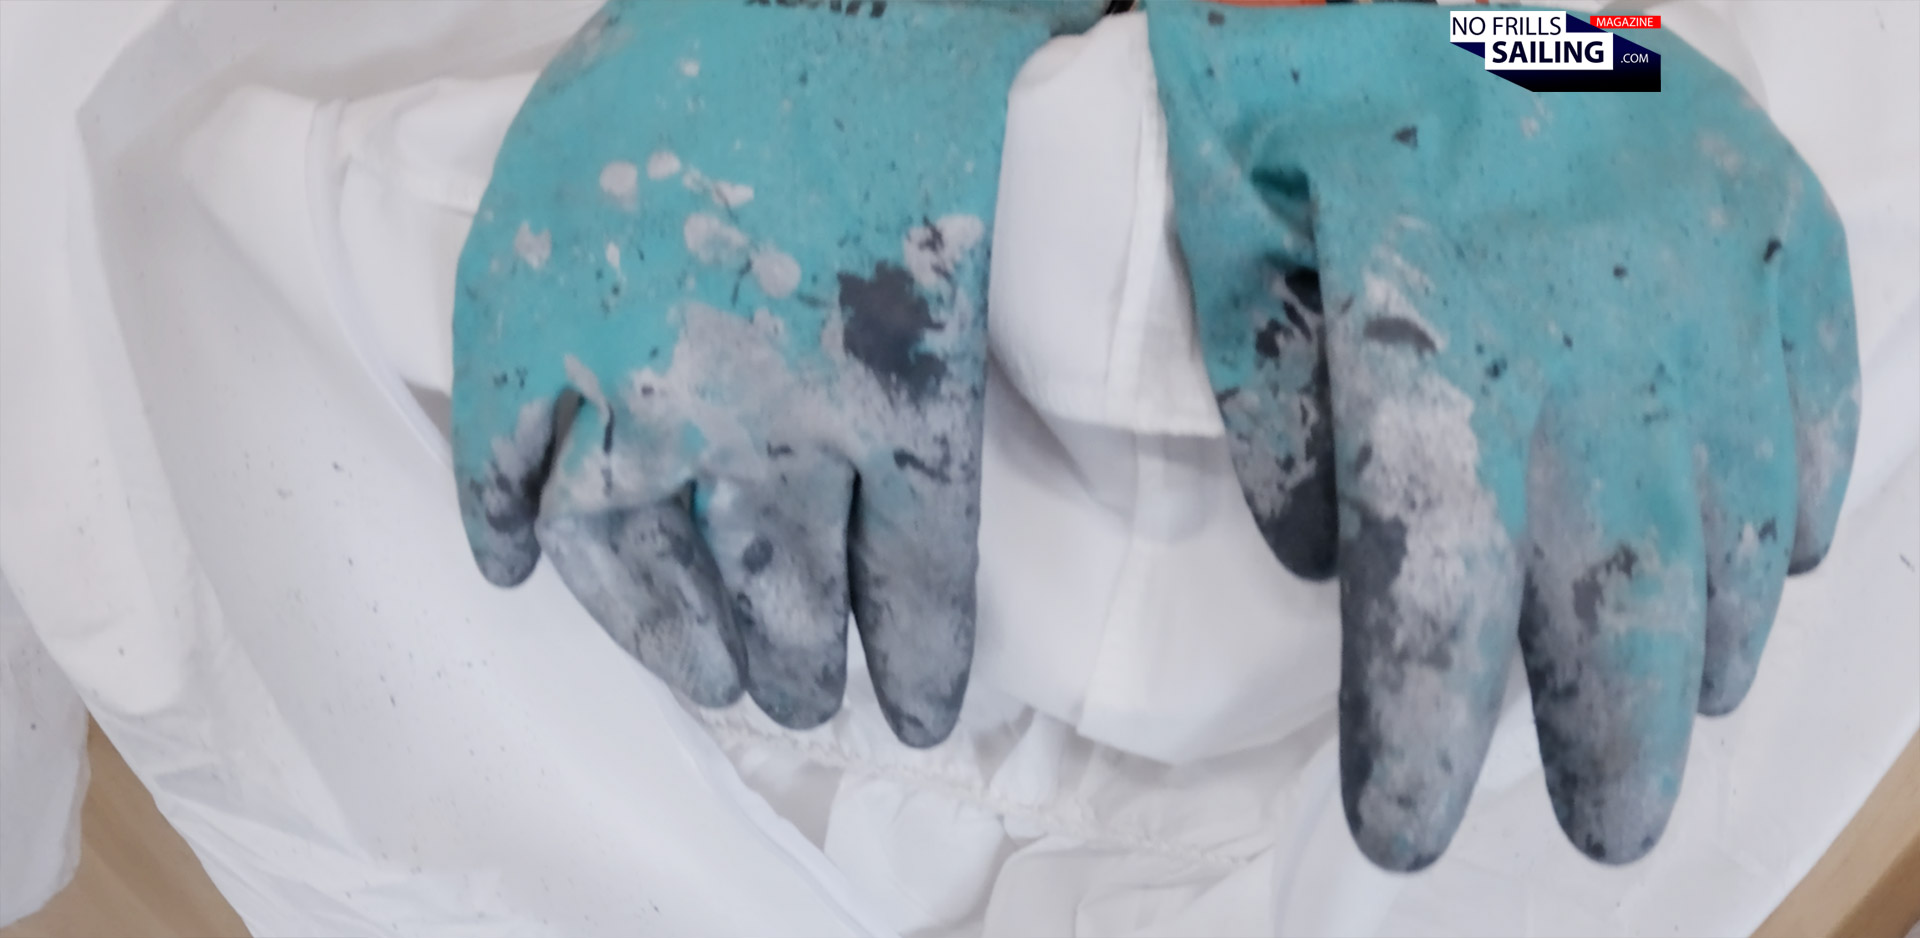
Gloves and coverall: A must!
I wore down two coveralls in the course of this week-long experience. Those will protect not only your clothing, but more so your skin from the epoxy and the paint. The epoxy is really sticky and you cannot simply brush it off in the shower after your shift is over: This must be scrubbed off (best when its still fresh) with thinner, which itself is not very skin-friendly. As for the antifouling paint, as the name suggests, it contains biocides which by definition cannot be good when in direct contact with your skin. Although even dried antifouling can be brushed off in the shower very easily, make sure you don´t get it onto your skin in the first place. But in general: Is bottom painting your boat a serious threat to your health? If you have the right protective gear, no, not at all!
How long does a complete buildup of a bottom paint take?
So it took me a full week to complete the buildup of the bottom cover for my Omega 42. The first day was consumed by arranging the shed, cleaning the working space surrounding the boat and get everything in order and ready to go. The second day I had to sand a lot and prepare the boat itself. Most of the time went by for sanding and thoroughly cleansing the hull. Make sure you only start to apply primer and paint if the boat is completely dust free and, much more important, when the hull is properly de-greased. Otherwise your full work is futile, because if the very first layer does not form a firm bond with the hull, it will all come off later!
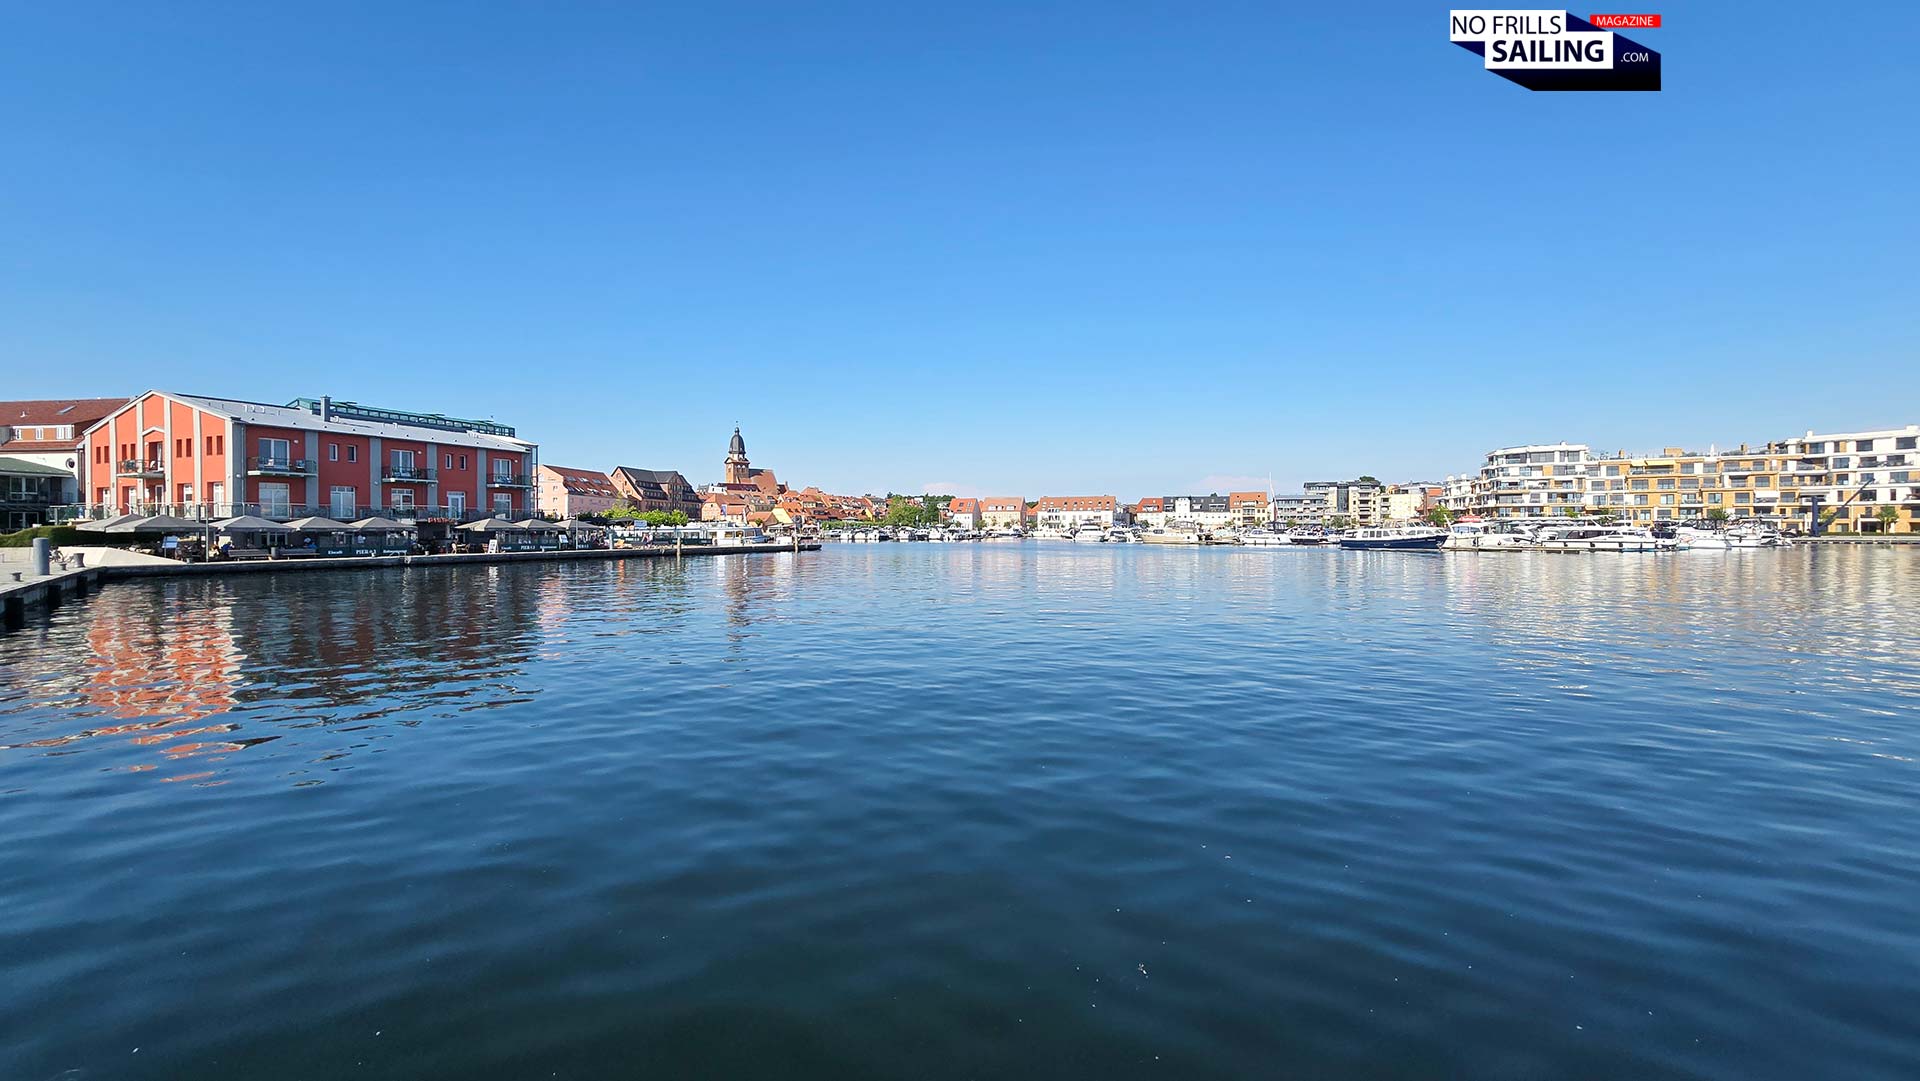
Enjoying some fresh air outside …
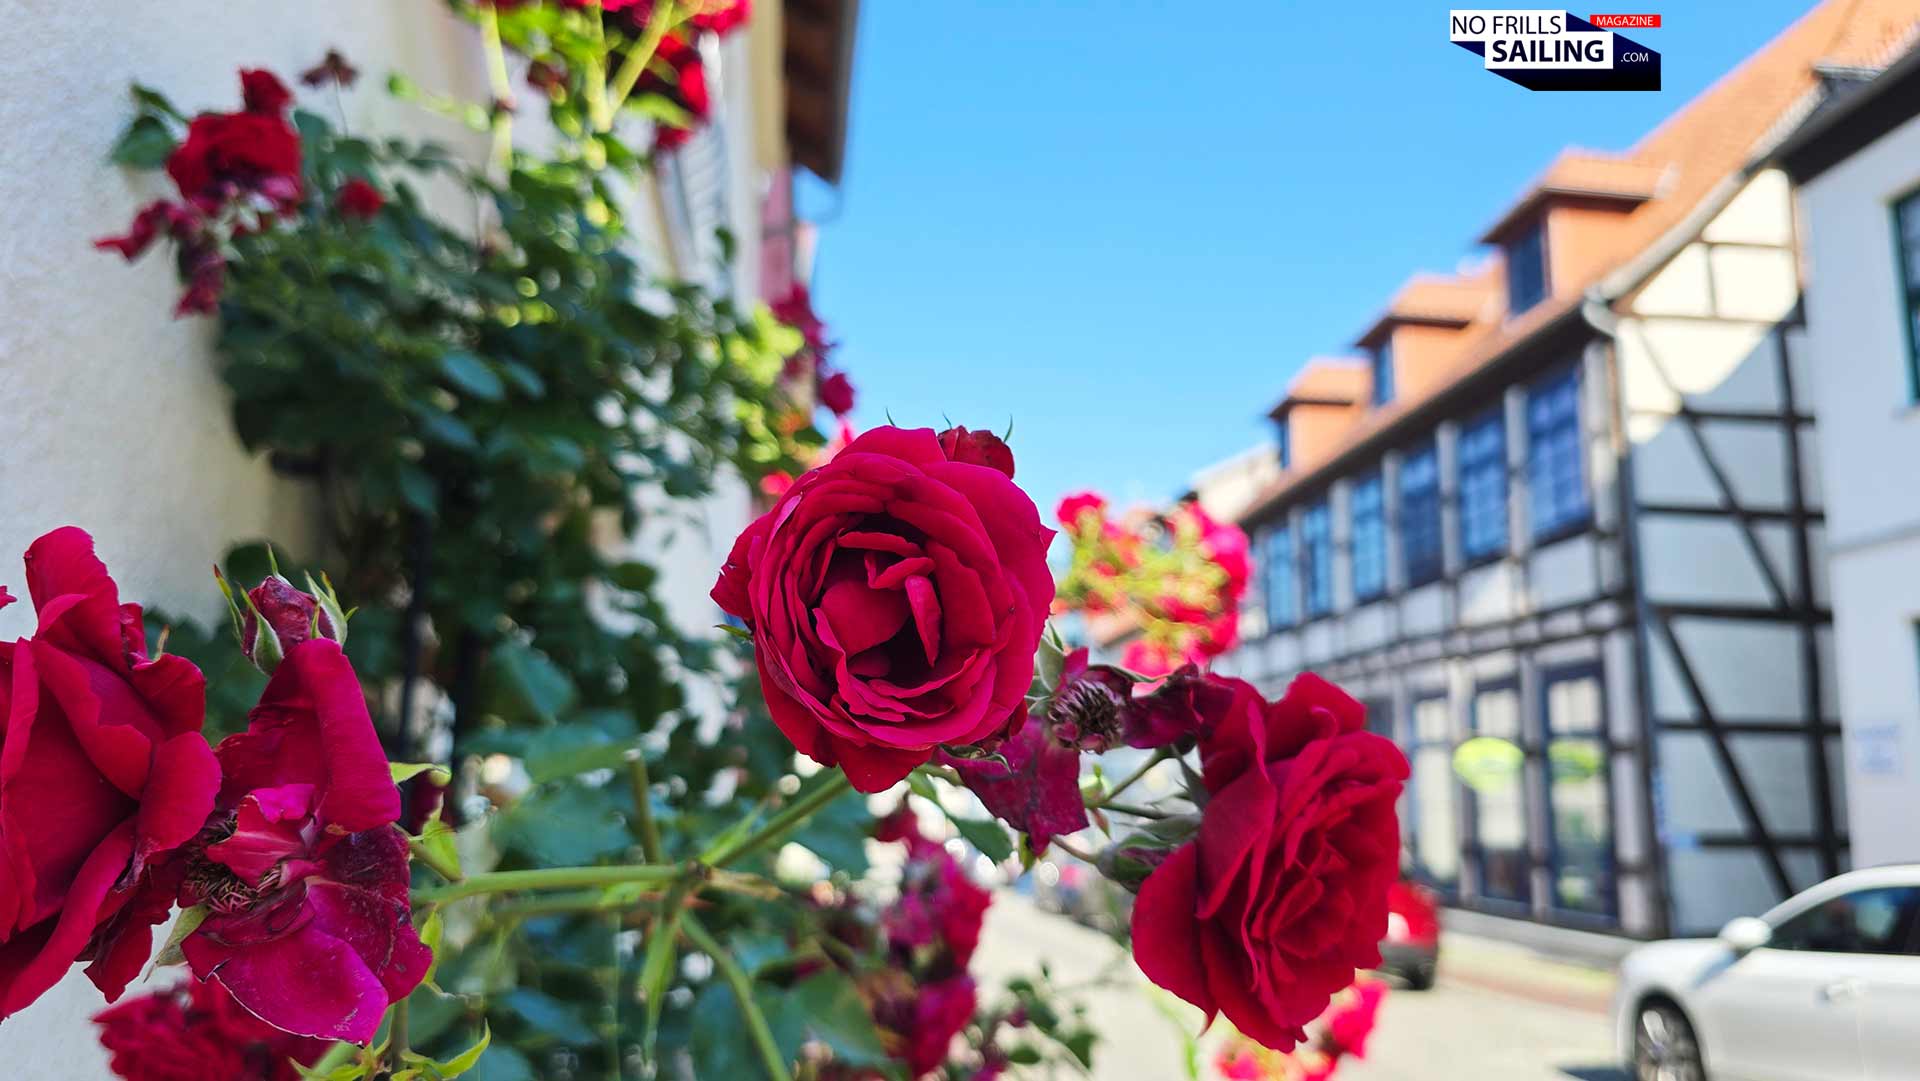
After each day, especially after the first two days, I needed the time outside the building shed to recuperate energy. I found it very tiresome and arduous work, really back-breaking. I am lucky that my shipyard is located on some of Germany´s most beautiful holiday regions: The Lake Mueritz. Some 100 kilometers south of the Baltic Sea shores, this is actually the biggest inshore freshwater lake of Germany (no, it´s not the Lake Constance!). So, to inhale nice fresh air, loosen up my bones and muscles, I took long strolls along the picturesque waterfront of the little town Waren, where the shed is located, and gained back the energy.
Now, back to the shed again …
For your DIY bottom paint project I´d suggest you do the same: You have to respect drying times anyway, so utilize the waiting time in between to clean and clear out your solvent-beaten lungs, refuel on sunlight and energy before the job takes you back crouching underneath the hull, laying on your back on the stone-cold floor and even get up and down in boot-camp-like sit-ups for the next round of painting. I really enjoyed this stark contrast of the work in the shipyard until noon and the nice flow of strolling around at the lake or the beautiful old town during the hot afternoons. It´s a tiresome job – allow yourself some treats. Ah – and drink regularly during the paint job!
The advantages and challenges of DIY bottom painting your boat
I painted the fourth primer and first antifouling on a Friday. As the master boatbuilder had inspected my work, he emphasized that facing the fact that it would become even warmer tomorrow, I would surely be able to apply the other two antifouling layers on one day. “Just wait a few hours, when the second layer I dry, do the third.” I did accordingly and thus was able to complete the job one day earlier, saving the precious Sunday for a real day off. So here are some advantages for you, if you are collecting pros and cons of doing the bottom paint for your own boat yourself …
The last layer of antifouling!
First and foremost, the biggest advantage is the money. Now that I have done it myself from scratch I can assure you: A proper professional bottom paint including real thorough sanding, cleaning and the paintwork requires a full week´s time for one or two skilled craftsmen. If done the right way, this creates a lot of working hours and surcharge for the laborious and strenuous work. I certainly have saved 10 grand easily by doing it myself! Material cost all in all was around 3.000 Euros. Seajet is a high-grade product that comes with a surprisingly attractive price-advantage. You should definitely check the different brands if you have determined which product you´ll need for your sailing area, there´s a lot of bargain to draw!
It looks so sick!
Another advantage – and this is seriously very important for my inner Monk – is that I just know for certain that the bottom paint is good. Because I did it myself. If you award the contract to a pro, unless you check each day or you are provided with a proper painting protocol and time-stamped pictures, there is no way to really be sure if sanding, cleaning and painting has been done the right way. I´ve had customers who told me that their bottom paint had been applied without primer or without any sanding-action! This absolute certainty is a perfect base for peace of mind. The disadvantages? Well, apart from the back-breaking work, I am sure that real professionals can and will achieve a much better, smoother let´s say, outcome. Bottom paint can be sprayed as well, making for an even cleaner surface. But honestly? Unless you sail an IMOCA where every hundredth of a second counts, this is negligible.
What I´ve learned from doing my boat´s antifouling myself
And what a joy when I was finished! Rejoice! I peeled myself out of the soaked wet coverall and threw away the gloves. In fact, it was so hot, that when working overhead, sweat would pour down on me, dripping out of the gloves! Don´t take a sniff of the odors coming out of the gloves, it´s really nasty. Those coveralls may look flimsy and light, but boy are these greenhouses! Depending on where and when you bottom paint your boat, make sure you don´t wear any thick cotton t-shirts underneath, you will suffocate and drown in your own sweat!
Was it worth it? Yes!
When looking at the outcome, I was really satisfied. Yes, of course, there are some little spots here and there where maybe too much epoxy has built up – irremovable now unless I´d sand it off all the way down – or where you can see that the roller was already worn out. Of course, a trained and experienced bottom-painter will potentially always make a much better product. But now, I´ve saved a lot of money I my inner Monk can sure it´s done the right way. I also learned – by my own experience – how tough of a job this really is. And why a proper build-up of bottom paint is such an expensive option on the price lists of yacht dealers and service shipyards.
Speaking of service: If you don´t want to miss any new article being published here on NO FRILLS SAILING, why don´t you just simply subscribe to my monthly free newsletter? You will receive an email once the month is over containing links to all of the ten articles published. It´s really convenient.
Advertisement
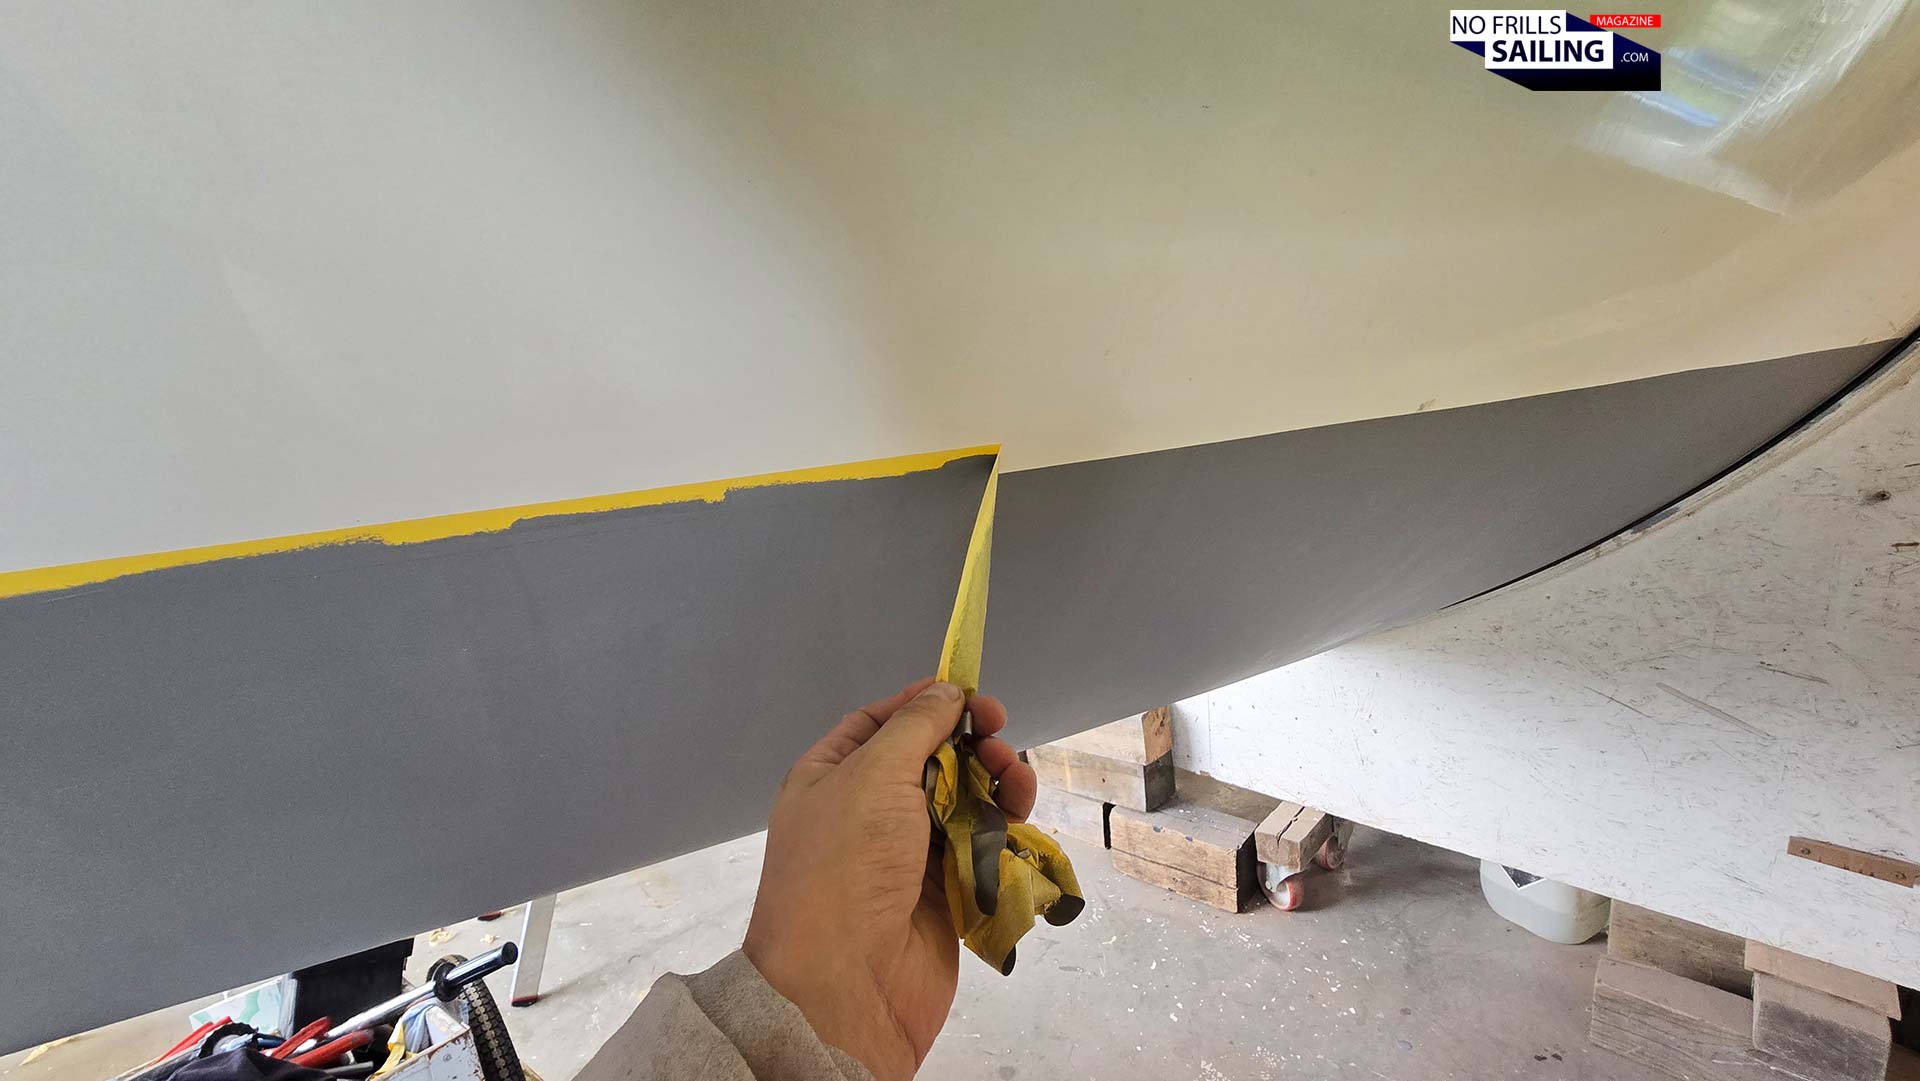
Finishing the bottom paint job
So, in the end, all that had been left for me to do was to rip off the masking tape. Again, this is the single-most satisfying step of the whole procedure. After cleaning the tools, stowing away the materials and left-over cans, I git re-dressed, at last in summer-compatible shorts and a shirt, put on some gloves and peeled away the yellow masking tape. Aaaawwwwww, what a sight! Now that there is a visual differentiation between the wetted, submerged part and the upper part ort of the hull, the breathtaking lines of the yacht can be fully appreciated. What a feast for the eyes!
Best job of it all
I am really proud of my work. And I am happy that I have done it myself. Not so much because of the money I saved, but because of the gain in knowledge. Also, working with the guys who literally built my boat, shoulder to shoulder, for one full week was a kind of transformative experience. In fact, on Friday as the crew disbanded into their well-deserved weekend, Heiner, the boss of the shipyard, gave me the official work-shirt of his company, Mueritz Bootsservice which is the builder of the new Omega 42. He said: “This is because you turned yourself from being a customer into a colleague.” Thanks so much, guys, I really appreciate this!
I also like to thank Dirk and Andreas of Yachticon, Seajet wholesaler for Germany, for their advice and guidance, for the professional selection of the best products and the proper briefing (and my ongoing whatsapp-requests during the project)! I hope after reading my articles, you feel well-prepared to tackle your own boat´s bottom paint project as well. Let´s go!
Check out these related articles as well, when interested in antifouling: