What a nice view, isn´t it? A sailboat in her berth, shiny white and ready to sail. Right now as blossoms in perfect colors break through and the spring arrives full speed with the first really warm weekends in sight, we all crave to bring our boats to the water after a long winter in storage and finally cast off again. To sail this brand new First 27, which will take place next week, I look so much forward to.

But it was a long road we had to go until this nice little speedy boat actually was ready to be hoisted to her element and stand there in pride with her tall mast. In fact, among the usual commissioning efforts like applying antifouling or readying the rigging, this particular boat had undergone a rather unusual and very interesting special treatment: We fitted a fixed keel ourselves.
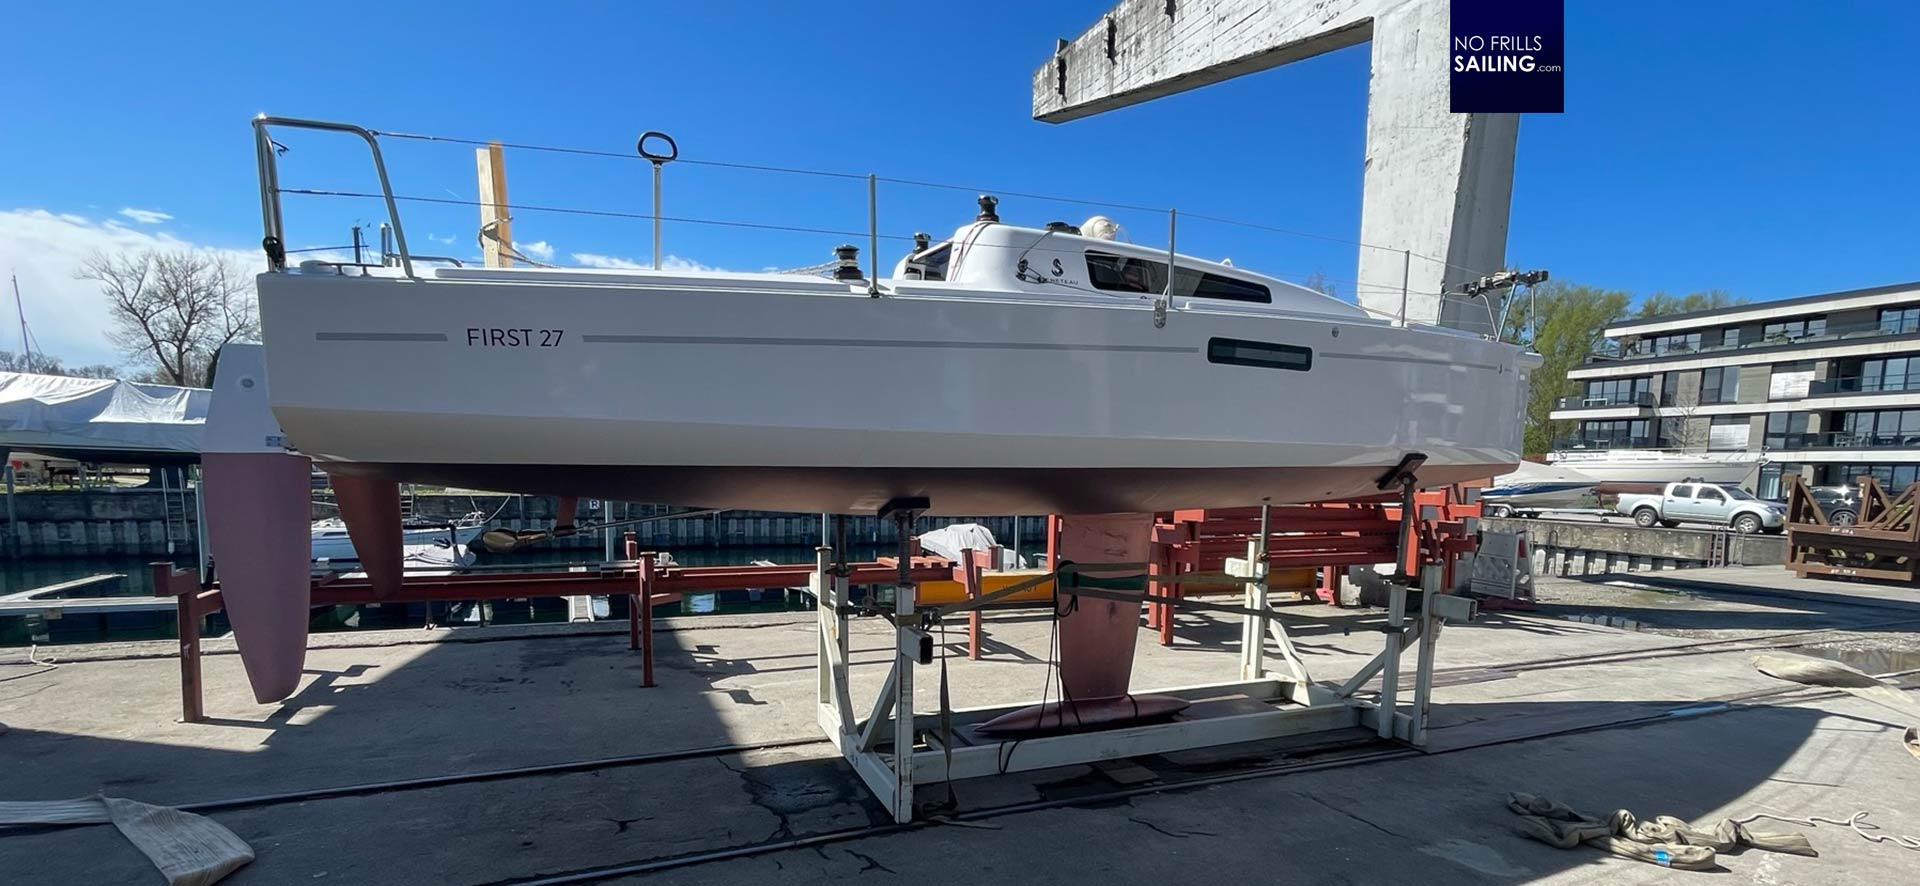
Our First 27 with a separate Keel

Let´s rewind a few months. Seascape and Beneteau had announced that the racy First 27 SE would receive a, let´s say, more cultivated twin-sister. A boat that would be easier to sail, more convenient to use and one that would offer a bit more cruising comforts. One of those features was to substitute the hydraulic swing keel from the First 27 SE with a fixed one.

I ordered one of these new boats but I didn´t order the trailer. Why? Because these trailers add significantly to the coat price (some 15.000 Euros) and since the First 27 had a fixed keel I assumed that a potential buyer of this boat would rather treat it like a stationary yacht, not like the regatta-nomads who live on the road travelling from one Seascape event to the next. In this, I ordered the boat with her keel not mounted. We stored both separately in our own yard.
Now, spring later, it is time to present the First 27 in the water at the occasion of one of the first local spring boat shows. This is an in-water boat show and following this event the boat will remain at one of our partner´s marinas: Ready to be taken over by a future owner. In this, we needed to have the keel finally mounted. First lesson learned in this respect: Although our technical staff is comprised of skilled boatbuilders, none of them had the certification to mount a keel.
Needed: Master Craftsman Boatbuilder
I don´t know if this is a global rule, but in Germany a boat´s keel must not be mounted by any other person than a master craftsman boatbuilder who achieved the qualification. Apparently, our partners at the marina had one of those specially skilled people and so we stood by in excitement and learned. I found this process so interesting, that I decided to make an article about it.

Out of the yard in Slovenia, the raw keel was already clear sanded and (except for the underside) had received a first basic primer. Our own staff, along with the boat´s hull, had already applied the (our) usual standard of five layers epoxy primer and three layers of antifouling. In this case, VC 17 M for fresh water sailing. The boatbuilders there first places the keel upright and elaborately fixed it with straps to stand perfectly and 100 percent up.

The hull was lowered down and the keel´s shaft went into the keel housing just to see if it fitted. It did and so the boat was raised again. The First 27 has a performance T-keel with a lead bulb. The keel has a ballast weight of 610 kilograms, which is in relation to the 1.770 kilograms of total displacement a ballast-ratio of 34 per cent – which is reasonable for a modern wide planning hull.
How a keel gets its strength
You need a crane to lift this metal beauty. The idea that something like a plastic shell, which the GRP-made boat essentially is in the end, puzzles me every time I think about it. The forces this keel will exert on the plastic, the stresses when it is moved by the power of the wind in the sails and the leverage the metal keel is applying on the keel mount must be awesome. So, how is it secured to the hull?

The fixed keel of the First 27 has a large flange of some 40 centimeters length. This flange goes right into a large slid underneath the boat´s hull which is the keel housing. This slid is the exact female negative of the flange. If done right, it should in here force-fit. We certainly do not want the keel to move in any direction, not even a fraction of a millimeter.

Inside the keel´s fin three high grade steel bolts with screw threads stick out. Those are the keel bolts. They go through precisely drilled holes into the boat´s saloon. As this process needs literally a still standing boat, it was forbidden to enter inside during the fitting – only briefly to attach the washers and the nuts. So I don´t have any interior pics of this.
Working the Crane
Anyway, let´s fit this thing! After the dress rehearsal of putting the boat on the keel was done and passed with flying clors, it was time to raise the hull again to prepare the keel. Now, the mechanical stability and connection of keel with the boat is primarily done my the bolts and nuts, of course, but there is also a chemical component: You need a lot of Sika to ensure force-fit and sealing off the keel from the boat. Also to prevent any water from entering the keel housing.

At first the guys worked with Acetone to remove dust, little grains of sand and of course residue of any chemical agents that might have spilled on the contact areas. This degreasing process took a while. Our guys worked according to the instruction papers provided by the yard, of course, but also had their long experience at hand. Now an “Activator” agent by Sika was applied to the contact areas of the shaft and after a given time, the Sika Primer agent.

As the timers beeped, the last and final ingredient got applied plentiful by the master craftsman: Sika 292i construction glue and sealant. The boatbuilders made some “snails” around the horizontal bolts which will secure the keel from transverse moments as well as on top of the shaft around the bolts. Also, a thick line all around the underside of the flange was made.
Sika in Action
Slowly the crane lowered the hull and the flange entered the housing. A rich smacking sound, almost frivolous concluded in a voluptuous climax of a lot of Sika being pressed outside all along the keel-hull-joint. Very satisfying and – without joking around – a rather intimate and kind of erotic occasion for sure.

Weh ave a saying in Germany about Sika: „The moment you just only start to think about Sika, your hands get sticky.” Well, we all know what it is about. Our guys had tape all along the contact joint and stripped the surplus Sika, taking it off with a little wooden stick. In the end, after removing the masking tape, a nice seamless joint of fresh Sika appeared.

Inside the boat, avoiding any shakes or vibration, the lightest of the guys carefully entered the saloon. Also taking away surplus Sika, the fitted the mighty washers and nuts. With the help of a torque wrench at exactly the strength indicated by the yard, he one by one fixed the nuts and tightened them. Three on the upside and two horizontal.
Then it was time to wait: The boat was left alone so that the keel could “settle” and the connections being fixed. Sika takes some time to harden and we gave it all a 24 hours time plus some extra-bonus hours to form a nice, strong bond. Great work, guys!

What an elaborate undertaking …
On the next day our own staff could take over after the boat had been brought to the water: Commissioning of the small Yanmar inboard Diesel (which is a big plus on the comfort-side), fitting of the mast, standing and running rigging, sails and such. Some hours of work later, a proper sailboat steamed toward her new berth for the first time. I thank our partners at the Lake of Constance who did this interesting job in a masterful way.

Trusting your boat that the keel had been fixed by dedicated, certified and elaborate men is a must for every skipper. The loss of a keel always ends in catastrophic losses of the boat and more than often in the lives of people. There is no margin here, there can only be absolute accuracy, mastery of craftsmanship and precision. I can now appreciate much more the work of those guys in the yards – and I will most certainly think of this when I sail this little First 27 next week for my first time.
You might also find interesting to read:
About keels and appendages, talking to Matteo Polli
Keel failure? Nearing zero risk: Kraken Yachts.