Last not least, let´s start this new year with some good news: The deck of my recently sold First 27 SE GEKKO is finished! After my excursion into the field “learning through pain” I can now say that finally the new cockpit of the boat looks and feels just how it should. Thanks to SeaDek and a marvelous product (believe, I do not receive any money from this company to write this!) the boat is now ready for handover to their new owners and a fresh new season.
Before this, of course, some work had to be done and this is the last of four articles about the re-furbishment of the cockpit with EVA-foam made by SeaDek. The previous EVA-decking, after initially looking awesome I must admit, turned out to be a total waste of money and labour. So here we are, the panels arrived before Christmas and I was happy to persuade our boatbuilder and dear friend Finn to come and lend me a helping hand.
Starting to fit the new SeaDek tiles

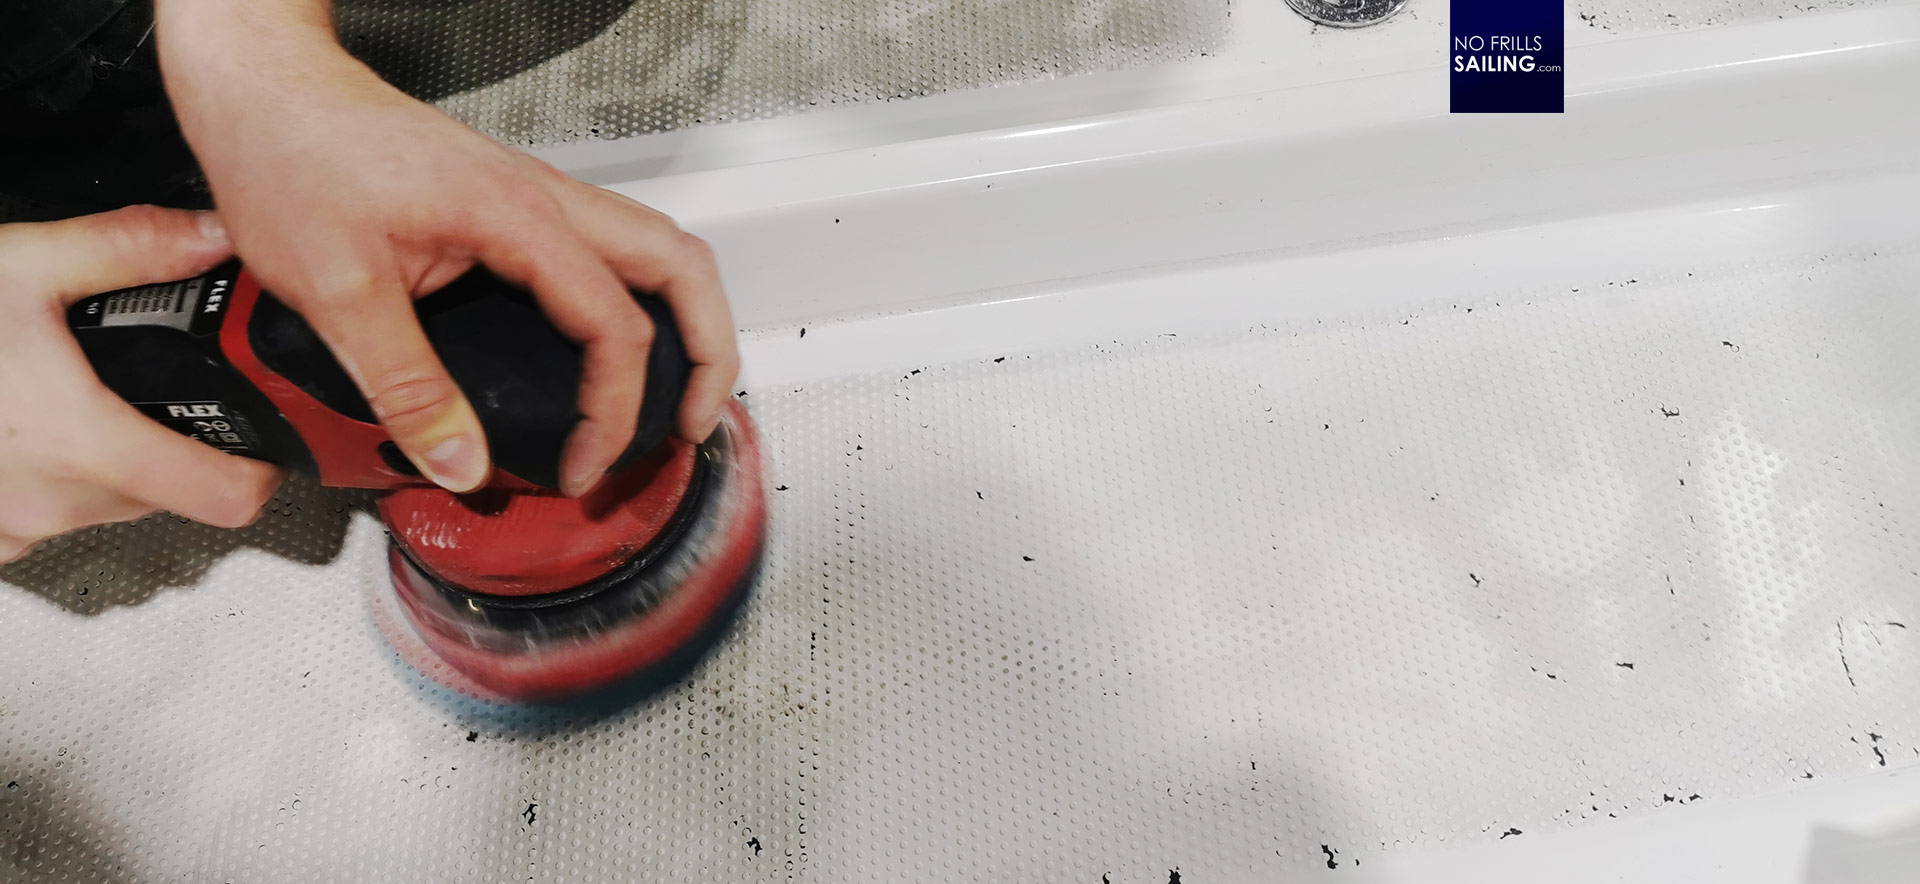
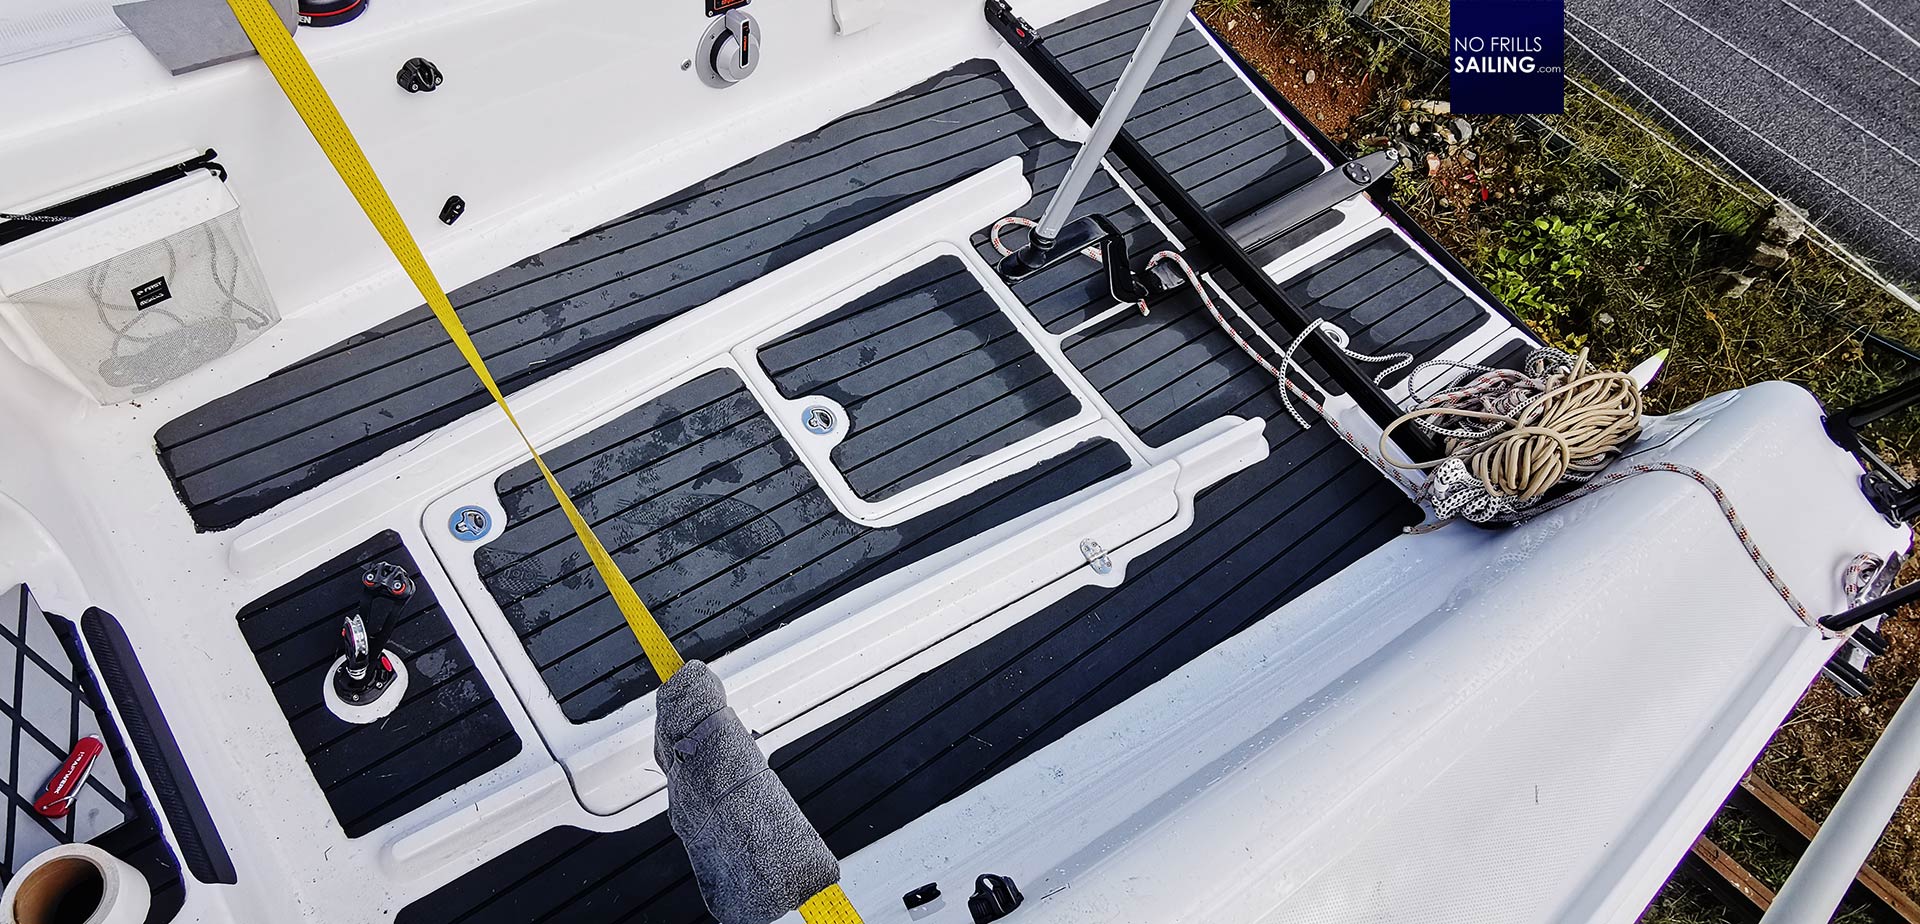
Before we could fit the new decking tiles, of course, we cleaned the deck. First by brushing off the bigger chunks with a hand-broom, then by vacuum-cleaning the deck and secondly by applying loads of Acetone. Fill also gave the GRP-surface that would not be covered by the new decking a thorough polishing scrub and so we started to work.
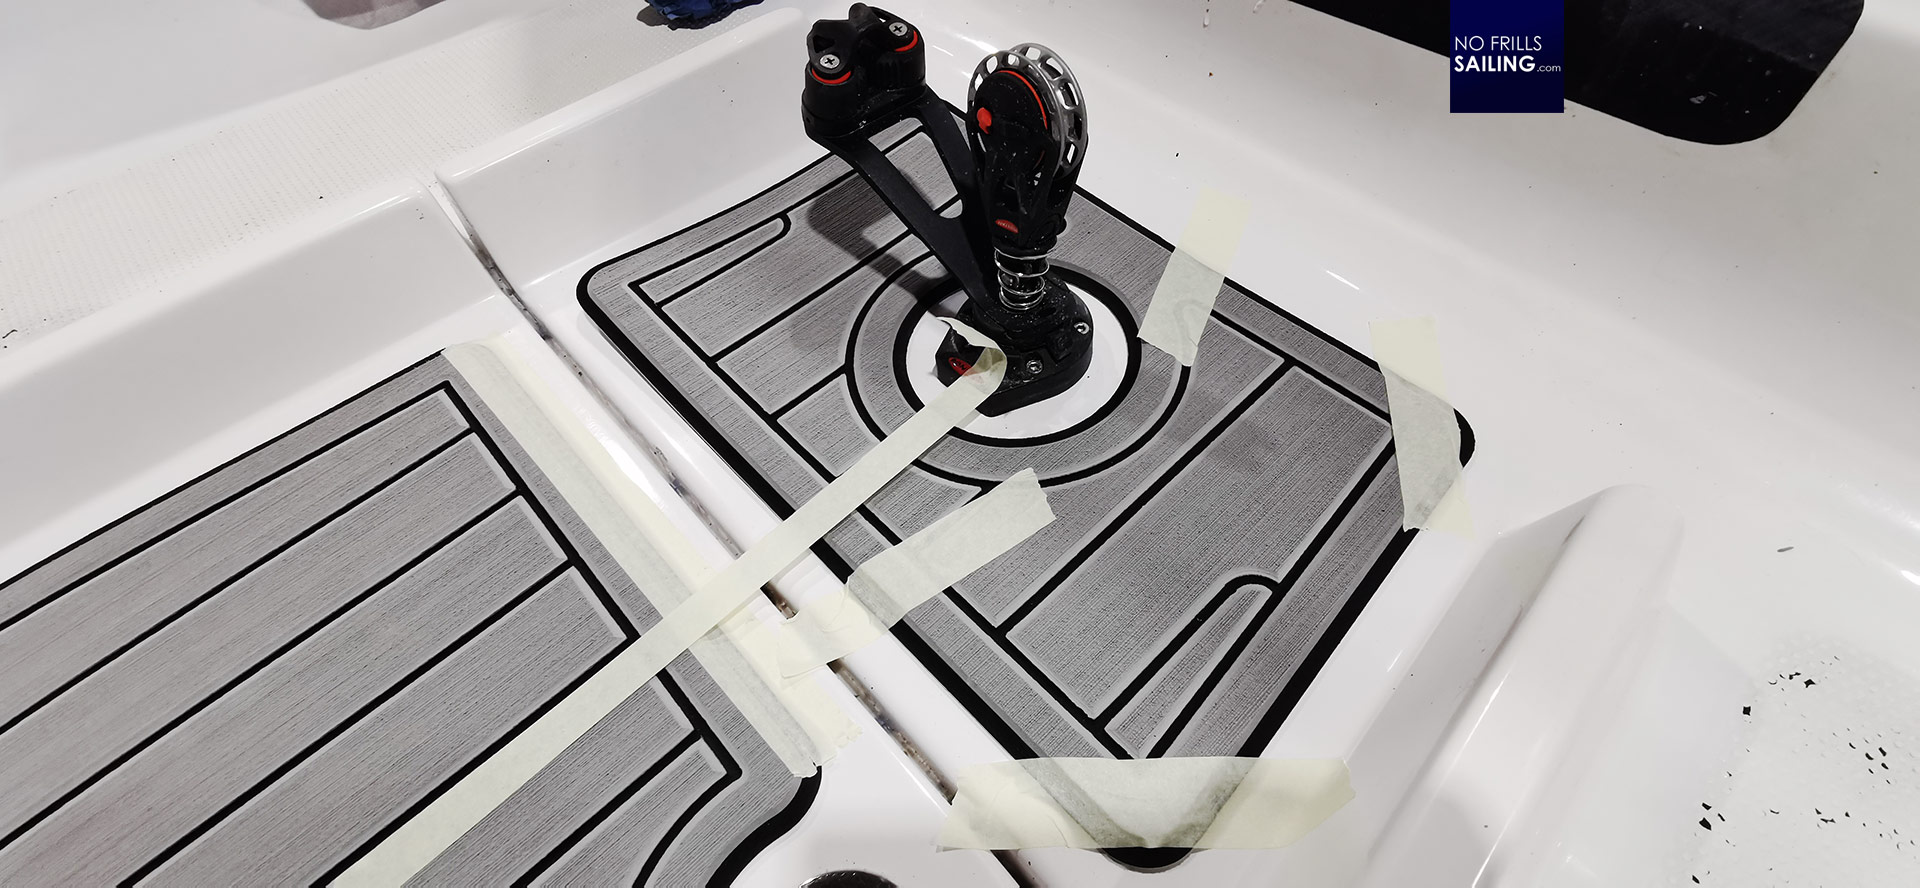
To achieve a nice and accurate fitting we decided to start in the middle. Along the longitudinal axis of the boat at which we could position the first tile most perfectly. This is helped by the fact that this first part is also the smallest, hence easiest to fit. Because the mainsheet cleat is here, it was very easy to find the axis and the center line, aligned through one caulking on the tile and the center of the circular cutout for the clamp.
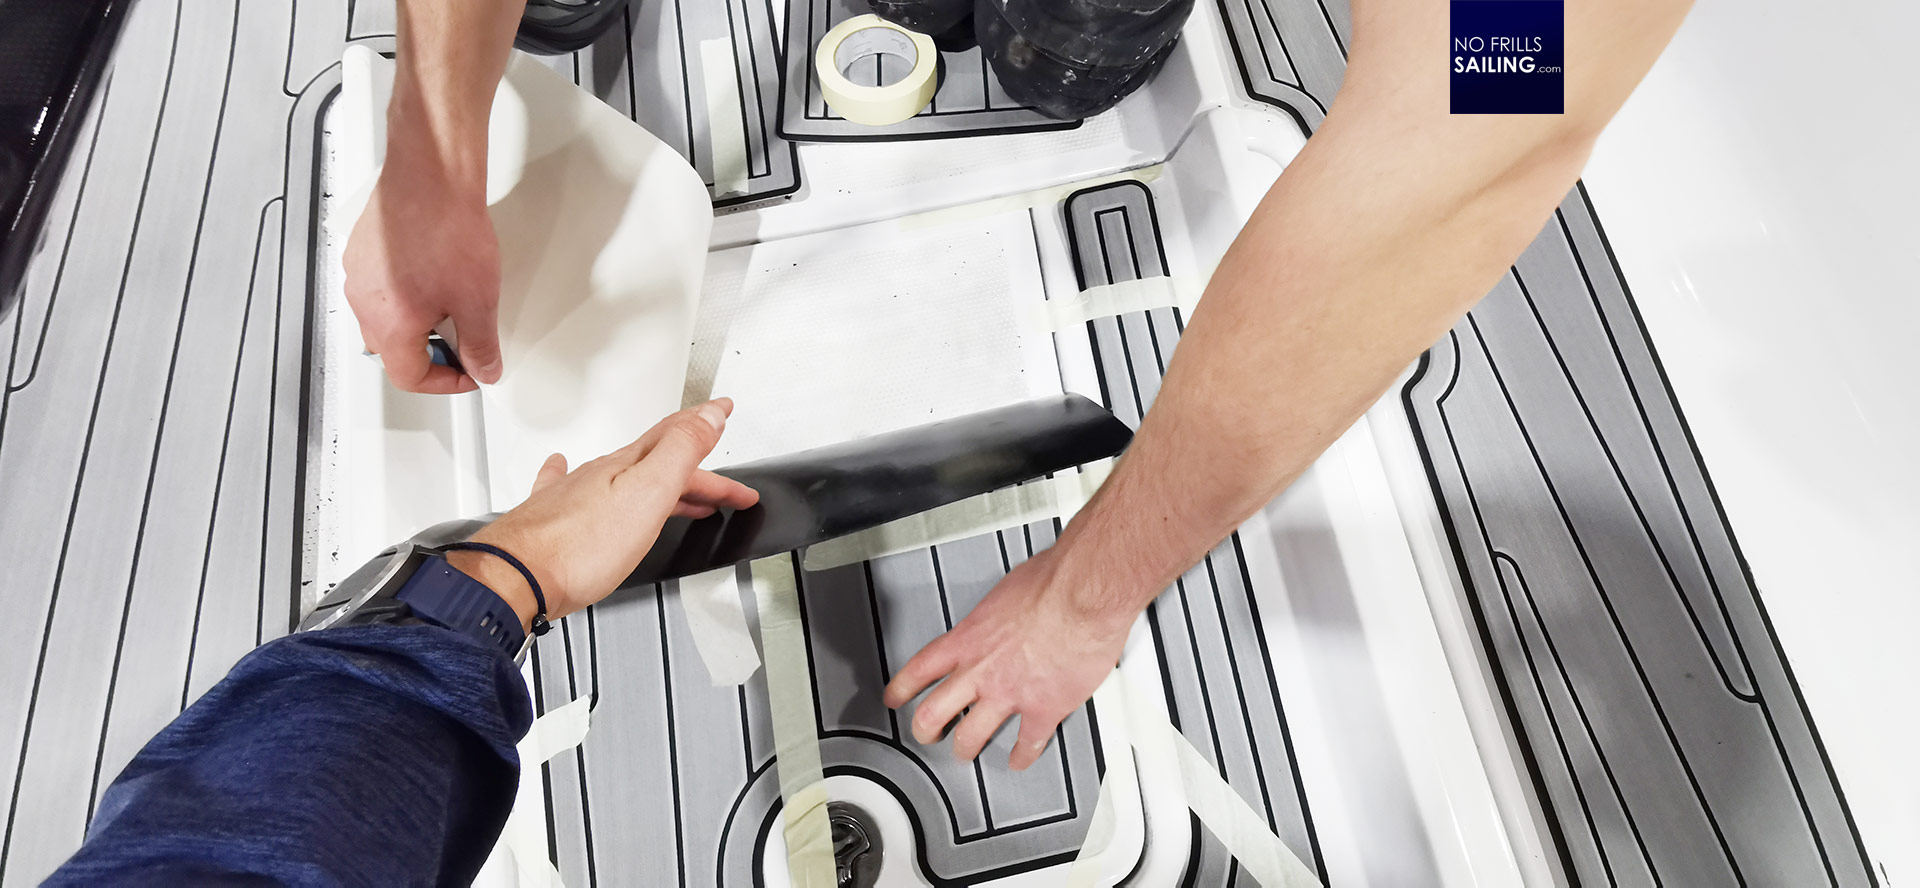
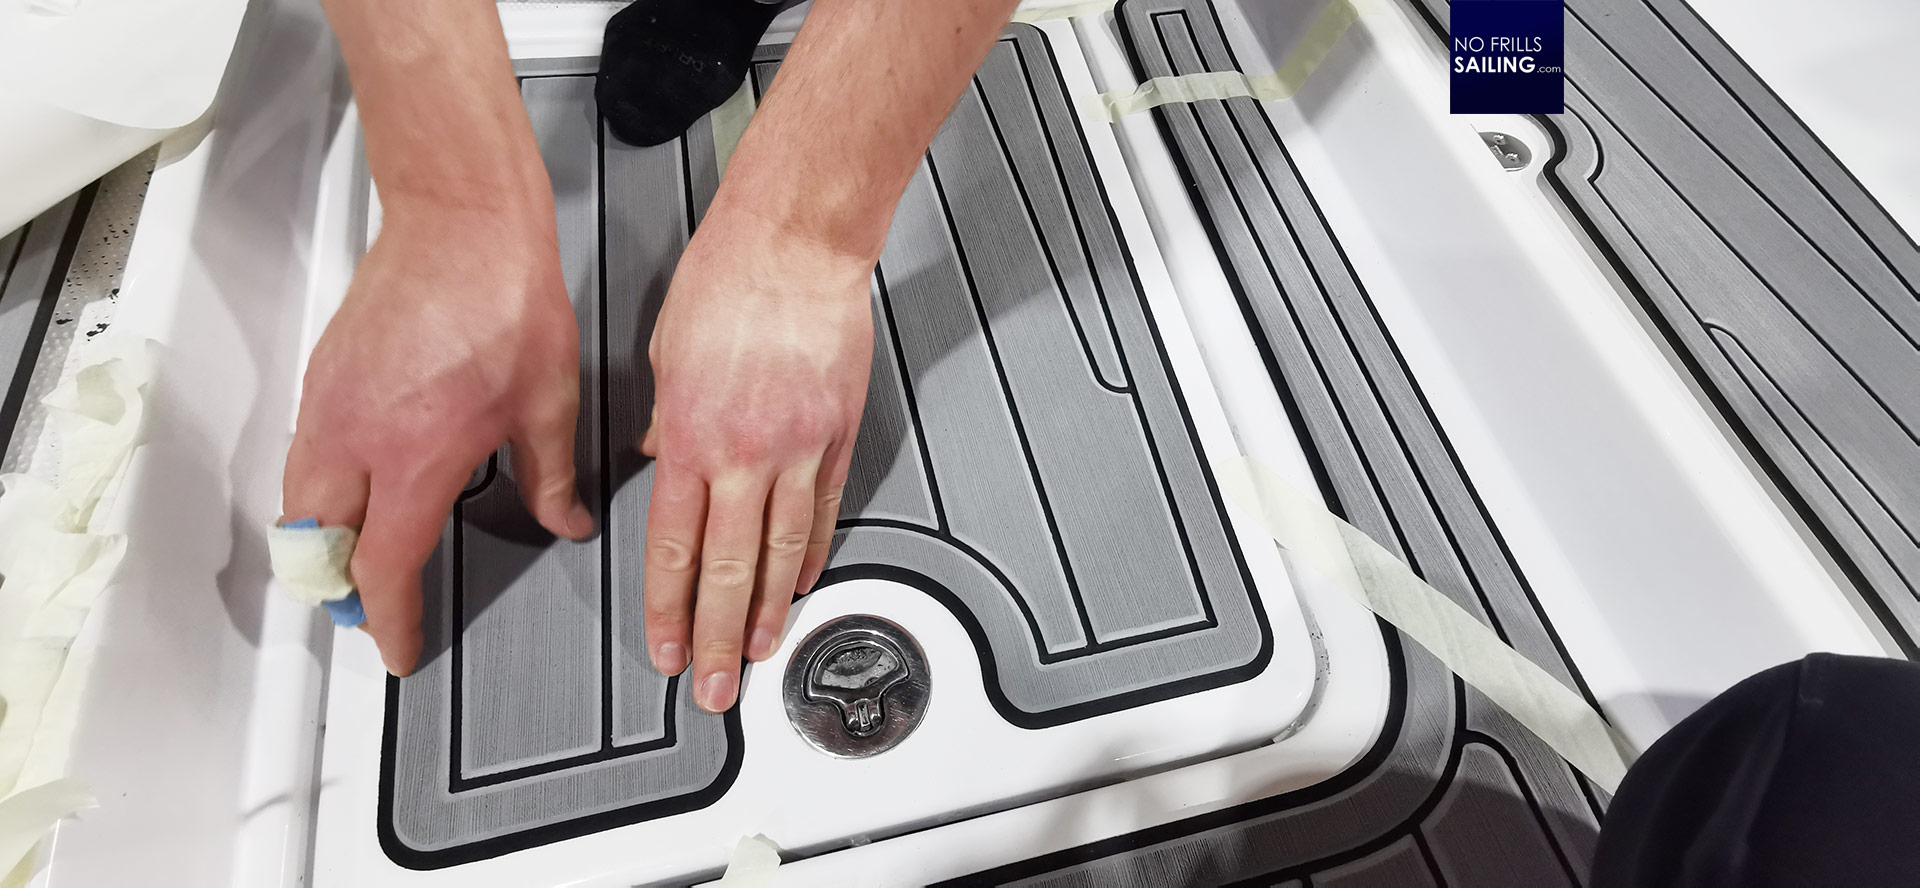
After fixing the first tile with masking tape, we also fixed the second and third tiles before we went on to fix it. This is done very easily with SeaDek: We folded up half of the tile whilst the second half remained fixed by masking tape. Whilst one of us peeled off the fil protecting the adhesive part, the other did a last swipe with Acetone of the surface. Gently bringing it down and pressing the part to the bare GRP.

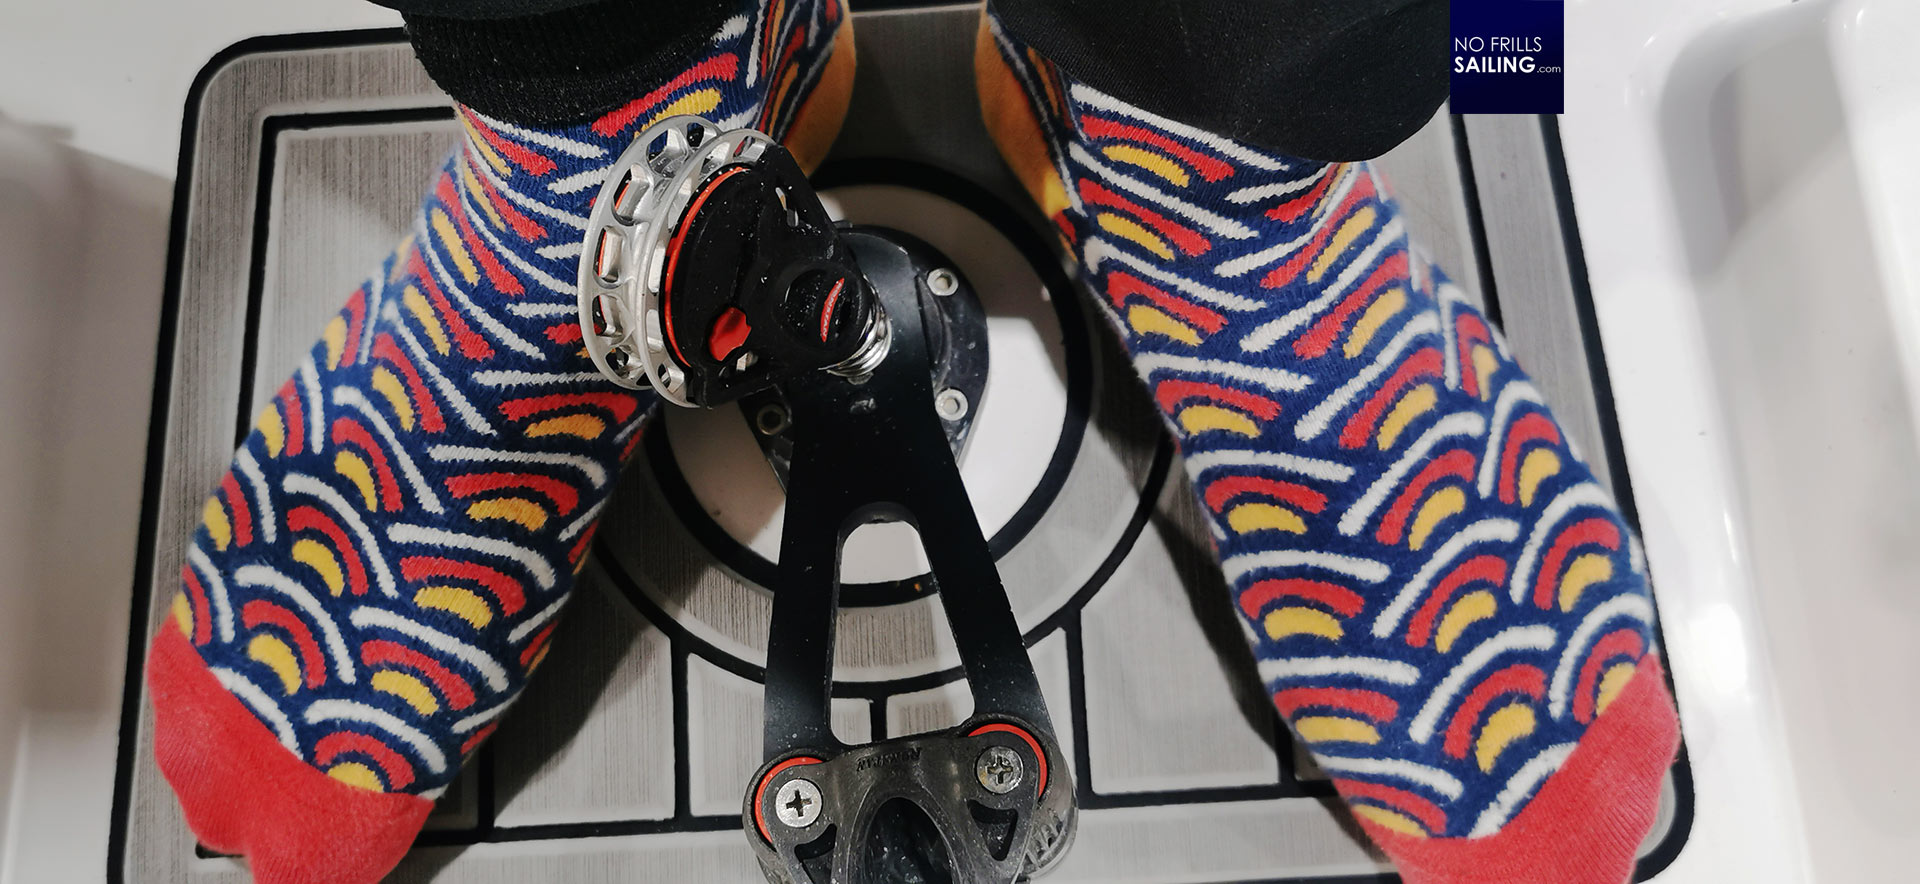
With SeaDek it is possible if necessary to take off the self-adhesive tile to apply a correction. The real bond between tile and GRP will occur roughly one hour after application. So we peeled off the second half of the tile and fixed this as well. With our feet (no shoes!) we walked about on the tile to press it down firmly.
Finn went into extra-labour as he concentrated to exert as much pressing power as he could to the edges as this is the neuralgic points here: If water is allowed to flow underneath the tiles, it will start to degrade, develop gases and even change the chemistry of the glue. In the long run this could damage the tile or make it come off. We don´t want this, of course.
About SeaDek product quality
Comparing the cheap China EVA-stuff I bought on amazon.com for the first DIY-trial the SeaDek product, albeit the same material, feels vastly different. The protective foil at the back is much thicker so that even if the tiles are bent none of the pre-glued adhesive surface is exposed to air. Also, when touching the glue, it feels much stronger. I would assume that SeaDek tiles will be sticking much better than the cheap stuff.
Also, in retrospect, the service by SeaDek company was absolutely exemplary: I received two long phone calls by an engineer who discussed my wishes regarding the design of the tiles. He also gave me calls and asked for details regarding two positions where he wasn´t sure how to program the machine that makes the tiles. I also received plastic correction panels to check if the design was fine or not: This gave me the chance to apply changes which otherwise if not applied had destroyed the outcome in the end.
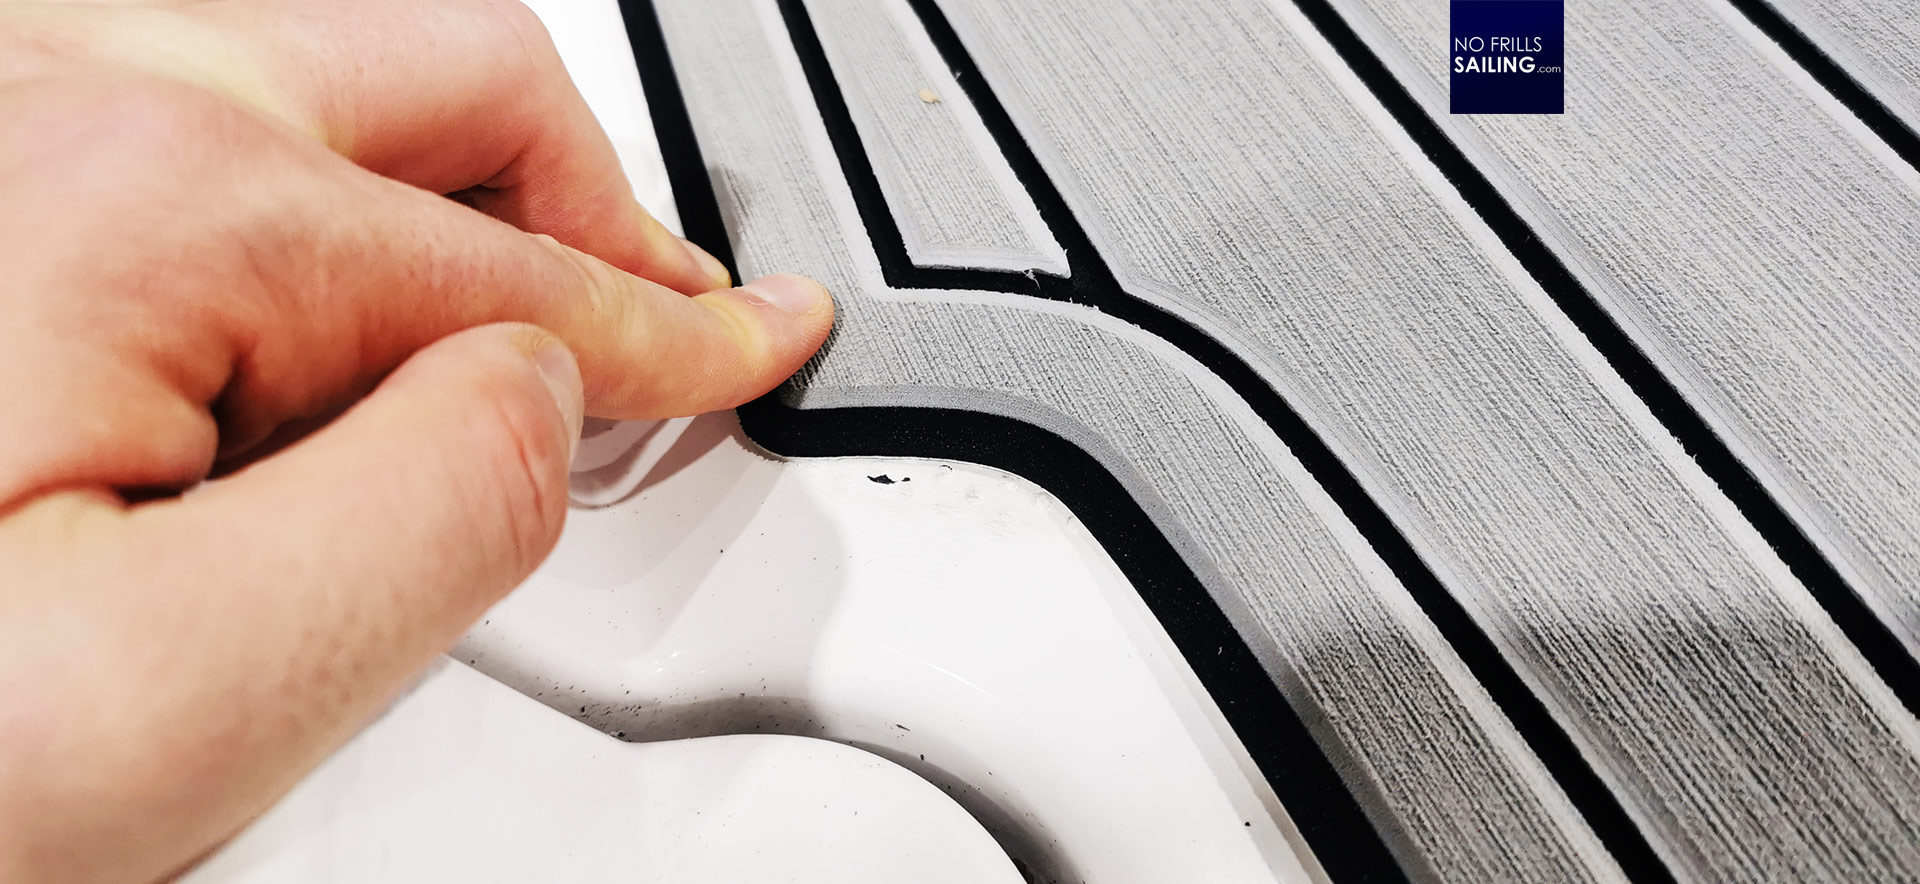
What I particularly liked is the design of the edges: These are skewed and slanted so that it is perfect to cover the non-skid-areas. I can say that with certainty because the first tiles attached had straight sharp, edges and those came off quickly. Finn also told me in the end that he had never expected such a fine quality and that he was surprised: Initially only knowing EVA-foam from small outboard fishing vessels he thought it was some cheap stuff. Well, something learned here I guess.
Checking
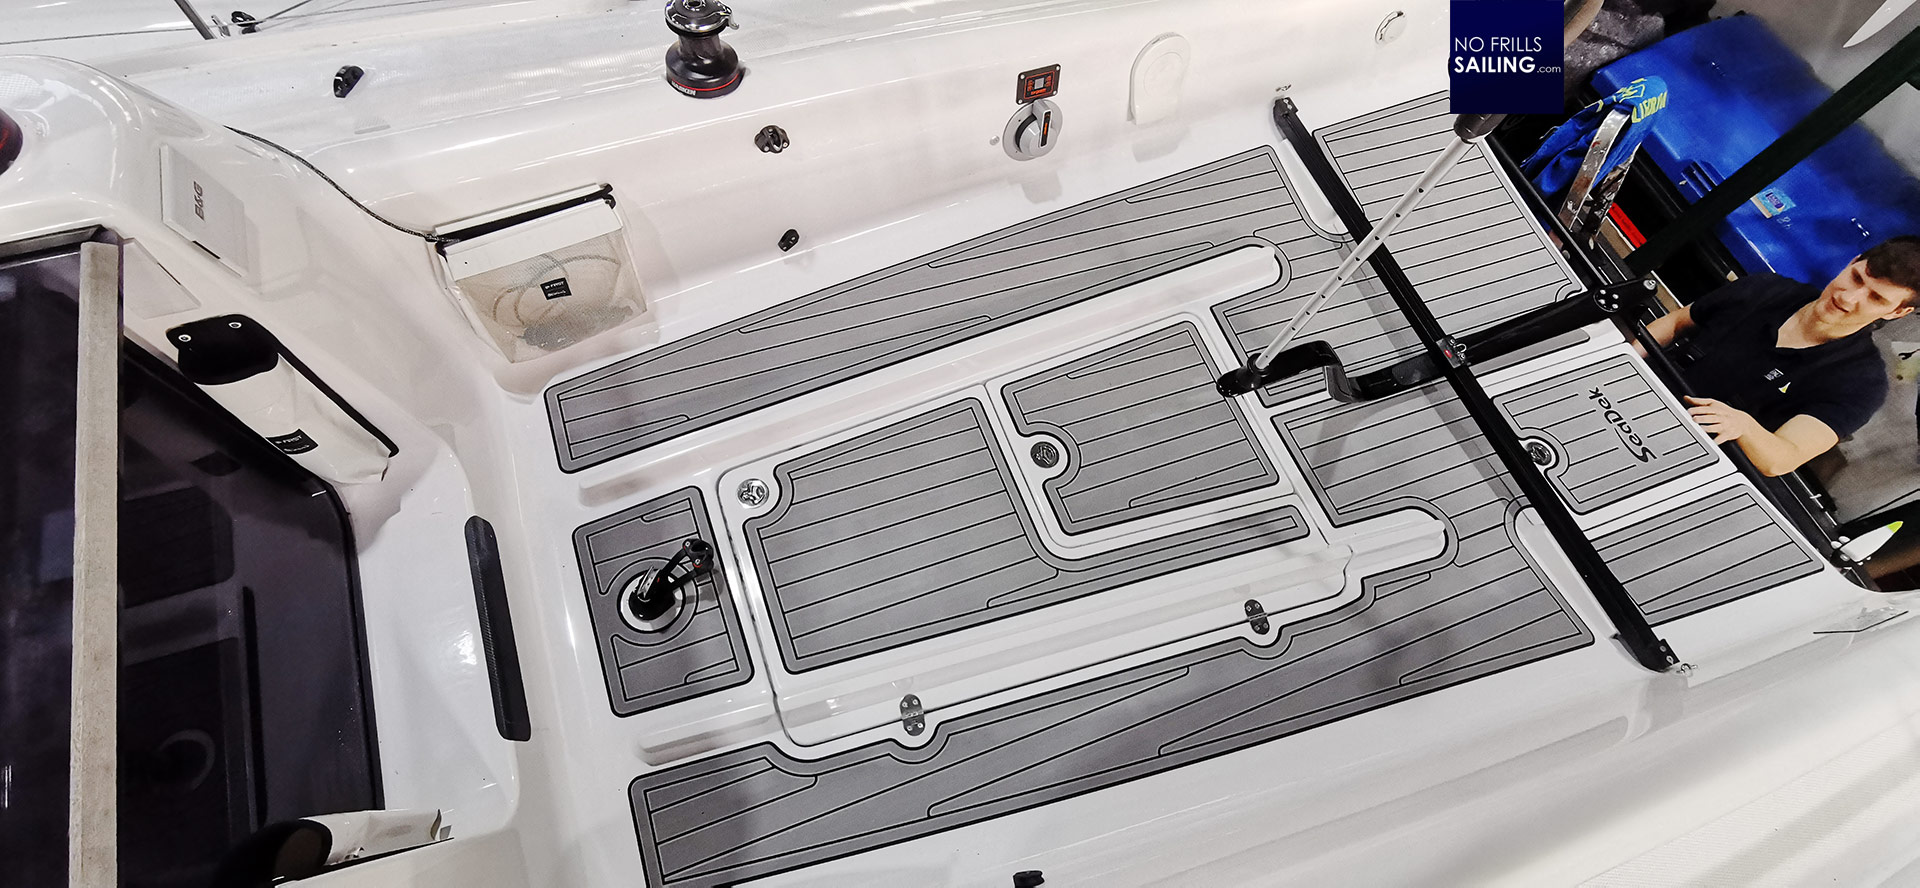
The hard part of course is to work precise. As my EVA-decking mocks the classic caulking of Teak battens, it is essential that the black-coloured caulkings are alingned overall so that the look of the whole cockpit resembles a coherent and perfectly positioned design. We are no computers and it is never really possible to do it 100 % but we invested a lot of effort and took our time to achieve the best possible outcome.
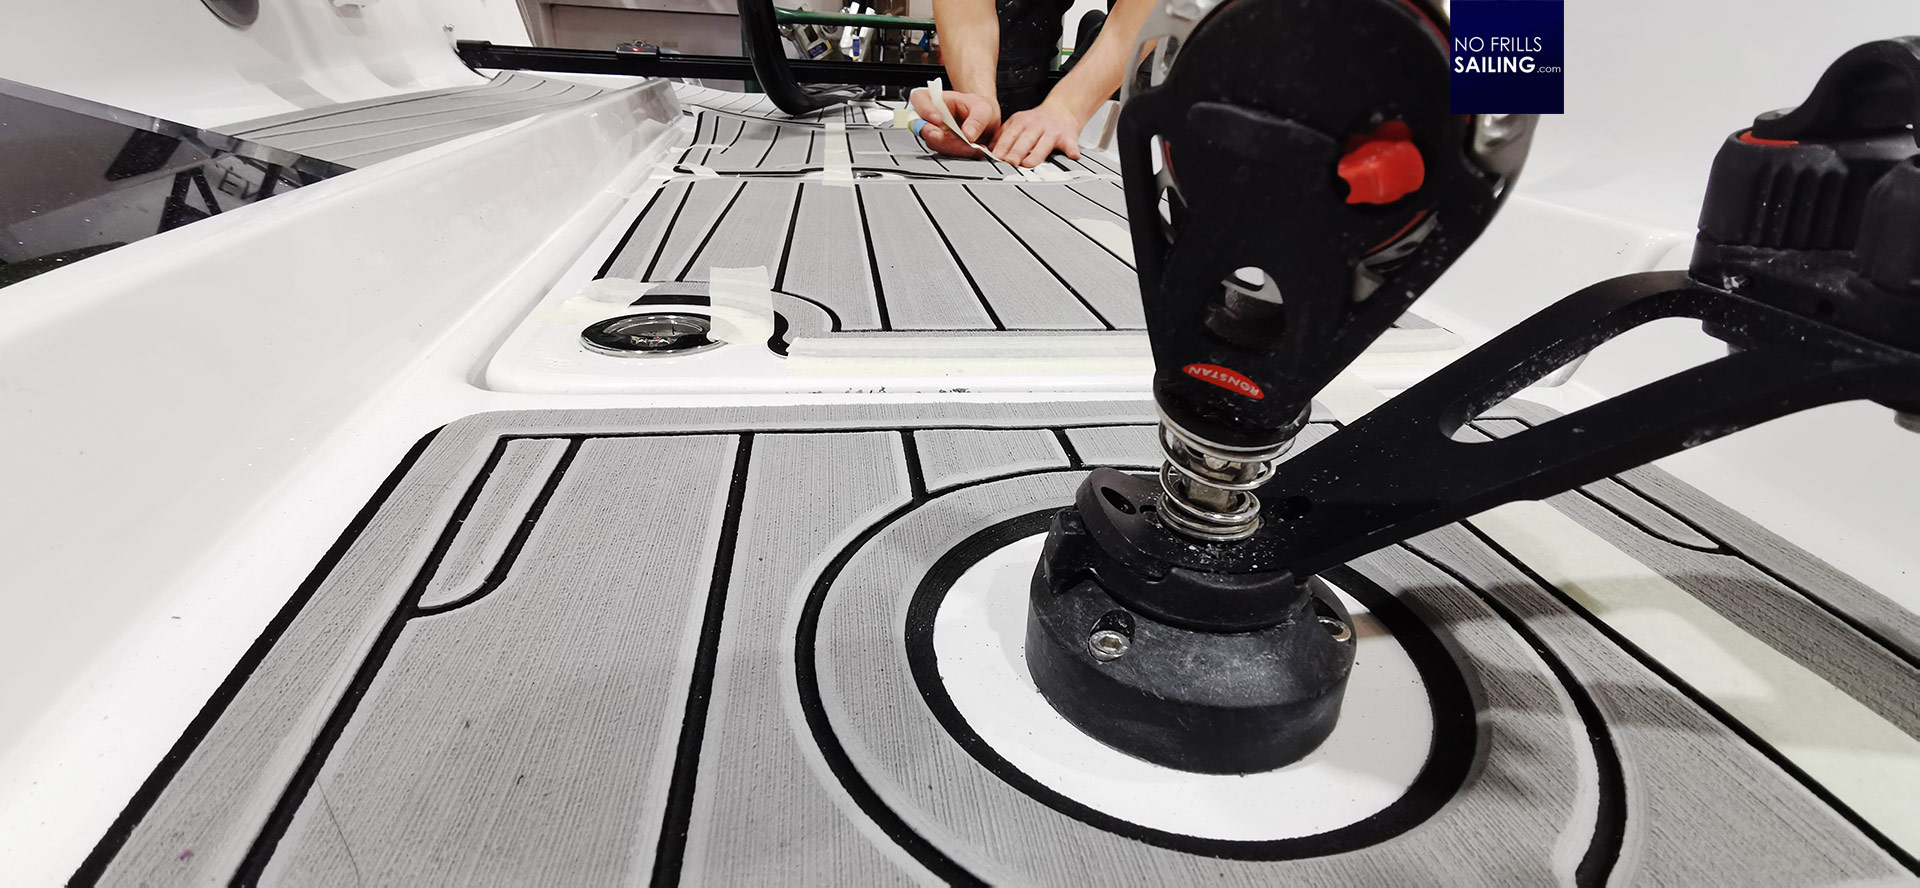
A lot of masking tape was used to align the tiles in relation to one another and we checked and re-checked the tiles tirelessly before we decided to stick one to the cockpit. In the end the whole cockpit would take two guys around 3 hours in total of meticulous working efforts. This is not a quick job for sure!
Corrections
But despite the CAD-drawings I received by Seascape and which was used to produce the design, despite two times real-life gauging panels it turned out that on three occasions the non-skid area of the boat somehow did not match the CAD-measurements. This could be either because there are two or more molds out of which decks are produced – hence slight differences in the non skid-areas or because of the fact that the very people who make the decks simply have variations in their work.

Whatever the course was, Finn had to work a way out. So he used sanding paper and gradually finer grain to sand down the non-skid diamond shapes and make for a clean smooth surface. By the way, other than you can read in some forums, SeaDek says that non-skid does not have to be removed, which spares a lot of work.
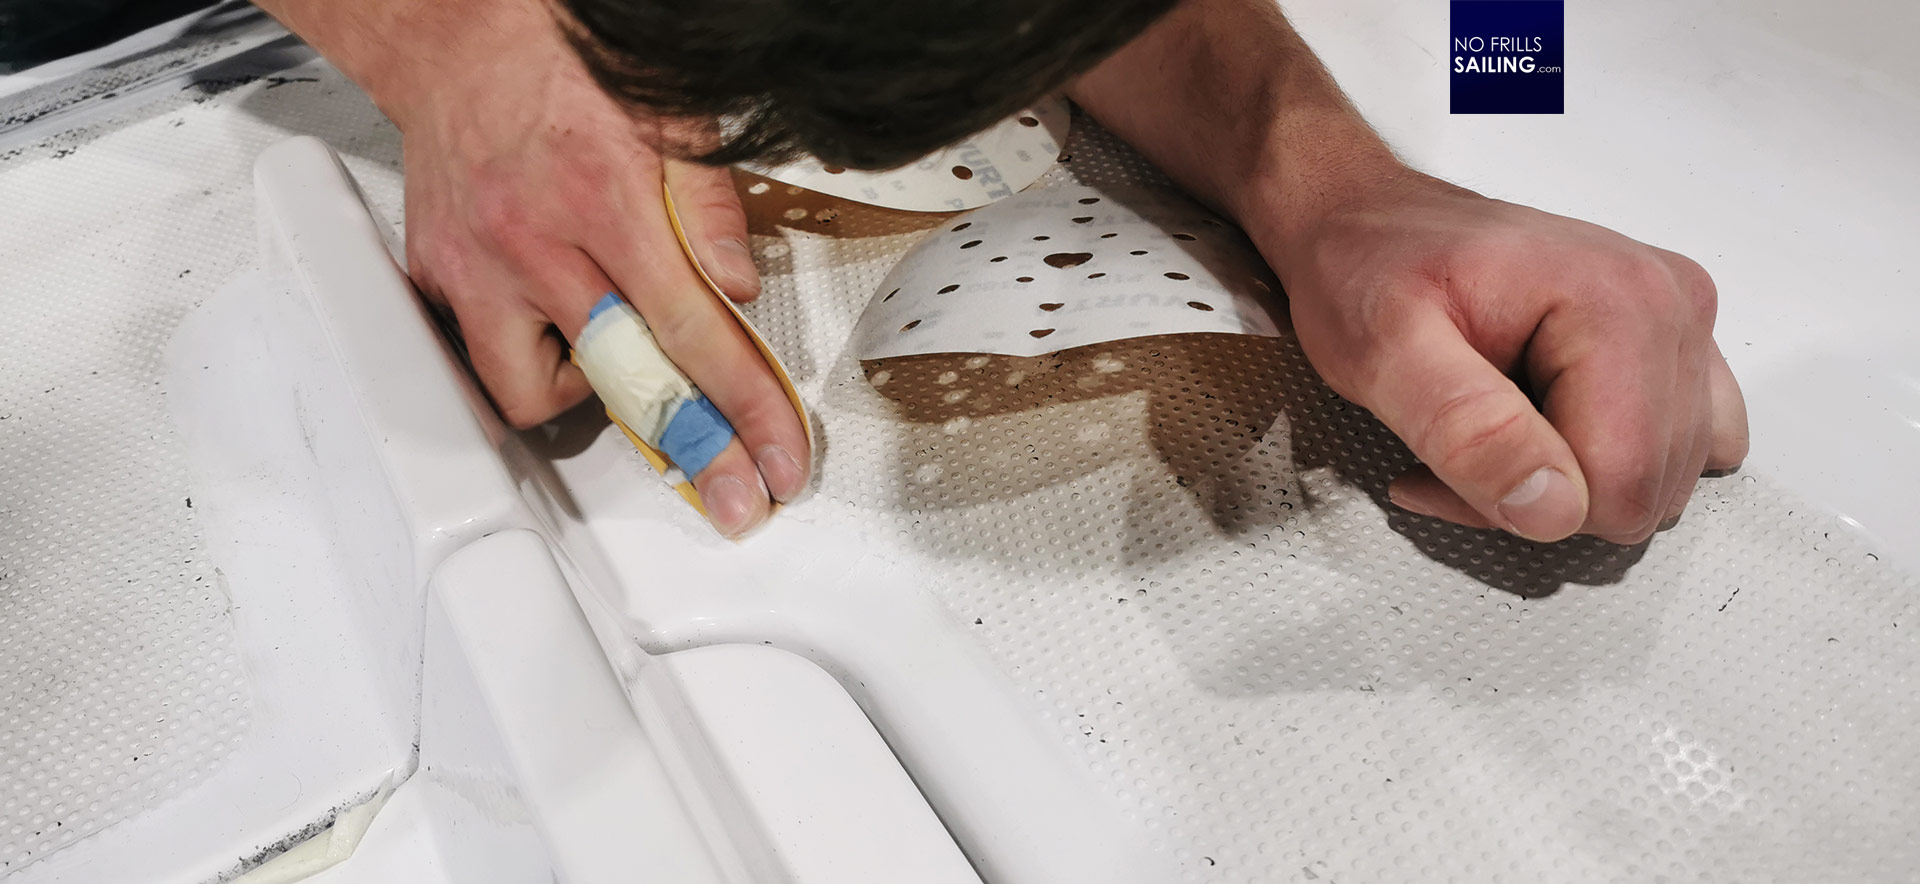
Especially the big and complex parts of the First 27 SE-cockpit turned out to need some sanding-corrections which took some time to apply. On the other hand: If you do it, do it right! Even if my boat is sold now I want her to be and remain one of the prettiest First 27 SEs in the water. And the devil is in the detail. In the end, we mastered those parts as well and had the complex tiles fitted to the cockpit without any problems.
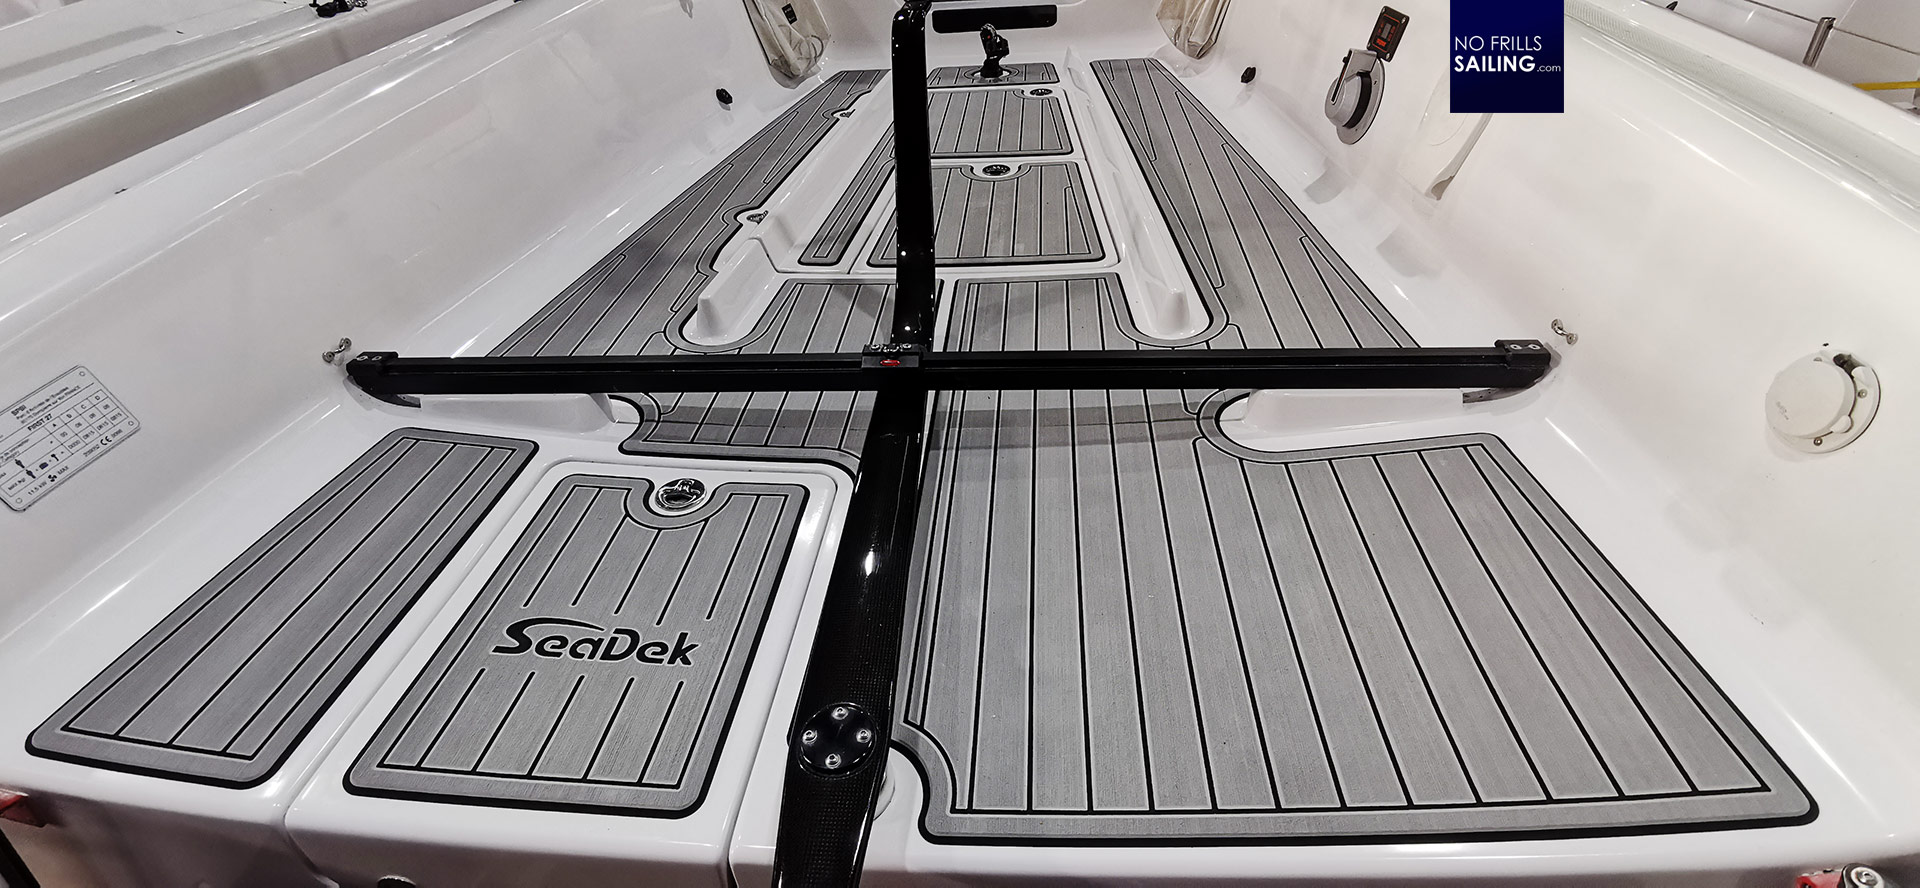
The finished work: Awesome!
You remember my first posts when I started this SeaDek project? I always had this last picture of GEKKO as she arrived back on her trailer after being taken out of the water. I posted this picture and wrote that the new decking shall at least be looking as nice as this deck (from afar) but should of course be much, much better.
Now look at the finished deck on the boat after fitting the SeaDek product shot from nearly the same perspective: Isn´t the outcome just gorgeous?
I would say so! Not only is the design of each tile much better (although the new owners preferred the gray deck with black caulking whereas I opted for the black deck and gray caulking). There is also the embrasure-design of the tiles that adds significantly. The lines are perfectly aligned and because a laser had been cutting those the edges are trimmed absolutely perfect: No match for hand-cut carpet knife works …

SeaDek: Is it worth the money?
You might ask what the price of this all was in the end. Just to start with, the raw material bought on amazon.com was 180 Euros for the complete cockpit. Taking into account that it took me half a day to cut out and roughly half a day to fix, labour cost would be some 500 to 600 Euros on top. So the cheap EVA-experiment was 700 to 900 Euros in total. Now to SeaDek.
I paid roughly 2.000 Euros for the decking material, including the gauging panels and the phone-service by the engineer. Taking into account that two guys worked for some 3 hours, it would be again adding of some 400 to 500 Euros labour cost. So in total, the SeaDek is worth 2.500 Euros for the First 27 SE cockpit. Was my “experiment” worth the money? Totally not! As cheap as amazon.com seems, in the end it´s a terrible waste of money. Is 2.500 Euro SeaDek expensive? Given the amazing outcome I´d say definitely no! It is worth the money.
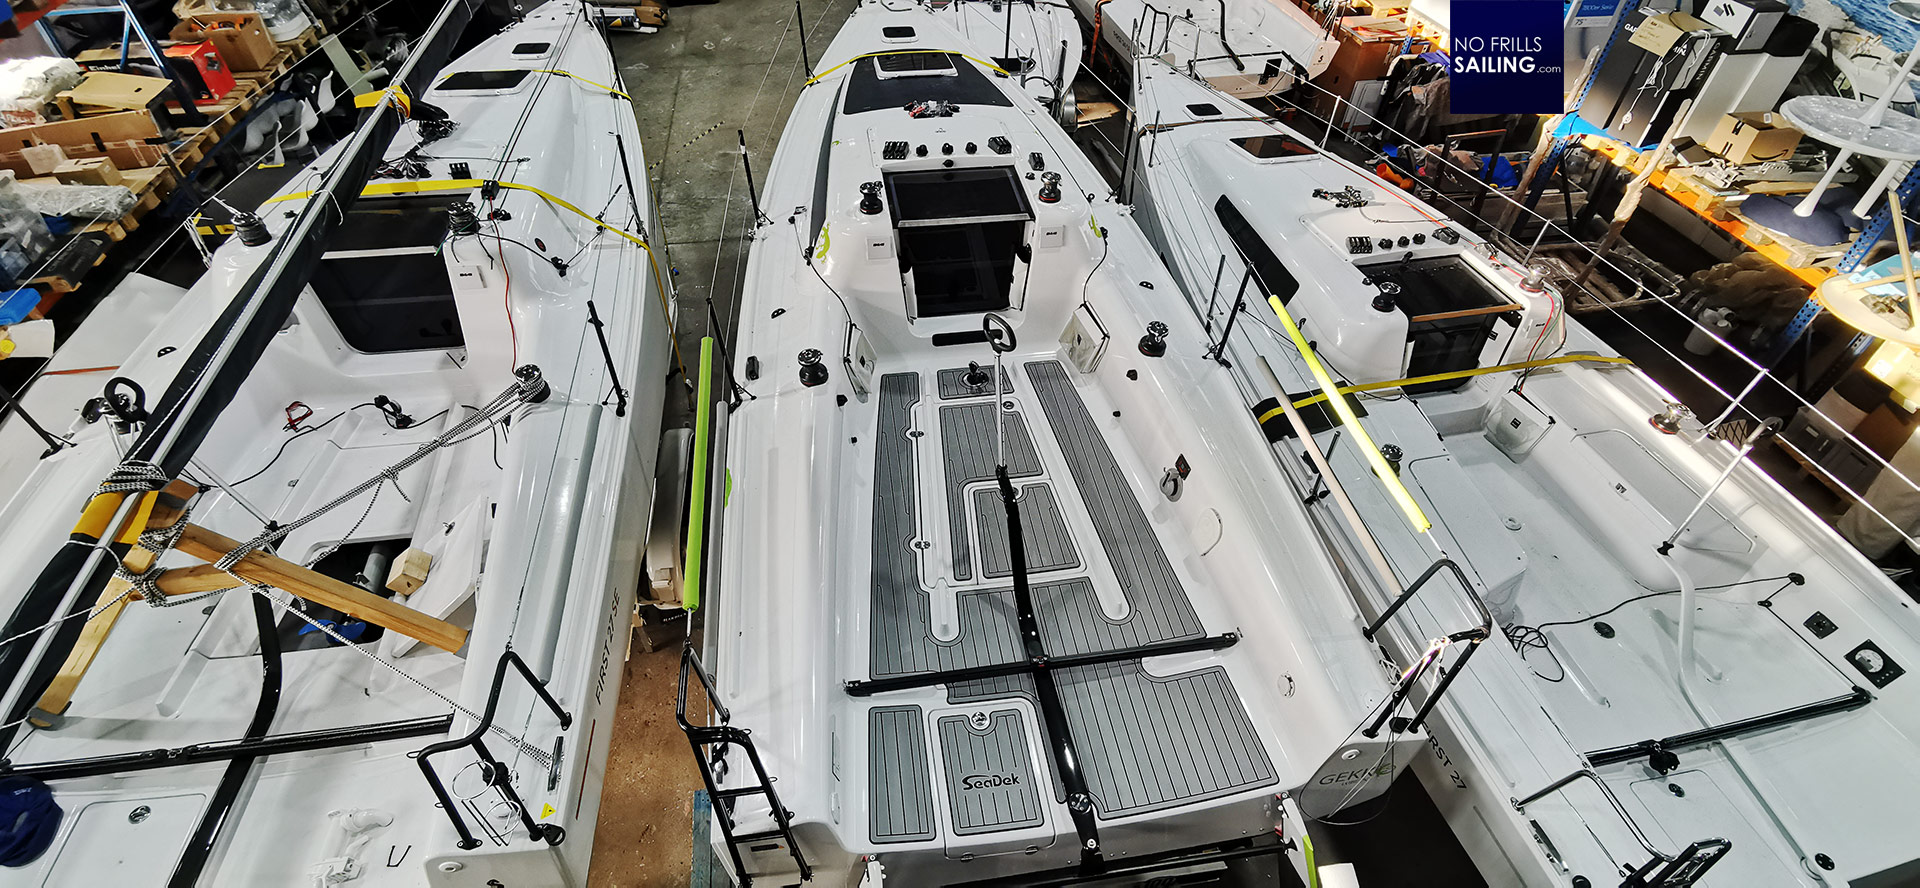
Liking the quality and the looks so much I immediately sent some pictures to the new owners, who applauded our work and expressed their joy over what the saw. If this is so cool, I thought, let´s take it a step further and now I offer this SeaDek in individual color-choices for all of our First-owners as either DIY-set or as a service done by our yard. In the end, I would say, it´s a win-win-win for all.
You might as well be interested in these articles:
Faux Teak: Properties, price and looks
Cheap China EVA-foam fail
Teak alternative: Cork on sailboats