Chapters in this post
Although we do have very, very cold times now with temperatures dropping below freezing 13 degrees Celsius below zero, I decided to check on my King´s Cruiser 33 during the last days. That´s the second winter of the boat spent on dry land and after some impressive precipitation with a snow cover mounting to 50 centimetres, I wanted to make sure that everything was fine. It was indeed and when I saw the fore cabin I decided to get gone and working.
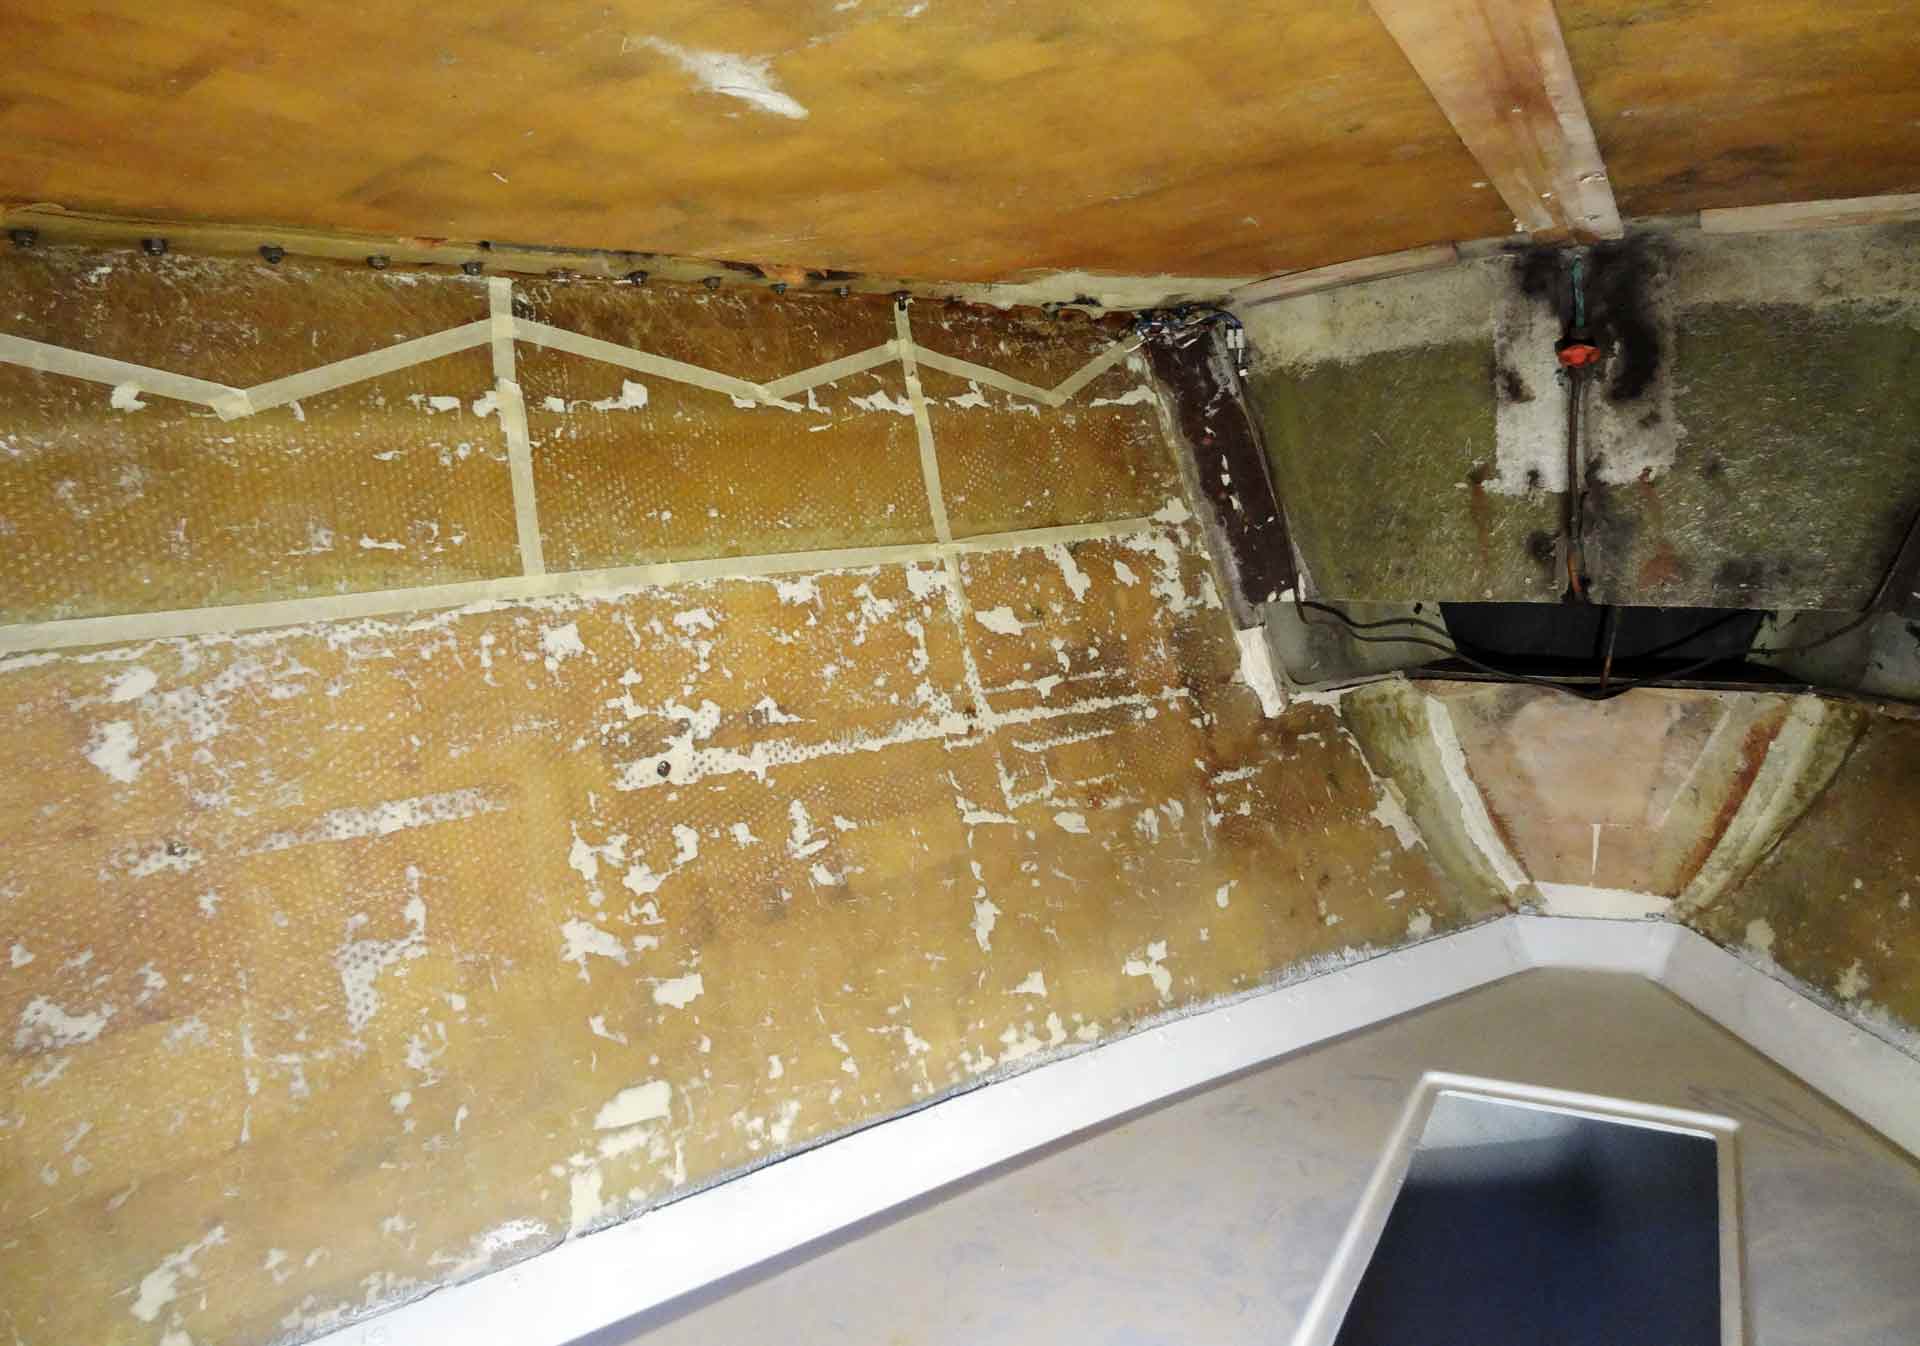
I am doing so since weeks after starting work on the fore cabin well in summer. First step after getting rid of the old stuff and covering of the cabin was to attach the Oak battens as substruction and then to paint the bare GRP in yacht white. Now I was able to fit the massive Teak battens as a nice ceiling as well as the new chain locker cover (made of Teak veneered plywood) and the roofing panels. Now it was time for the shelves.
Getting the new shelves mounted

After making some design sketches of how the new front cabin of my boat should be looking like (read the full article here) I decided not go for the solution of making a kind of hanging shelves made from fabric (read it here) but to do some joinery and make solid shelves. These had been manufactured from plywood and Mahogany veneered plywood. But how to get them mounted to the boat´s hull?

The question was how to achieve a solid fitting because it is supposed that the shelves will be loaded with some stuff when underway. I pre-fabricated Teak made angle brackets which looked very pretty – but Teak, especially glued wood, is a very fragile material and I doubt that these brackets alone could hold the whole weight of the shelf on the one hand and the surplus-weight of the stuff stowed there on the other hand. So I went for stainless-steel brackets at first.

The next task was to handle the Teak brackets in a way that the metal angles would be fully covered when mounted. That was a bit tricky since I did have to carve out the Teak material from the angle brackets where the meta brackets would be sitting – without damaging the Teak or taking off too much material. You see, I had to work with the fast and loud crying grinder here …

First shelf in the fore cabin mounted
In the end I´ve made it, but for the price of destroying two Teak brackets. By mounting the very shelf onto the now double-angled subtraction I had to secure the shelf with two small screws going down through shelf, metal and Teak angle. Just one half degree diversion in the angles would make the Teak crack and thus destroy the bracket. That was a bit of a disappointing learning process here and I must admit I was a bit worn out after mounting just the first of them two shelves.

Anyway, I now know how to do it and I am better prepared for fitting the second shelf soon. What I am thinking about right now very intensively is the end design of the fore cabin: There will be white lacquered plywood panels to be mounted to the upper parts of the fore cabin to cover the last bare GRP of the hull. Should I now paint the shelves in white too or just apply glossy paint like I am going to do with all the other wooden parts? Lots to think about here …
Read the whole story of the fore cabin refit here:
Fore Cabin Refit, Part 1: Sketching some ideas
Fore Cabin Refit, Part 3: Pre-Work done
Fore Cabin Refit, Part 5: Fitting Teak battens