As the new season slowly but surely begins, I will now likewise begin slowly but very surely in re-assembling my boat again. After more than one year of refit works most of the parts I wanted to renew or to completely rebuild have been finished or pre-fabricated ready to be mounted, like most of the Teak panels or the new ceiling. Since I am now working on the new roofing panels (LINK) of the saloon, my first encounter with electric works on the 12V circuits is approaching. Here´s how I am preparing for re-wiring of the saloon´s LED-lights.
LED-Lights for my boat: The plan

LED technology will save considerably on energy and thus keep your batteries alive much longer. The small diodes are practically maintenance-free and have a sufficiently longer lifespan than ordinary bulbs. Of course, the light that is emitted by LEDs cannot in most cases be compared to the warmth of a bulb, but anyway, even a bulb cannot emulate the warmth of candles or petroleum lamps – so I guess that´s the way of life. This is how I plan to have LED-lighting distributed throughout my King´s Cruiser 33:

At first, we are talking of re-wiring the saloon. There are two LED-lights on either side of the U- and L-settees in the saloon, dispensing light whilst having dinner or for reading a book. Another two lights are mounted directly above the large folding table and between skylight and entryways. In order to have the full lighting on one must press three switches, but I think this won´t be the case too often. Allright, come on, let´s go and do some shopping to get all we need to have the lights wired.
Shopping time: Acquiring litz wires, Coax and other cables for 12V the wiring works
To be honest: I really don´t like working with electric stuff. It´s just not my world. I´m more into timber and stuff, but I really don´t feel comfortable with Volts and Ampere. Anyway, as professional help is expensive, I am willing to do as much of the tasks by my own before calling in a real yacht electrician. So, the for the first step it was acquiring the right types of wires.

Naturally, you should definitely go for tinned litz-wires as they are more durable and more insensitive to corrosion. On the other hand, that´s not a must. No joke: I wasn´t even able to buy tinned wires here in Hamburg so I went for ordinary cables. For wiring of the LED-lights: Bifilar litz-wires (preferably red and black coded) with a 1 sqmm section. I´ve bought some 60 meters as I´ve found it quite difficult to determine the right length. Wiring the mast lights will be done from the switch panel to the mast-shoe with a four core ordinary data-wire with a 0.75 sqmm section. Finally a Coax RG58 for wiring of the antenna. That´s it, shopping done.

Next steps of the yacht refit project
Beginning next week it´s panel-time: Since the old panels cannot be re-used for there is too much damage by water done to most of them, I will fabricate new ones. The substruction has already been attached to the hull, the 4 mm plywood-plates have been delivered. I hope to be able to finish the panels within the coming 2 or three weeks. The wires I´ve been buying will be arranged behind the panels in a way that a pro-technician will just have to make the connections.
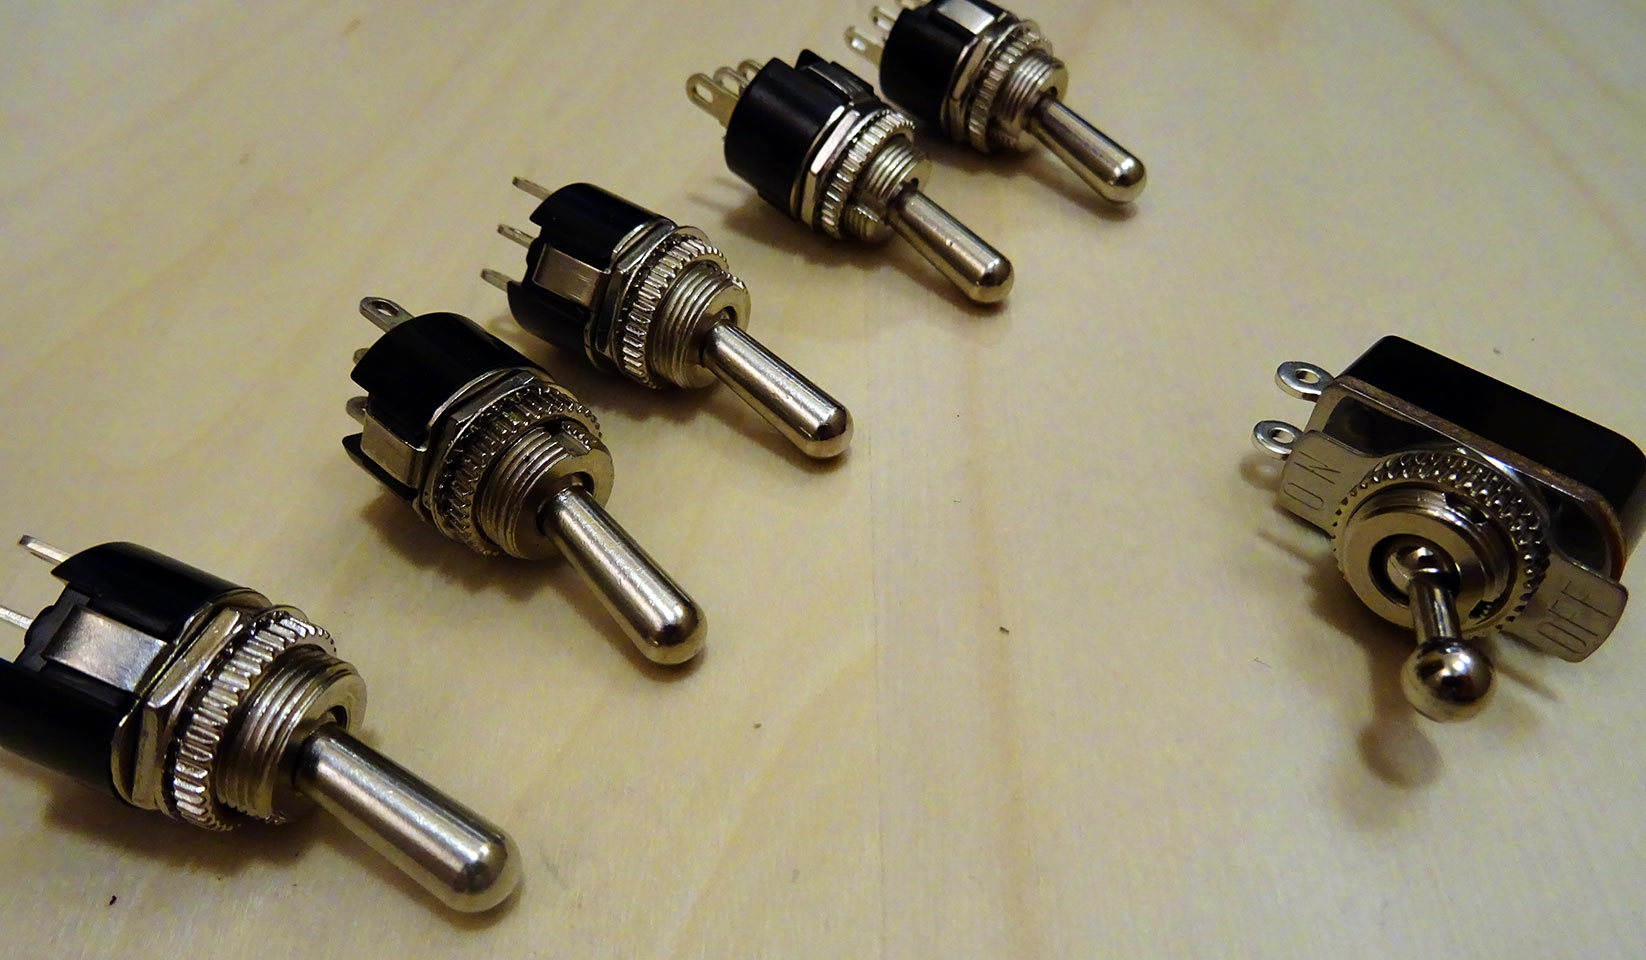
And of course there´s another nice job for the wood-lover in me: Making Teak-plinths for the LED-light switches in a way that they match the light-mounts made of Teak as well. I´m especially looking forward to that job. There´s a cold spell right now here in Northern Germany with temps dropping to -9 degrees Celsius which makes working in the boat very uncomfortable, but I´ll try anyway.
Other interesting Articles on that Topic:
The initial plans for the re-wiring project of my sailing yacht
How many electric appliances does a yacht need?
My new DSC/AIS capable VHF radio