Apart from all this exciting sailing action (read here) there´s still a refit project waiting to be finished at home: My Kingscruiser 33 has now some 330 net working hours worth of efforts and I am shortly before completing one of the major parts of the whole project: The roofing. As you may have read in the previous articles (Substruction, Part 1 and Part 2) the panels are now awaiting assembly to the ceiling of the boat. But, like it is with every step during a refit, I´ve found some new work to do among the items already known to me.
A new framing for the skylight hatch

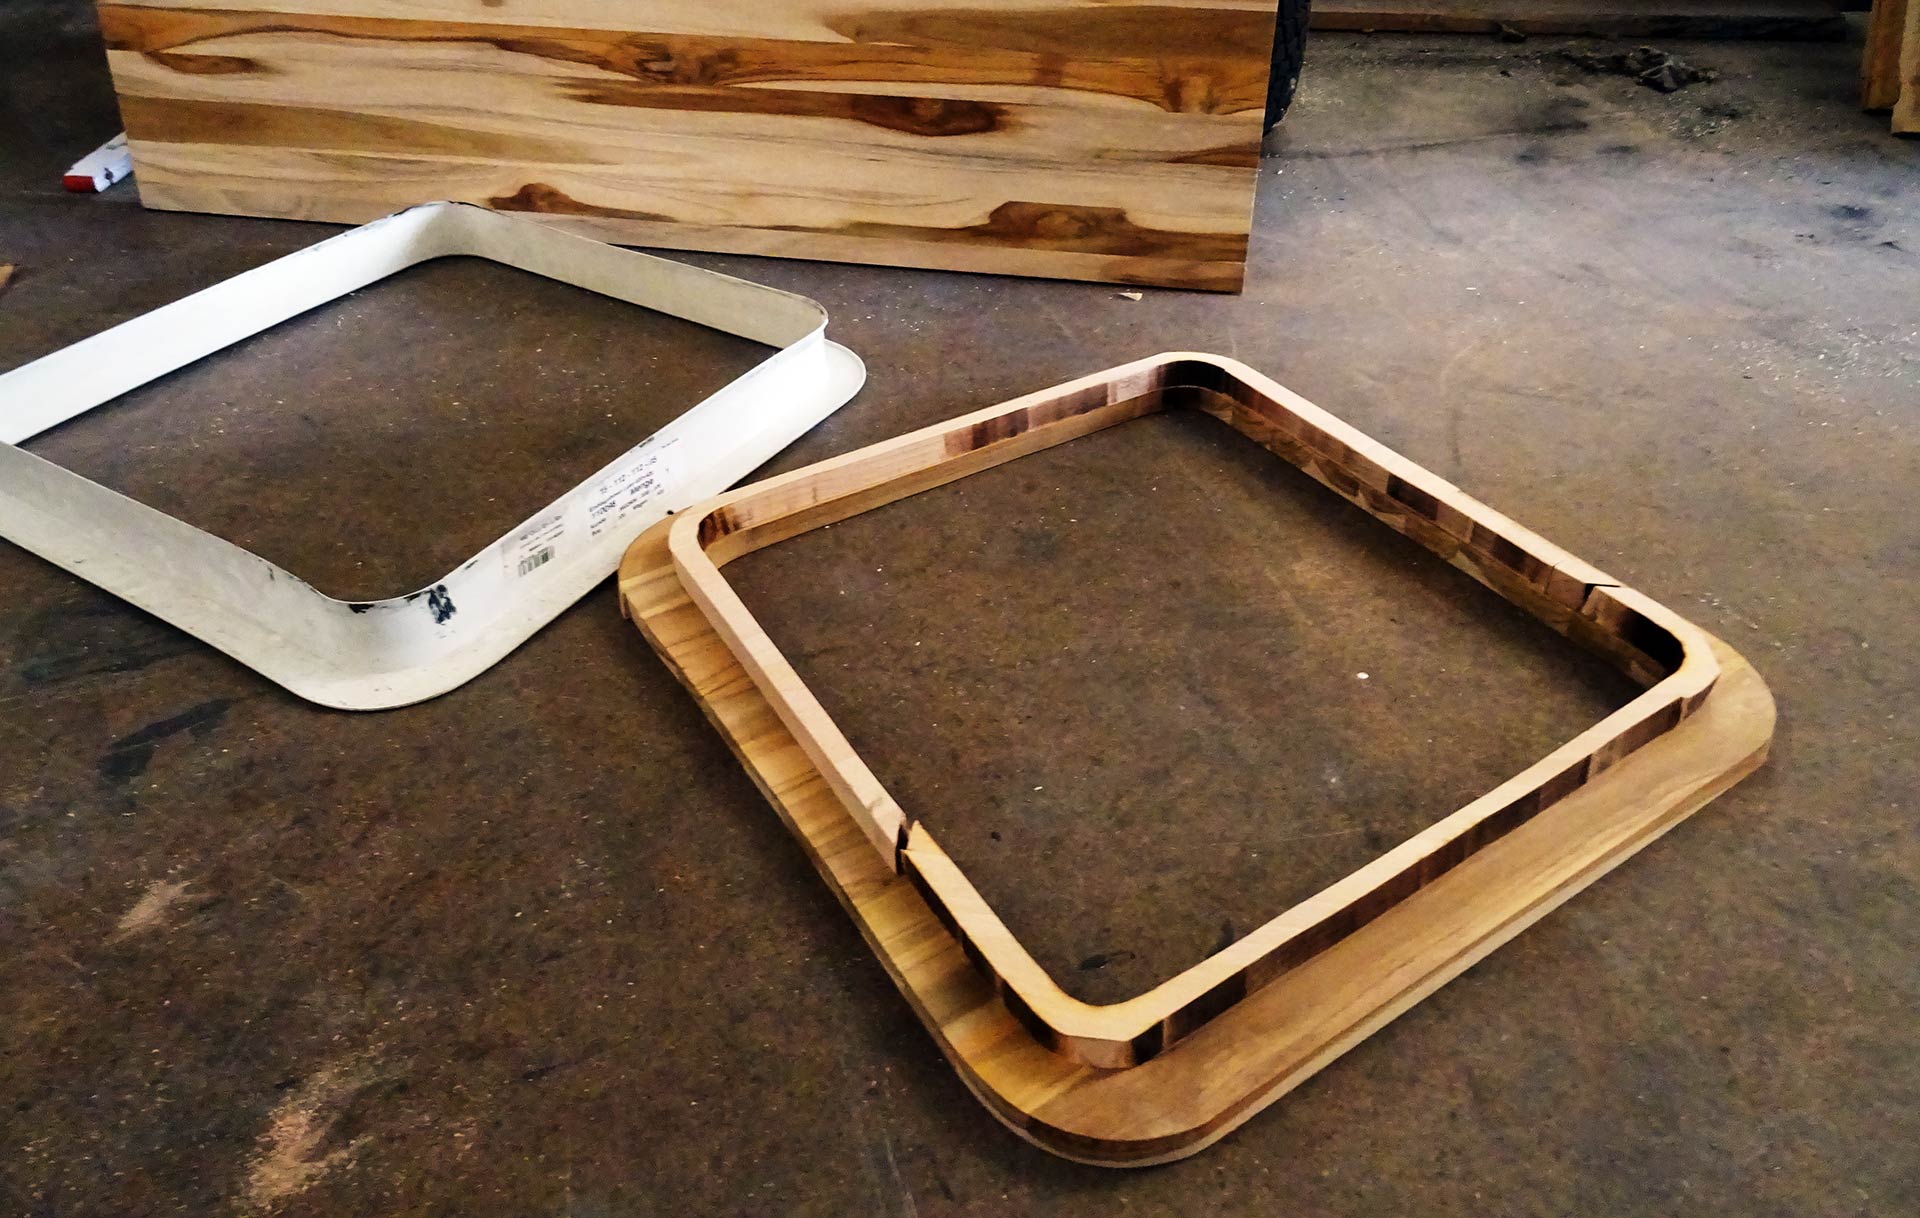
When I was fitting the roofing panels and looking for the panels to smoothly surround the skylight hatch a new idea struck me: I am now refitting everything with shiny new materials – but this means I simply cannot keep the old, dirty and worn out hatch plastic framing. I simply cannot! So the idea was born to make a new hatch framing.

Considering my very good experiences during the building of the all new perfect chart table (read it here and here) I bought another large massive Teak board and transferred the measurements of the old framing onto the precious wooden material. Sawn and sanded I can promise you this thing looks like a killer!

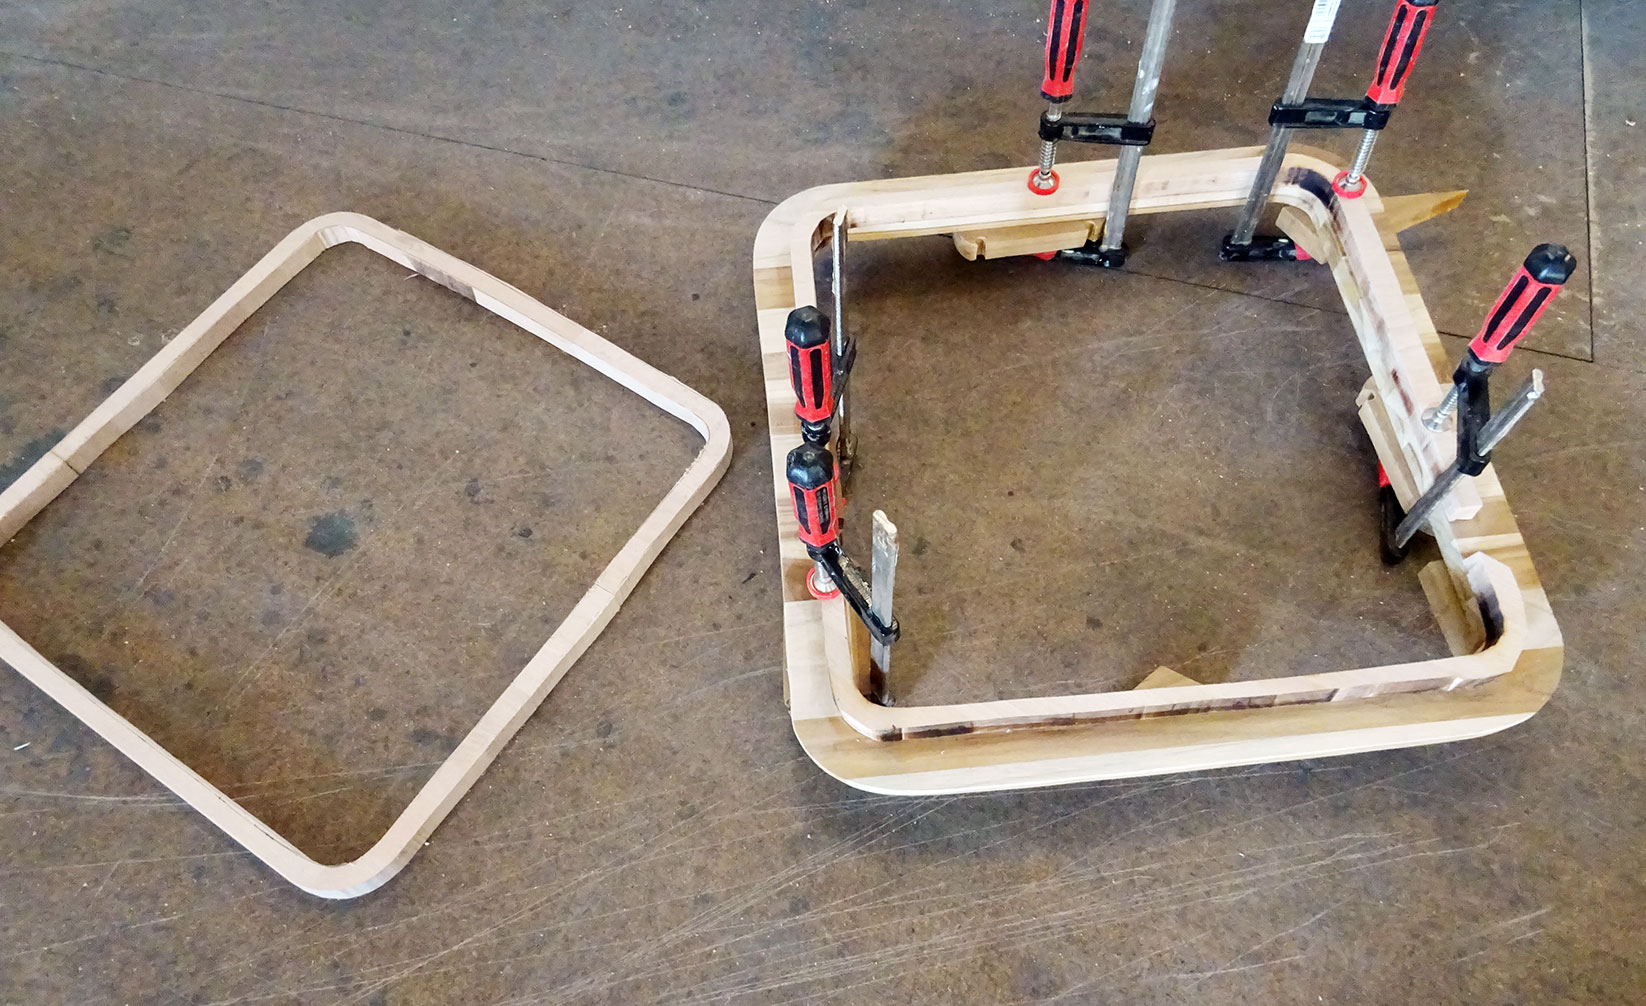
Now I am glueing and later screwing two layers of inner framing to the hatch cap to achieve a professional wooden overall look. The two layers aren´t made of Teak as this timber is simply too expensive: I went for beech tree for this wood is very hard and thus more water- and moisture-resistant. Next will be some screws for additional strength, waterproof sealing with Epoxy in the inside and then the framing is finished.
A nice Teak made framing for the mast stand
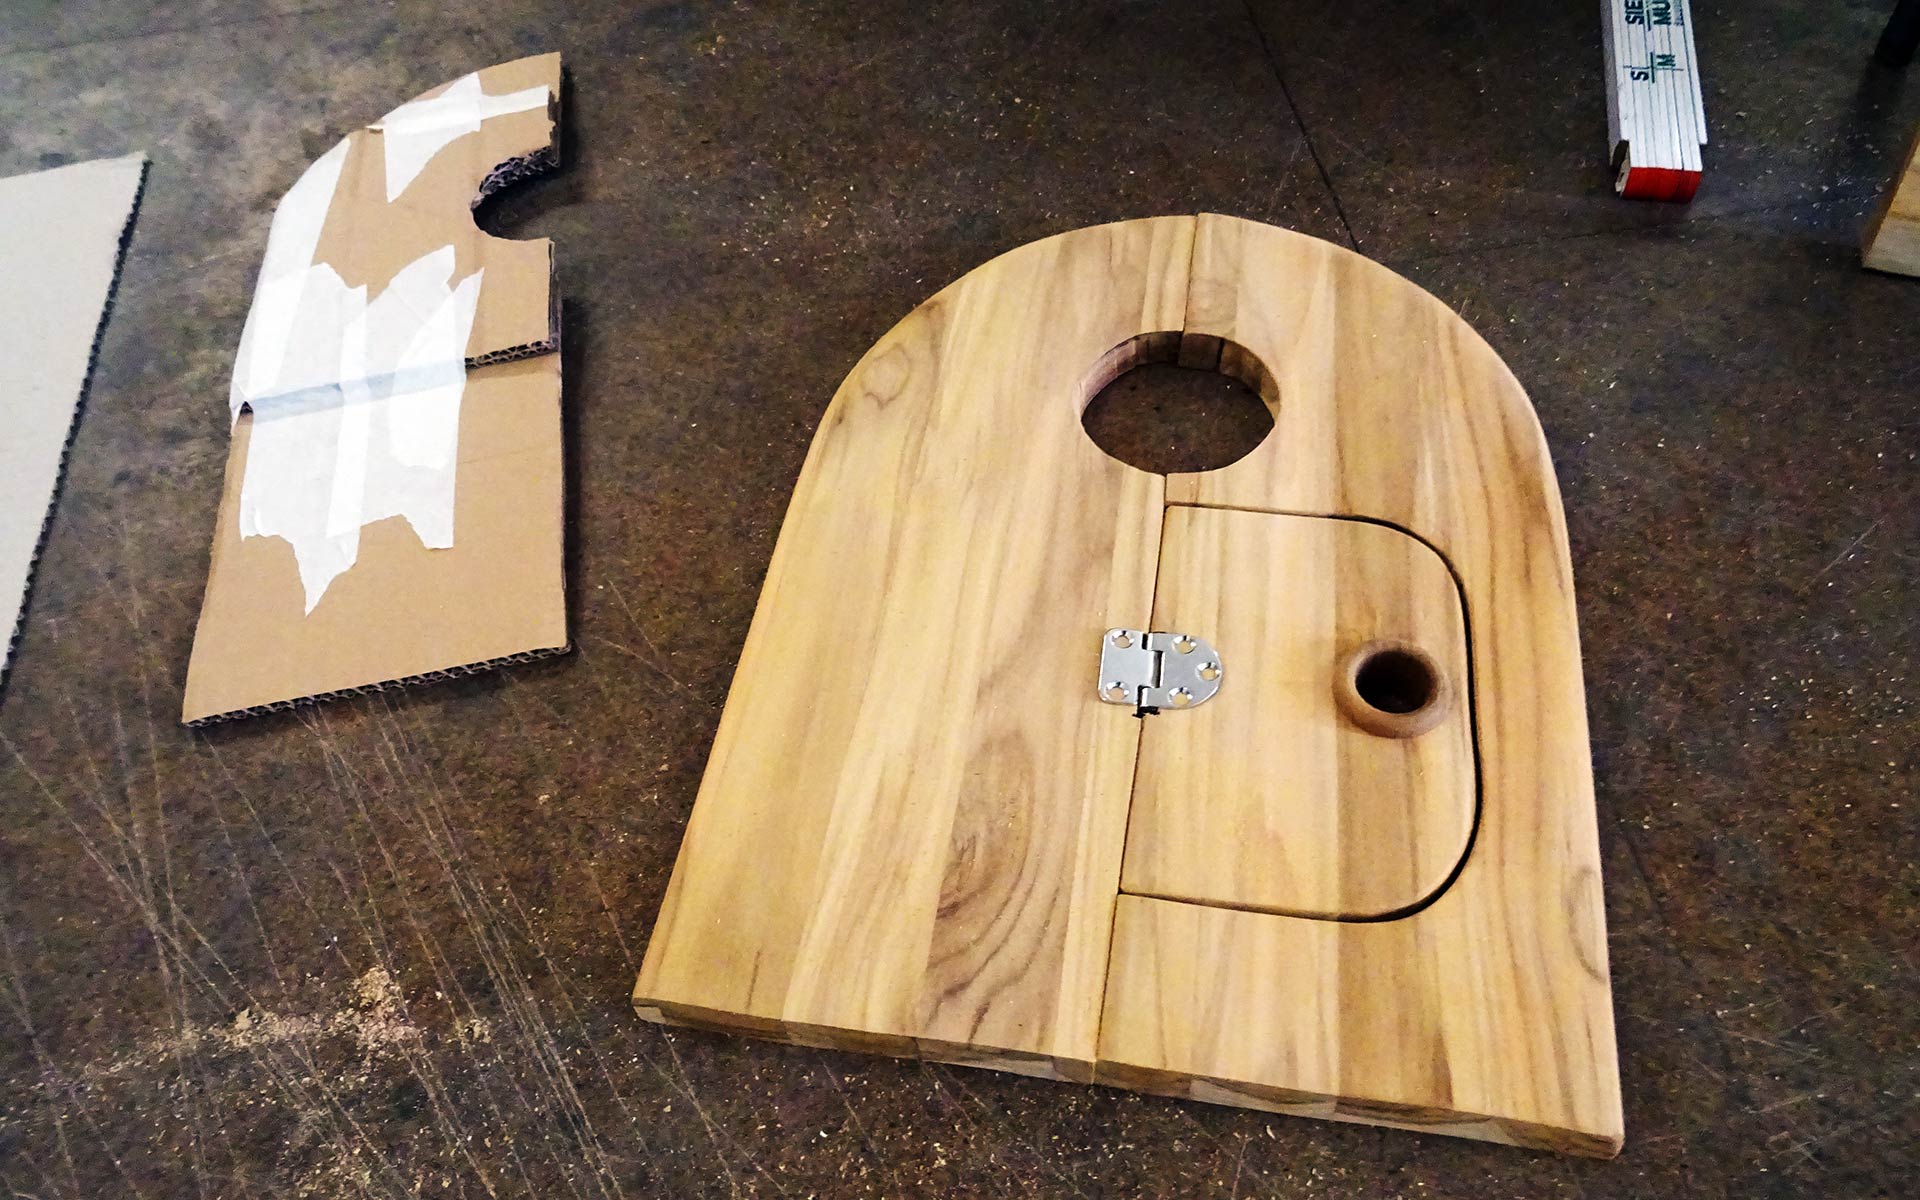
Oh boy, then there comes another hit that struck me when I was looking up the mast stand: There will be another chance to add some more character to the saloon. Like seen on other yachts, the mast stand features a massive wooden support frame where the mast is going through the roofing panels. So I´ve decided to build these things as well.

The idea is to make these cover panels a lot bigger to solve yet another problem: Every winter when the mast will be laid the wiring to lights and VHF-equipment installed on the mast will have to be disconnected. I need a small access hatch. On most of the boats I know this is simply a rectangular plate secured by four small screws. Which doesn´t look very appealing.

Back from those days when I was making the main switch panel for the chart table (read it here) I still had one rounded Teak-fitting and a closing device in stock so I cut out a small access hatch for the wiring. Isn´t that a neat thing?

Now that the wooden panels are done they are big enough to even support the installation of two or three hooks to stretch washing lines to the aft section of the boat where I could then have things hung up: Bananas, towels and other stuff. Very practical, seen on many other boats. But that´s a detail for later.
Working on the panels again
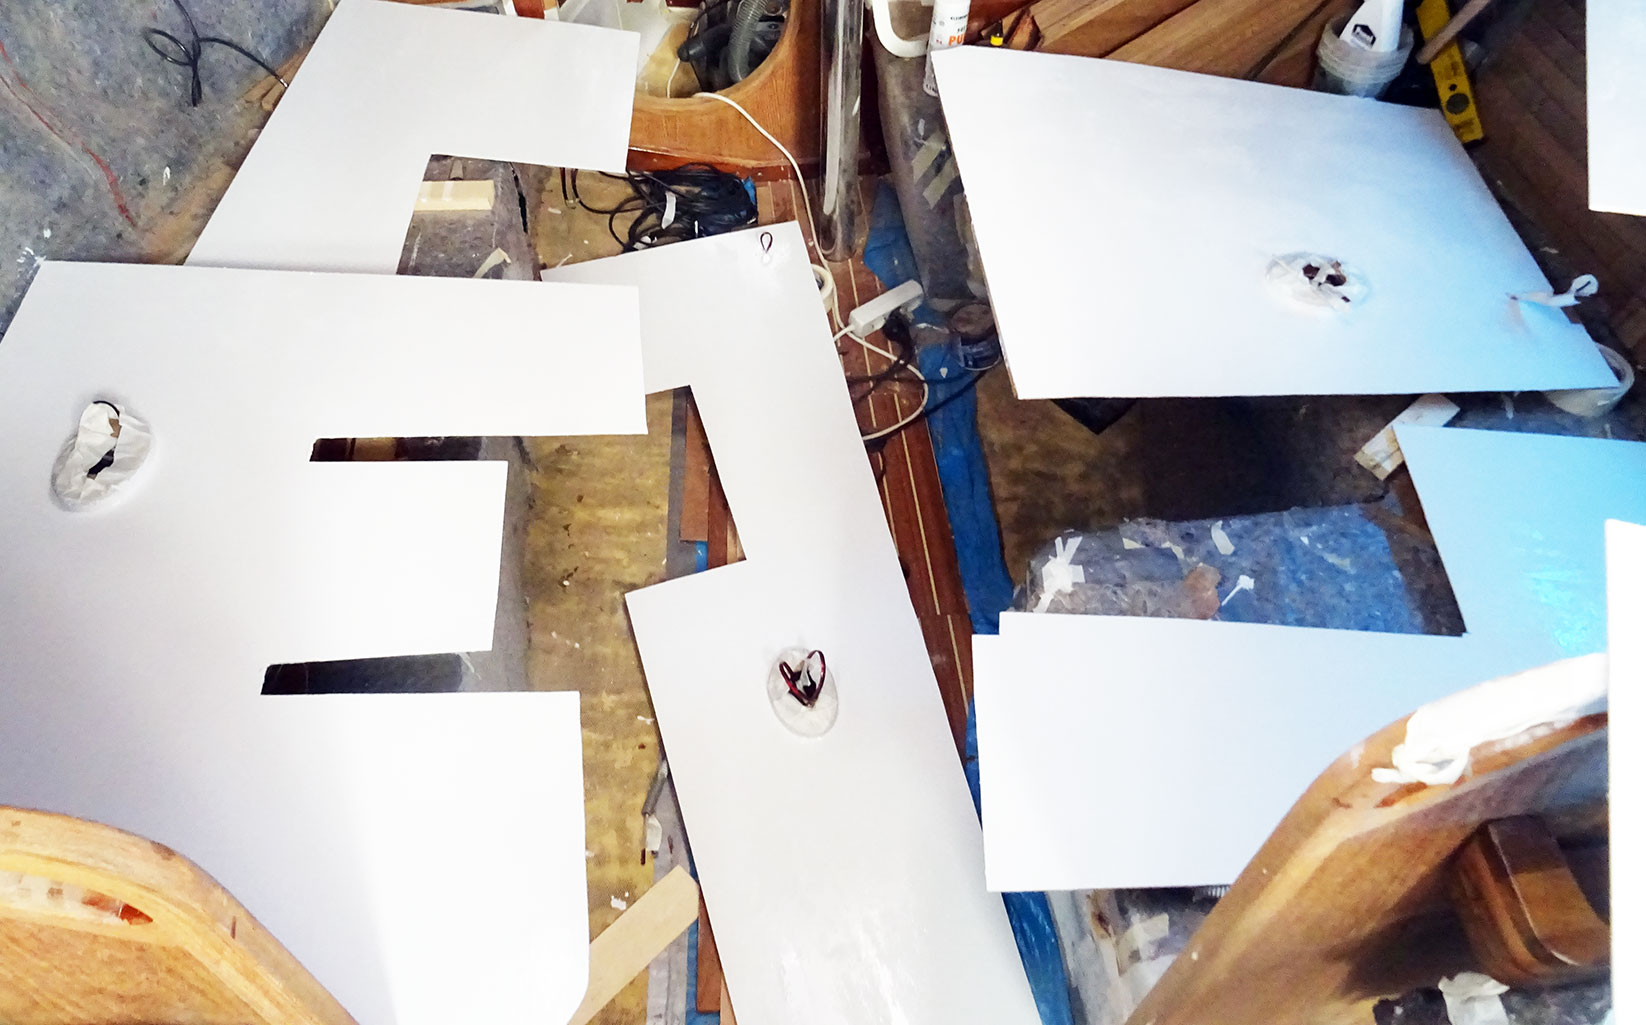
Already during the very first working hours on this refit project I was wondering how I would make the roofing panels (read the article here). There was the choice whether or not I would insulate the saloon (I´ve decided not to), whether or not I would restring the wooden panels with leather or faux leather or simply have the panels painted. I love the tactile sensation of leather or even velvet-like fabrics. But as many of my sailing companions assured me, this is sooner or later going to get moldy. “Have it painted. As simple as that!”, they advised.

Not just because of the financial strains but mostly because of this fact I decided to go for the simply-paint-it-idea and applied three layers of the very yacht-white in which the GRP-surfaces of the boat are already paintd (read the article on GRP works here). The panels look awesome and I am sure, once installed, they will add sufficient light and a feeling of being on a real ship to the boat.

Next steps of this yacht refit chapter
As the panels are already equipped with all the necessary wiring for the LED-lights (read it here) I will just have to mount them overhead. That will be a delicate undertaking as I can imagine that those panels – no matter how accurately I´ve tried to make them – won´t fit properly to the ceiling. So that´s going to be a working step full of a lot of heart beating. After attaching them, I will add some decorative transverse Teak-battens and some Teak cover strips all along the interstices. I hope to be finished with that whole part of the project within the coming 2 or 3 weeks. After that, the boat will look a lot more like a boat …
Other interesting articles on that topic:
Roofing Refit: Substruction for new Panels
Roofing Panels Part 1
Roofing Panels Part 2


