Chapters in this post
I know I am no boatbuilder. Nor I am a craftsman of any kind: No carpenter, no mechanic and no cabinetmaker neither. But nevertheless I took on the challenge of refitting my 33 feet Kings Cruiser 33 built back in 1975 some 1.5 years ago knowing that my work would all be but insufficient to the eyes of most boat loving people. We are used to seeing perfectly crafted boats, interior designs (LINK) of near perfection done by laser cut precision parts.
That´s certainly not the way I work. I learn by doing. I am learning a lot about tools. About materials. And about techniques. I look behind things, try to understand them. Try to come up with my own ideas and finally try to make them come true. Most of the time the outcome cannot even in the slightest manner compete against a professional´s work. But it doesn´t have to: It´s my boat and I love what I do. I do it with love. And even if things aren´t that straight, haven´t been sanded perfectly, mounted as neat as it should be: It´s done by my own hand´s work. And that is what keeps me going. Just as today after some 5 hours of work: I´m still with the roofing.

Fitting the Teak Batten

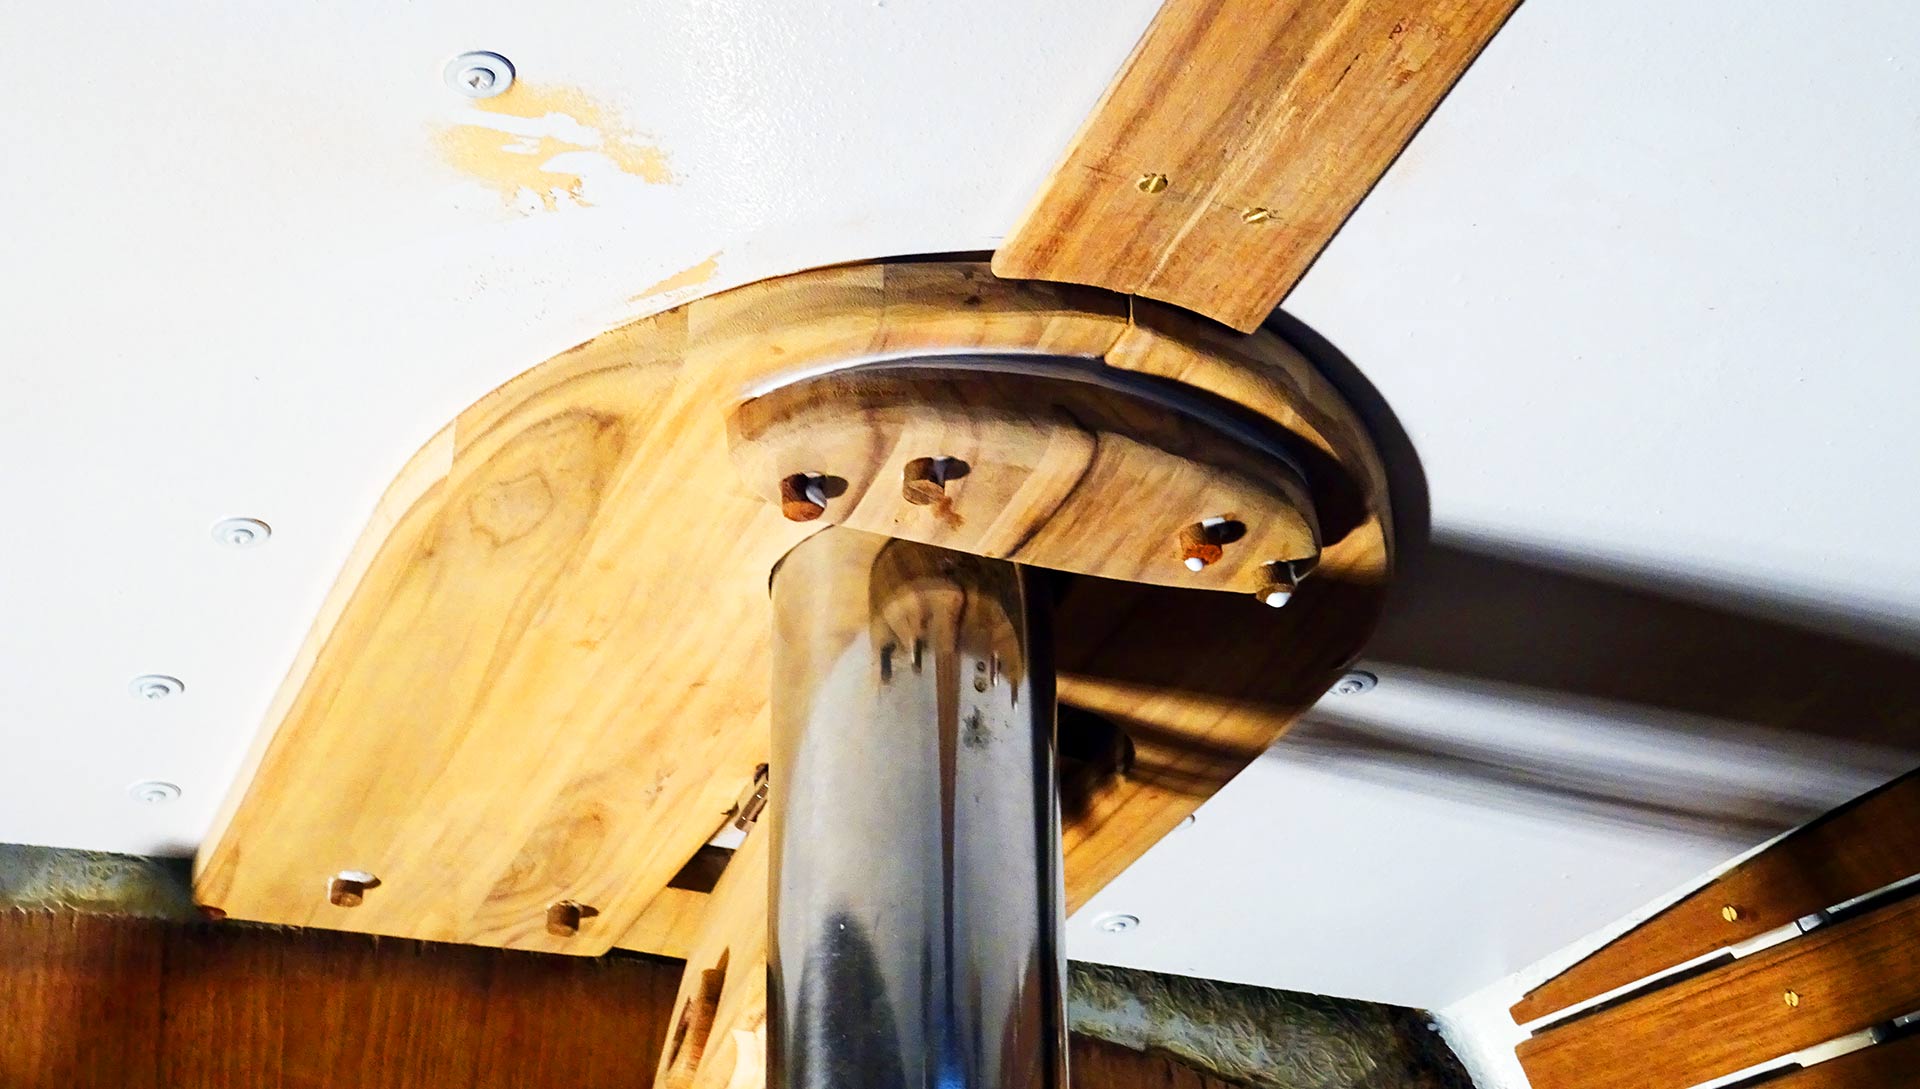
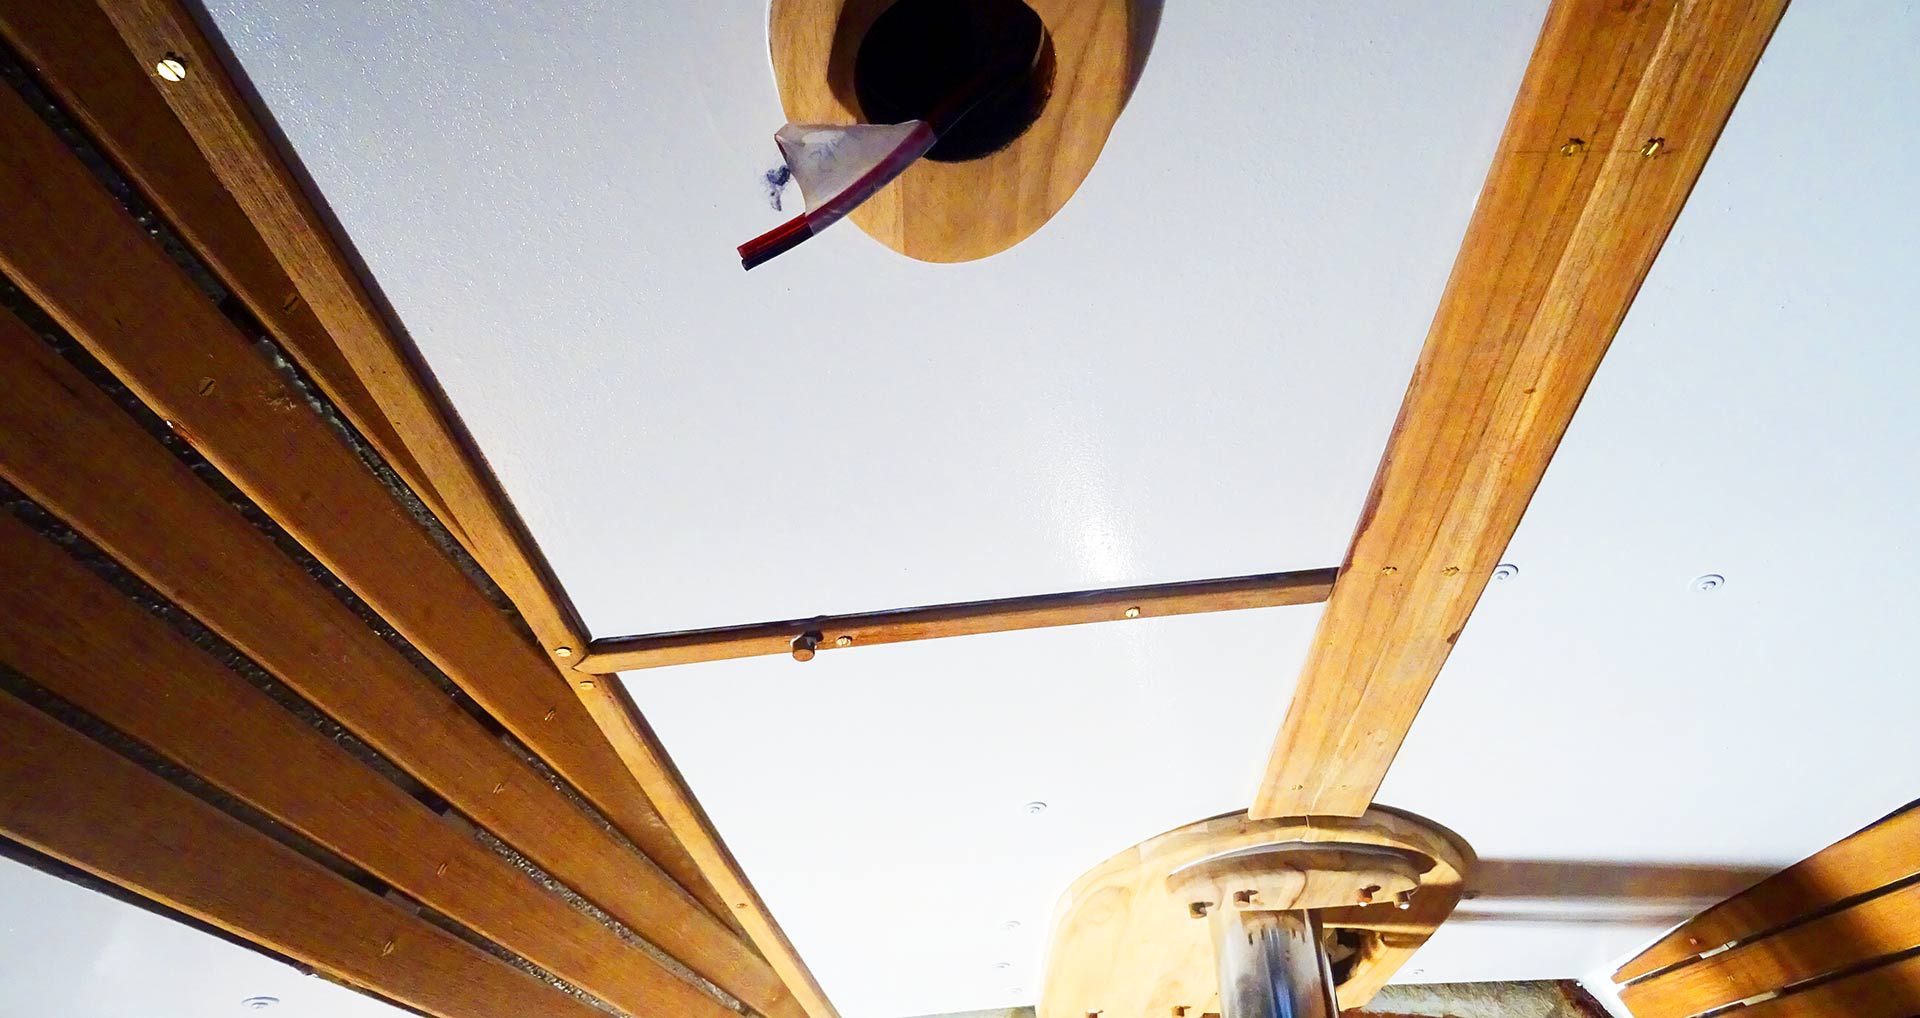
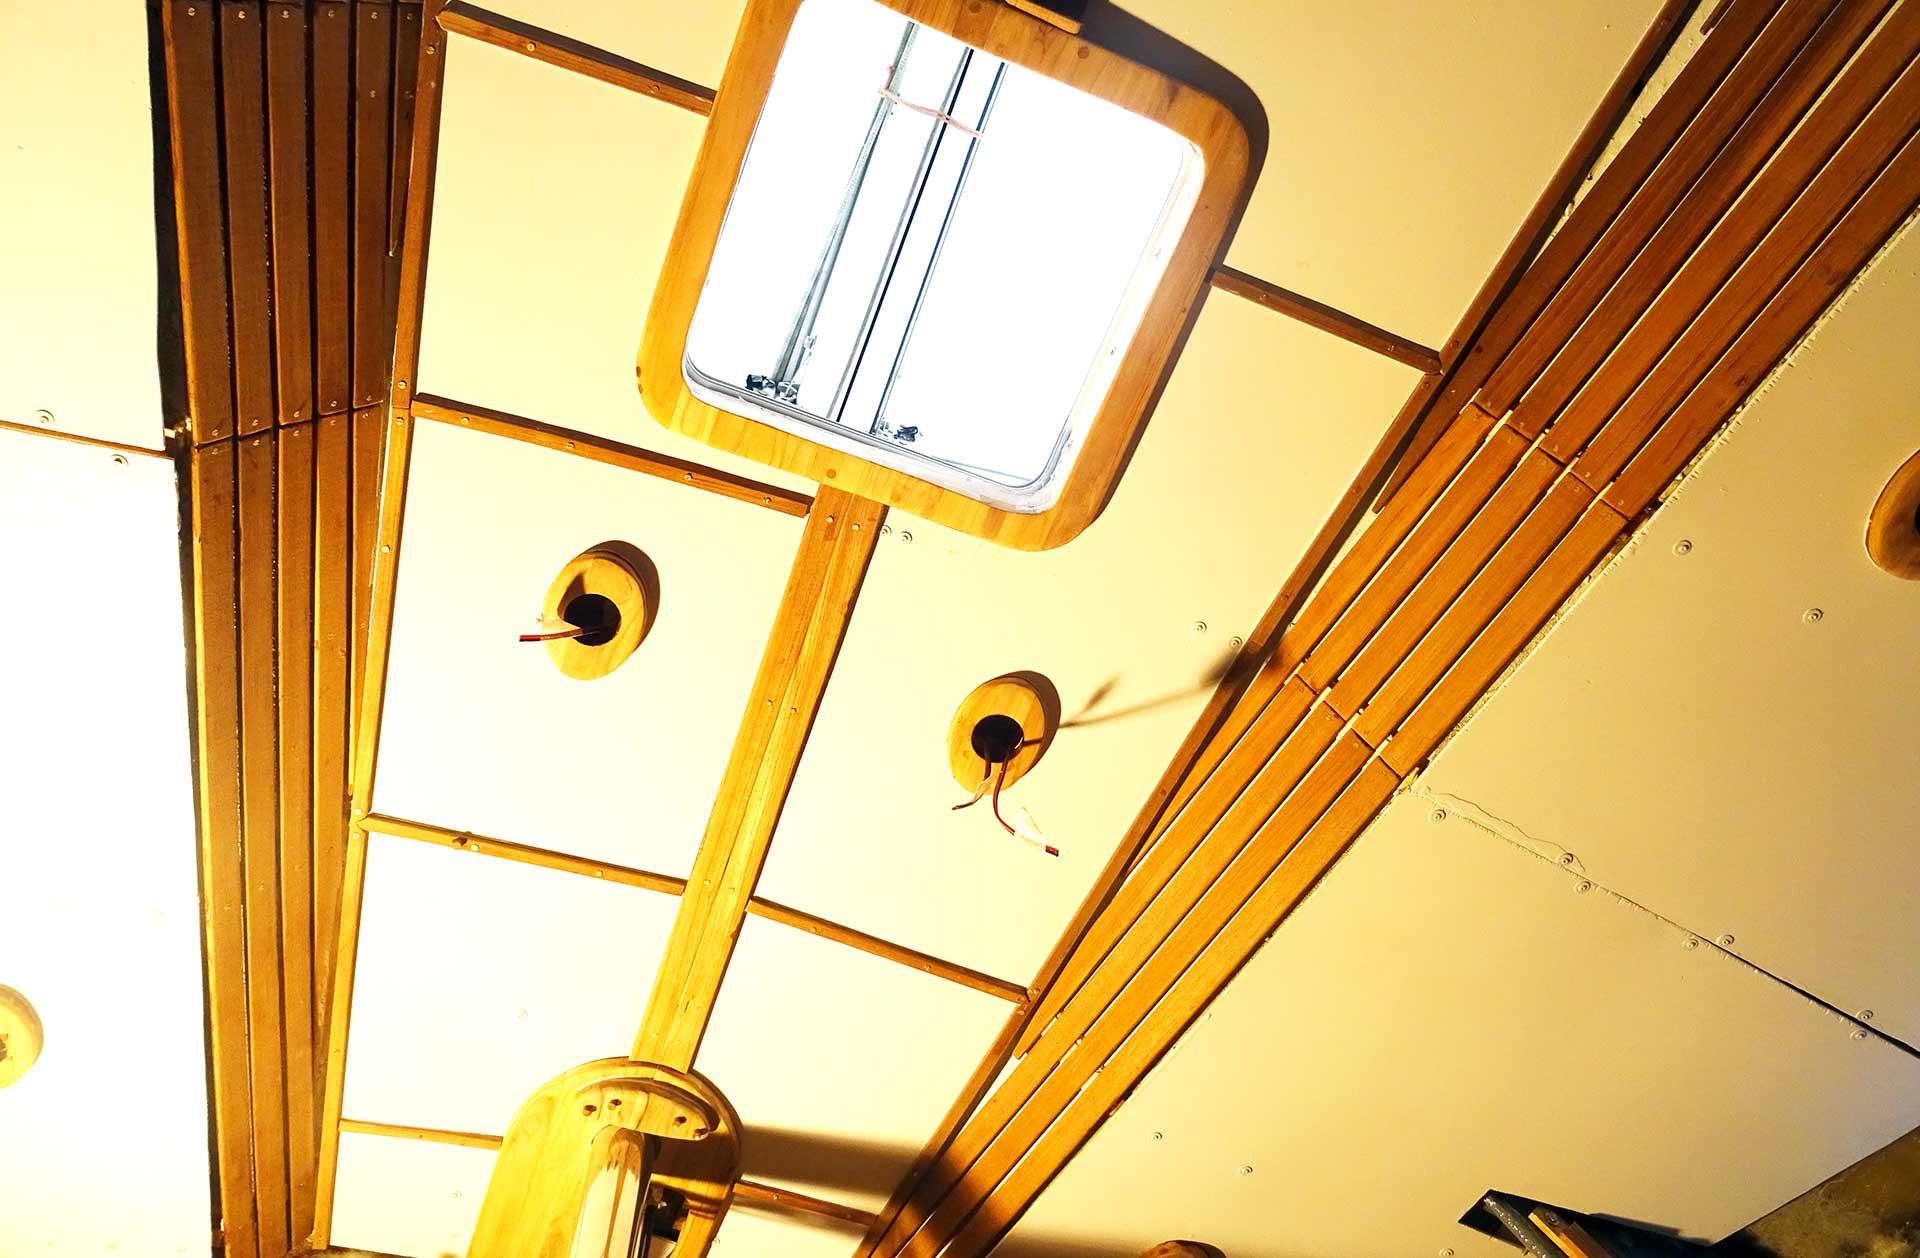
As you may have read in the previous articles, after mounting the plywood lacquered panels I´ve discovered huge seams left open although I´ve made 1 on 1 models of the roof-area with cardboard. On the other hand, the screw heads are sticking out from the panels and I need to cover them nicely. This is to be achieved by slim Teak batten: Cutting original decking battens into half I considered this to be the perfect size.
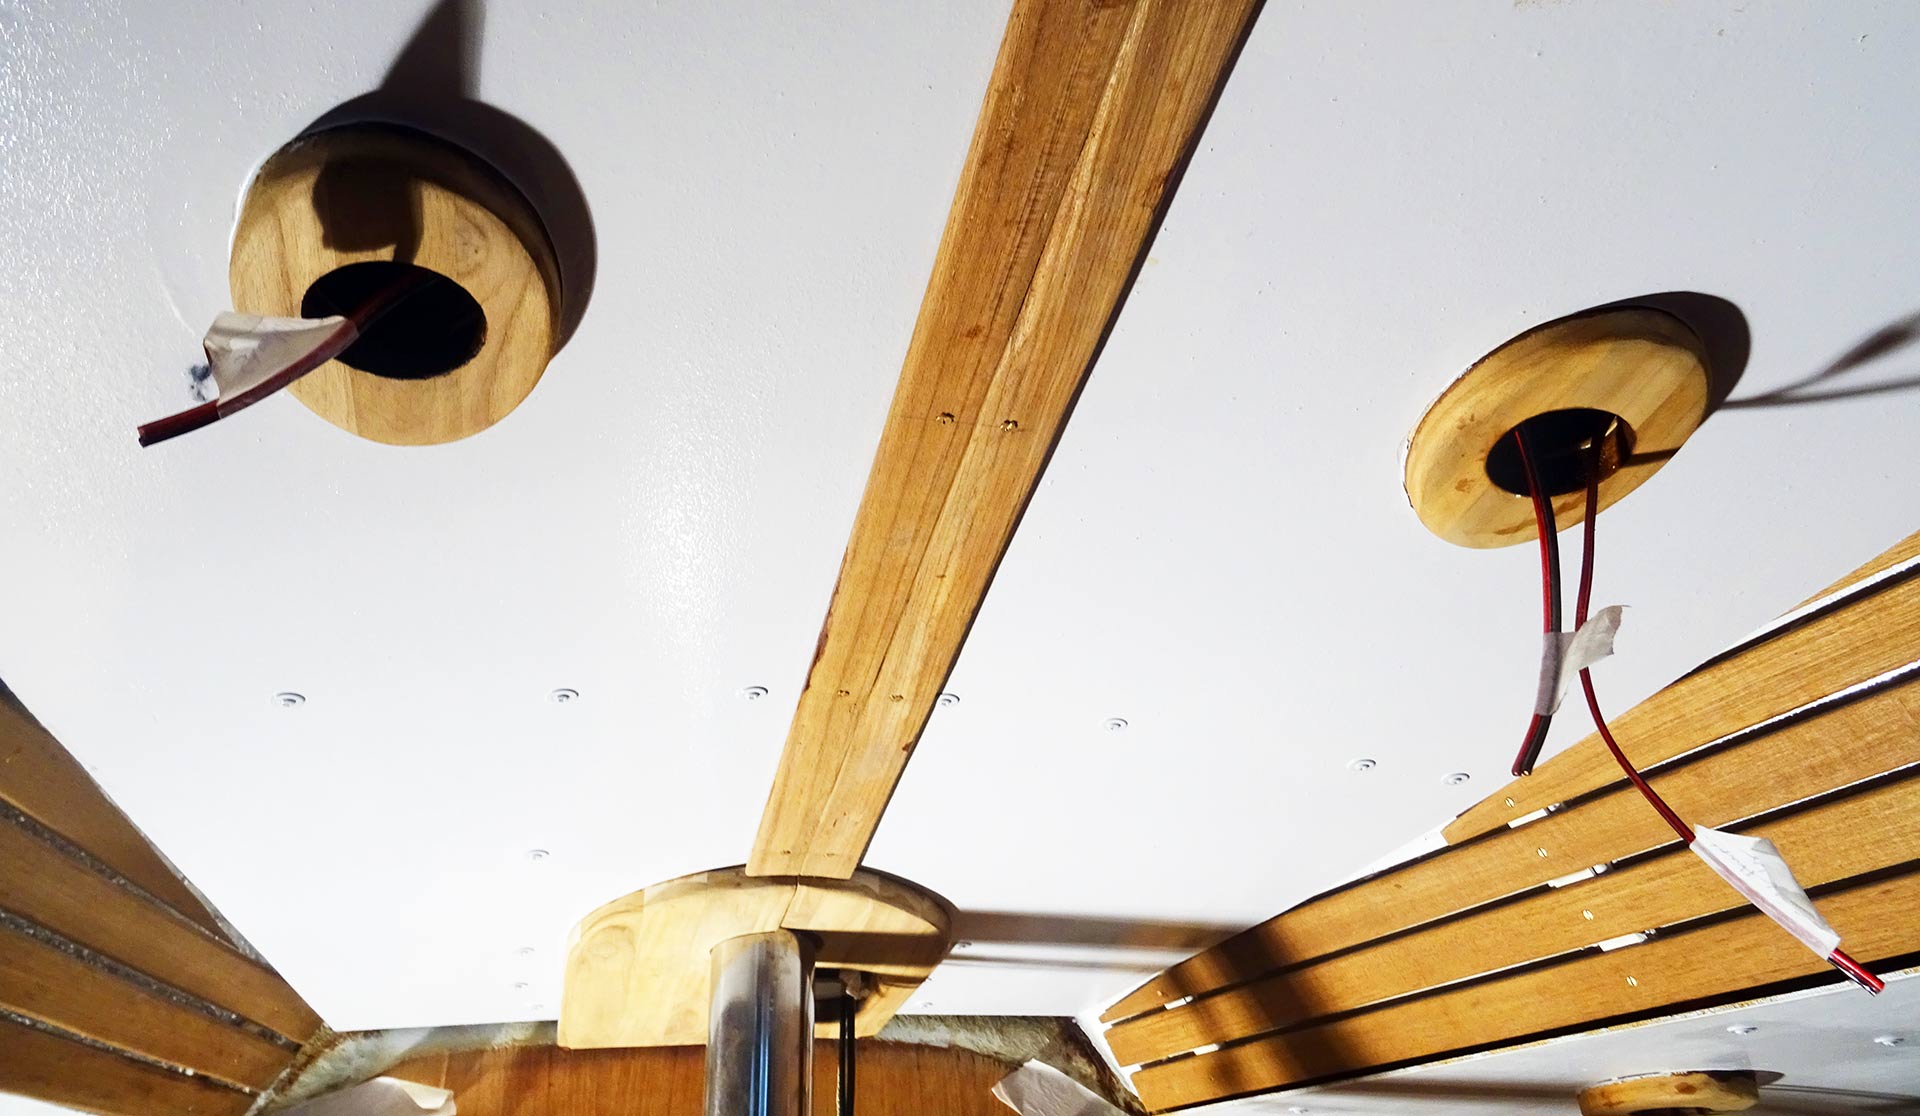
I decided to fit a longitudinal batten on the outer edges of the panels and have transverse batten every 40 centimetres or so – just where the screw heads are to be covered. Said and done, I cut down the smaller batten to size, had them sanded and drilled some holes with the power drill just deep enough to house the screws but avoided to drill all through (which I managed for all holes but a single one, nicely plugged with a Teak stopper afterwards).
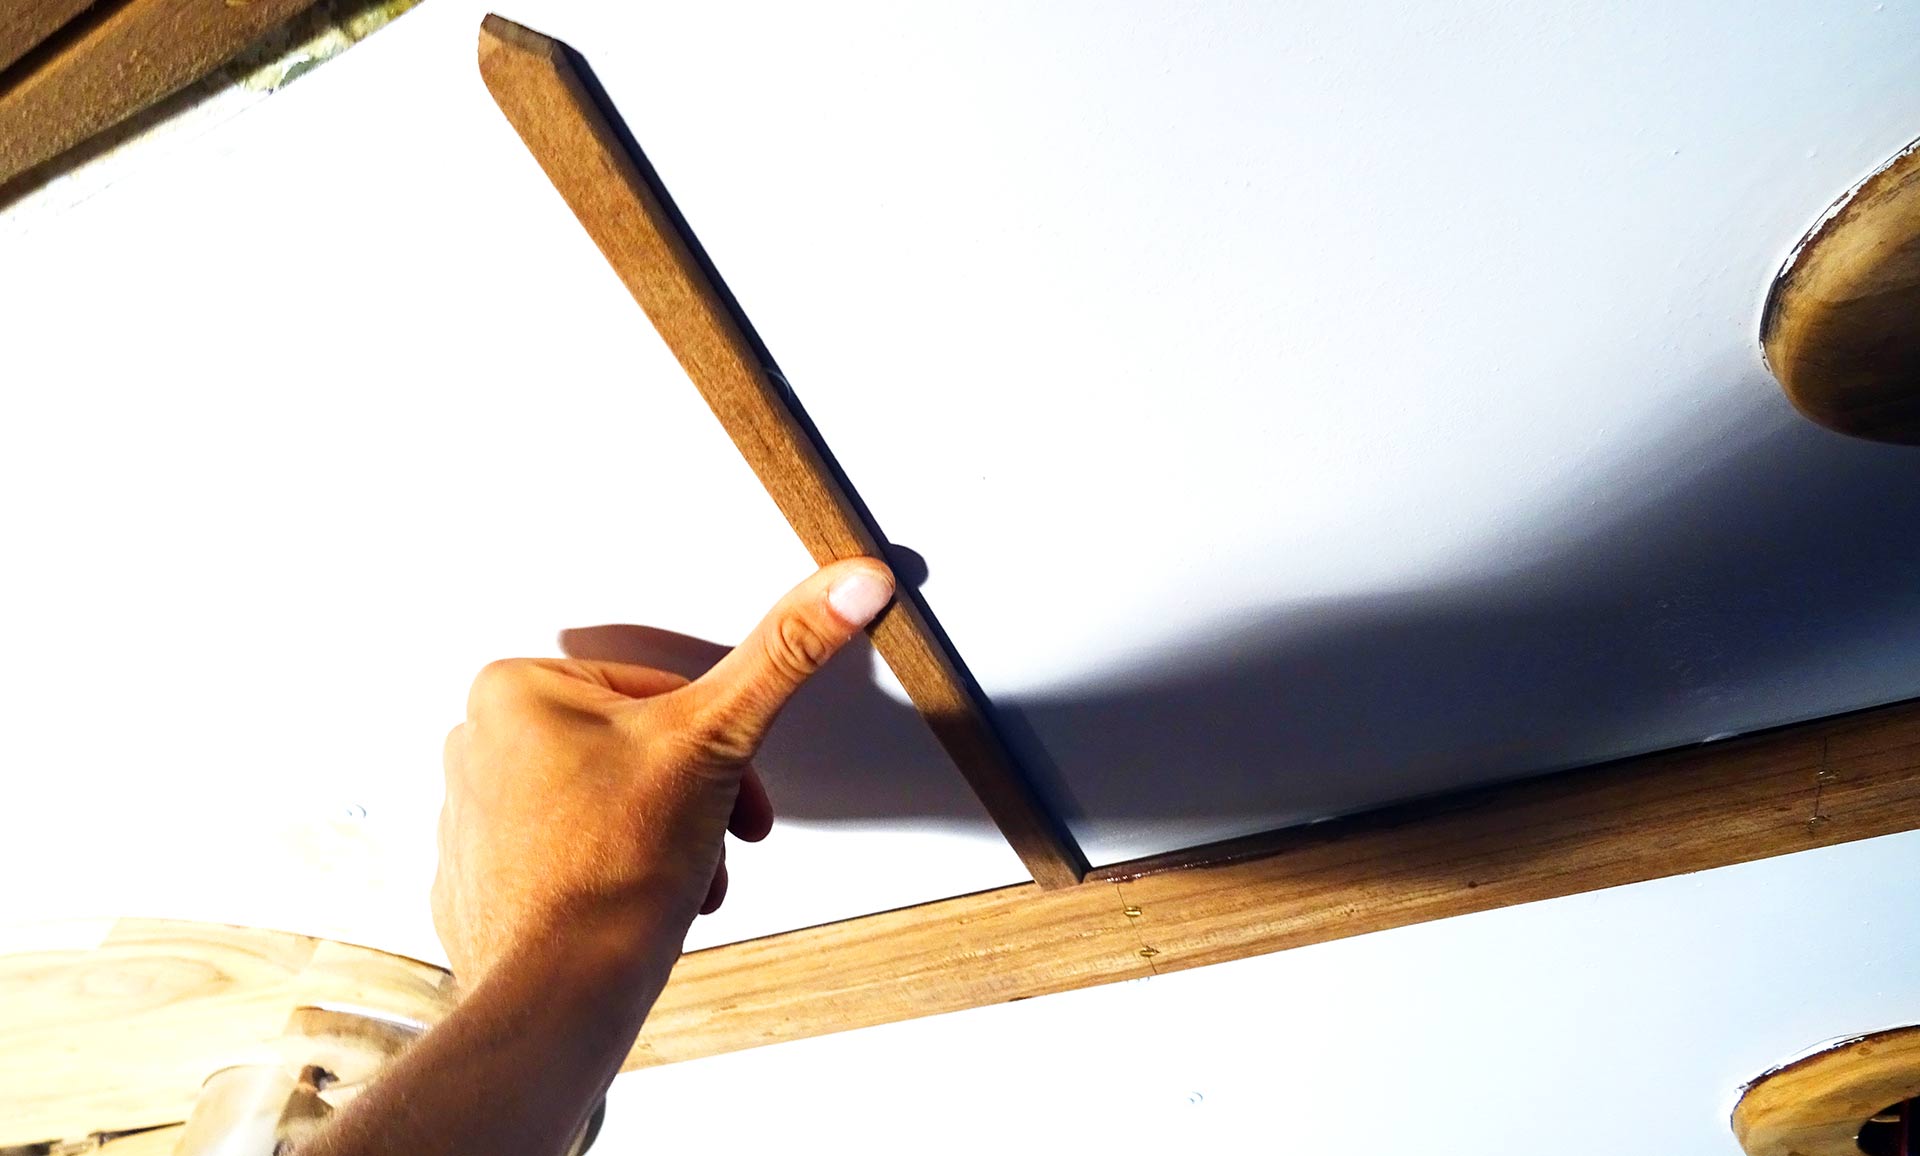
I drilled some smaller holes all through the batten for the brazen screws as I planned to have the batten glued by Pantera adhesive and mechanically supported by screws. The brass stuff also adds to the classy look of the roofing as well. Where the batten meet, triangular slots would be a nicer look than just have them with a blunt joint.
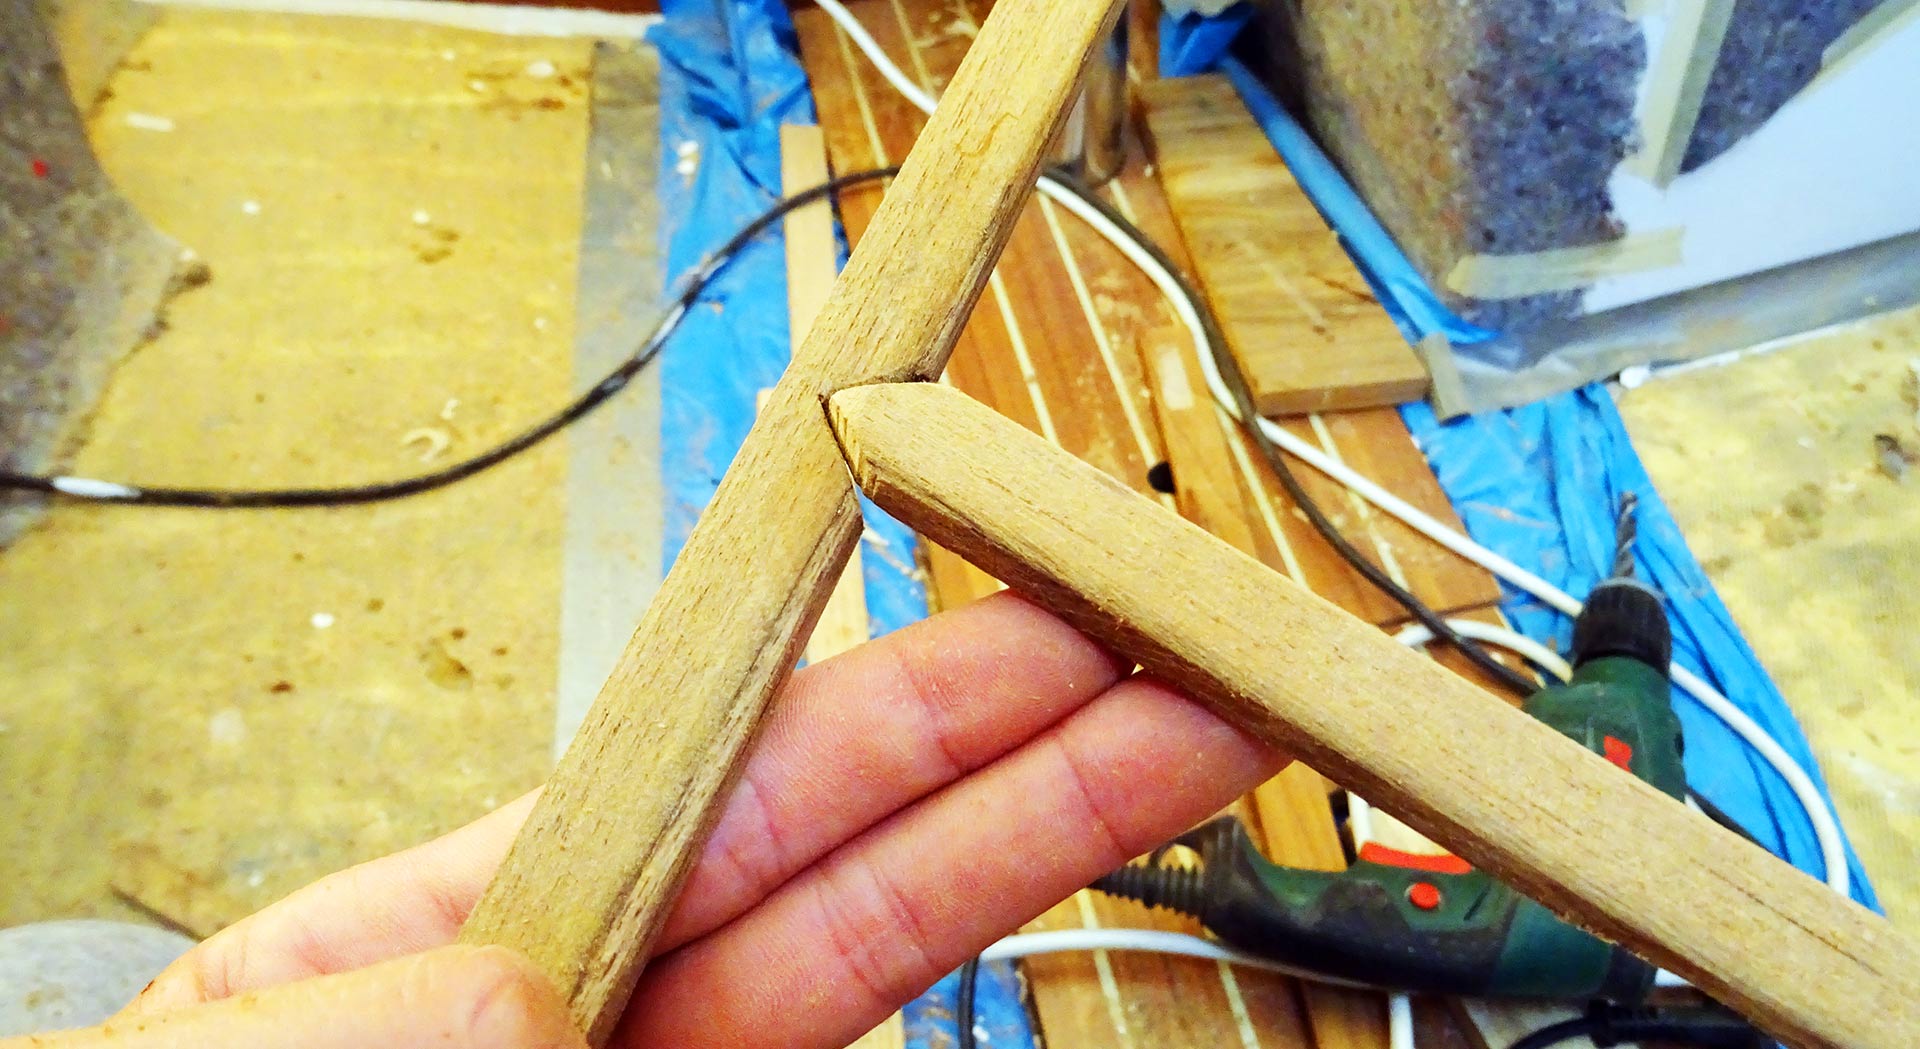
I unfortunately somehow forgot to make these triangular joints a couple of times which really bothers me in the end, but that´s exactly the thing that happens during the course of the refit: I make mistakes in the beginning and over time I can my skills to – well not quite – perfection. What I need to learn though is to start my work in more hidden areas, which I also failed to do in this respect as I was beginning right at the most exposed area of the roofing right above the saloon´s dining table. Anyway …
Glueing and screwing the batten was a no-brainer indeed although sometimes the fragile batten got split by the force of the crews. This made me replace two of the Teak batten and was a cause for constant anger to myself since these Teak battens nearly ruined my financial plan for the refit. That´s definitely one learning: Never – EVER – again will I work with Teak on boats. It´s just simply too expensive. Oak, Cherry or Beech is the better timber, anyway, no point in being frustrated about that here.
In the end my work did convince me although it´s full of flaws to be honest: There´s no real consistent spacing, the seams aren´t neat, some of the battens did not fit evenly to the roofing panels, there are blotted seams and in general it looks like it has been done by a pure amateur. But hey, this is what I am indeed and although this cannot even in the slightest way meat with the quality of Hallberg-Rassy interior fittings – at least it has been done by my own hands. I literally know every screw by name.
And this makes me really proud of my work indeed!
Other interesting articles on this topic:
All about roofing panels: Parts 1 to 6 here, here, here, here and here.
What about refitting a dirty filthy bilge?
Shrouds and chain plates – shiny new.