Chapters in this post
I´ve finally made it! Eventually another item can be crossed off my list of to-dos in the King´s Cruiser 33 refit and I am very happy. You see, a yacht´s refit is a huge project that can sometimes (no, let´s be honest: often) really eat up your enthusiasm, sometimes even faster than it eats up your budget – by the way, here´s a nice article about a yacht refit project (finished happily) but in retrospective the young couple describes exactly what I feel now: Read “Black hole yacht” here. Anyway, here´s what made me happy today:
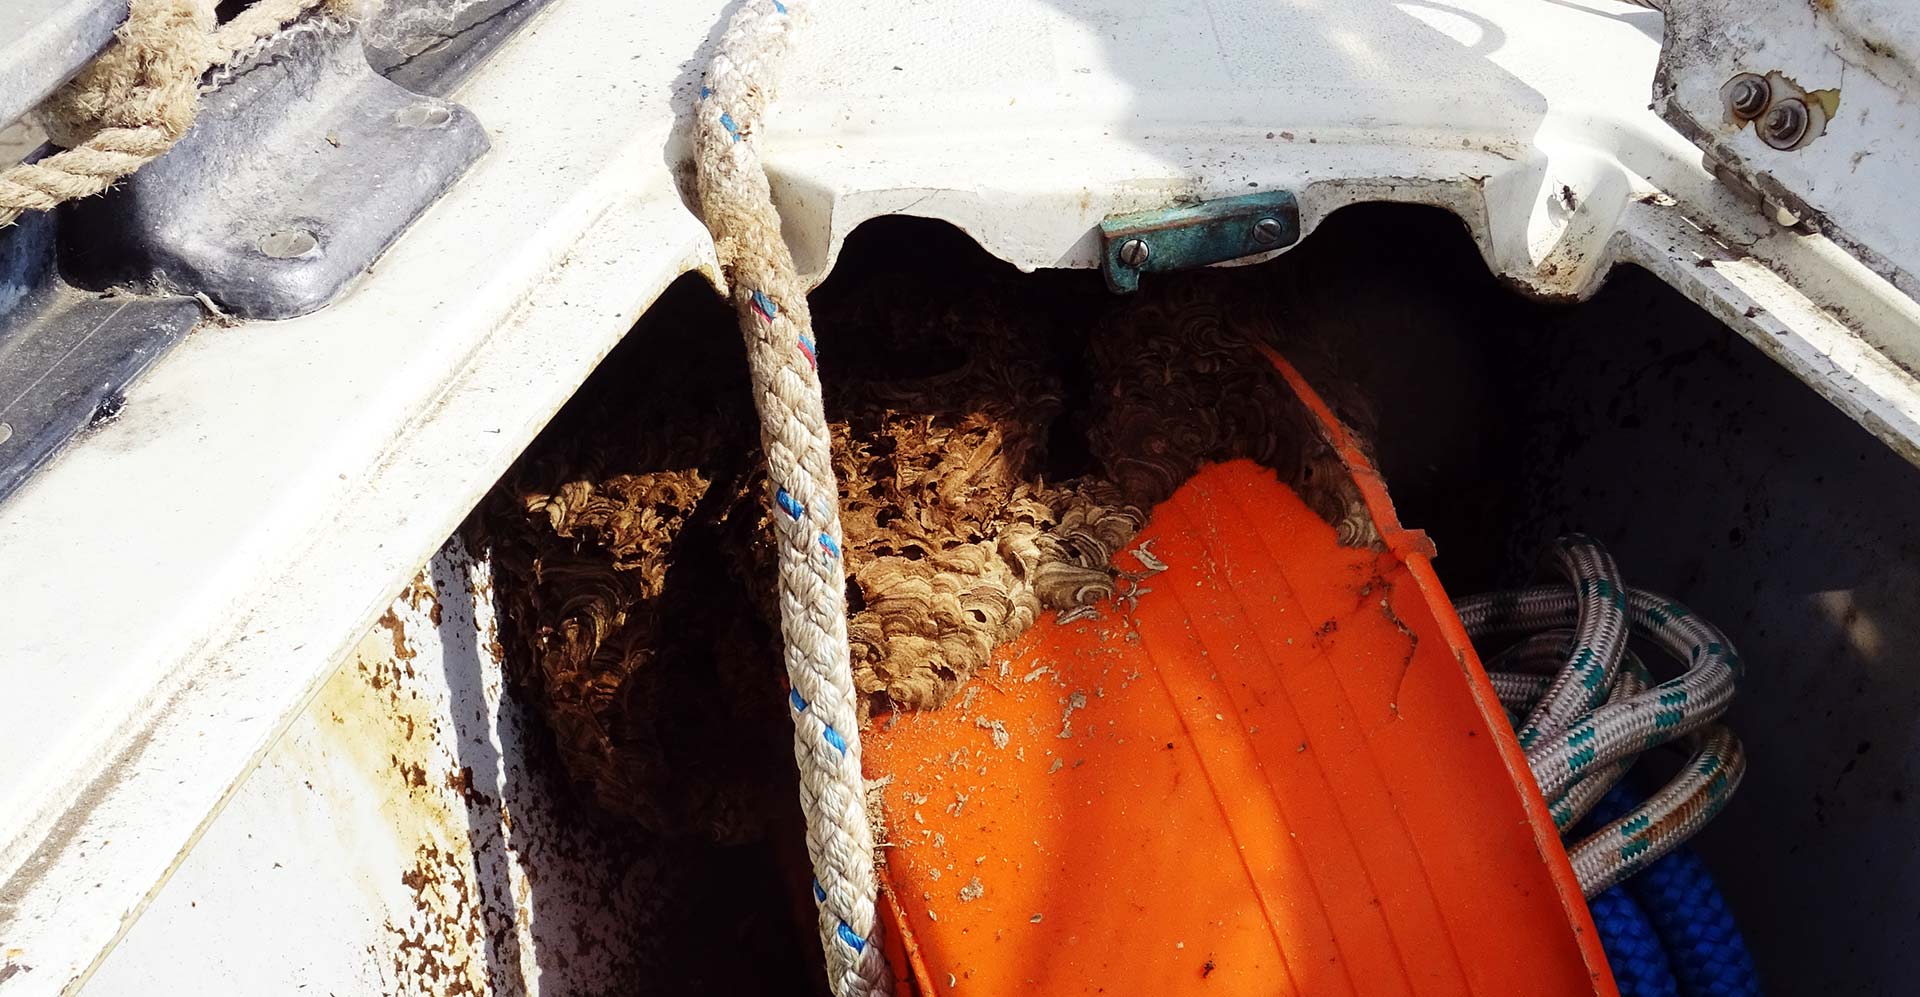
No, not the filthy chain locker, this is where I started some weeks ago when I originally wanted to prepare the boat for it´s transport to the new marina. Read the first article on the anchor chain locker refit here. I opened the chain locker and discovered this huge flying insects nest. Well, the crawling tiny lifeforms had been building their home all the way up from the bottom of the chain locker, all around anchor chain and anchor line to the top. Apart from that, I did have to refurbish the whole chain locker anyway because 45 years of constant use had left marks in the structure. And this is how the locker looks now, as of today:
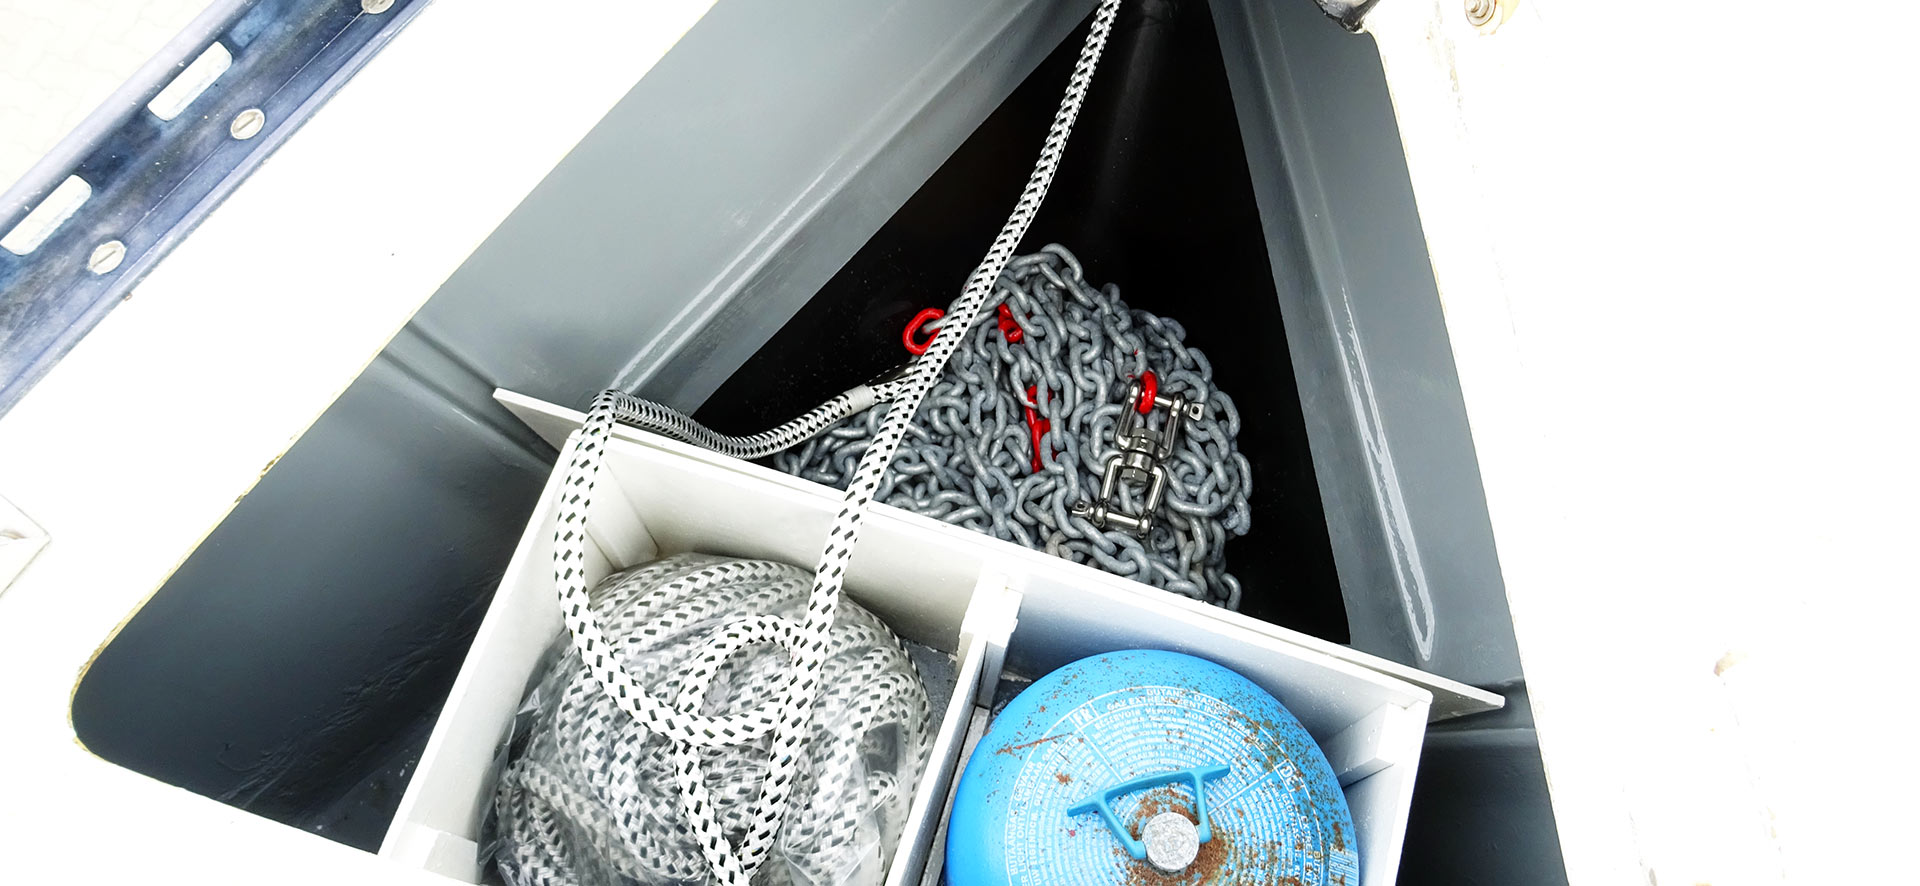
Now, isn´t this a nice piece? As one of my facebook-friends commented: “Even prettier than at home!” And right he is! This second article of my anchor chain locker-series is about adding some distinctive facts, the anchor chain length calculation and the fitting of the brand new anchor chain locker of my sailing yacht. I hope that there are some practical hints in it for your own projects. Here we go …
Rubber coating the anchor chain locker´s bottom

At first, after having the anchor chain locker completely cleaned and sanded and painted with five layers of primer and Danboline bilge paint I thought this would be enough for a place where nobody would ever have to live with comfort. But then I thought back to a sailing trip in a Beneteau First 30 (read it here) – steaming headway against waves and winds I desperately tried to find some rest. In the fore cabin (LINK). In each wave the heavy anchor chain was lifted and pounded back into the locker with a huge, loud, deafening bang. So, maybe, I thought, I can do at least something about it …
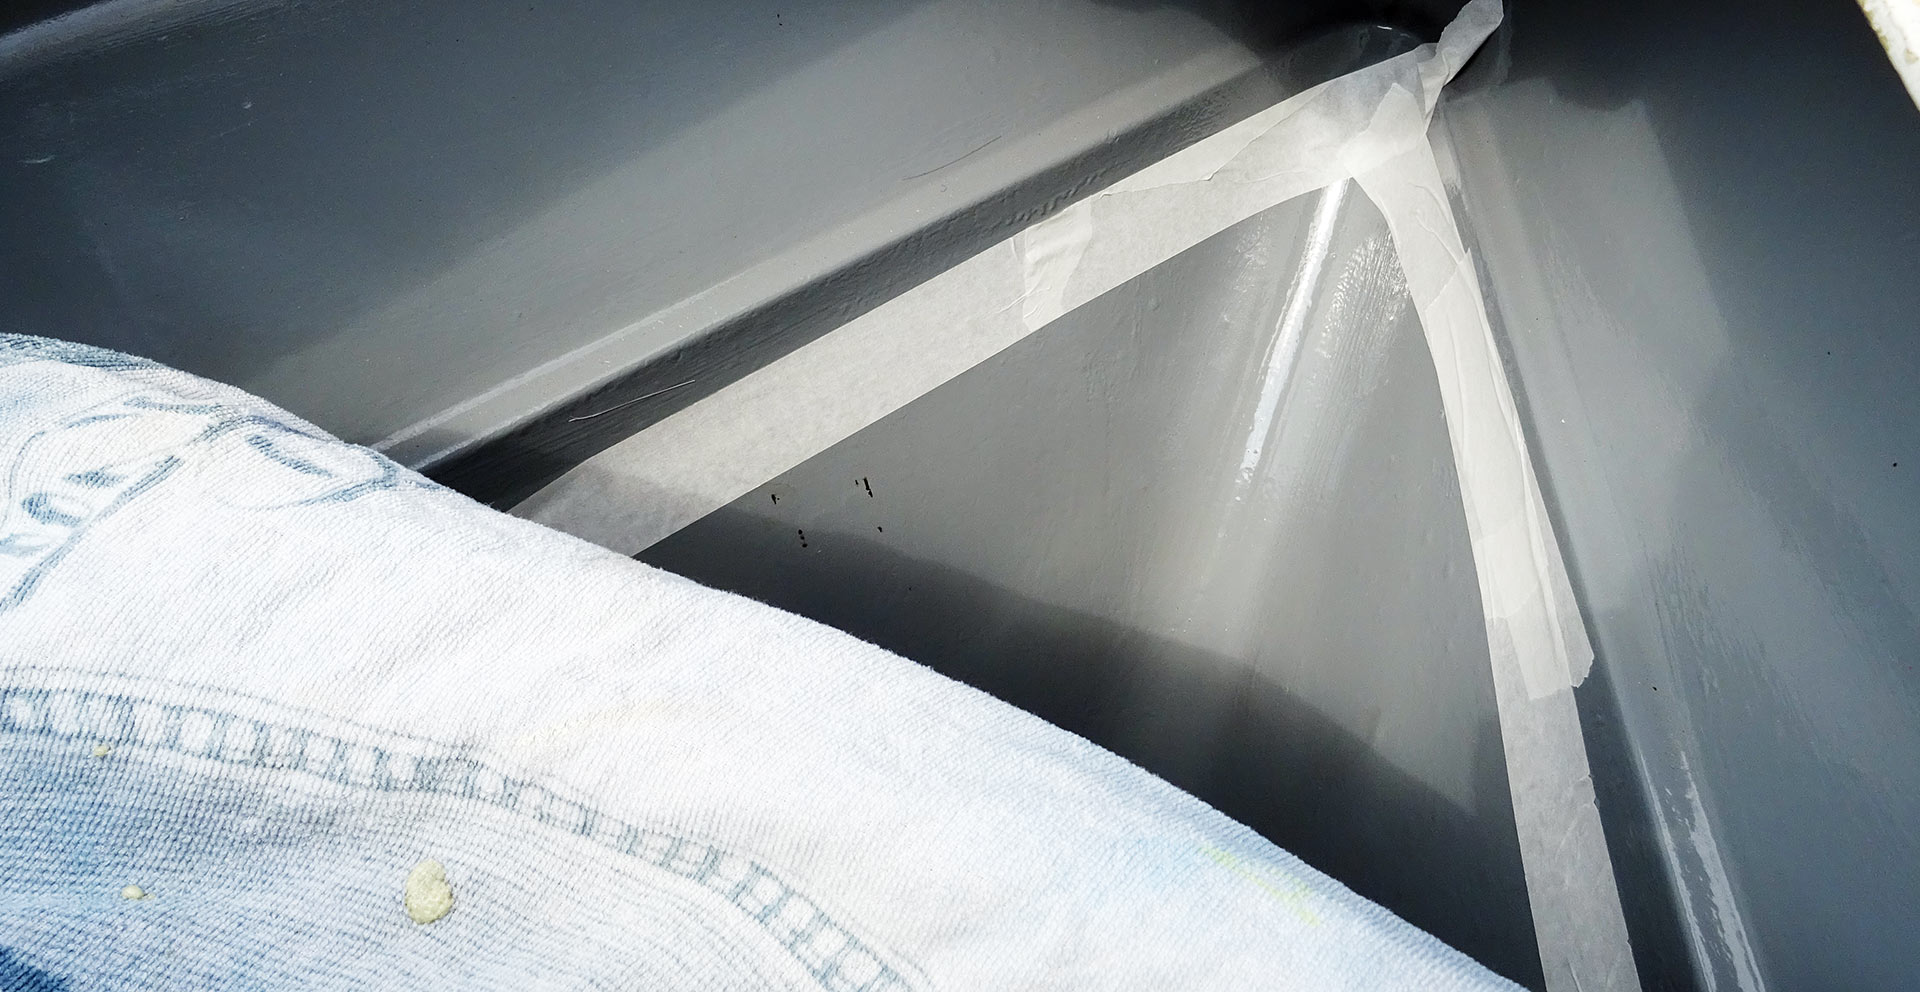
Securing the edges with masking tape all around where the chain was expected to lay at rest in the locker, I searched the internet for a kind of coating that would on the one hand be tough enough to withstand the sanding-effects of the heavy chain and on the other hand would kind of dampening noise and scratching at the hull. I found a product called Plasti Dip, which essentially is liquid rubber. Let´s give it a try!
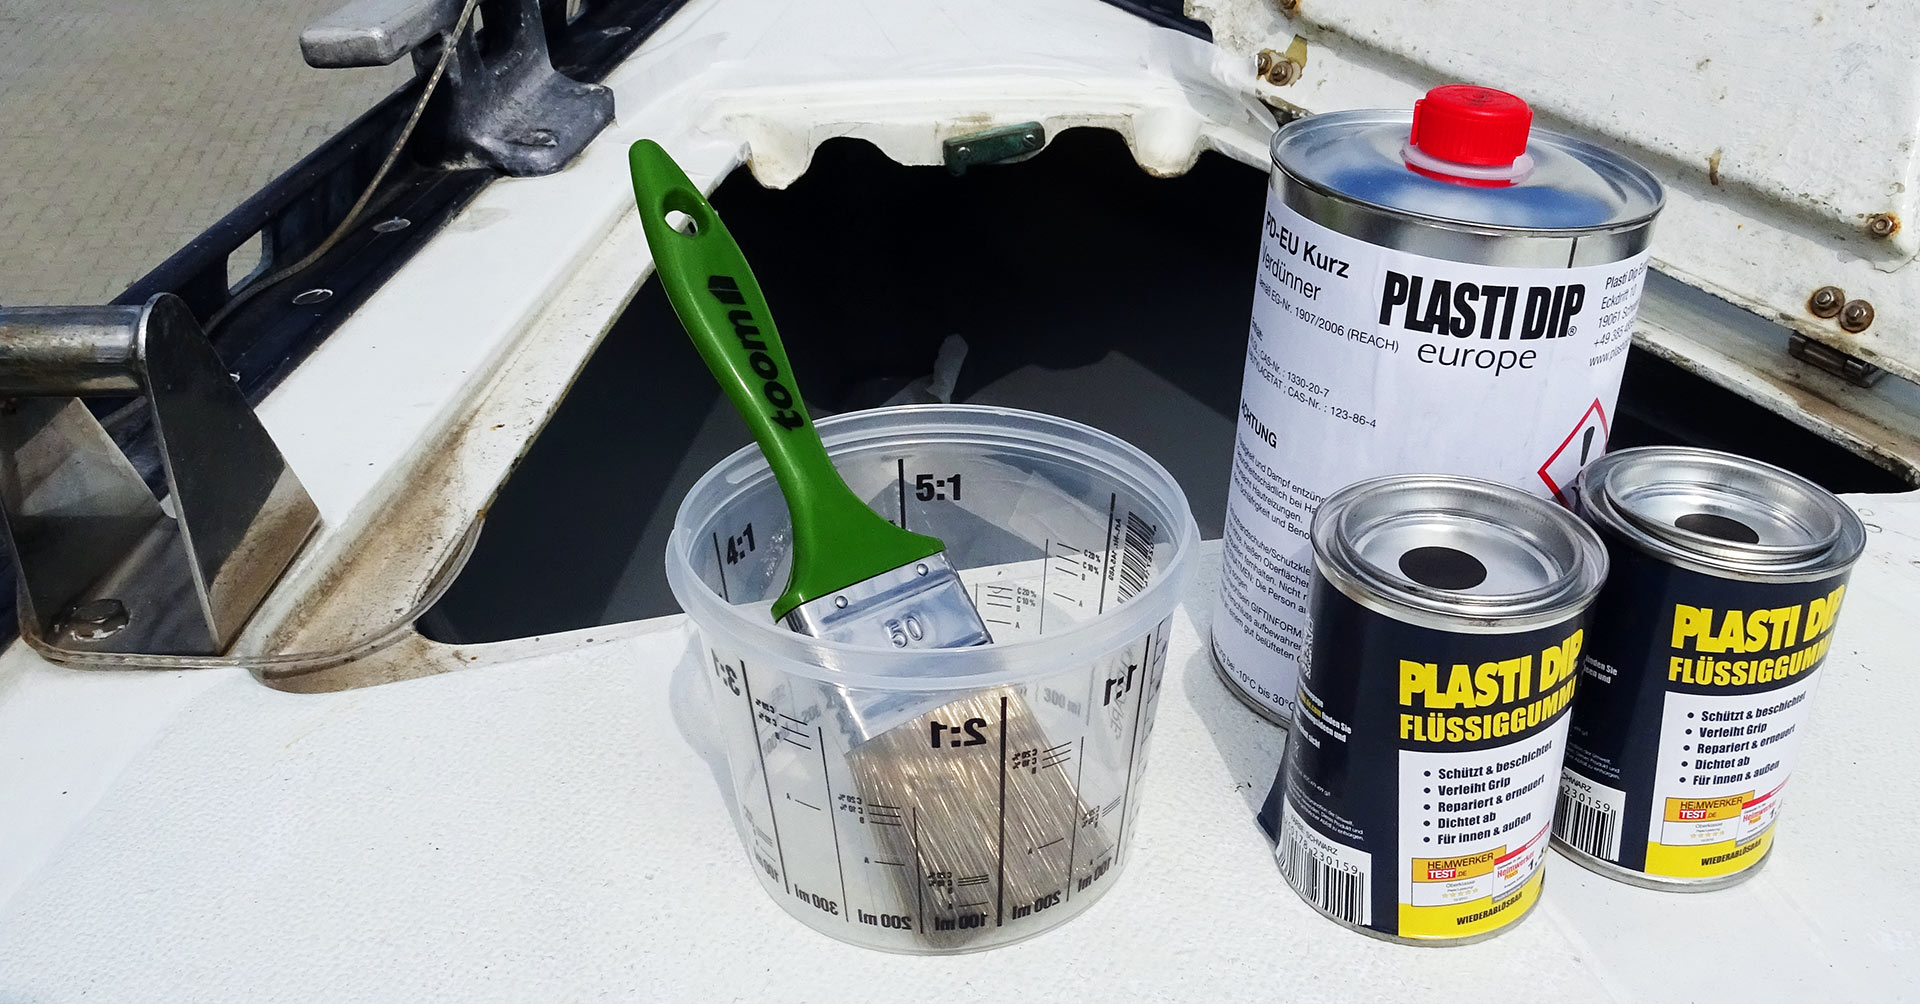
Alongside the two cans each containing 200 grams of liquid rubber I bought the special thinner because some of the comments at the product in amazon.com suggested that the neat product could not be painted with a brush. I tried a solution of 1:5 approximately and therefore could stretch the contents of one and a half cans of liquid rubber to five layers at the end, which is great.
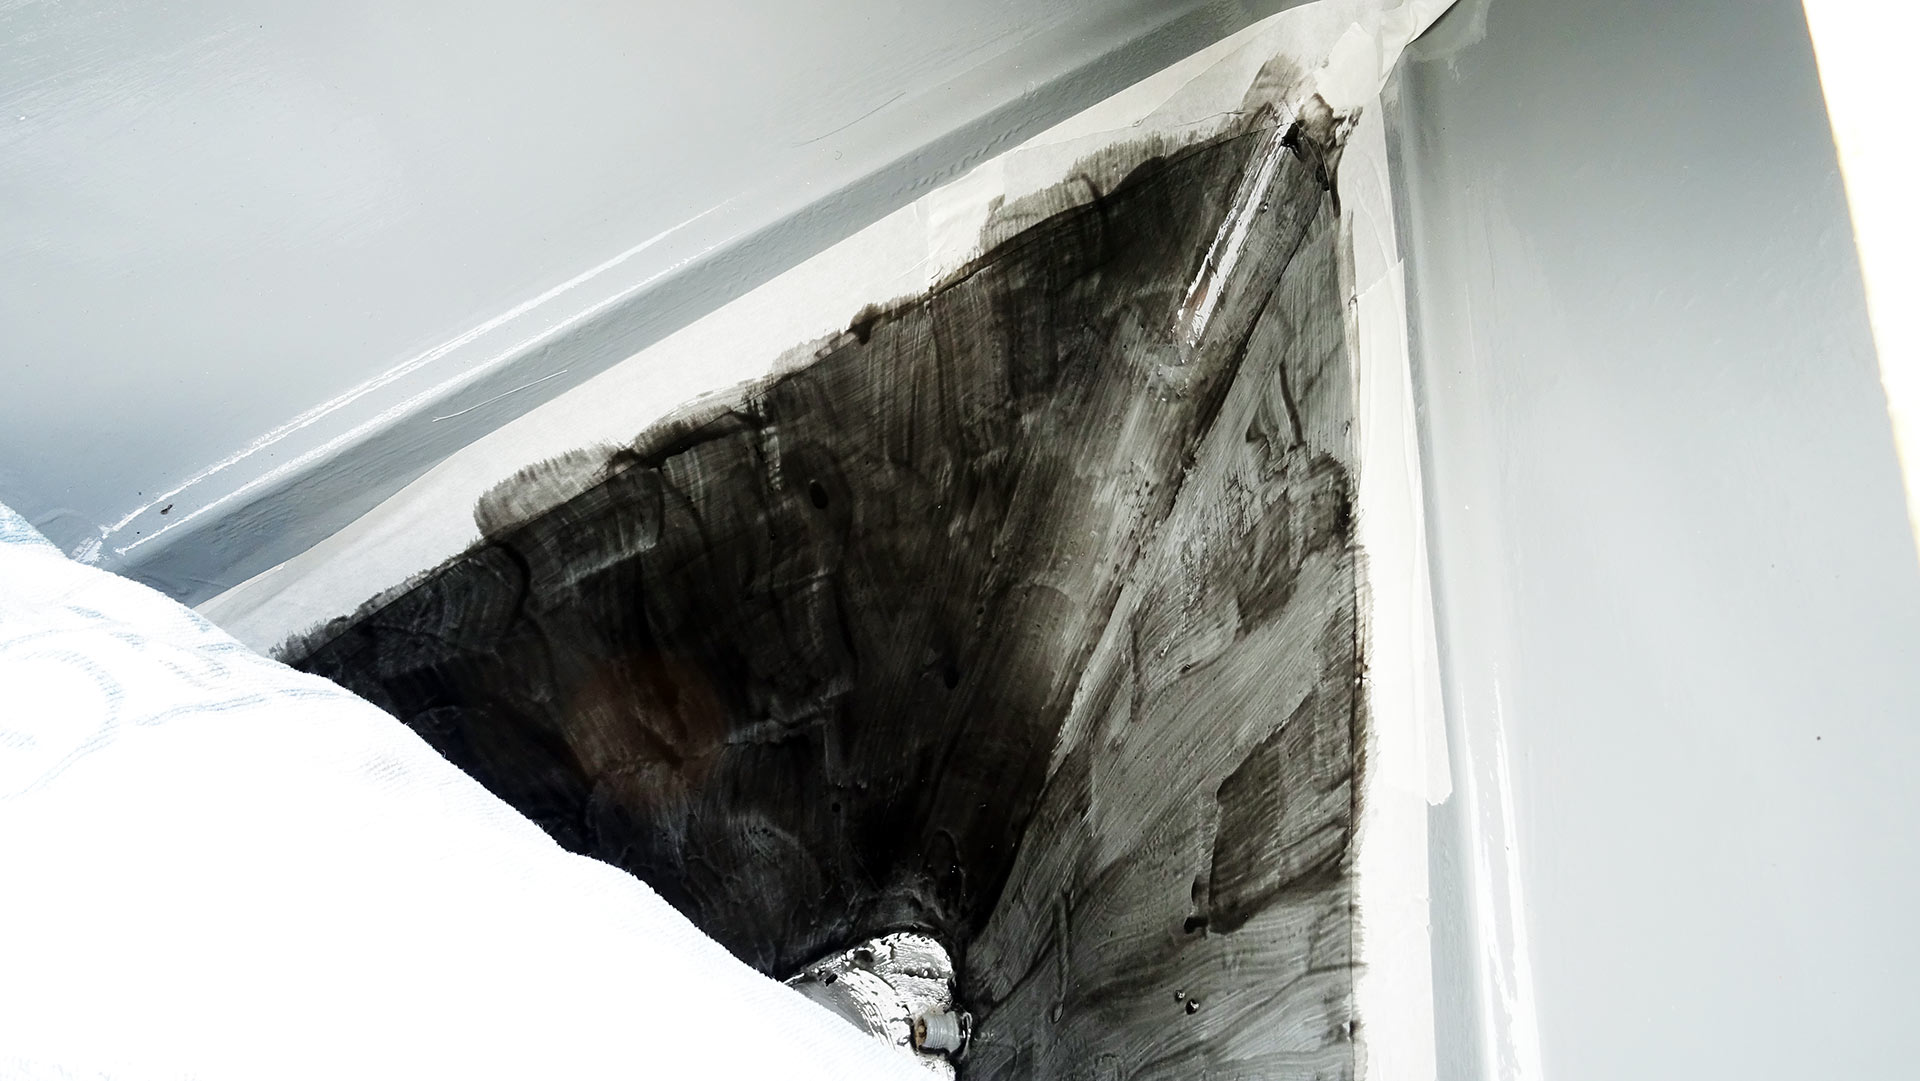
Apart from the awful smell – rubber plus thinner is one hell of a mixture! – I was at first very much disappointed by the effect. The first layer barely covered the surface, just adding a very, very thin greyish layer. Nevertheless, once having started, I couldn´t abort so I waited for a couple of minutes (this stuff dries out quickly!) to add a second, then a third and finally a fourth and fifth layer. And behold: The outcome was awesome!
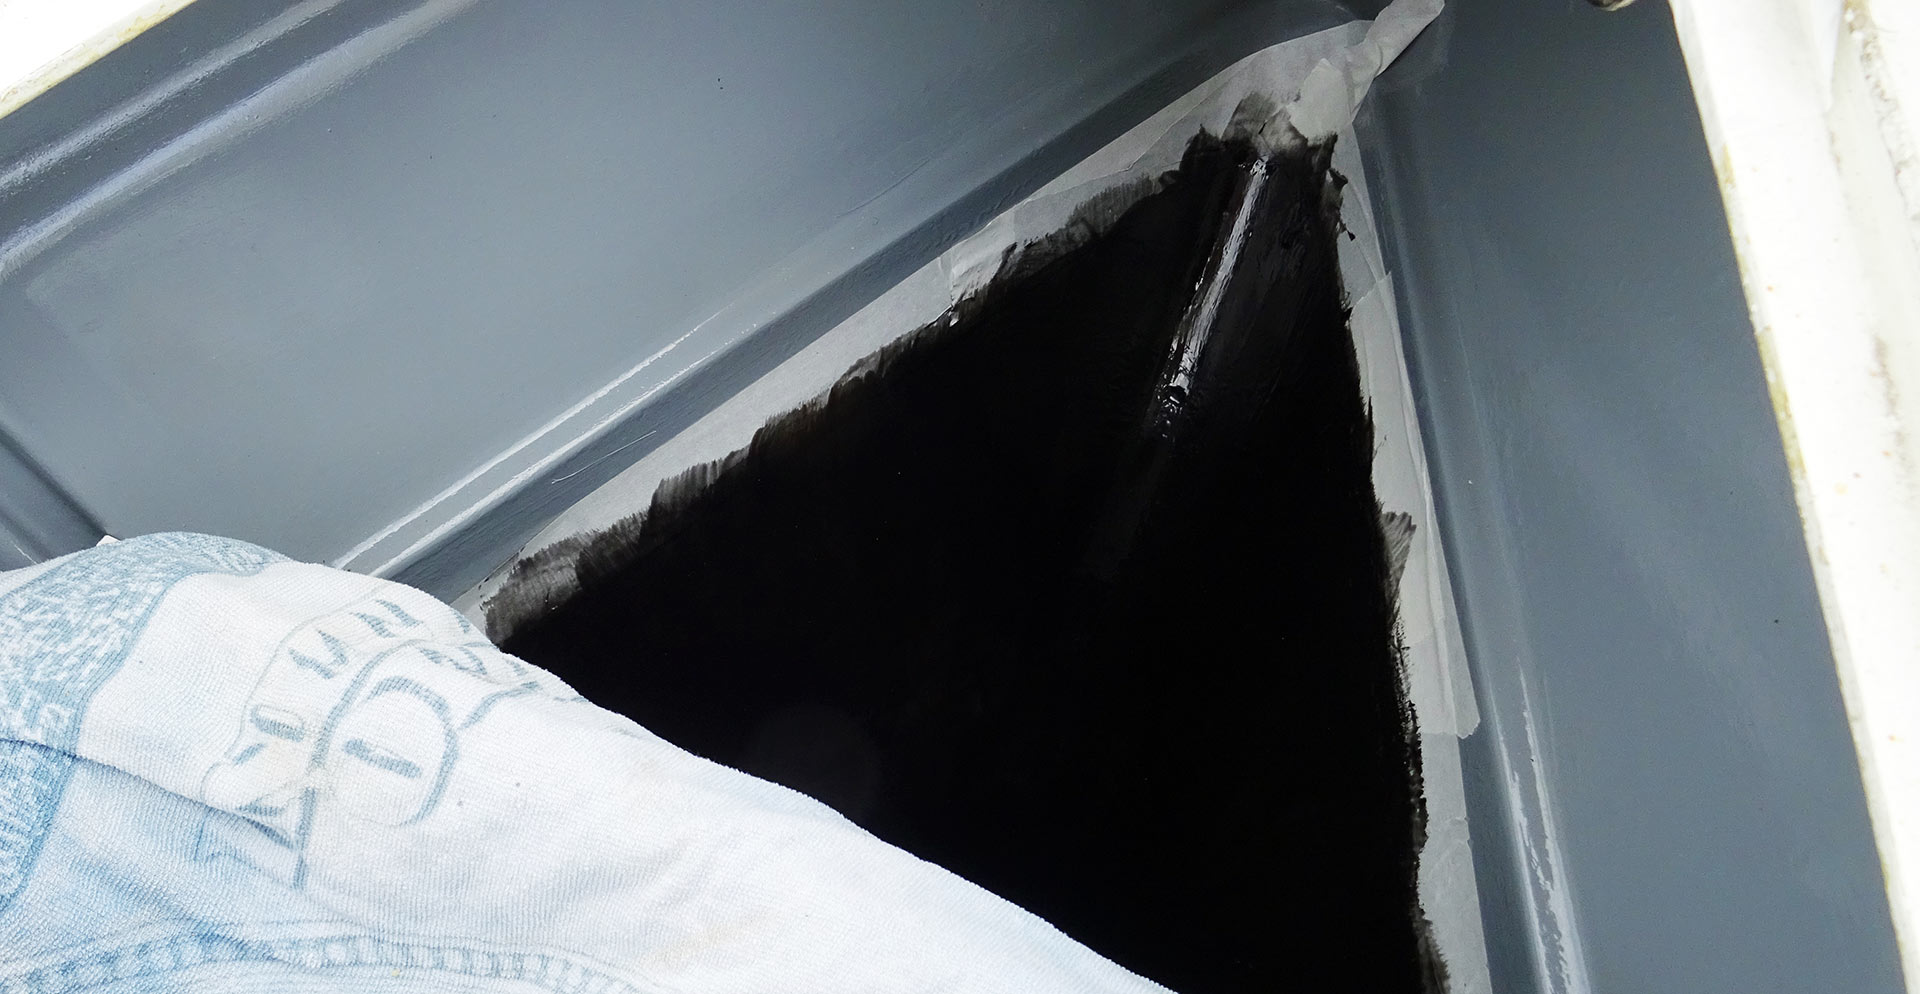
After five layers of applying the thinned solution of liquid rubber I had achieved a decent, dark black coat of rubber. It took some further 30 minutes to harden to a semi-dry state and I was very much delighted by the outcome. I´d say that these five layers do add up to a thickness of roughly half a millimetre, which was cool for me. But then, as if the mighty God of Refit always has to show his powers, I partially destroyed the upper edges of the newly coat when I tried to take off the masking tape.
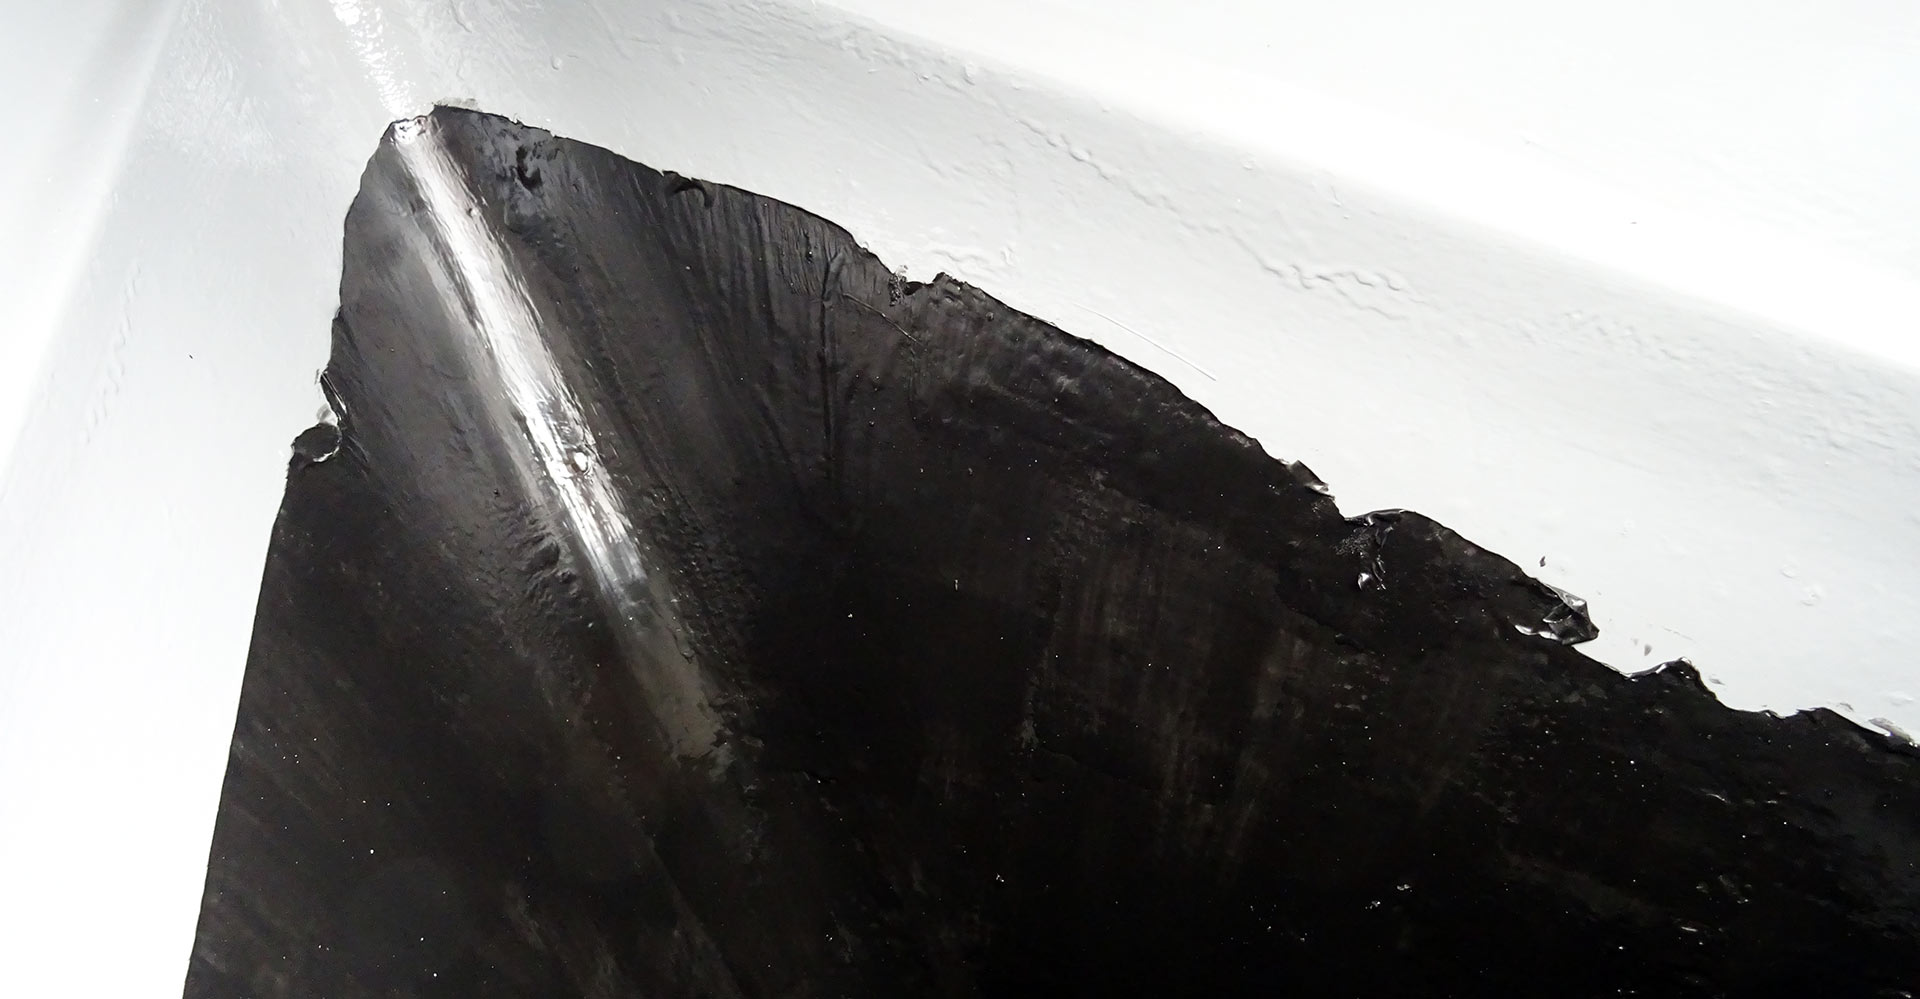
The rubber coating was so thick and dried that fast that the upper edge frazzled and – having no choice at all – I had to rip off the whole stuff and thus destroyed the fine line. That was a kind of setback but upon closer examination I figured that the frazzles wouldn´t be such a great problem as the adhesive forces of the not-really-dried rubber were enough to re-attach the detached parts. Later I added a thick band of very strong fiber ribbon tape all around so that I again got a nice straight black line and everything was cool again. Then I painted the last remaining half bottle (without thinner and it IS indeed brushable!) with undiluted rubber coating so that in the end I got one millimetre of rubber.
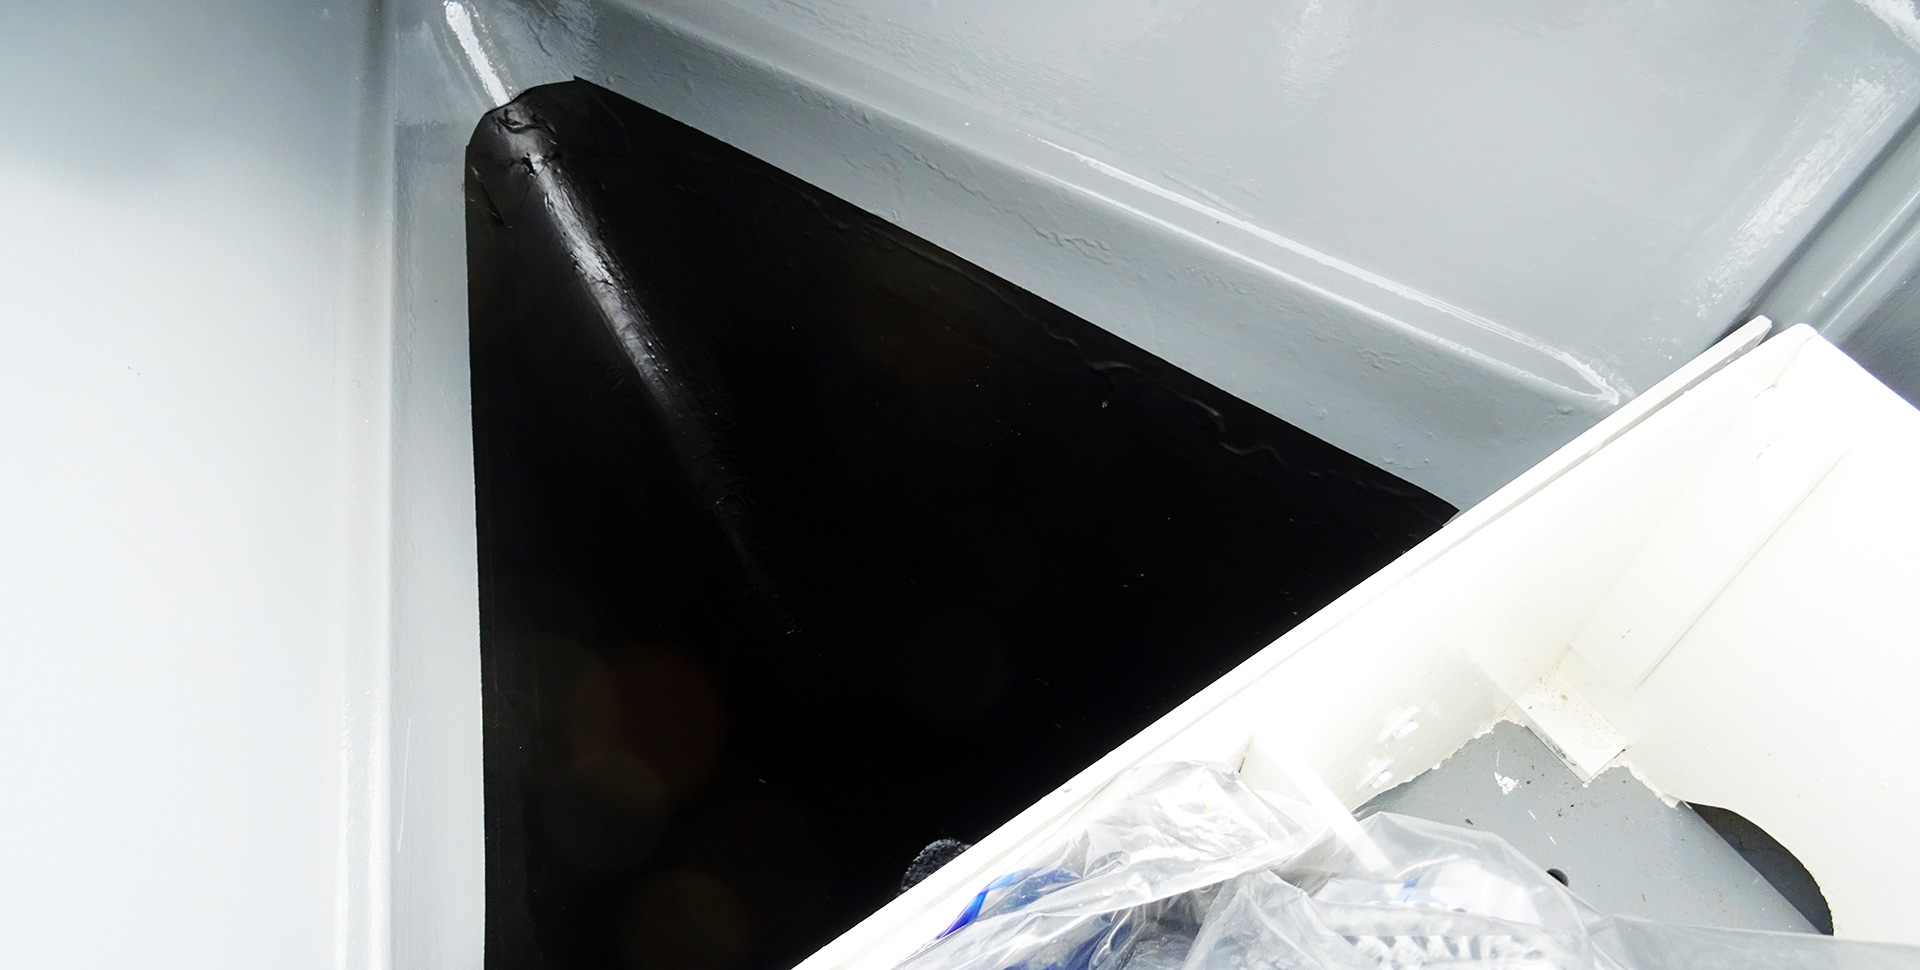
So, that was it for the rough parts in the refurbishment of the anchor chain locker. All in all some 10 working hours net went into this project and I was really amazed by the outcome of this quick side-step. As usual, tackling on item reveals two more on the list and that´s initially how I came to this project. Anyway, now that I was working here in the bow, I thought, let´s finish it completely.
A new anchor chain
My boss recently donated a brand new anchor chain after I helped clearing the stock of our company (thanks so much again!) and since this chain was 50 metres long I cut it to a nice 30 metres chunk. I would say that having 30 metres of anchor chain is more than sufficient for cruisers up to 40 feet and since my boat is just 33 feet this is more than enough for the boat. My pre-owners even kept 10 metres less in the King´s Cruiser and at least the man from whom I bought this boat didn´t tell of any problems.
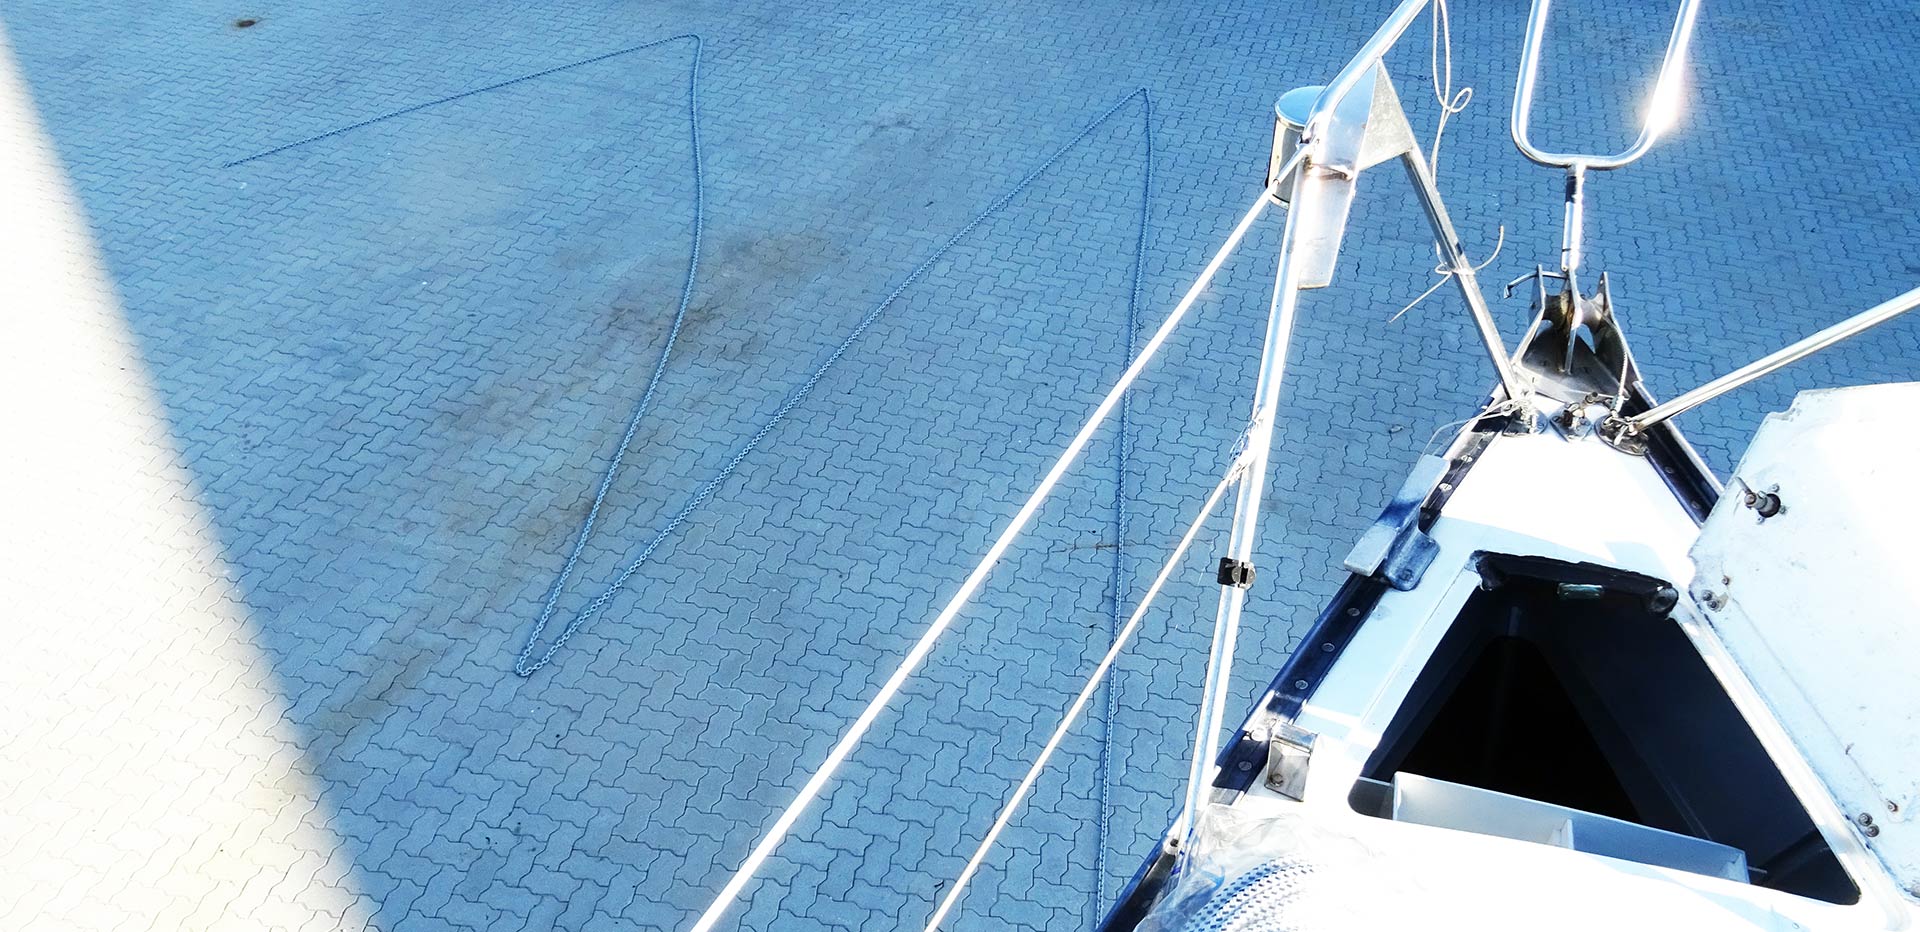
Nevertheless, having brought these 30 metres to the boat I laid up the full length of the chain right at the bow of my yacht and standing up there and contemplating the chain I was puzzled and fascinated by seeing and realizing the fact of how long actually 30 metres really are and – in contrast – how thin even a strong 12 mm-chain is in relation to the tons of moving boat which this chain is going to hold safe and tight even in foul weather conditions. Amazing!

Thinking back of our anchoring manoeuvres in Croatia some weeks ago I remembered the “trick” seen aboard this yacht and I marked the first and the last links of the chain with red (rust resistant!) color: In this I would be able to always identify the start and the end of the chain. I also marked the 10 and 20 metres-links with one (for 10 metres) and two (for 20 metres) stripes. I think having these is a good indicator in case I later don´t need to have the whole chain on the ground and – because I don´t have an electric windlass – to see how much chain is still to be hauled back aboard.
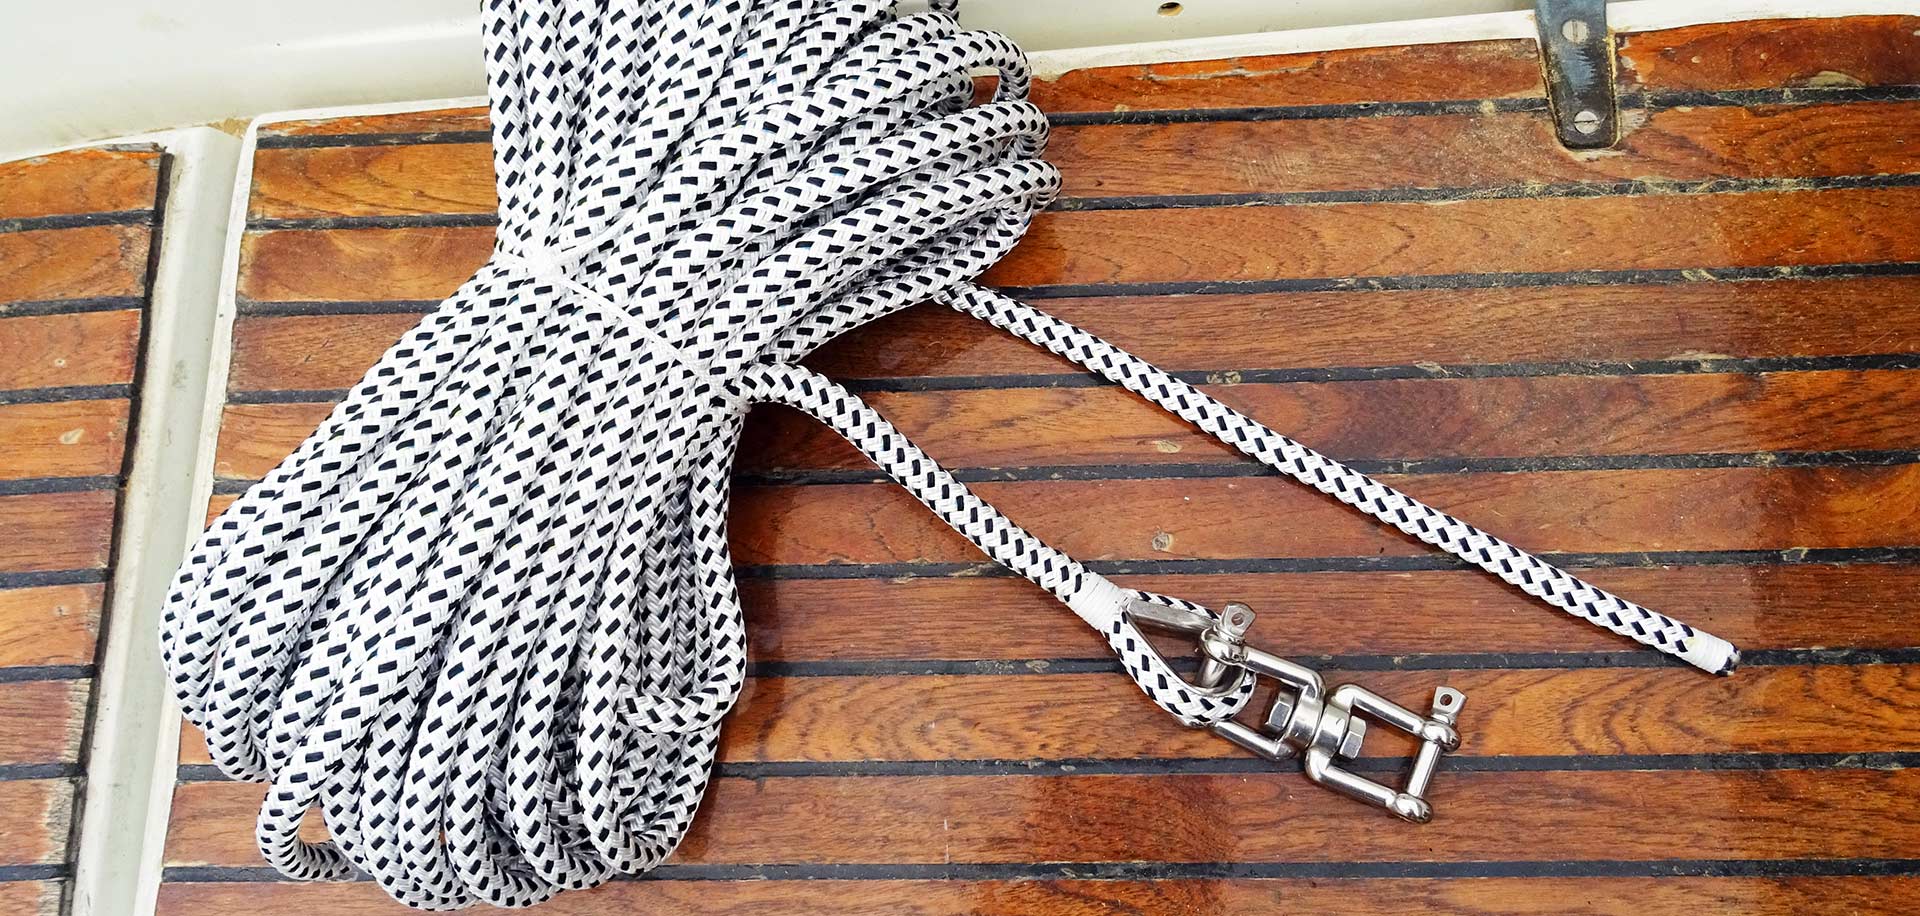
A new anchor line was bought as well. The old one, although in an acceptable condition, was pretty raunchy by the insects´s having made their nest all around it. I tried to clean the line in my washing machine but that wasn´t a good idea. So brand new 30 metres of dedicated anchor line have been bought. I paid heed to the fact that the line would have an eye with a metal inlay – by means of shackle this eye will later be connected to the anchor chain. Talking of an eye …
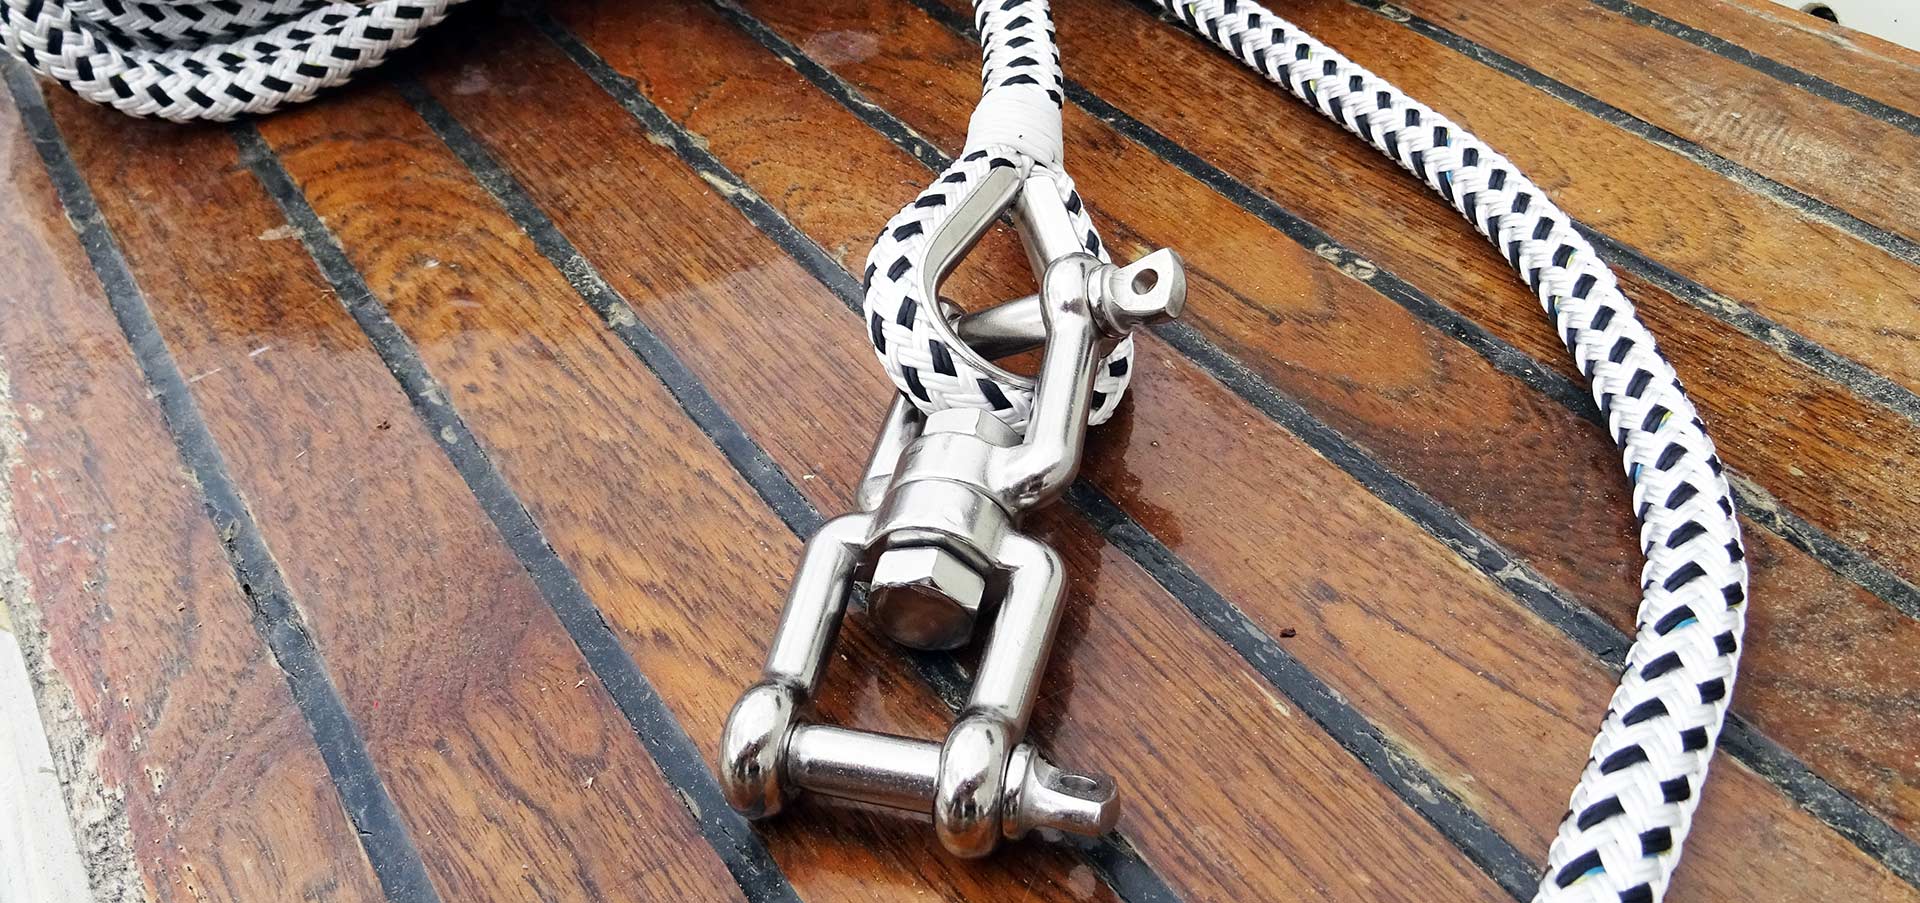
I also bought a brand new swivel shackle to later attach the anchor to the chain. Most people use a single shackle but I think having a shackle with a rotating centrepiece will make it easier to prevent the chain from being twisted and will add more safety because the anchor is able to spin freely. Securing the anchor line with a shackle to one of the bolts of the forestay chain plate was the last action to take here.

Ready to anchor away!
So, am I now ready to let the anchor away? Pretty much yeah! I will take aboard the anchor when the boat is hitting the water (hopefully next season) and after hoisting aboard the new chain there is just one item left to be done: In order to connect the gas bottles I will install a brand new pressure reducer and piping of the gas circuit of my boat. But this is a different story. In the end I am very proud of having finished this thing off my list and that I can focus again back on working on the interior things still left undone.
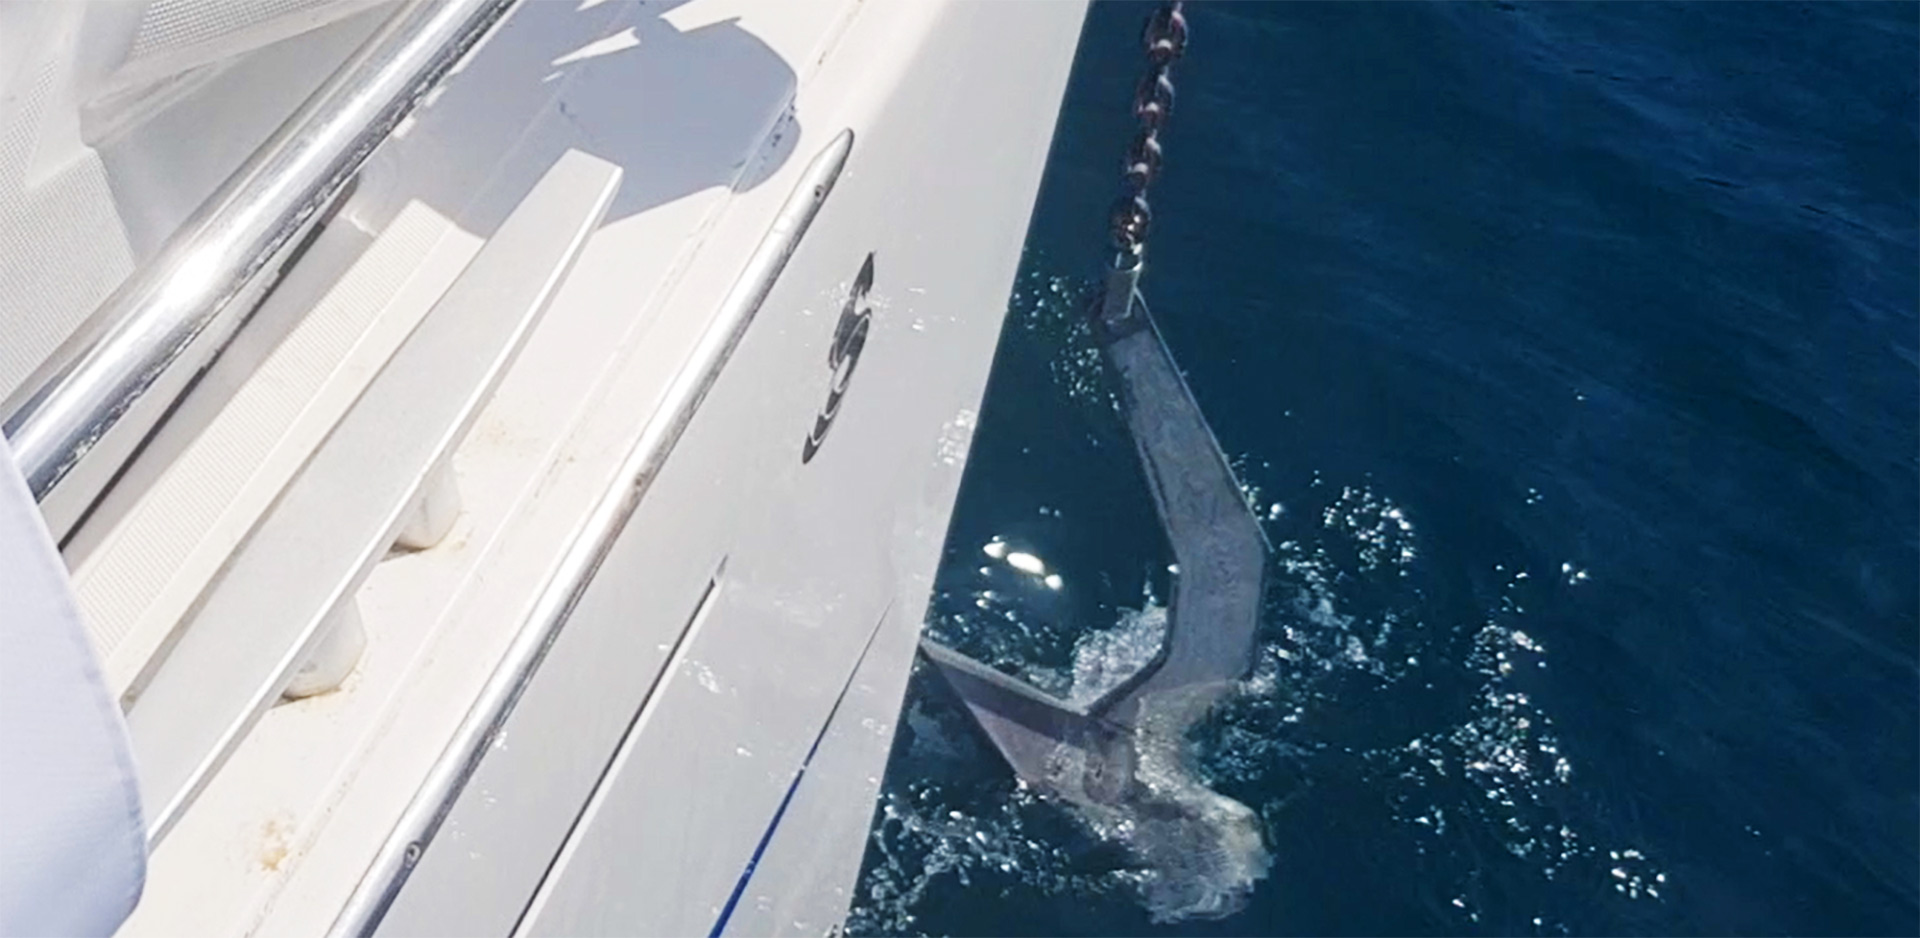
I am so much looking forward to using the anchor in a quiet, remote bay somewhere off a tiny Island – it wouldn´t have to be far away, Denmark, some 6 hours of sailing from my home port away, will perfectly do – but it will have to be remote. And quiet. Because that´s what being at anchorage is all about: Feeling the gentle motion of the nice waves, listening to the sound of the water and having just oneself (and maybe a loved one) to enjoy it.
You may also like to read about there sailing yacht refit items:
This is how it all started: The initial refit-plan for the King´s Cruiser 33
Replacing a compressor cooling unit with a new one by Dometic
A new galley for the yacht