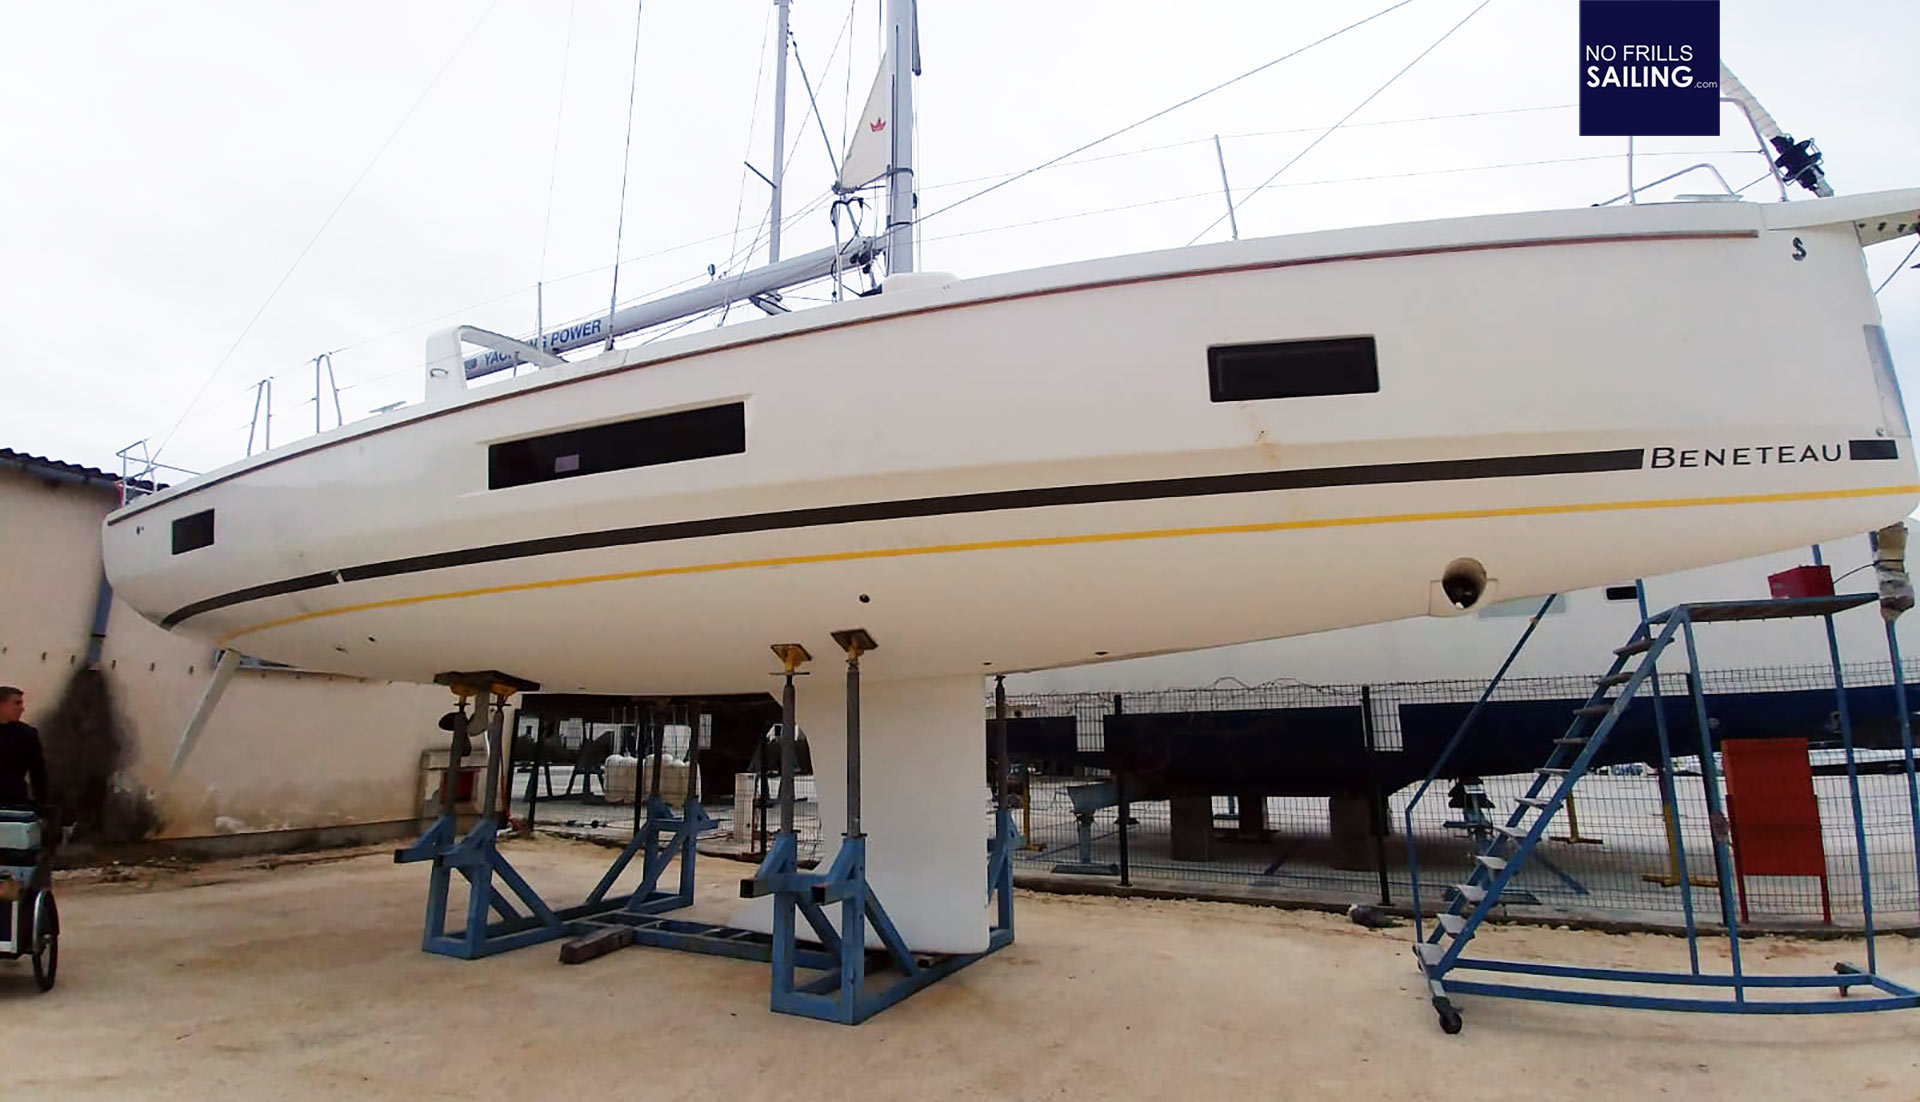
The less time I am able to spend on my own boat, the King´s Cruiser 33, the more time I spend this year on our stock boats, sailing with prospects and clients or – as done last month – transferring the boats to their new owners or destinations. In this I spent literally weeks on our Beneteau Oceanis 46.1 which is now sold and due for charter use in Greece. This particular boat was missing a proper antifouling marine protection up until now. You may have read the first part on this matter.
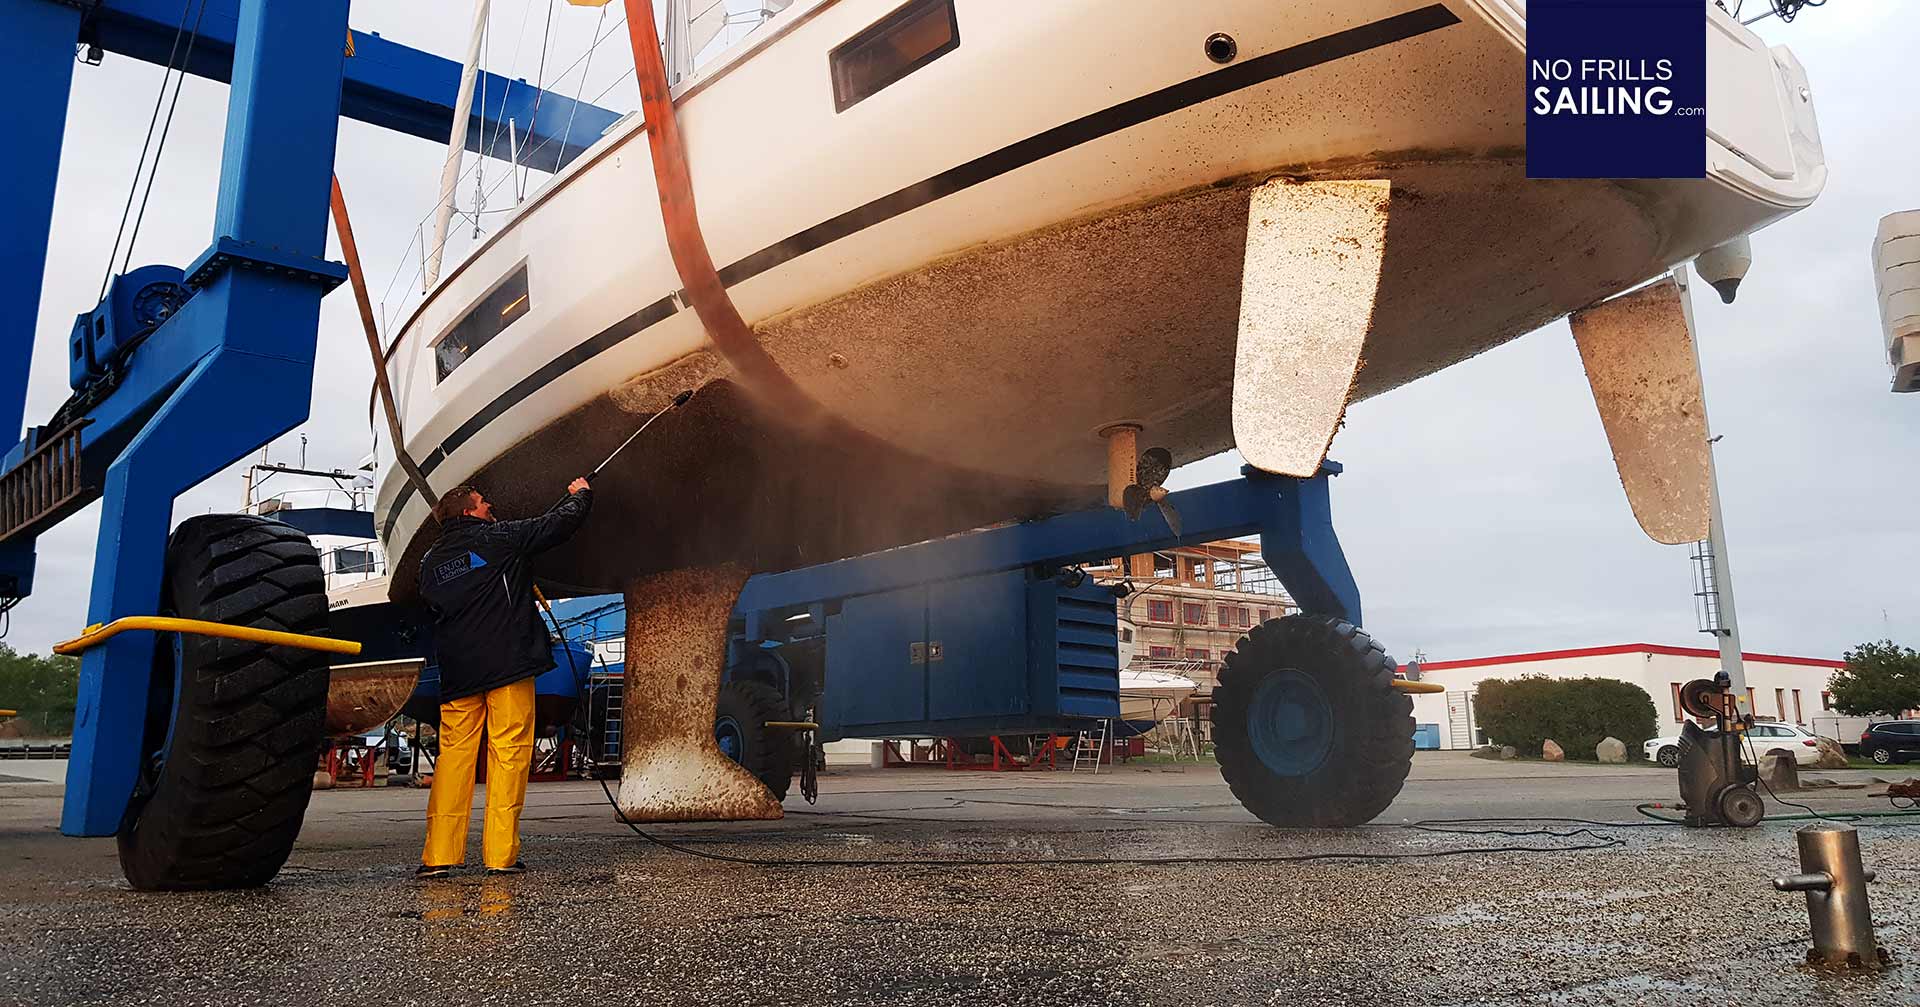
Due tot he fact that this boat was moored some miles inshore in a dead lateral of a river running into the Baltic Sea, marine life was able to flourish. The boat was covered by a multi-centimetre thick encrustation of shells and mussels. The boat gained some 2 knots of speed-performance under engine after we removed the majority of the crust by high pressure cleaning – although we couldn´t get rid of all the fouling. Now that the boat arrived to Croatia, we were happy to mandate the professionals of Baotic Marina to apply a proper antifouling protection for that yacht – let´s have a look on how they did it.
Hull preparations: Premise to Success
As you may see easily on the pictures, there was still lots of leftover from the mussels on the hull. This marine life forms a kind of biological cement with which the mussels glue themselves onto the underground. This cement is a wonder of nature because it exhibits similar features like the more famous spider´s silk. The wonder-glue of the mussels is an amino-acid that is produced by the digestive system of the mussel. Dispersed in threads the cement reacts with salt water and Oxygen and forms so-called Byssos-threads which are interconnected with each other – mussels thus can colonize on virtually every underground, even in very turbulent waters.
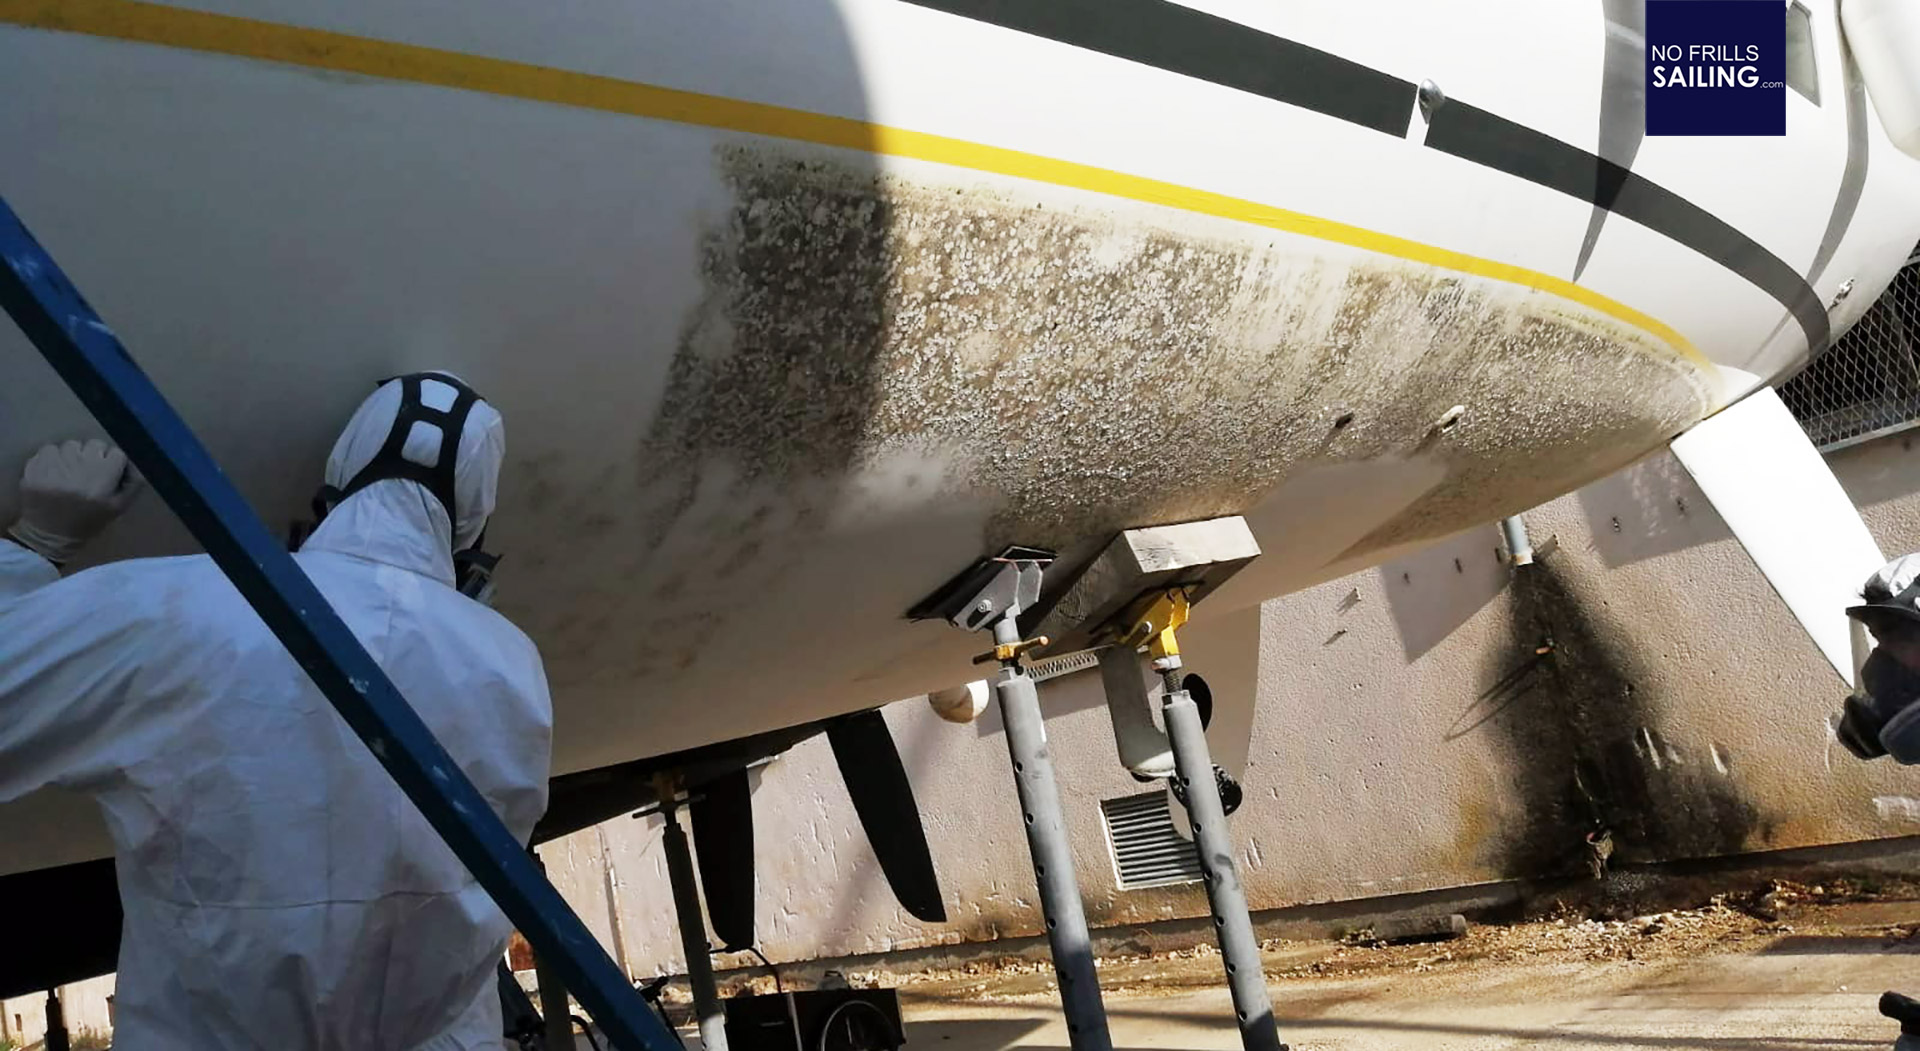
After removing the mussels this very hard, some 2 millimeters thick layer of Byssos-leftover still remained on the hull. It formed a solid encrustation and covered the whole underwater hull of the sailing yacht. It was clear that this cement could only be removed by sanding the hull. Manpower needed!
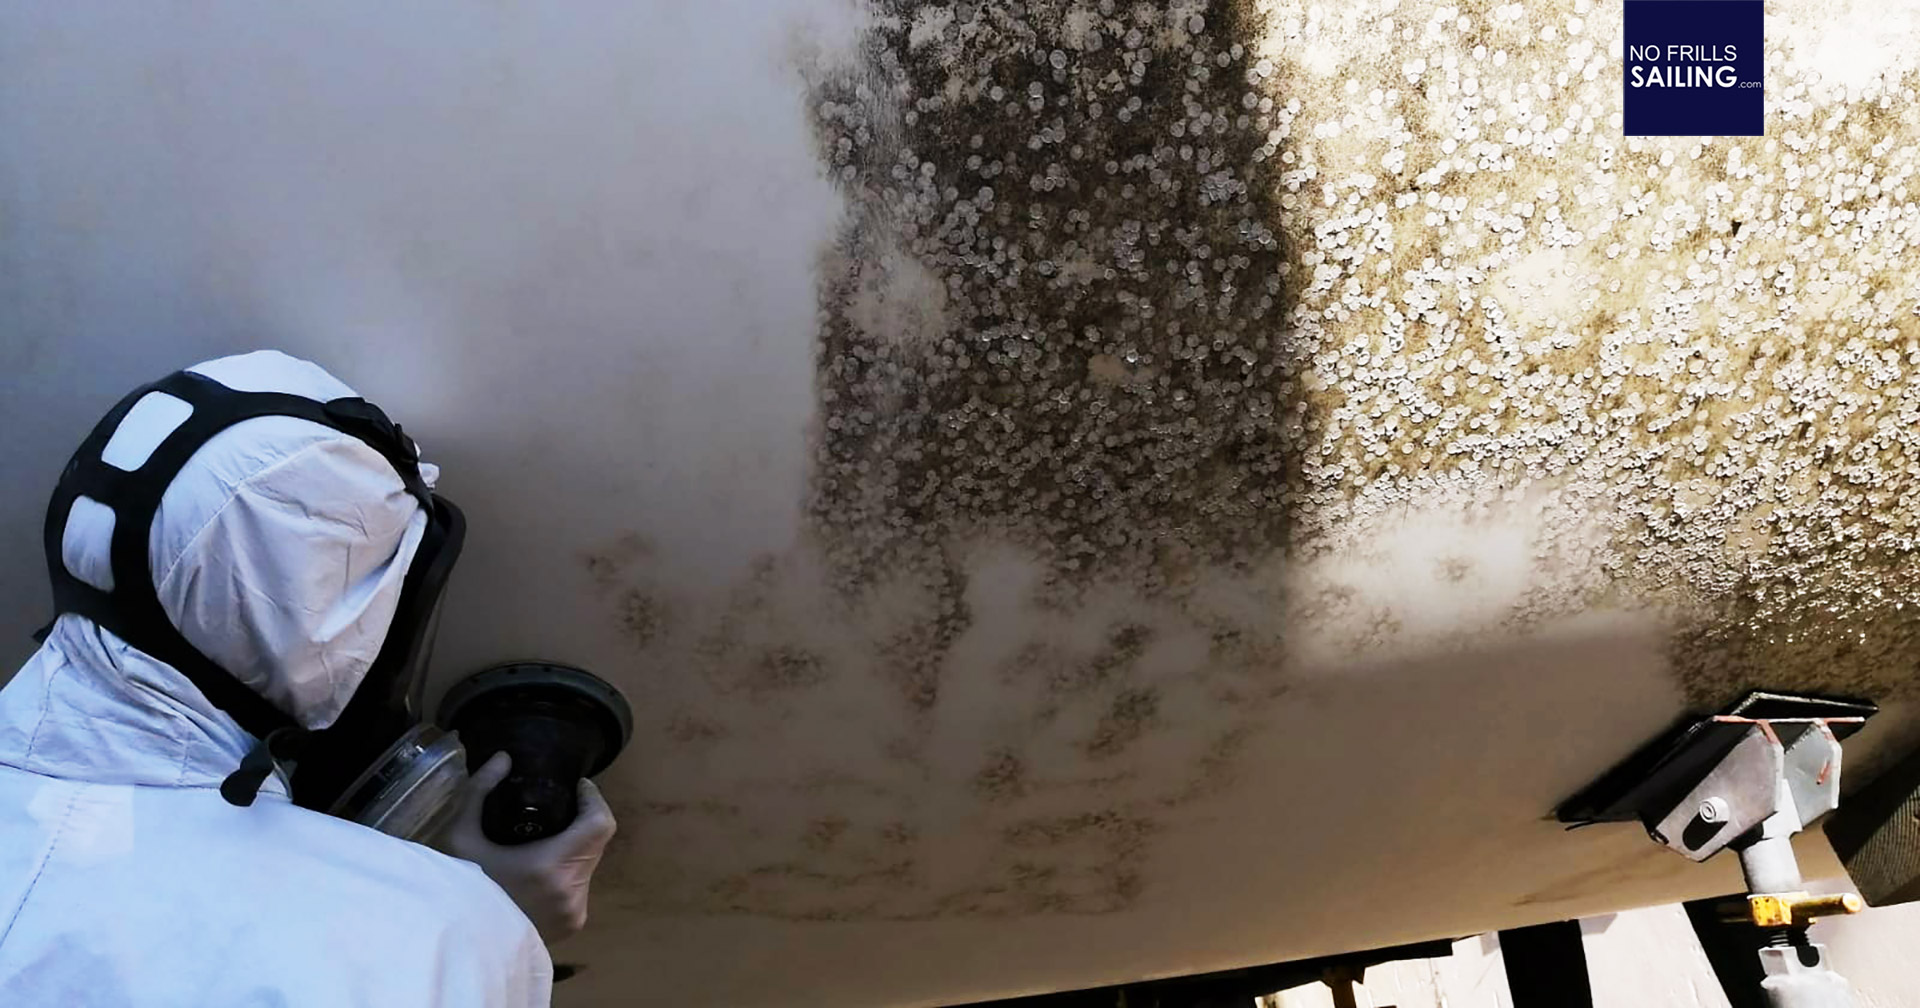
It took no less than four people and a half day of hard work to remove the crust. By that, the guys had to wear protective gear, most of all a good breathing mask which should be a matter of course when working with a sanding machine on a boat. Not only will the fine dust of the bio-cement enter the lungs otherwise but as the sanding machines are as well sanding away part of the Gelcoat of the hull you definitely do not want to get this chemical stuff into your breathing organ.
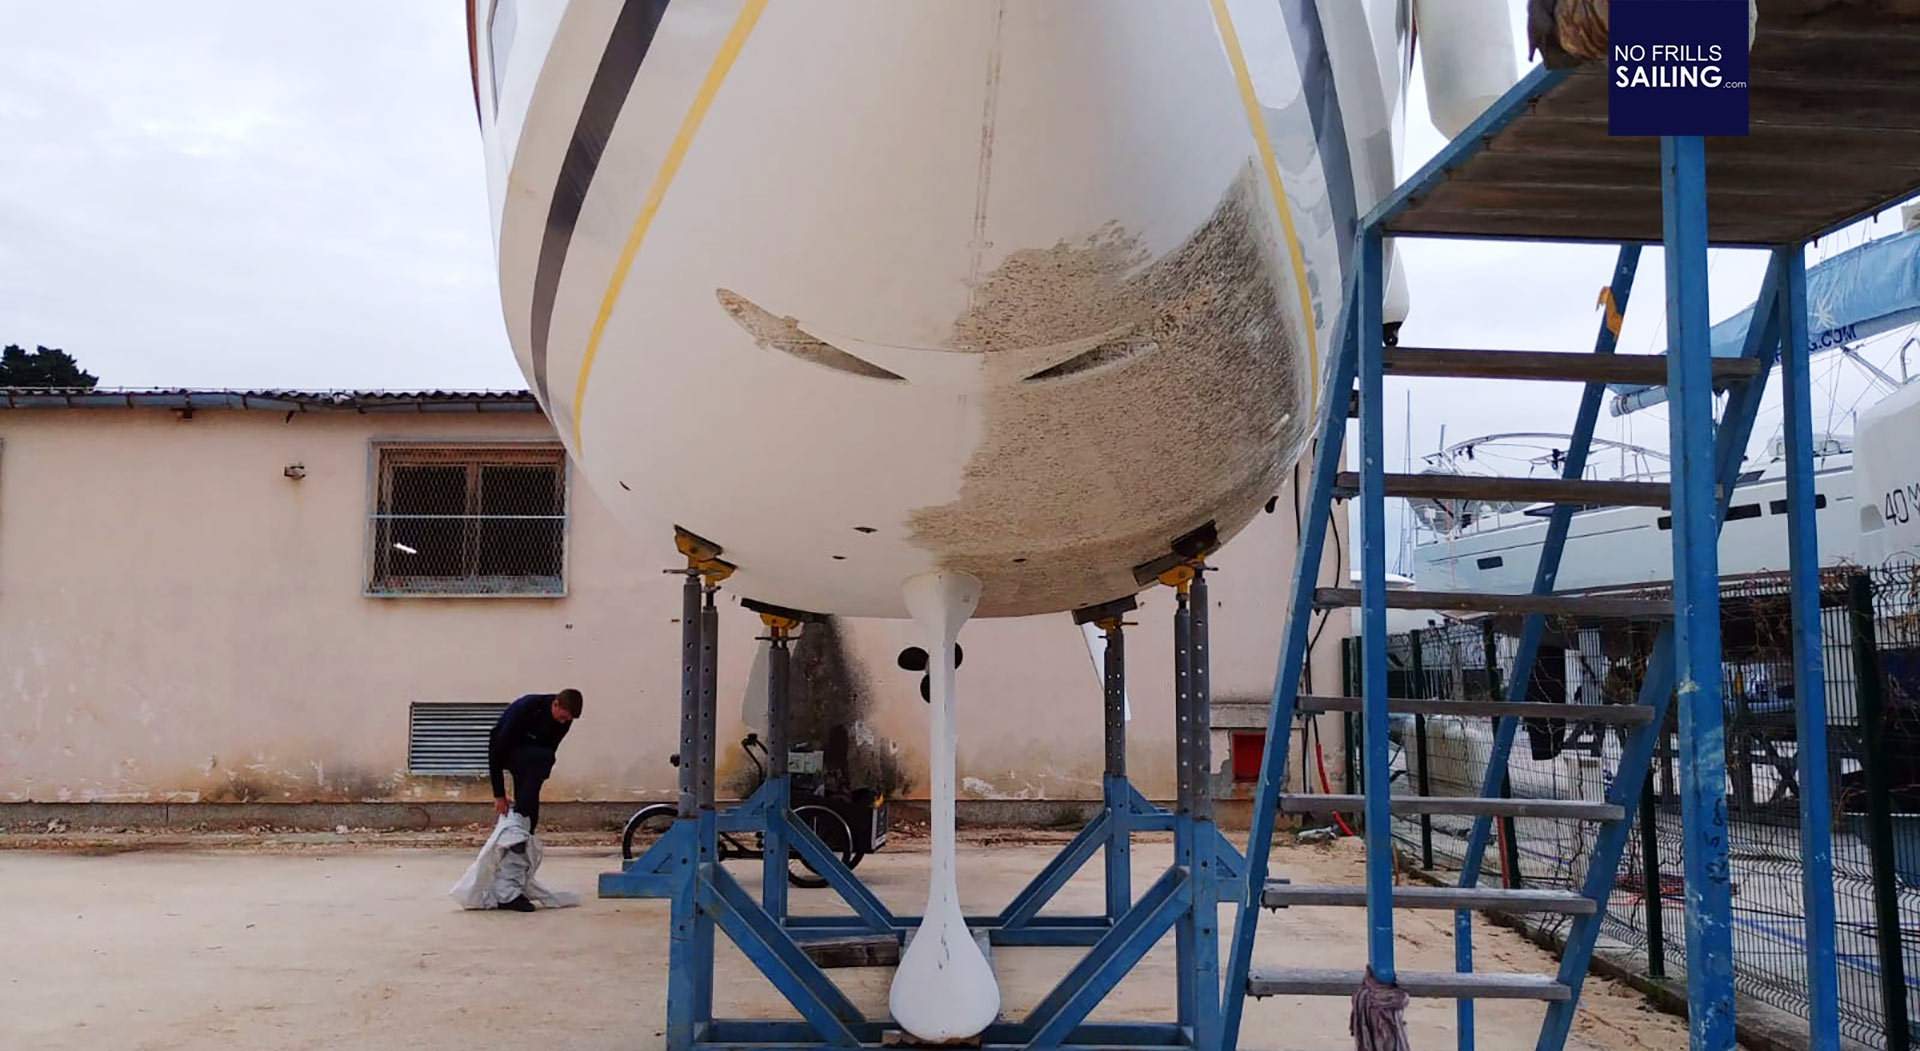
No matter if your boat is covered in mussels or not, if you apply the antifouling by yourself you as well should sand the underwater hull of your GRP-yacht. Gelcoat is a very solid, slippery and impenetrable material. In order to offer a better grip for the paints a sanding of the hull and thus opening up of the underground material is necessary.
Antifouling Primer – Products & Techniques
Now that the hull is sanded down the boat´s hull needs to be cleansed from dust properly. Best tool here is a high-pressure cleaner and fresh water. This makes sure that even the smallest amounts of dust particles and leftover of Gelcoat or encrustation is removed thoroughly. Now, let´s hand over to the chemical industry. First layer to be applied should always be some form of Epoxy undercoat. You may use 2K Epoxy or ready-made products available on the market.
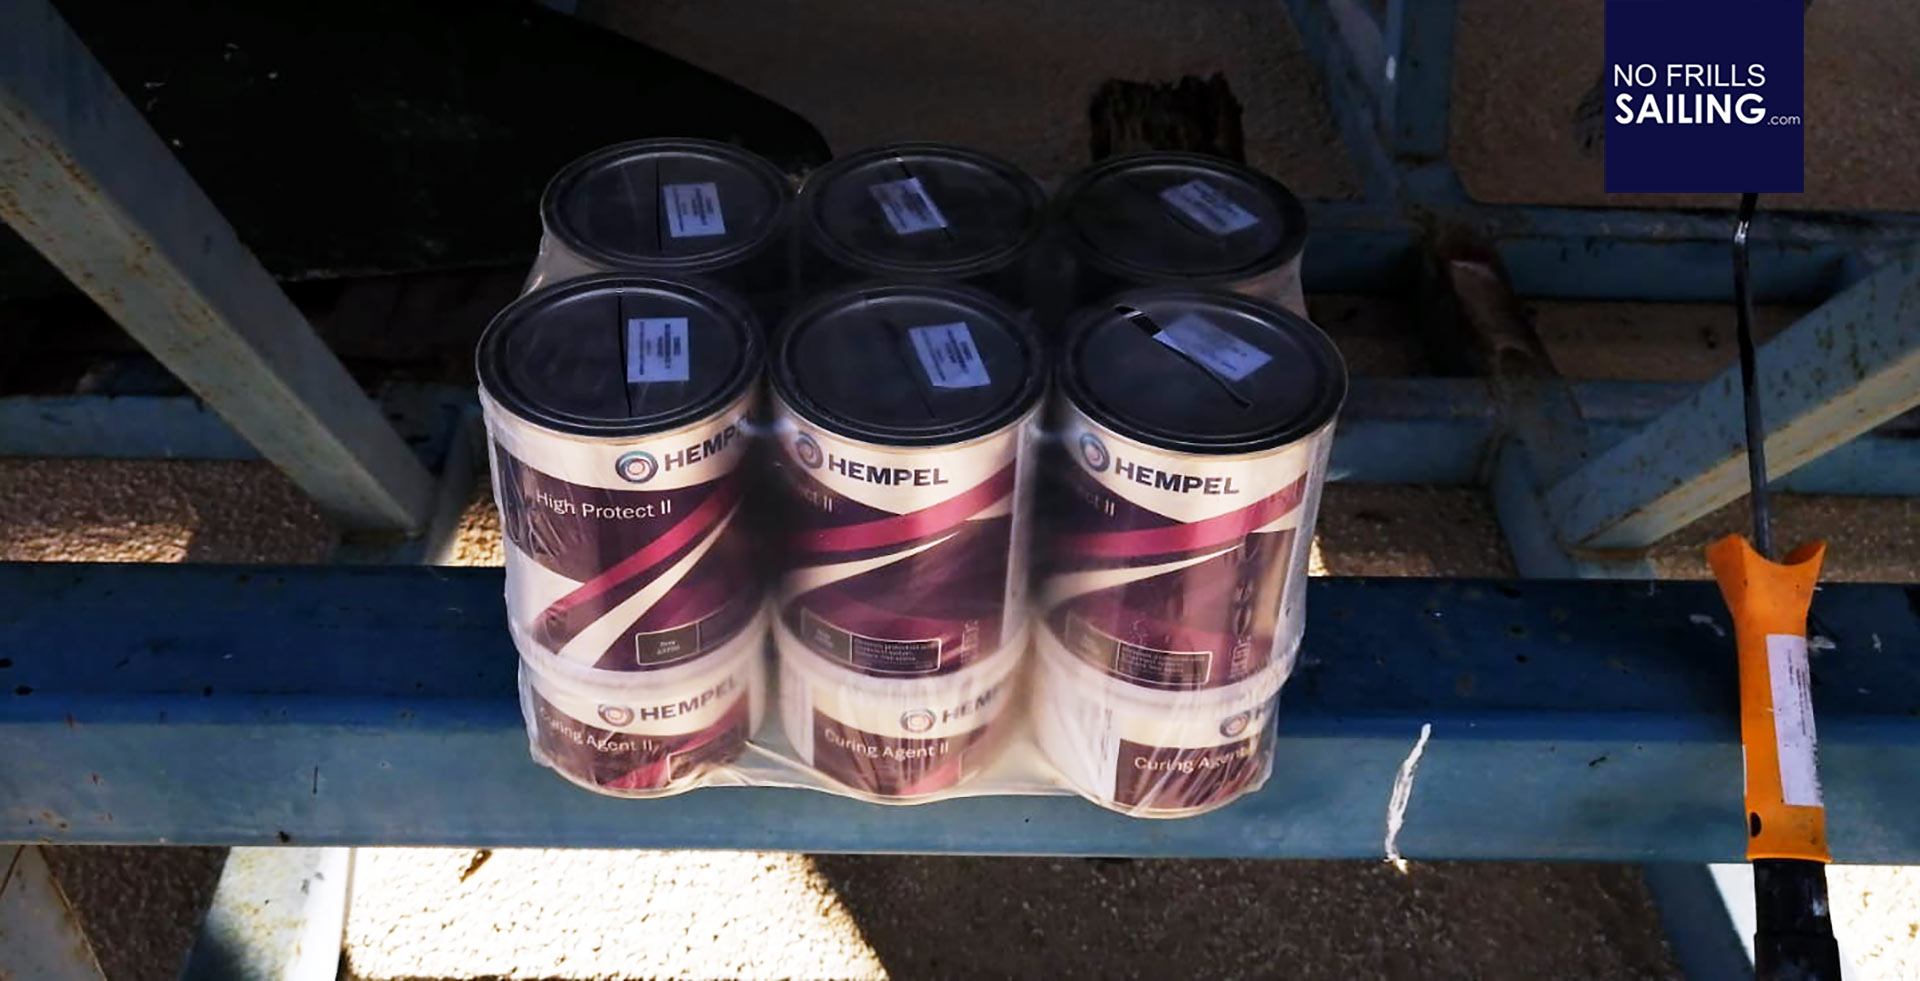
In our case the guys relied on products by German company Hempel which can be labelled as the 5-star-products available. Hempel is known in the commercial shipping industry for high-performance paints and coatings but also provides products for pleasure crafts. Most known and used brand on the market may be International, a company who´s products I do utilize on my own yacht as well most of the time.
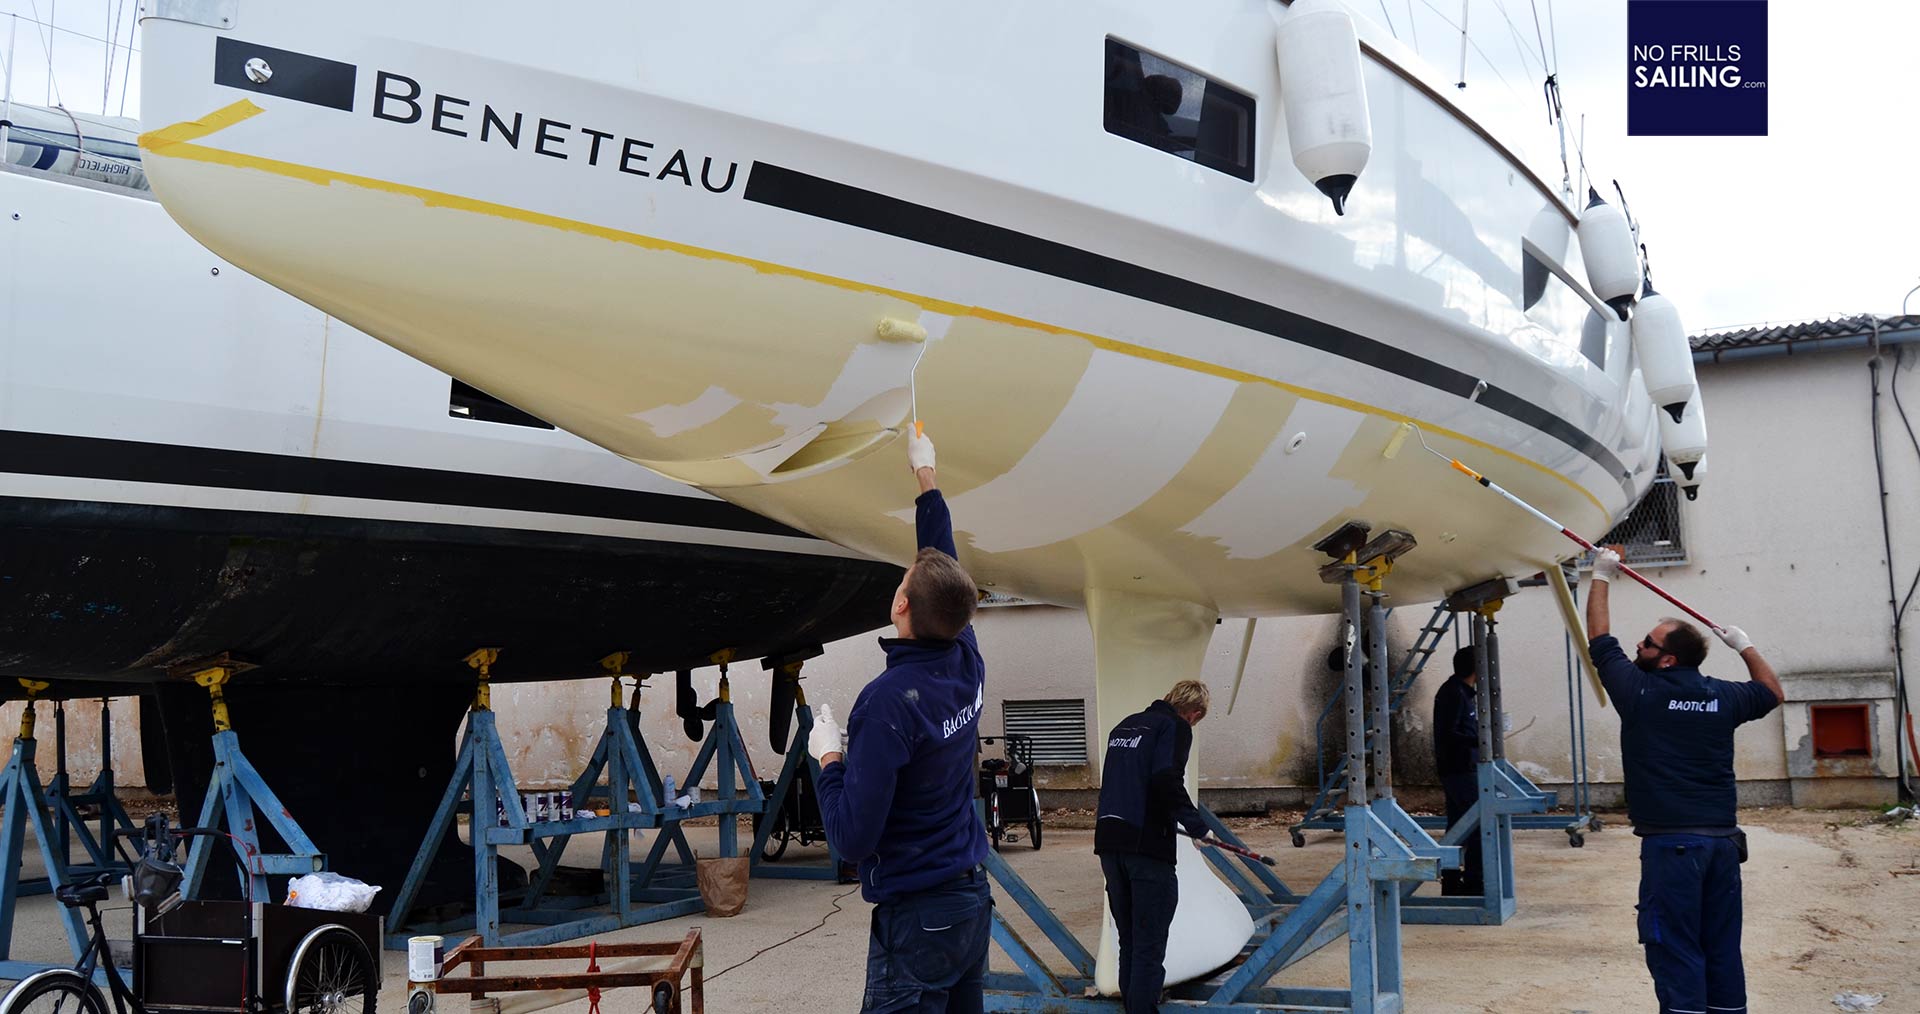
No matter which product you choose, you shall apply them by means of a roller – never use a brush. Problem with brushes is that they use up way more paint and thus produce a way thicker layer. As these things are very expensive every surplus can of Epoxy, primer or antifouling paint weighs heavy on your budget. Secondly, brushed tend to lose hairs which are annoying. In the course of time hairs will be washed out and open up small slits. A roller applies the material in an even, nice and smooth way – besides, it´s way faster and saves time.
For our Oceanis 46.1 the crew went for one Epoxy base coat and later applied no less than three more layers of primer. Primer protection is key to Osmosis prevention. Osmosis for GRP-boats is a big topic and I must admit that I personally do not advocate the commonly postulated myth of this looming threat. At least modern GRP hulls as they are now produced by the yards aren´t that prone to Osmosis anymore so as a boat owner you should at least skip 50 per cent of the panic to get a realistic picture. Osmosis is virtually non-existent in modern infused hulls – as long as the Gelcoat-layer is intact and the laminate isn´t damaged.
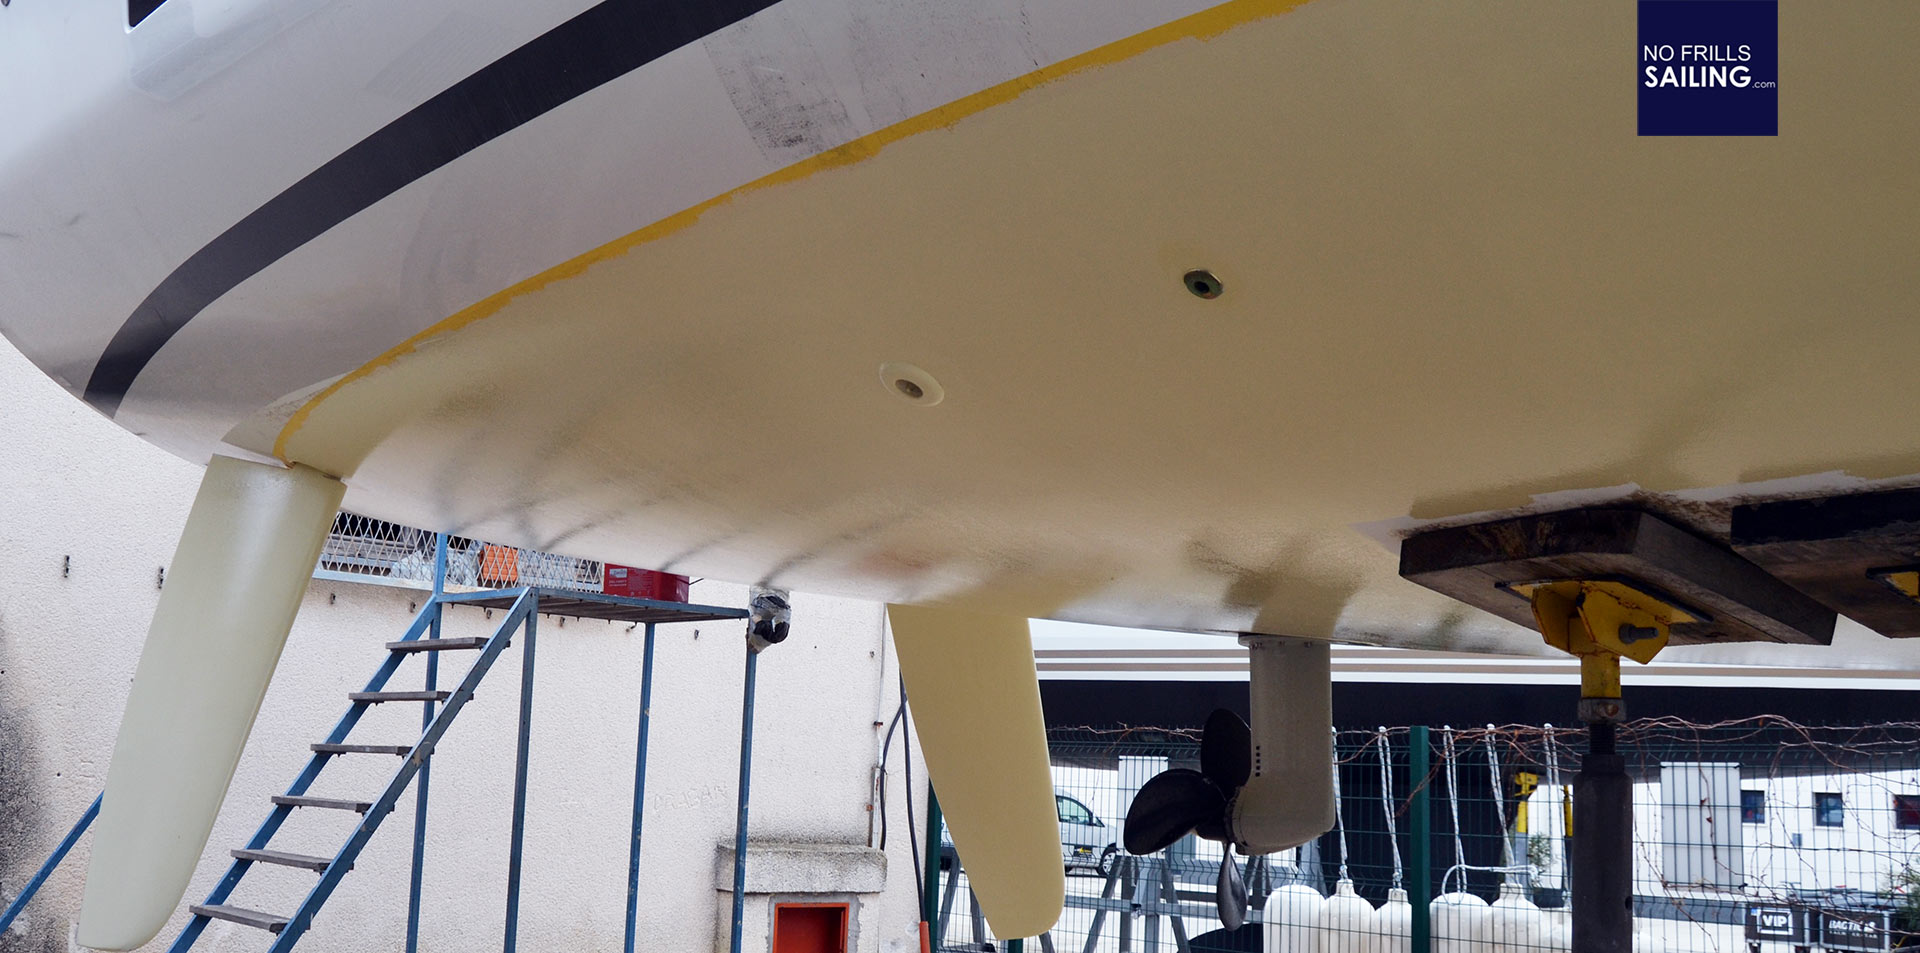
Anyway, our colleagues went forward to add three layers of white primer paint. Every new layer was given the chance to to become touch-dry before the next layer was applied. By the way, it was the best decision leave cold-wet Germany and to wait for the warmer and dryer Croatia because these products need to be applied in a certain range of temperature and air humidity to achieve the best outcome. If you do it yourself you should of course check the product´s informations if conditions are right to start working.
Different sailing areas, different solutions
Depending on where you sail and how often you sail the industry offers different forms of antifouling protection. In general, antifouling can be self-polishing, meaning that the material-layers are slowly dispersing into the water; polishing, meaning that the material is taken off by the flow of the water around the hull when sailing; hard antifouling for fast boats (mostly powerboats). In our case – like for most sailing yachts – we went for the self-polishing antifouling.
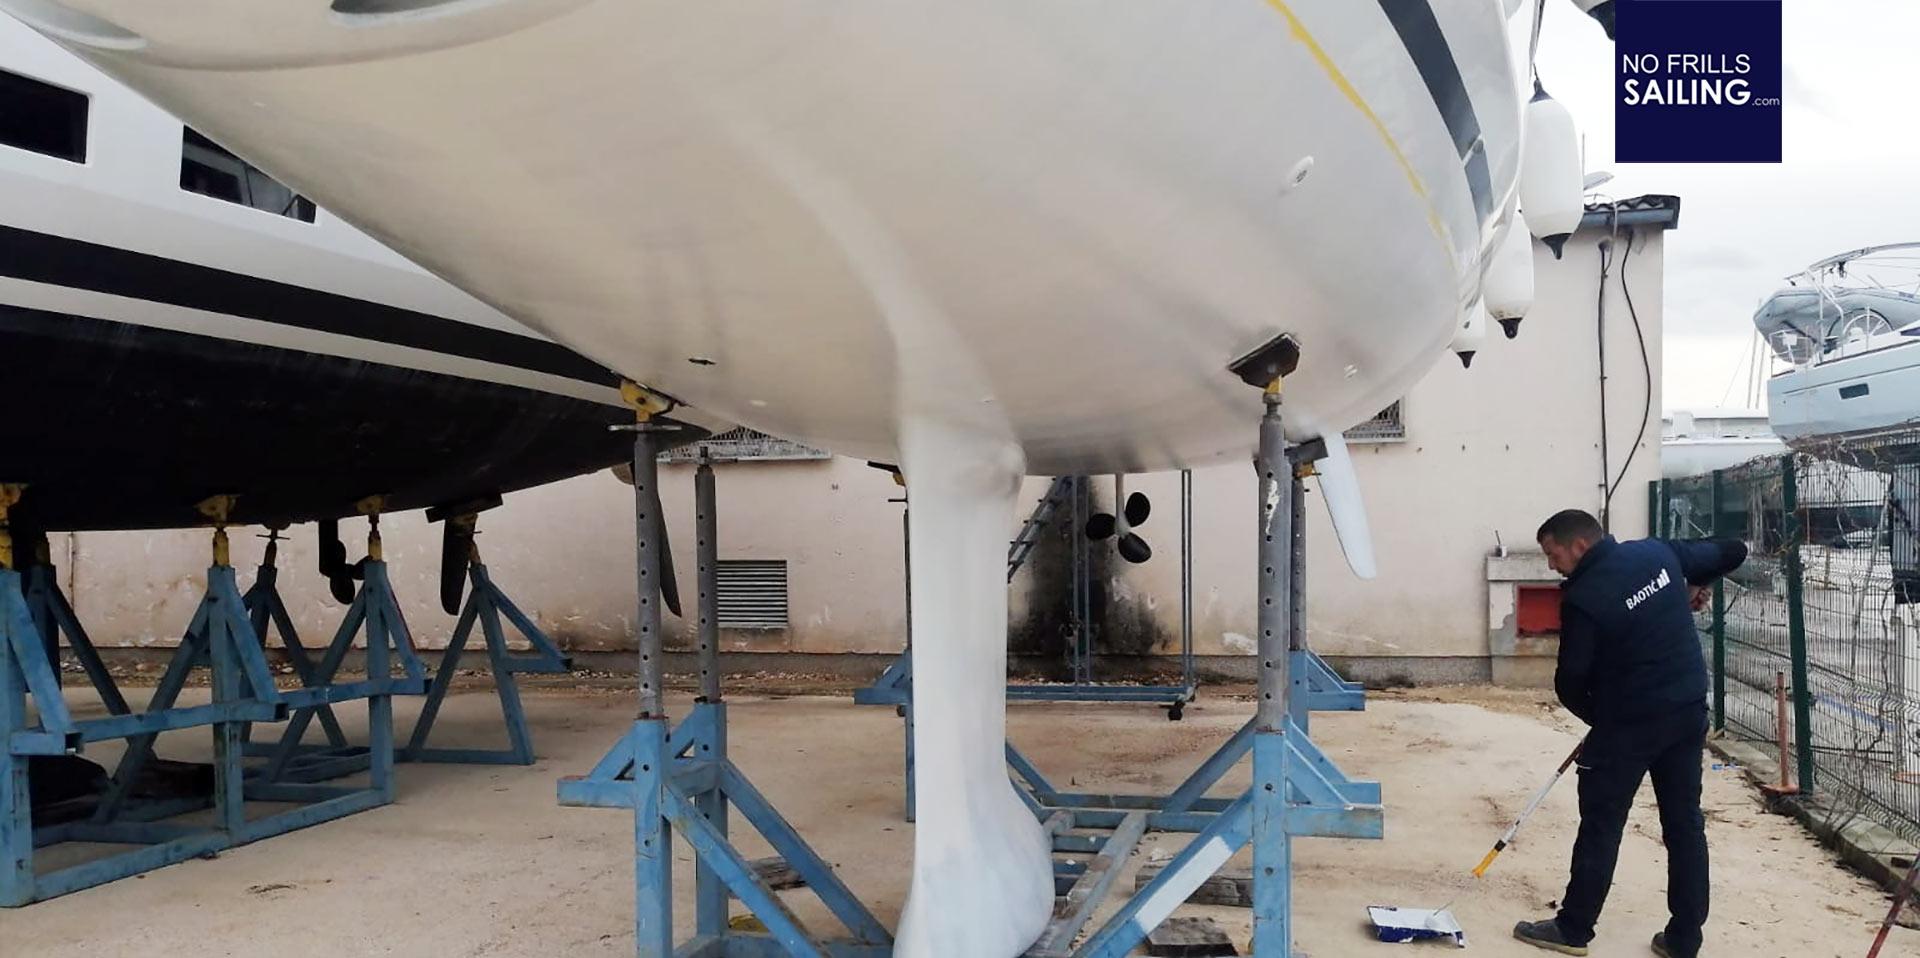
In this, the owner has the choice to decide between a handful of colors from white (looks great when new, looks not so great when at least the waterline shows a green or black layer of stuff), blue and red, which underlines certain characters of boats (for example, my King´s Crusier has a blue antifouling) or – mostly used – a black antifouling. We went for the black which is an obvious choice: Even if after some days or even weeks without being sailed, forming marine encrustations won´t be seen on the black underwater hull.
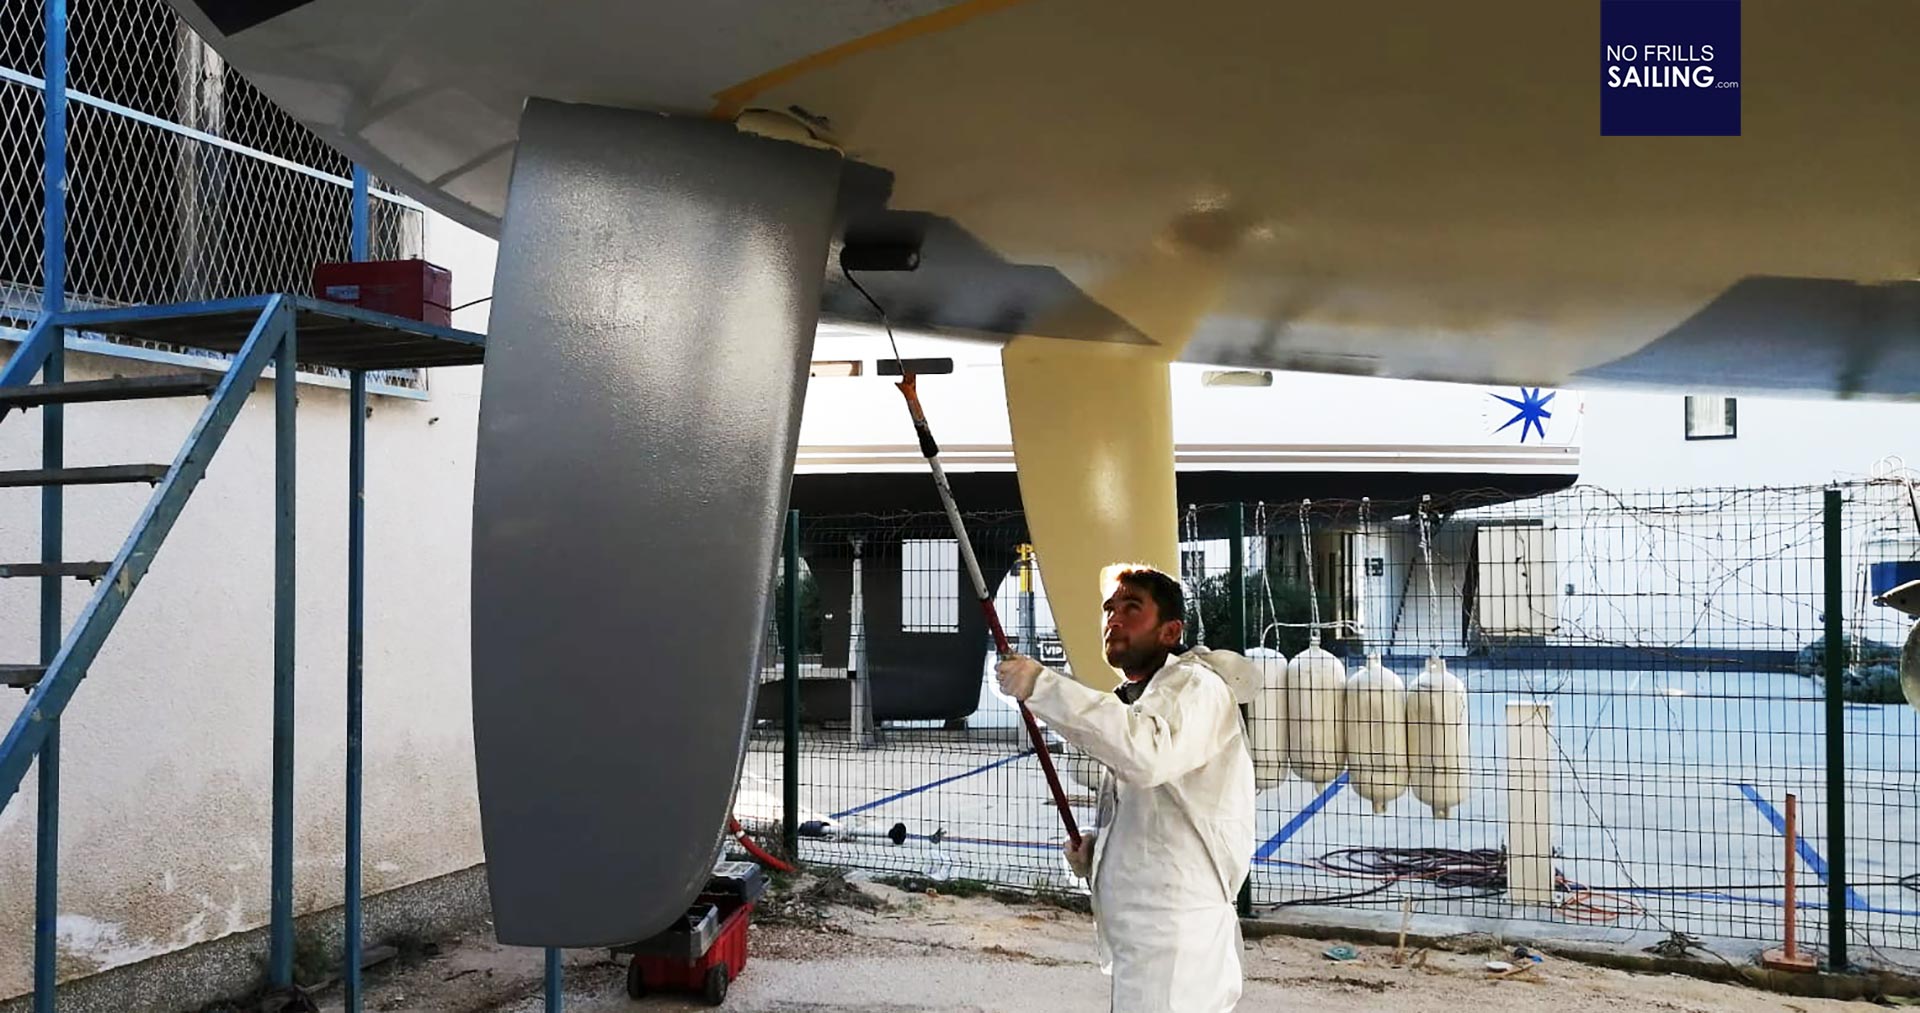
We will have a detailed look onto the very application of the antifouling products in the third and last article on this matter. But as a “trick“ or hint I would suggest that of the minimum 2 layers (better have three of them) to have the first layer (or the middle layer when three are applied) is done in a different color. Let´s say you have three layers and went for a black antifouling color. Then do the first and third layer in black – and have the middle layer done in red. If now after one or two seasons the red color shines through – it´s time for a refreshing paint.
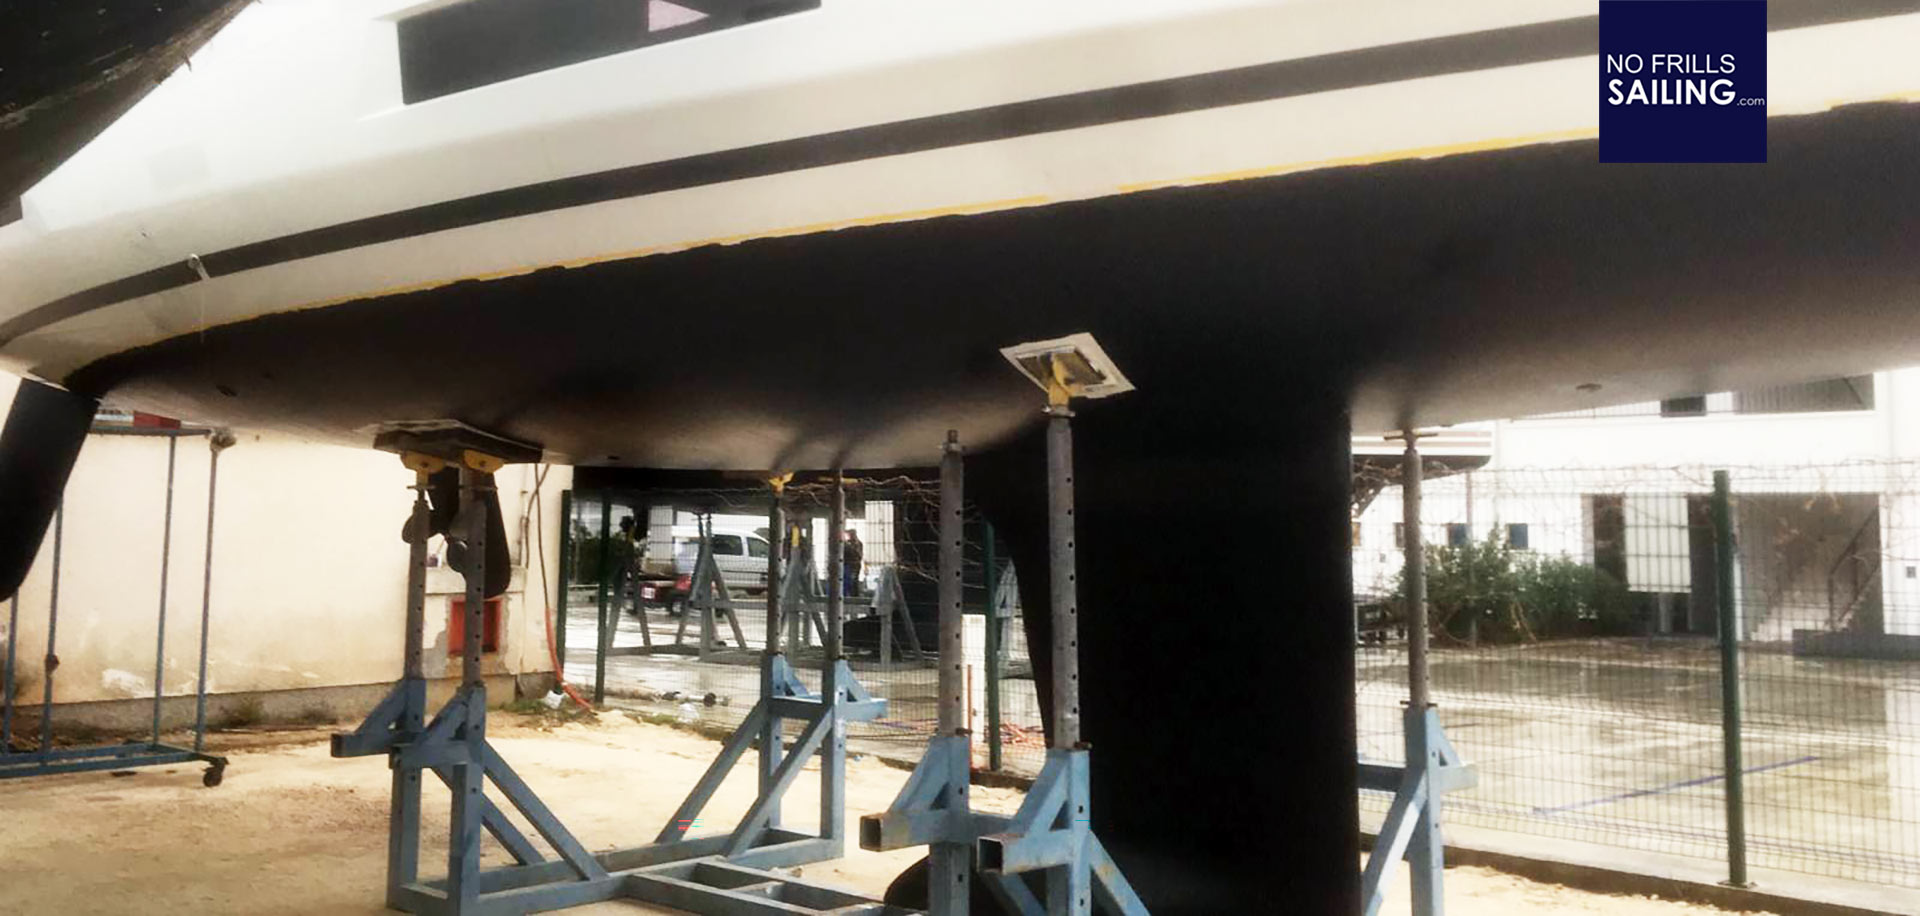
But let´s leave it at this point: Our Oceanis 46.1 receives her final coatings and I am looking so much forward to sailing her in the coming weeks. I am very much excited to measure her speeds with a proper, smooth hull coat free of mussels and crust. In the upcoming third and last article we will dive deeper into the topic by looking at how many layers of which products to be used in which areas on different materials.
You may as well be interested in reading about these topics:
Anchor chain locker refit, Parts 1 and 2
