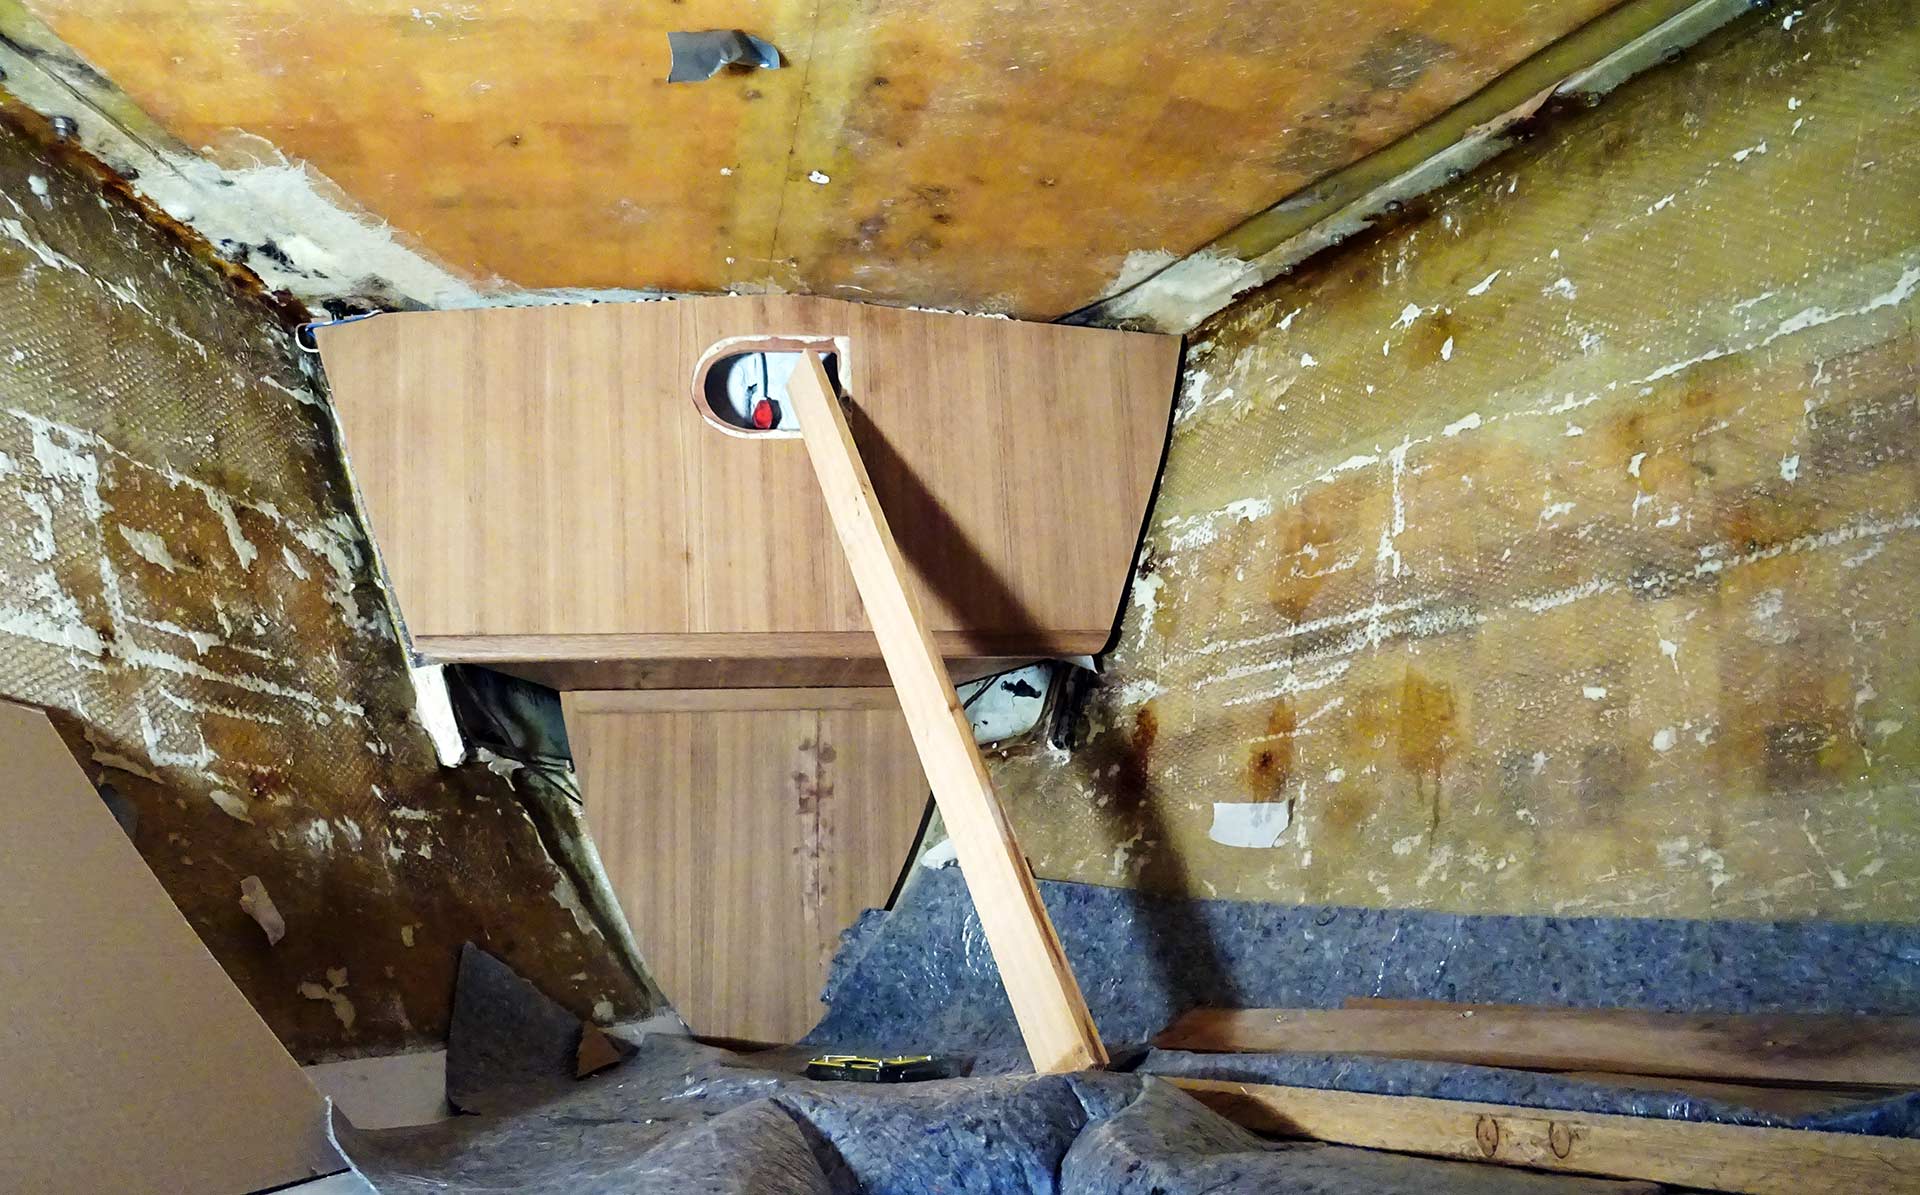
Finally the work on the fore cabin started some weekends ago and I must say that´s a lot of fun after making the new roofing panels was a bit of a tedious, tiring work at last. Here the last four roofing panel parts and some decorative Teak stripes are the last parts to be fitted and then this big chunk of work can be crossed off my to-do-list at last. But let´s talk about the fore cabin.
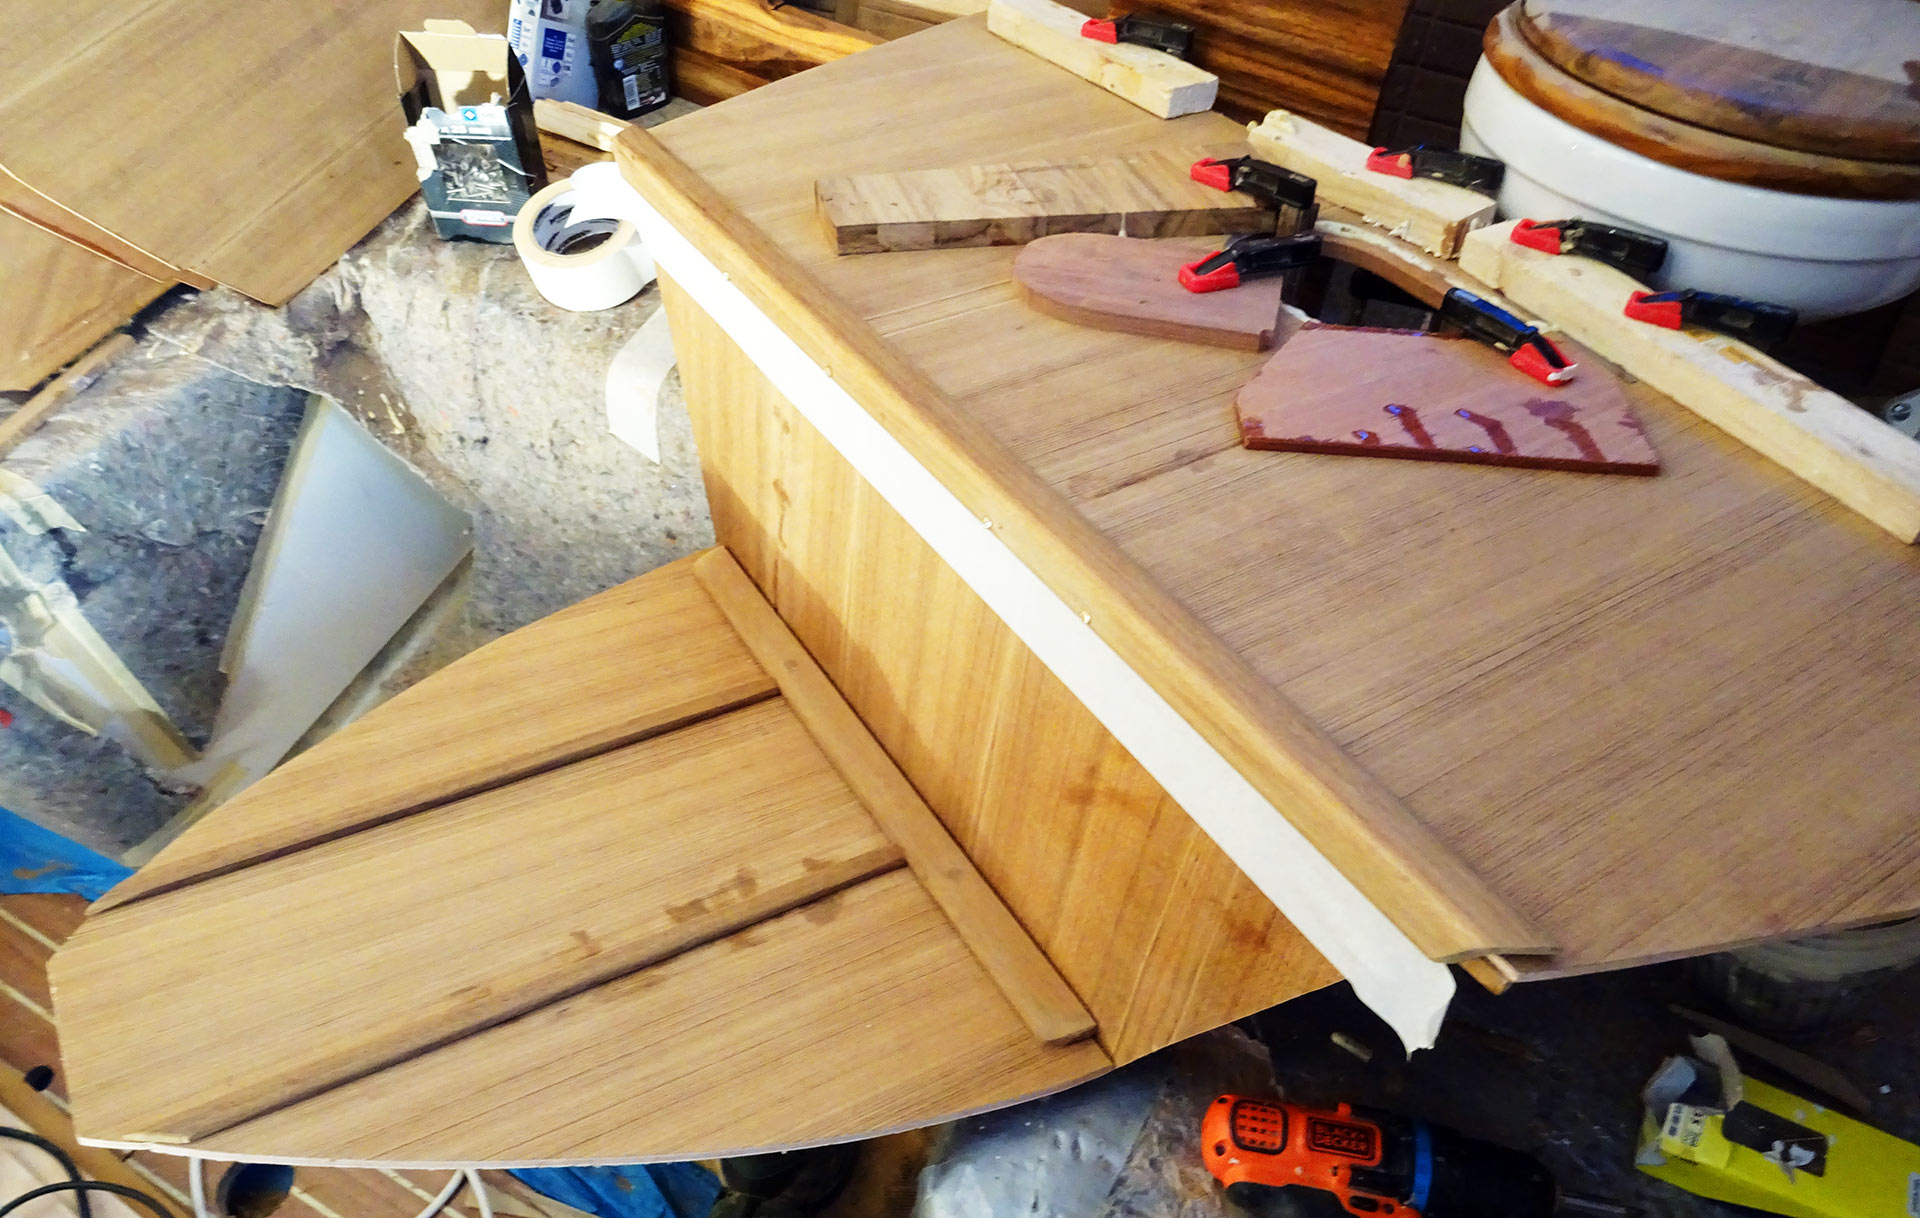
Two weekends ago I produced the new chain locker covers made of Teak veneered plywood and this was such an inspiring day because everything I touched this weekend seemed to be fine. The parts fitted just neatly and I was proud of having made such a great leap forward. Now I was thinking and scribbling around all week – martyring my brain with the question of how exactly do I want to fit the fore cabin finally. I do had made plans indeed (read about the initial fore cabin plans here) but for various reasons those plans didn´t felt right anymore.

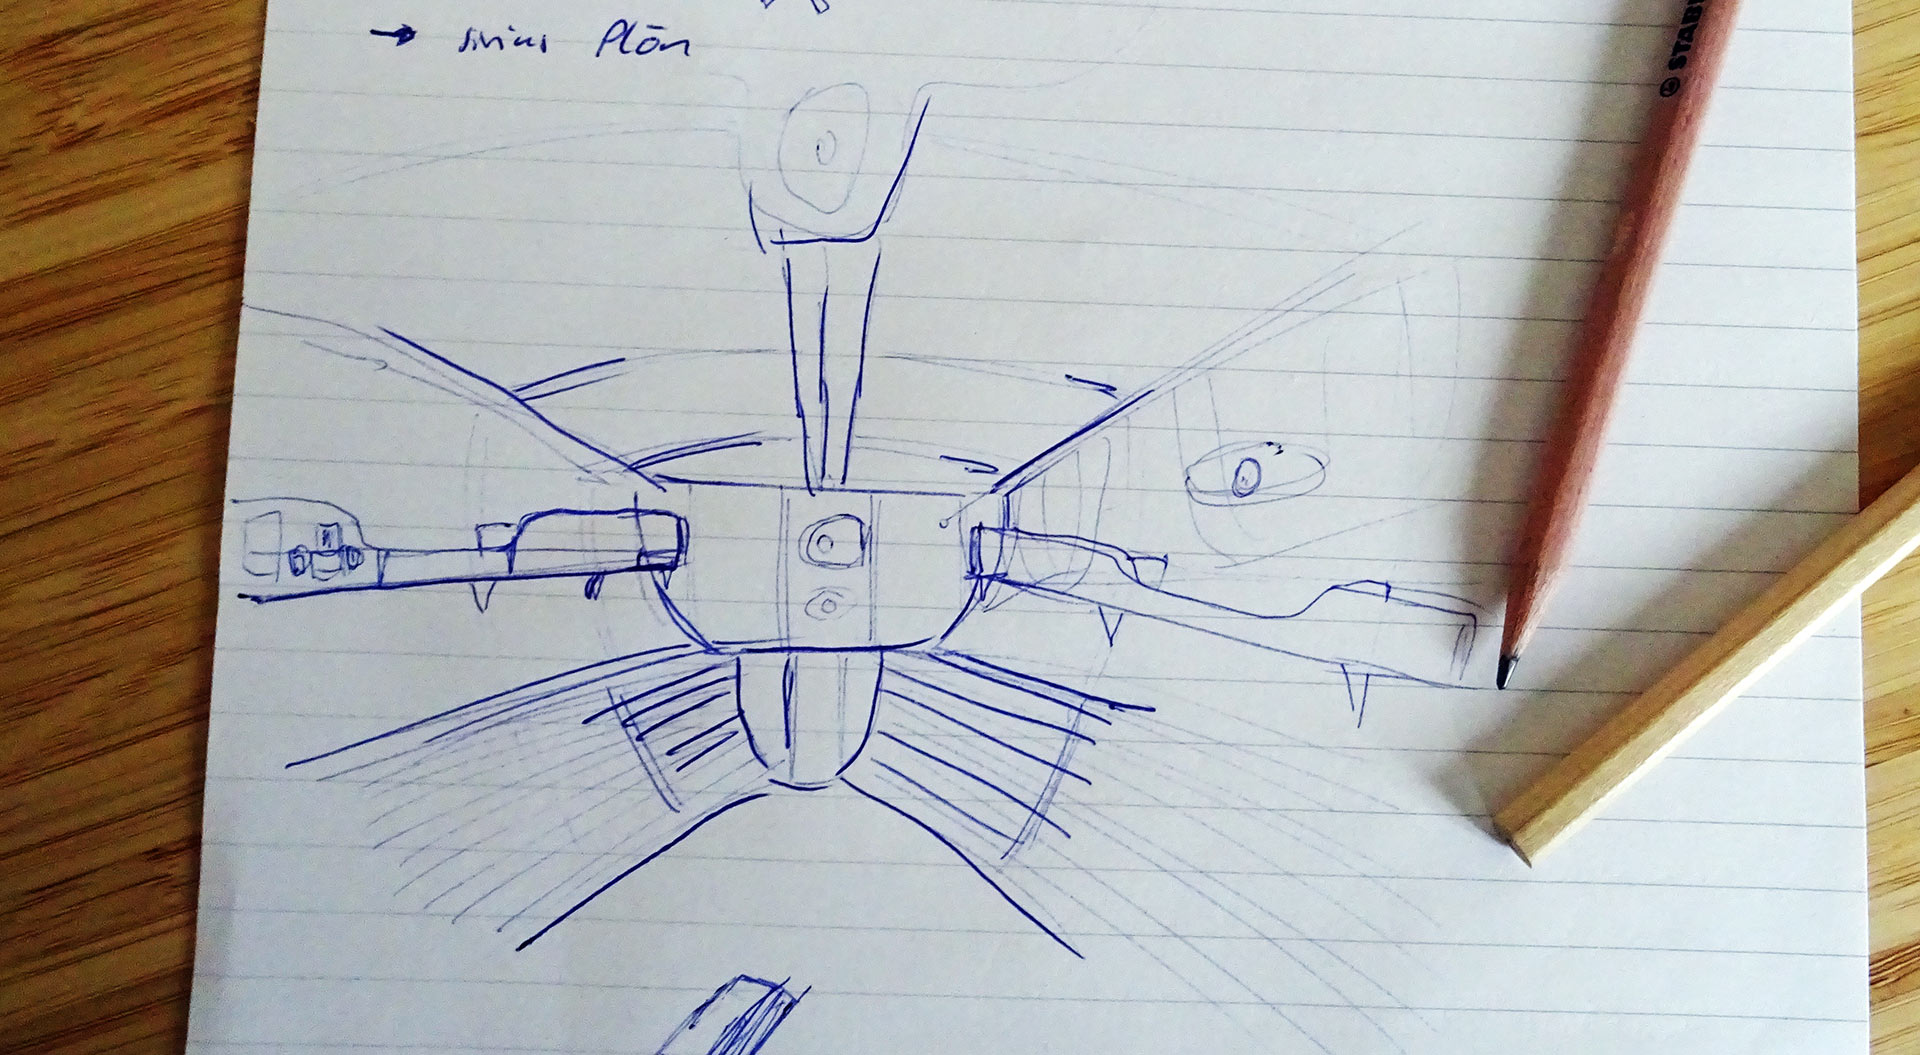
Initially, I wanted to have the whole of the ship´s sides covered with a fine Teak ceiling from bottom to top. That´s a classic style for sure and would fit nicely to the overall appearance of the classy King´s Cruiser 33 design. But there are some points that bother me: First of all, there´s the amount Teak needed for this undertaking. Checking on the old Teak parts I removed initially I decided that I couldn´t recycle them here but I would rather utilize them for the aft quarter berth redesign (the last major part of the boat to be refurbished). Secondly, I got the impression that such an amount of Teak would darken this rather small cabin too much, so I came up with two alternatives: Covering just one half of the ship´s sides with Teak ceiling, make the rest covered by white lacquered plywood panels, just like the roofing panels or have Teak ceiling coming up and down from the bottom and the roof with white panels (see sketch).
Out of those three possible options to design the new fore cabin I chose the one with half Teak-half panels to be the best suitable for my boat. I think this option saves money and makes the small room bear more light and add a loftier feel to it. Since the roofing panels are also white lacquered it will visually enhance the roof and pretend to be of bigger size than it actually is. So having decided this, I turned towards another challenge of designing the new fore cabin of the boat: Stowage.
There will be plenty of stowage underneath the matrasses of the berths, two large, deep lockers to port and starboard side and one singe big one to the foremost after the chain locker. Since my boat doesn´t have a proper hanging cabinet in the fore cabin (but it has one large cabinet vis-à-vis the heads, just outside the fore cabin) this big space is needed for clothing. But the downside is: I´ll have to lift the cushion anytime I want to reach for the clothing, which can be annoying. Also, for the smaller stuff like underpants, socks, hats, sunglasses, mobile phone and things you don´t want to rearrange a whole cabin – so I need shelves of some kind.

Said and done – I am planning to add two shelves running all the length from the main bulkhead to the bow and the new chain locker cover. The shelf will be at least 20 centimetres wide and have a ridge of two different heights – just for design purposes. I am thinking of adding an USB-charging device for smartphone to either of the shelves right next to the reading lamp I already bought (read about the LED-lighting concept here). Also for visual reasons, the shelf will be positioned right at the seam-line where the two side-panels will meet to cover the seam. I think that´s a cool concept that adds sufficiently to the overall feel of the cabin itself. With the white lacquered roofing and side-panels, the Teak ceiling and chain locker that´s a balanced feel of warm wooden interior and white, lighty panels.
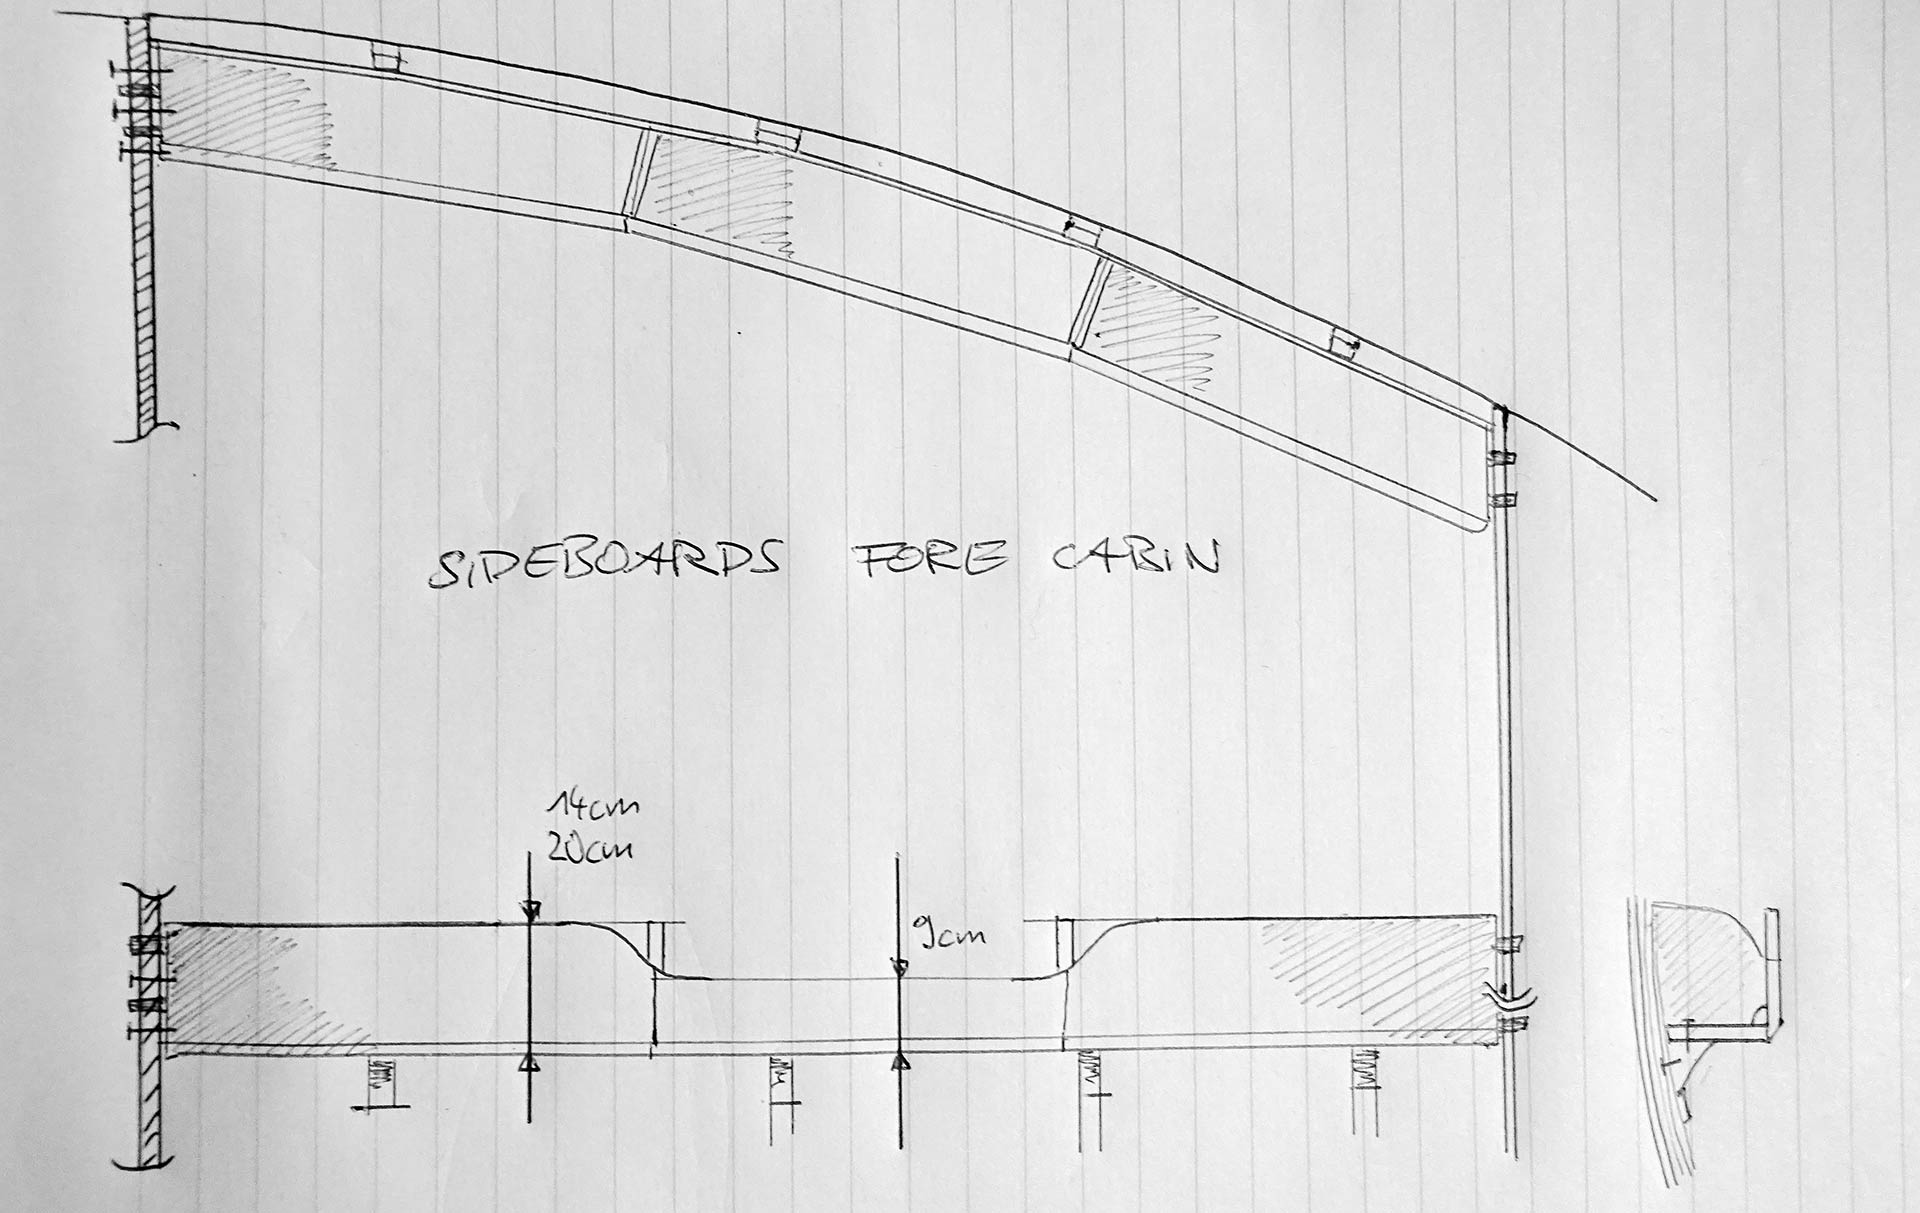
A tricky task will be taking measurements of the bent shape of the shelf itself (read about making gauge models of cardboard here) and above all the fitting of the shelf to the ship´s side in a rugged and solid manner. Since I won´t be able to drill holes into the GRP-hull (and certainly won´t try to do so), I´ll have to come up with an idea of how to fit the shelf tightly and reliably to the structure. For this reason I will drill screws and pins to the shelf to have it fit neatly.

In the end, I think that´s a cool plan for the new fore cabin. As this is the one and only place where I (or my guests) can find a good night´s sleep behind a closed door, I want especially this cabin to provide for a cozy and nice feeling to the occupants and I think that´s a nice concept. But first: Next up in line of things to do is the complete substruction made of Oak and Mahogany batten and the tight fitting of the Teak made chain locker cover. I´ll keep you updated …
Other interesting articles on this topic:
Black hole refit? Interview with SY ZIRKON
Refurbishing the chain plates Part 1 and Part 2
Working on a new galley