News from the refit front: I´ve been making some very nice progress here. As the work on the roofing panels in the saloon came to a pause due to drying time and delay in the brass screw-shipping, I took on work in the master cabin in the fore peak. And it´s again just a weekend´s time of work, some 12 net hours of working time now and I am pretty proud of what I´ve achieved so far. Here we go …

I started with a bare stripped fore cabin. Just the GRP surface of the berths (like all of the boat´s surfaces) has been re-done and painted in yacht white (read it here) and the stowage cover panels in green and red. Ship´s sides as well as the cabin´s roof is bare GRP stripped of everything. I can literally see the Balsa sandwich core below waterline. I cleaned the forepeak from almost 2 years of constantly sanding somewhere in the boat

As with the rest of the boat, I did take off all the faux leather coatings glued to the ship´s sides long time ago because the material had been degraded in those 45 years of my boat´s life and one of the previous owners did paint it (with a fairly ugly color and the paint being of inferior quality, always sticking on the fingers when touched). I made some plans what to do in the fore cabin some months ago (read it here), but now I am not so sure about covering all of the cabin in Teak. We´ll see. Anyway, first step was to fill all the left-over drill holes where the original Teak ceiling had been mounted. In the end, I “painted” the whole cabin with two layers of Epoxy. Just to be sure …
Making new Chain Locker Cover Panels

I did make some very nice previous experiences with my method of taking measurements of areas to be covered with panels by just attaching stripes of cardboard all around the outline of a particular area. The smaller the area the better the outcome – unfortunately this method bears some inaccuracies as I had to experience with the main ceiling panels for the saloon previously partially creating huge gaps.

In the end I trusted my assumption that these small areas would be going nicely and so it took me no more than 20 minutes to get the desired gauge models of the chain locker cover panels which I planned to transfer onto Teak-veneered plywood sheets. But roaming my storage in the yard I had to realize that I didn´t had enough plywood left over with Teak veneer running in the right direction: From top down. What to do?

The only way to get enough panels was to cut out the panels from four different sheets of plywood and later putting the parts together. This is not a perfect solution I know for a panel made from one single piece would be better, but buying another sheet of plywood with Teak veneer would jeopardize the schedule for another week minimum. Besides, I was pretty convinced that I would be able to fit the parts in a way that no seam would be visible afterwards.

After putting the newly made chain locker covers to their respective spots I was happy to see that they did fit just neatly. More than that: It looks so cool! The original fitting of my yacht´s chain locker cover had been a GRP-made and white lacquered piece that had been worn down and drilled up over time. One of the previous owners, by installing a new gas pipe for the boat, even cut open the cover and destroying the Kings Cruiser-Logo for the main gas valve. It was a pretty depressing look. But now, the Teak, the whole cover in wooden veneer – just awesome!
Building the Chain Locker Cover
Let´s do this! First of all I glued the parts together by fitting a smaller plywood part in the back of the panels with Epoxy. I tried to seal off the seam between the panels as tightly as I could with strong Gaffa but as I came to see one week later, the Epoxy did find its way through the seam and partially onto the nice Teak veneer. Sanding most of it off I guess after glossy painting nothing will remain visible anymore.

Now for the tough part: How to mount three large wooden parts with two 90 degrees corners? Again, sprinting to the large pile of left over old wooden parts of my Kings Cruiser´s original interior fittings I found two chevrons made of thick Teak. Thy fitted perfectly my needs! Sanding them down to bare wooden surface I first of all glued the Teak to one of the panels, then put some stainless screws into both.
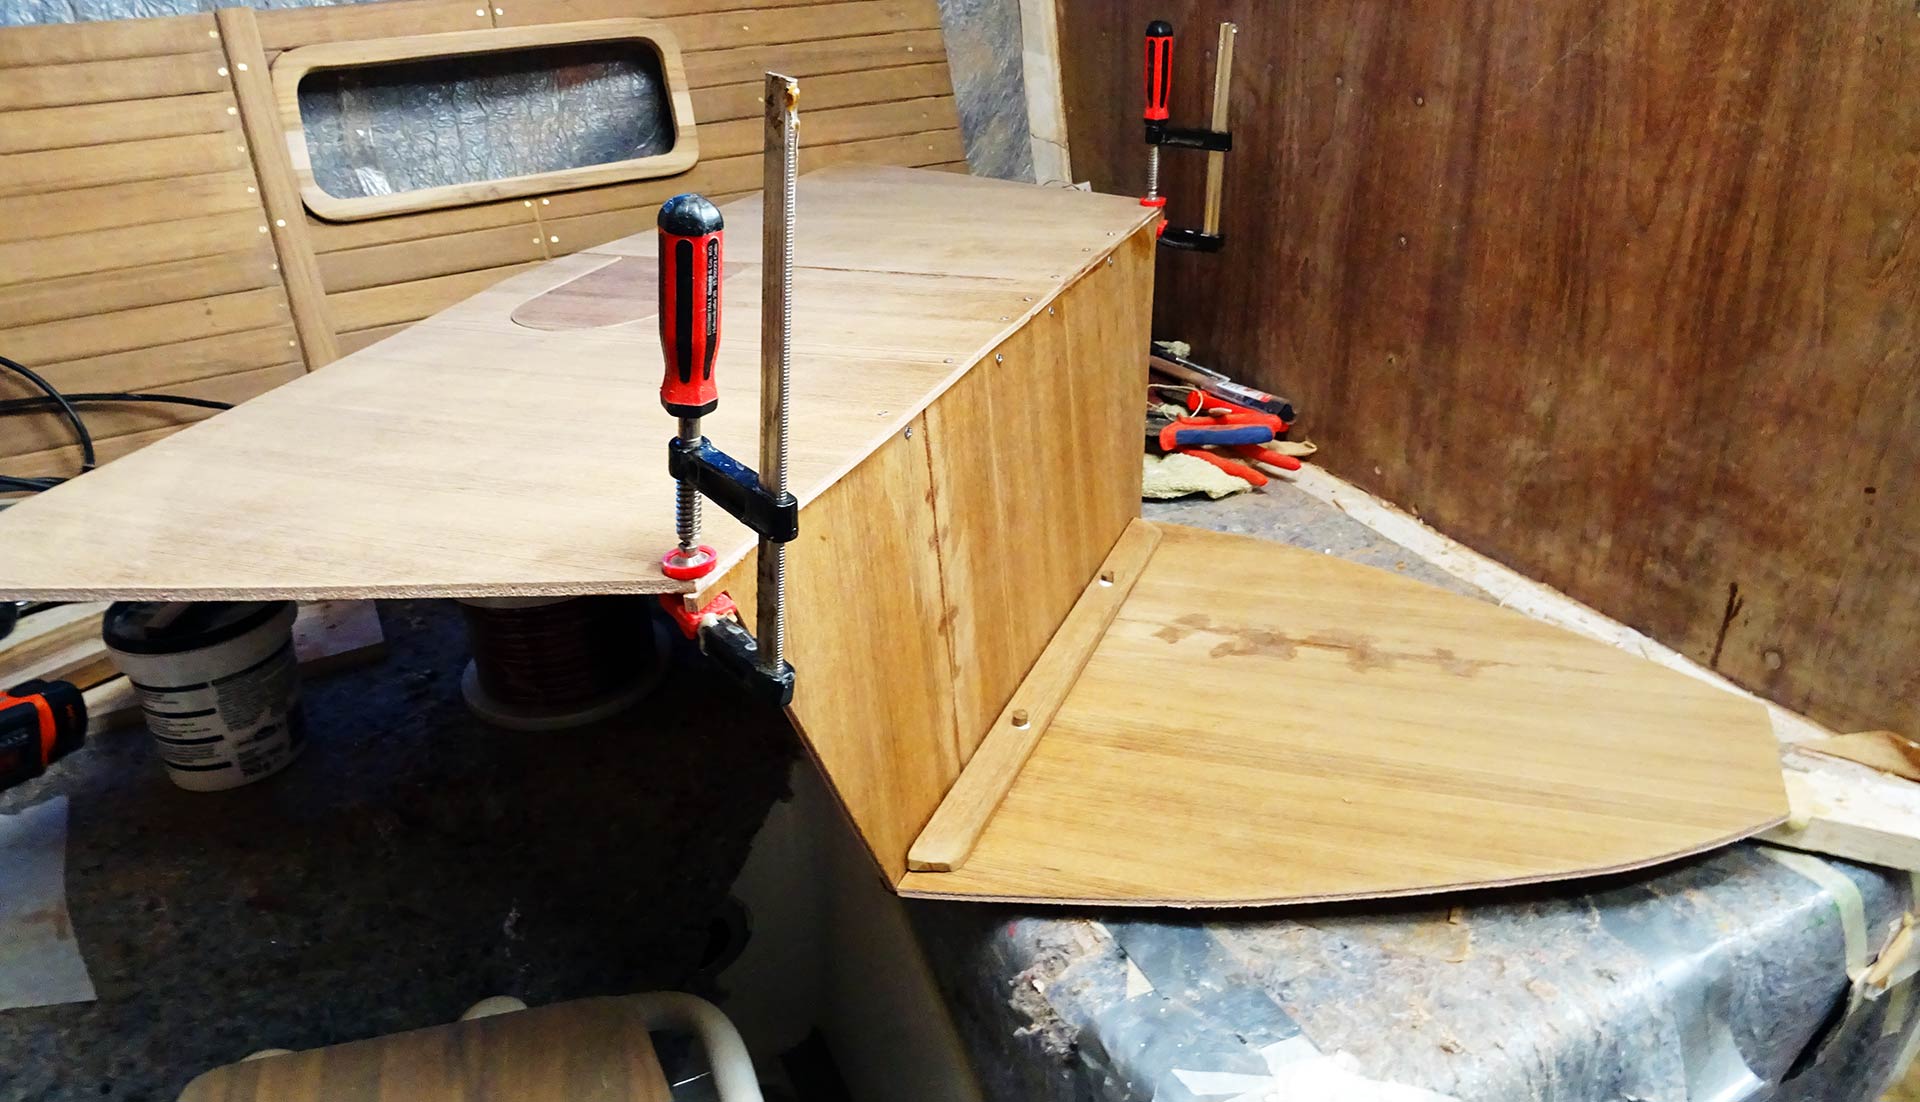
Finished for now. Let it dry.
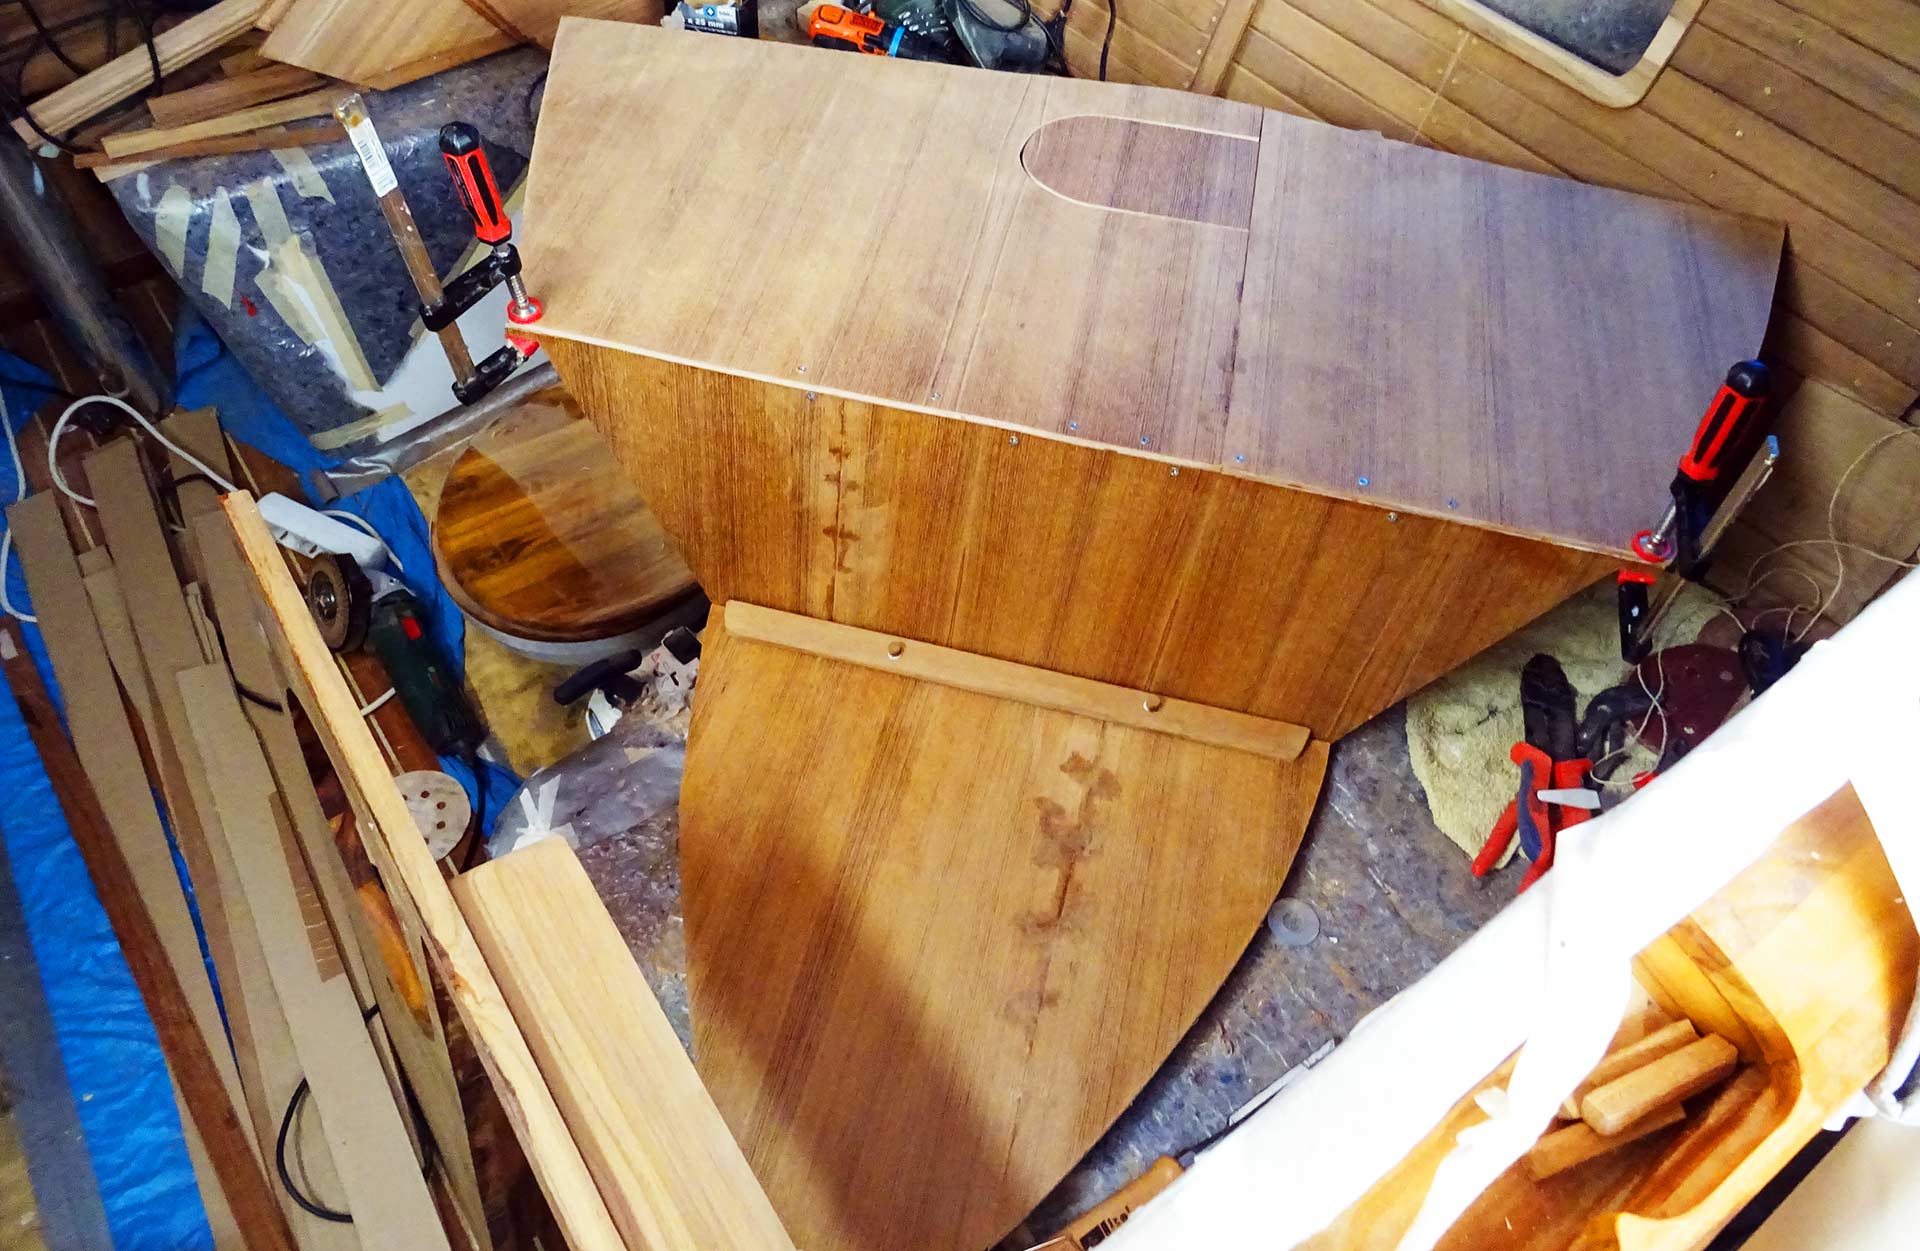
Last thing was to fix the biggest cover part by clamps and glue/screw the parts together. Now that´s the state I´ve left the boat today to give the stuff a chance to dry and settle down a bit. I am pretty sure I will be able to finish the chain locker cover within the next session during the coming weekend and I must say I am thrilled and can´t wait to see this happen!

Next Steps in this Project
So what´s next? Well first of all, like with all newly made wooden parts of the boat, I will apply a layer of watertight Epoxy to the back of the whole thing. The Epoxy will make the plywood´s back waterproof against moisture and condensate. Then, after finally fitting the cover, no less than eight some 5 centimetres thick parts of wooden spacers have to be attached to the chain locker: This is where the cover will be glued and screwed to in the end.

What I need for the front finish of the Teak will be some more chevrons to make cover blends for the edges of the cover – all I do have left over from the roofing panel works are too small parts which would look awful on this spot. So that´s a week worth the wait here. I also applied some white paint to the area surrounding the main gas pipe valve attached directly to the gas bottles (read about my yacht´s safety concept here). Which brings me to the small opening cap cut into the chain locker cover.

How to close this thing best? I don´t want to make too much of a strain of it but I am not so sure right now which will be the best method for this cap to be opened and closed. I could attach a brass opening mechanism with a brass hinge as well, but honestly, this is too elaborate for a small service hatch like this. But I´m sure I´ll come up with an appropriate idea when time is right.
In the end, the outcome of my work so far makes me proud. After the countless hours of making the roofing panels for the saloon which seemed never ending, this comparatively quick win made me happy and joyful again. From time to time, this is what I´ve learned, a guy refitting his yacht needs a little feeling of success. And I have the feeling that this fore cabin is going to be a very nice cabin for sure!
Other interesting articles on this topic:
The initial plans for the fore cabin of my Kingscruiser 33
Making a new Teak ceiling
Refurbishing a dirty, filthy Bilge