Wow, what a day this has been again! I finally found a nice weekend without any stress of my normal business at work to drive down to the marina again and do something nice on the boat´s refit. This time: Cementing the new Plexi glass windows to the hull´s portholes. A job that is very important, not just because I do not wish to have water inside the boat when sailing, but for the whole refit process in the first place: Without having the windows being finished, I cannot go on inside the saloon fixing the Teak panels or the shroud-covering Teak furniture. So let´s roll!

Well, at first it was again putting on a breathing mask and taking the sander: I do not know why but the pre-owners of this King´s Cruiser 33 utilized ordinary kitchen sealant, say: Silicone, to attach the windows. Again: Don´t you ever use Silicone on a boat! The problem is that this stuff is so sticky to the surface on the one hand and so slippery on the other hand, that it won´t be a good base for the porthole cement I am going to use. So I had to grind off the gelcoat of the boat literally to the bare GRP – no other chance. That was a tough work because with the screaming sander I had to be very, very cautious not to damage surrounding areas. Which I reasonably managed.
Anyway, now that the Silicone was gone I felt pretty satisfied. It took me about 2 hours and caused my arms aching in pain holding the pretty heavy sanding machine, nevertheless, it was a good feeling seeing the boat liberated from the garbage bags I used to cover the open portholes – for nearly two years now! So this is how time is flying when you are deciding to go for a yacht´s refit. So what is up next?
Preparing the Plexi Glass Windows with Primer
Roaming different boat shows in the past years and now working in the boating industry by myself I am accustomed to modern day mounting practices when it comes to porthole windows. Normally, these windows are cemented to the hull – just like I am going to do – and in the yards, when done so, kind of pressure is applied to the windows so that the fresh cement may harden and form a firm bond with the boat´s hull. Nearly the same process will be applied to my boat. But first things first: Last weeks I was making some panels to cover both the navigation station and the galley. From making these panels I did save the cutouts which now served as perfect templates for the window openings, or the see-through areas.
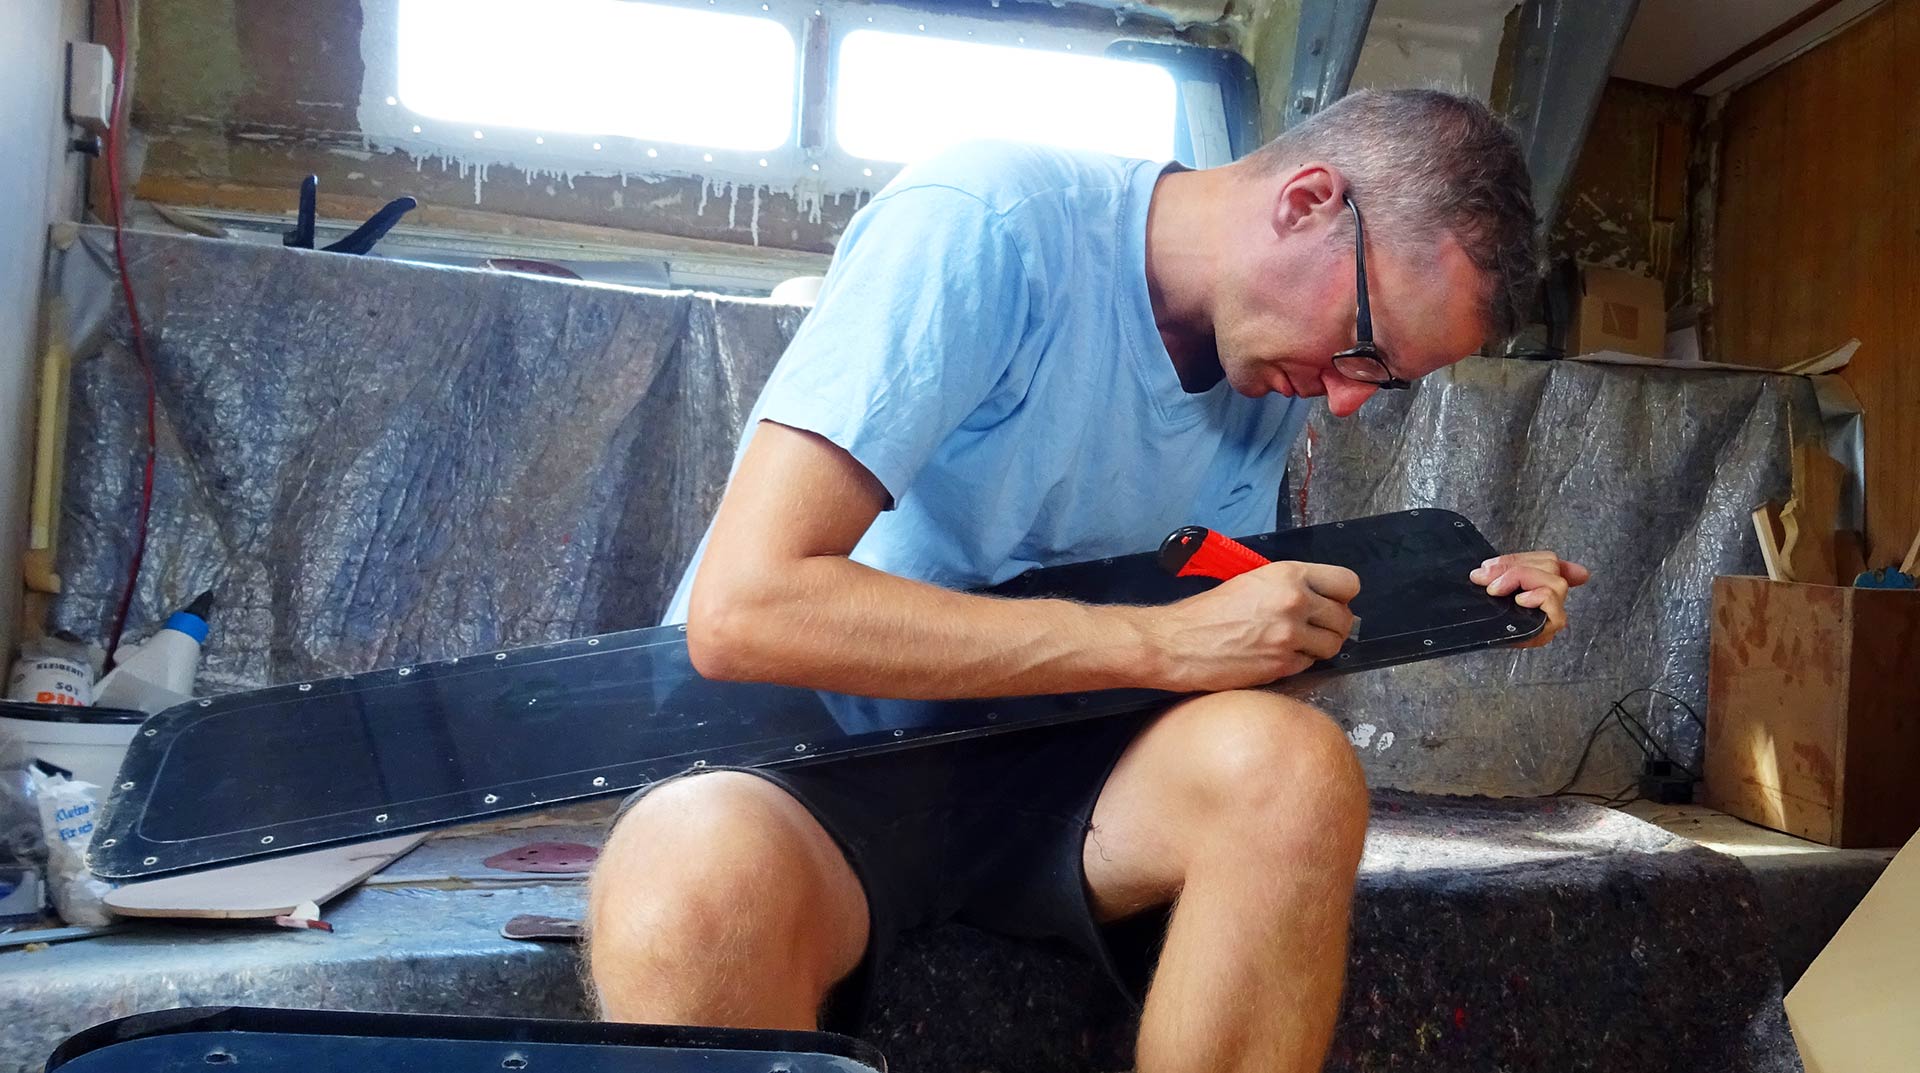
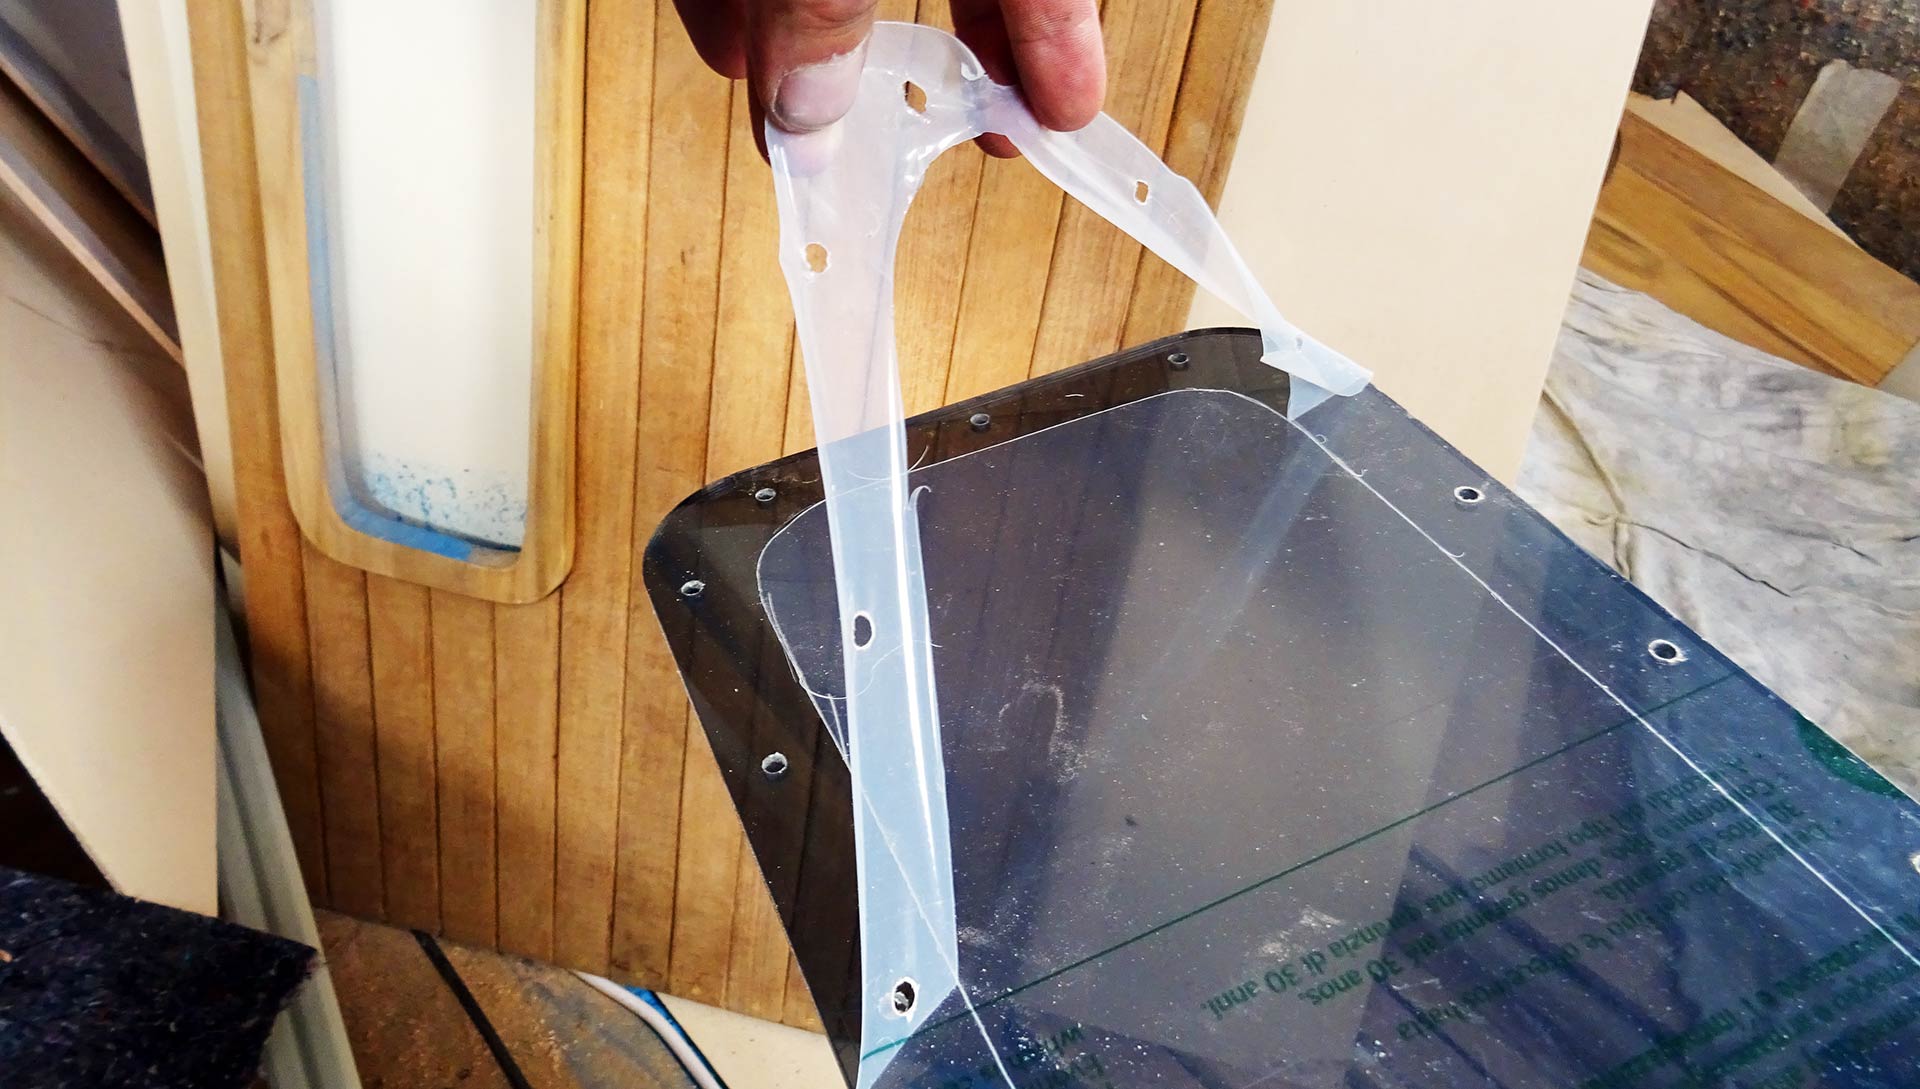
I used a sharp carpet knife to cut the protective foil with which the Plexi glass windows are covered on both sides all around the wooden templates. Why am I doing this? Well, after the cut has been made, I repeated the cut without the template just to ensure that the foil can be removed on one side without taking with it foil from the other side because I wanted to remove the outer part of the foil, which I did on all four windows.
This is exactly the same technique applied by the professional yards and professional workers to cement their windows to the boats. Of course, they do work with much, much higher precision and surely the outcome of their work is way beyond the finishing-quality of my efforts, but nevertheless, it´s basically the same. Why I do not use ordinary adhesives and sealants like Pantera? Well, my research into this topic brought me to this German company called Saba Adhesives and it was their profound counselling which brought me to trust in their products: And judging by the outcome of the dress rehearsal I did with their cement on the small head´s window (read it here) my trust was more than justified.
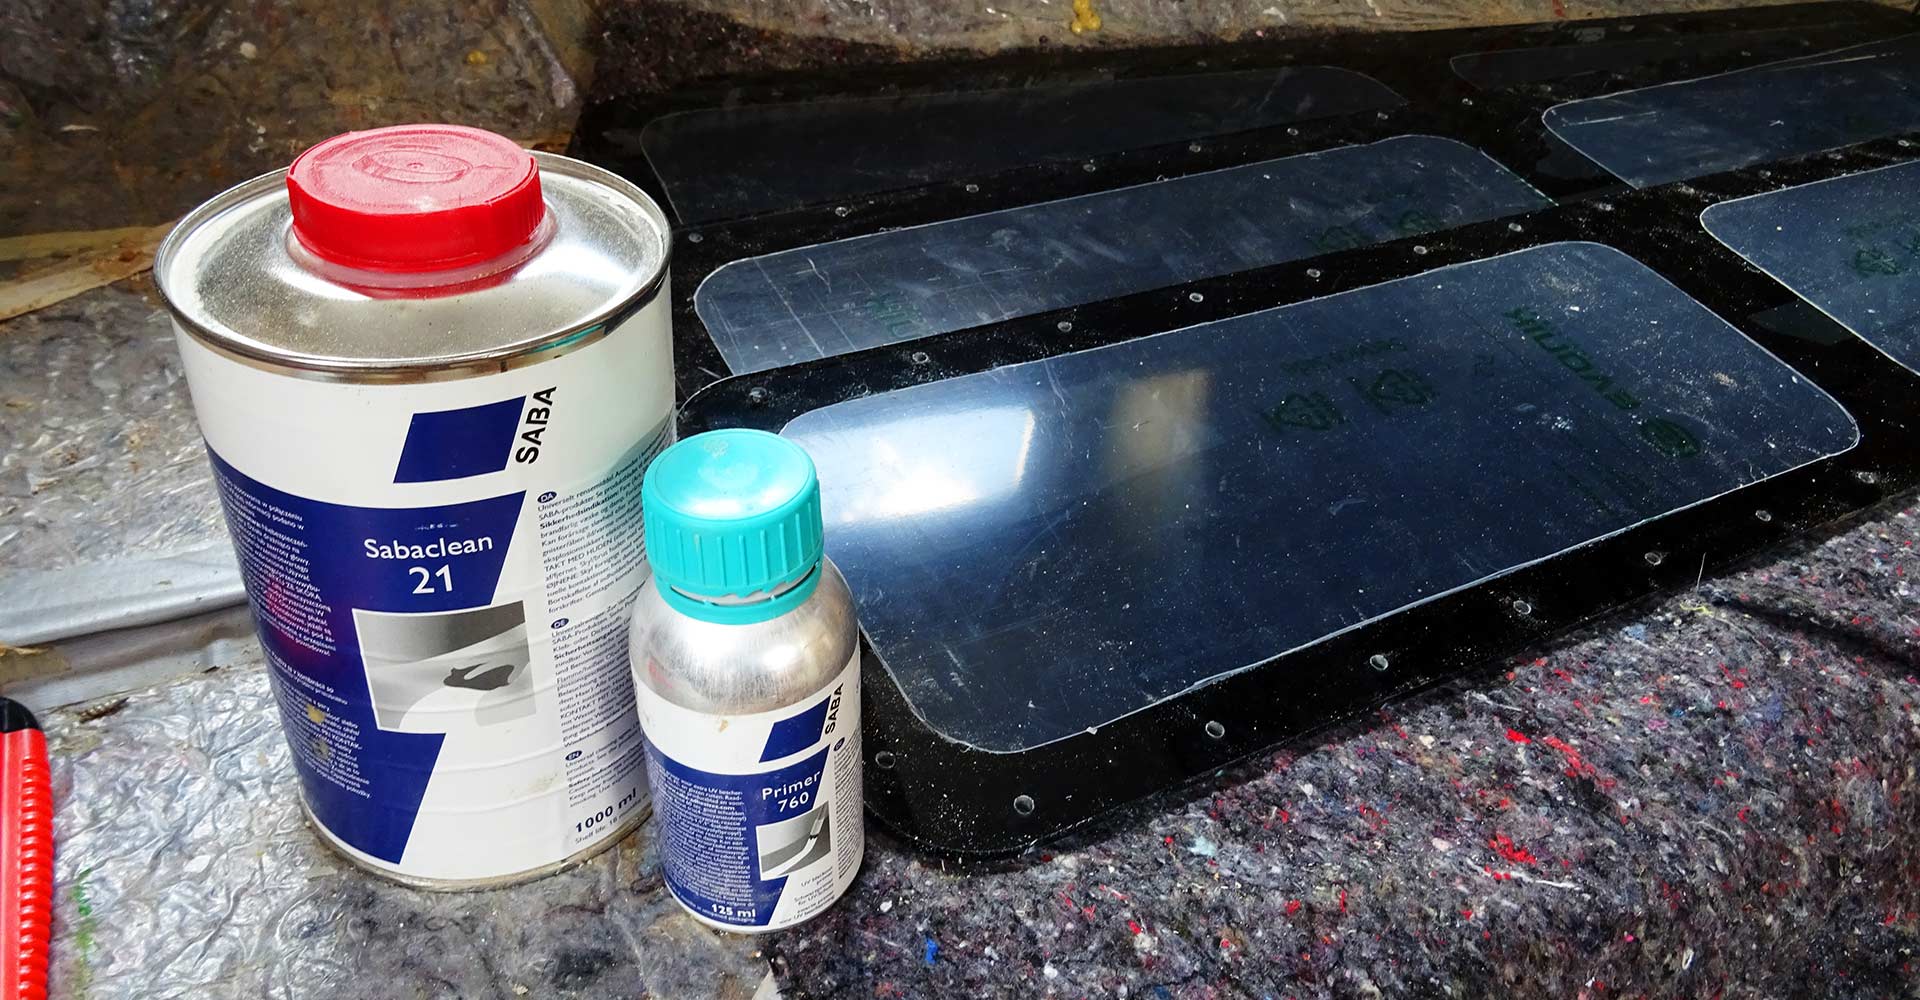
Anyway, by taking off the outside covering foil the inside part of the Plexi glass windows are now freed of the foil on exactly the amount of area which will later be the contact-surface between hull, cement and window. I cleaned the Plexi glass thoroughly with a strong dissolvent and painted the thick, black primer onto it. The primer has two main duties here: First to form a UV-proof barrier to protect the cement from the rays of the sun, second to act as a sticky priming base for between cement and Plexi glass. It worked out just fine.
Letting it dry over night (well, in fact some weeks due to my tight work schedule, to be honest) I gave the primer and the windows some time for settle down. I now returned just this weekend to finally finish this almost 2 year period of my windowless-boat. Although I must admit that I quite liked the nice blue-dyed light that was shining through the blue garbage bags. It was instilling this Caribbean-like feeling into me …
Cement on the Windows
Now for the fun part: Arriving at the boat at half past 8 a.m. the air was still very humid (autumn is nearing fast now in Germany) and some pretty dark clouds at the horizon where not the best harbingers of today´s items on the to do list, but there was no choice: With the boat show season coming up there won´t be too many weekends for me before winter sets in and temperatures will be too low for cementing and precipitation too high. So, let´s do this!
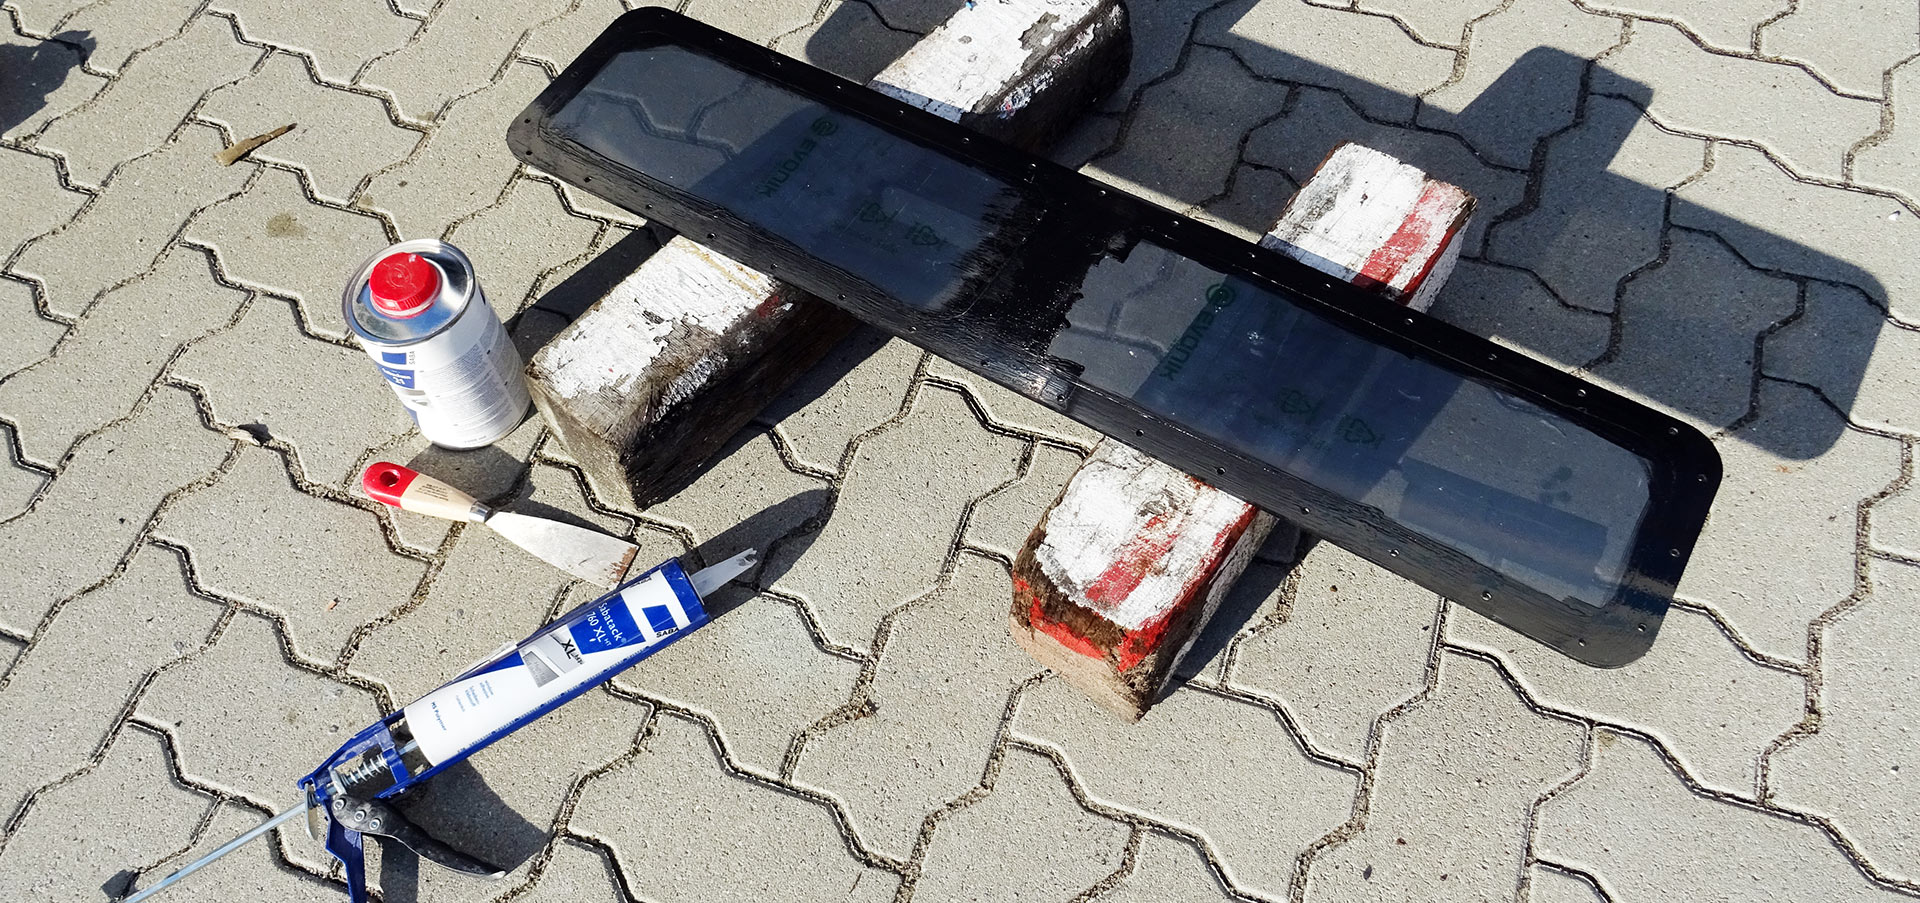
I decided to play safe in the first place so I went to practice the real stuff by taking the galley window as the first window to attach. Taking it out of the boat I again cleaned both the sanded surface of the hull and the window with the dissolvent called SabaClean. This stuff is really tough, I guess, it is an ordinary kind of thinner with some special ingredients to prepare the surface for the cement.
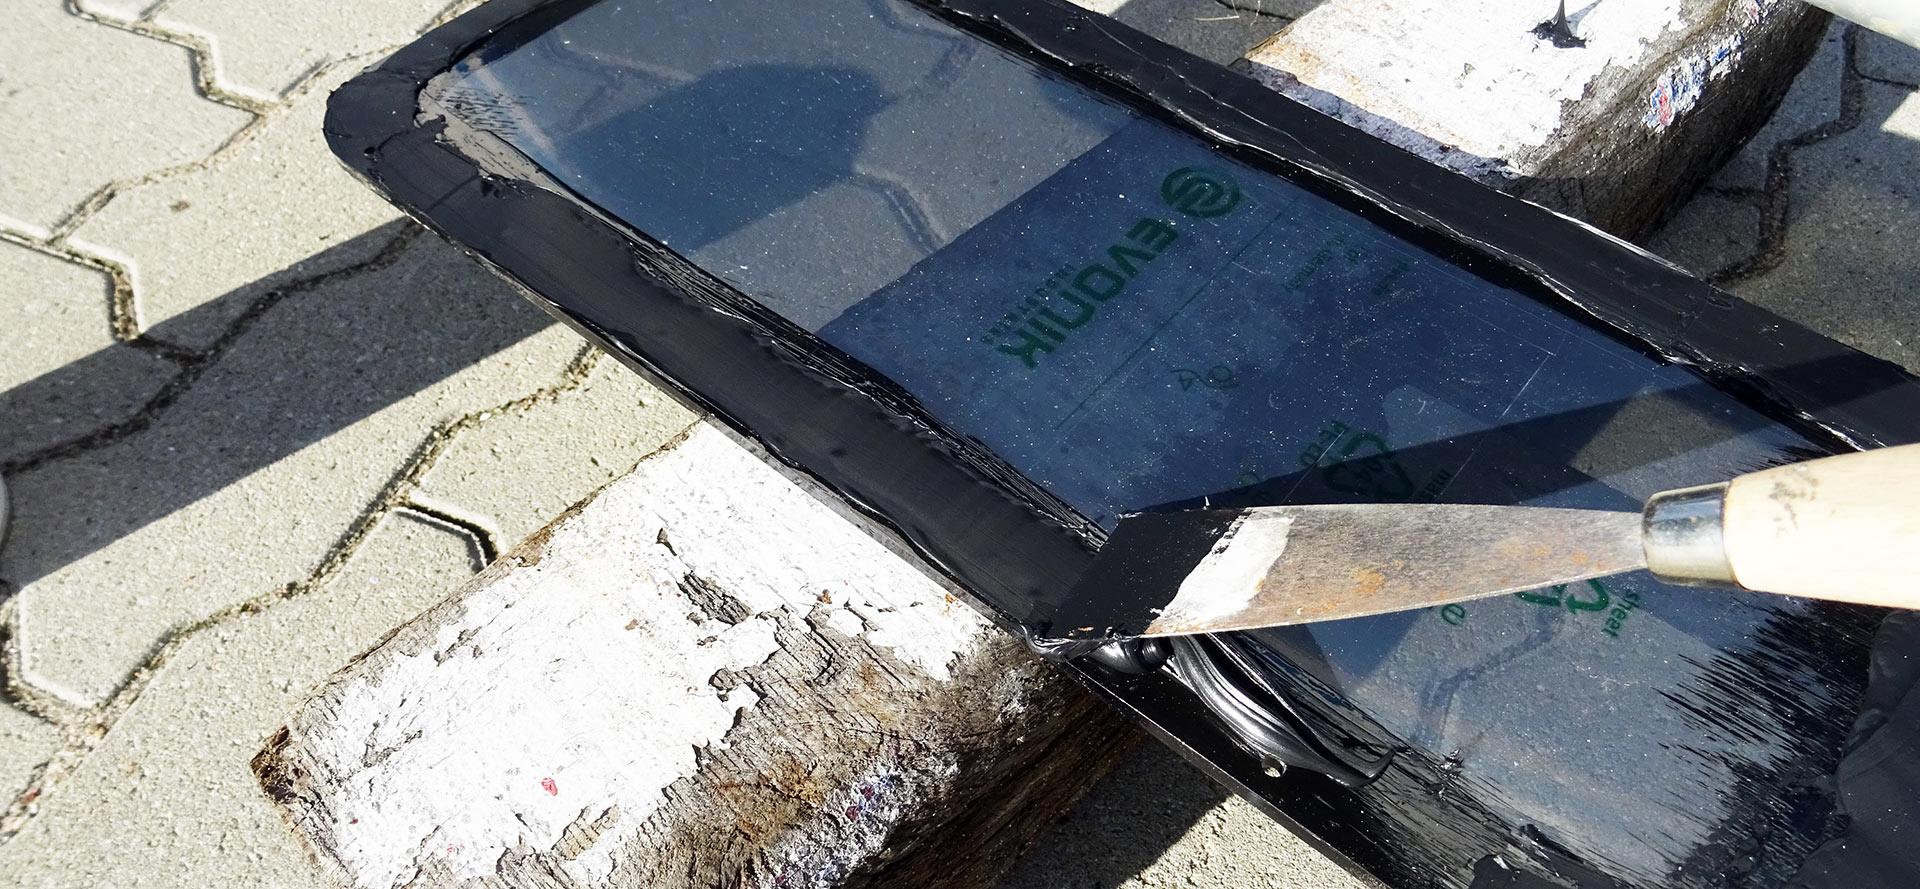
Then it had to be done fast – what a shame I couldn´t find a second person to help me on this very day! It takes the cement to dry over just 15 to 20 minutes, for a thorough dried through state it´s roughly an hour I would say. So I pressed out a thick string of this black cement onto the primed area of the window and used a palette-knife to flatten it out. I tried to achieve a nice clean layer of cement with a thickness of about 2 to 3 millimetres. It worked very well.

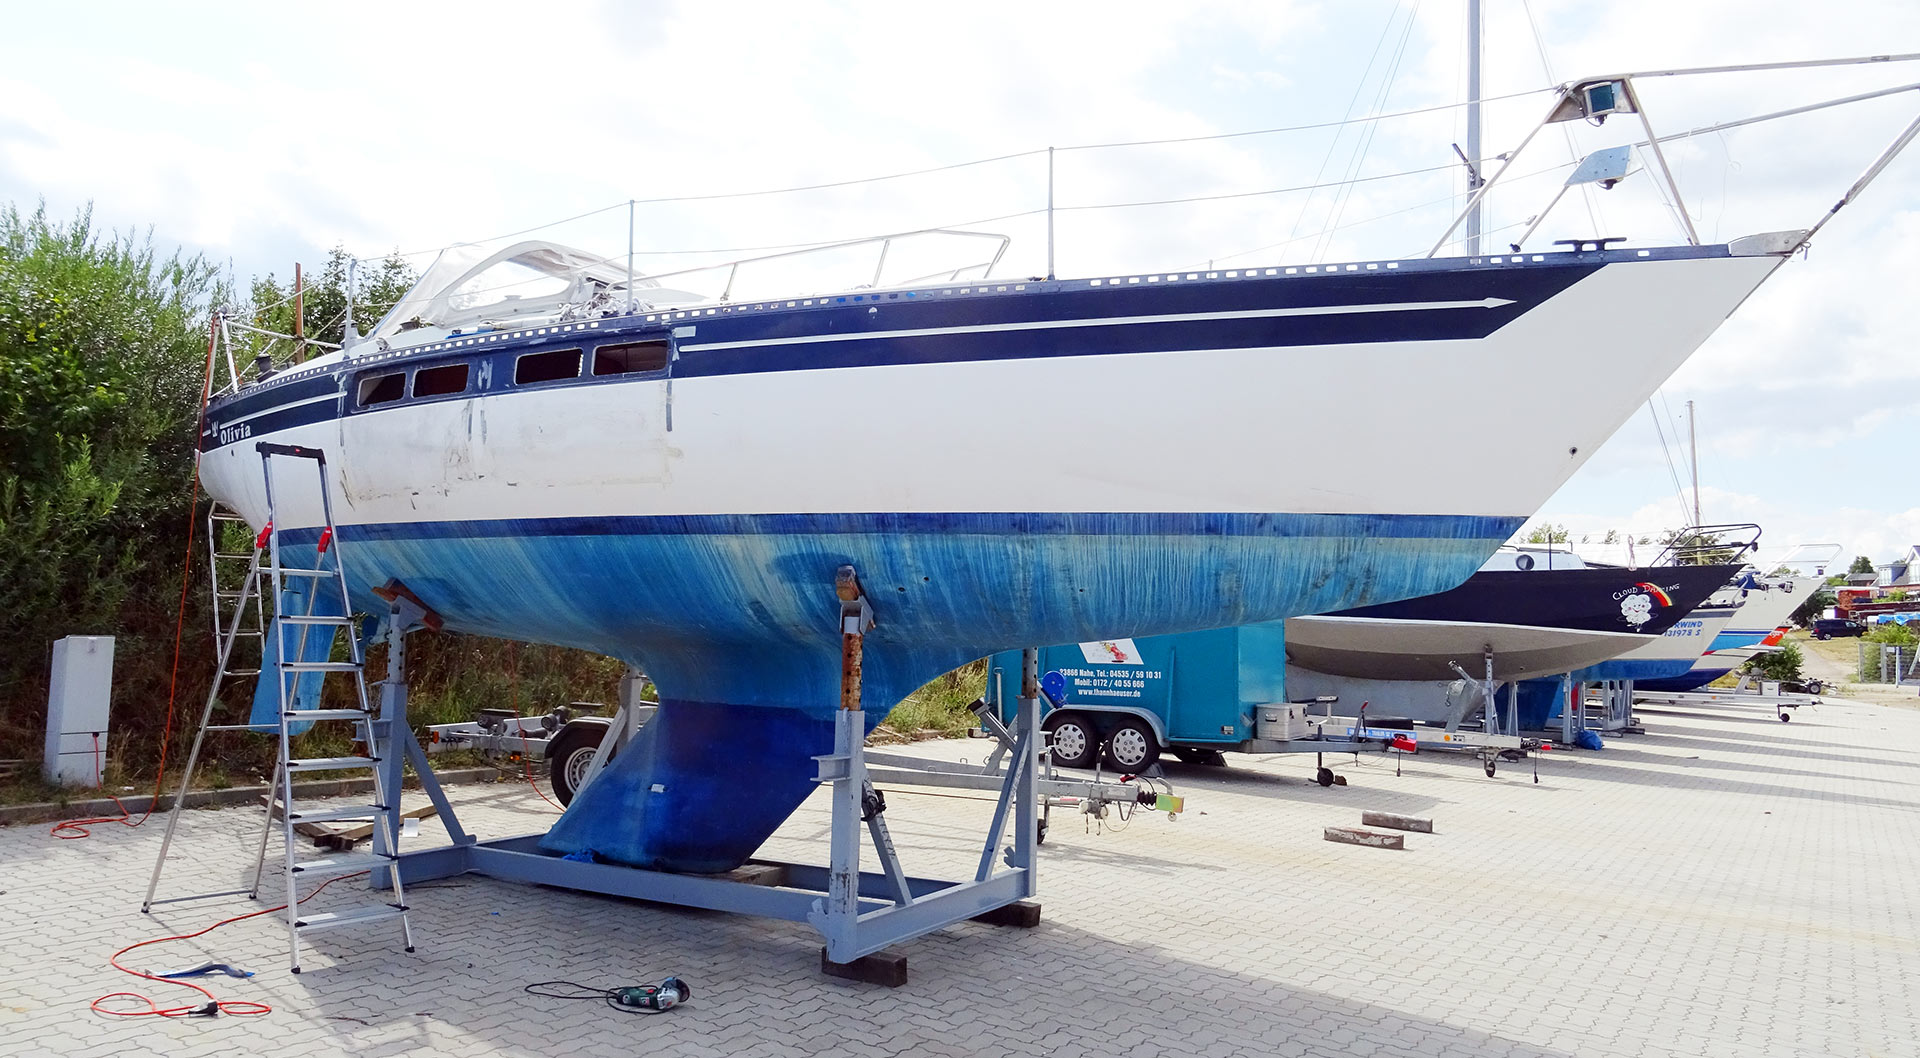
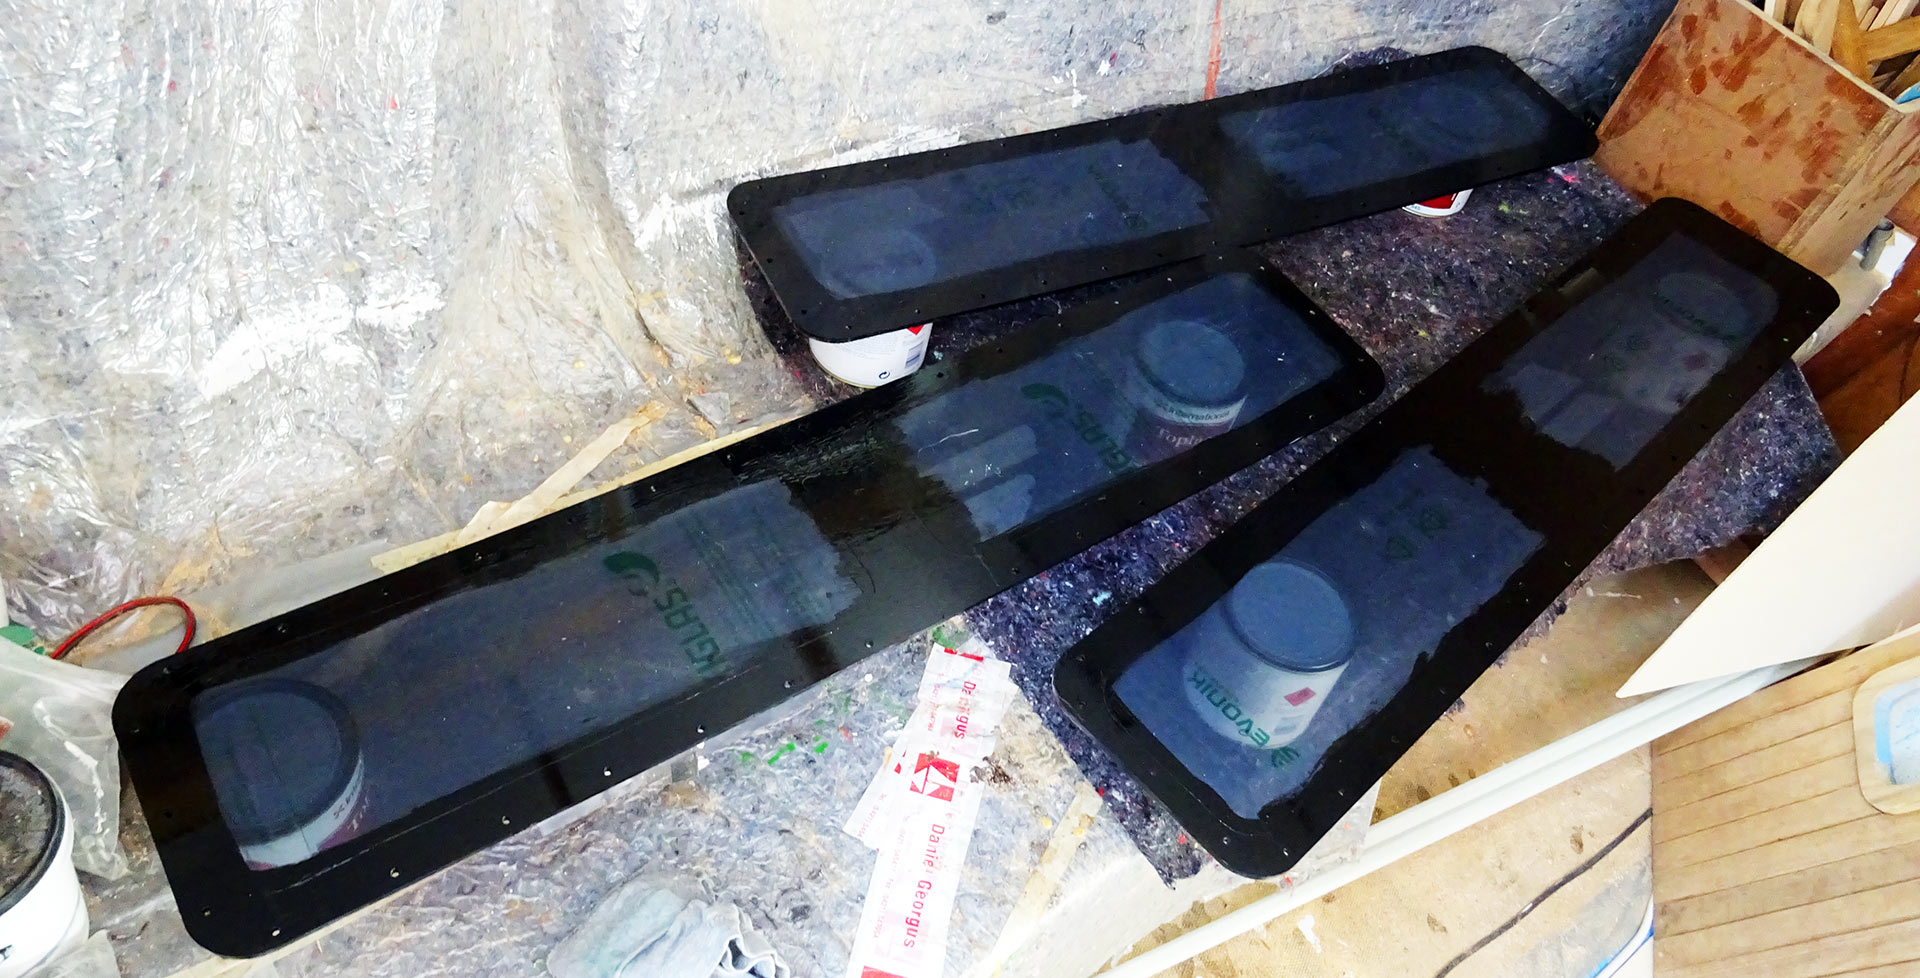
I chose such a thick layer because the sanding process with the grinder naturally couldn’t achieve a nice flat surface in the first place. If you look at the very first picture of this article you may notice the up and down in the GRP of the hull – waves and troughs which have to be evened out by the cement. In this case I thought that surely more is better. Now hurry up! I took the window, dashed up the ladder and with the help of two bolts attached the window to it´s place.
The tough part: Nuts´n´bolts overhead
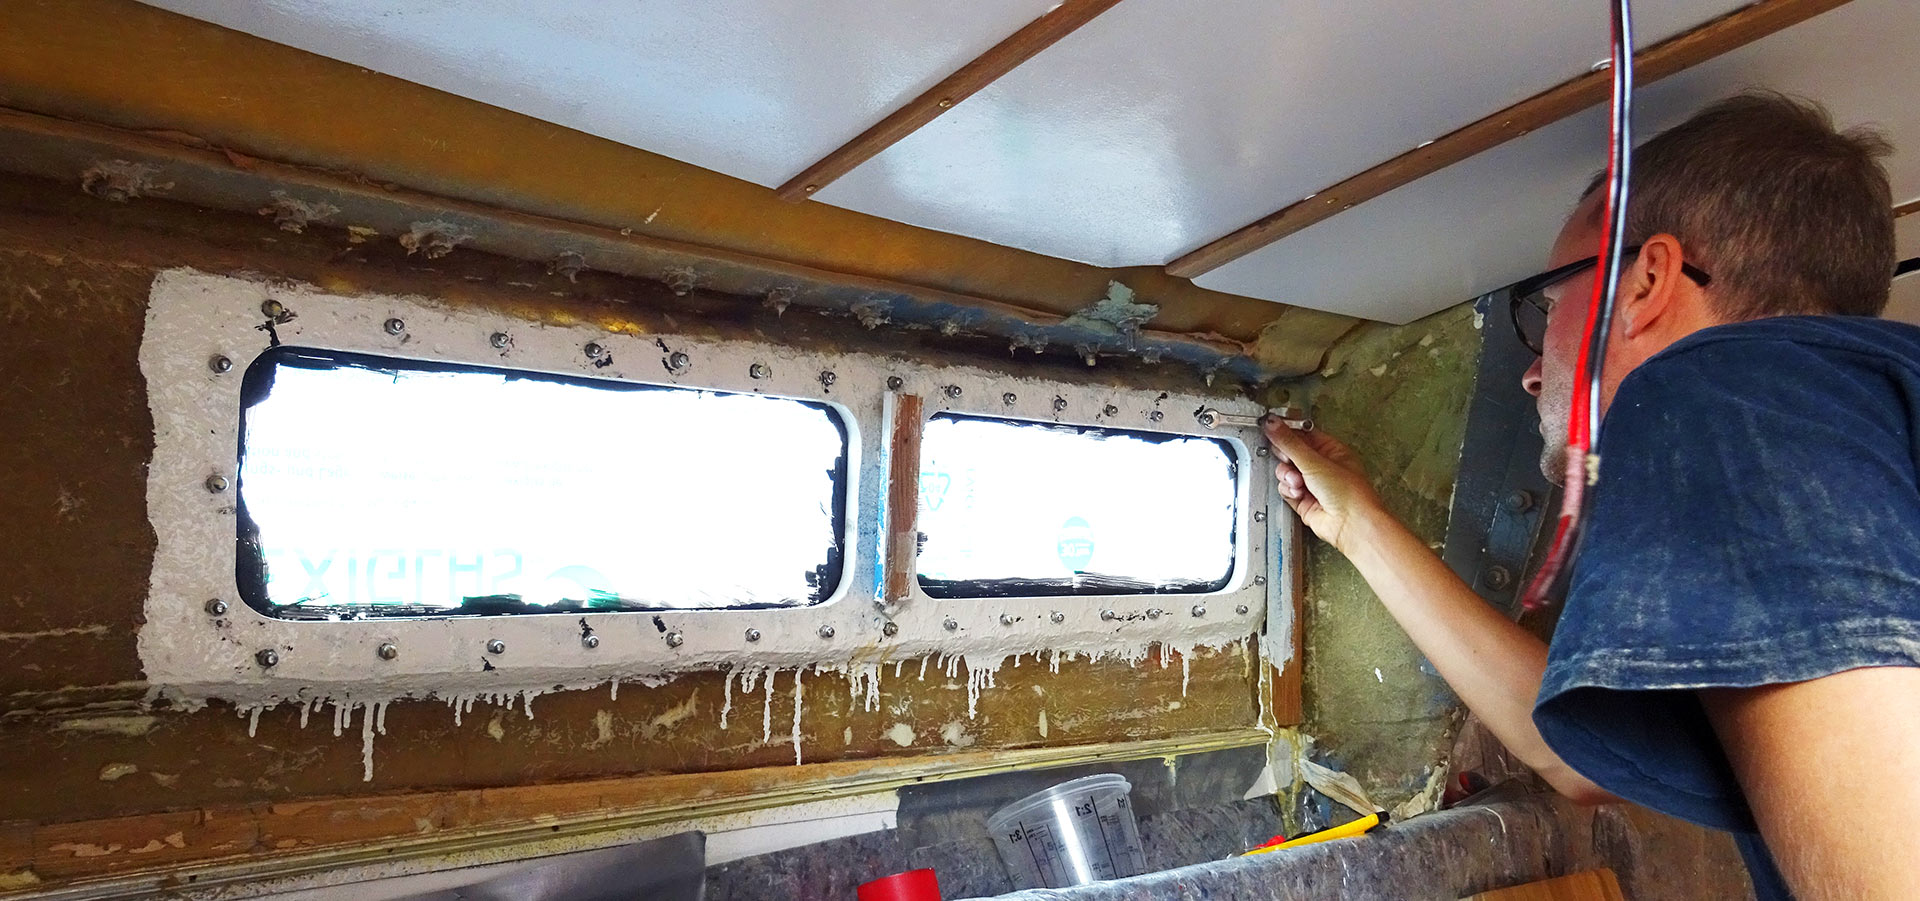
Now the fun part was about to setting in: Other than with modern yachts, the windows of the King´s Cruiser 33 are additionally secured by nuts and bolts. That´s 40 nuts and bolt per window, to be precise. Standing at the outside, I screwed all 40 nuts into the holes and went inside the yacht. Now I had to check if the length of the nuts was sufficient enough to penetrate the GRP-hull and have enough screw thread left for the nut. Not always, as it turned out.
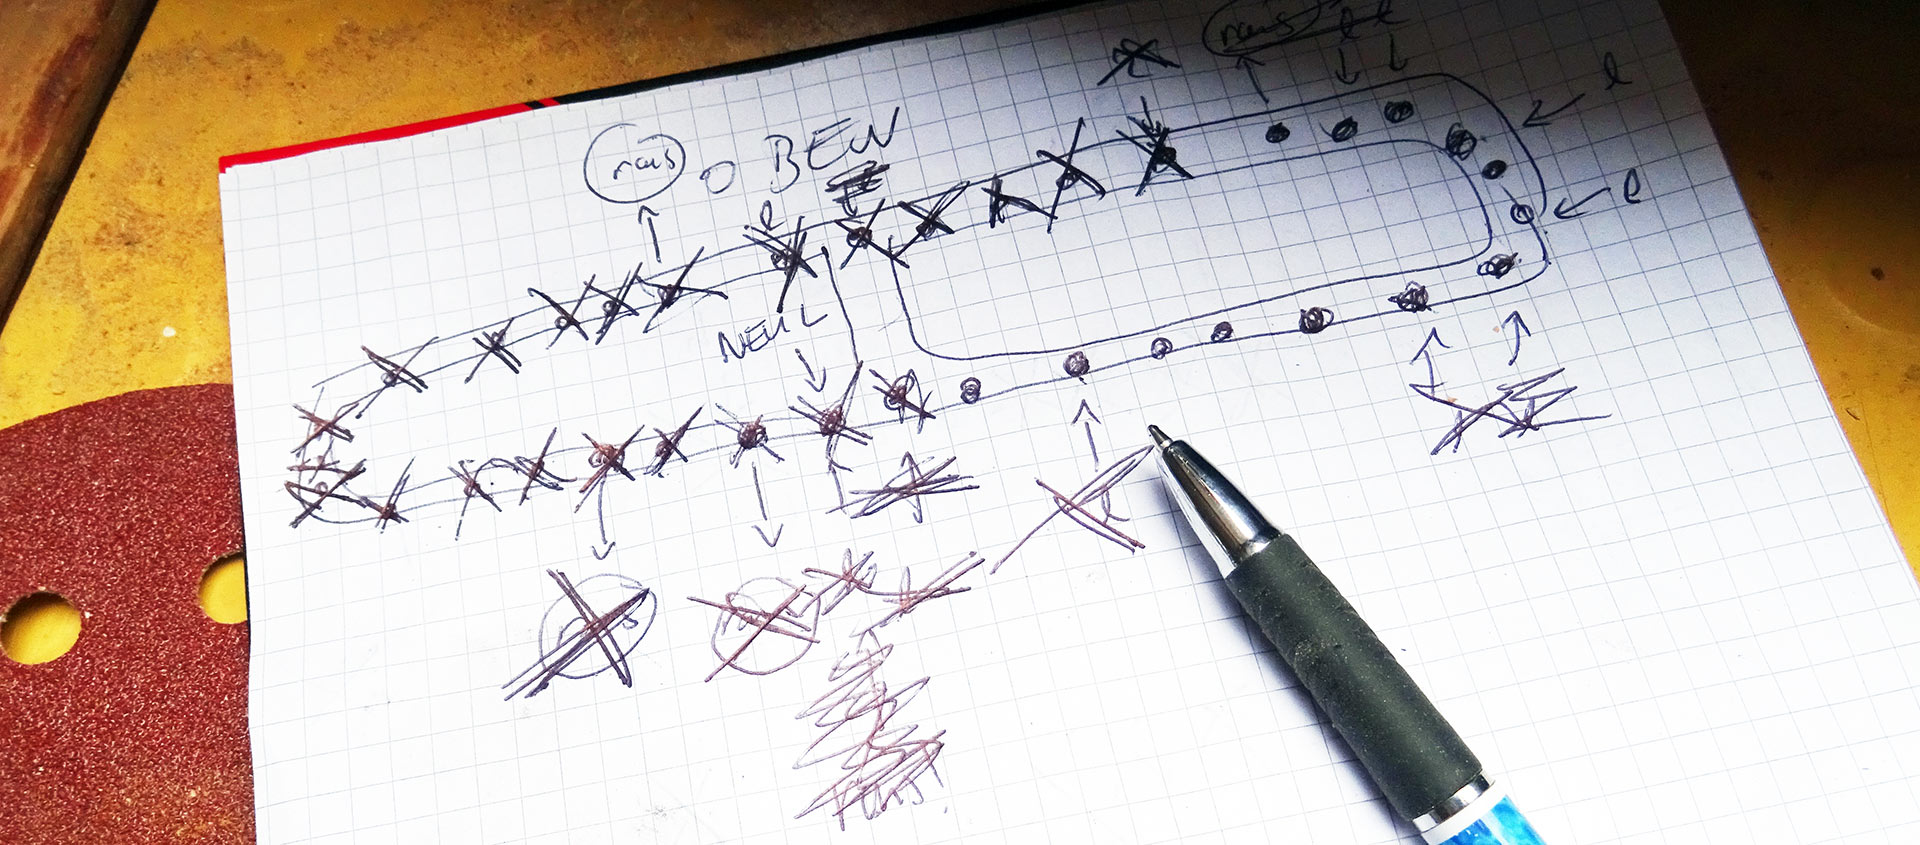
So back up the entryway, jumping outside, dashing to the window and taking out the bolt. You see, of the 176 bolts there are three sizes: The short, the middle length and the supersized bolts. But I cannot see with bare eyes from outside which bolt to which borehole. It was a trial and error. It took me some 15 minutes to have all bolts in their respective lengths applied to all bore holes. Now for the nuts: Bringing them on by hand from inside. But where to get the counter-torque?
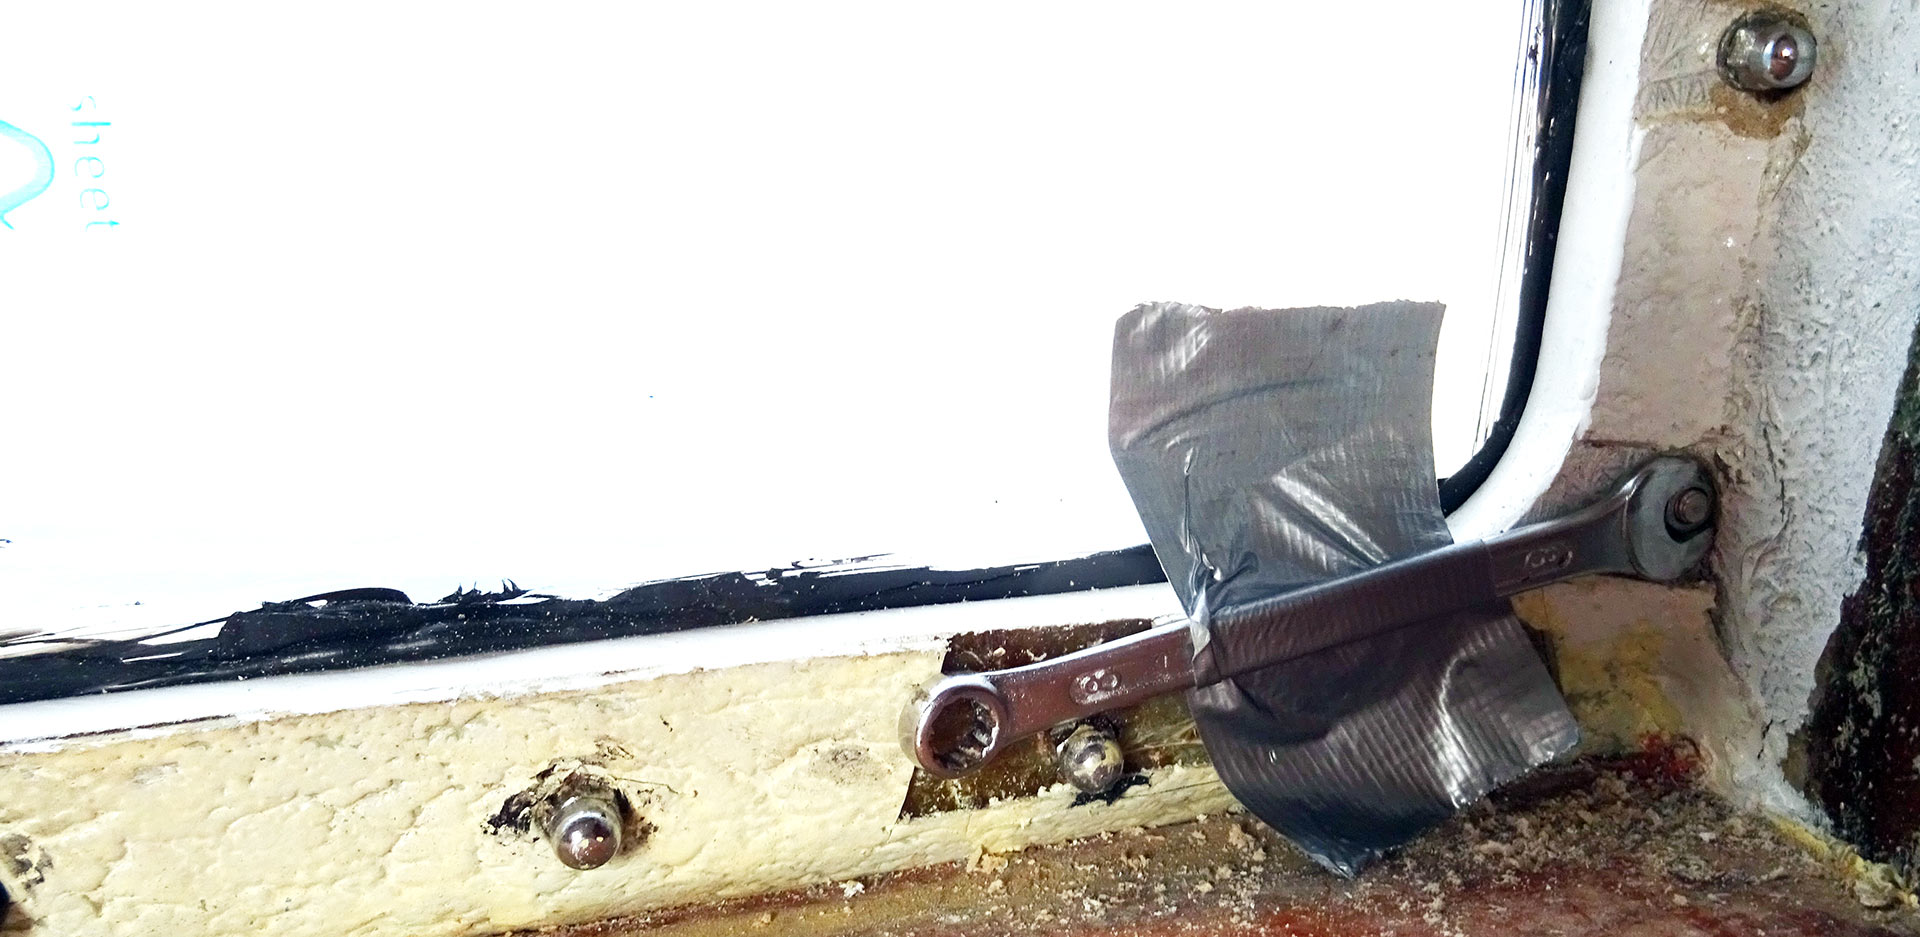
I simply fixed a small wrench to the nut by means of Gaffer tape. Nice! But you can imagine that this procedure had to be repeated 40 times all over again with each and every nut? Then it was climbing up the ladder and going outside, re-orienting which screw to drill and then all over again. It was even more difficult because I had to work overhead …
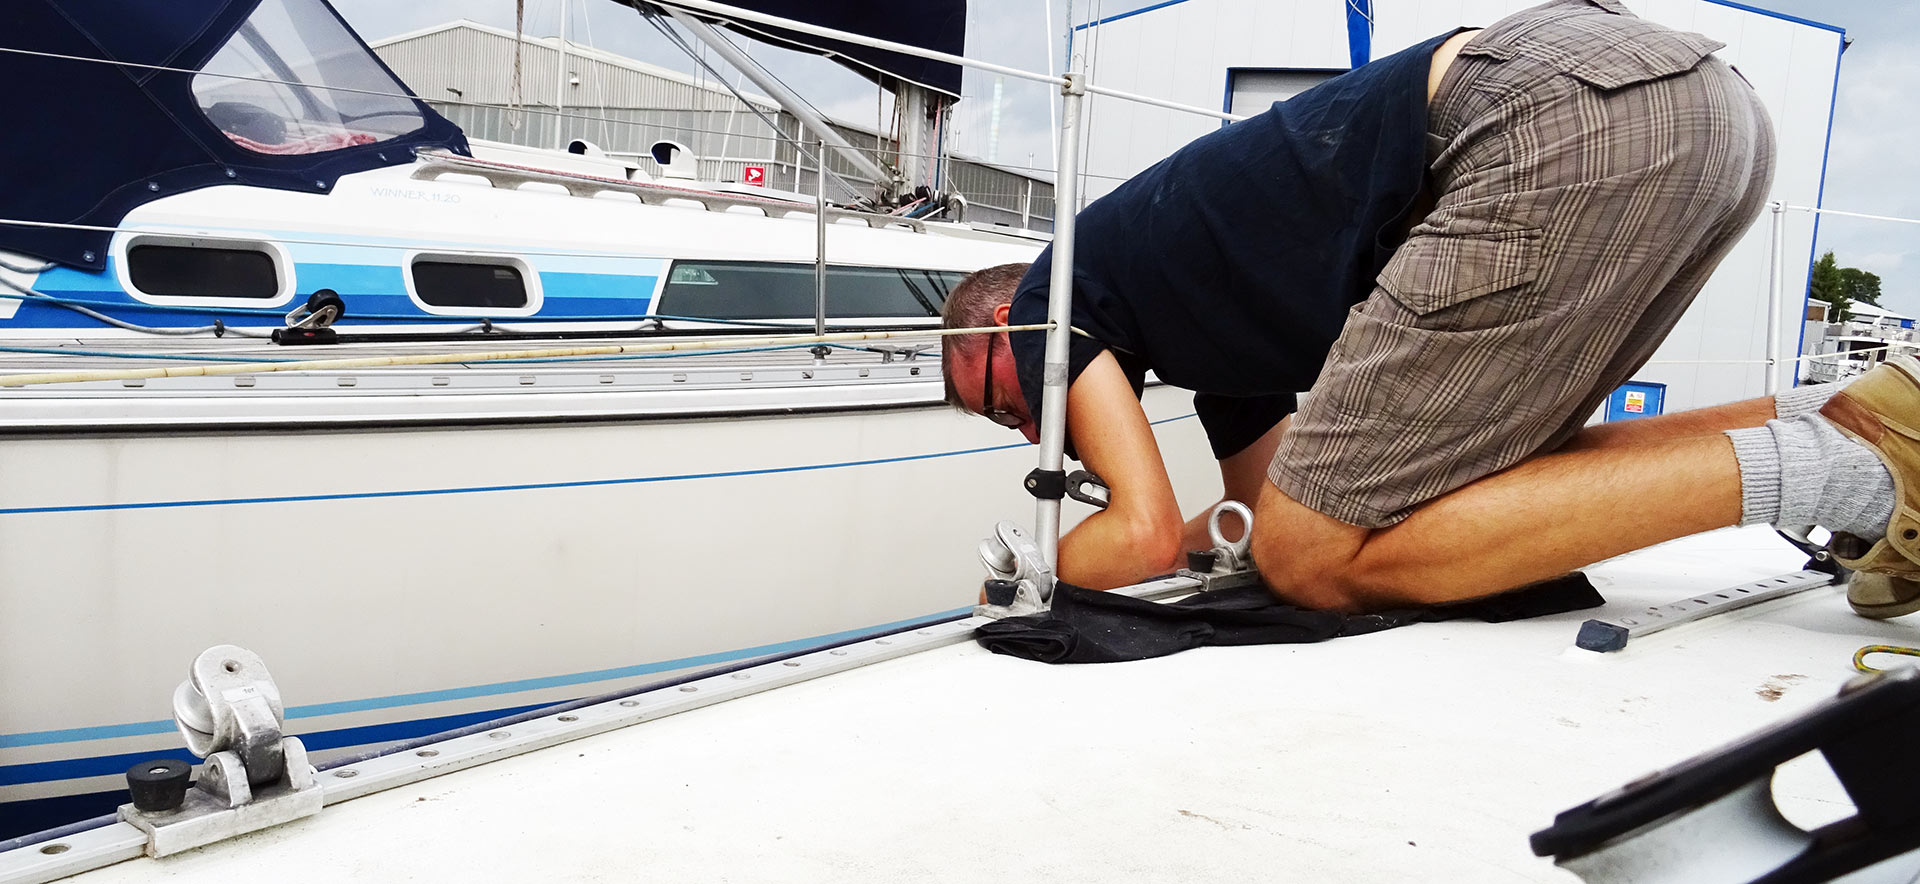
I figured that climbing outside and standing on the ladder is of course more comfortable but it was taking too much time all the time to climb up and down. Additionally, my legs began hurting so I tried I bend my body overhead and stick myself through the reeling fence to work overhead. In this, I more than one time got “up” and “down” confused and loosened already tightened screws or tried to tighten screws where no counter torque was attached. So, in each of such errors this meant one extra climbing down into the salon.
I guess in the end I went up and down more than 100 times but all in all the work went pretty well. I knew from working with the old windows that too much torque on the screws would make the Plexi glass split. No good in any case! I head it split slightly not more than 5 times and couldn´t spot any bigger splits after work was done and so I think all went pretty fine. Nevertheless, it took me some four complete working hours to have the port side of my boat equipped with these new windows.
Note to myself: Next time there must be some budget left to acquire some Loctite. Because of the fact that the nuts must not be seized too tight, it is always quite possible that there could occur some loss of torque over time. For lack of Loctite I decided to go for the good old Epoxy and fixed the nuts with a nice layer of fast hardening Epoxy. Wow, what a day!
Port side done: What´s up next?
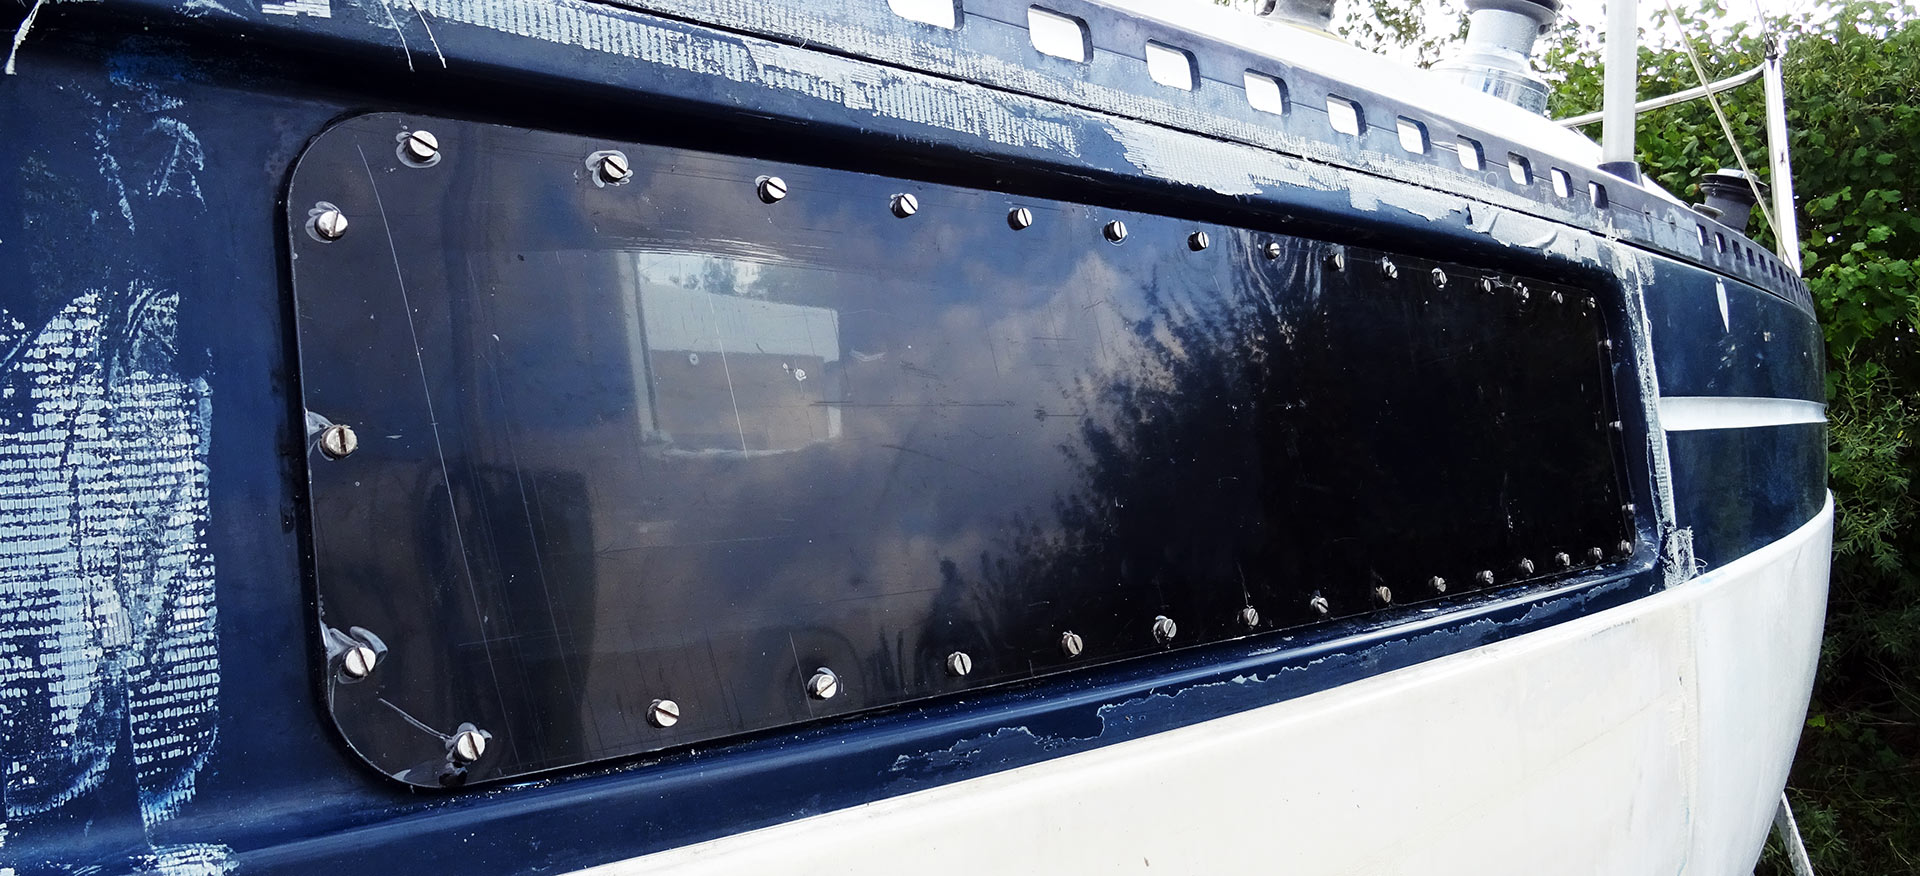
As I drove home some hours ago I really could feel my back aching and the muscles turning sour from all the climbing action done today. Knowing that tomorrow the starboard side of the boat will receive its window treatment just like today, it´s “just” another 80 nuts and bolts to go, I though. Albeit the protective foils still attached to the port side windows, it was pure relief to have a kind of clean view through these nice big portholes again after two years of being constantly covered with garbage bags. I am so satisfied!

What´s up next when the windows have been attached? Well, it´s simple: I will have to prepare the inside of the hull around the windows. Meaning applying some layers of white paint and then mounting the wooden (and also painted) panels in galley and navigation station. For the saloon, it´s finally getting the ceiling-panels attached and then the shroud-covers. This will be the last bigger parts of the saloon refurbishment. All that follows is “just” smaller stuff. Stay tuned for window refit part 4.
You may also be interested in reading these articles:
Protective masks for sanding down critical stuff
Captain´s Chairs á la Hallberg-Rassy? Give it a try …