News from the King´s Cruiser´s refit, folks. Now that temps are pretty high and there is virtually no movement in the air, I´ve decided to finally go for the big, big, big job. This one – once finished – will be setting off a whole cascade of follow-up jobs which I had had to postpone because, well, because this one hasn´t been done. Yet. I´m talking of finally mounting the new porthole windows for my ship´s hull.
Why this is the requirement to do all the other jobs? Because, I cannot mount the teak ceiling unless the windows are on. I cannot mount the teak covers made for the GRP-supporting shroud-structures unless the ceiling-panels are mounted. I cannot do so many things in the boat´s salon unless these damn 4 windows are mounted. I´ve bought all the stuff I need to have the windows glued properly and recently tested it (read this article on plexi glass window mounting) and now time has come to finally tackle this task! Let´s go!
Prepping the Gelcoat area to mount the new Portholes

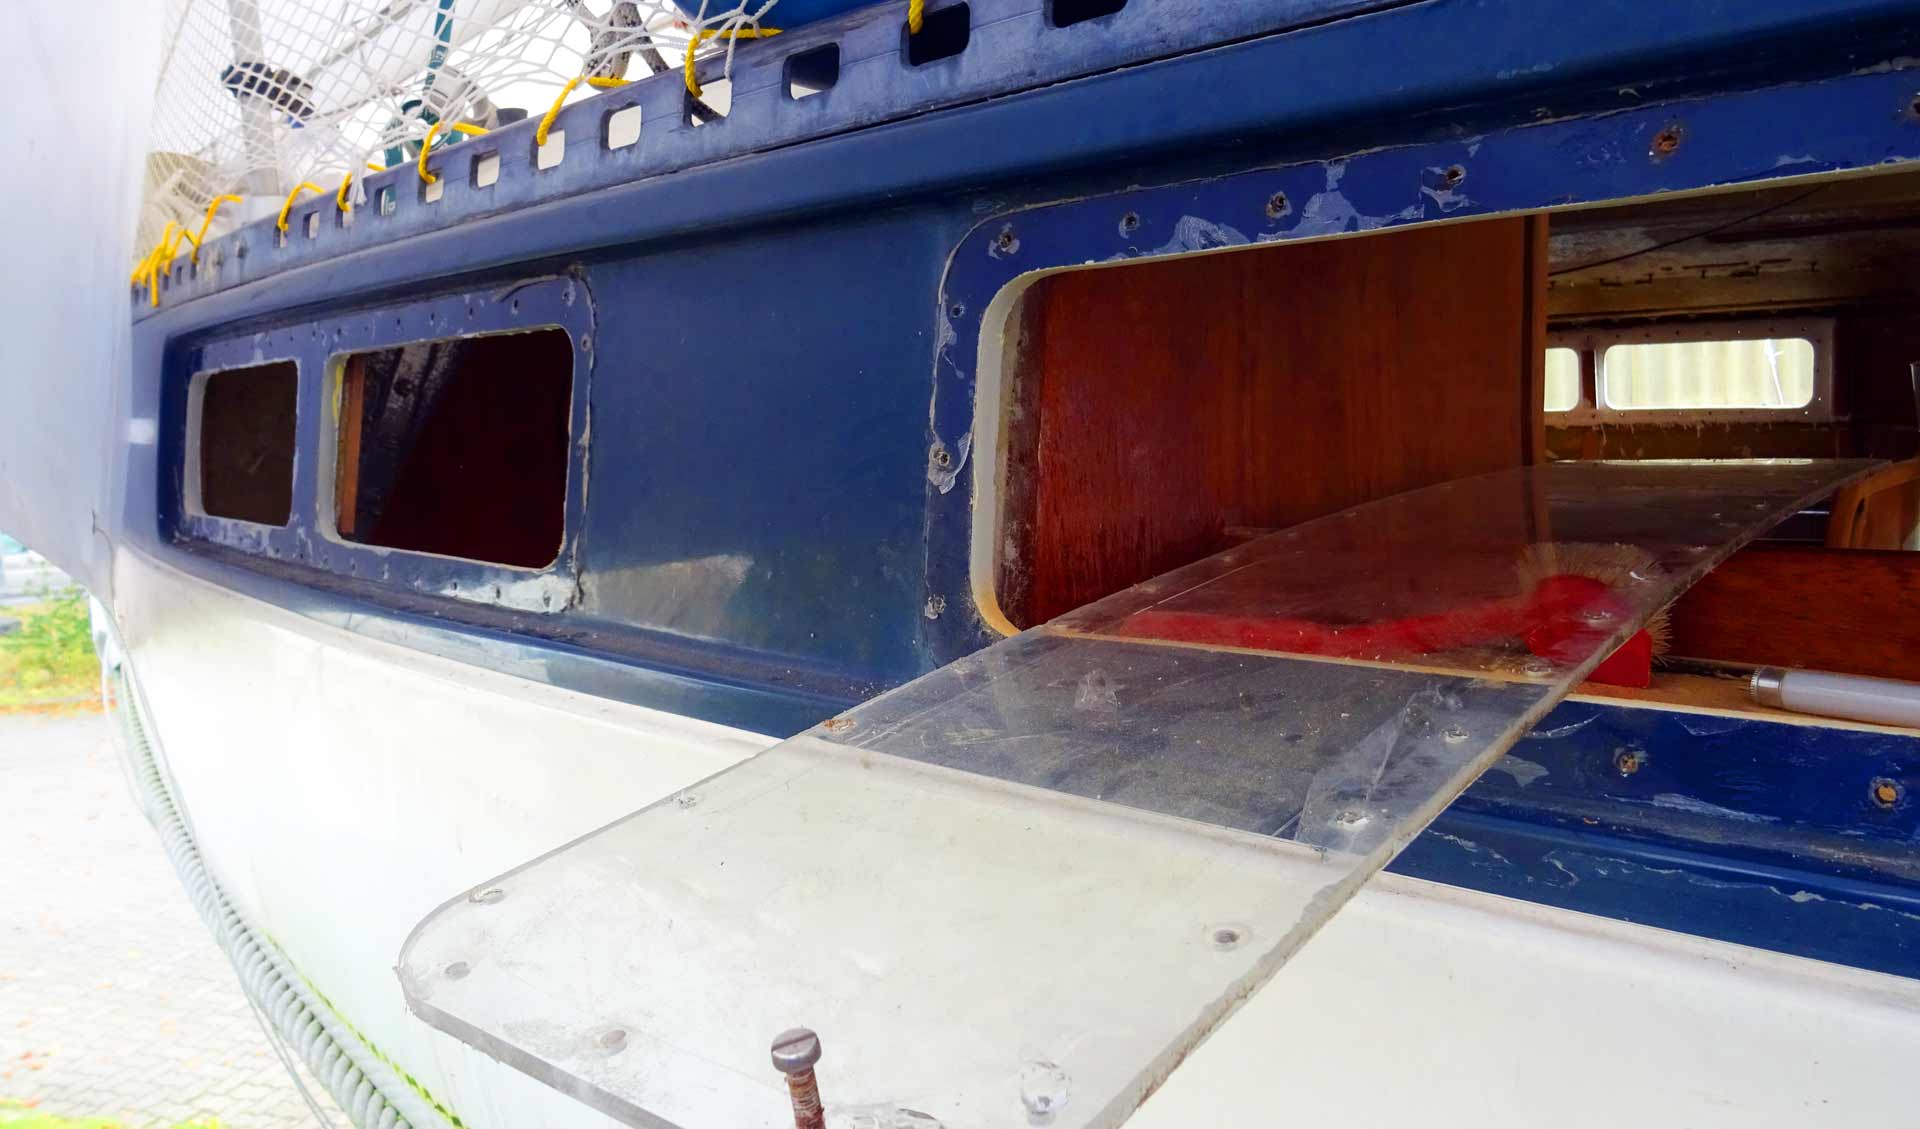
The boat, as you may know, has four big portholes on either side, covered by two even bigger, very slim windows. The windows are essentially glued to the hull and then supported mechanically by bolts every 2 centimetres or so. I don´t know yet how I can mount the screws alone yet because I´d need somebody to fix the screws from outside while I tighten the nuts, but one problem at a time …
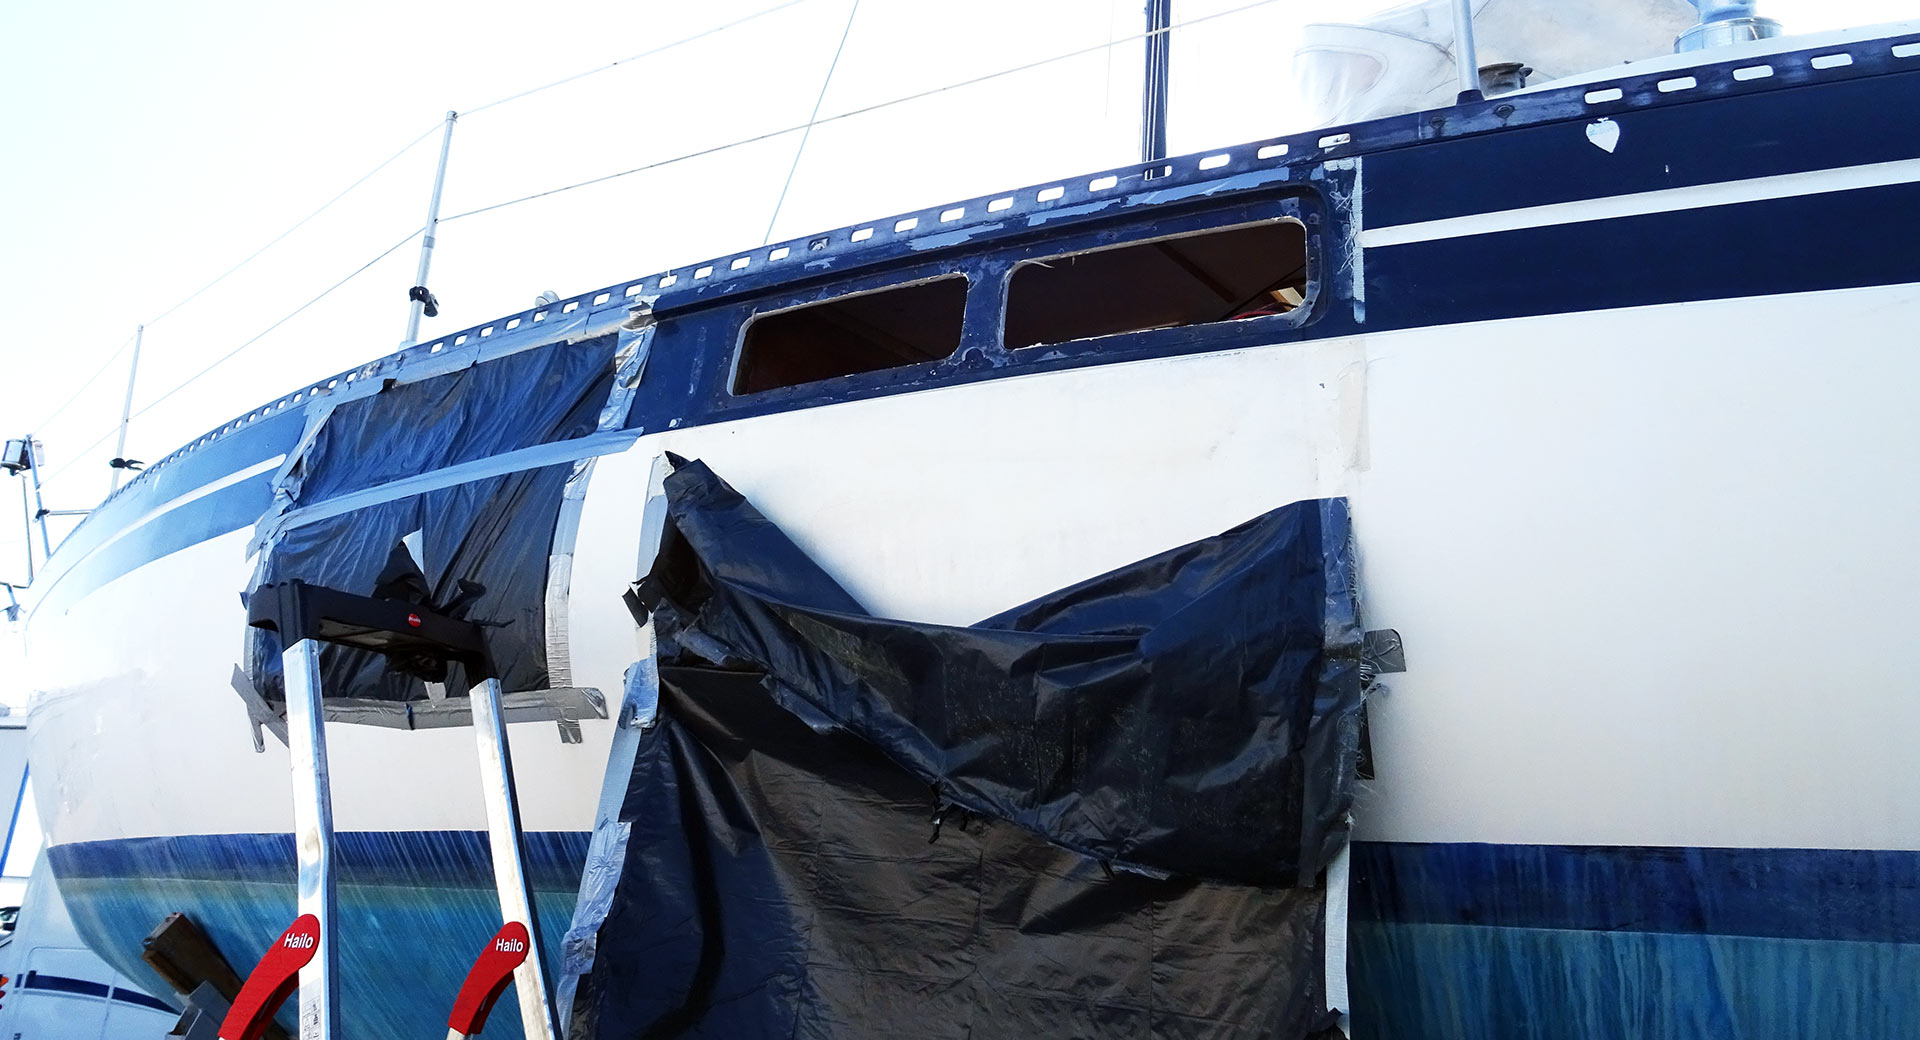
There are two windows to either side of the salon which must be properly fitted before I can fix the teak ceiling, two more at starboard shining some very nice natural light onto the chart table at the nav station (which makes a fantastic place to sit down and watch the seas rushing by whilst sailing!) and facing the nav-station there are two more windows for the galley. I climbed the ladder to step up outside at the hull – and what I saw was horror!

Not just because of the fact that over a period of some two years the Gaffa-tape sealing off the otherwise completely open windows from rain and wind and snow had been literally melted into the gelcoat (well, again: one problem at a time) but I recognized that one of the four pre-owners must have at least once did the same job as I was going to do now … and he was using silicone sealant! WTF? You never ever use silicone on a boat, man! It´s a pain in the ass to remove!

And it really was! You can´t scratch it off by no means and no – not the sharpest – tool can peel of this slippery damn stuff! So I had to grab the sander and grind it all off. That was annoying because first of all, it took me an hour to prepare one of the four windows! Secondly the fast rotating grinder must not sand off too much (but it did) and must not leave the slightest bit of silicone on the surface because the glue wouldn´t stick on it. It was a mess! I was covered in fine blue gelcoat dust and looking at the three remaining windows I was not far from resignation.
Prepping the internal surfaces
So I switched to the interior, my ears still vibrating by the loud screetch of the rotating sander monster machine and thought that I could prepare the internal stuff. I have put a load of efforts, material, money and working hours into creating a nice salon with real massive teak ceiling. I also invested very much time and effort in making the fore cabin not just habitable but nice. Anyway, I wasn´t ready to invest this much into nav station, quarter berth and galley. No ceiling here!

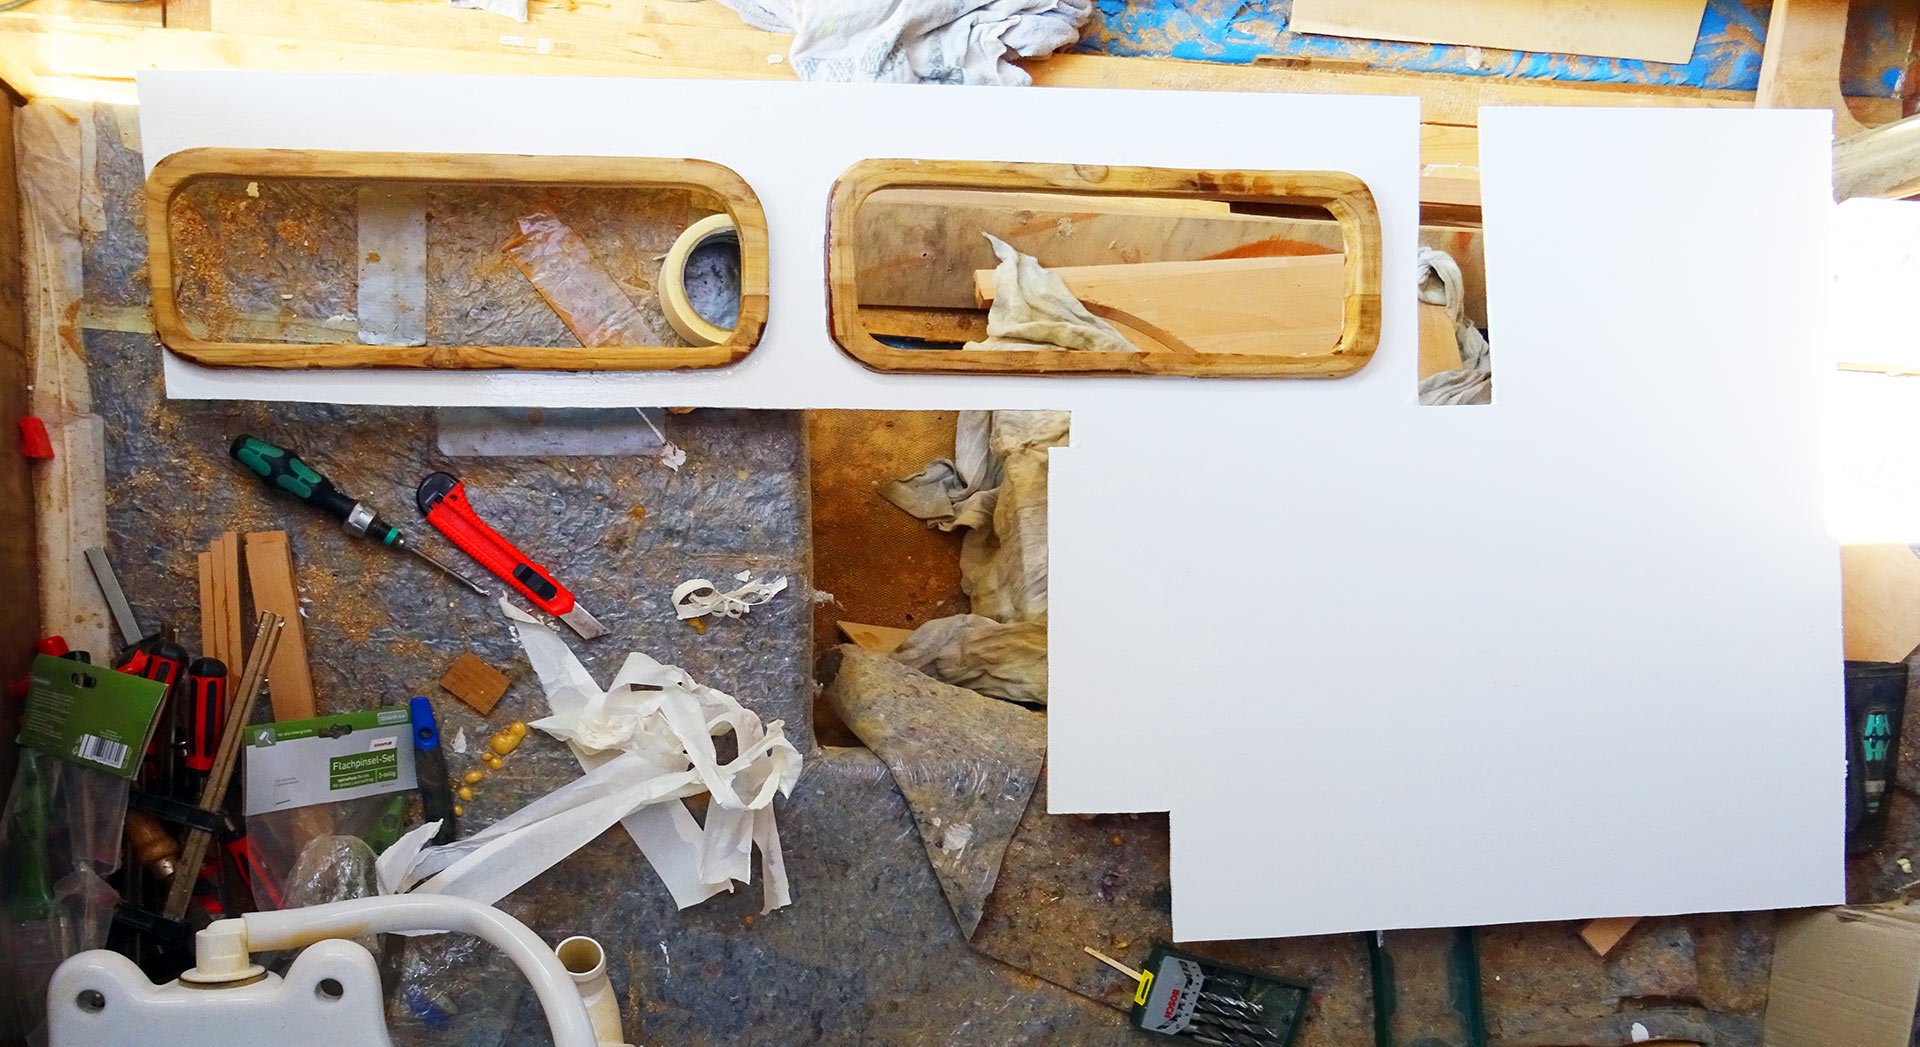
So, talking of the nav station I thought that one single huge cover made of plywood would be perfect to hide the bare GRP structure of the hull. So, it was quite an undertaking to get all the measurements of this multitude of angled form, transfer this onto a big sheet of plywood and cut it out nicely.

It worked and – new record in this whole panel-making thing on my boat! – I was able to have the panel fitted after just a single correctional cut had to be placed. This panel would cover the hull from the forward end of the nav station right up until some 30 centimetres into the quarter berth. I don´t know yet what I will do with the quarter berth yet, but I think it will be a simple solution.

Anyway, the fitting of this new thing was bringing tears to my eyes because I couldn´t expect this complicated, bent thing to fit so neatly between windows, chart table and the stringer for the cockpit-structure. I was happy! Same thing for the galley: To have at least some nice covering of the not-so-nice area surrounding the windows I cut out a second panel and it was fitting firmly.

The galley-panel will be screwed to a supporting stand made of surplus wood I found in the boat. This stand will furthermore act as a compartment for the shelf, providing for some nice safety for the stuff that will eventually been put here. I am also thinking of making another panel – horizontally mounted – to have all the nice spices sorted properly. You know how I love onboard cooking …

Getting lost in details
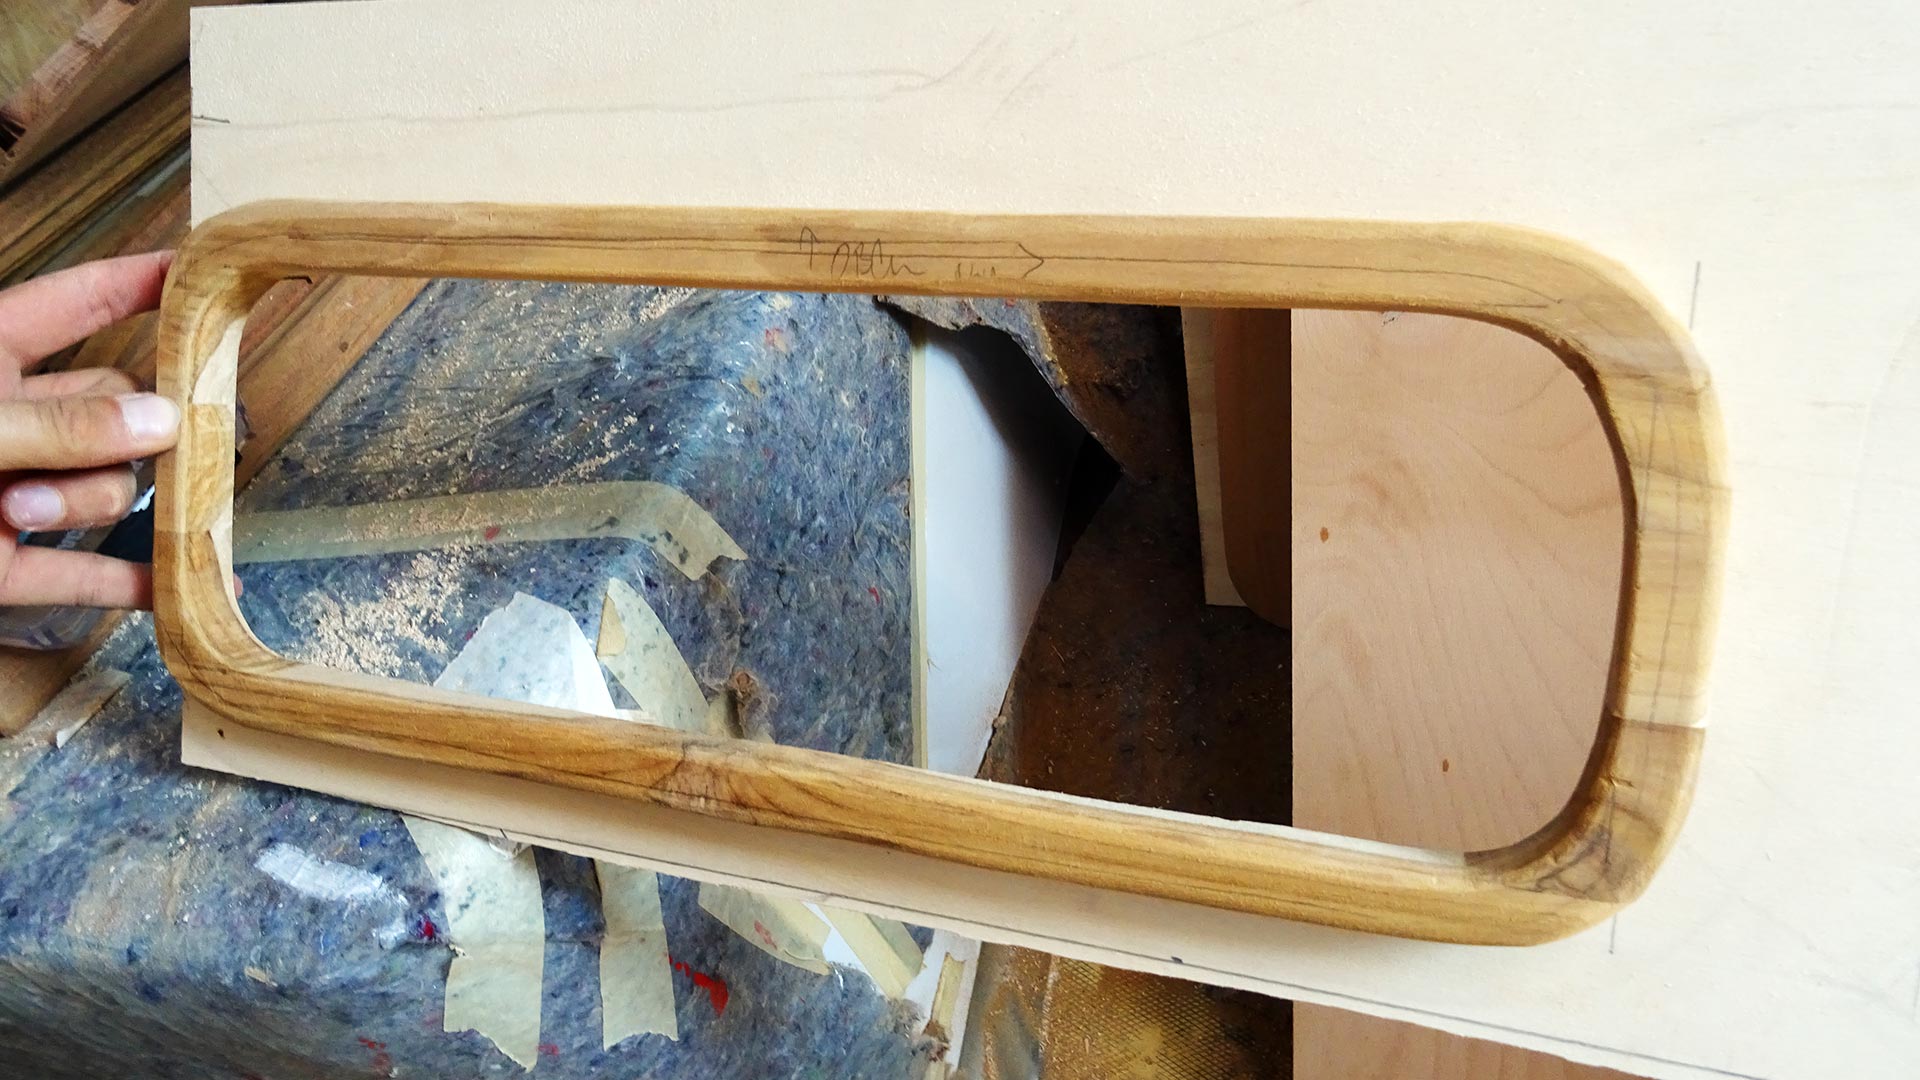
Did I say I wanted to ultimately finish the windows? Well, I did it again and got lost in the details. Instead of taking the damn sanding machine, fit a fresh sandpaper and tackle the next window so sand off the silicone, I was so happy with my two new panels that I concentrated on them: I love Teak anyway and I simply cannot completely without it so I cut out two nice Teak frames for the nav station windows – and guess what? They fitted perfectly! But it lasted a working day to make them …
After making the panels waterproof by painting the backsides with Epoxy I painted the big nav-station panel in yacht white and after applying two layers the panel just looks awesome! It will be a perfect spot down there in the nav station and because there is so much white in it, it will brighten up the otherwise dark corner of this boat. Of course, some nice decorative Teak stripes will be fitted, bit as for now, I was really happy!
Which, oh dear, brings me back to this damn silicone sanding job! I guess I will have to pull myself together in the coming days and get my ass up there on the ladder and do the job. At least, that´s just 3 hours of sanding. But before, I´ll have to buy me some very good ear protection because I´m too old to have my acoustic organs punished this long … my last Gothic Metal concert has been way, way back in former times …
Sailing yacht refit aficionado? Try these best-of articles:
Refurbishing a dirty filthy bilge, parts 1 and 2
Making the perfect chart table, parts 1, 2 and 3
Sanding off old gelcoat and re-painting the interior, parts 1 and 2 and 3