
It maybe feels a bit like chewing gum: The process of getting my new sailboat finished sometimes feels a bit frustratingly long. But that´s the thing when custom-building a yacht and asking for the most (cost-)efficient way. But it´s cold, rainy autumn anyway so even if she would be have been finished she would be in winter storage right now. So in the end, I´d rather have the boatbuilders take their time and present a flawless outcome than rushing them. Nevertheless, there is progress indeed – little steps here and there. This article shows the intricacies of custom yacht building, stuff you´re probably not aware of.
“Why does it take so long?!”, many people ask me. Well, normally, when paying the full price upfront, the fitting and finishing my yacht from where they´ve started would have take the shipyard 10, maybe 12 months. The point with my individual case is … it´s very individual. As you can imagine, I do not have half a million Euros on my account, which would have been the price for this beauty. So we had to come up with a different solution.
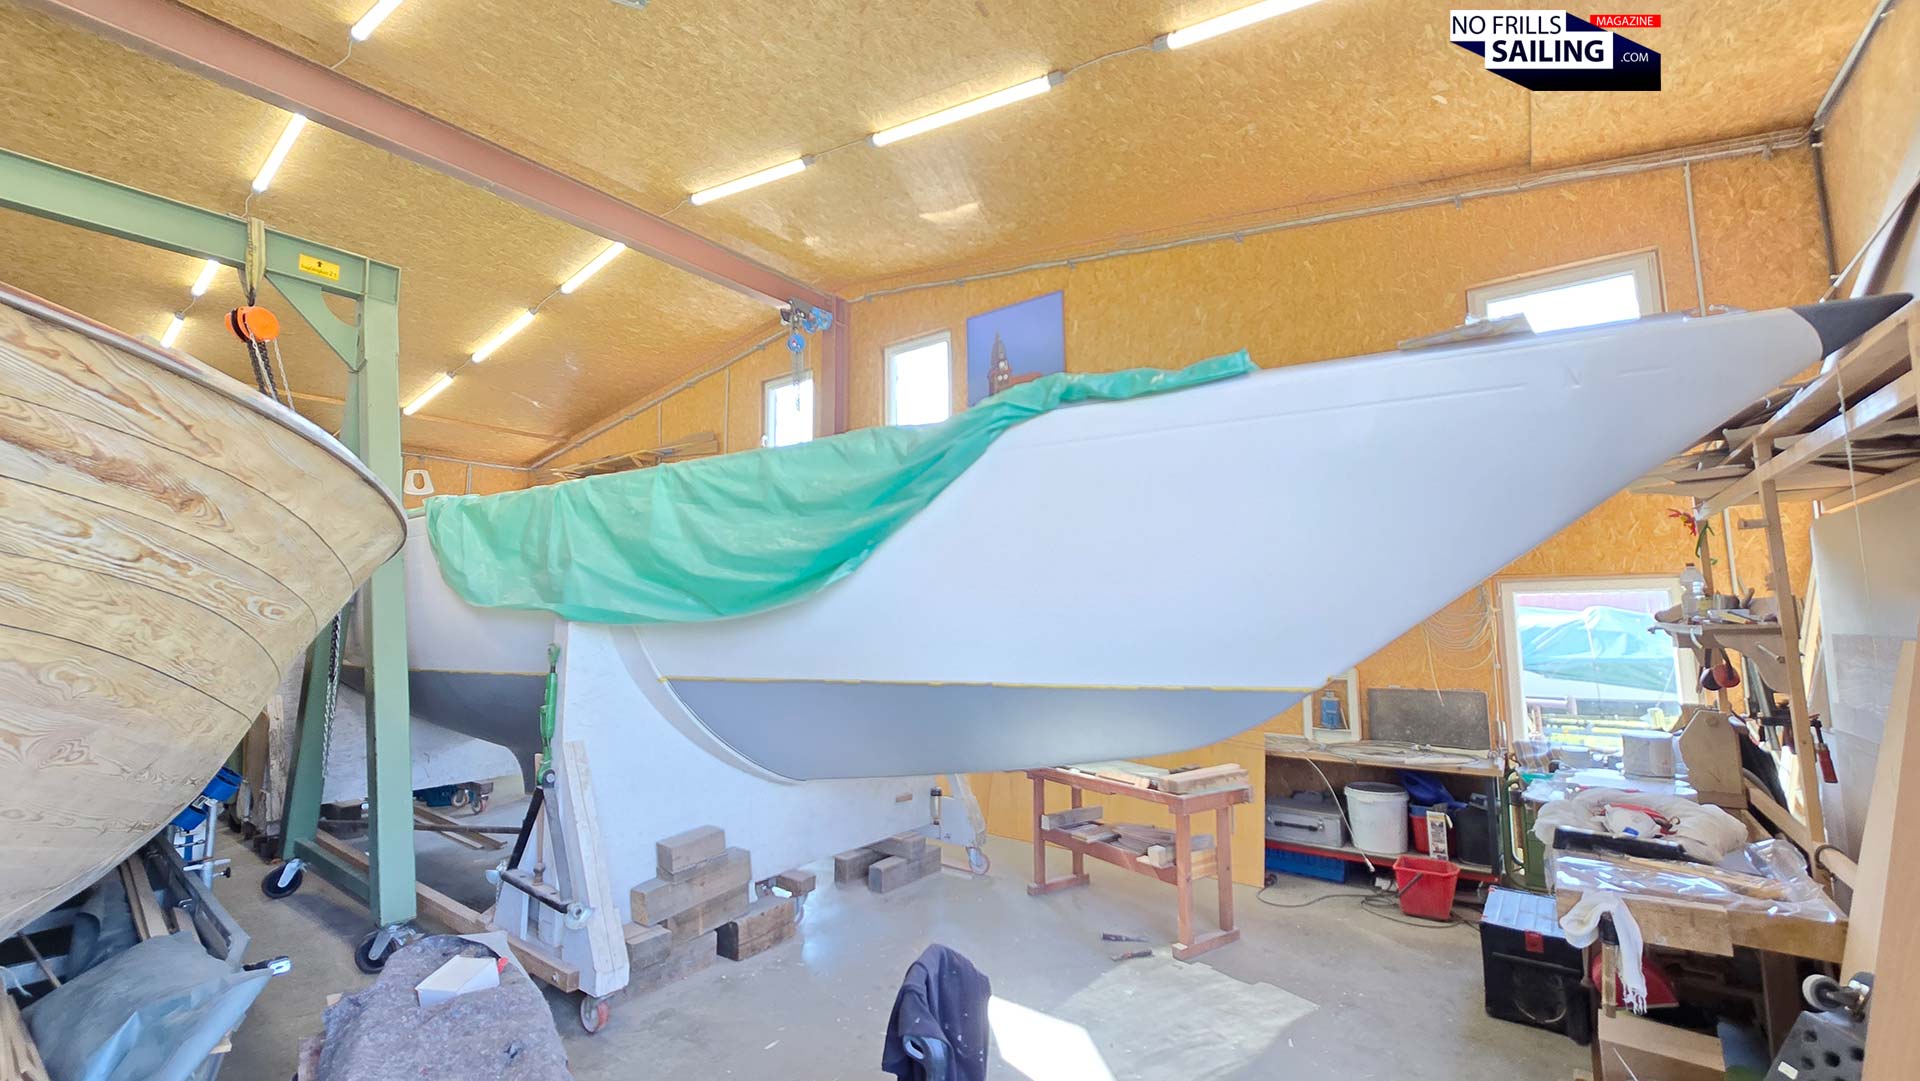
Without getting into too many details here, essentially, I was asking to artificially “stretch” the building process in a way so that the invoices for the finished parts of the boats would fly into my inbox in wider intervals and in smaller amounts. That way I am able to pay for all of this. Also, many things for the boat, like the bottom paint, I do by myself, neglecting the work hours on their counter. So, just so that you know: The reason why we are in the third year of building the Omega 42 is … me. Not the guys. Anyway, as the title of this article suggests, there is progress indeed. Let´s talk about the things in work right now.
The cockpit takes shape
It´s a seemingly small thing on first glance, but behind this single step is a lot of “hidden” work, let´s put it this way. Recently the guys send a picture, see below, showing that the engine throttle lever had been mounted. That said, this means that underneath the cockpit´s floor, a lot of surplus work had taken place.
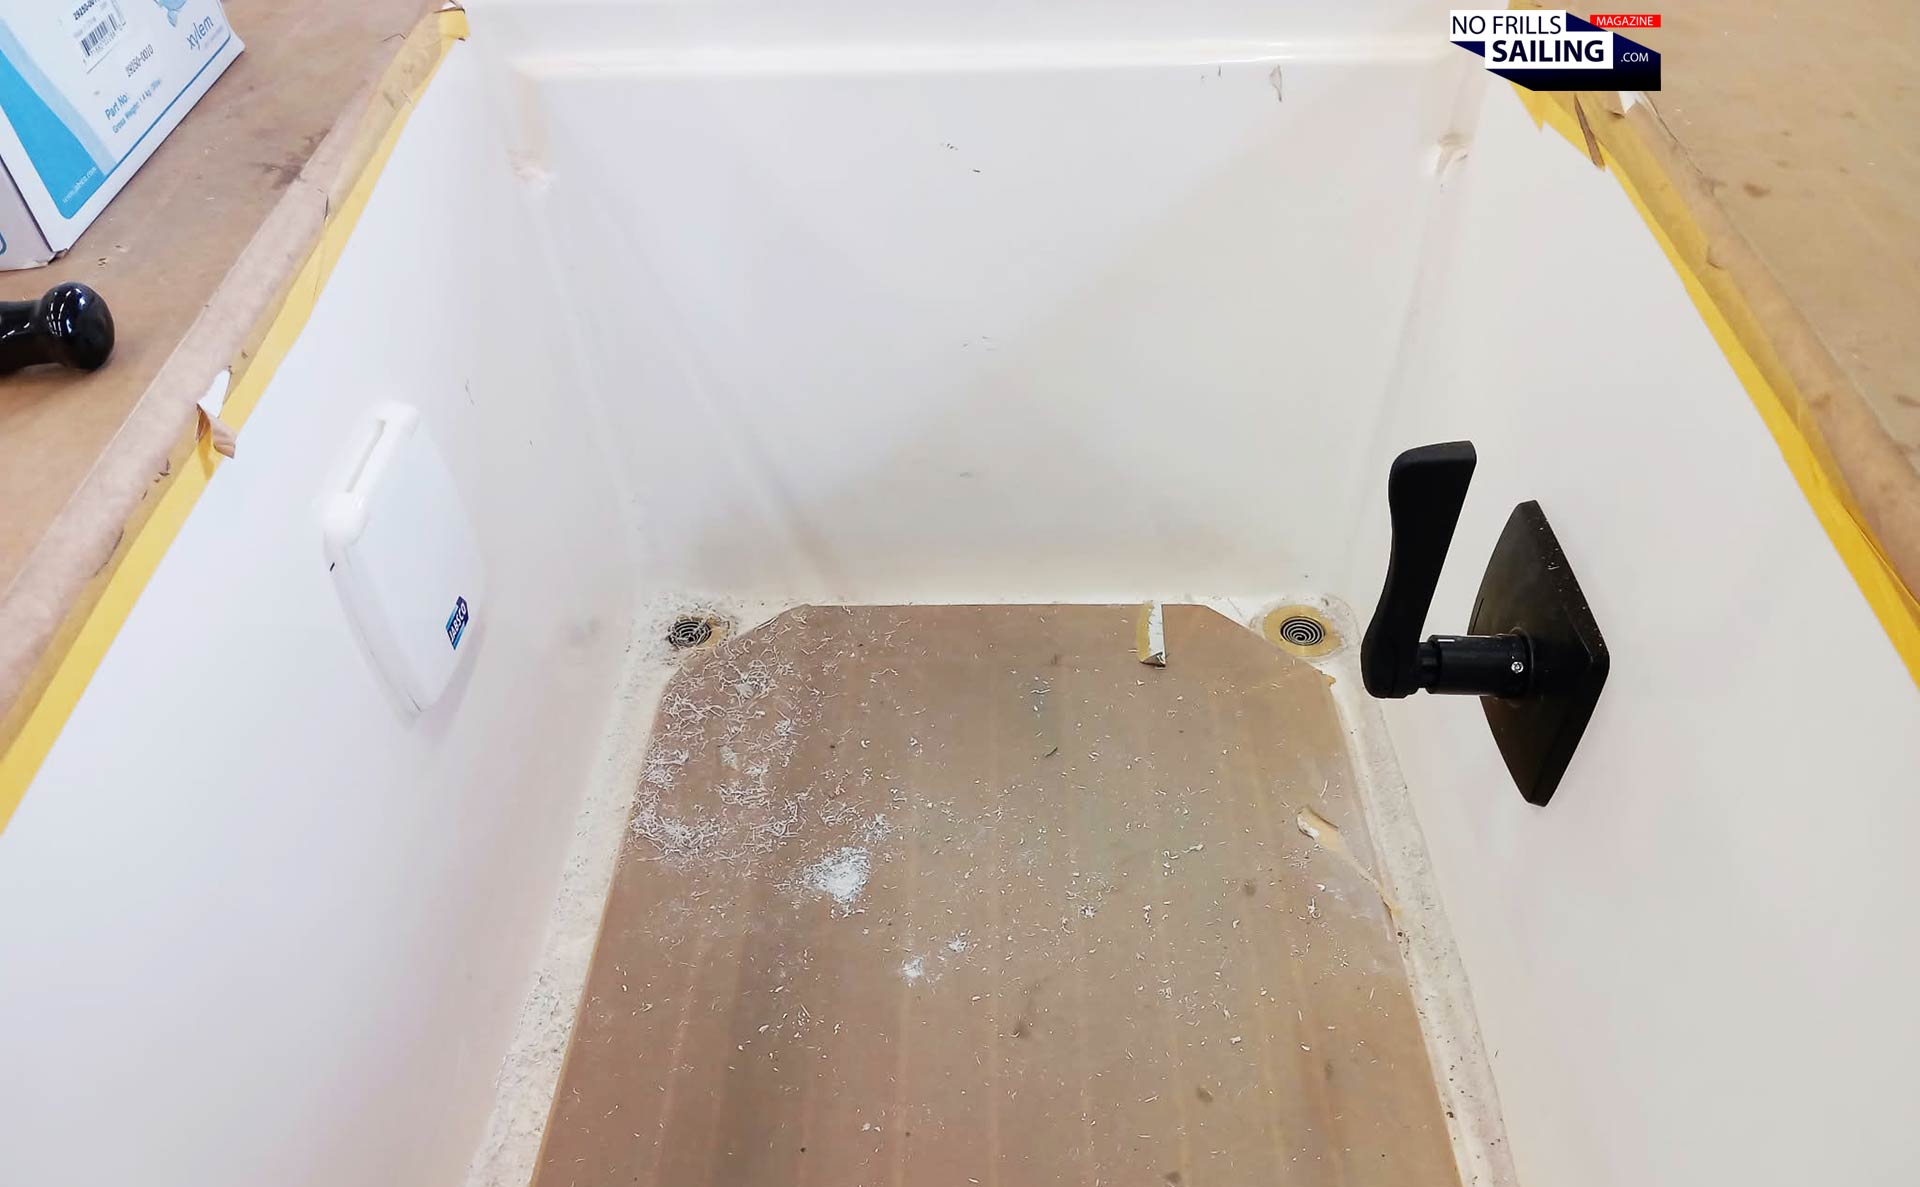
Because this lever is connected to the throttle cable that itself is going to the engine. Fitting this cable needs a lot of precision and know-how, because even if this is a flexible bowden-type cable, it doesn´t like all too sharp turns or even kinks. Also, below the cockpit´s floor the rest of the engine equipment such as exhaust and cooling water pipes, the insulation and so forth had been installed. That said, the boat can theoretically be driven by Diesel now. Great!
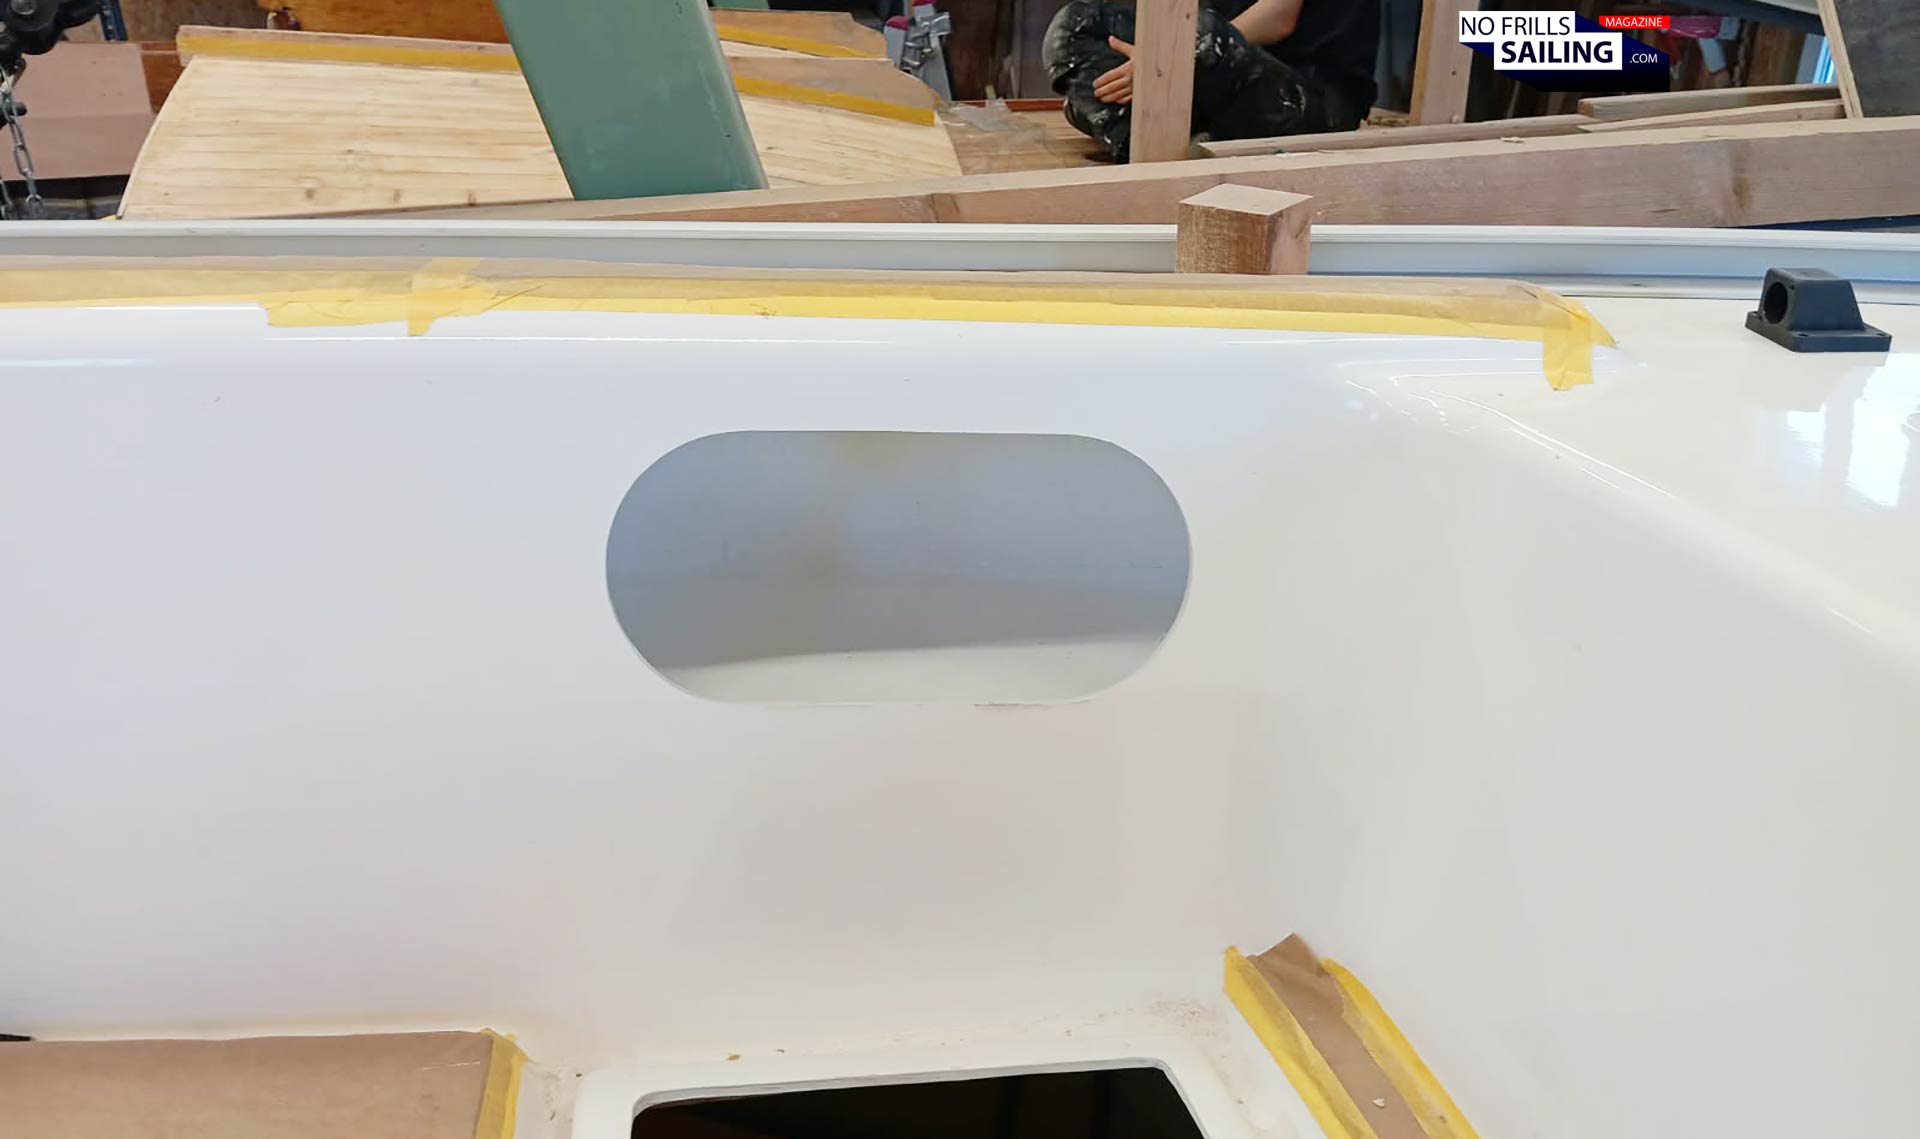
They´ve also fitted the cubby holes, as you can see above. It´s also a seemingly tiny thing and you may ask yourself why I specifically name it. But thinking about such a simple thing as a cubby hole in the coaming reveals that it is indeed not as easy to install. Apart from cutting a hole into the structure, there must be a fitted a watertight kind of “cupboard” to form the little cubby tray. This all must be custom sized and mounted in a way that it is level, even, and nice. So now my boat has two practical cubby holes, one on each side, which will be very much appreciated when sailing: Sunglasses, sunscreen and all sorts of stuff.
Making her entryway. Mahogany time!
Another thing is the entryway. Now, looking at these things you might get a better idea of the intricate work and the tiny bits and pieces which cost so much time and effort. At first, the guys had custom made and fitted the coach roof windows which you can see on the picture below: You know that I am a great fan of the original looks of Peter Norlin´s Omega 42 design, so fitting these two-parted windows is a tribute, and I really love the way it looks:
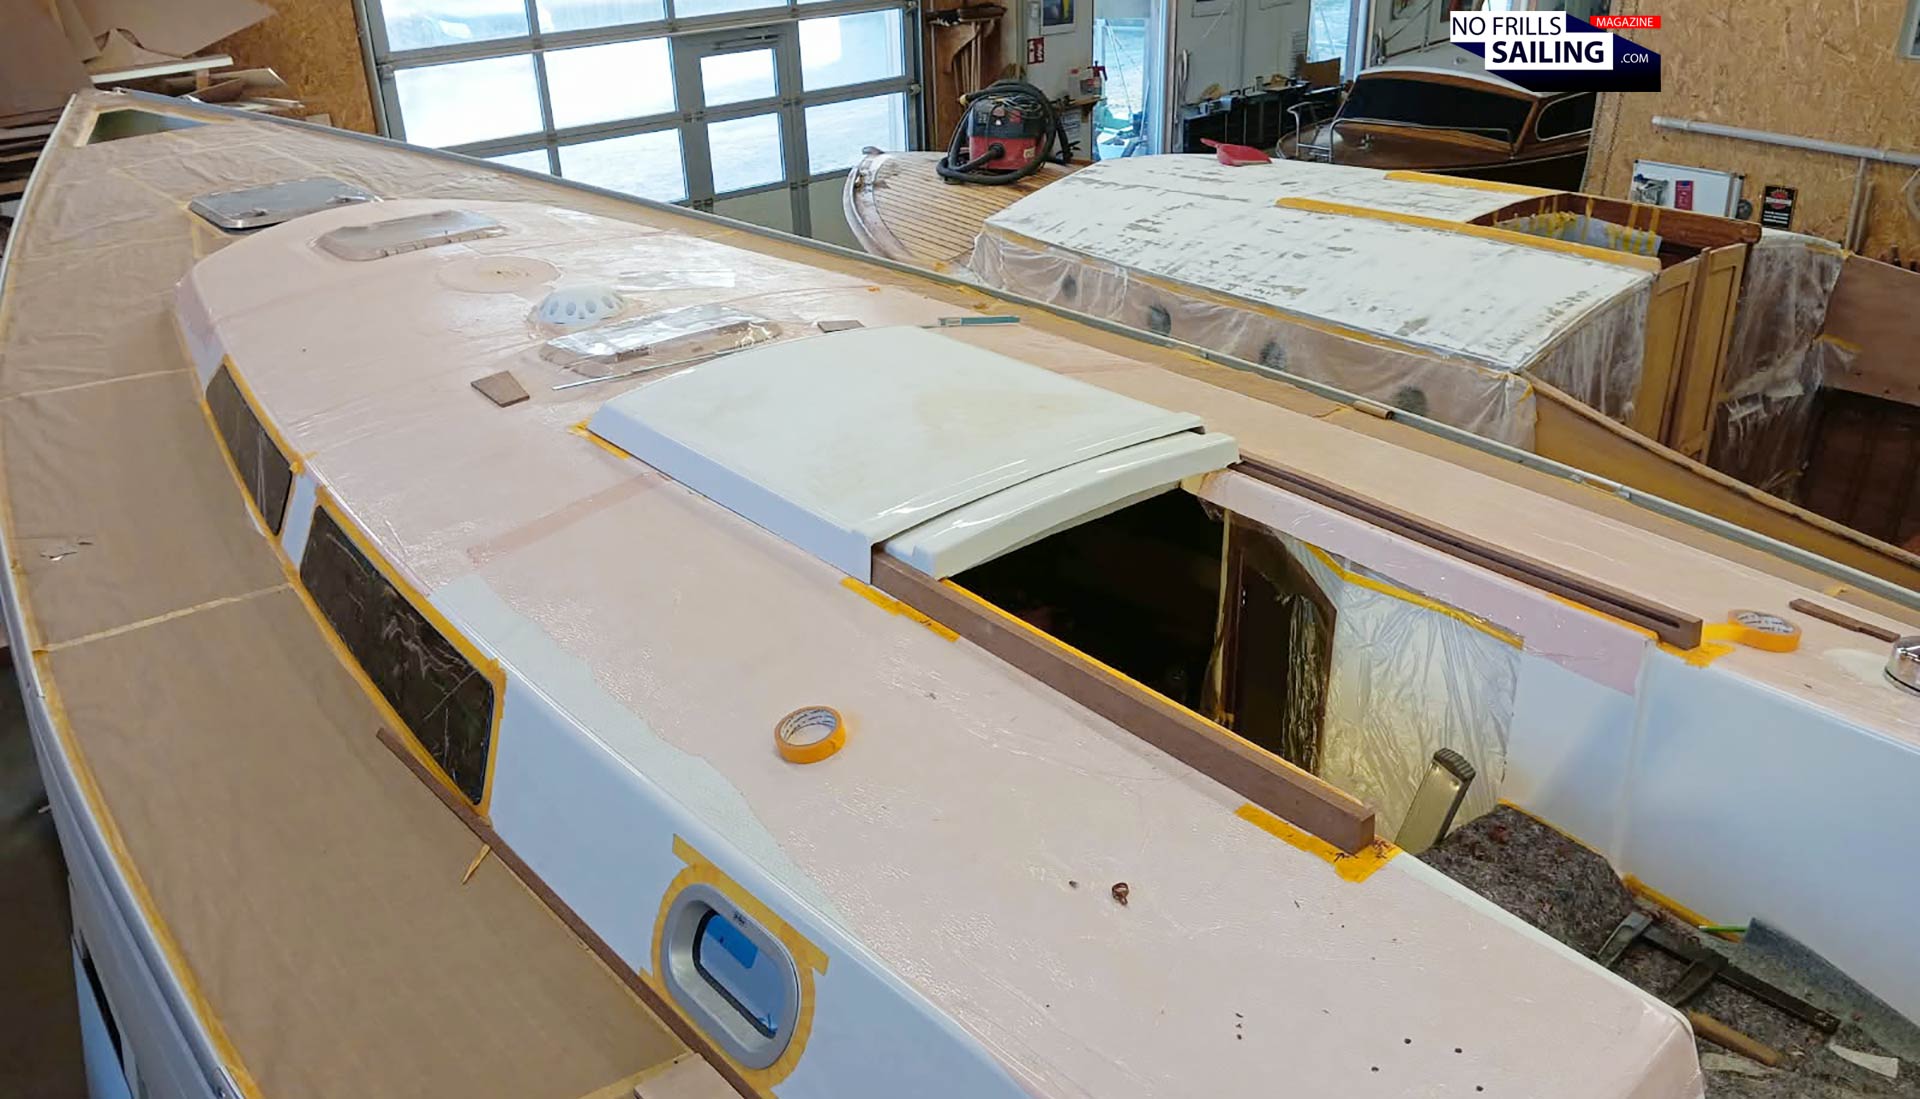
But there´s more in this picture: You can see the cover-cap, the slide-in part for the closing lid for the entryway down. Here, the carpenter had already started to make the slides, which in my case are made from mahogany. This must be done with utter precision and care, because later I want the cover to slide effortlessly, without much friction or any drag, even when wet. That said, all parts, especially the wooden slides, must be perfectly even. And that from both below (to not have any water accumulating between wood and GRP deck) and on top, where the lid will be sliding.
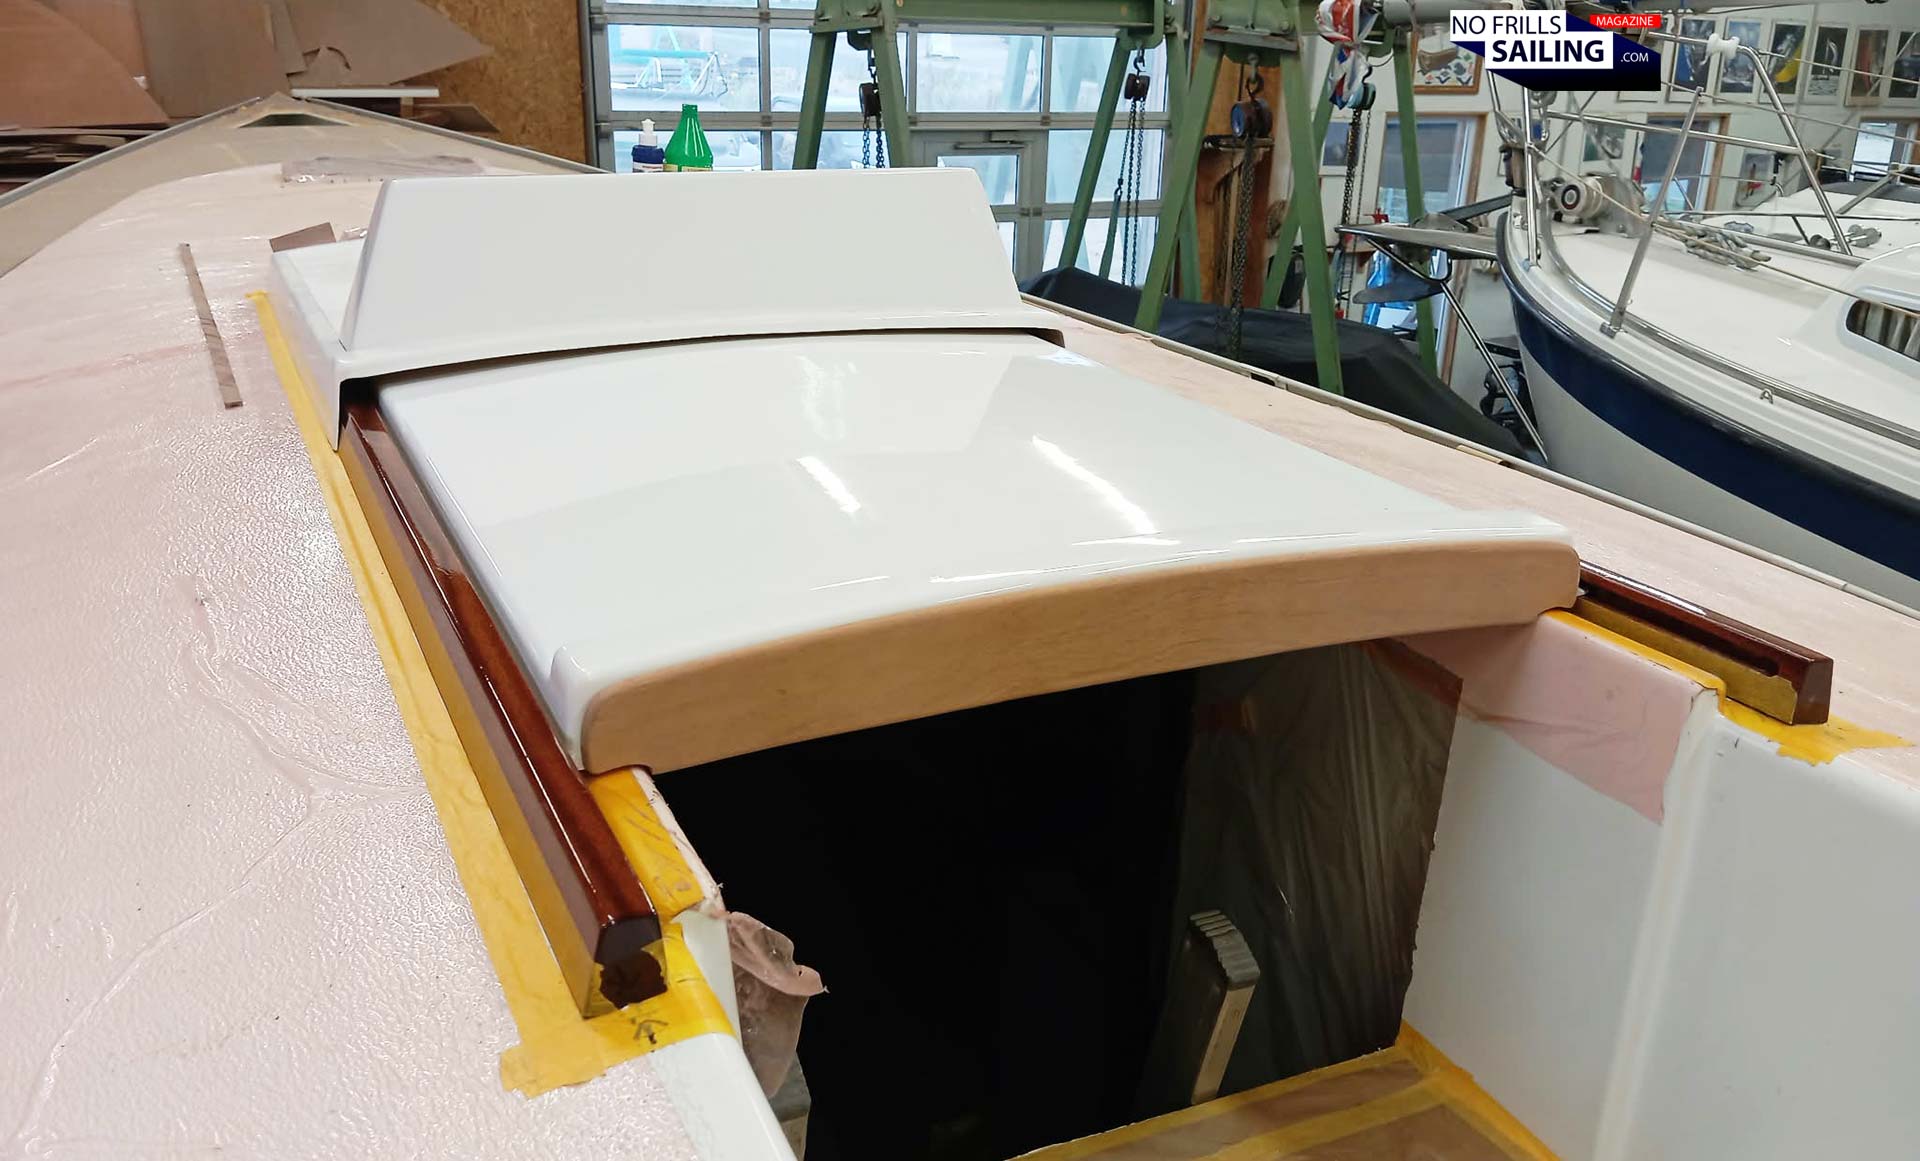
You can imagine how often the guy will have to go, fit and measure these things. Because there are two of them, being apart, that´s not your ordinary day´s work. It takes time and a skilled craftsman. On the picture below you can see that the two slides have already received their first of no less than ten layers of glossy paint. Also, the wooden facing panel for the lid as well later the wooden instrument panel for the Garmin electronics will be custom sized and glossy painted. That looks awesome, don´t you agree?
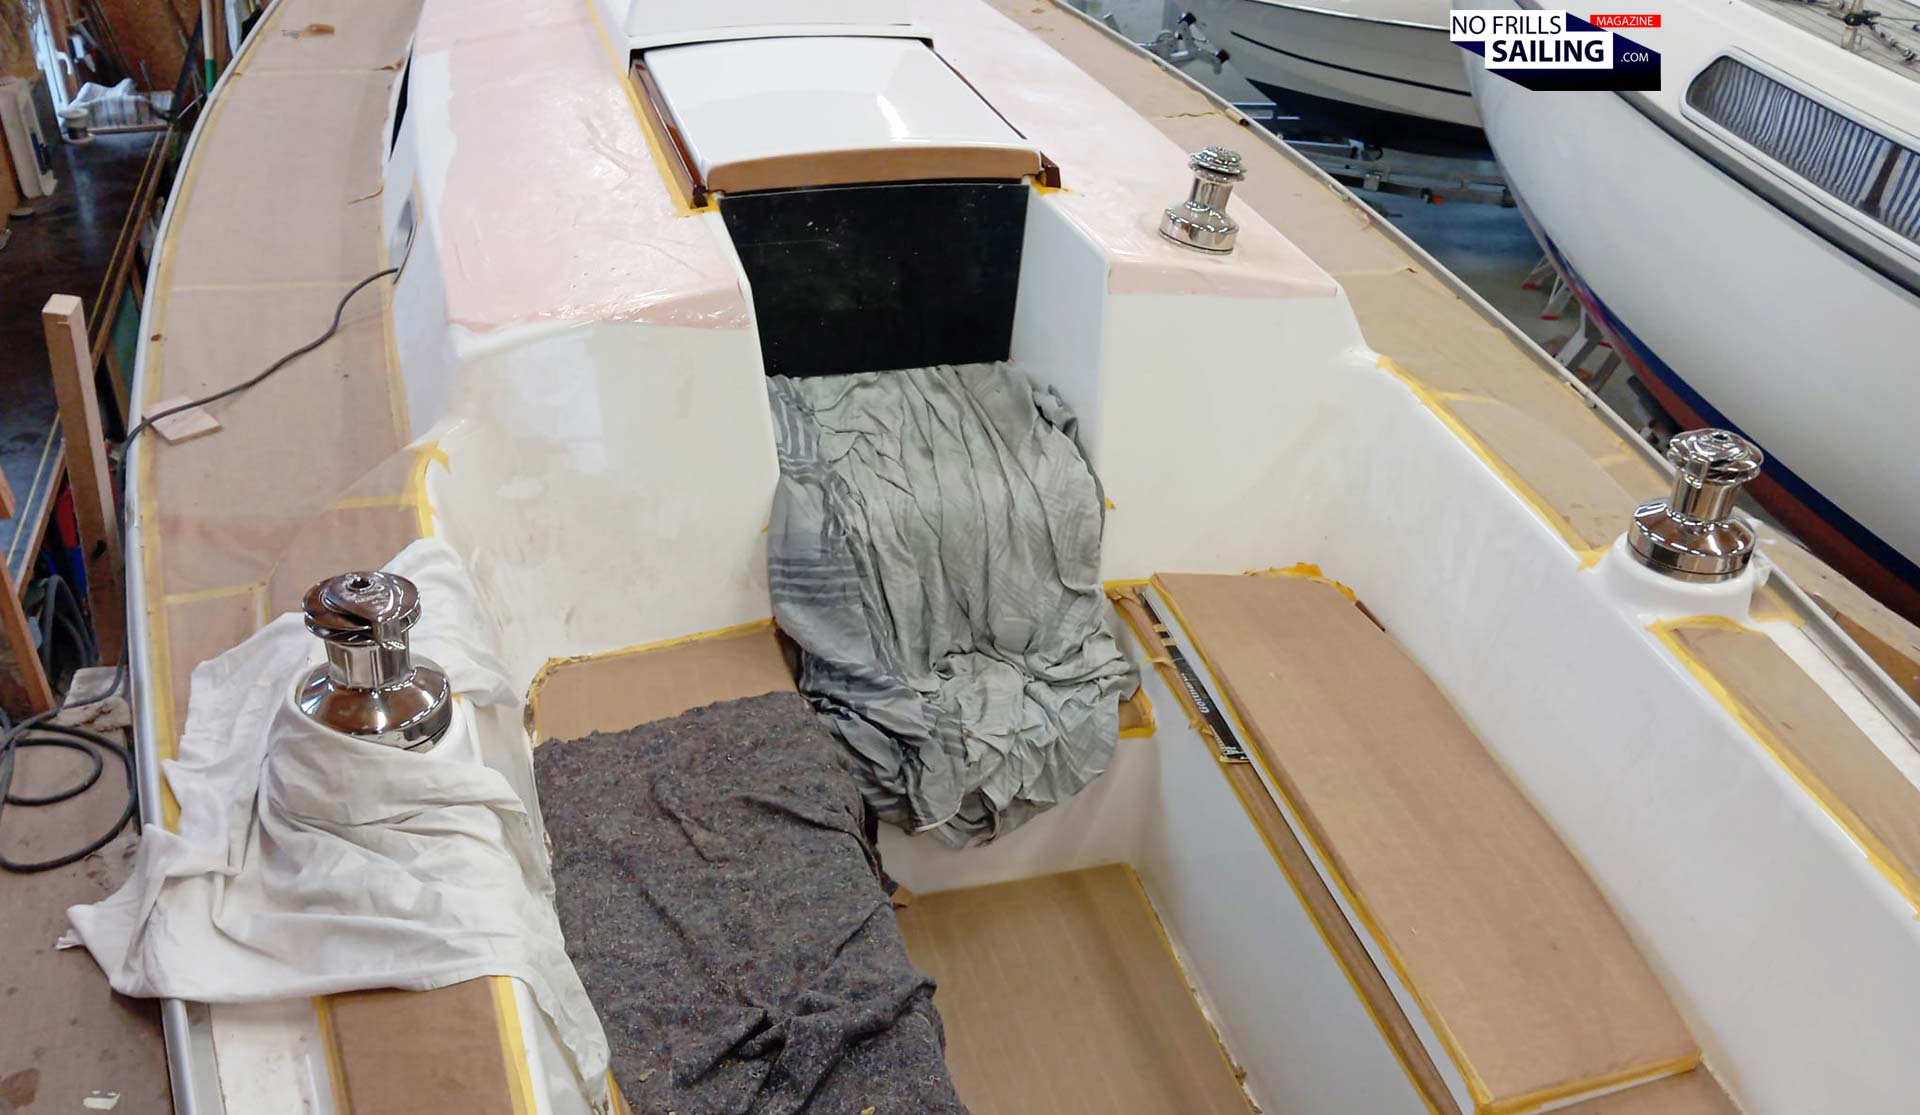
Last not least, fitting of the Andersen winches has also started. That´s on my case an electric working winch on starboard side to the entryway. Here, it´s not just a winch but also the powerful motor underneath with all the cables that must be fitted. Again, a lot of work time is utilized for the “hidden” stuff we normally don´t recognize on first glance. And everything is handcrafted – no CNC-milled standard parts nor any modules. Anything must be done piece by piece. And by hand. This is where the working hours go into.
Let´s cut a hole into the deck!
Some three meters in front of the nice mahogany entryway, the guys have cut a big hole into my deck. That´s, of course, to have the collar installed that will take on the Seldén mast once the boat will be rigged. As any single hole that is cut into a boat is always a very delicate operation, this one needs even more attention: Because if the mast is later only a fraction of a centimeter offset because the hole is not exactly positioned over the mast foot some two meters below … we will have a very serious problem!
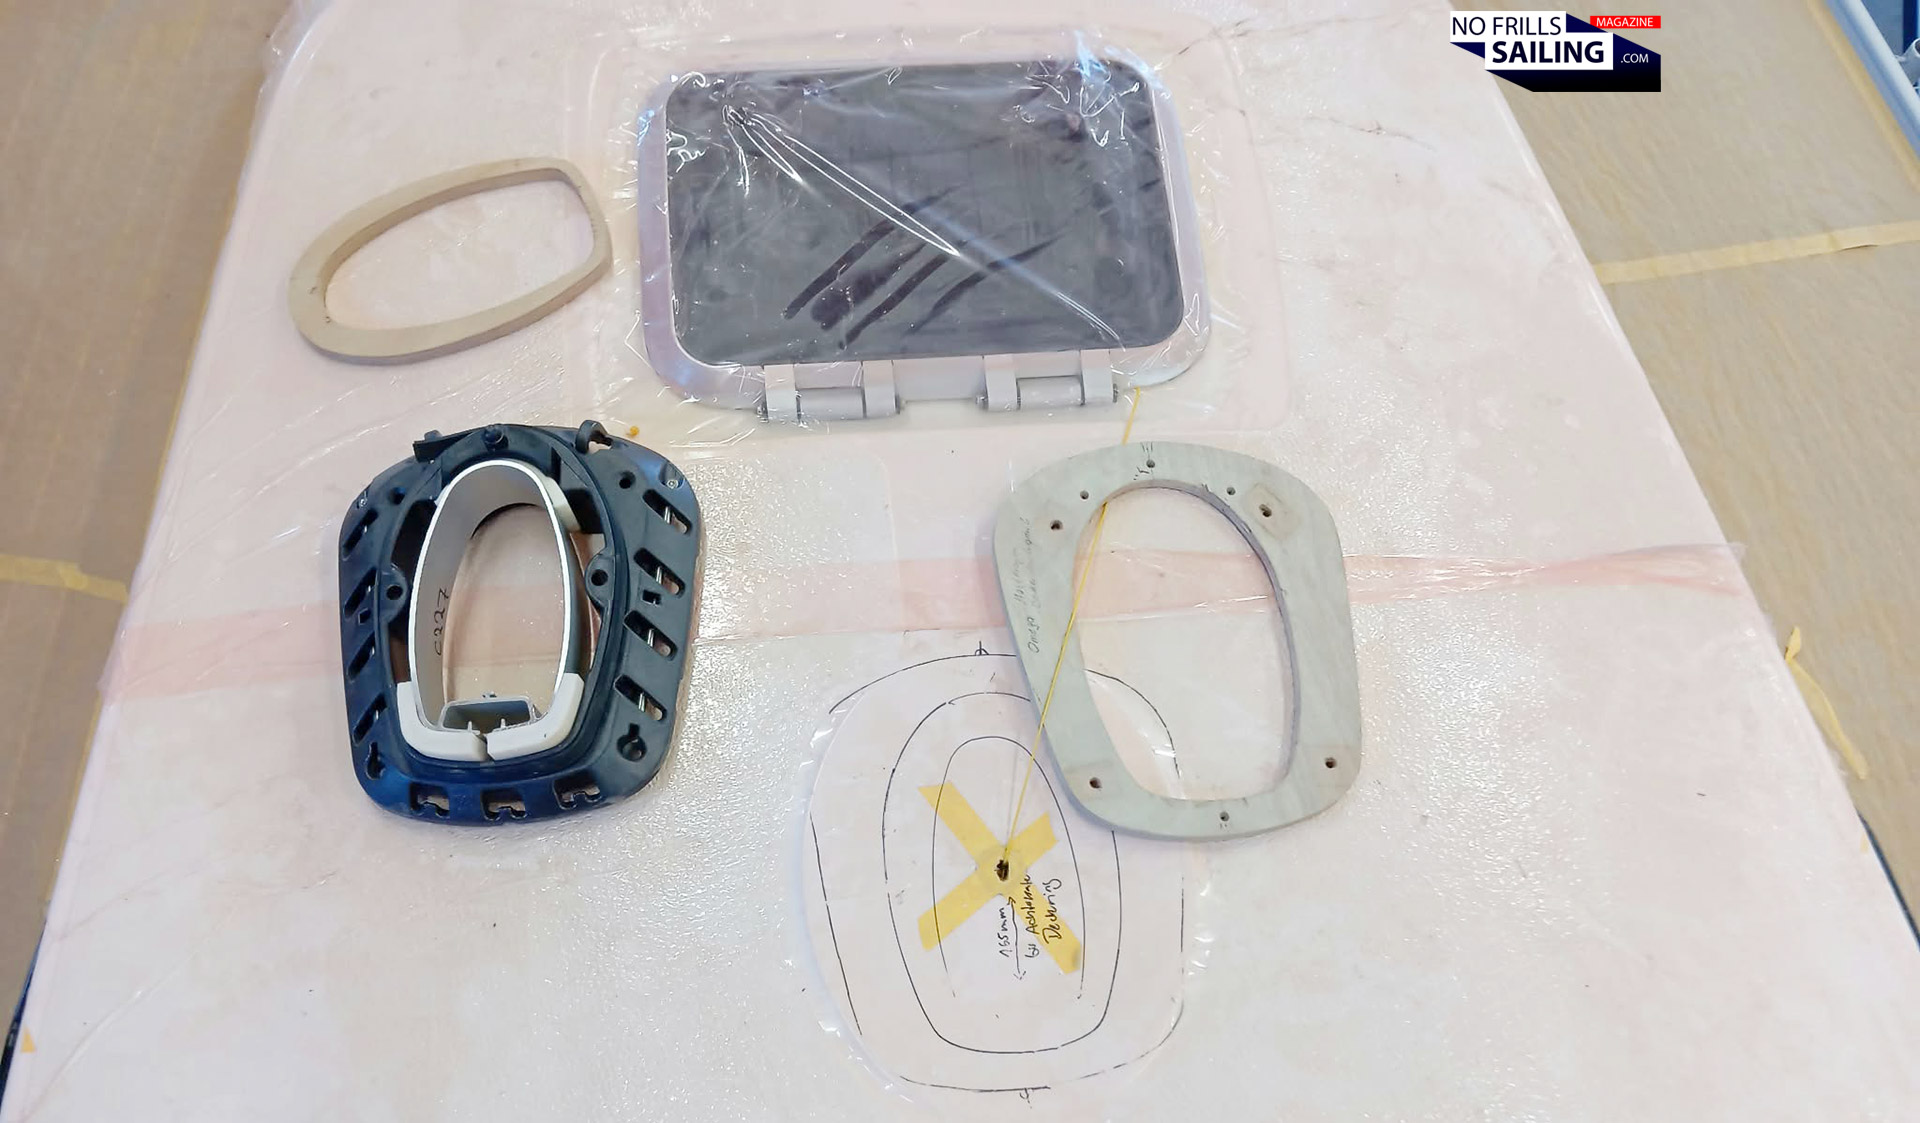
This meant that the guys had to take very, very accurate measurements both up on deck and below at the mast foot. Dropping the perpendicular as many times as possible and utilizing tools like laser scales and other precision stuff, the exact position for the cutout was determined – and double, if not triple, checked. It´s a bit sad that they do not take pictures during the process (of course not, they are craftsmen and not marketing guys!), I unfortunately cannot show how it is sawn and what it looks like to make such an important cut into the deck structure. But the outcome speaks for itself, I think:
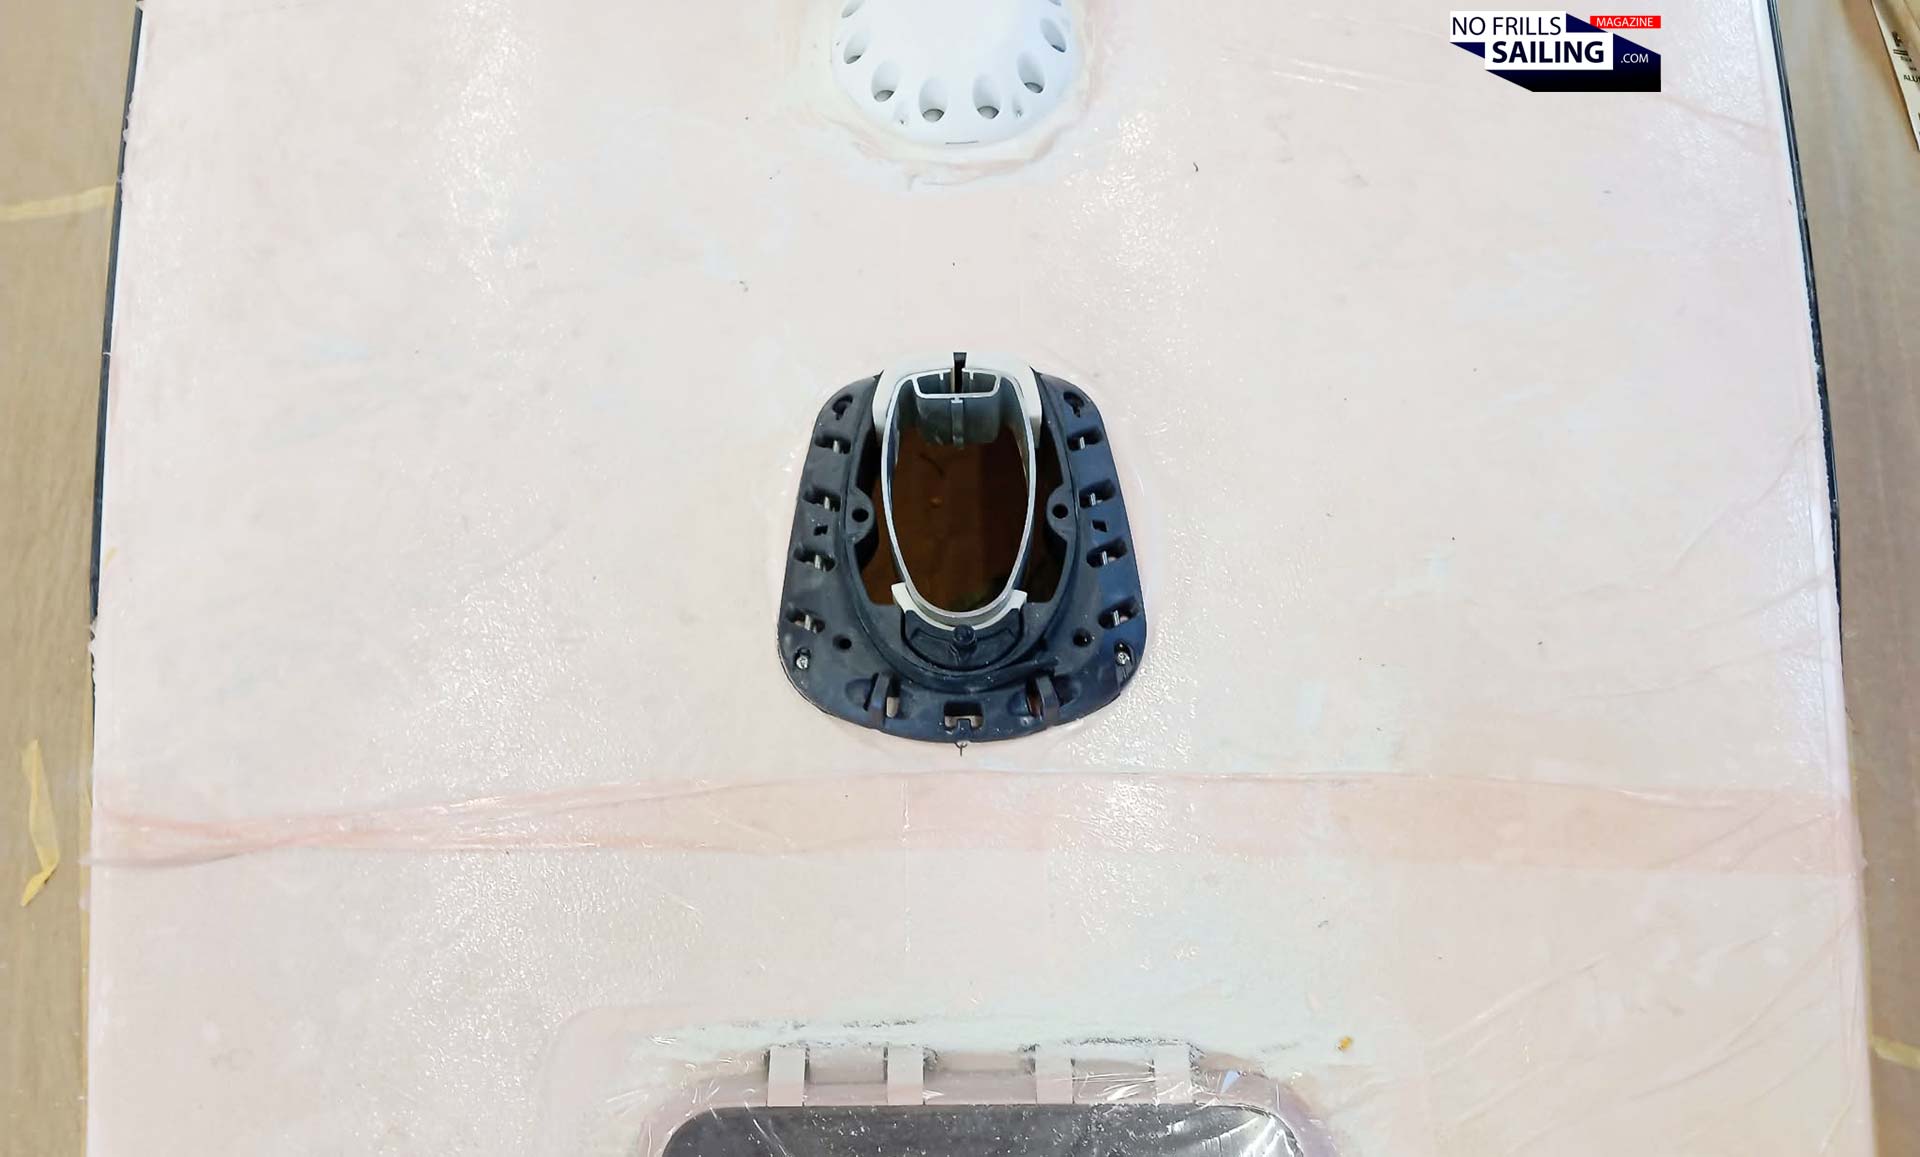
Now the collar is precisely positioned and fitted so that it can take on and lead the mast down to it´s resting footing on the keel-structure. Also, the open cut of the GRP layers and the sandwich-foam had before been sealed with epoxy resin and topcoat so that there is no water ingress. The thing is that we can only judge the quality of the outcome of this working step in a few months when the yacht will be rigged for the first time … cross your fingers, but I am sure that the guys did an accurate job here.
A little piece of Lürssen luxury on my boat …
Yepp. That was my wish. See, this is a perfect example for “why does it take so long?!” Let´s start at the beginning here: You might have read my last work-in-progress article about the custom made pulpit and pushpit for the Omega 42? I could have chosen the ordinary “one size fits all boats” products offered online, but frankly, that would have destroyed the fine lines of Peter Norlin´s boat. So I had them made by a stainless steel professional as a custom product. And the outcome is awesome!
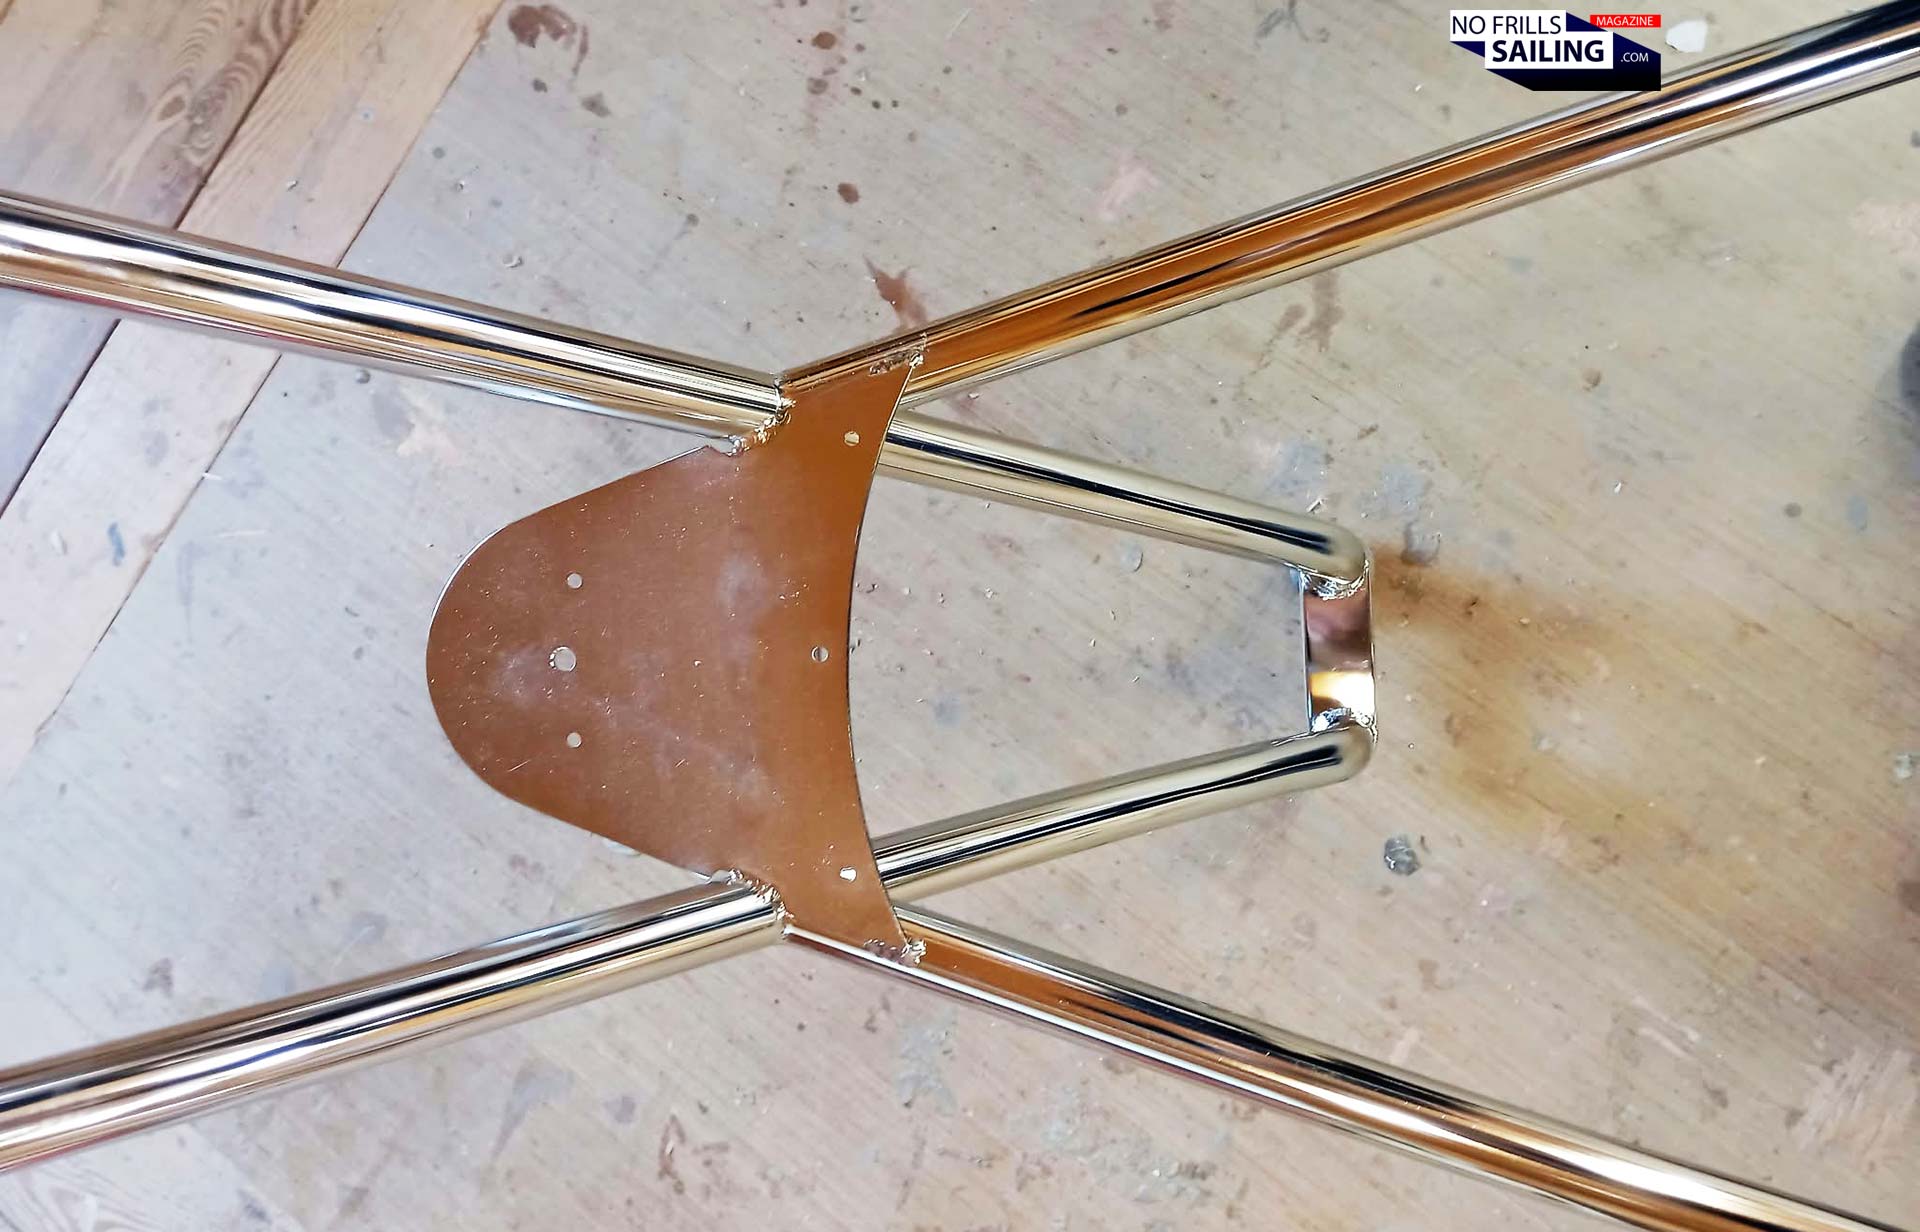
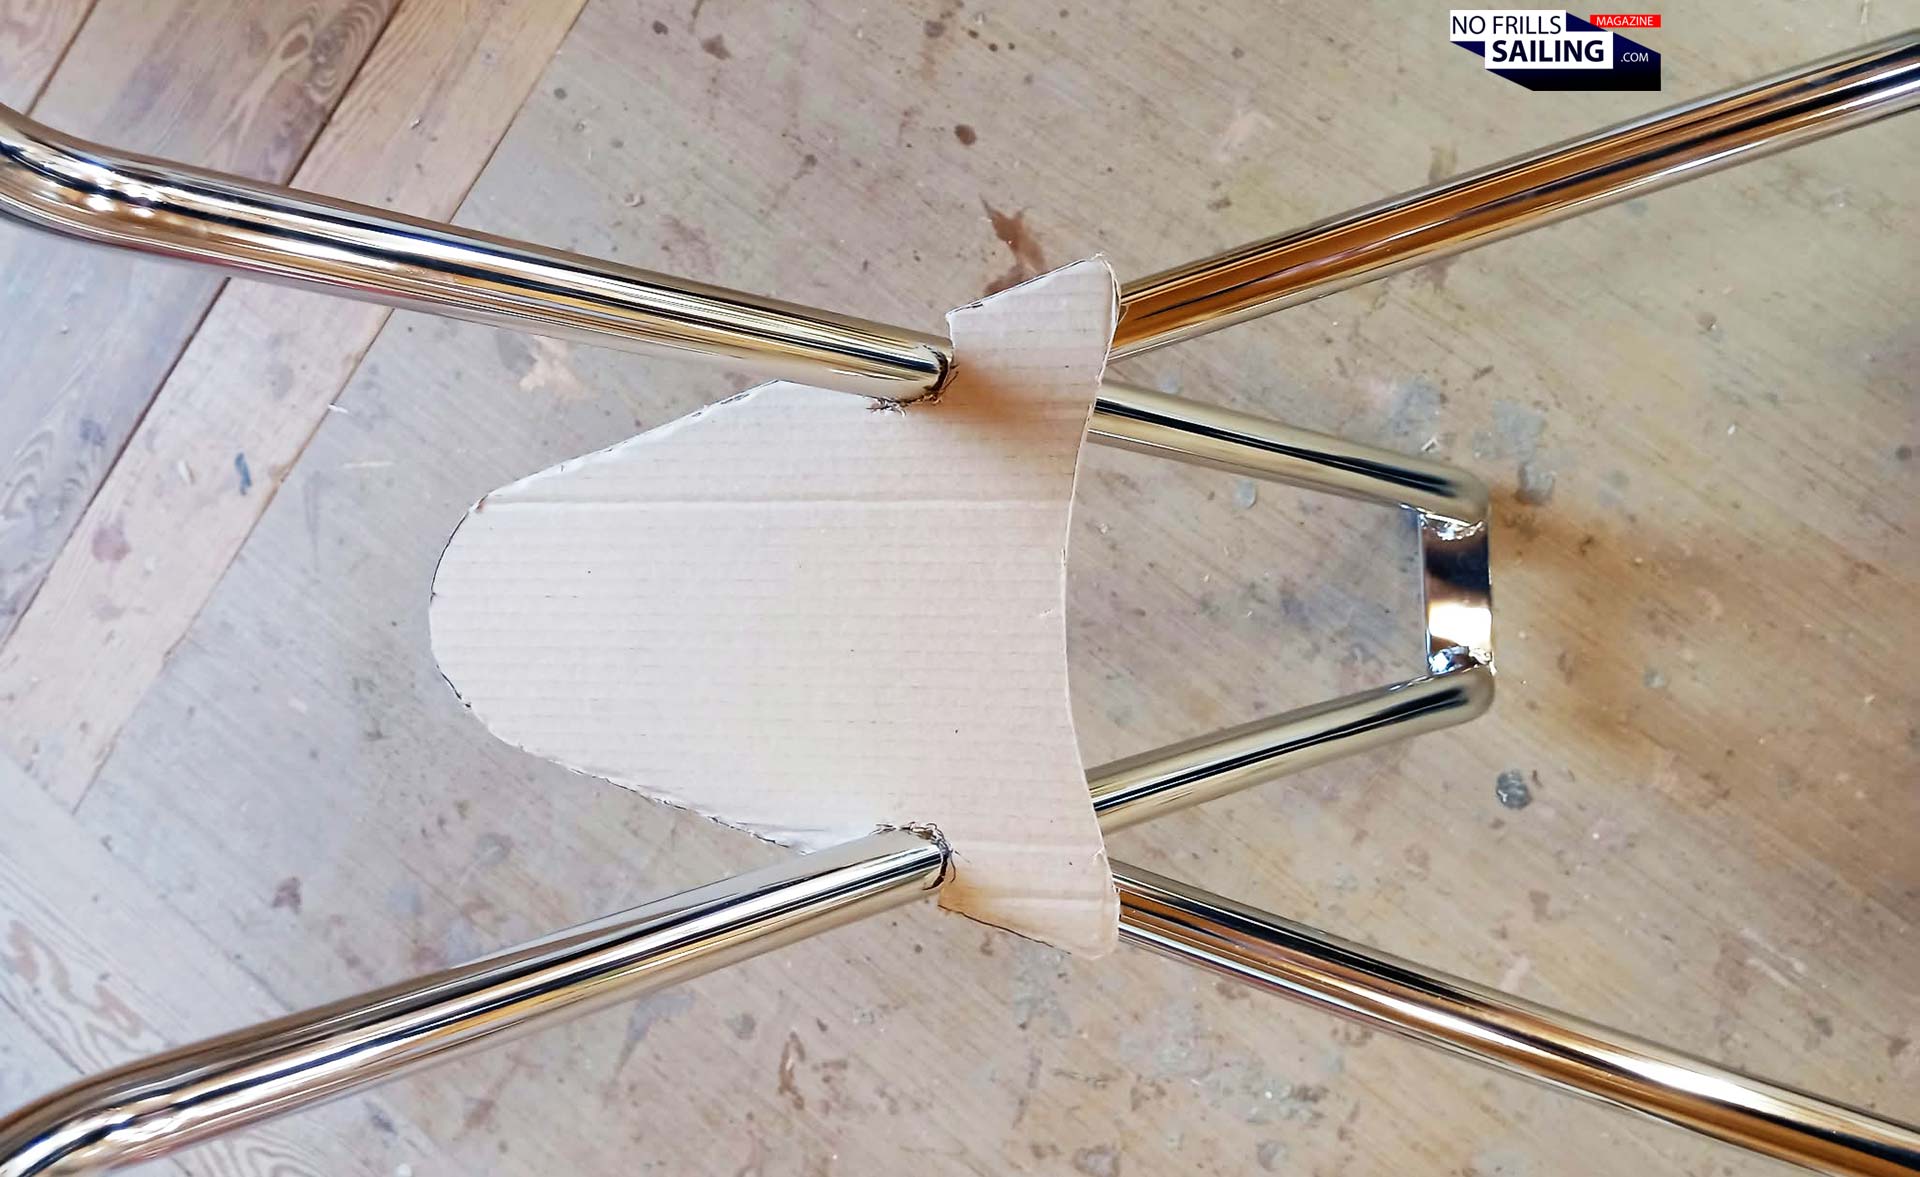
But as it is the case with so many things, one job triggers the next. That´s the same for this one: As the Omega 42 is a classic sailboat, it is supposed to be entered and left via bow. Back in the Golden Age of Swedish boatbuilding, stern-first mooring wasn´t invented. You hop on board in between the pulpit. So what does my new pulpit need then? Right! A wooden slat to step onto. But we surely don´t want to fit any ordinary square shaped-lump of timber! So the guys came up with a more intricate shape:
And I thought to myself: If they have to put together individual pieces of teak anyway, why not asking my friends over at Tesumo for their product? I mean, there must be some offcut from the production of Lürssen superyachts that I could use, right? So I called them and asked for four pieces of Tesumo offcut for this project so that I´d have my own little piece of Lürssen mega-yacht luxury aboard my own boat as well. And guess what?
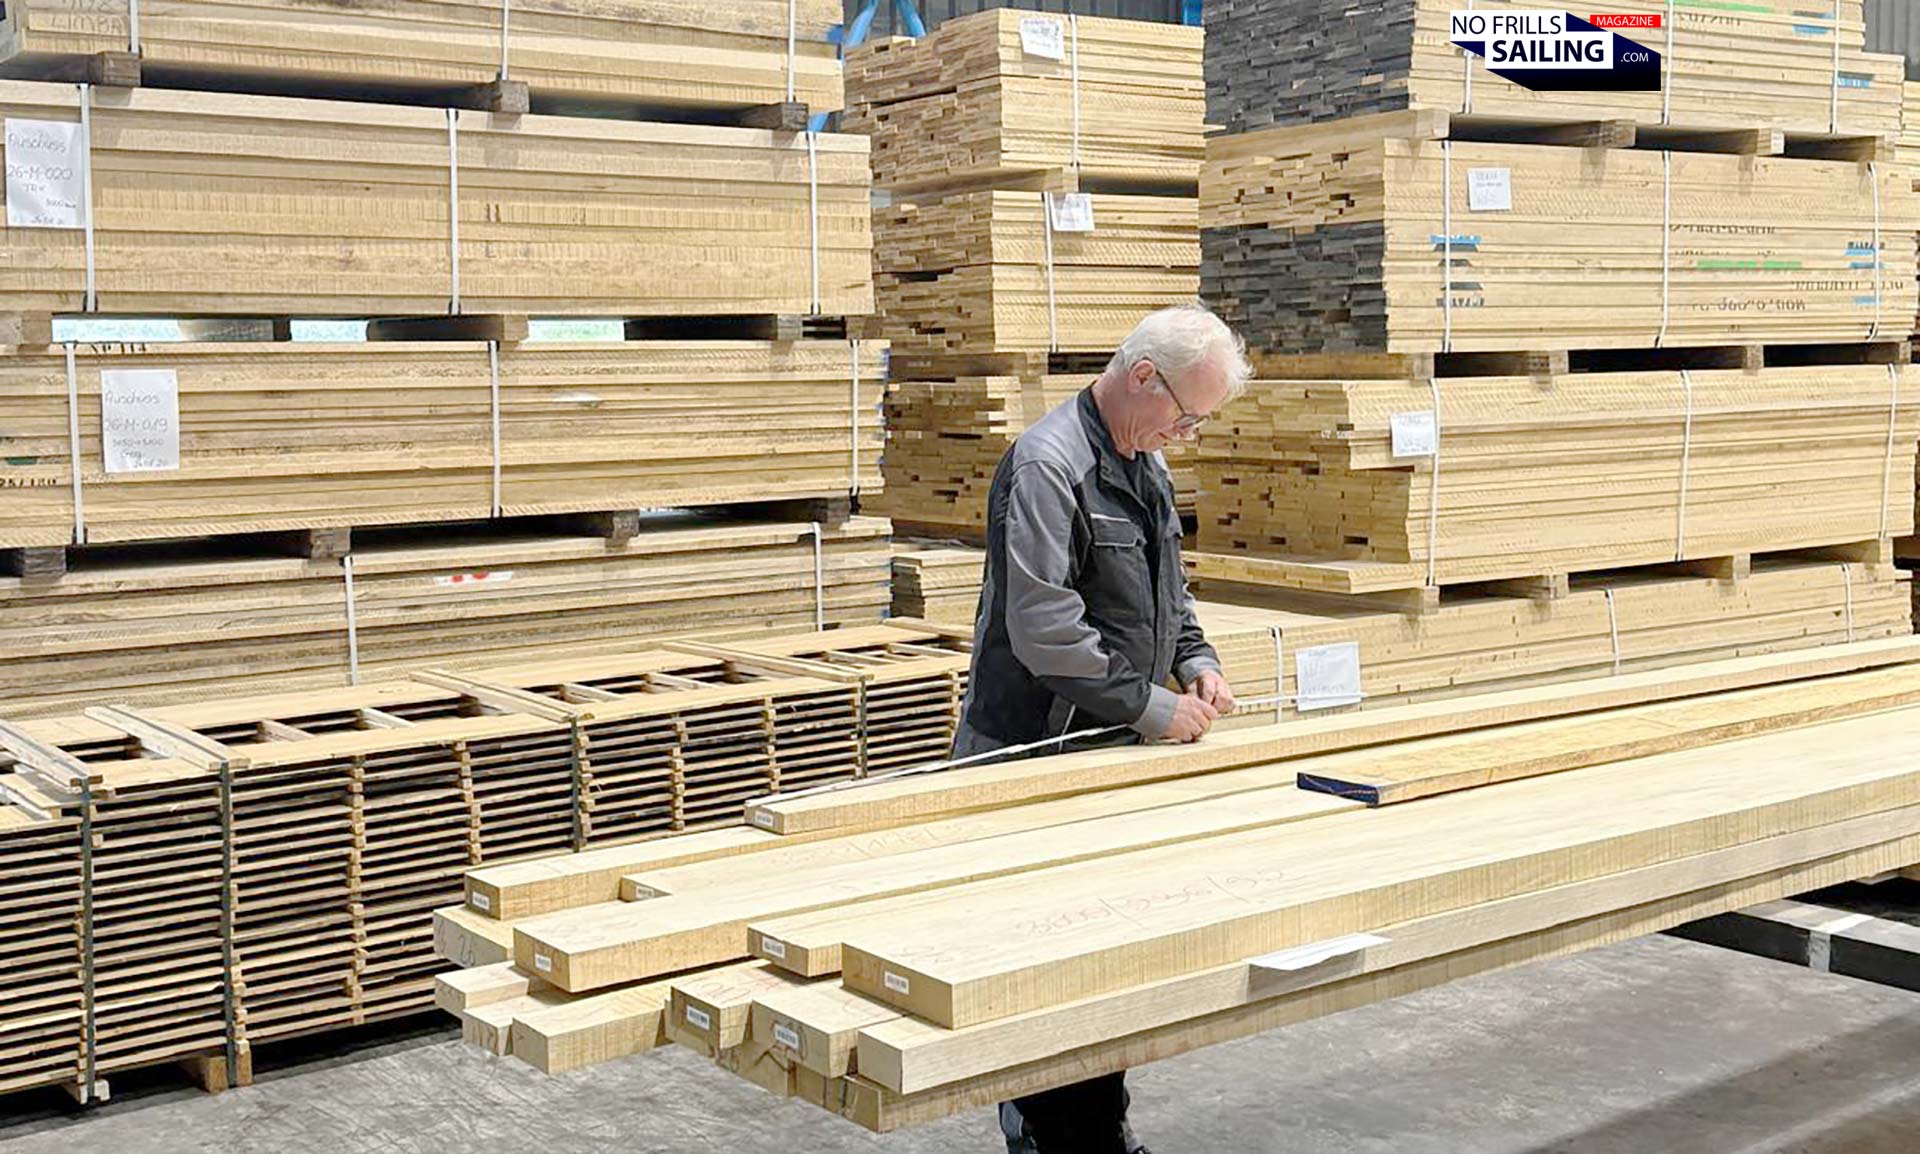
Instead of just collecting the said otherwise rubbish, they sent a picture showing one of their carpenters taking measurements and sawing off the said pieces from one of their A-tier Tesumo planks! Wow. Thanks so much, Tesumo! I mean, it´s just a little joke and I am sure nobody will even recognize how much effort went into this little triangular step on the bow of my boat, but I quite like the idea and the story behind it. It makes me smile a bit …
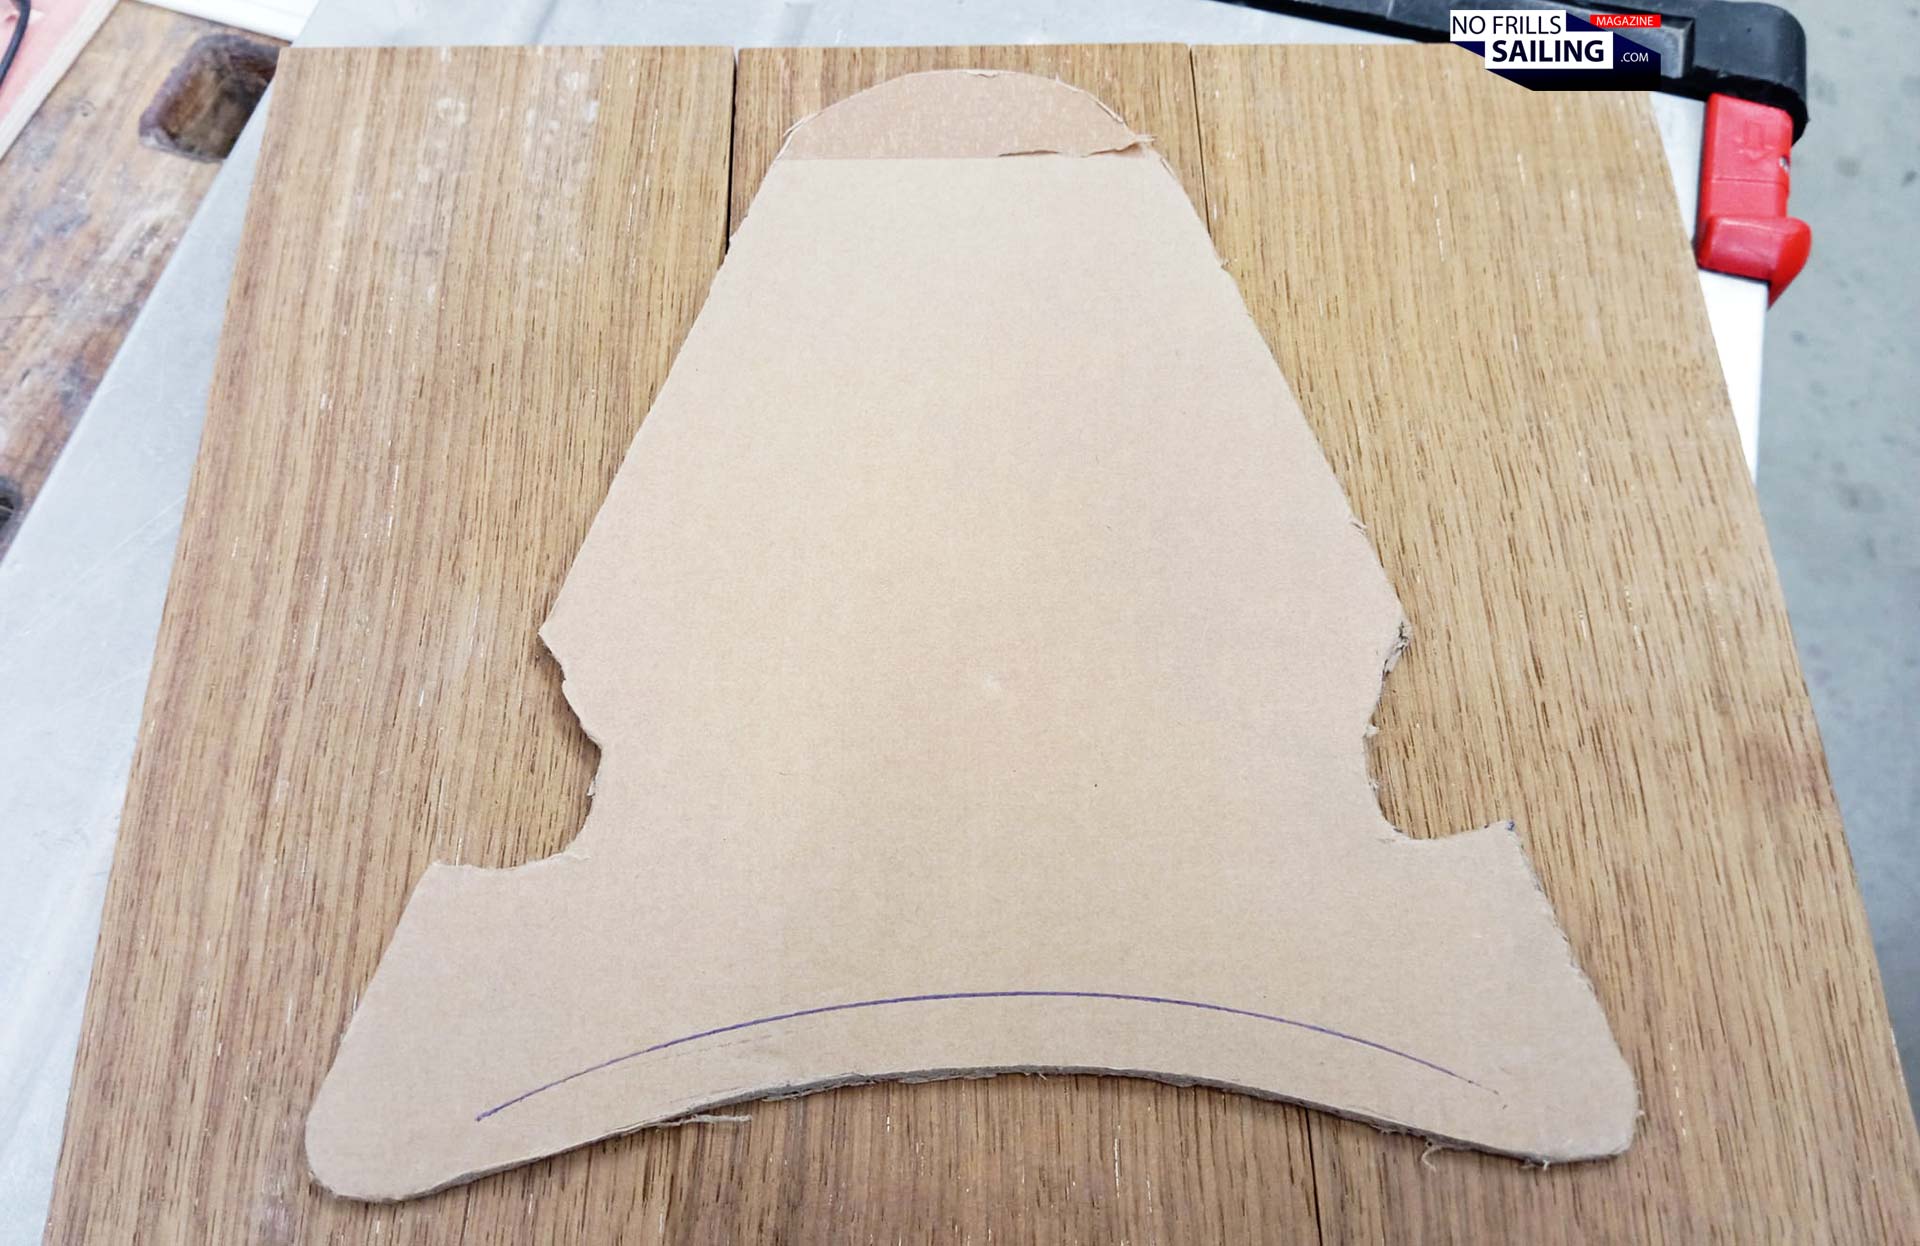
A few days later the package from Tesumo headquarter in Bremen – vis-à-vis one the Lürssen shipyard – arrived and the guys sent the photo as they started to make the bow-step. I am sure that this little piece will add a nice little touch to the boat´s overall looks, it will nicely cover the Lopolight navigation lights underneath and be a rugged, practical step for getting on and off board when moored bow-first. Certainly it will look much better than the one fitted to hull #401!
Rounding up the interior of the Omega 42
So that´s for the stuff going on up on deck. But is there any progress below decks as well? Hell, yeah! A lot, to be honest. But the things the guys are doing down here now is, I would say, one of the last really big things to cross off the to-do list. Because it´s elaborate, stressful and dirty work all in one. Let´s start at the beginning so that you understand better: What´s the aim we are striving for here? As you can see on the picture below, I choose two colors for the felt that will cover the boat´s walls:
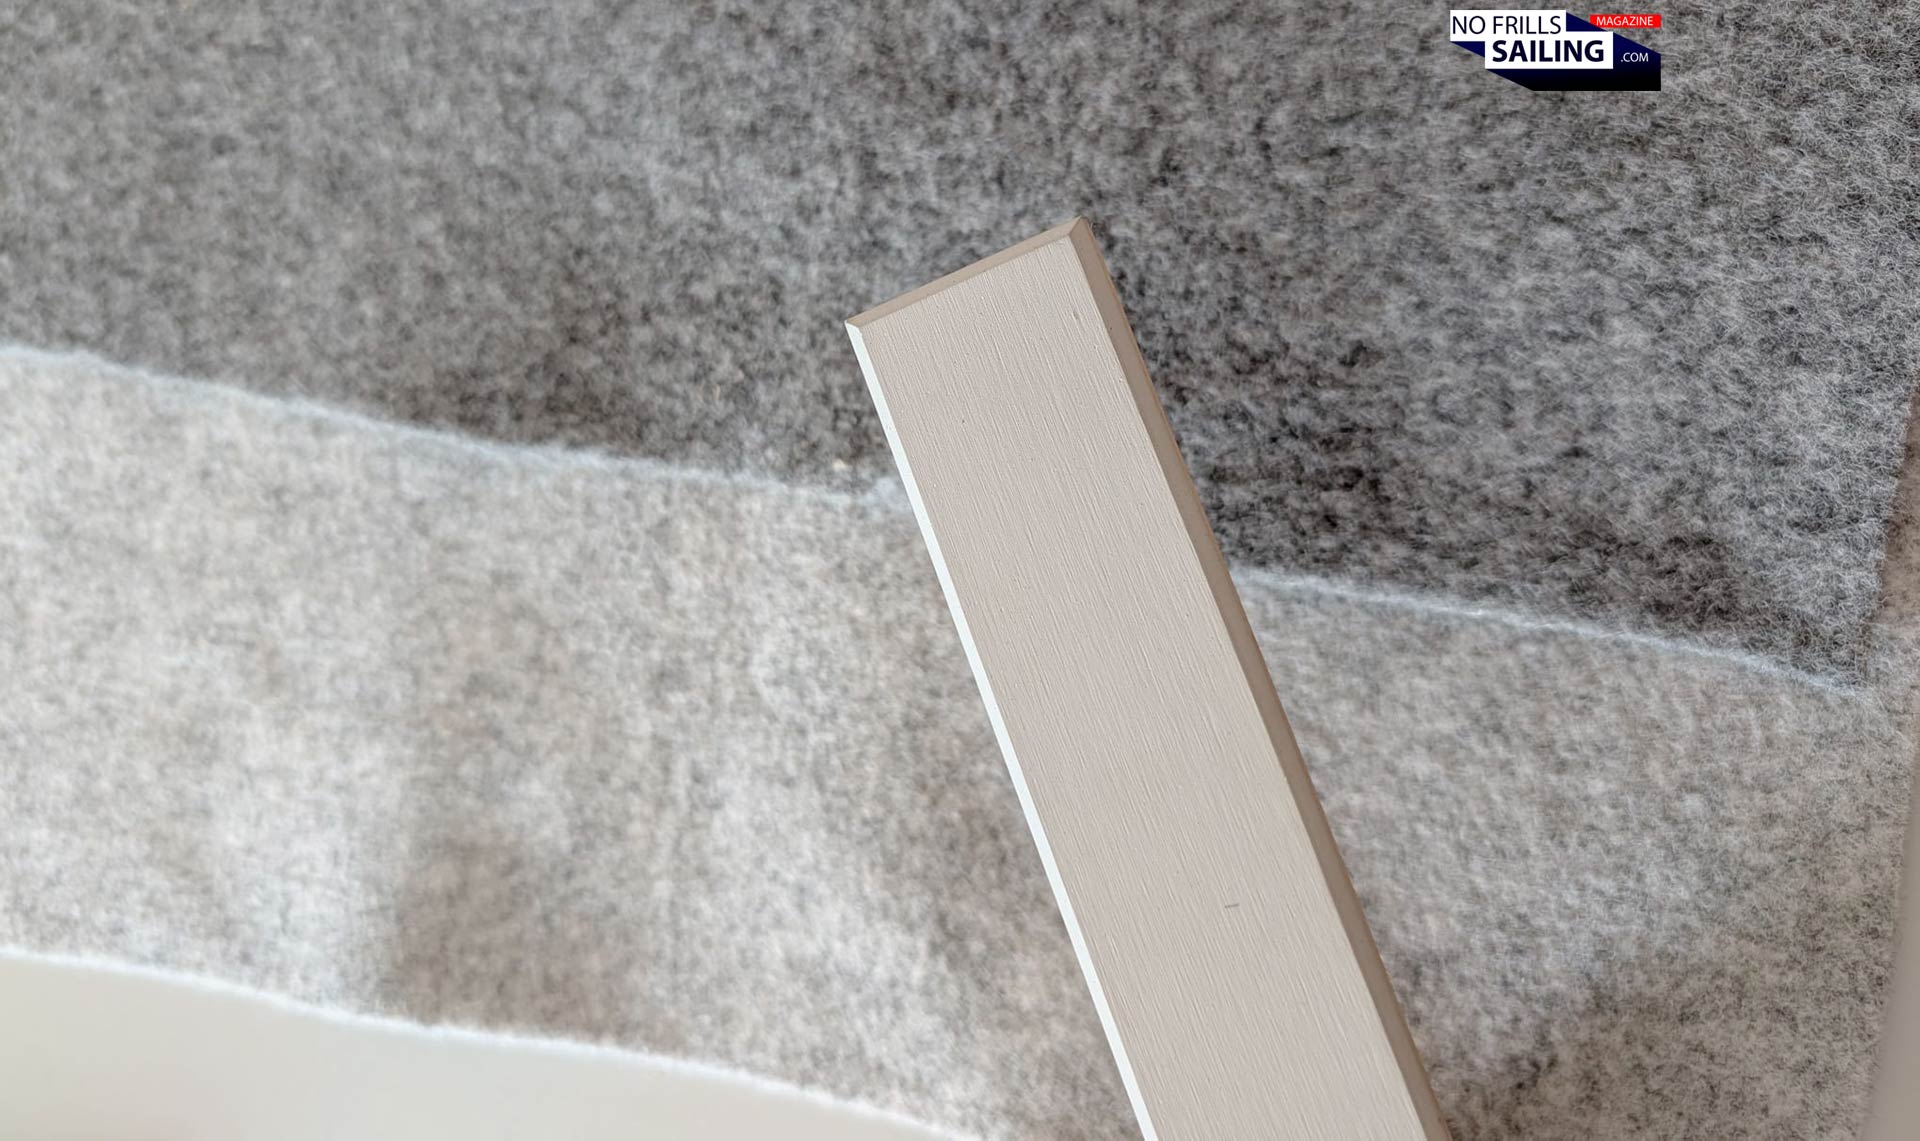
Sidenote: The wooden thingy extending into the picture is the color of the new floor boards – yes, I had the old-new ones ripped out and destroyed – called “Sikafloor”, also in the making right now. Back to the felt: In order to apply the felt to the walls and the roof, the underground must be treated in a way that it is nice and even and the felt won´t show rippled or edges coming through from underneath. By the way: I am skipping making wall- or roofing panels for weight- and budgetary reasons. Back to the simple solution is the motto. Now, where´s the problem? Look here:
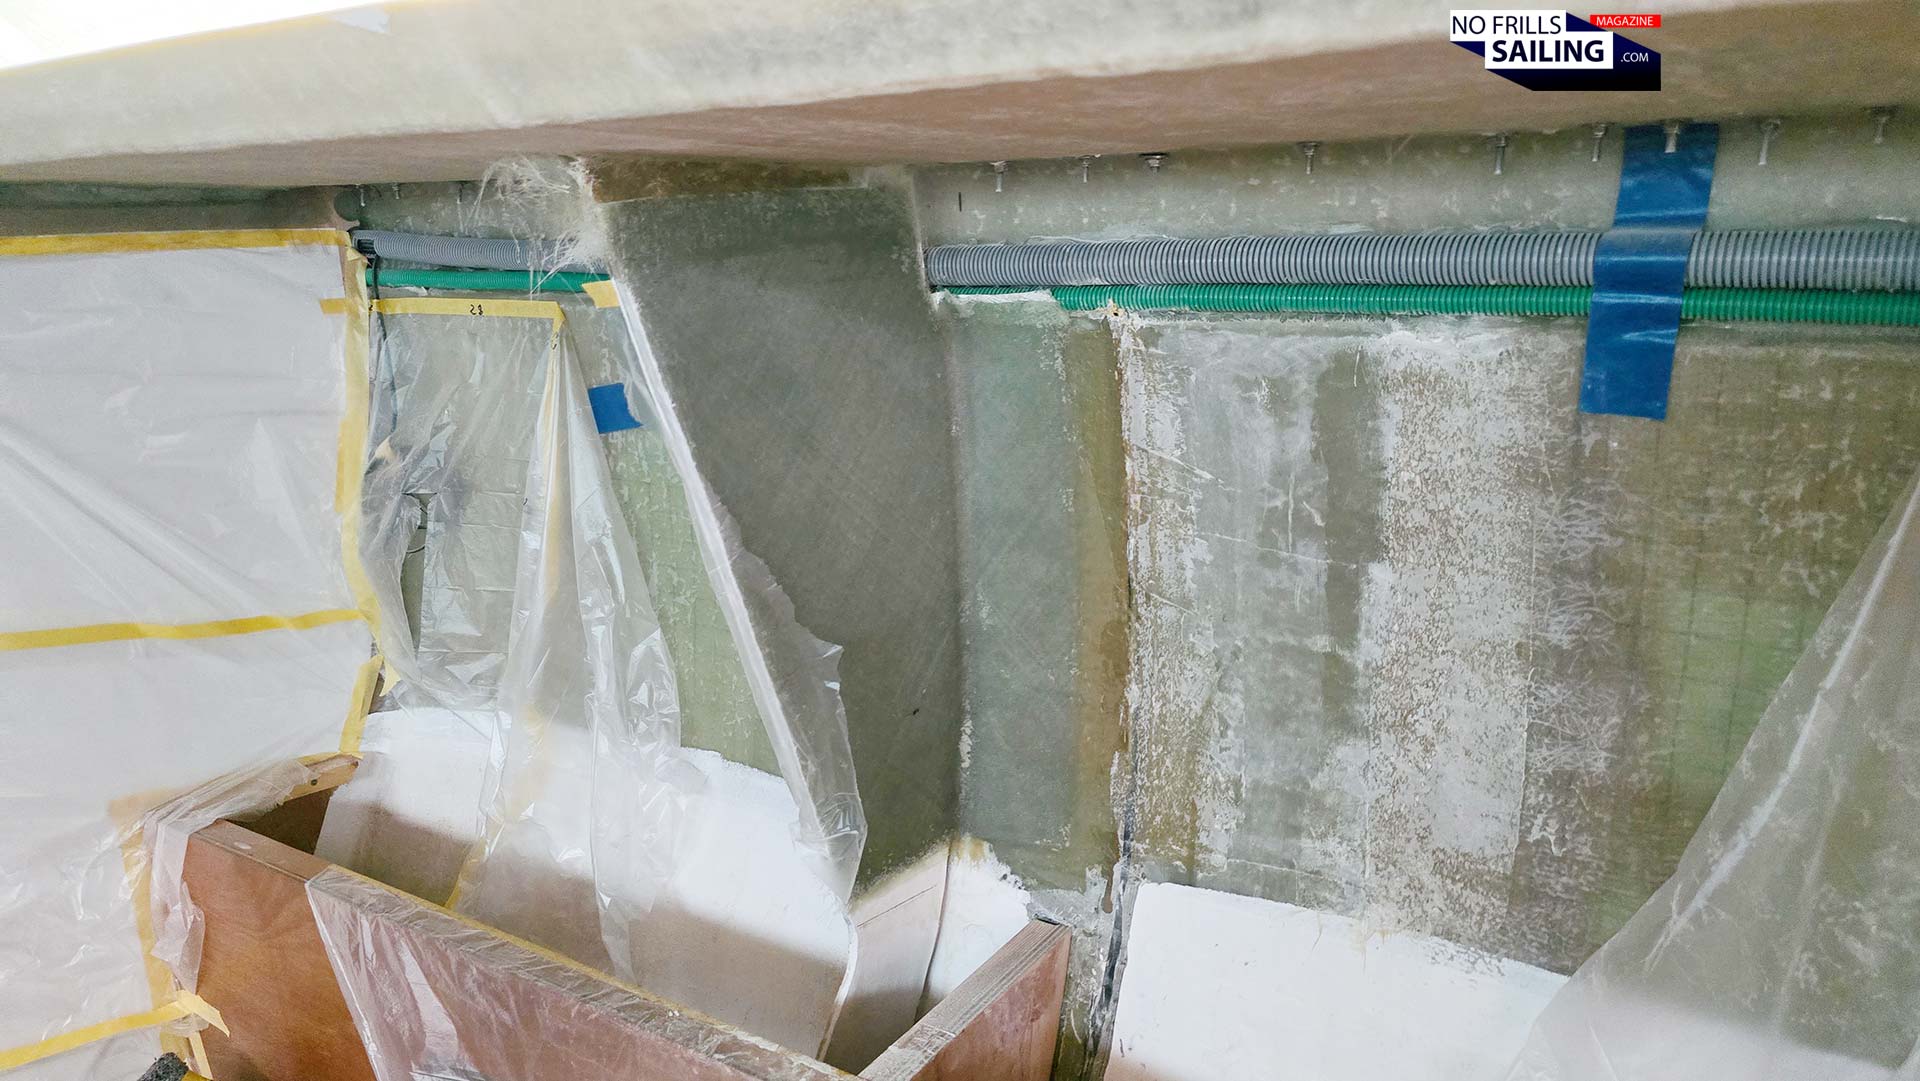
All along the hull-deck-joint to both sides of the yacht there are two cable-ducts running from bow to stern. These contain electric wires for lighting, the navigation lights, the shore power cable and so forth. I had also fitted some “dead” wires for future installations so that I (or a possible second hand owner) would not have to rip open the whole installation. Also, the bolts securing the deck are also there, every ten or so centimeters. You cannot put felt over this, of course.
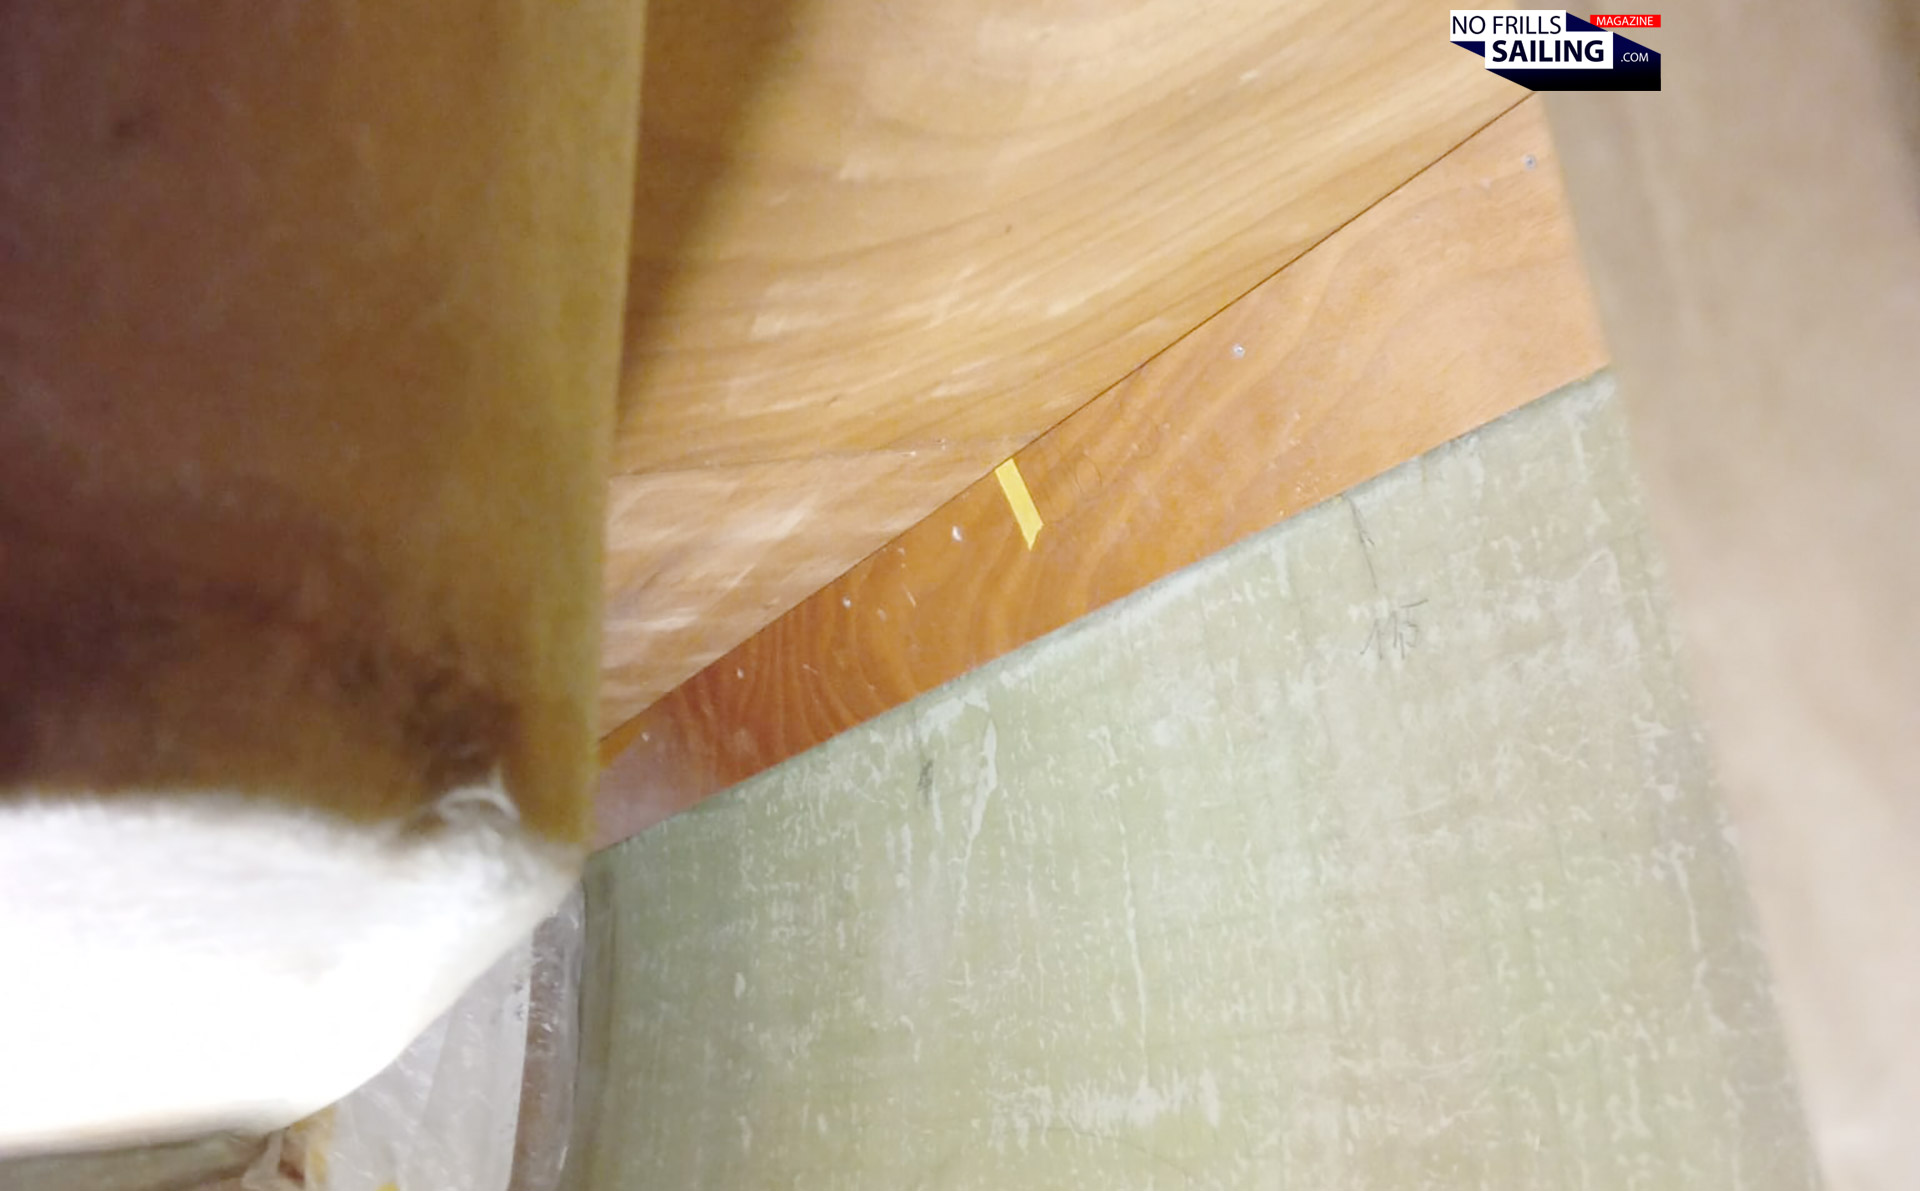
So what the guys need to do is to make covering panels out of plywood. And man, I know myself what kind of shitty work this is! Because of the fact that this yacht does not come with an intricate and details-maximized CAD model which can easily be fed into a CNC-robot that cuts out those panels with utter precision, each one must be made by hand. I have tried it myself during the refit of my King´s Cruiser 33 multiple times – and it´s a pain in the ass, believe me! That said, judging by the picture I received, these panels fit just nicely!
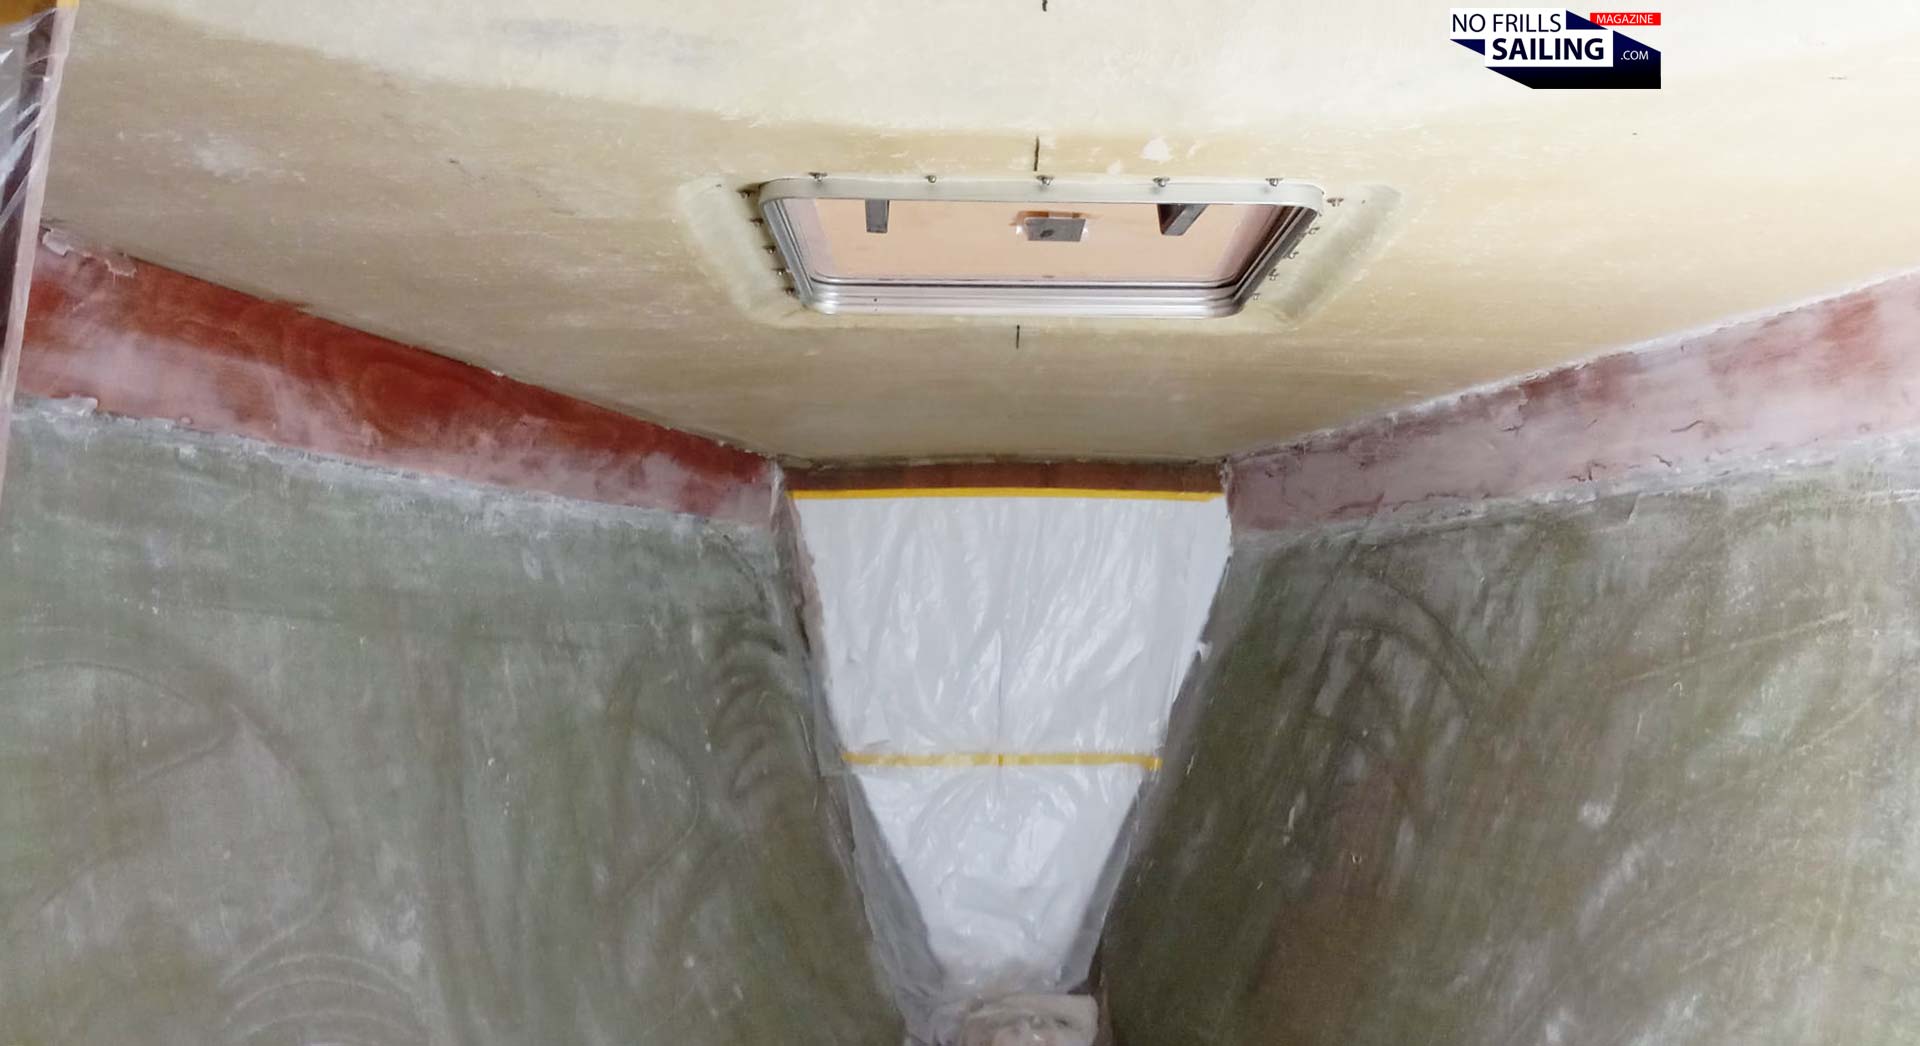
After making and adjusting the raw plywood panels, they need to be fitted to the wall and roof of the boat. This is done in a way so that the surface for the later application of the felt is as smooth as possible, but also, as rigid as possible. Partially, these panels are glued and fitted with filler, partially, such as underneath the winch mounts, these will be removable. The thing is: It takes a lot of time, adjusting, correcting and effort to mount. Here, again, the working hour-clock is running wildly.
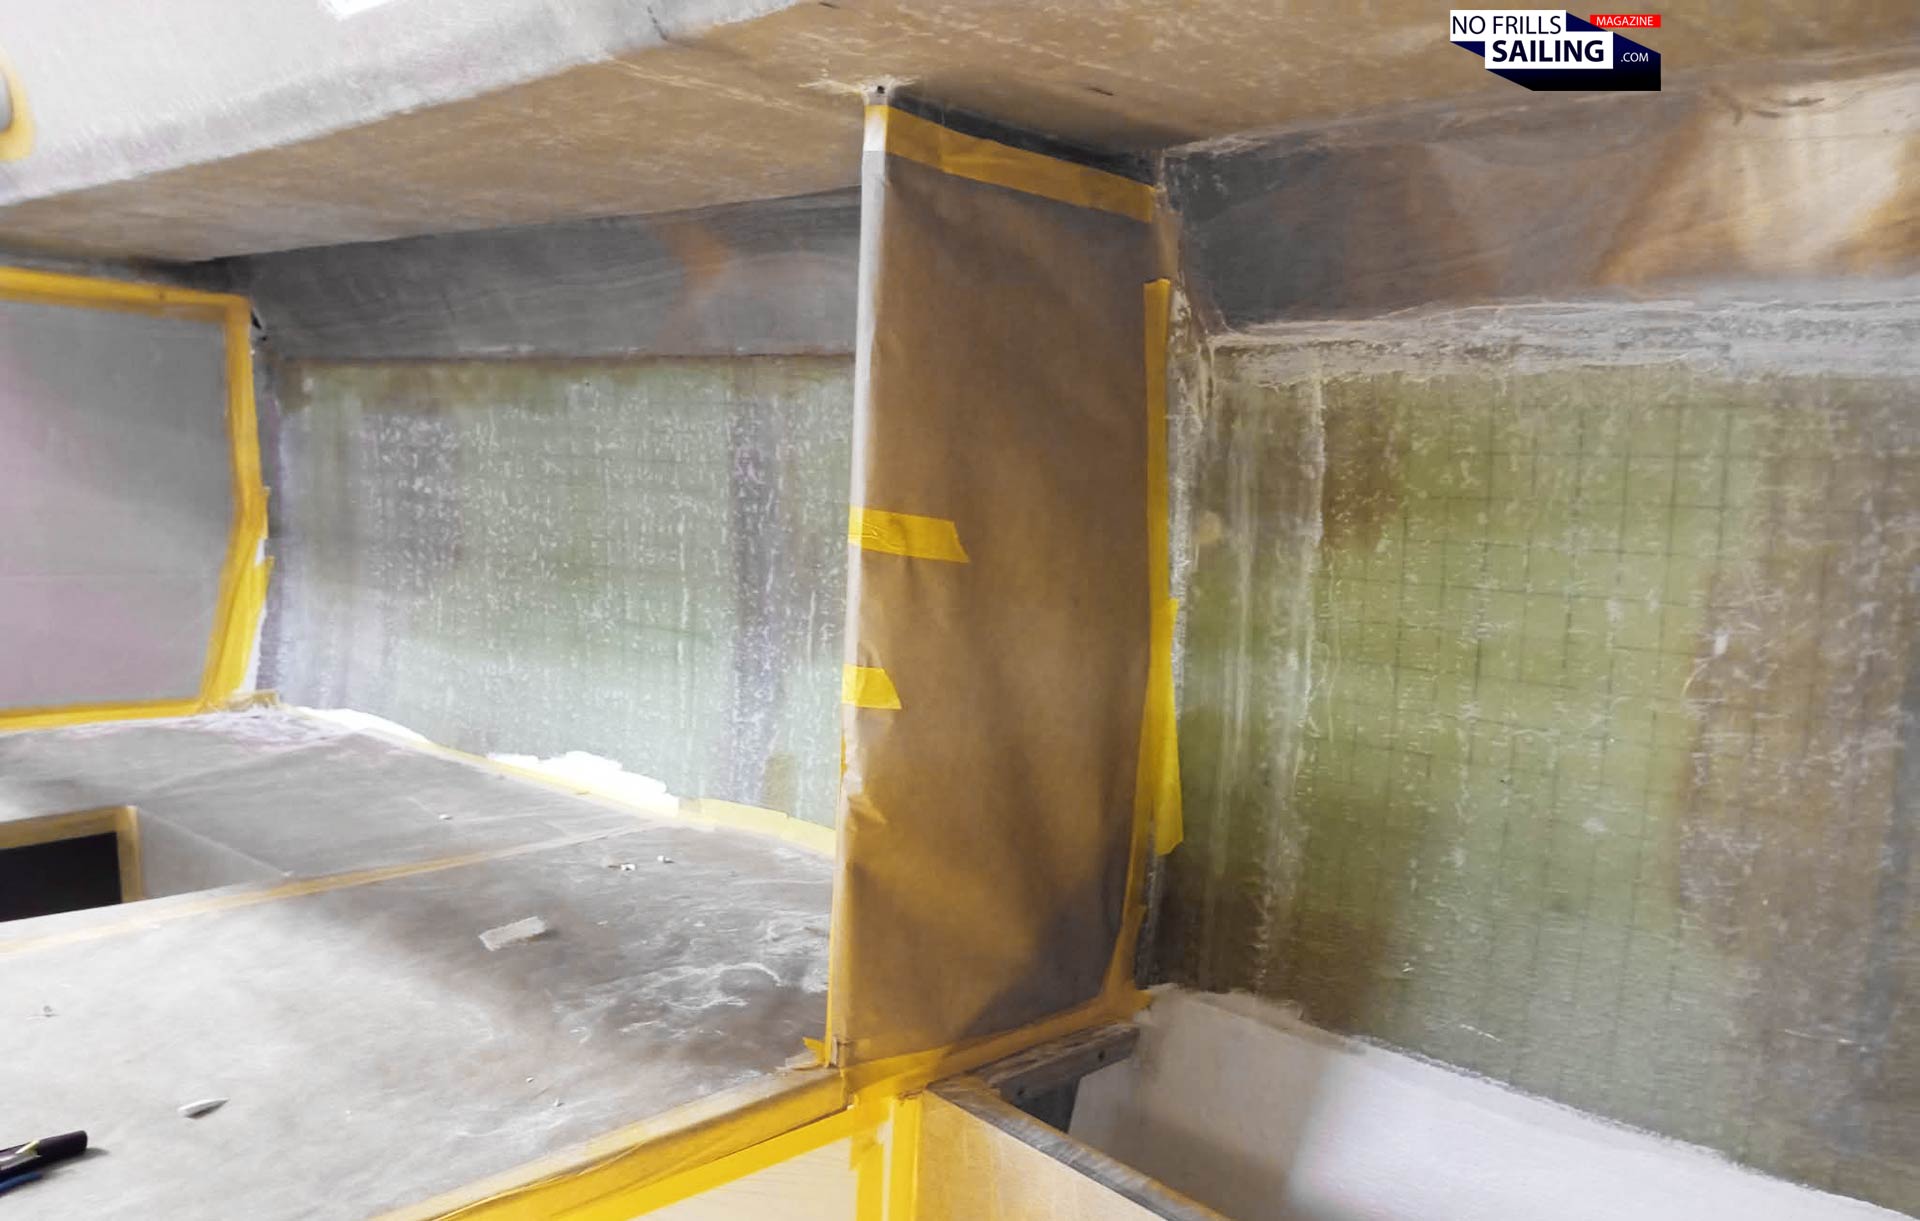
In the end, after everything has been finished, the sanding dust is cleared away, it looks just as this: Clean, closed, smooth. I am really looking forward to see this being completed with the two-colored grey felt applied in the end. I am sure it will change the whole boat´s appearance in the same way as the fitting of the PVC-deck did a couple of weeks ago. Is that all? Almost …
Fitting the Garmin electronics & more
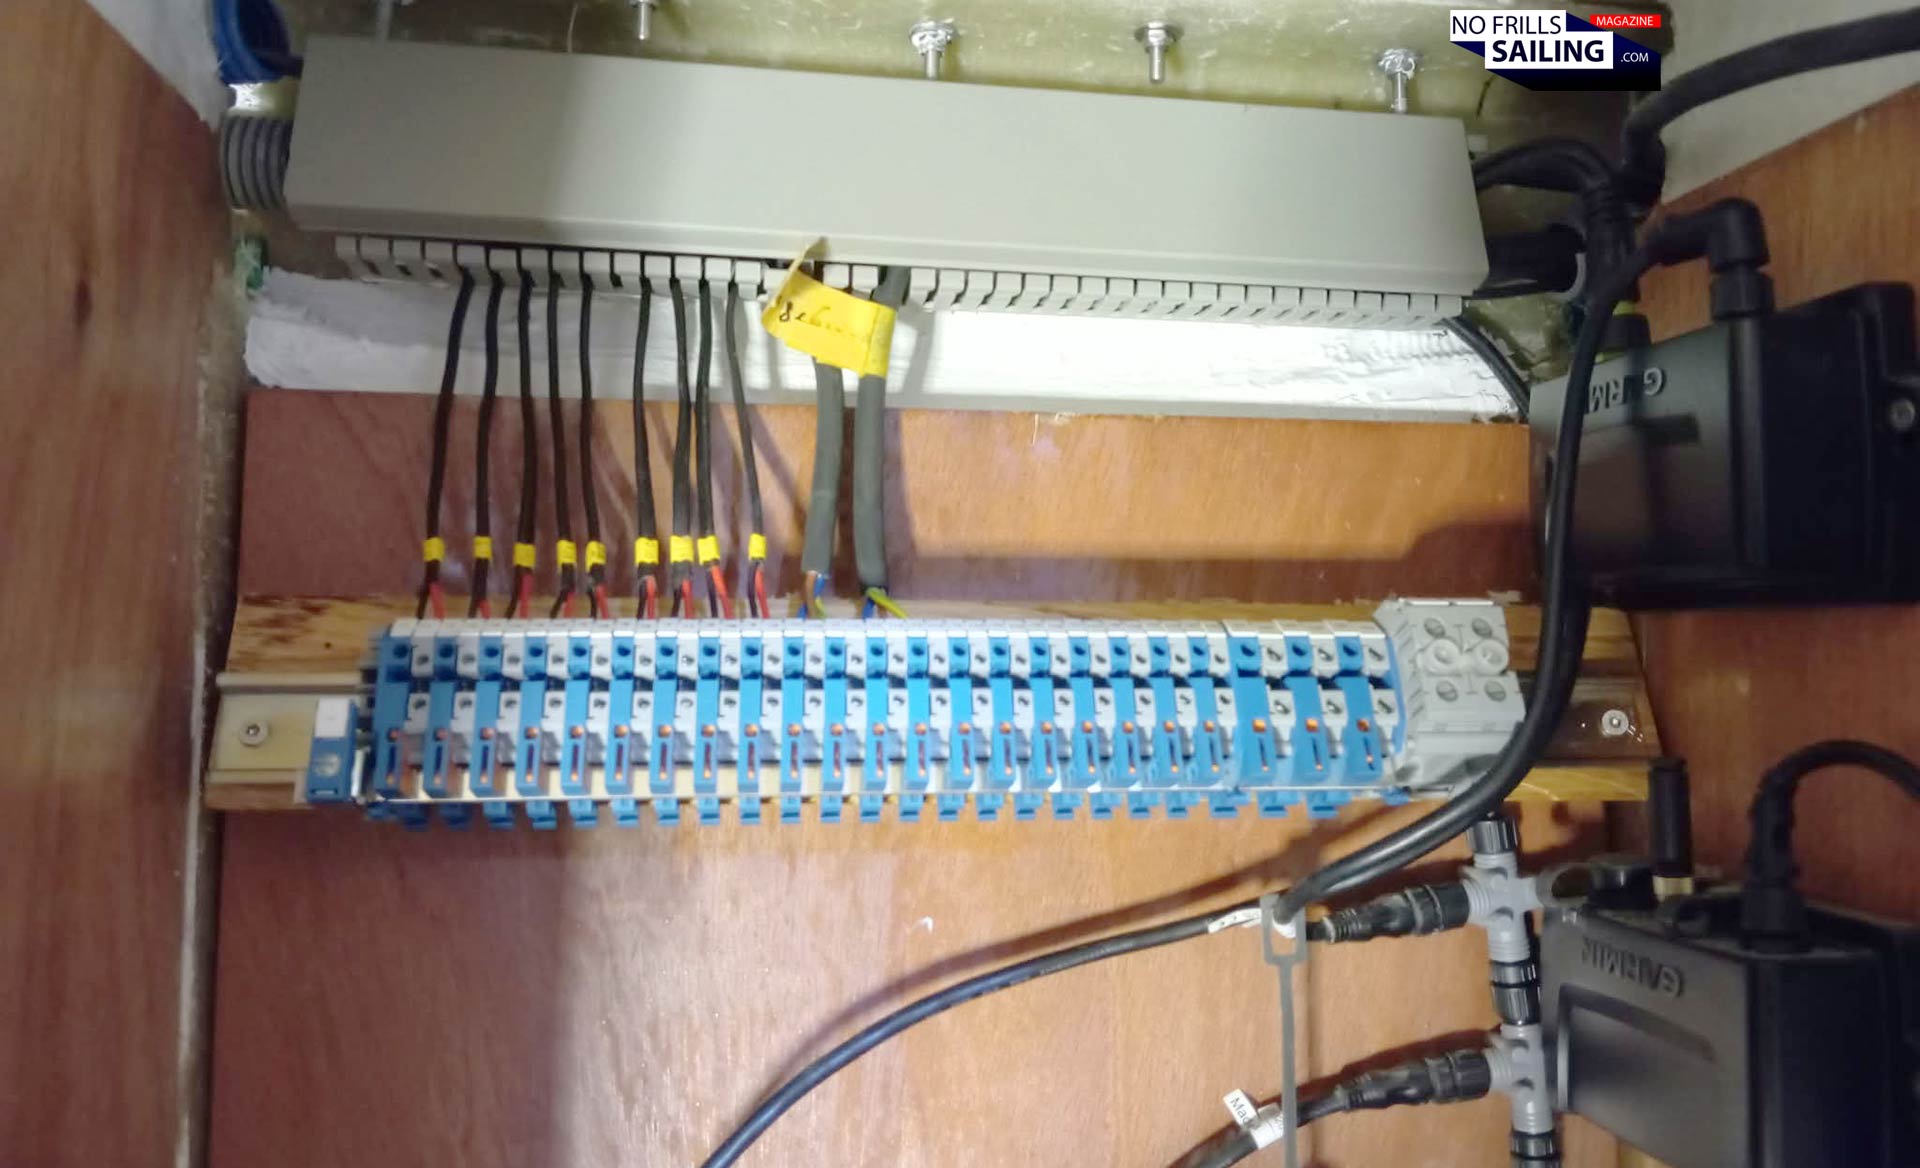
There´s a lot more going on in and around the yacht. Such as the Garmin equipment, which is currently also installed. The NMEA 2000 backbone is done, so are the nodes and the whole 12 Volts-cycles. It all comes together and will add up step by step to a complete pictures. The individual tasks aren´t those big items anymore as in the past, which may contribute to a feeling of perceived slowness. But it isn´t. Like the article says: It´s little by little, the bord builds its nest.
So what can you expect to see in a few weeks? I hope that the interior will be finished next time I publish a work-in-progress article. Likewise, the custom cushions will be made as well, something I particularly look forward too. Also, when the new floor boards had been fitted, we will start working on the entryway ladder and the mounting of the saloon table. Then we can talk about the internal lighting concept, for which I have special ideas. That said, outside the keel is prepared to be mounted – maybe one of the last very, very big items on the “still open” list.

If you like to stay in touch and never miss any new article, please invest a few seconds to subscribe to my newsletter which you´ll receive every month. It contains quick links to all 8-10 new articles published as well as to the latest videos of my new YouTube channel. I hope you enjoy this colorful autumn … cheers from Luebeck!
Here´s more on the Omega 42 work-in-progress:
All articles from day 01 till today
What´s about all of this Omega 42-fuzz anyway?