If you have read the past two articles on how the PVC-deck for my new sailboat has been produced and the king plank, including other fine details, have been formed by skilled craftsmen, this article now shows in all detail how the huge fake teak deck is glued to the sailboat. This article delves deep into how it is made, which tools are used, which bonding agent suits best and why it is paramount to trust only skilled craftsmen – don´t do it yourself!
Starting this week I returned to the shipyard shed where my new Omega 42 is currently under construction. After having applied the bottom paint for the boat all by myself in a 6-day working spree, this time I found back to my old role as observer, rather than the maker. On the occasion of fitting the brand new PVC-deck to the boat, the flying reporter wanted to make sure that every single working step was to be fully documented so that you can profit from my experiences.
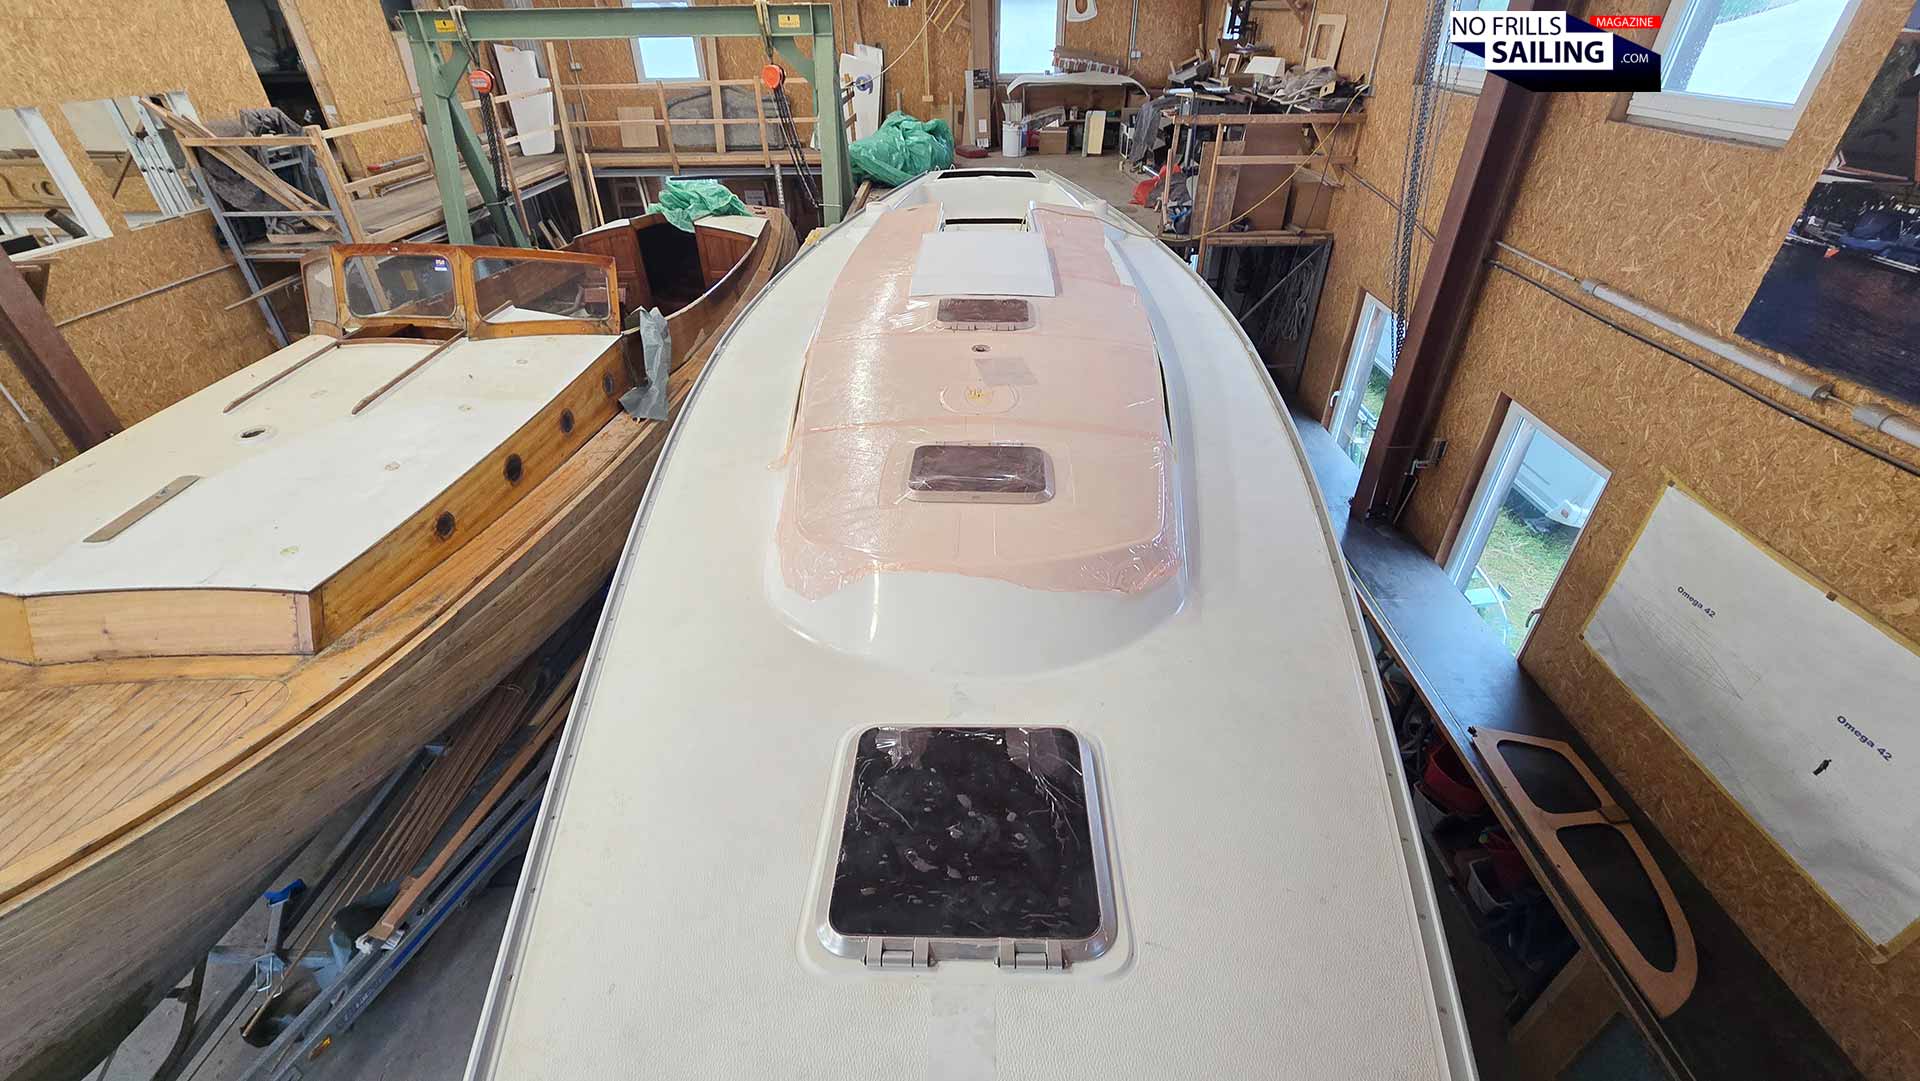
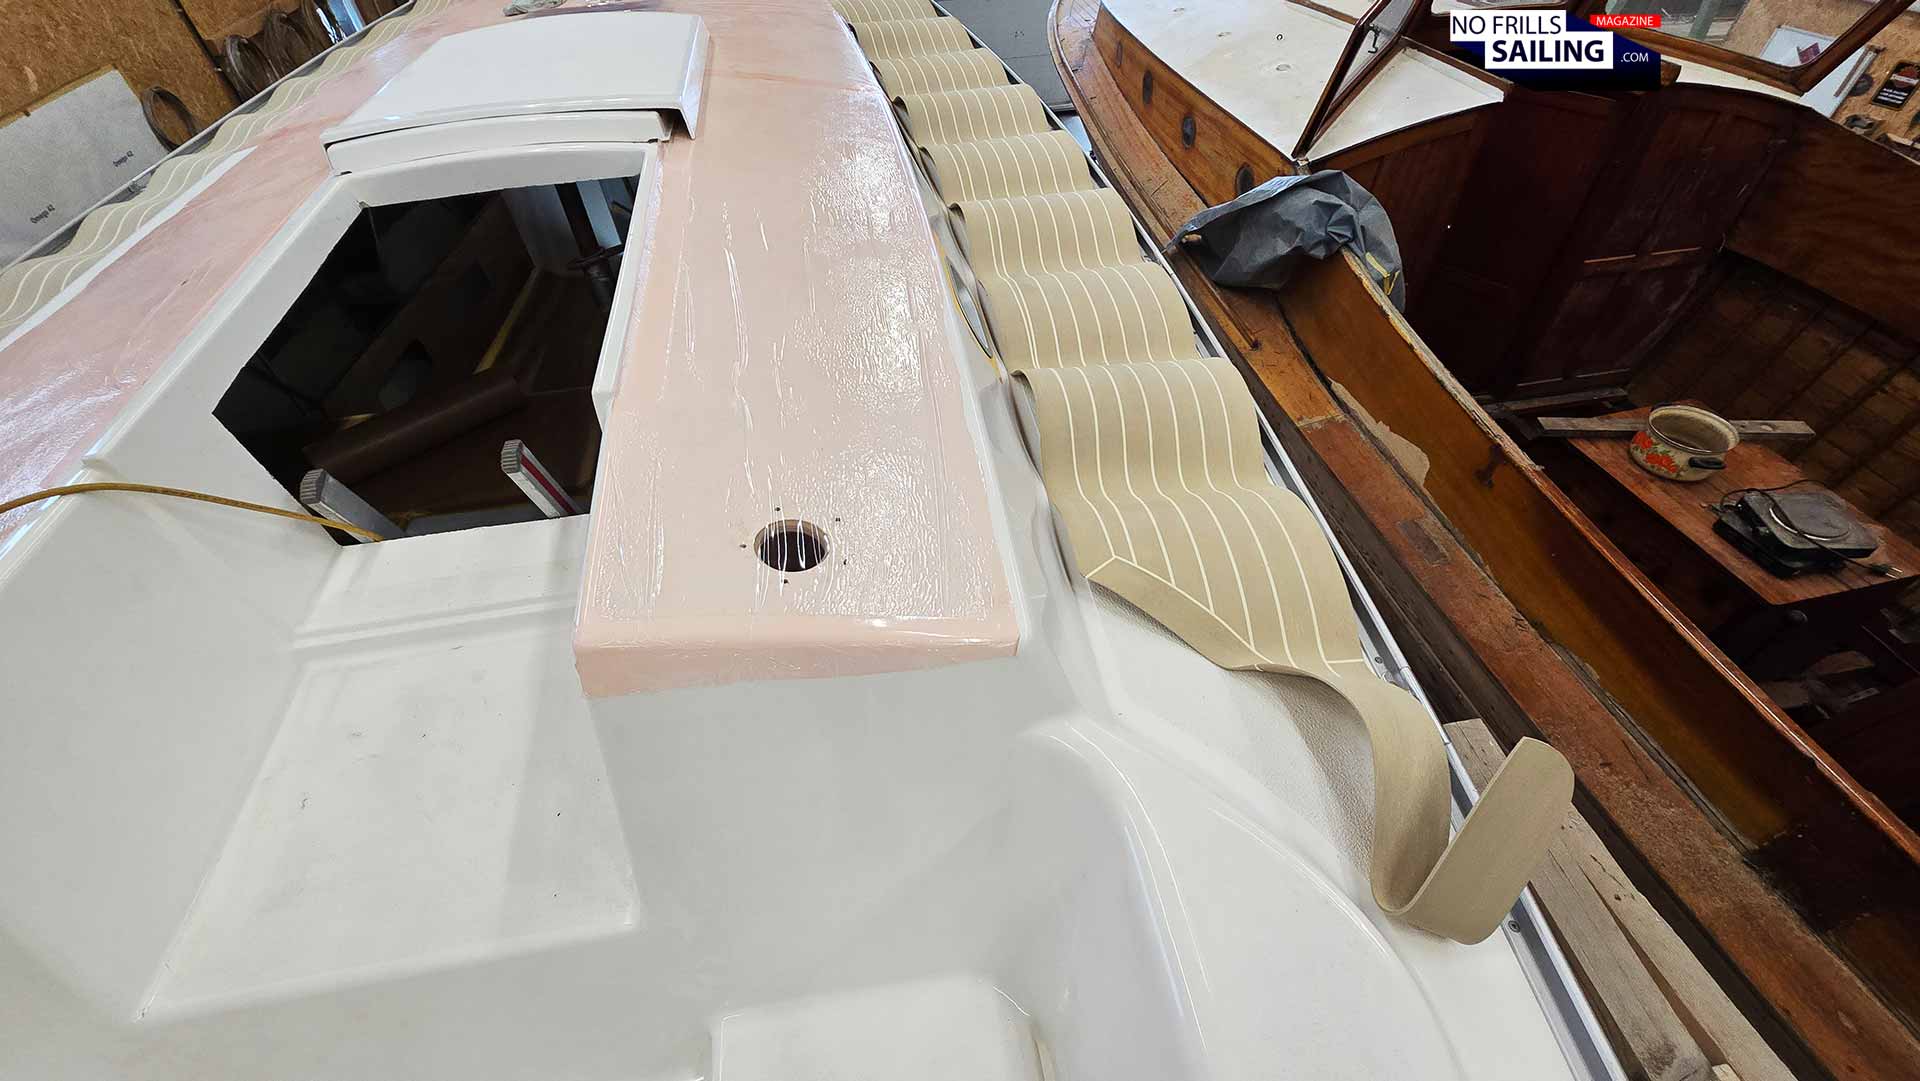
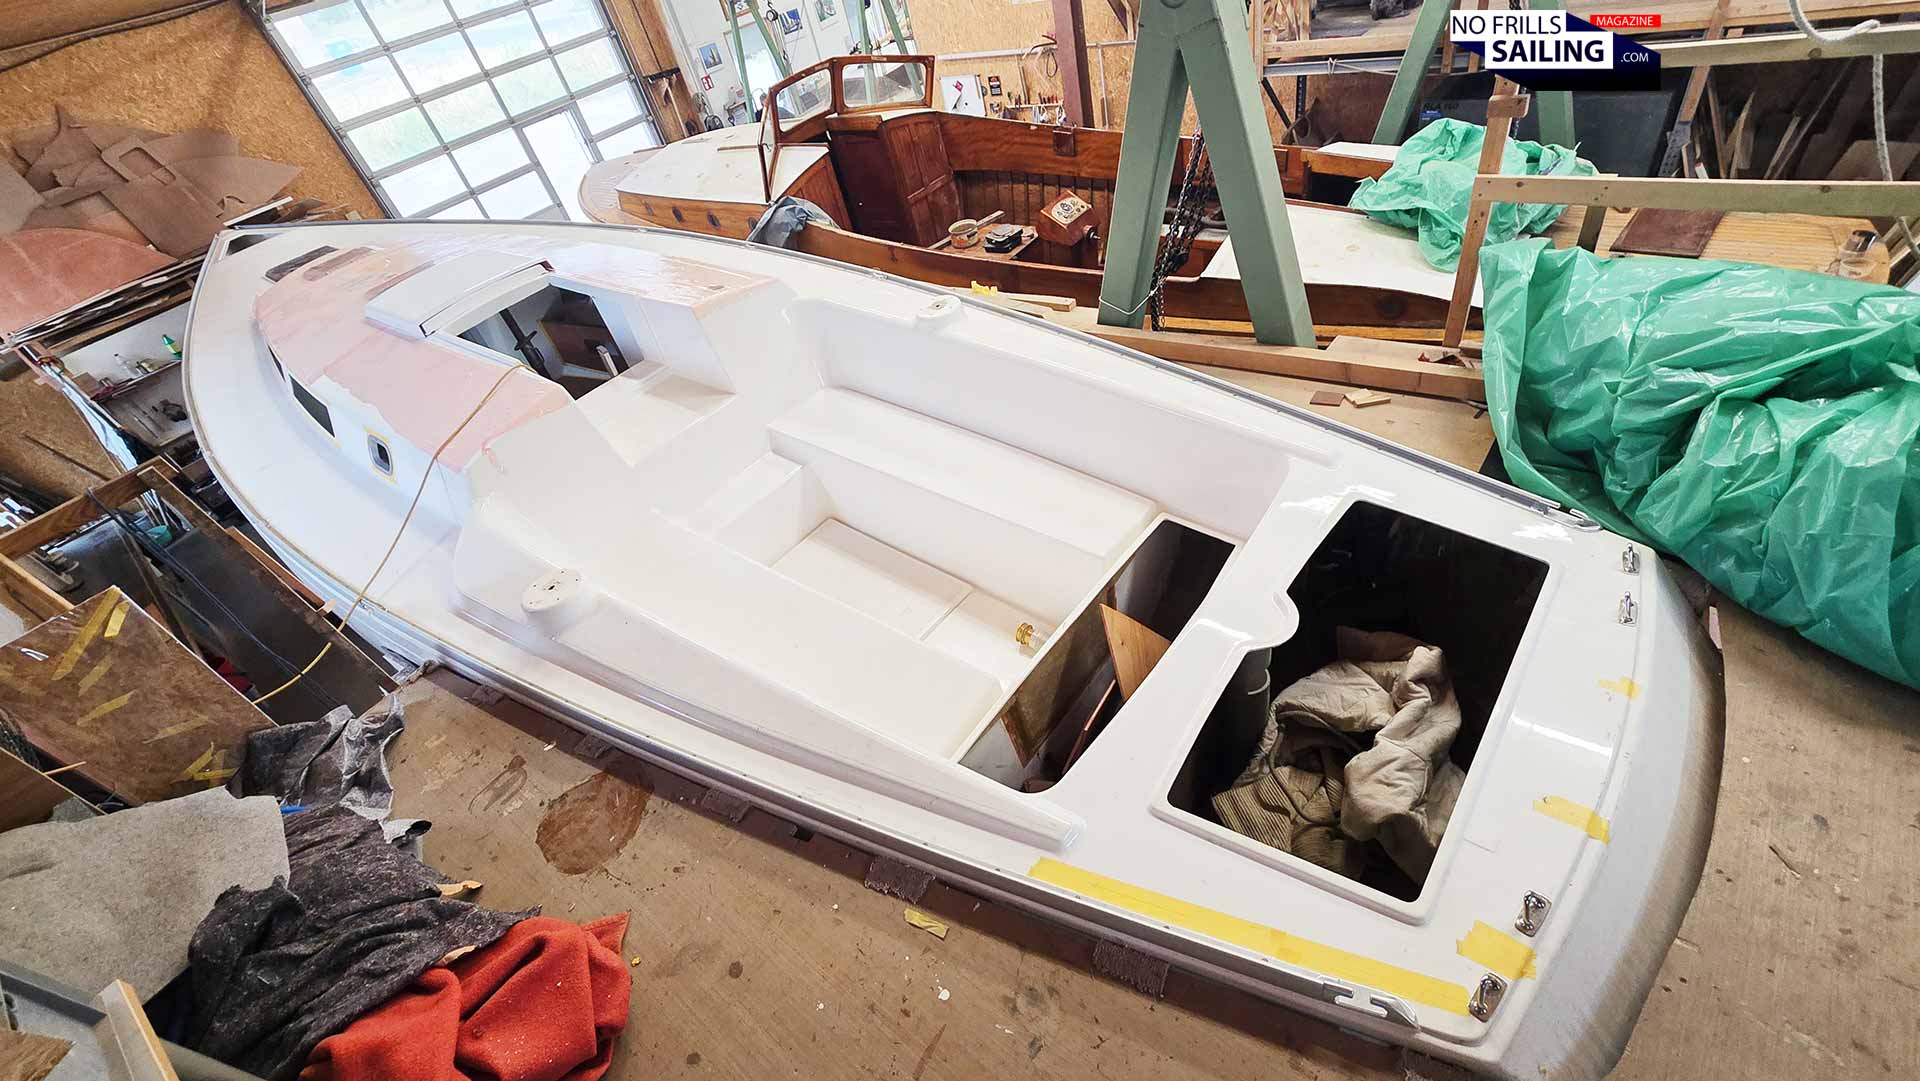
This is where we start: A bare white deck.
Finally, the professionals from Rosch Yachts announced that a time frame window had opened, with temperatures just as perfect to having the deck glued. Yes, even if the Omega 42 is built in a closed – or in our case now, open – workshop hall, temperatures and humidity are a factor to be concerned when attempting to glue the deck to the deck. Of course: The chemicals need a special threshold inside which they work best. 25 degrees Celsius, mid-range humidity: Perfect!
No time for a bare, white, barren gelcoat deck!
Advertisement
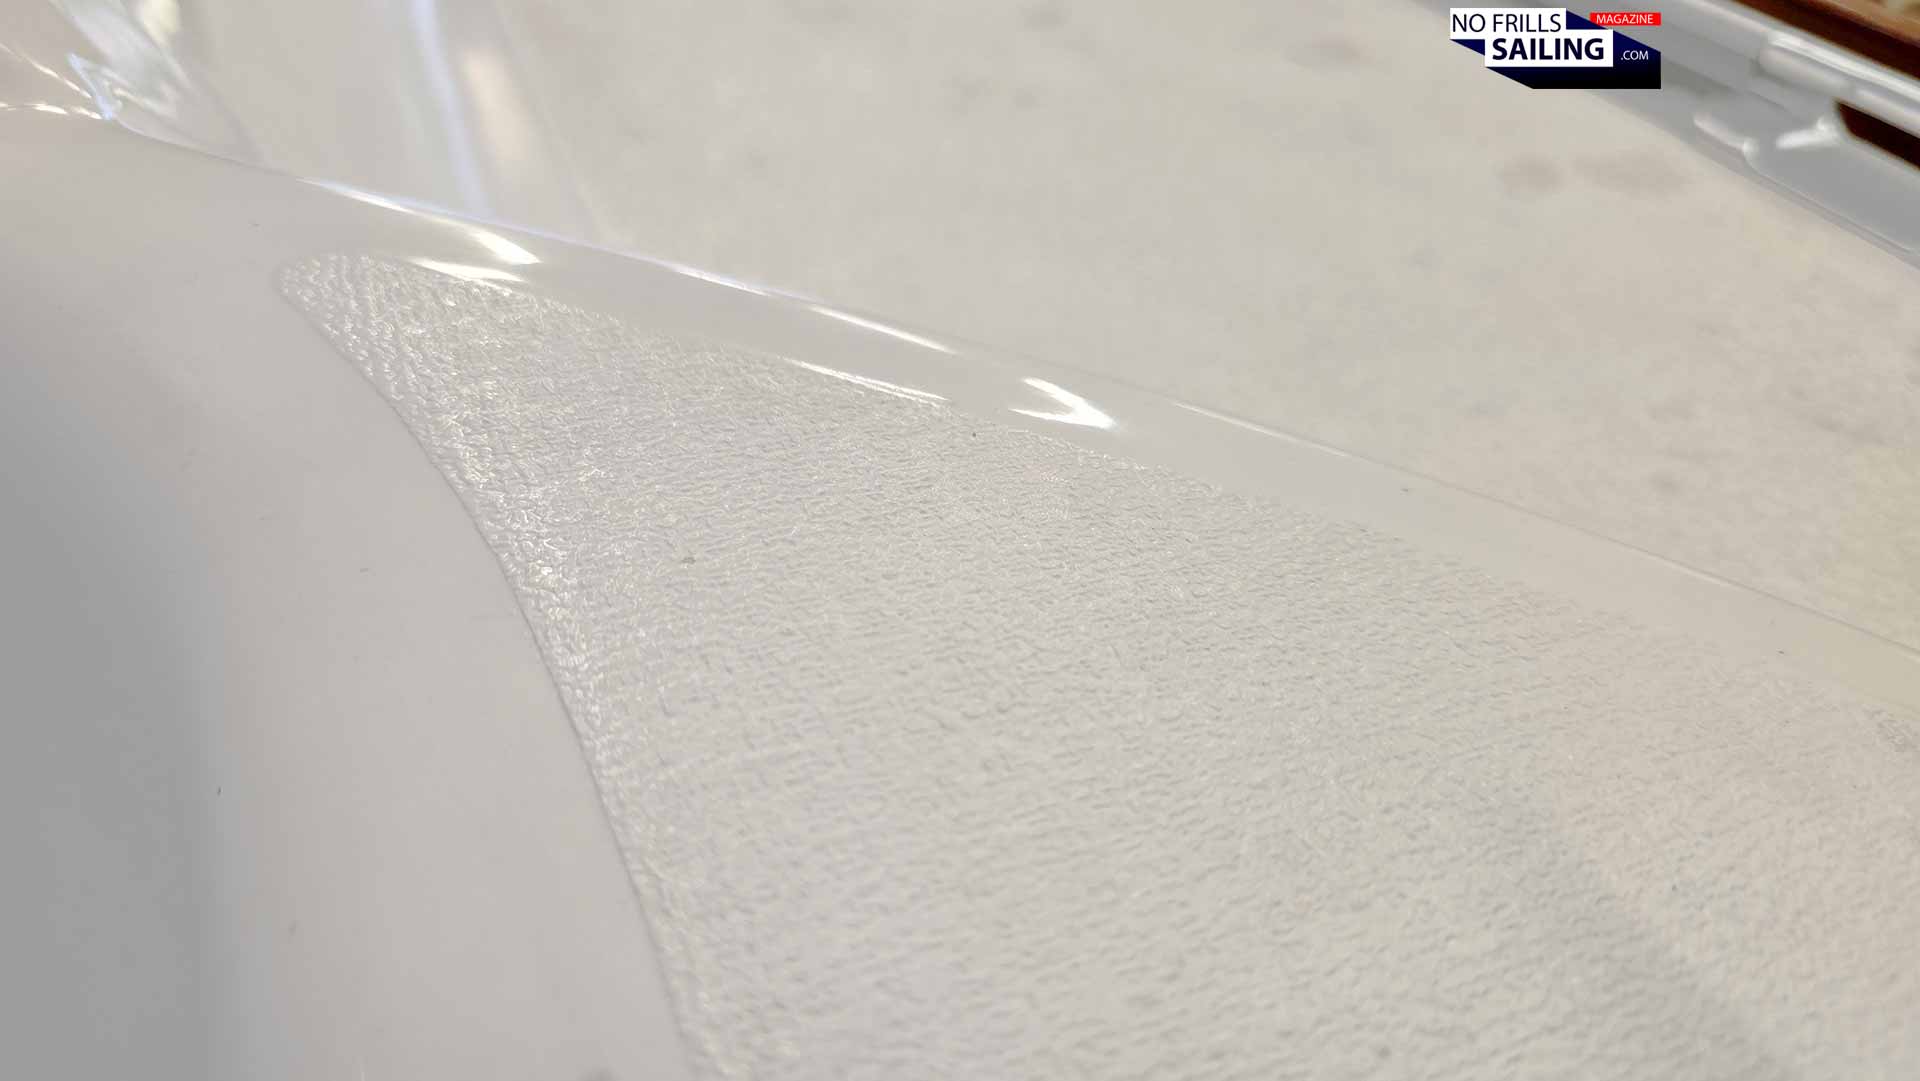
For me, after signing the purchasing contract, which was a shockingly already long three years-time period ago, so to speak right from the outset it was clear to me that my boat needed a deck. A decorative fake teak deck, of course. The all-white gelcoat-only surface is not only boring to look at, it becomes even cheap-looking after a few years, when dirt and stains start to pop up here and there over time. Which is inevitable: The non-skid surface pattern of modern sailboats within the gelcoat deck is a literal dirt-magnet.
Gelcoat non-slip pattern is a dirt-magnet
On the other hand, my boat is a classy design from the mid-seventies. Back then, it was customary for sailboats to have a decking surface other than gelcoat. Usually, a nice rich wooden real teak decking would have been applied. And many pictures of classic Omega 42 shows them sporting proudly a timber deck. As much as I admire the new build Omega 42 hull #001, the WINDFAENGER, the most sad makes me the fact that this beautiful boat does not have a decorative deck, which causes the boat to appear far below its potential. That said, it explains why for me the budget needed to pay for a thorough, high grade PVC deck was a no-brainer. How much? Let´s save the budgetary questions for later, shall we?
But first: Hauling a ton of stone!
Being German, I arrived far too early at the building shed. We were arranged to meet at nine in the morning, I was already there at eight. Enjoying another cup of coffee and taking my time to inspect the progress made good on the boat´s inside – mainly the last bulkhead lamination works and details here and there regarding structure – I couldn´t wait to welcome the Rosch guys to the shed. And finally, they arrived. But, oh boy, was I wrong about what happened next. Because … I was to haul heavy stones out of their transporter at first.
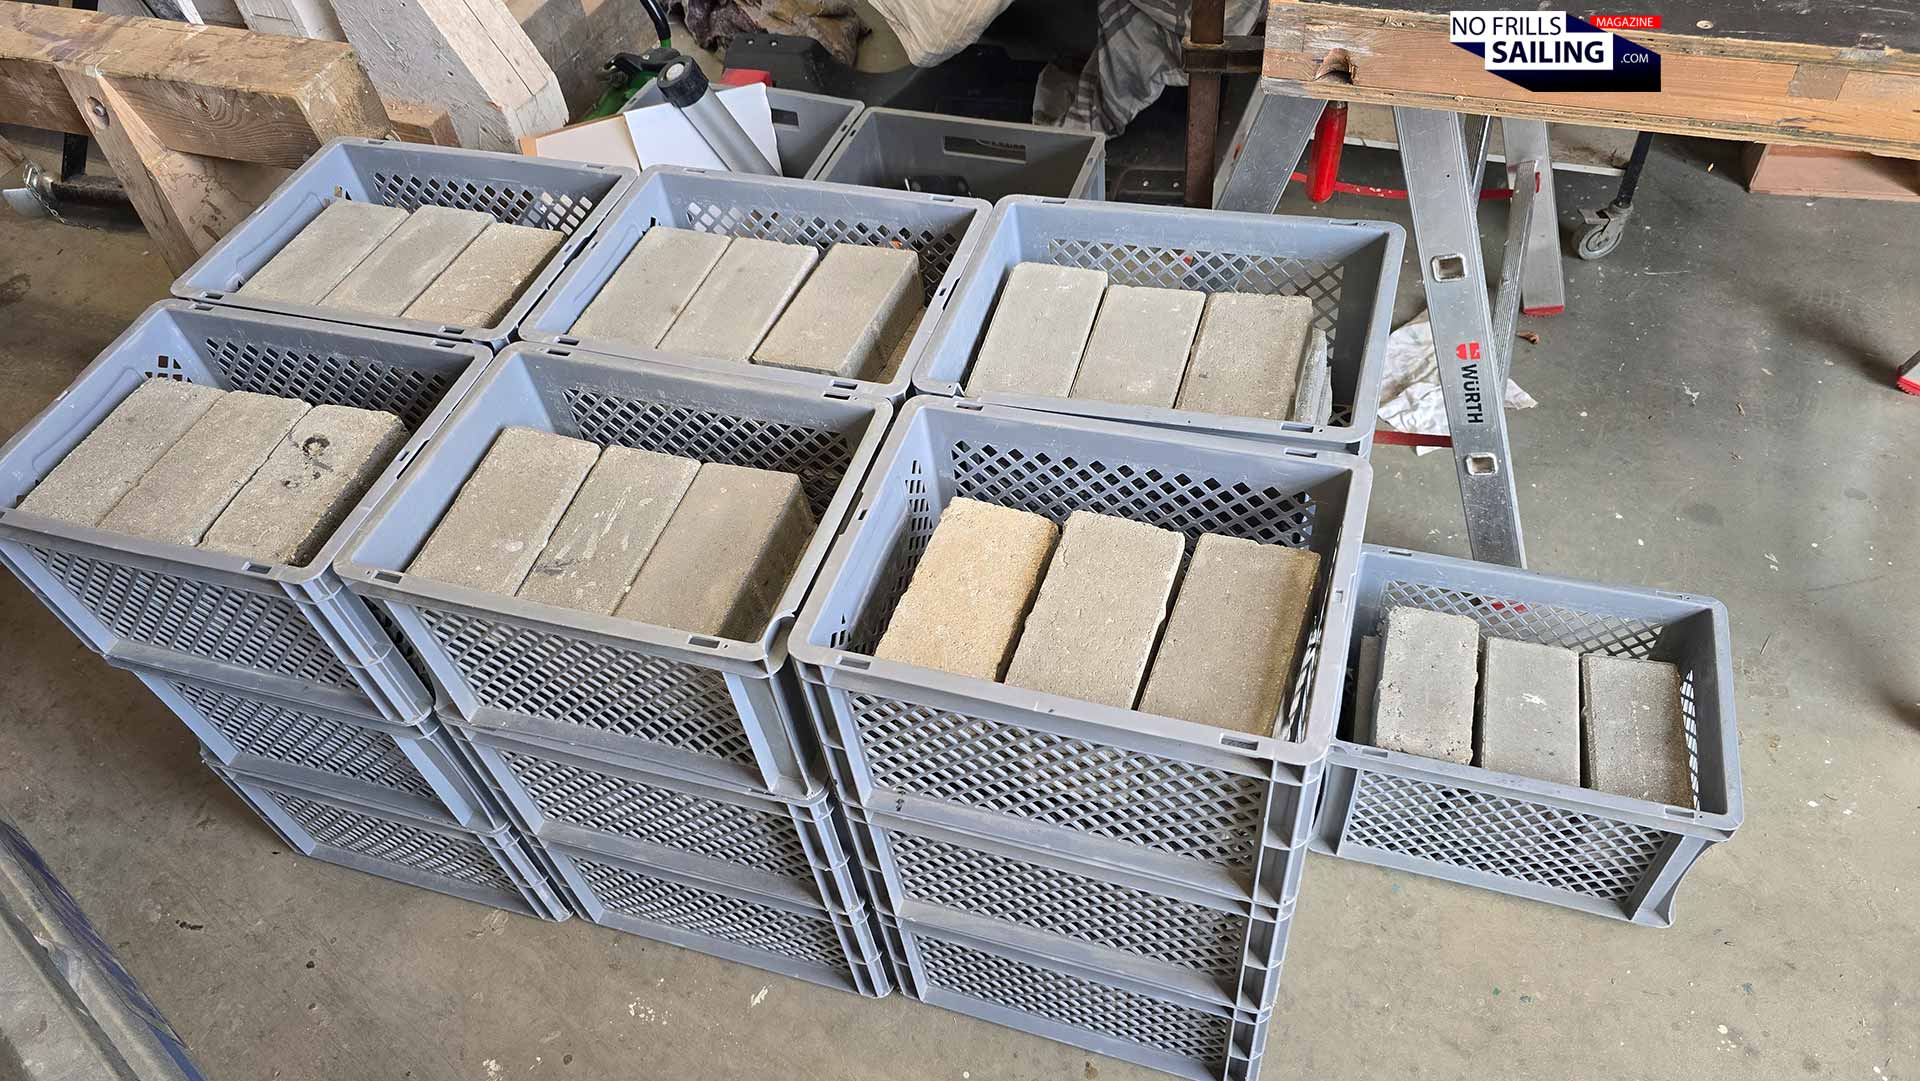
Another brick in the wall …
Half of the transporter´s loading space was covered with grey boxes, each containing nine stone bricks. Just normal concrete stone bricks as these are used in bricklaying for parking lots, sidewalks or patios. Not ten boxes, not twenty – dozens! Happy to having enjoyed a rather meat-rich breakfast this morning, I ran back and forth between the transporter van and the area underneath my boat´s bow to piling up one box after another on top of each other. Almost one ton, one thousand kilograms of stone.
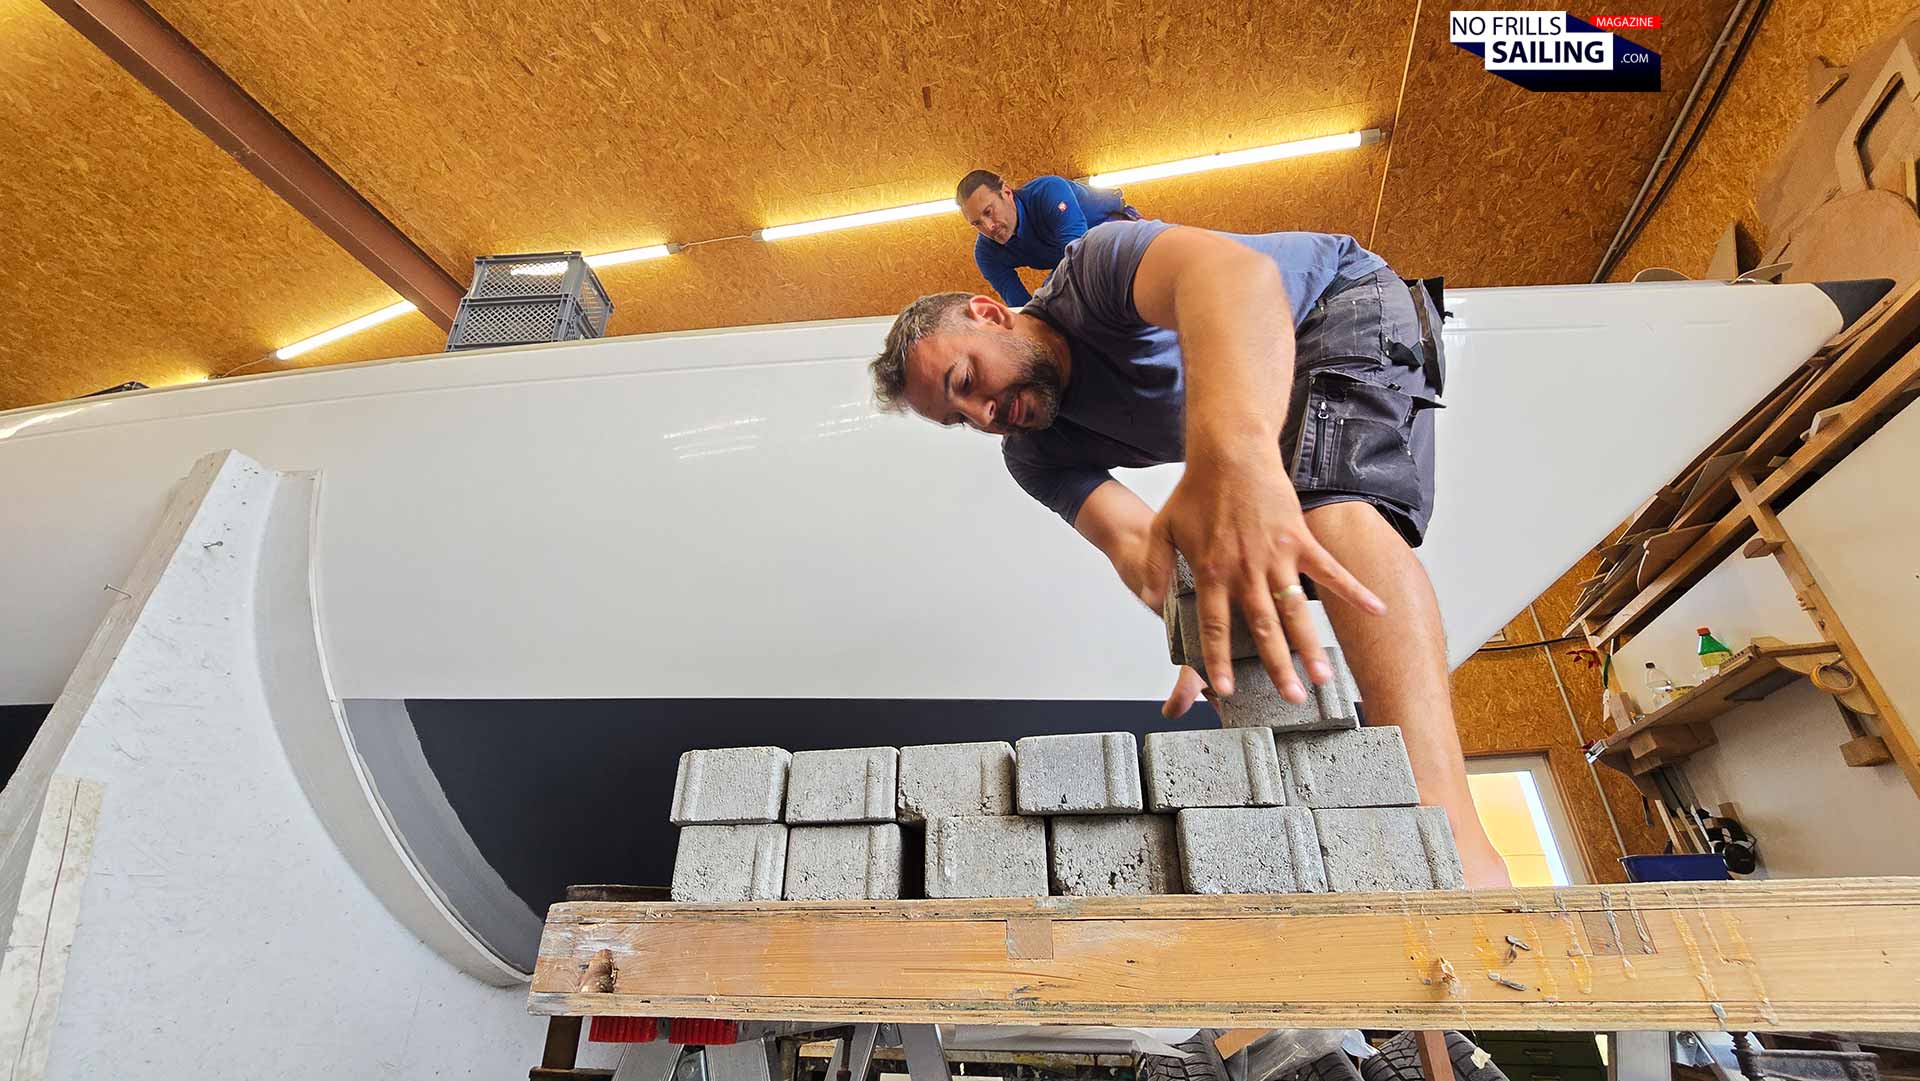
Hauling a ton of concrete aboard …
Of course, these are weights – of the cheapest possible kind – for applying pressure to the freshly glued PVC-deck later. And just as I had emptied the van, congratulated myself for this tour-de-force of muscular power, Ralph and Szolti, the two craftsmen from Rosch Yachts, asked me to help them bring those 1.000 kilogram onto the deck of the boat. Half way through, Szolti – a rather tough and brisk specimen of Hungarian-Romanian breed – gently shoved me aside to haul up the stones all by himself. Thanks, Szolti, what a great guy. So, first lesson learned: Glueing a PVC deck requires a lot of manual labor!
Why I opted for Permateek in the first place
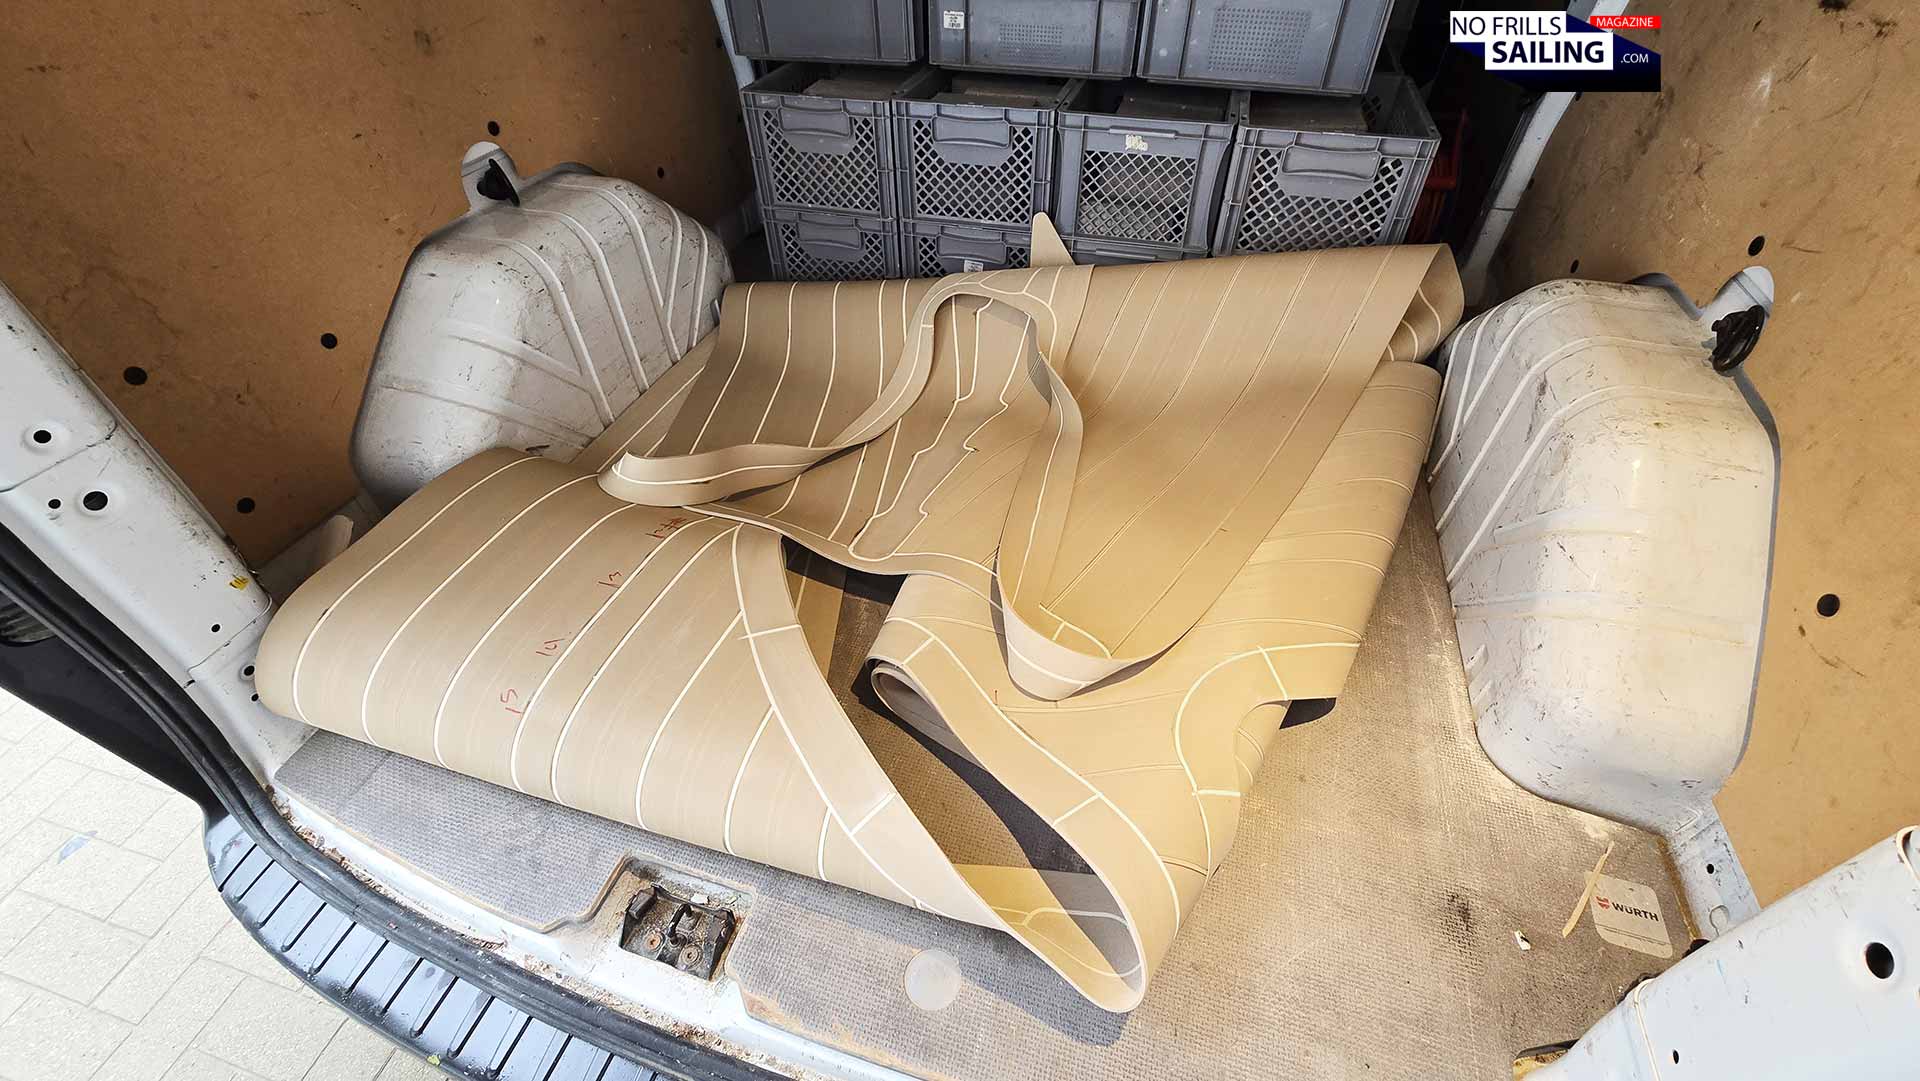
Now that the van was emptied of the heavy ballast, the view was clear to take a look at the pre-fabricated deck. But instead of a grand view depicting the beauty of the later finished work, the coiled up deck panel was a rather depressing sight. But no worries, as knotty and interlooped this sad pile of PVC may look like back there in trunk of the van, as glorious it will shine only a few hours later. Or let´s say, a few days later.
Not so graceful appearance …
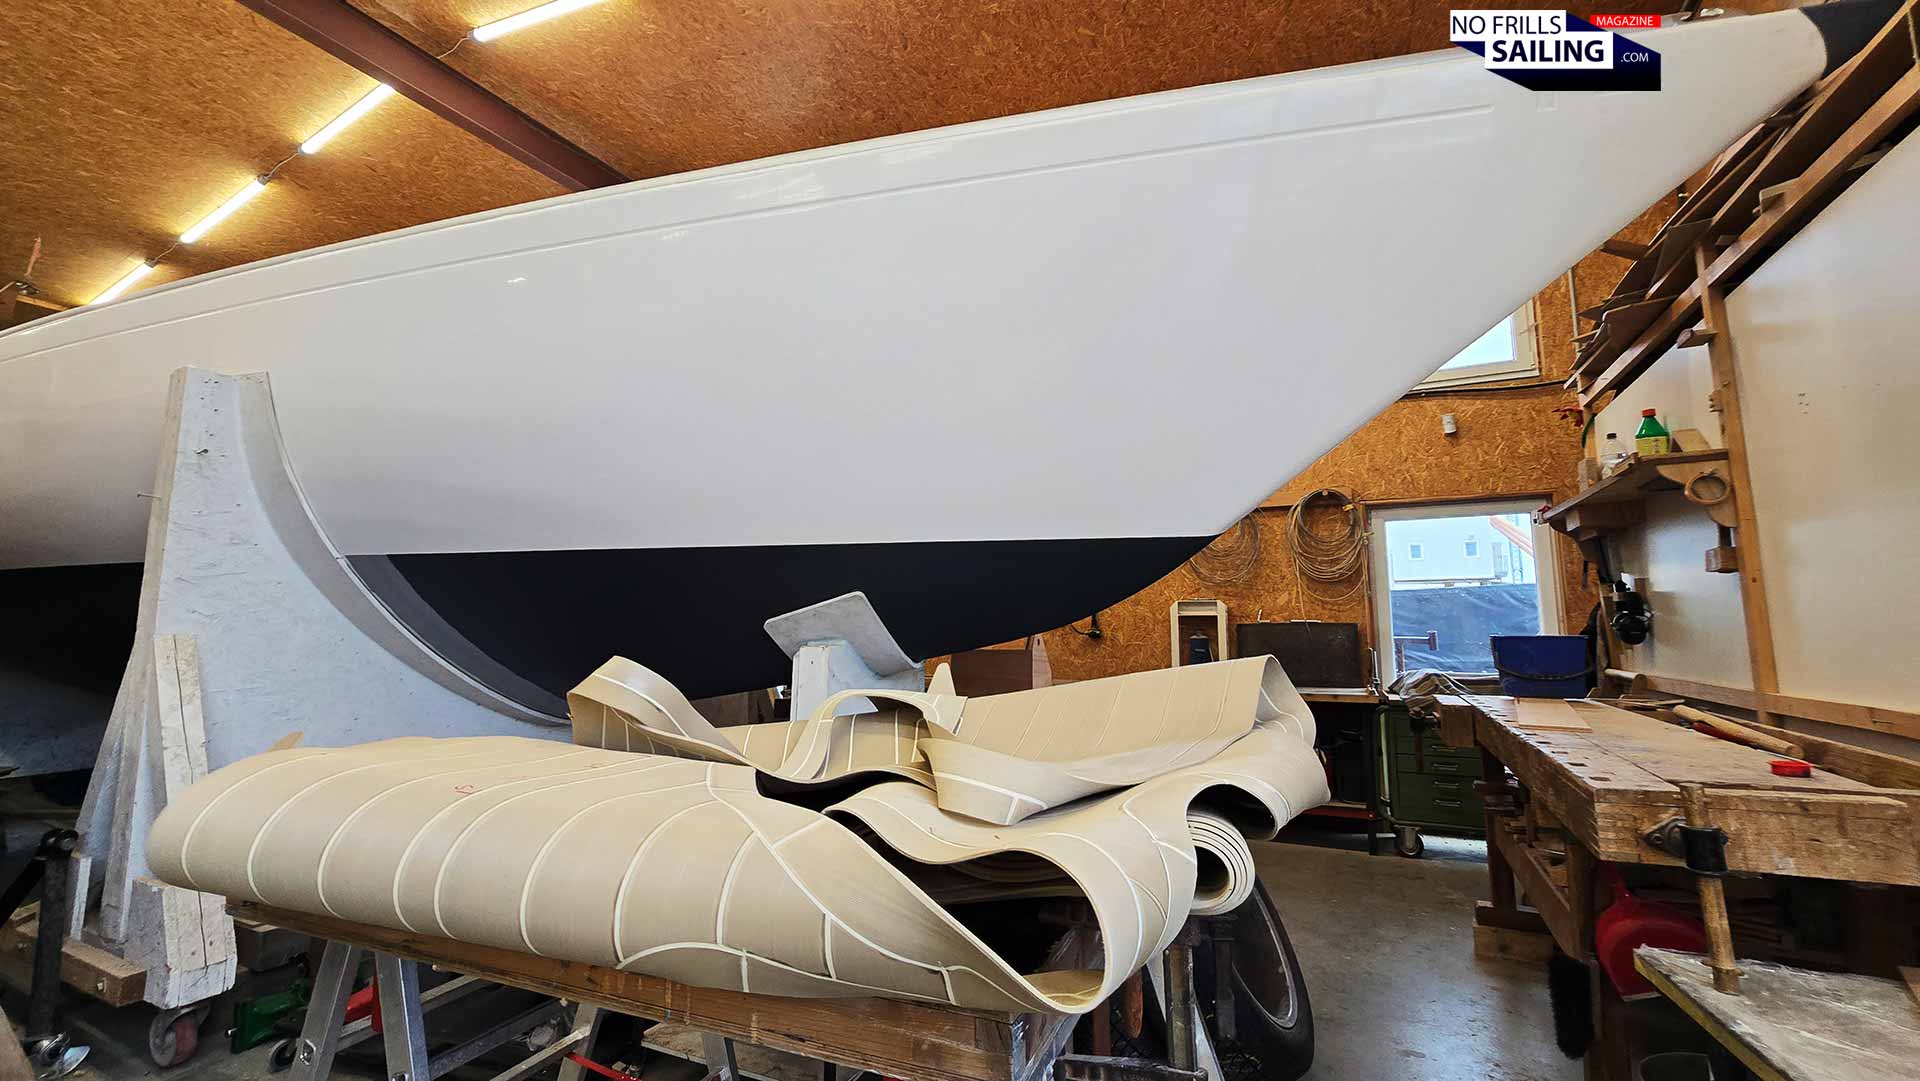
A PVC-deck is always pre-fabricated to come as one whole panel. Although the base material are indeed single “battens” of fake teak, just as it is the case with a wooden deck made with natural timber, PVC-decks are put together “batten by batten” in the workshop. Not aboard the very boat, as it would be the case with real teak. If you are interested to understand how the deck is built in the first place, check out this article, taking you to Rosch Yachts where the panels are made.
Let´s get it started then, shall we?
There are quite a number of bigger and smaller brands offering their PVC-decks on the market. With Flexiteek being the undisputed market leader and widely used. I personally found that those decks have a very distinct stench which I disliked and, this goes at least for the first versions of the product, I didn´t like the design, uniform colors with almost no structure of these. Then there´s also PlasDeck, which is a trusted US-American brand that you rarely see here in Europe. And some other manufacturers, of which I almost have gone for EvoDecking, which I found had the most realistic teak-looks of them all. But in the end, I went for Permateek. Why?
Because beside the choice for a design and a material, the most deciding factor in a handcraft-project is … the craftsman. The very people who build the deck in the first place, the people who will glue the deck onto your boat. Choose them wisely. Because it is primarily their mastery which decides the later look, fit and quality of the deck. There is no reason in having a great base material that will smashed onto the boat, fitted poorly, botched by sloppy work ethics or lack of competence. With my partner, Rosch Yachts, I found a supplier who is the business for over 10 years now, having specialized and trained focusing exclusively on PVC-decks and having fitted hundreds of boats as of now. I trust these guys. And so should you be looking for skilled and trustworthy craftsmen as well. Because, as you will quickly see, glueing a PVC-deck is definitely not a DIY-job!
Preparing the huge PVC-deck panel
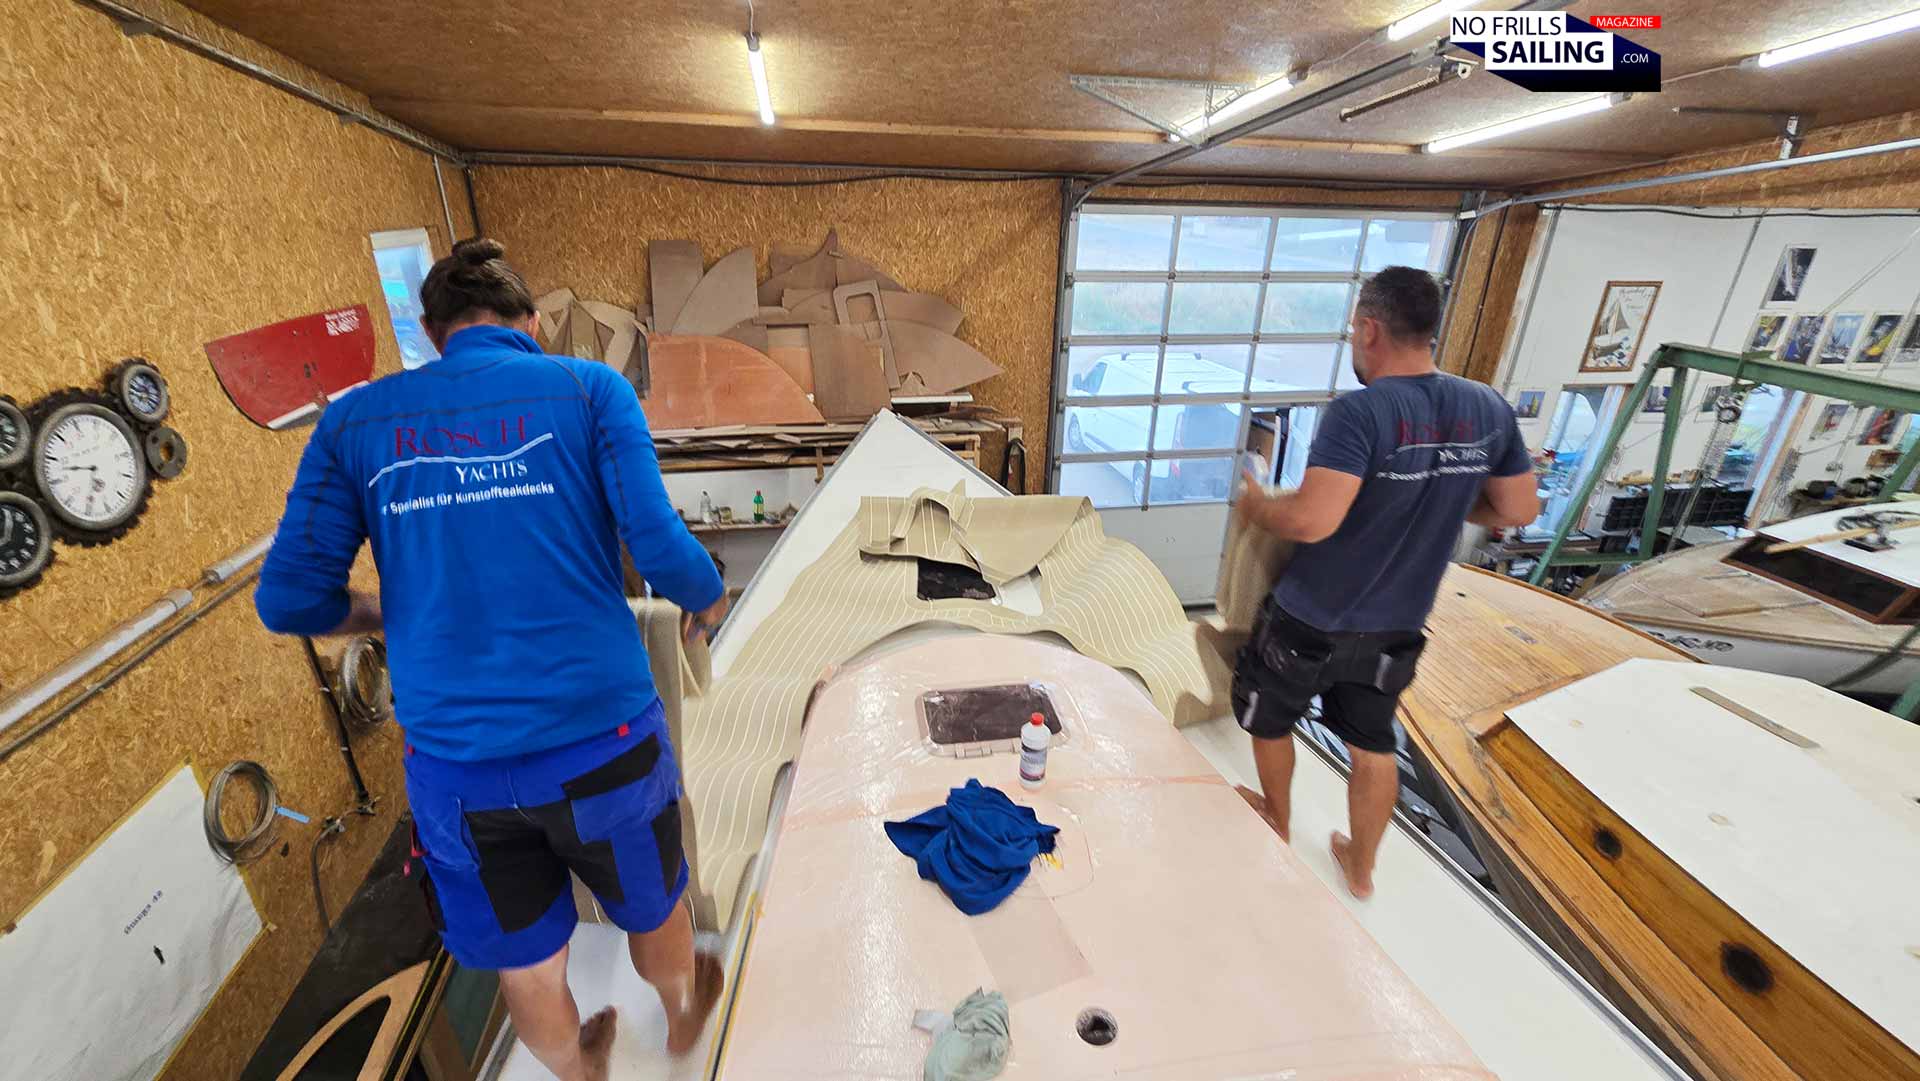
After hauling the almost 100 kilograms of coiled up PVC-knawel onto the bow, the two uncoiled it. Starting at the bow of the boat, they slowly and cautiously unrolled it. On my boat there´s neither a railing installed nor a makeshift safeguard, so be careful guys! They started at the top of course because it was much easier to have it done this way than ending at the bow. With every meter being uncovered, more of the beautiful teak-pattern was revealed. Nice!
Unrolling the deck panel
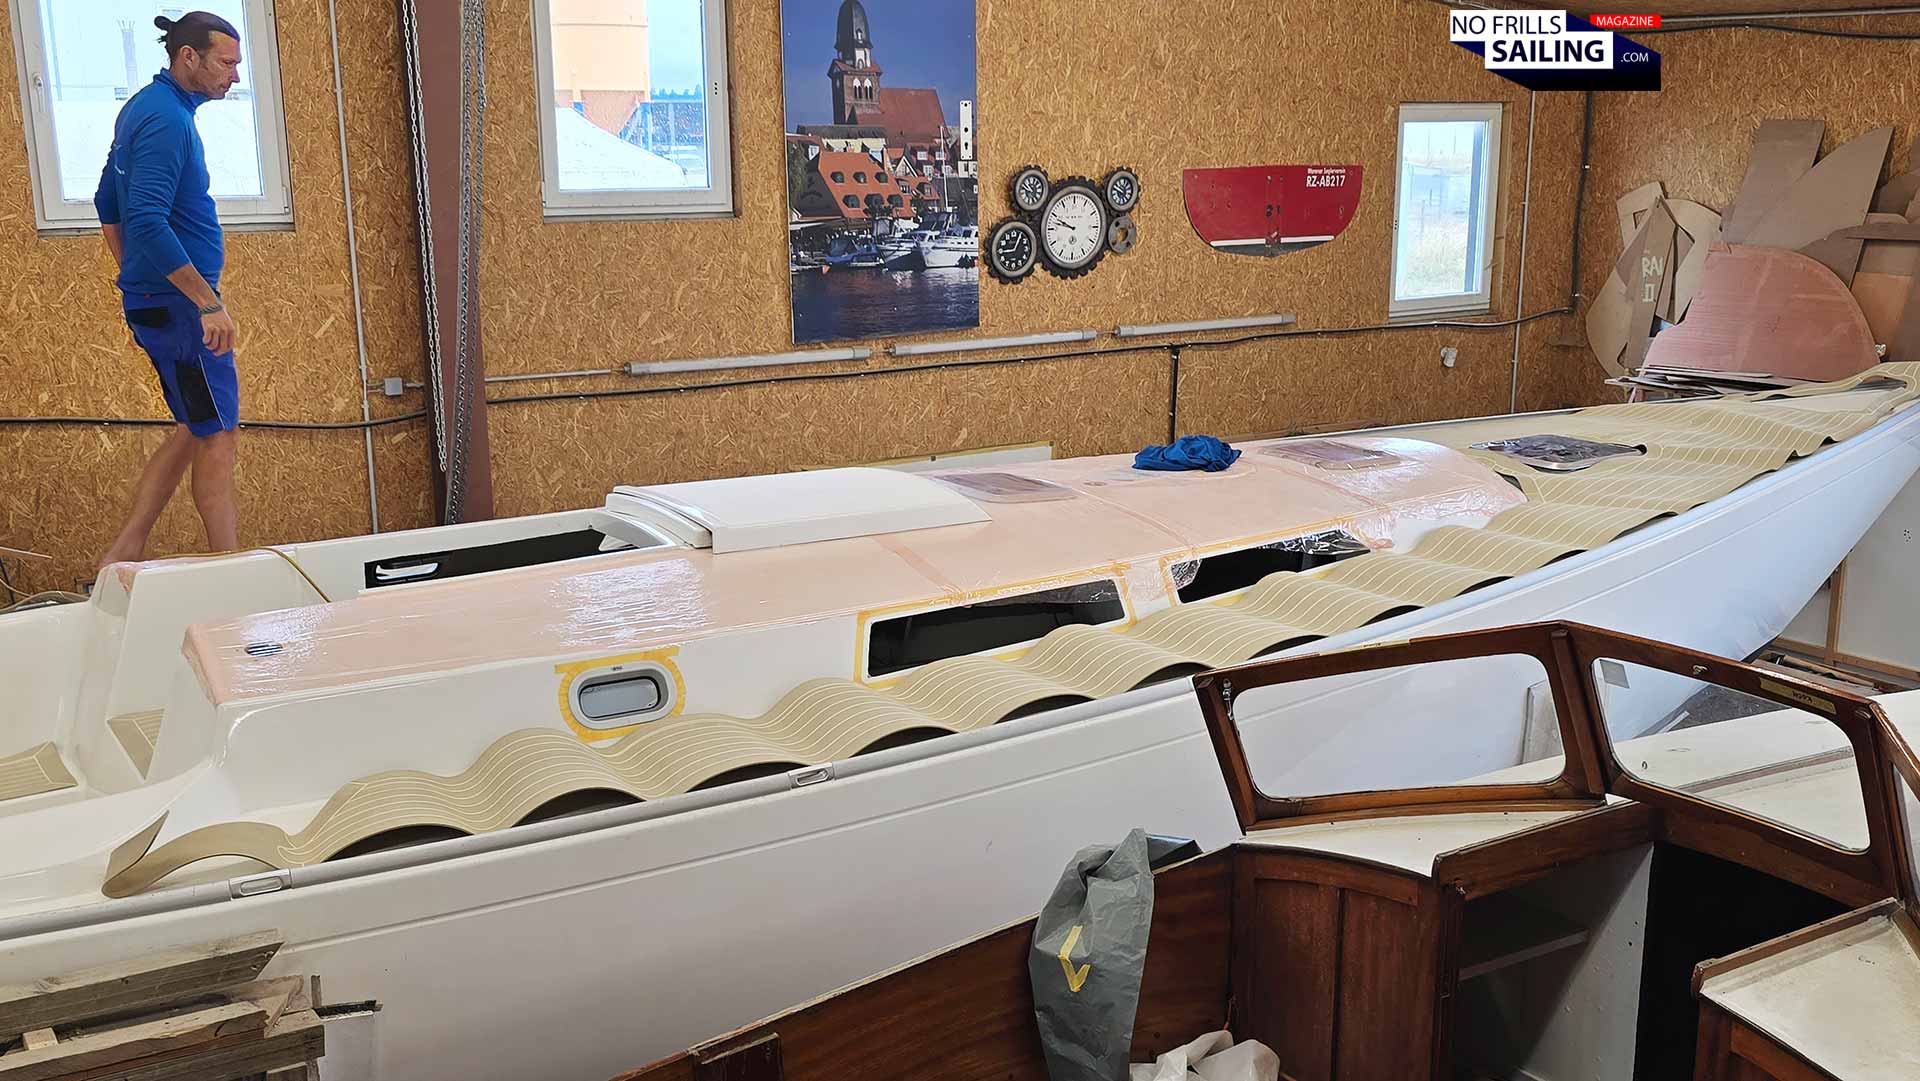
As for my Omega 42 deck design, we went for a full coverage for the bow area and the sidewalk decks, but not all the way through to the stern. The areas at the stern around the cockpit and the coamings are very slim (as it is the case for any classic yacht design) and we deemed it would be too much. If I had a modern day cruising yacht with a typical wide stern section, they probably would have gone all the back. Maybe they would also have divided the whole deck panel into two or more pieces for the sake of better handling.
Still a bit crumpled …
Having unrolled the whole panel, it showed a lot of uneven areas, large waves and was therefore not eligible for prompt action. Ralph, Rosch Yachts´ founder and specialist, explained, that the material needed a few minutes being left alone to acclimatize and settle down. That is why glueing a PVC deck to a boat is best done during summer time, when it´s warm so that the material is a bit softer. In winter time, with temperatures low, it becomes rock solid, he emphasized. Yet at the same time, Ralph says, it is not advisable to have it fitted under direct sunlight. That´s too much energy, making the glue and the PVC doing weird things …
Letting it calm down a bit
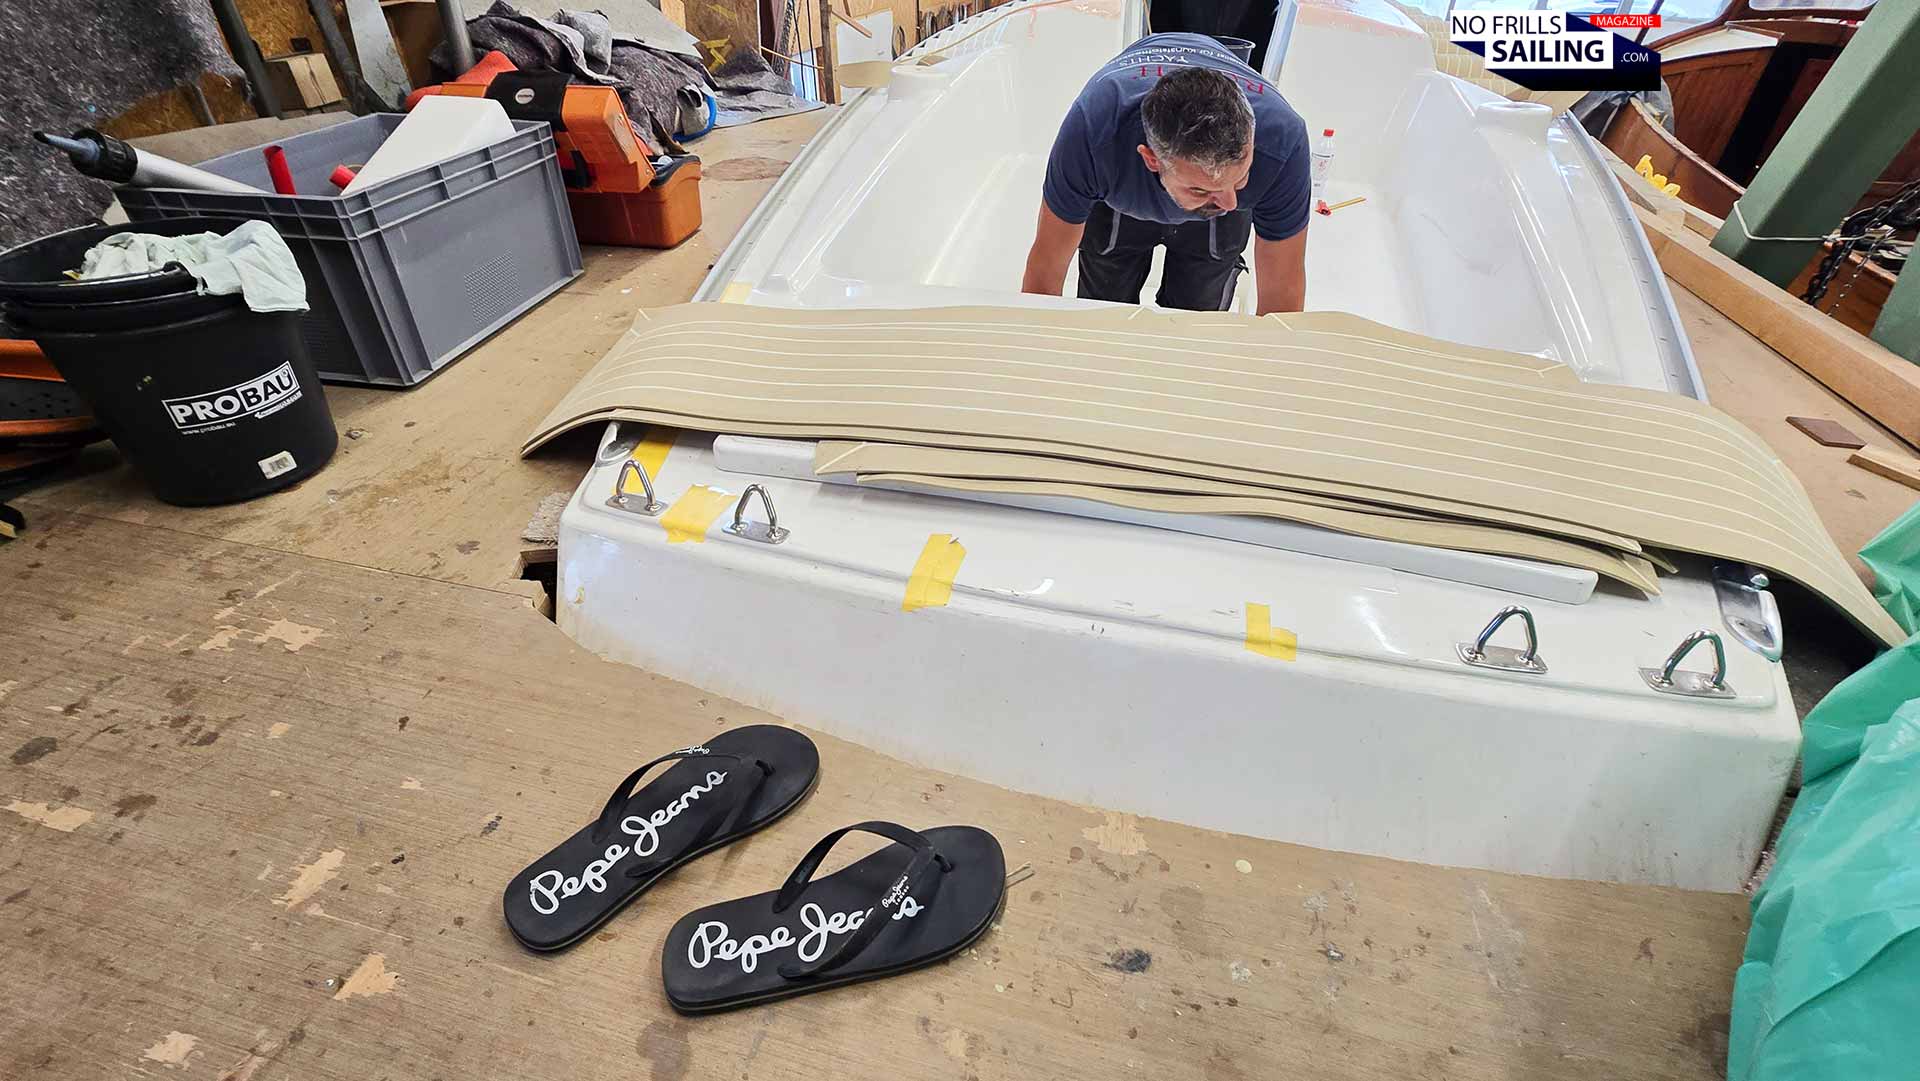
Ralph took off his shoes – or shall I say, his flip flops – and went on to walk up and down the side decks multiple times. By that, he wanted to speed up the settling process and put the deck back into a straight, not wavelike, form. Szolti also took off his flip flops and that was the moment when I wondered: “Shouldn´t you guys be wearing safety shoes or at least some freakin´ sneakers instead of … working barefoot in a shipyard´s workshop?” Au contraire!, both replied unison: As it appears, the surface of the PVC deck being as fresh as clean as now would become littered and as dirty as black quickly had they worn shoes.
The golden rule: Only barefoot!
This is why their “professional working flip flops” were put out nicely next to each other every time they would go aboard the boat, with a large chunk of felt being formed and laid out at the stern acting as a huge doormat. Every time I went aboard the boat, especially later walking on the new deck, I of course as well took off my shoes. This, as Ralph assured me, would save hours in cleaning – yet at the same time these guys had developed a feel for the underground in their feet, revealing uneven areas or defects in the deck. That said, Szolti hauled the smaller panels aboard to be used in the cockpit – it was time to start bonding!
Which glue is the best for fitting PVC-decks on a boat?
Speaking of which brings us to one of the more frequently asked questions when it comes to PVC decks: Which glue should be used to form a firm bond? Ralph said he had worked with Mastek glue, but has made up his mind corrected his choice to Tikal. Other suppliers I know of utilize Pantera or Sika products. Honestly, I can´t contribute to this discussion as I am no craftsman and have absolutely no experience with either of those.
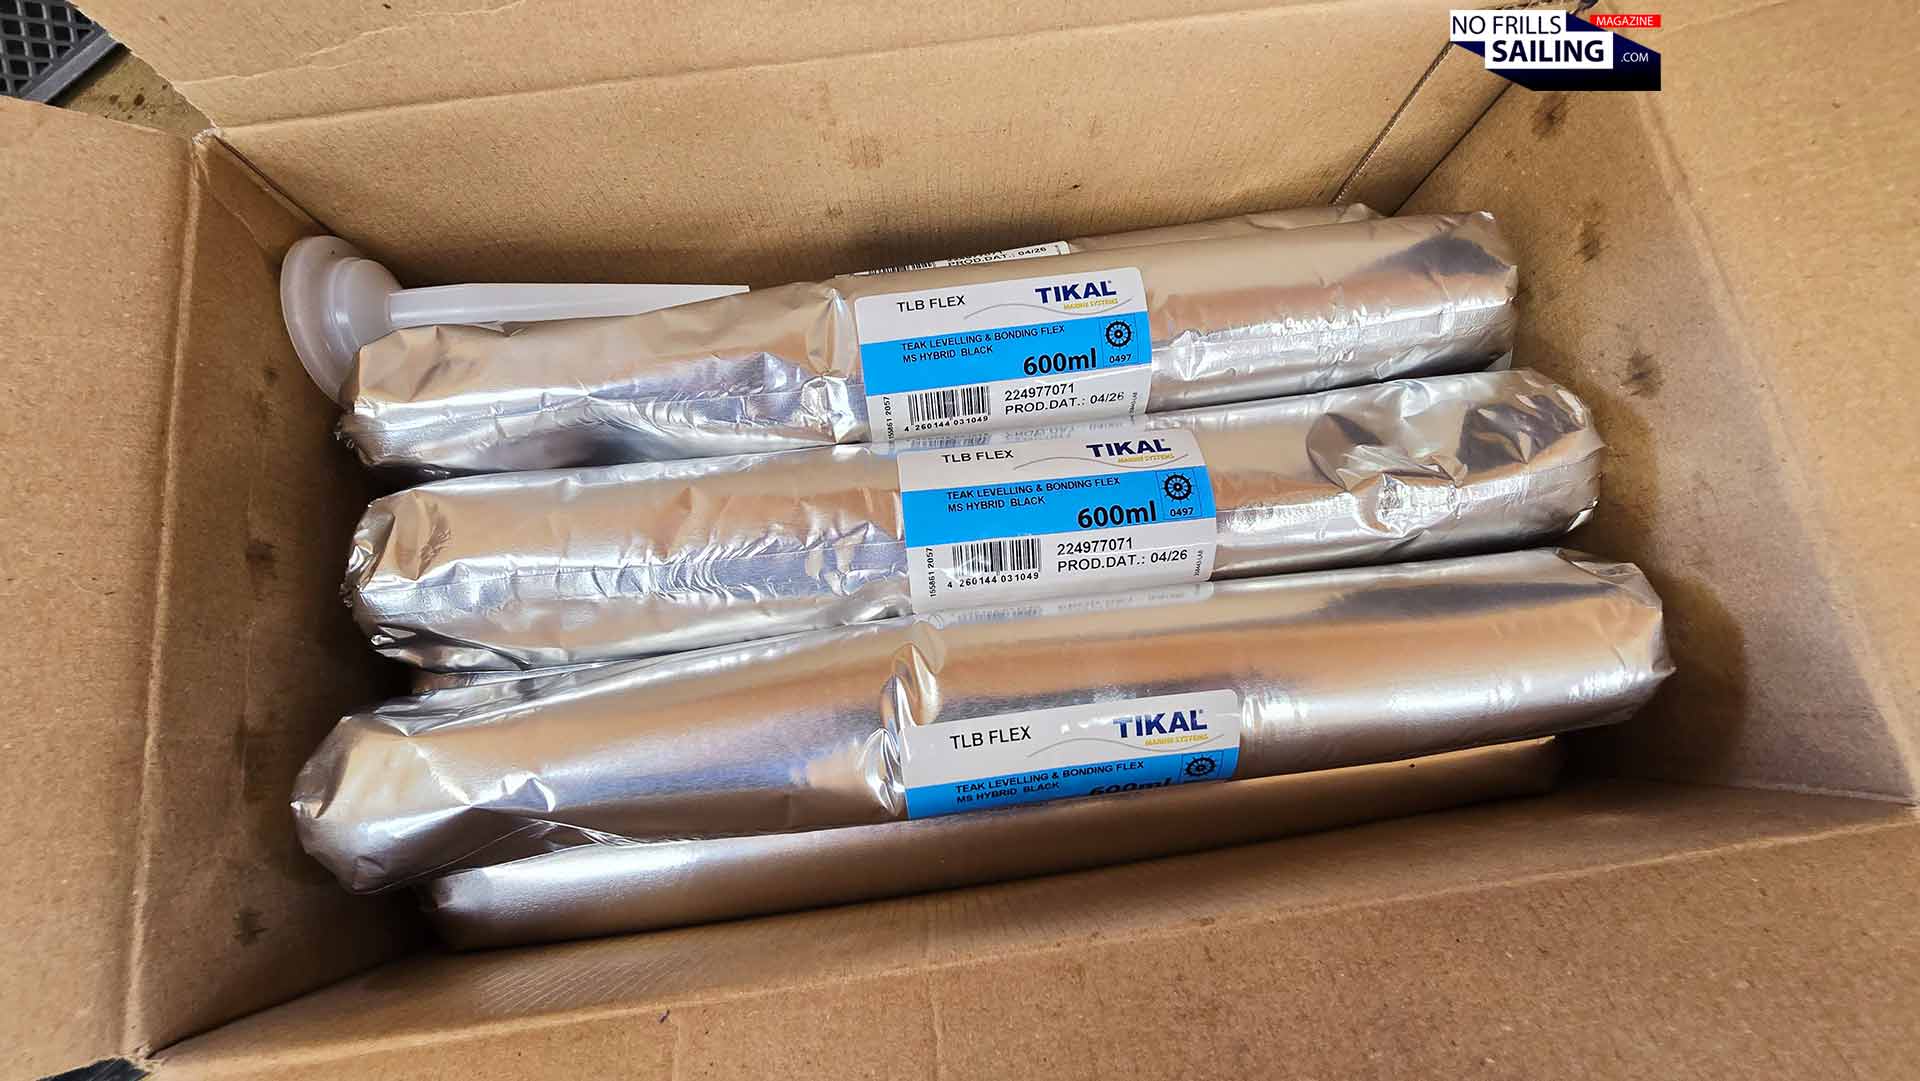
Our bonding agent of choice: Tikal
But as Ralph ensures me that in his mind Tikal provides best bonding capabilities in connection with the Permateek-product. It was also to be specifically weather and temperature resistant, keeps a certain flexibility over time to make sure that winter-summer-contraction is balanced and does not loose its properties even after a dozen years. I trust his decision. You should ask your supplier which brand and kind of glue he is using.
Let´s go!
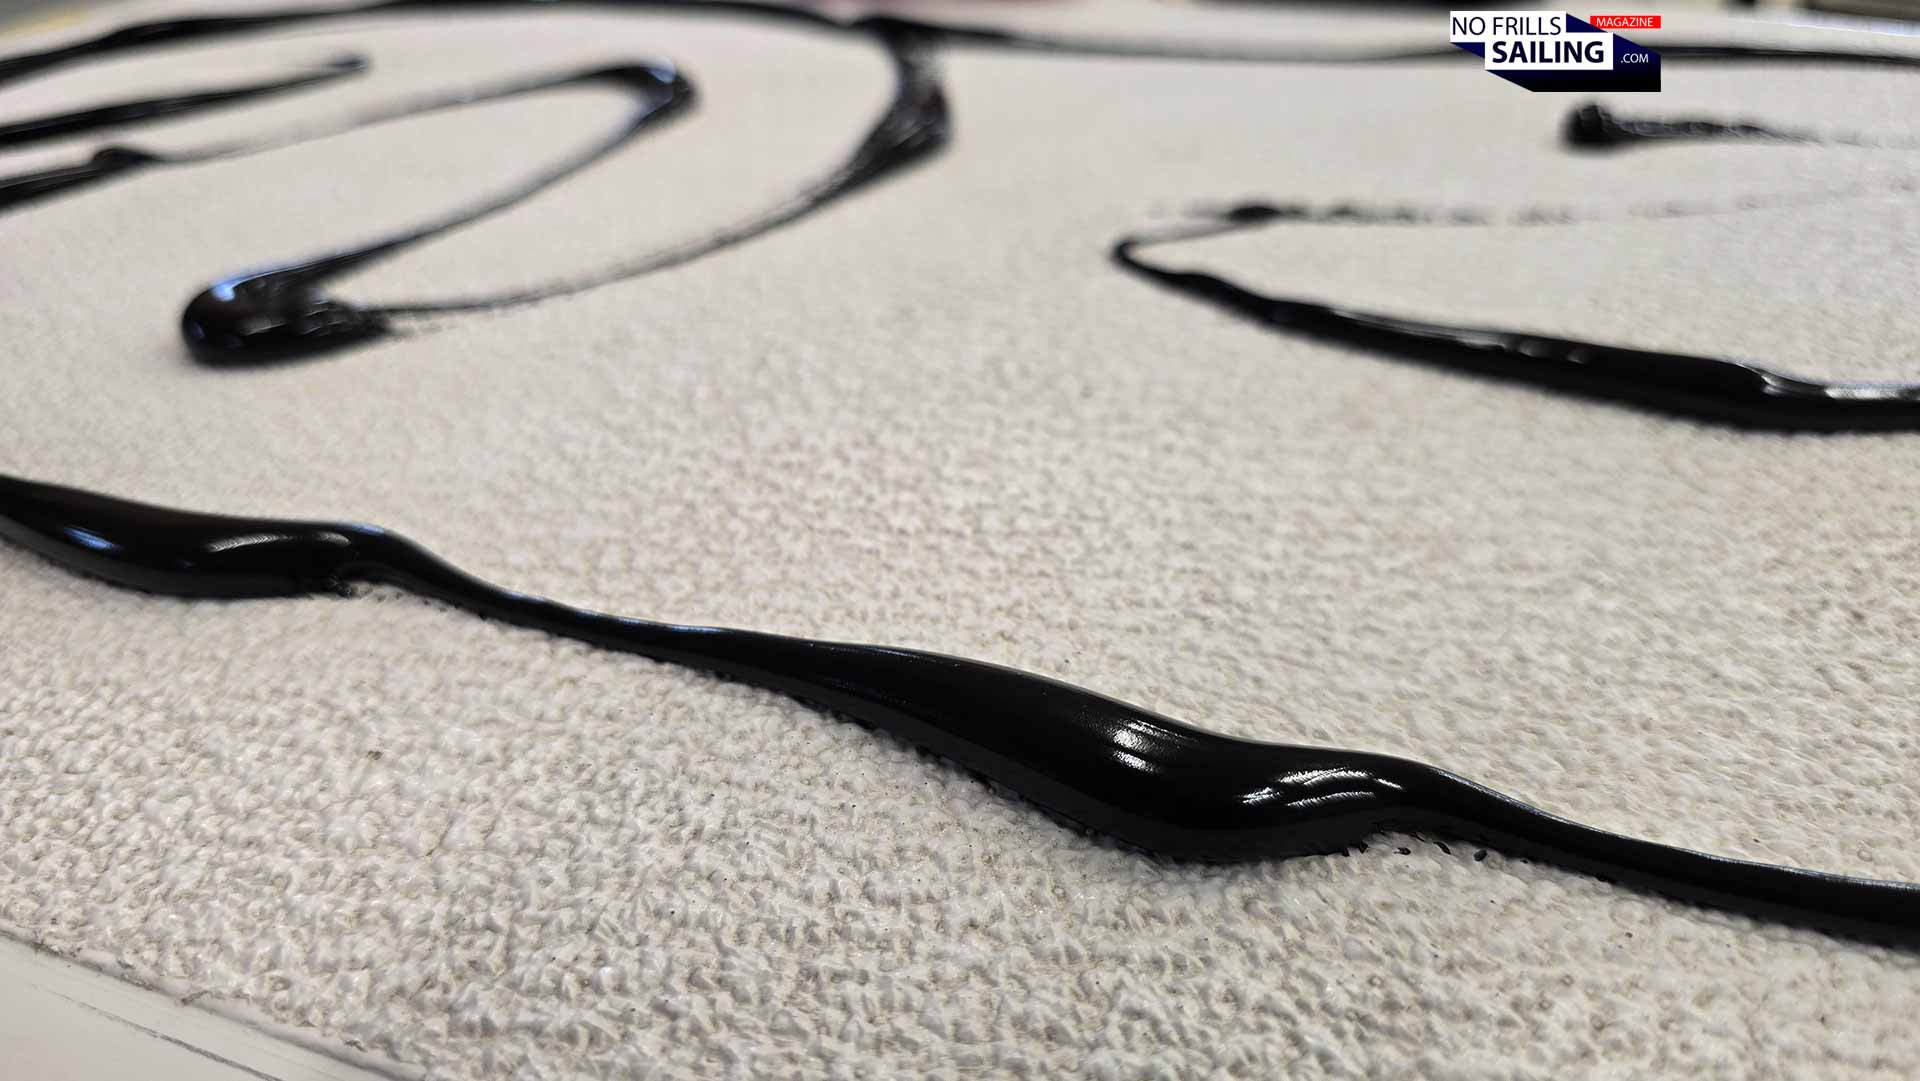
As for Tikal, when Szolti opened the first cartridge and started to press out the thick black stuff, I was amazed that it did not stink. At all. Usually these 1K-glue adhesives would have a very strong stench attached, which in the end is one of the sources for permanent strange smell on PVC-decked boats afterwards, especially under the hot sizzling sun. I have the highest hopes that Tikal won´t stink later, because it didn´t even smell during application. Apart from this, Tikal is a highly regarded product in the marine and industrial sectors because it is said to combine the best properties of polyurethanes and silicones into a single hybrid polymer formula. I´m not a chemist, but that sounds just as good to me.
Let´s start with the smaller cockpit panels
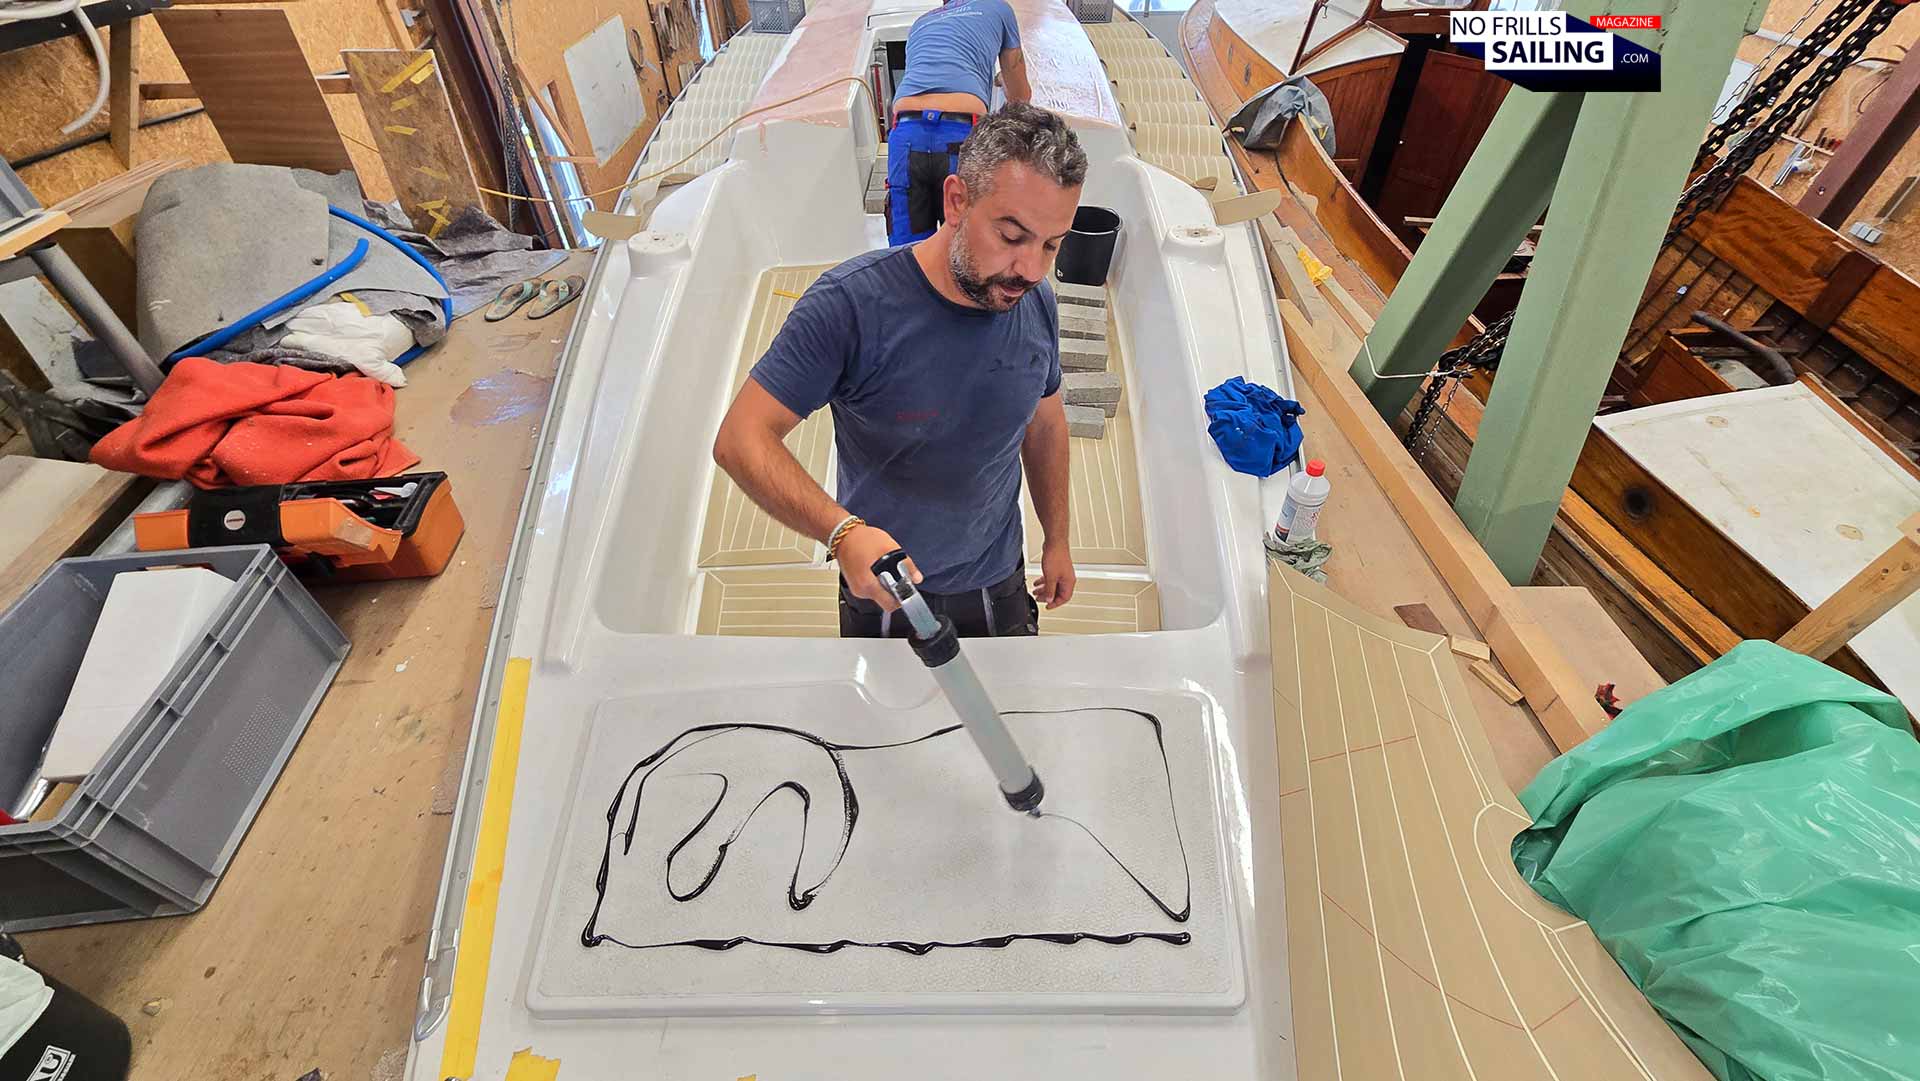
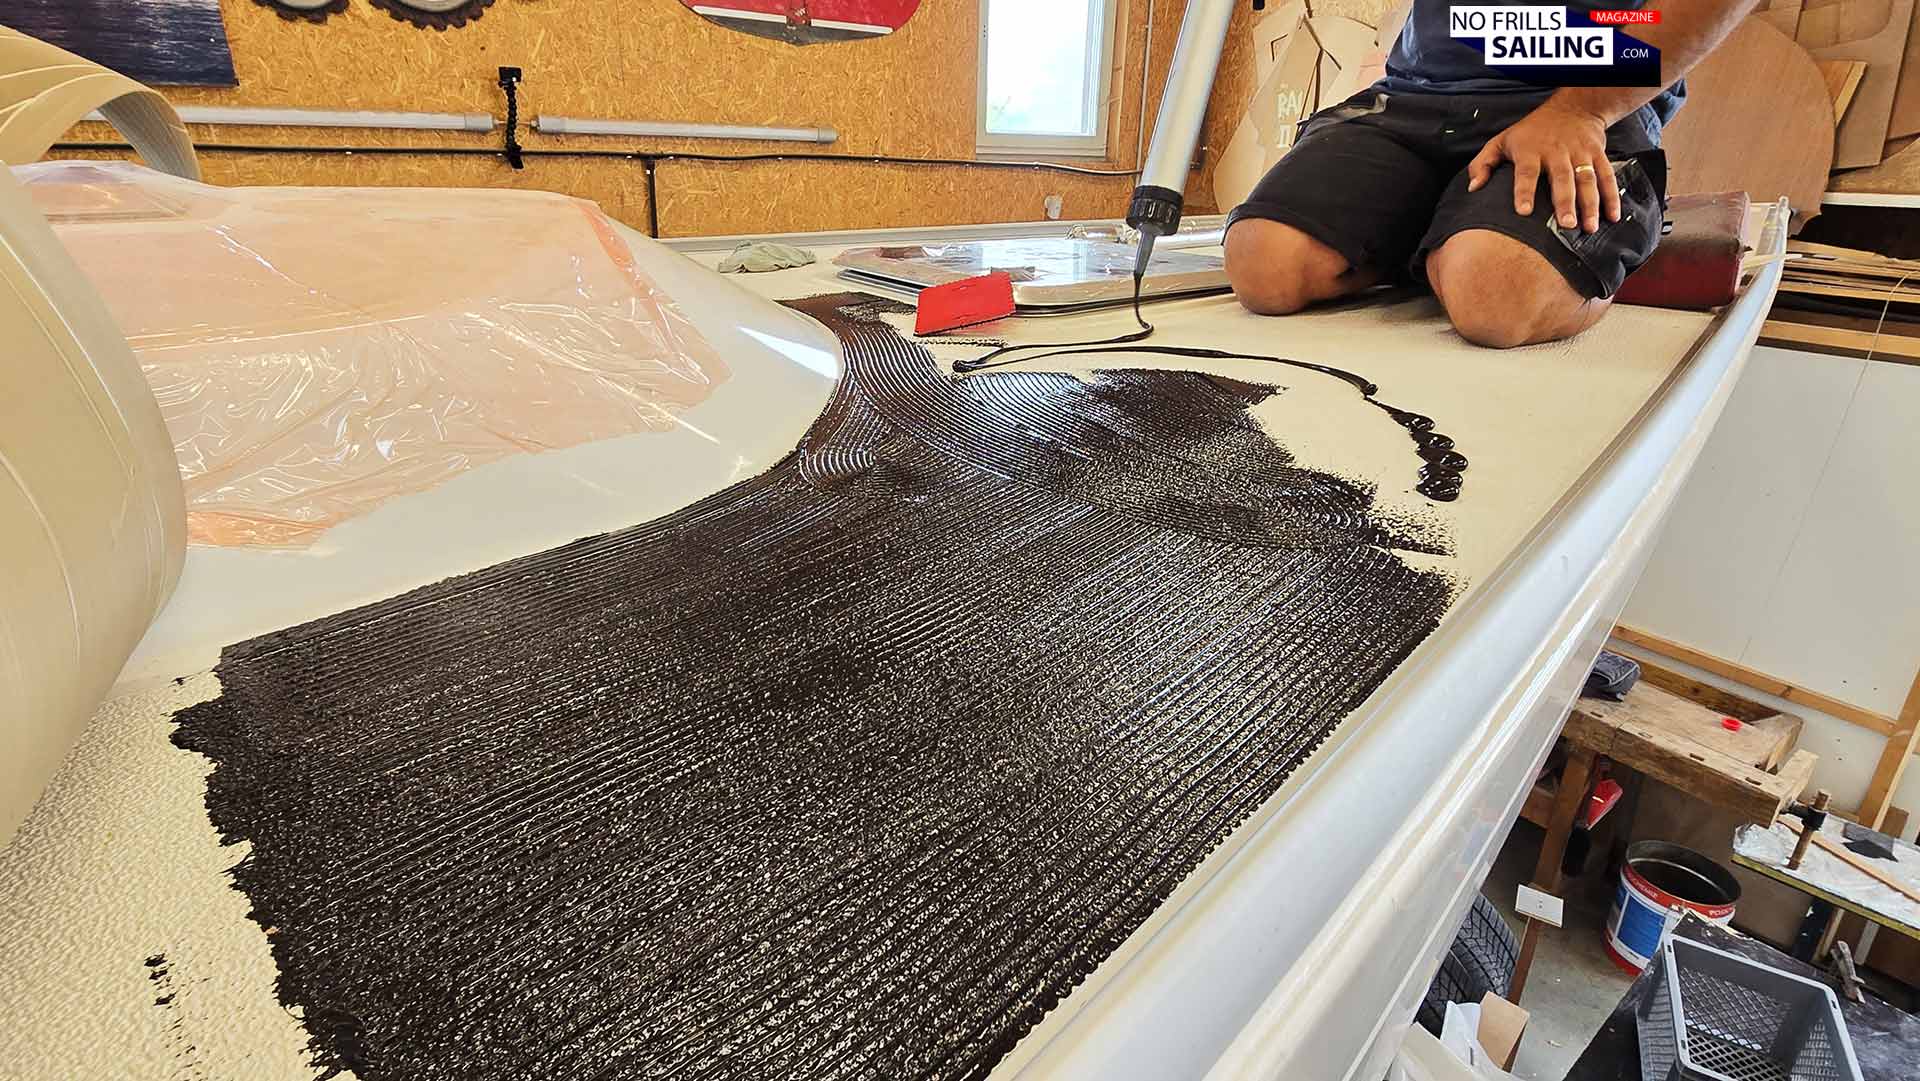
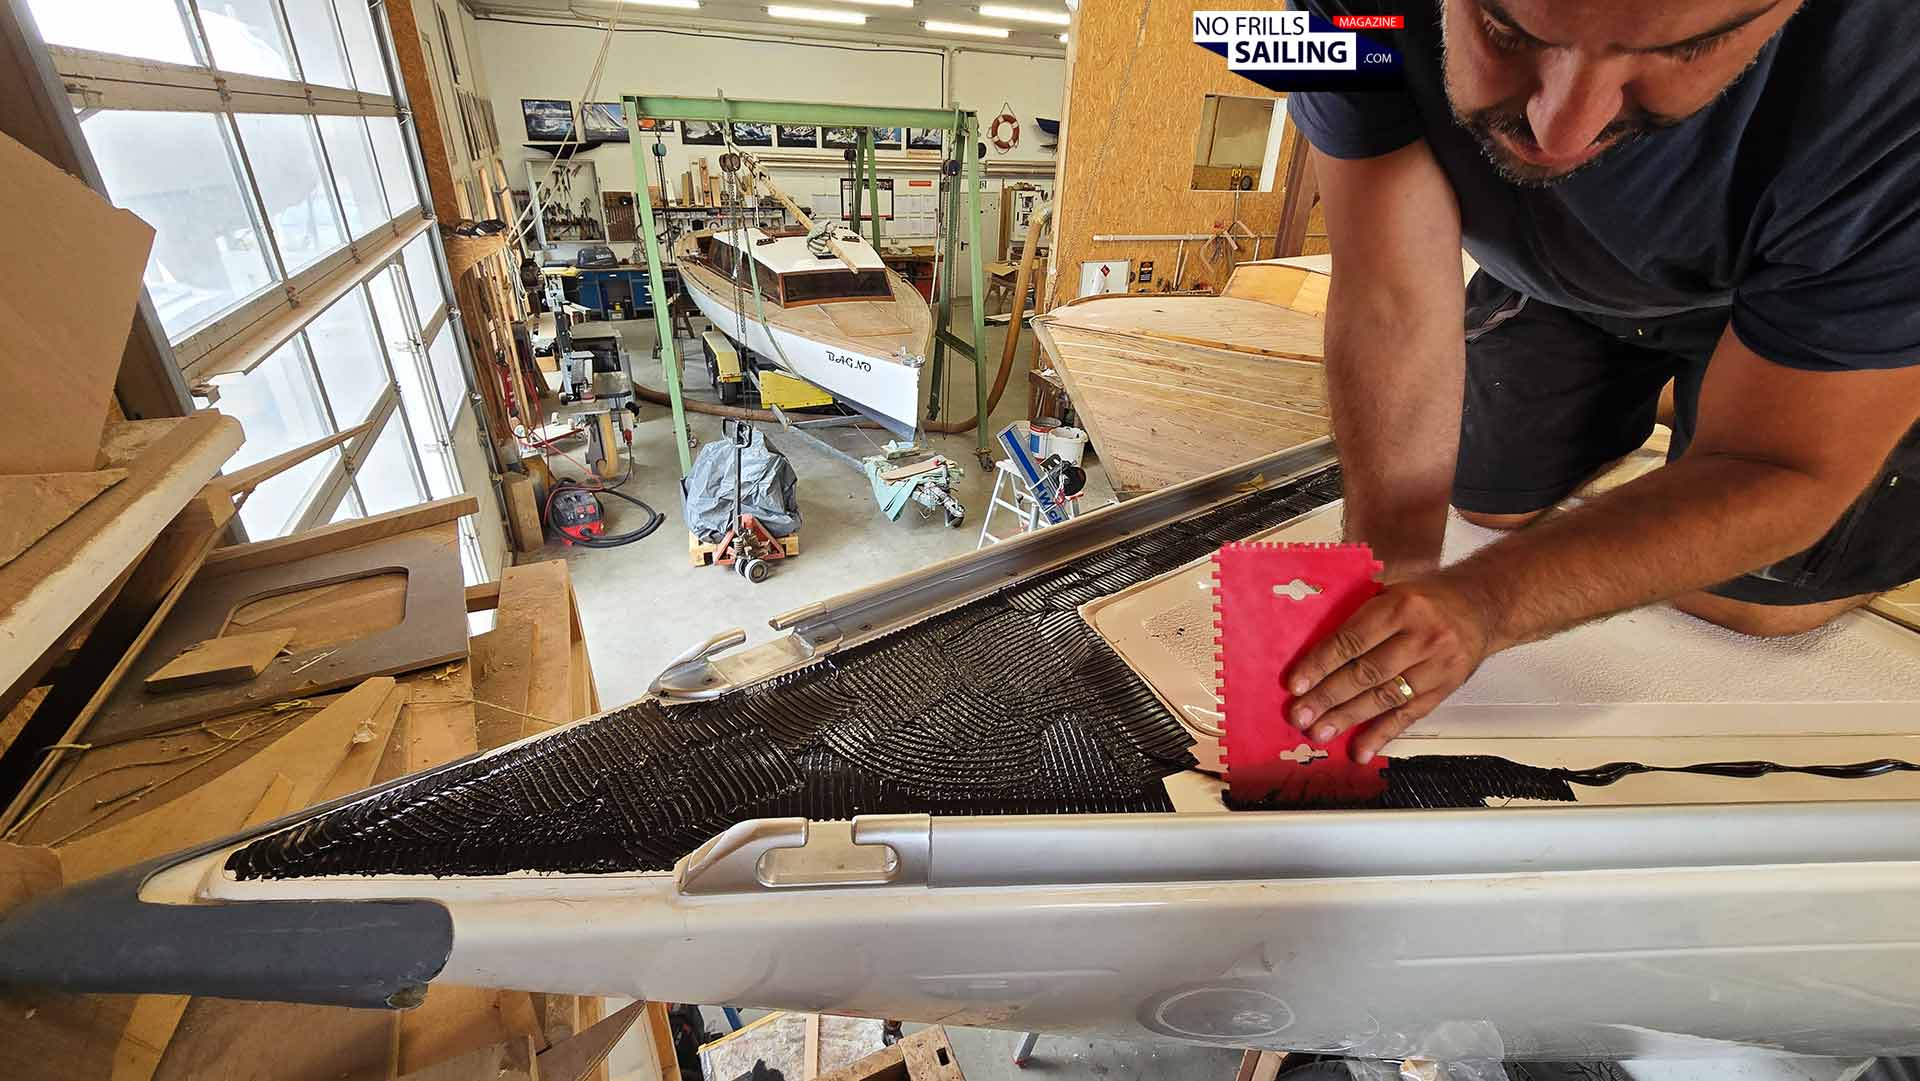
Tikal is applied “wet” in a few sprinkles here and there over the area that should be covered. Before that, Szolti has finally placed the PVC-panel onto the surfaced, nicely positioned it accurately and drew an outline with a simple biro. This was the border over which no glue should be going – less cleaning work afterwards.
Non-smelling, eco friendly high-tech glue
In fact, Tikal bonds just perfectly on so many surfaces, like GRP, gelcoat (as it was the case on my boat), but also on aluminum, steel, teak (which is very oily and slippery) or glass. The nice thing is that apart from de-dusting with a vacuum cleaner, there is no pre-work or primer needed. Just start working whenever you want. Tikal will afterwards have a permanent elasticity, which will absorb vibrations, structural expansion and even heavy impacts without losing its bond. With less than 1 percent shrinkage, Tikal bonds via atmospheric moisture slowly (over the course of a full day), making corrections even possible after a defect or inaccuracy may be detected many hours afterwards.
Eveing out with a rake
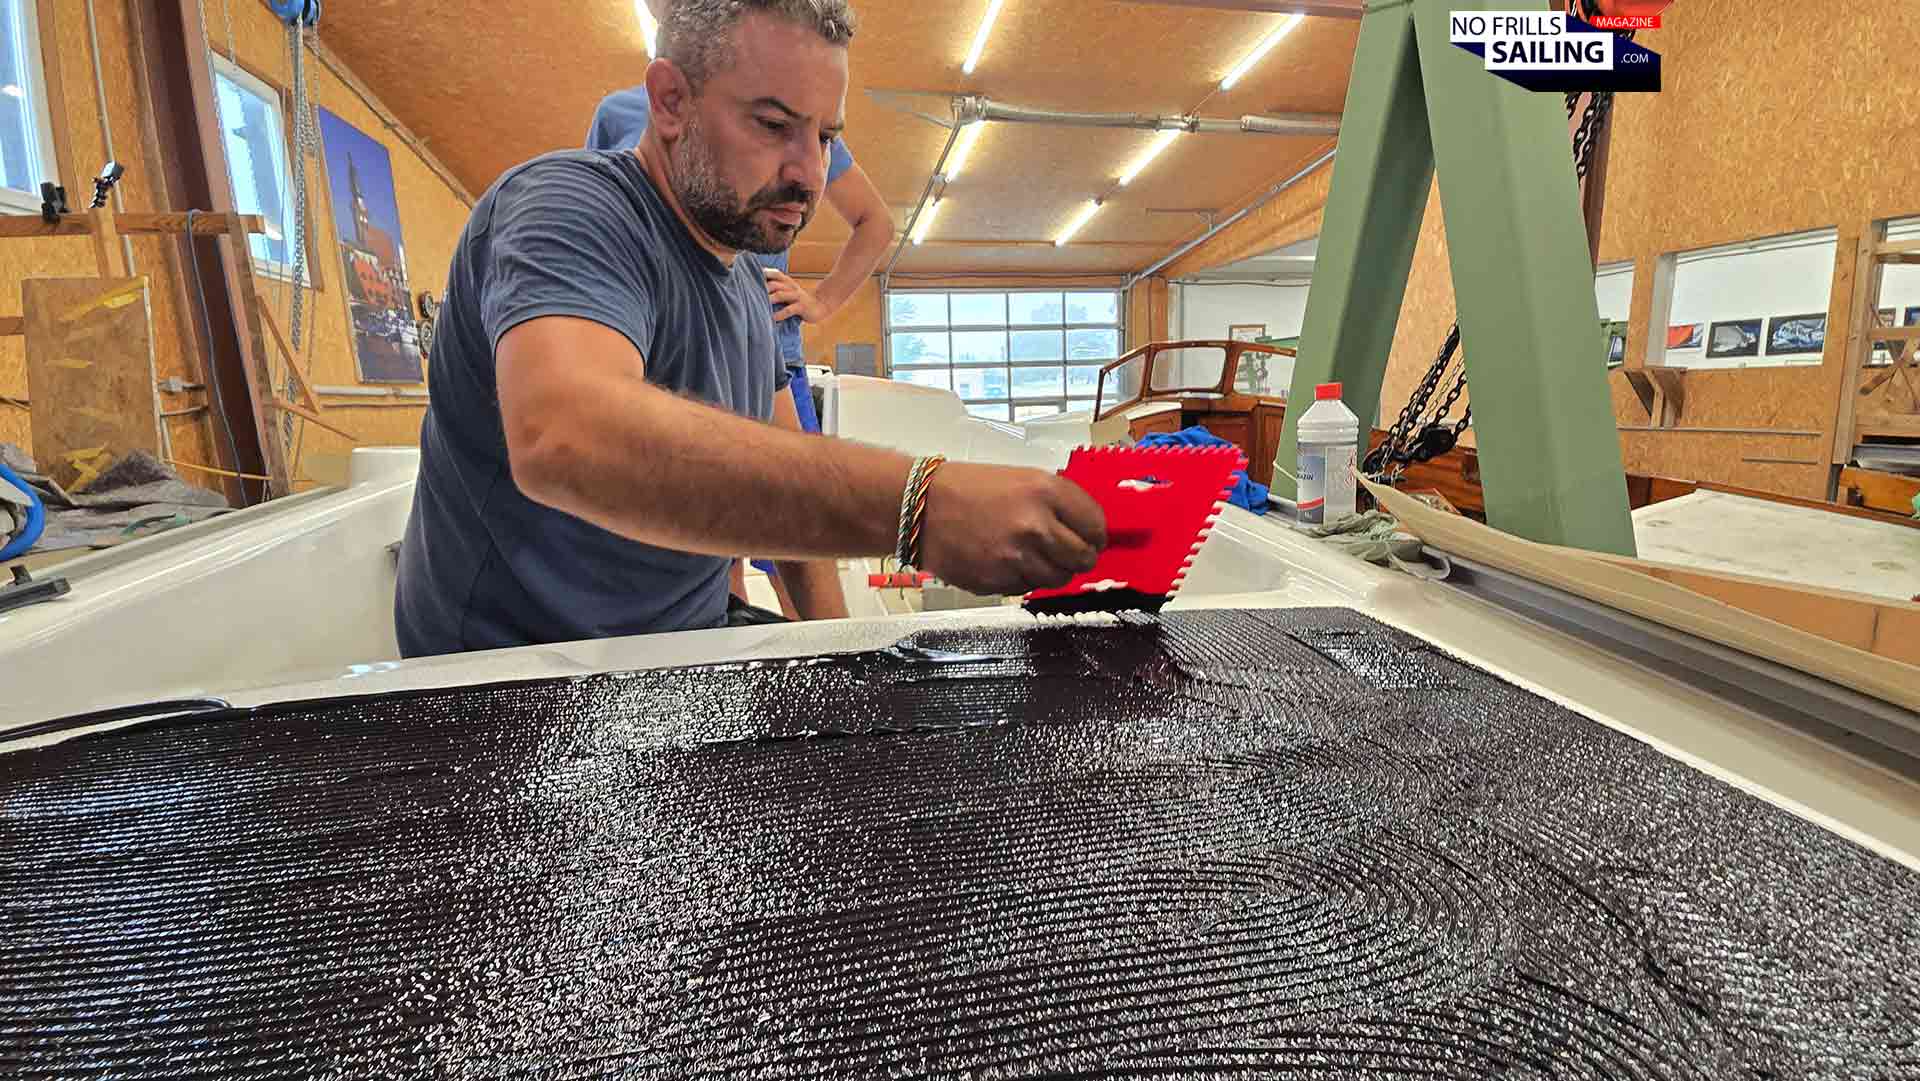
The process is as following: The secret lies in the rake, Ralph discloses. They have discovered that a 3 mm rake or large spatula creates just the right amount of “up and down” surface when the loose glue-sprinkles are evenly dispensed over the bonding area. Szolti meticulously distributes the glue, making sure that no glue is wasted and a firm, uniform, nice and even black surface made up of Tikal glue is made. By the way, it´s an urban myth that the direction of the raked surface should always go in one specific direction …
The first panel is fitted!
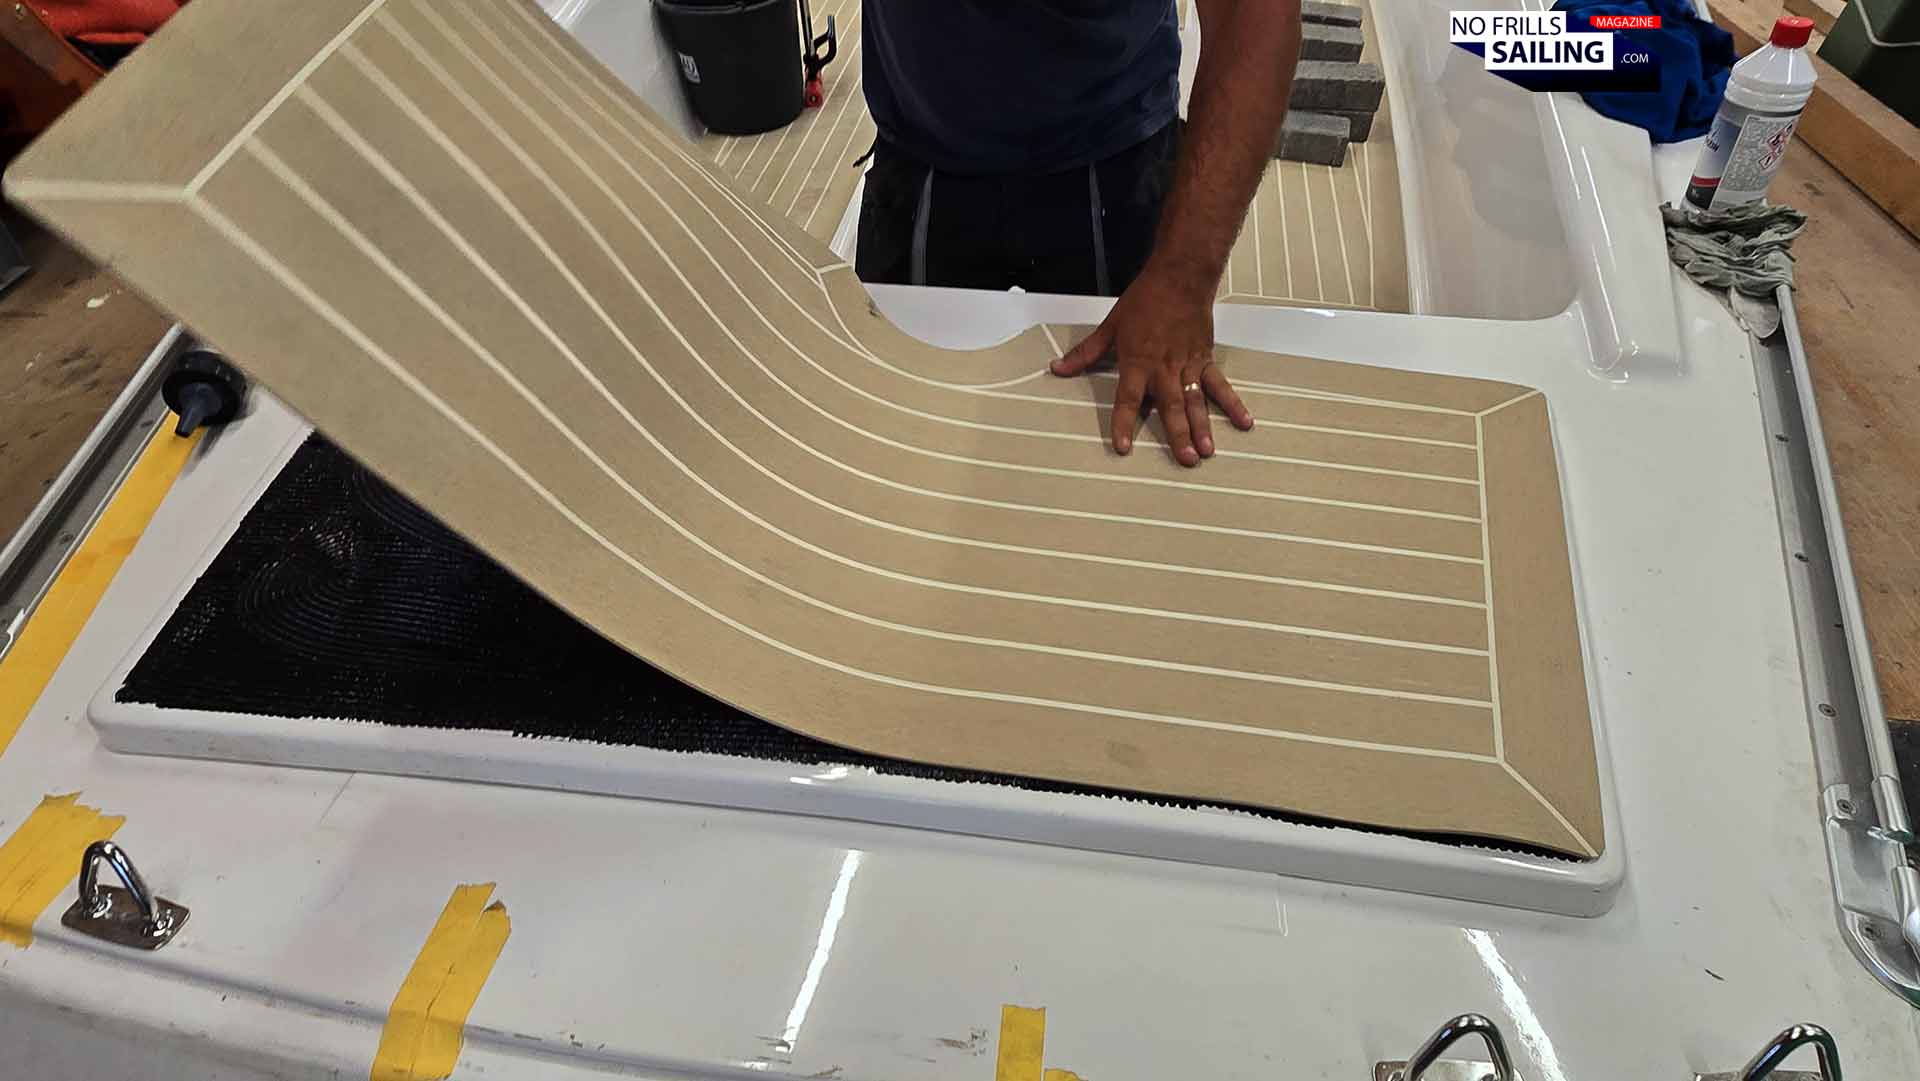
After the glue is evenly distributed, Szolti quickly cleans the backside of the panels again for a last time and then, with a swooping gesture, bold but accurate, places the first panel onto the glue. The same we began rolling out the PVC-panel from the bow, he is starting to finally fit them from the stern: From smallest and easiest parts to the biggest and most complicated. Also, from the inside (the cockpit) to the outside.
The art of applying well-dosed pressure
Although I am literally only a few centimeters away from Szolti as he fits panel after panels, there is no odor coming off at all! As it turns out, Tikal uses an eco-friendly formula in their adhesive, even though they do not specifically market it this way. Usually, nowadays companies are desperate to look for any “green” stuff to throw around. Anyway, as this glue does not contain any isocyanates, solvents, or silicones, it makes it safer for the user and the environment. And bonus, it is indeed completely odorless, which also makes it ideal for working in tight boat cabins.
Applying pressure with the roller
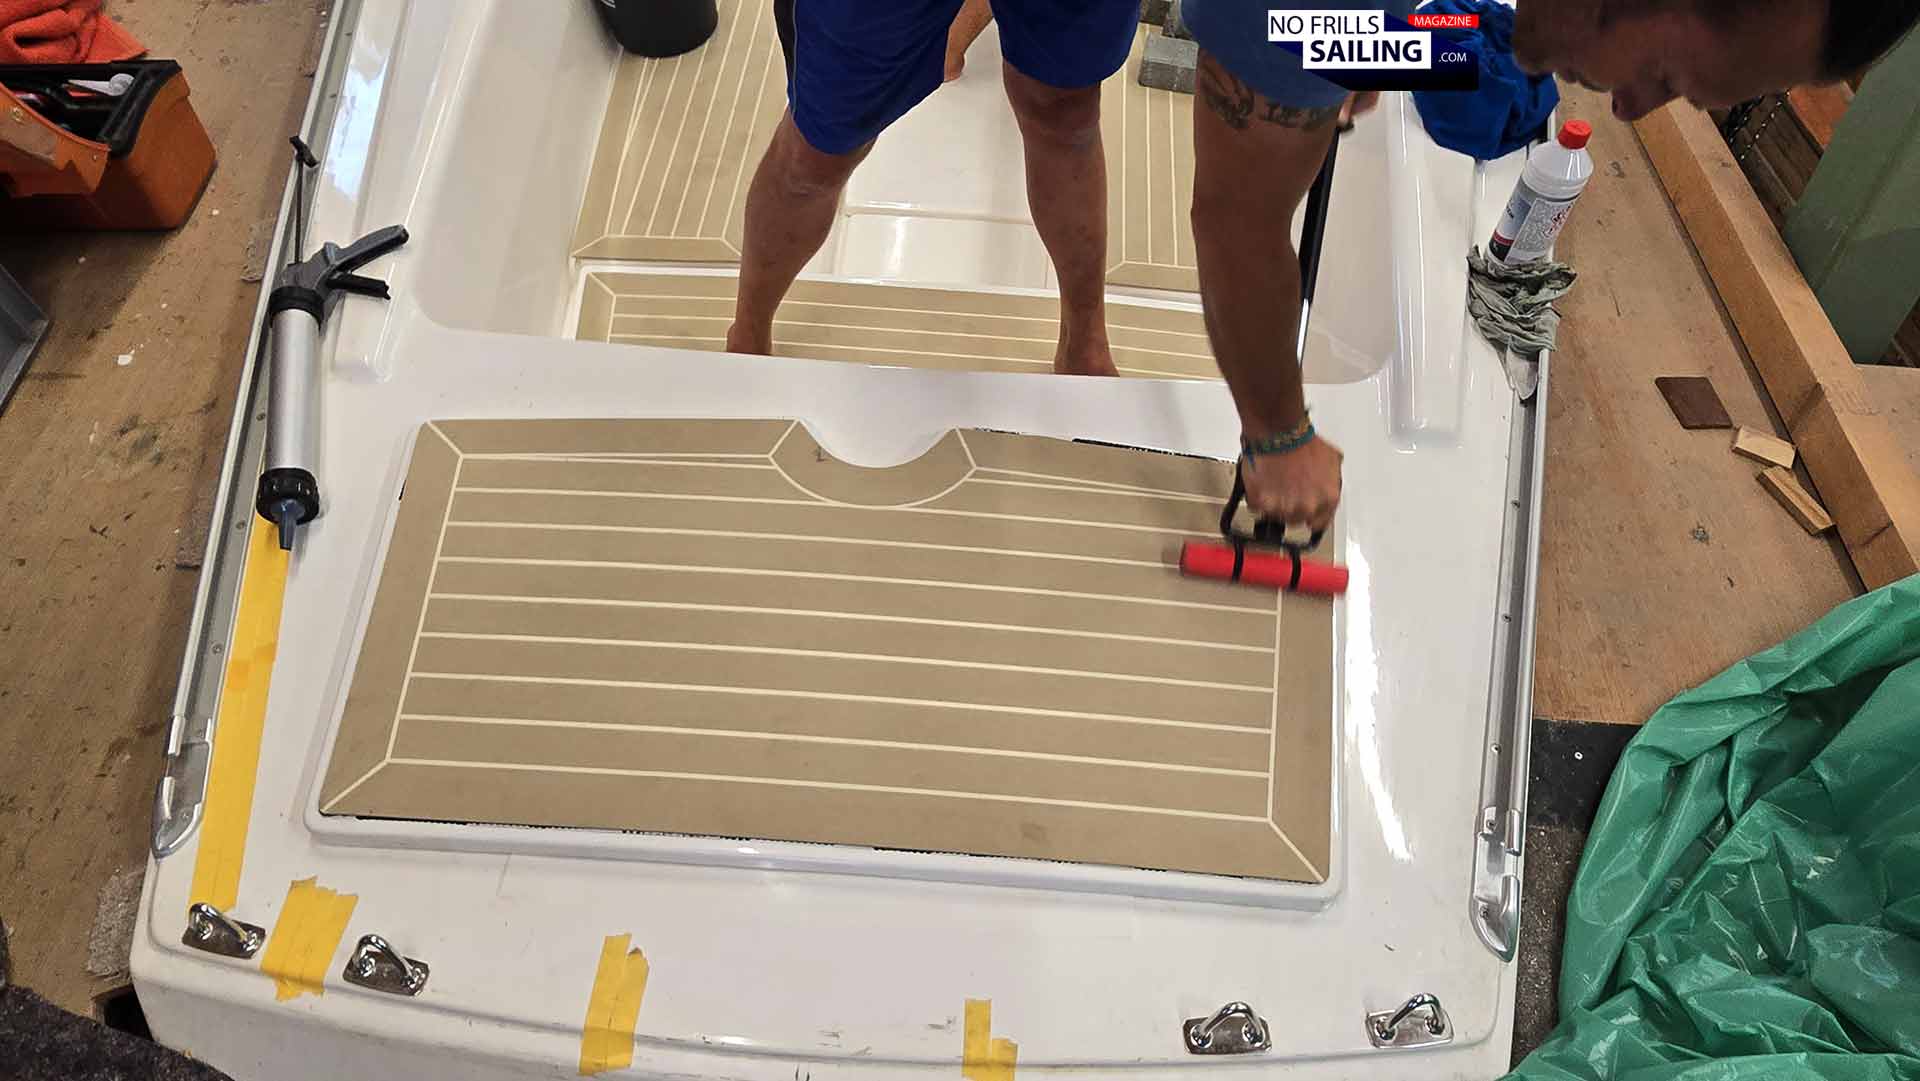
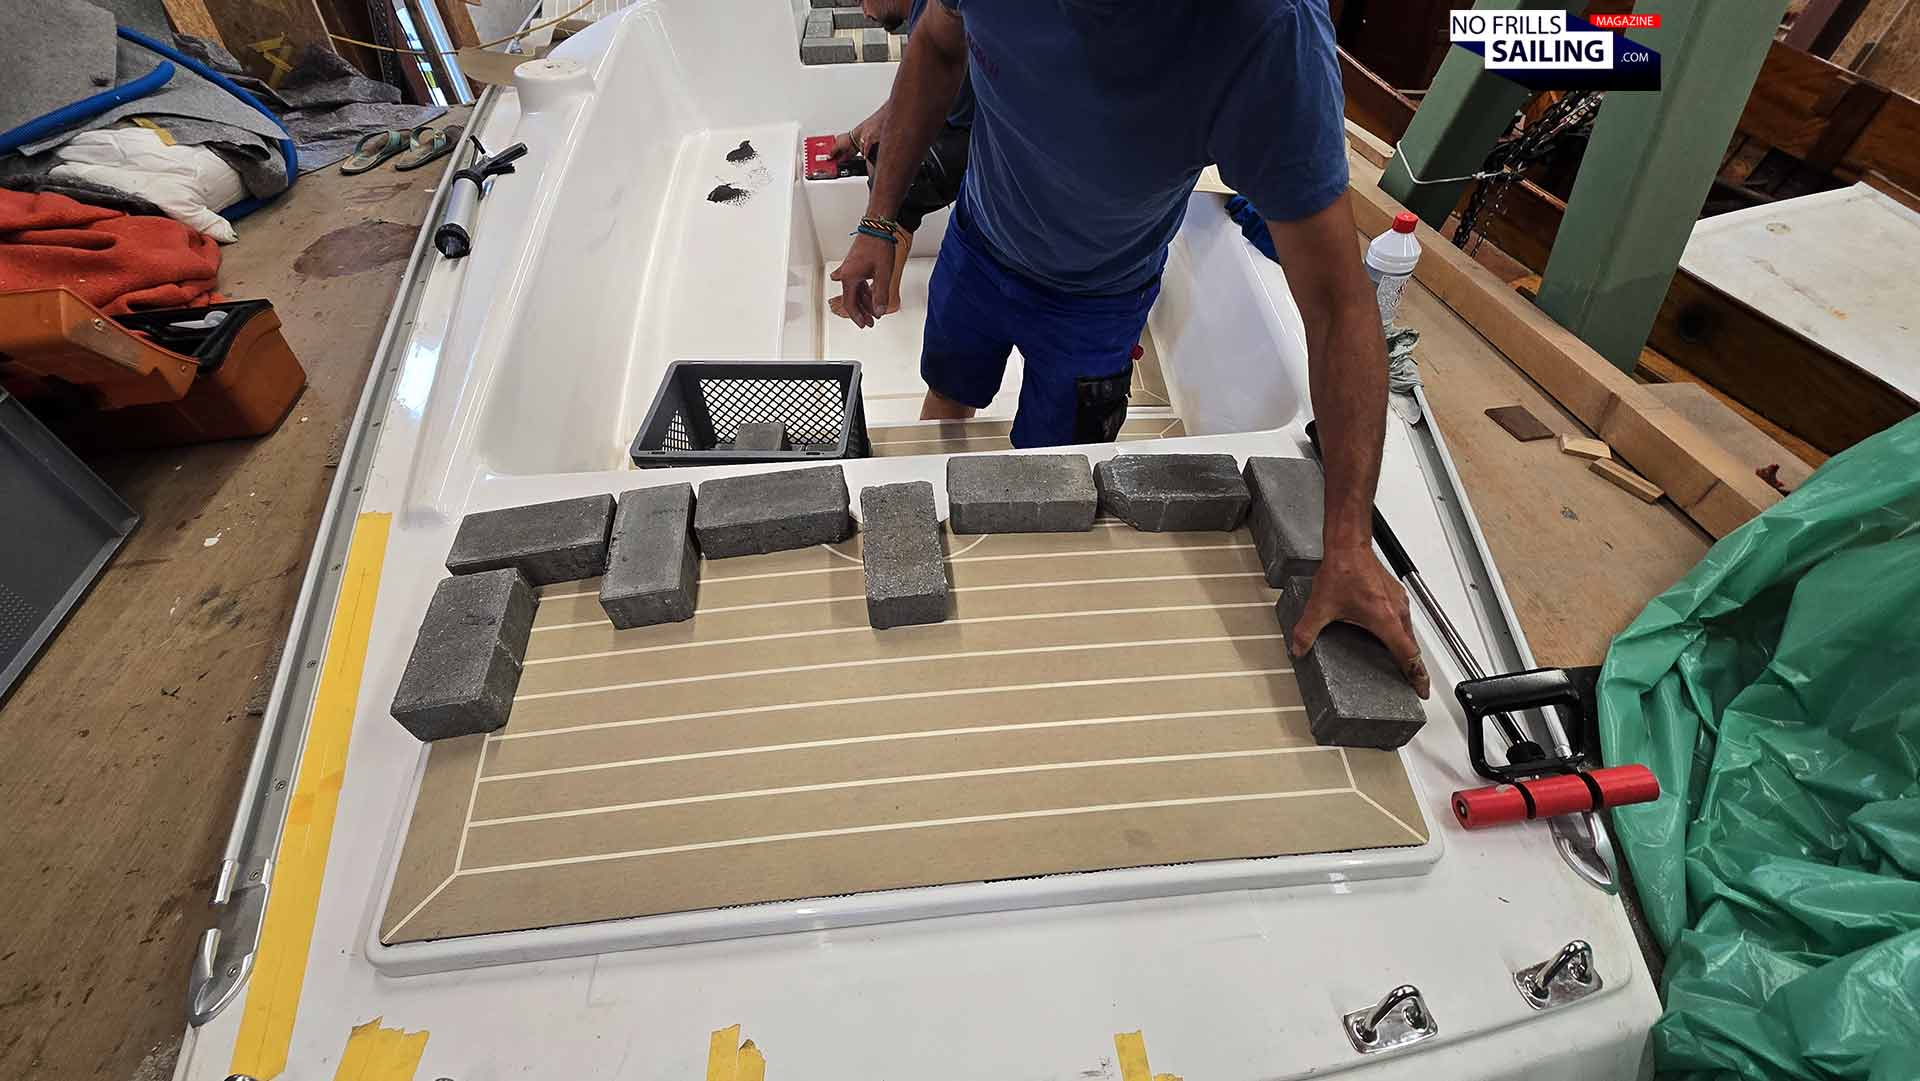
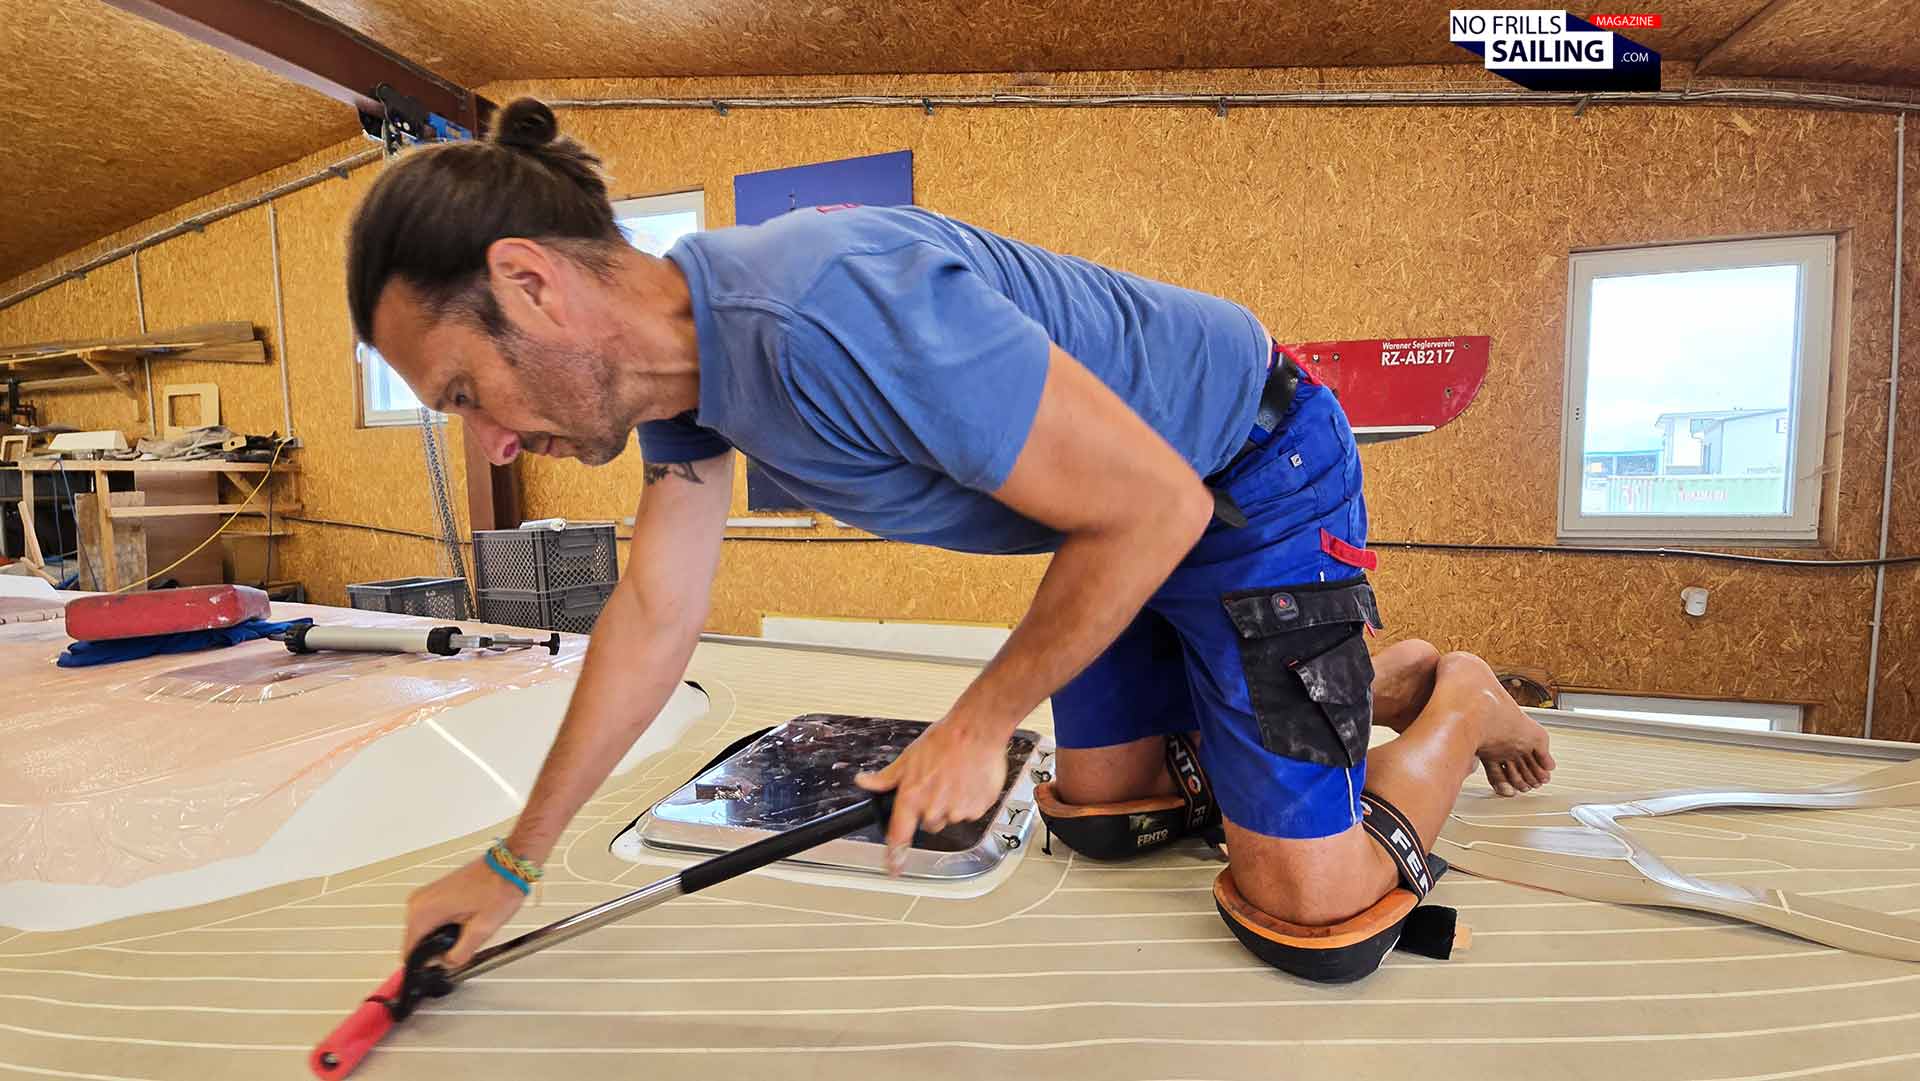
After a few minutes, Szolti leaves the area to take on the next panel, and Ralph comes in. He has a special tool with him, a heavy steel roller with hard plastic rolls. Leaning his whole body weight into the roller, he starts to press and roll from side to side, from top to bottom. Slowly, very controlled, applying pressure to the freshly glued panel. This is paramount to flatten the surface and make for a firm bond between PVC decking, glue and gelcoat surface of the yacht´s deck. For the smaller panels this rolling actions takes only a few minutes – mounting up to longer periods for the bigger parts.
Like a stone garden …
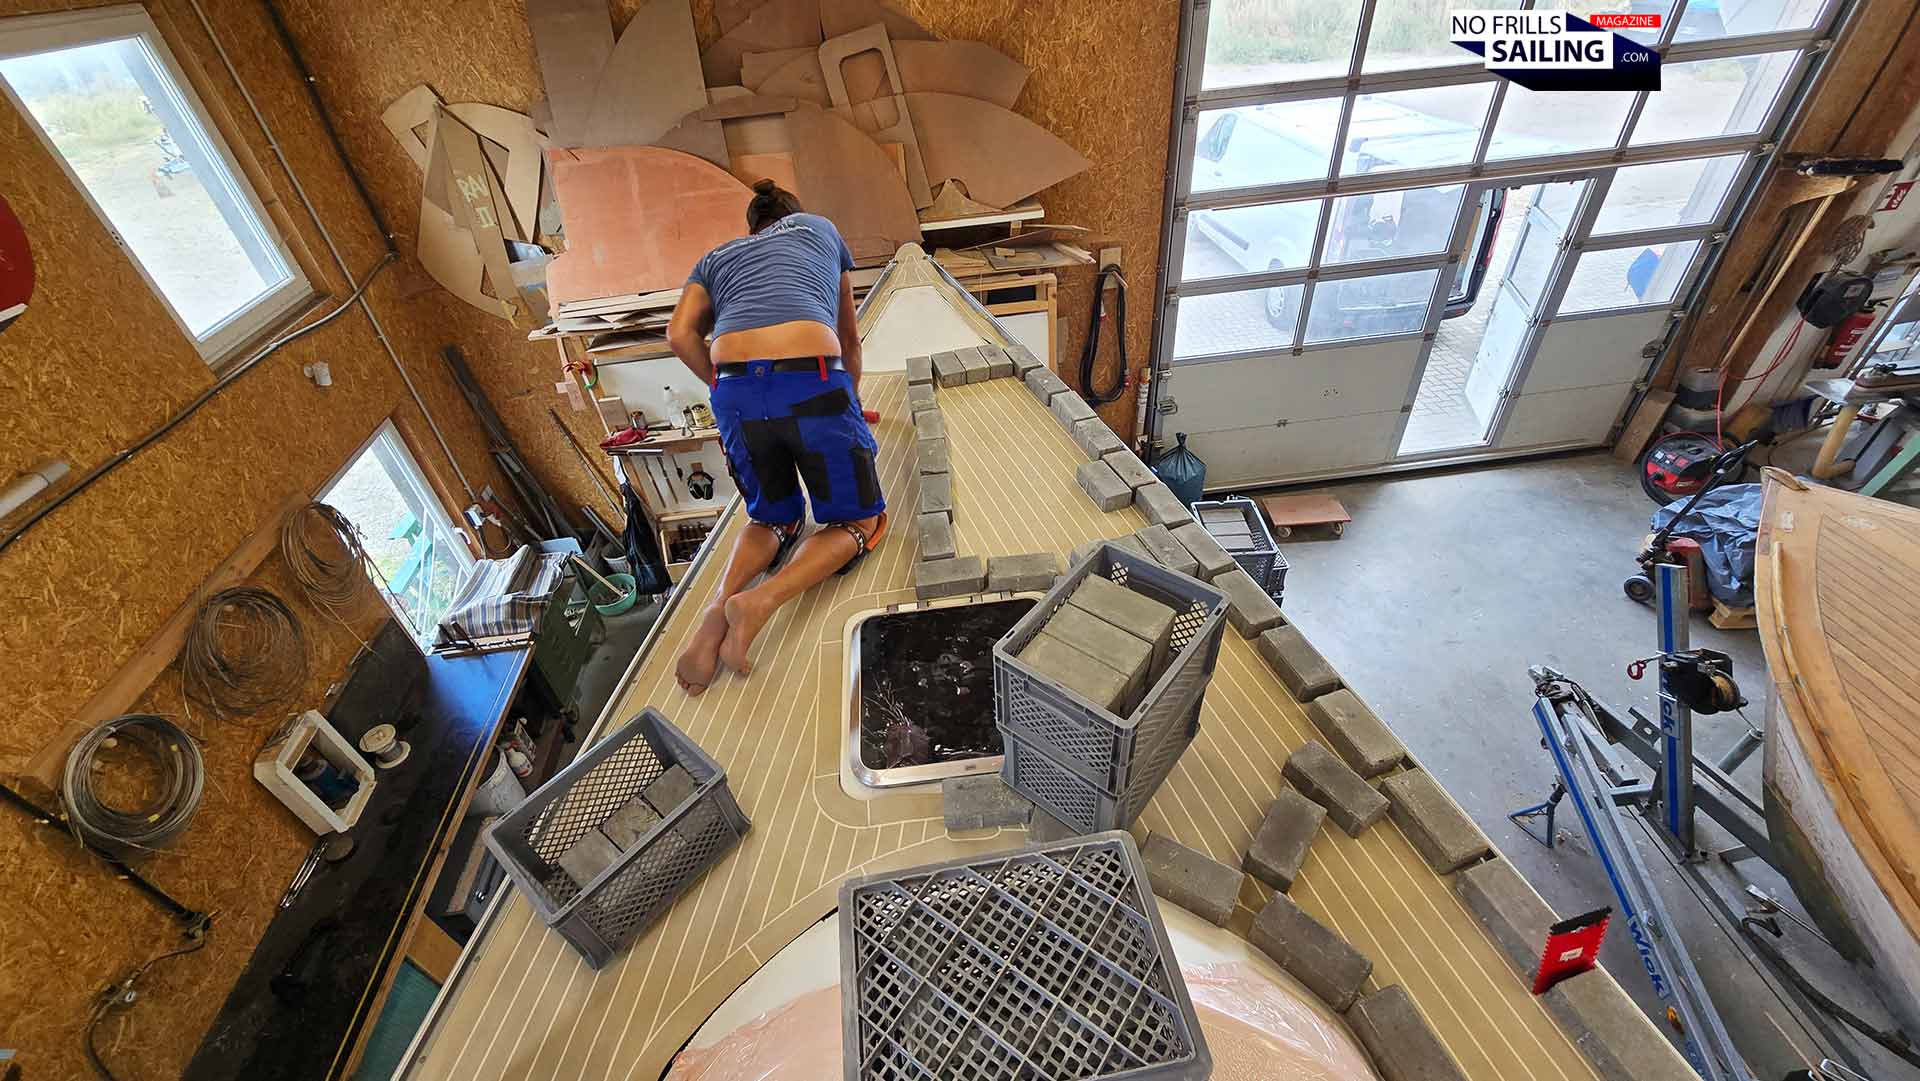
And here we are: Now the stones have their grand entry. After putting the panel to their surface and rolling out the glue, Ralph and Szolti start to put those concrete bricks onto the panels. Gravity and their mass will do the rest. Applying the stones all around the outer rim of the panel, this technique makes sure that there are zero air bubbles or even “ducts” for air or water left to intrude underneath the panels.
Putting on some stones
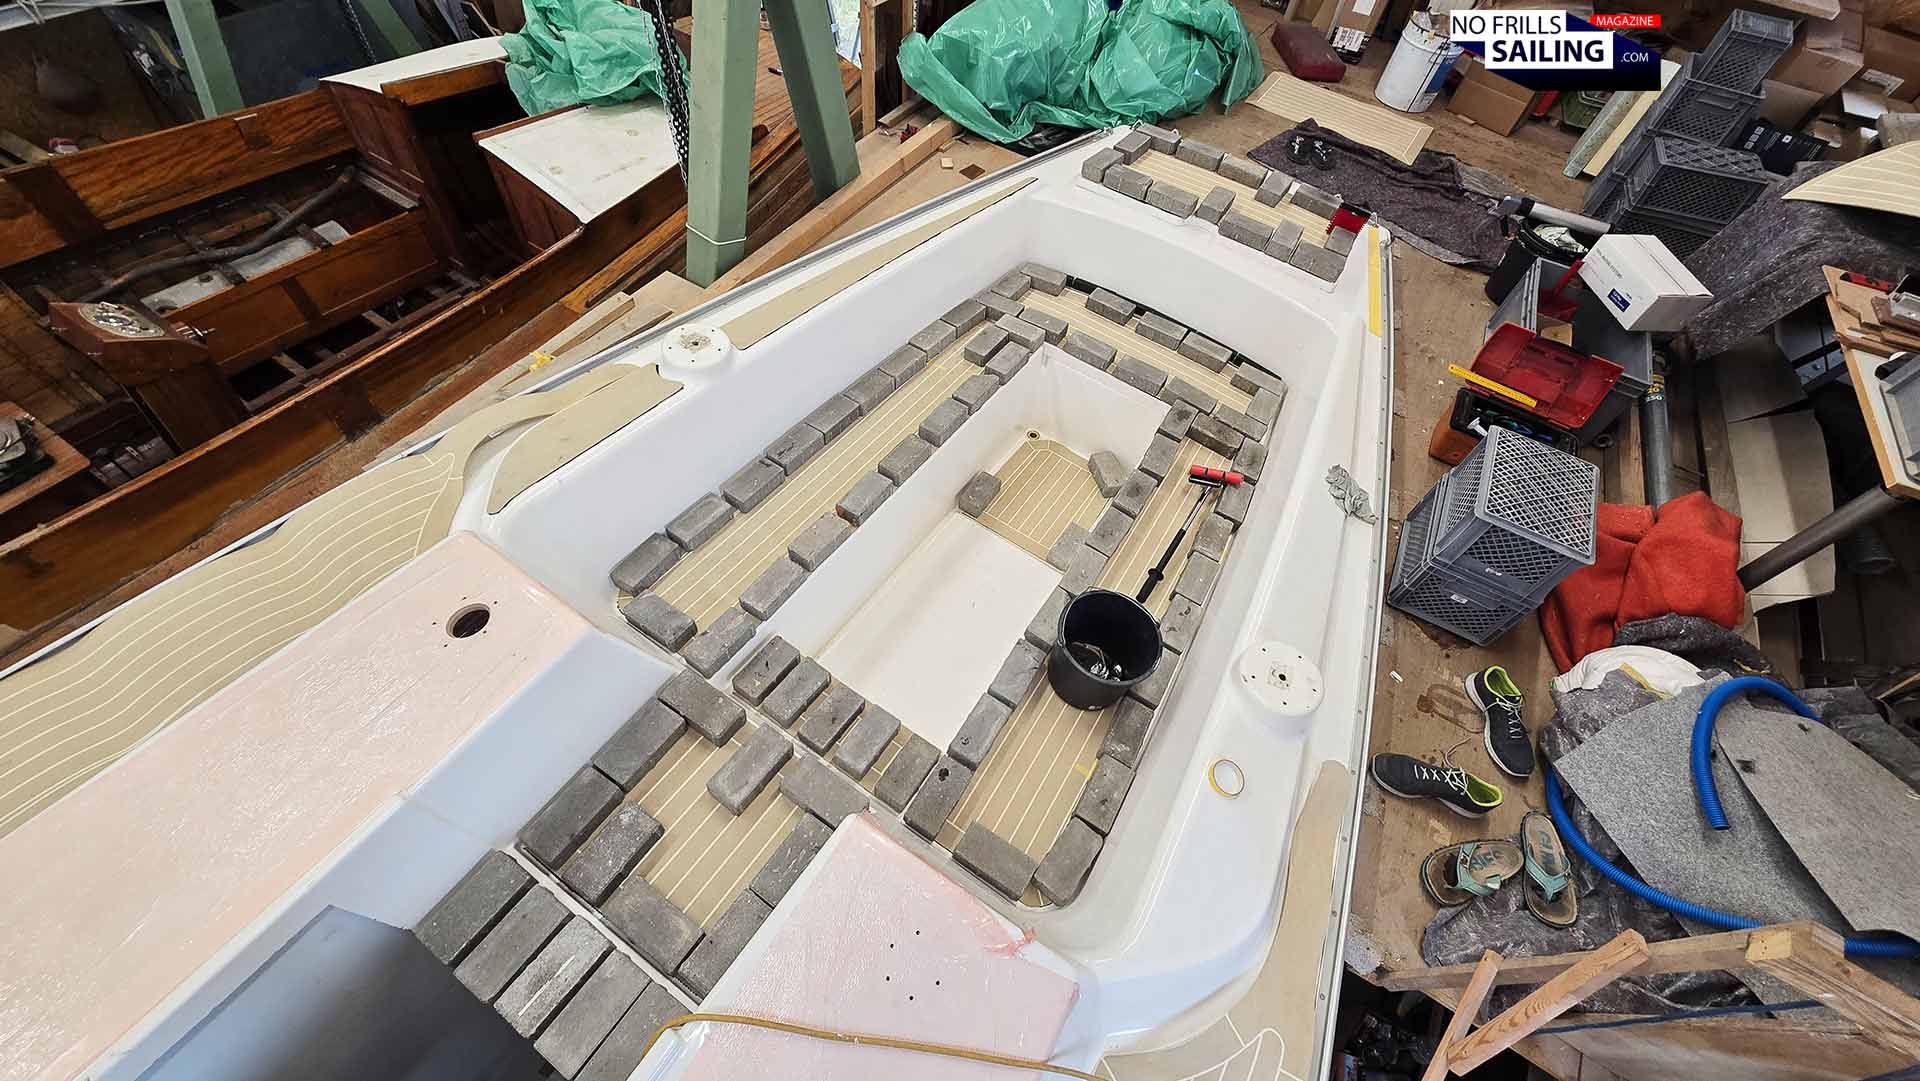
Brick by brick is positioned on the various panels. Slowly the whole cockpit is fitted with all decking panels, but also the bricks start to look like a stone garden or something. We are joking around, that now all I would need is a ton of fertile soil, tilted from a barrow, to make some nice flower beets. “You should go for mum flowers or even roses!”, Szolti jokes. And he is right: The cockpit kind of resembles a garden shortly before the bark mulch arrives …
The “stone garden” …
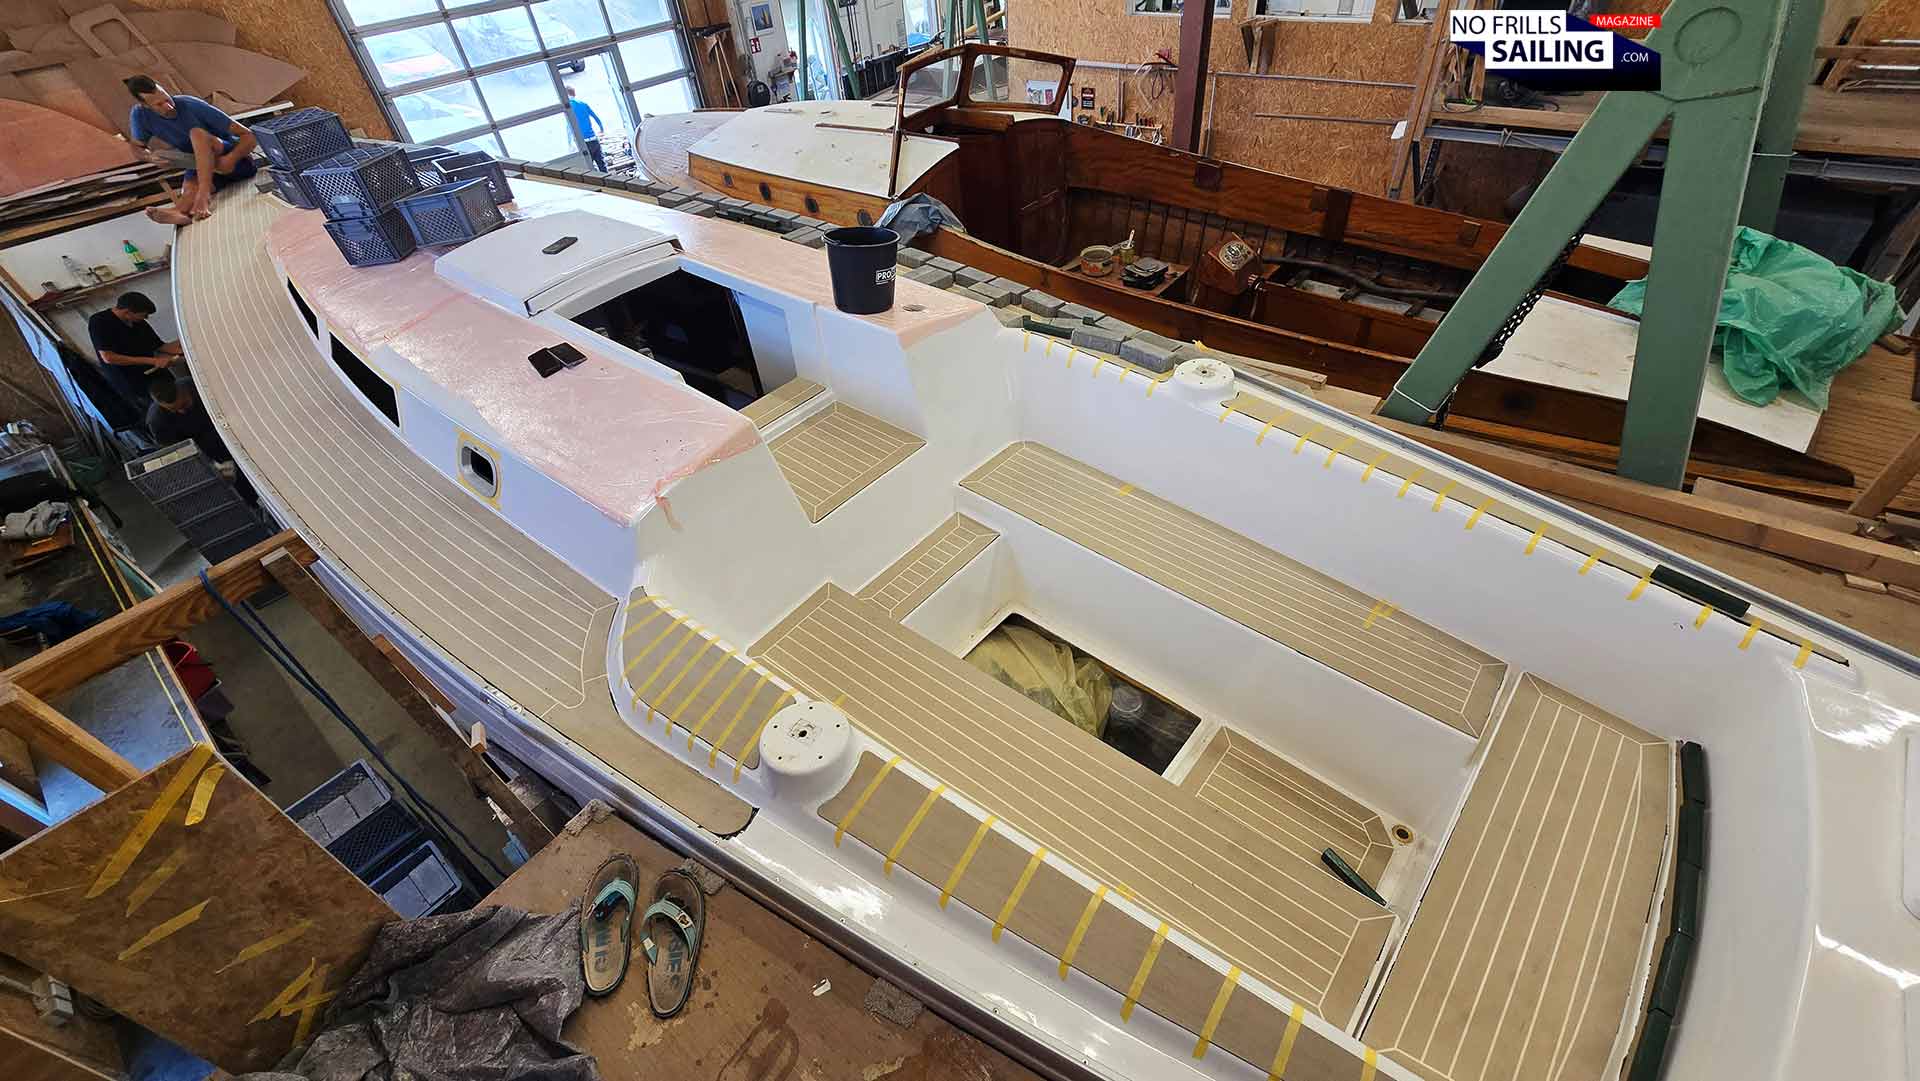
After unloading the truck and preparing the scene, I am really astonished by the fact how fast the guys were working: It´s barely noon and the cockpit is completely finished for now. Underneath the “stone garden” design of the brick weights I can see the new decking shining through proudly: “Sandstone” with white caulking was the design I went for. Chosen out of more than a dozen colors, styles and combinations with colored caulkings.
Let´s go for the big fish!
With the cockpit finished, we enjoy a little coffee break before tackling the final boss: The one big PVC deck panel. Of course, fitting this huge, almost 8 meter by 3 meters wide panel at once cannot be done. As Ralph explains, every craftsman may have his own secret and working technique, and so do the guys from Rosch have as well developed their favored fitting style.
Working on the main part starts
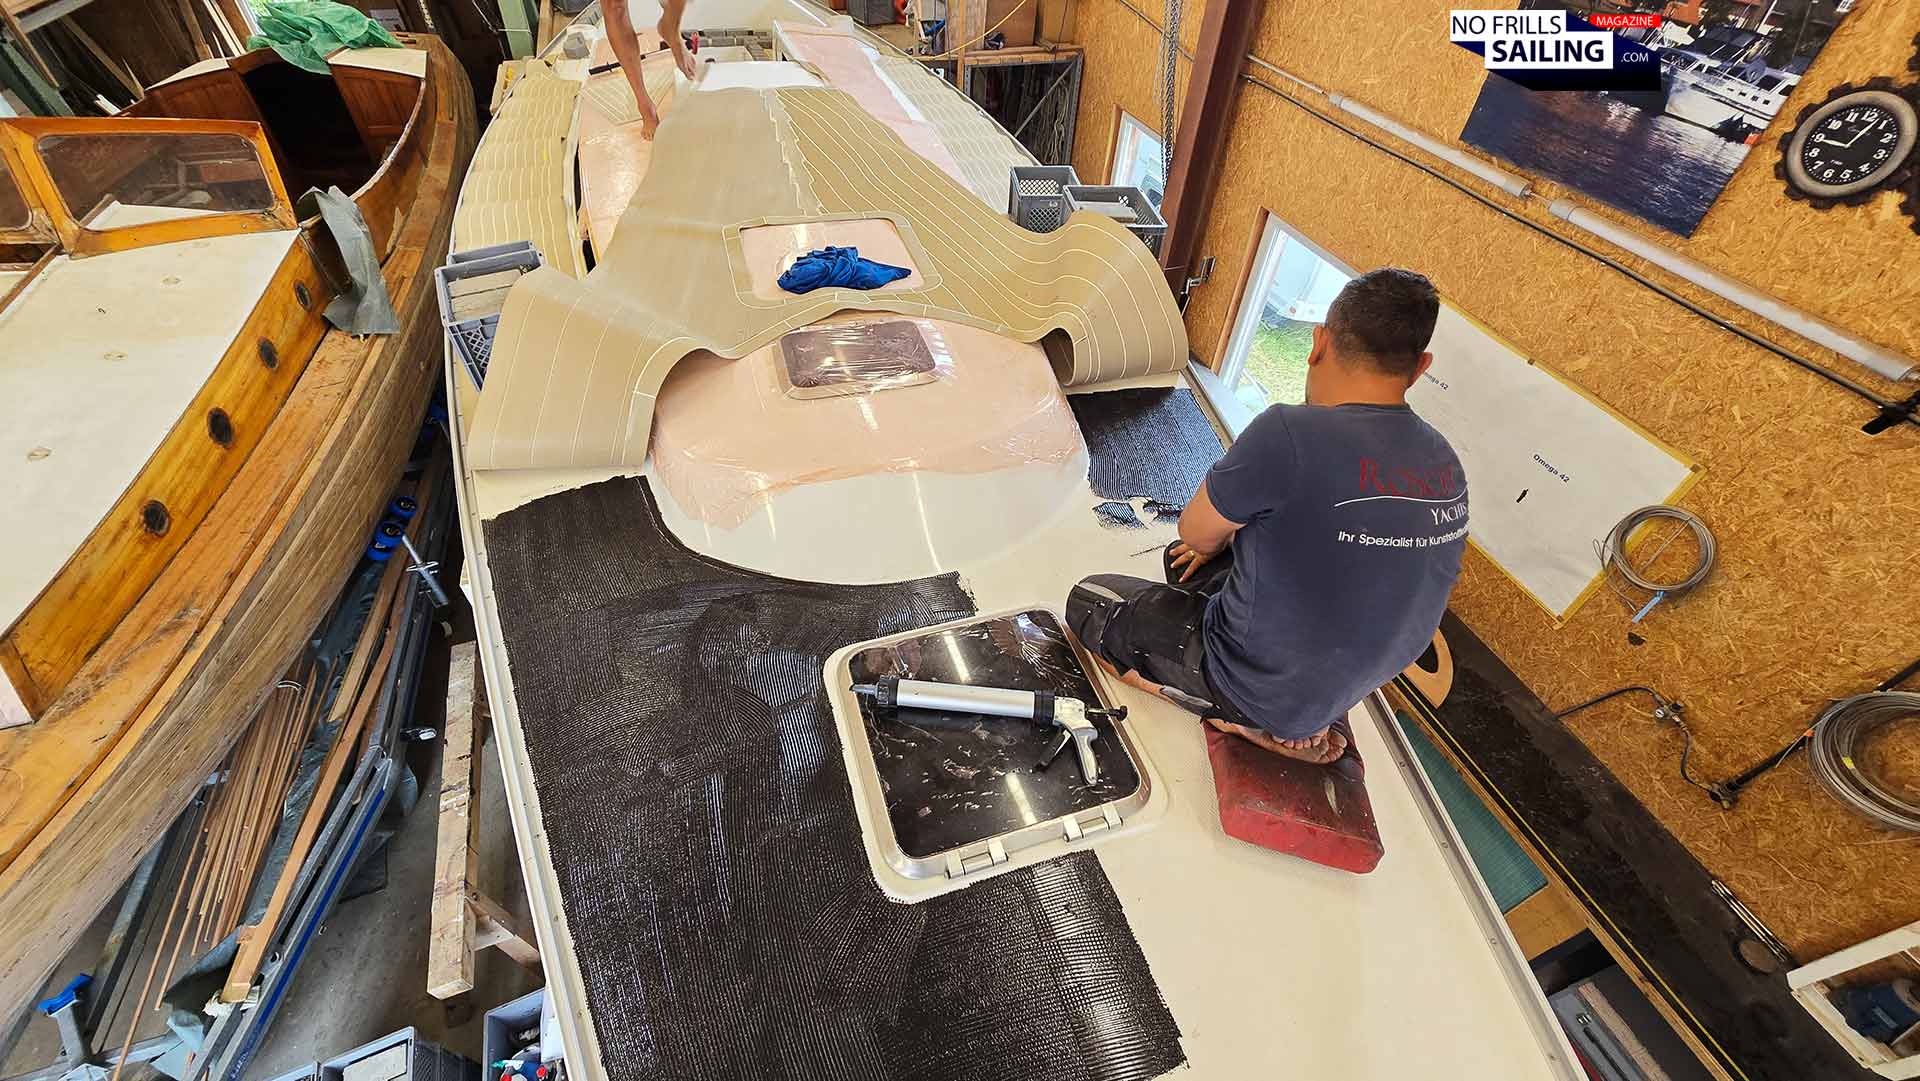
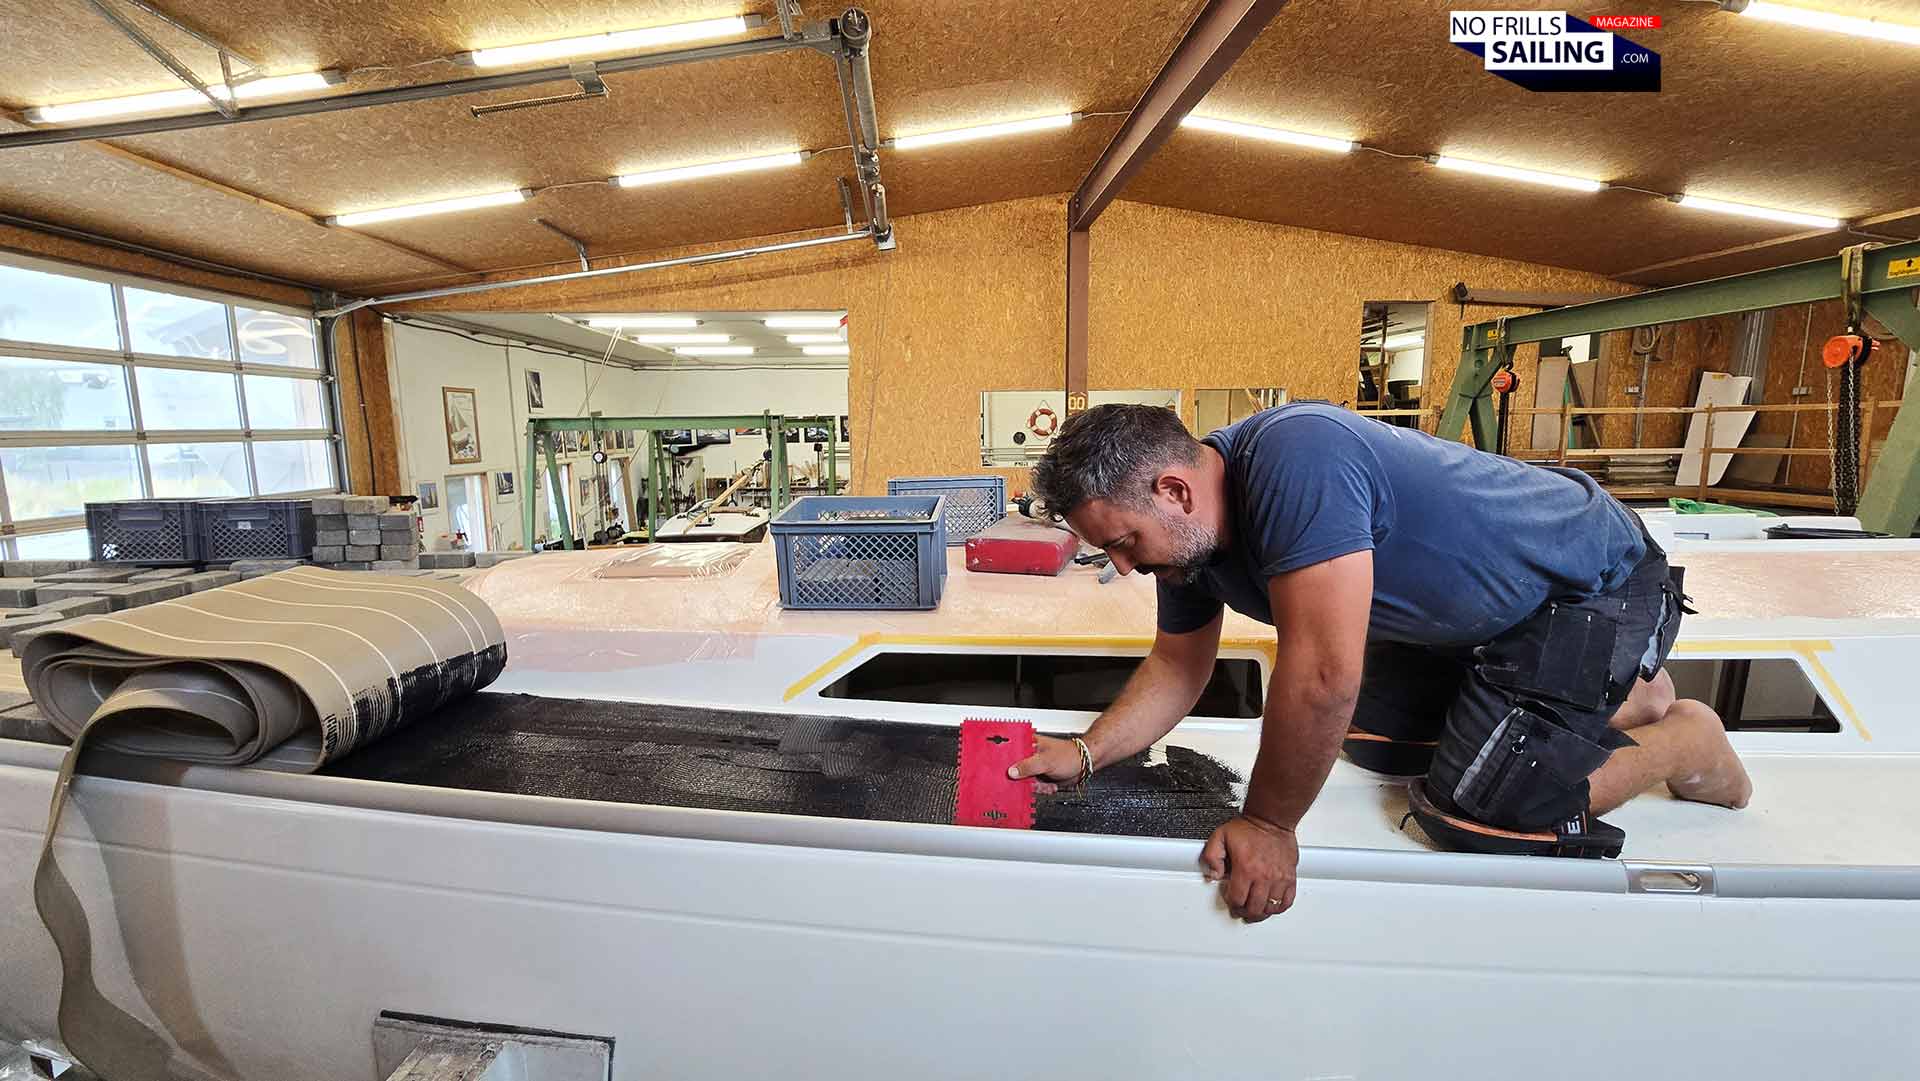
The large panel will be glued onto the deck in three phases. Starting in the mid-section, where most of the panel´s surface area is located. This is best to work for Szolti as he starts to pour out the Tikal glue and rake it into a unison, even surface of black glue, but later, when the panel is partially attached, there will be enough adhesive power so that the panel won´t glide or change position when they work at its front and back end.
That´s a lot of glue though
That said, cartridge after cartridge of Tikal is opened and poured into the deck. Szolti, working in large, well-dosed movements, distributes the bonding agent all over the deck. By that, he has divided the area into four quarters, equally sized, resembling the radius of his arm. After filling these quarters with Tikal, both slowly and very cautiously unroll the PVC panel on top of it. I am amazed: There is literally not a single drop of glue being pressed out from underneath. It´s a very clean work, never have guessed it being that way!
Full body workout …
Again, it´s Ralph and his roller, in action. Up and down, back and forth. His whole body is shivering under the strength and body tension needed to compress his weight into the roller. Up and down, back and forth – for twenty minutes, Ralph pulls off this workout that is indeed very stressful and making him sweat. Of course, some craftsman would utilize vacuum suction to create an evenly distributed pressure over the surface. But as Ralph explains later, preparing the airtight plastic wrap and sealing it takes up so much time, that in the same amount of time his traditional rolling technique is finished as well anyway. And we spare a lot of plastic waste, because the vacuum-wrap is single use plastic.
Finally, the bow
After the big mid-part of the huge panel has been fitted, Szolti prepares the pointy bow section with Tikal glue and folds down the PVC here as well. This is – at least for me – the most important part of the whole boat´s deck. Imagine: The Omega 42 will in almost every case be docking bow-first in her berth. This is the view most people will have on my boat later. From bow to stern. This is also the reason why I emphasized so much on the king plank (read the article about this deciding feature in any yacht´s deck!) and that is why clean, accurate work matter so much in this area. Szolti, a proud and skilled craftsman, masterfully takes on this challenge. You will later see the outcome, which is marvellous!
More stones!
Have you noticed? Both are now wearing wide soft kneepads. This is the second unwritten rule when fitting synthetic teak decks: No shoes, working barefoot and never ever kneeling without pads! Why? Because this will inevitably create dents in the surface. With the 1-2 mm layer of Tikal glue having not dried through thoroughly, the surface is a bit “mooshy”. Even the point-directed pressure of a little bare knee can make the area to sink in. Later, when it has rained, you will have those dents filled with water and even worse, over time, filled with green algae. So no kneeling at all!
The side decks are fitted
Again, the stone bricks will distributed over the surface of the whole deck. More and more my boat resembles Versailles gardens. It is a funny view indeed. On the other hand, it´s almost one full ton of concrete stone material now pressing down on deck and boat. One thousand kilograms! Can you imagine?! It is a quarter past 2 p.m. as the guys finish their work for today. It took them two hours to prepare and almost three hours to glue the PVC deck to the surface. Now all it takes is time … so we call it a day, say Goodbye to the shipyard workers, get a decent shower in our hotel rooms and meet up again to enjoy an ice cold beer (or three) and have dinner together … tomorrow is another day.
Repairing little imperfections and defects of the new deck
And as both explain to me while we enjoy a huge pork knuckle with mashed potatoes and Sauerkraut along with some pints of craft beer, the second day would be the tough one! I was astonished how fast work went on and time flew by: “Buckle up, tomorrow is the tougher of both days”, Szolti insisted. So I went to bed early, just to be around in the shipyard the next morning at 8 o´clock. The guys had already started to work.
The next day: Stones removed.
I must admit that I was very happy to see that they had already removed all of the weight bricks already. That´s a shitty work, indeed! One tone of gravity had exerted a lot of even pressure onto the panels, so that over night everything had the chance to bond firmly. Now I could take a first glance at the overall outcome of the work – and I was happy!
Cleaning and checking
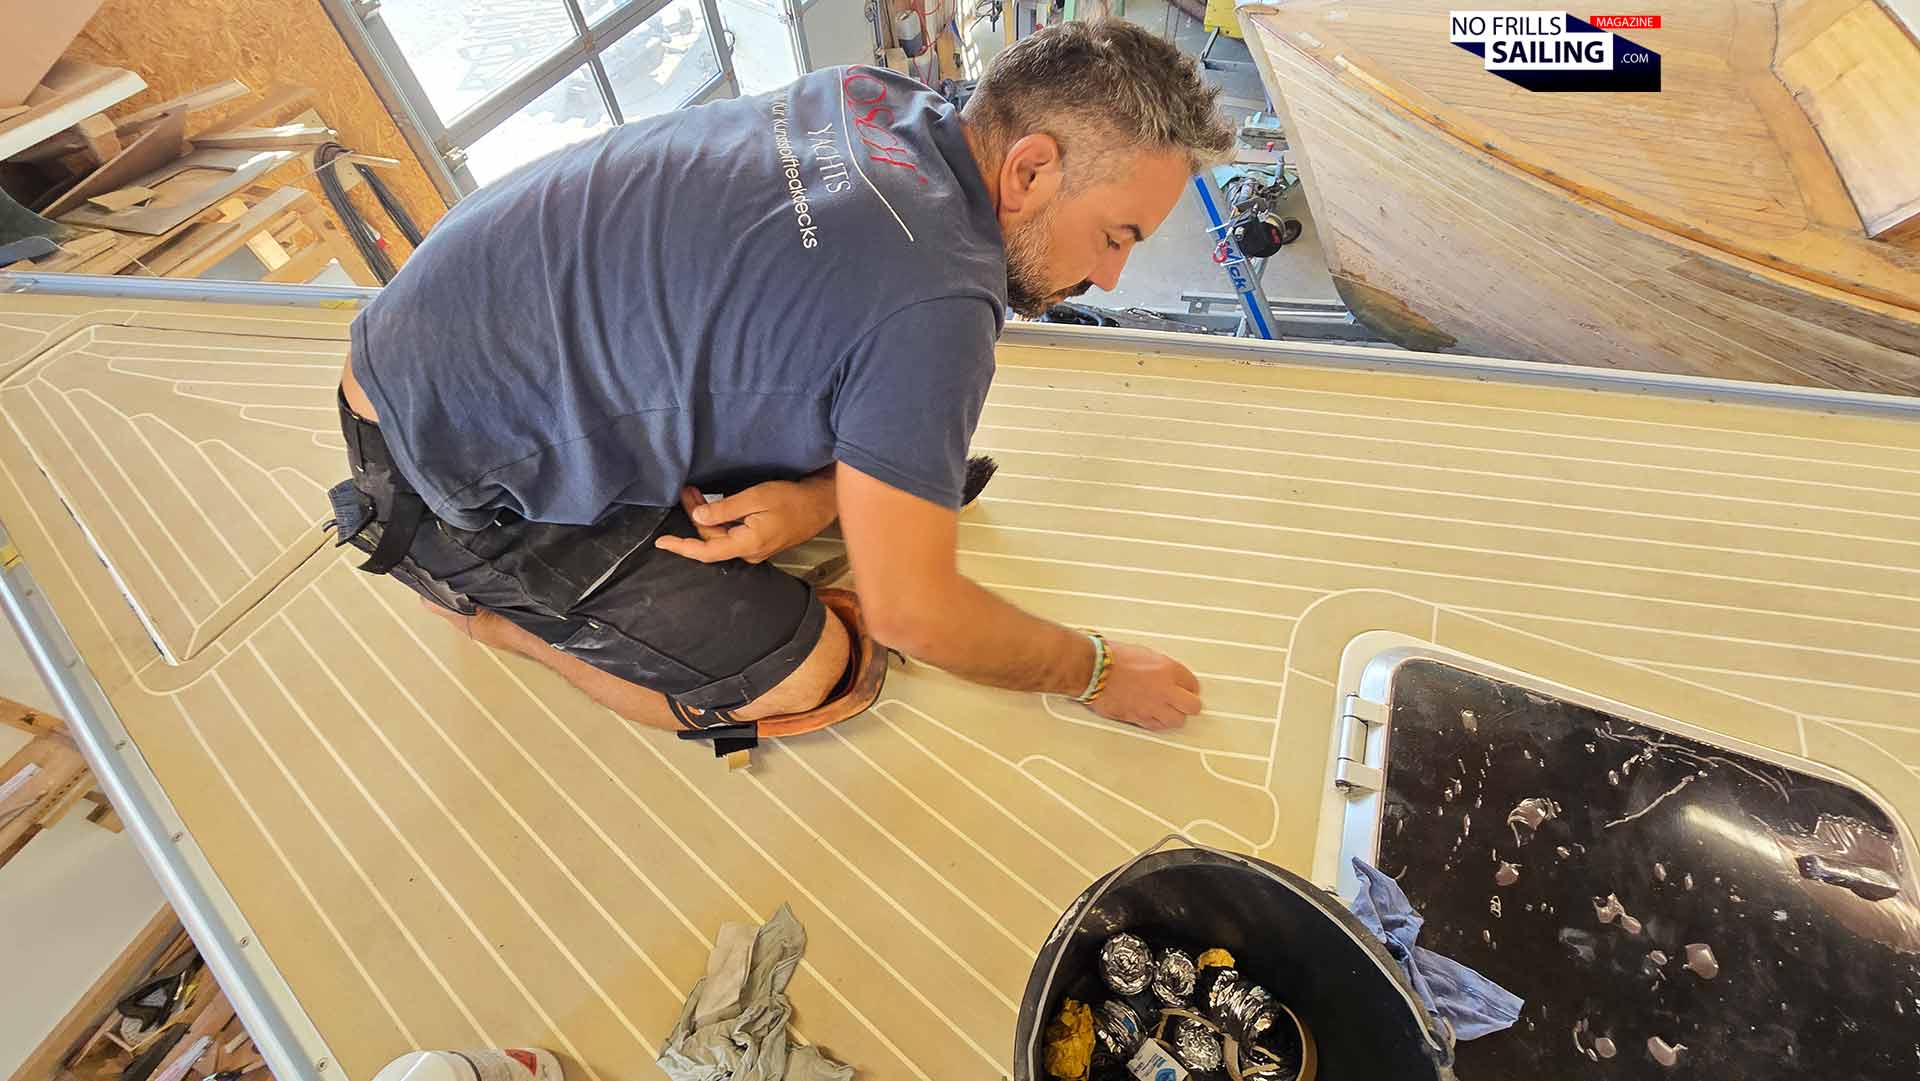
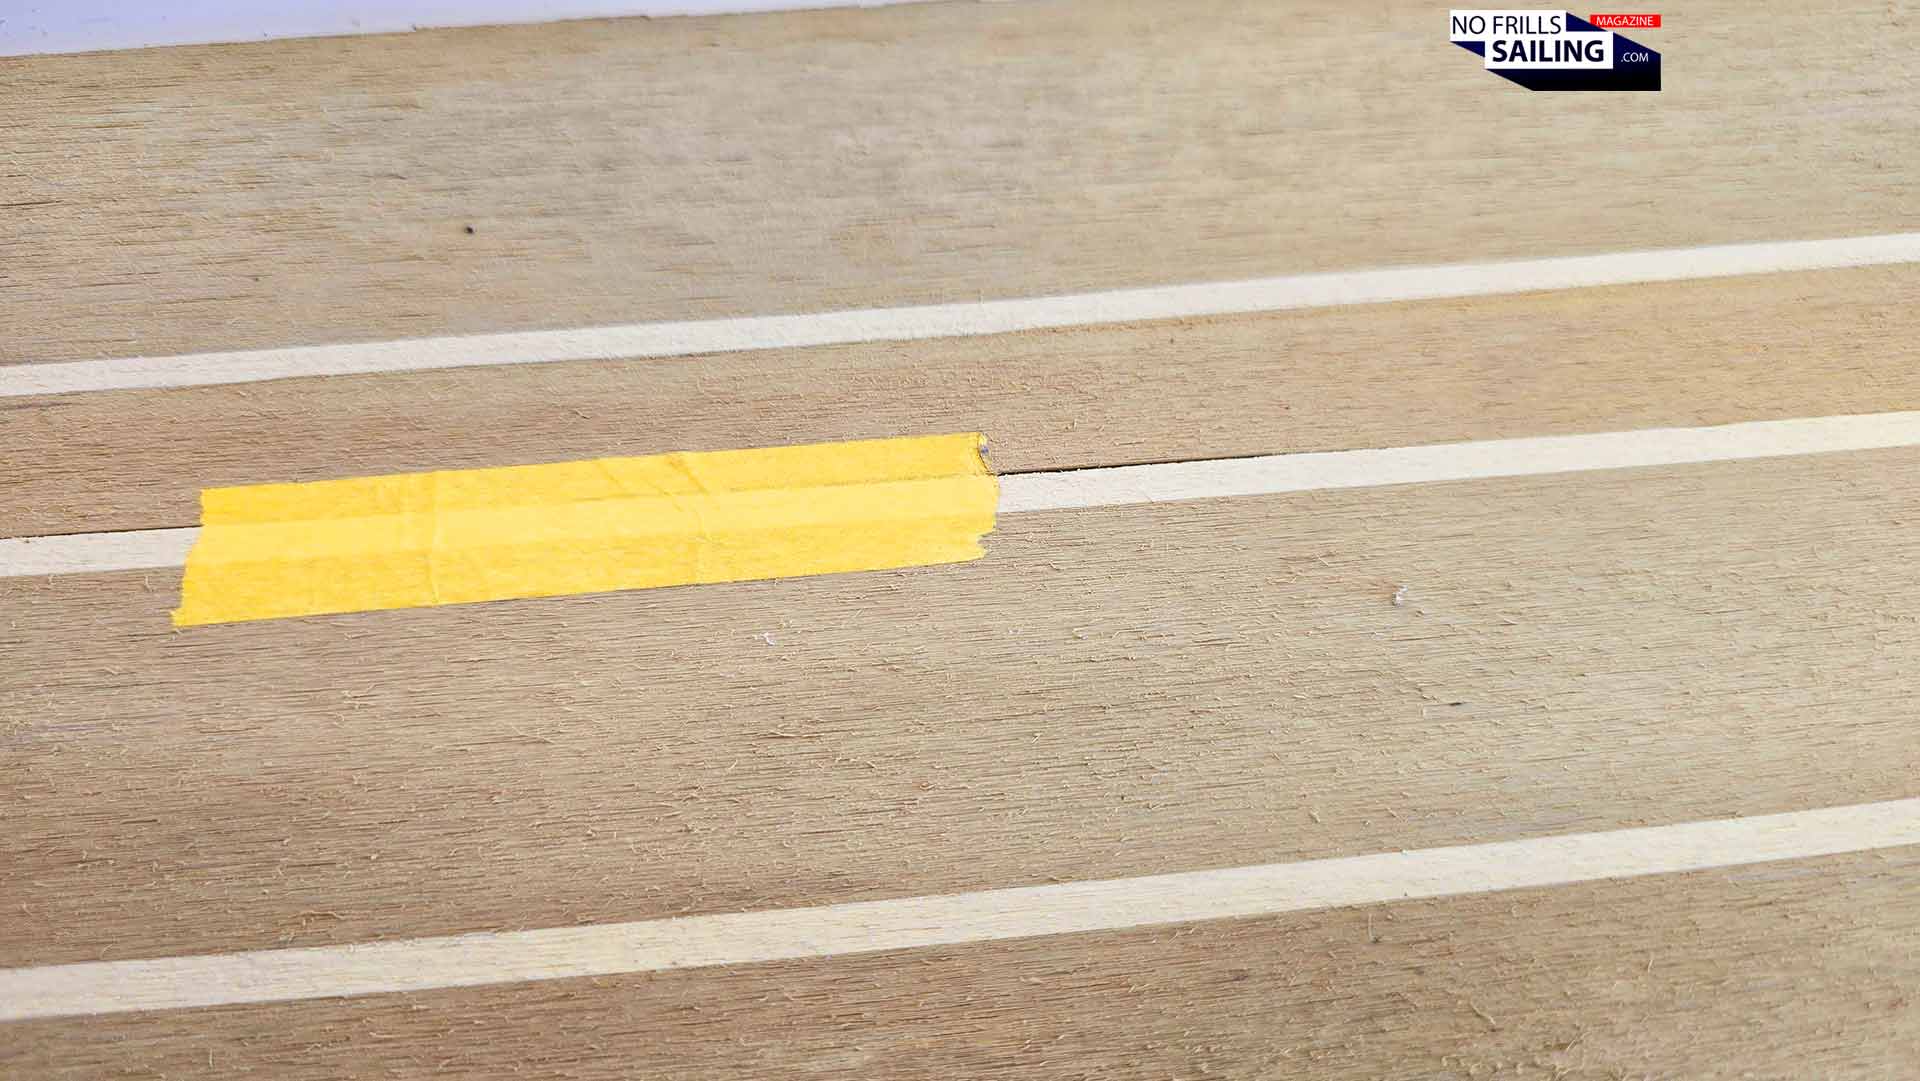
Szolti and Ralph kneeled down on the deck – still barefeet and wearing knee pads – going all over the material from bow to stern. They meticulously checked the surface. Szolti had some sanding paper folded in his hands, occasionally smoothing out dirt and other imperfections. They both had a roll of masking tape, putting a little sticker onto the points where defects had been detected. As you may have seen by reading my article about PVC deck production, the individual “battens” of fake teak are literally welded together by melting the caulking plastic.
Here´s a small open seam
Occasionally, maybe by coiling up the panel, during transport or even yesterday when hauling it up on deck, those seams could break under the bending stresses. This is not desired, but pretty common. But it is also not a big problem, because these little breaks and defects can be repaired pretty easily – but they must be repaired, as these must not remain open. Again, if not cured, water could enter and find its way underneath the panel. In winter, freezing temperatures could make the water expand, further expanding the defect.
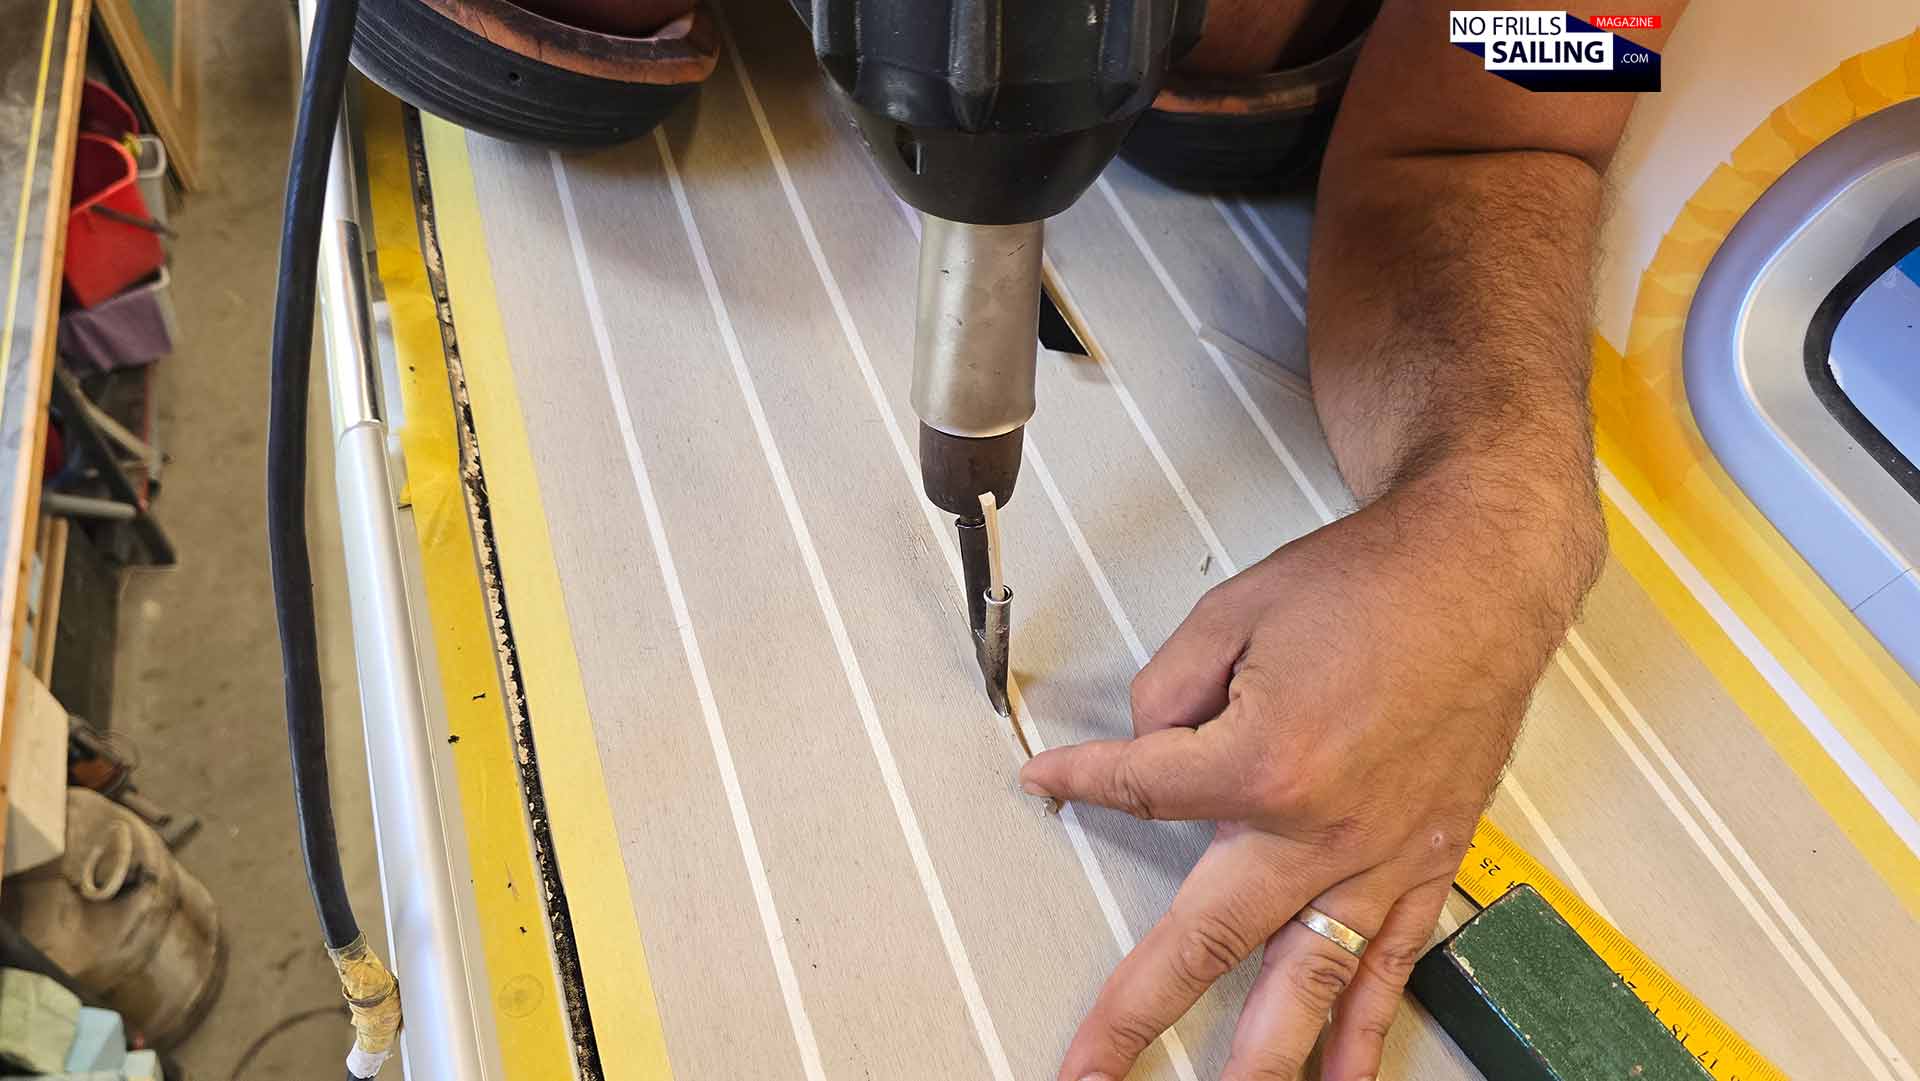
Welding the seams
In this, Szolti, not unlike a surgeon, opens up the seams, occasionally cuts out some material. Then he would cut offcut material (either of the deck “Sandstone” color or the white caulking) to size and melt it down with the special hot-air tool. The molten plastic would be working into the seam. Afterwards, being smoothed and cut, the surface would resemble the original style. After returning from a loo beak, I really couldn´t say where the defect initially was: Even Szolti, when asked were he had repaired the deck, could not determine for sure the exact areas. This is fascinating – and reassuring. Because your PVC deck is indeed repairable even after years! This is much faster and easier than with real wooden decks, where whole battens and sometimes even whole teak-panels must be removed. Another advantage of synthetic decking right there.
Accurate working required: The closure caulking
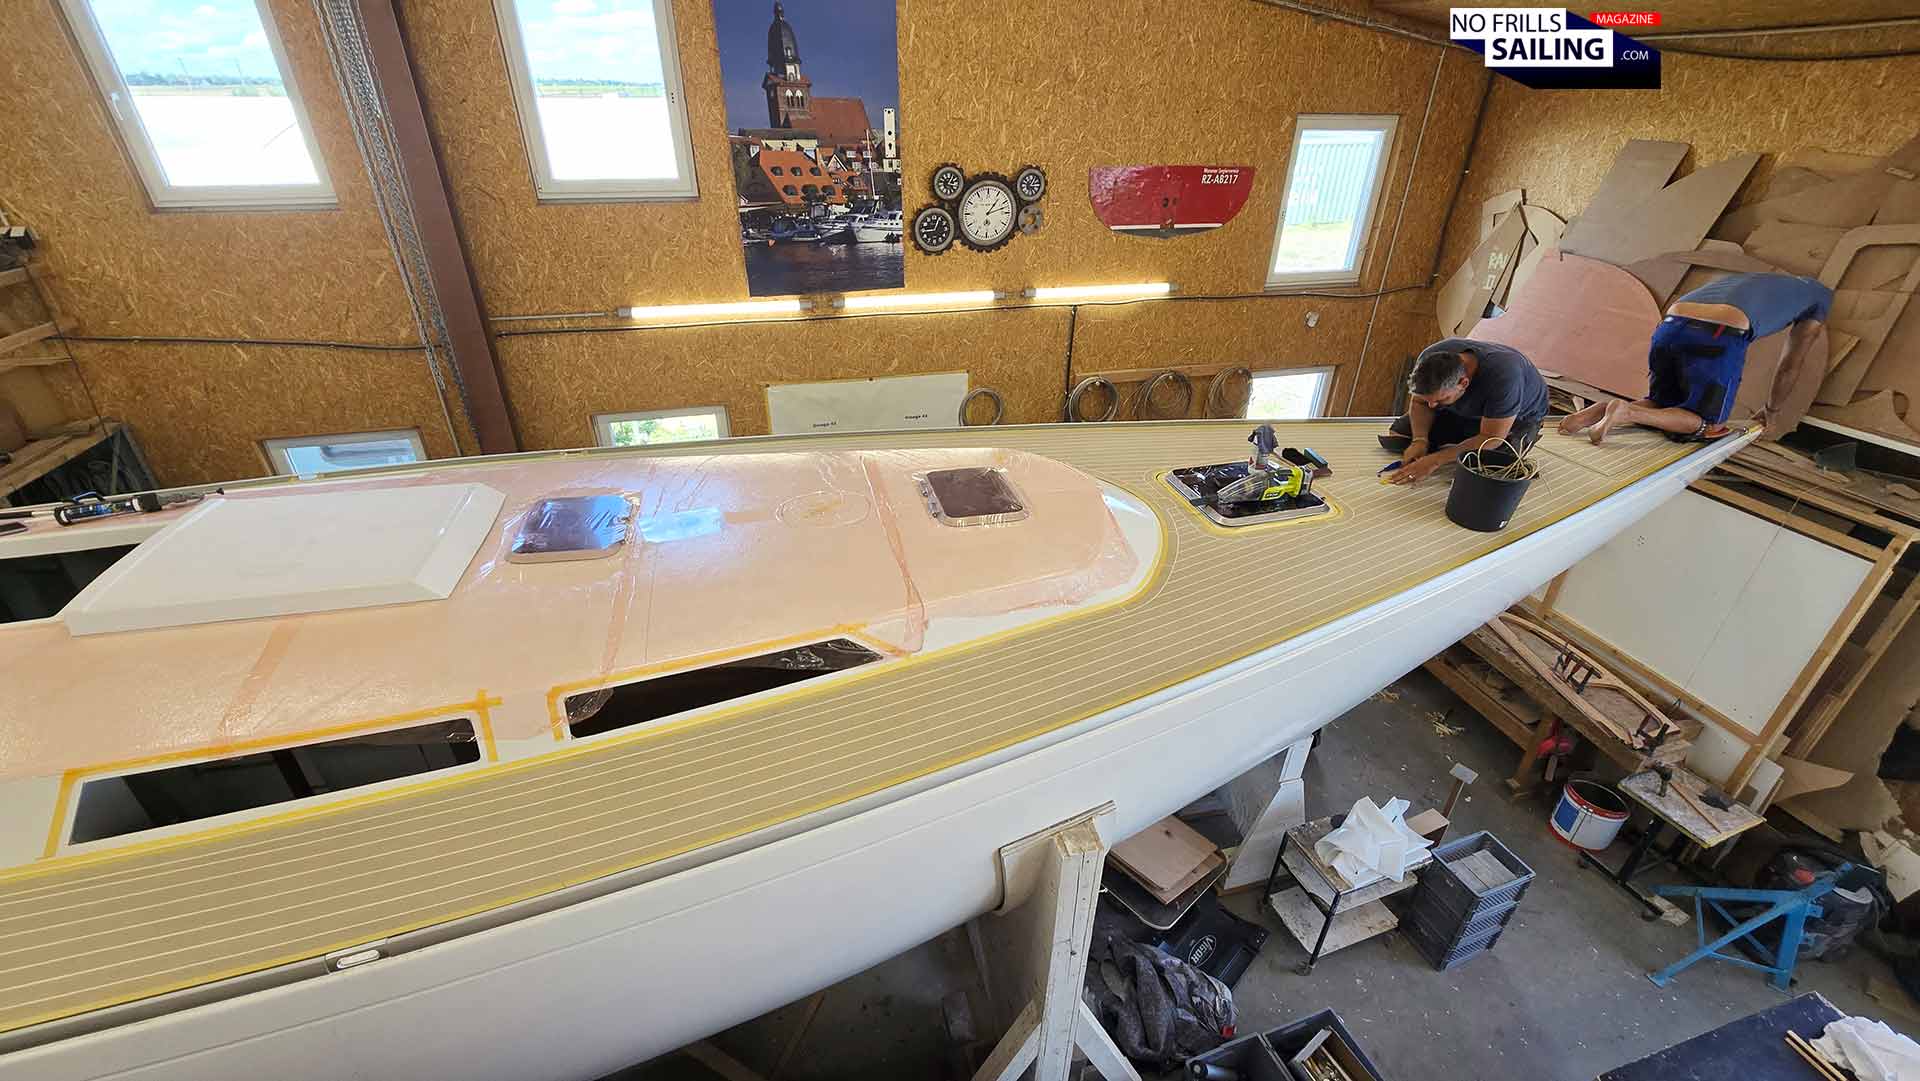
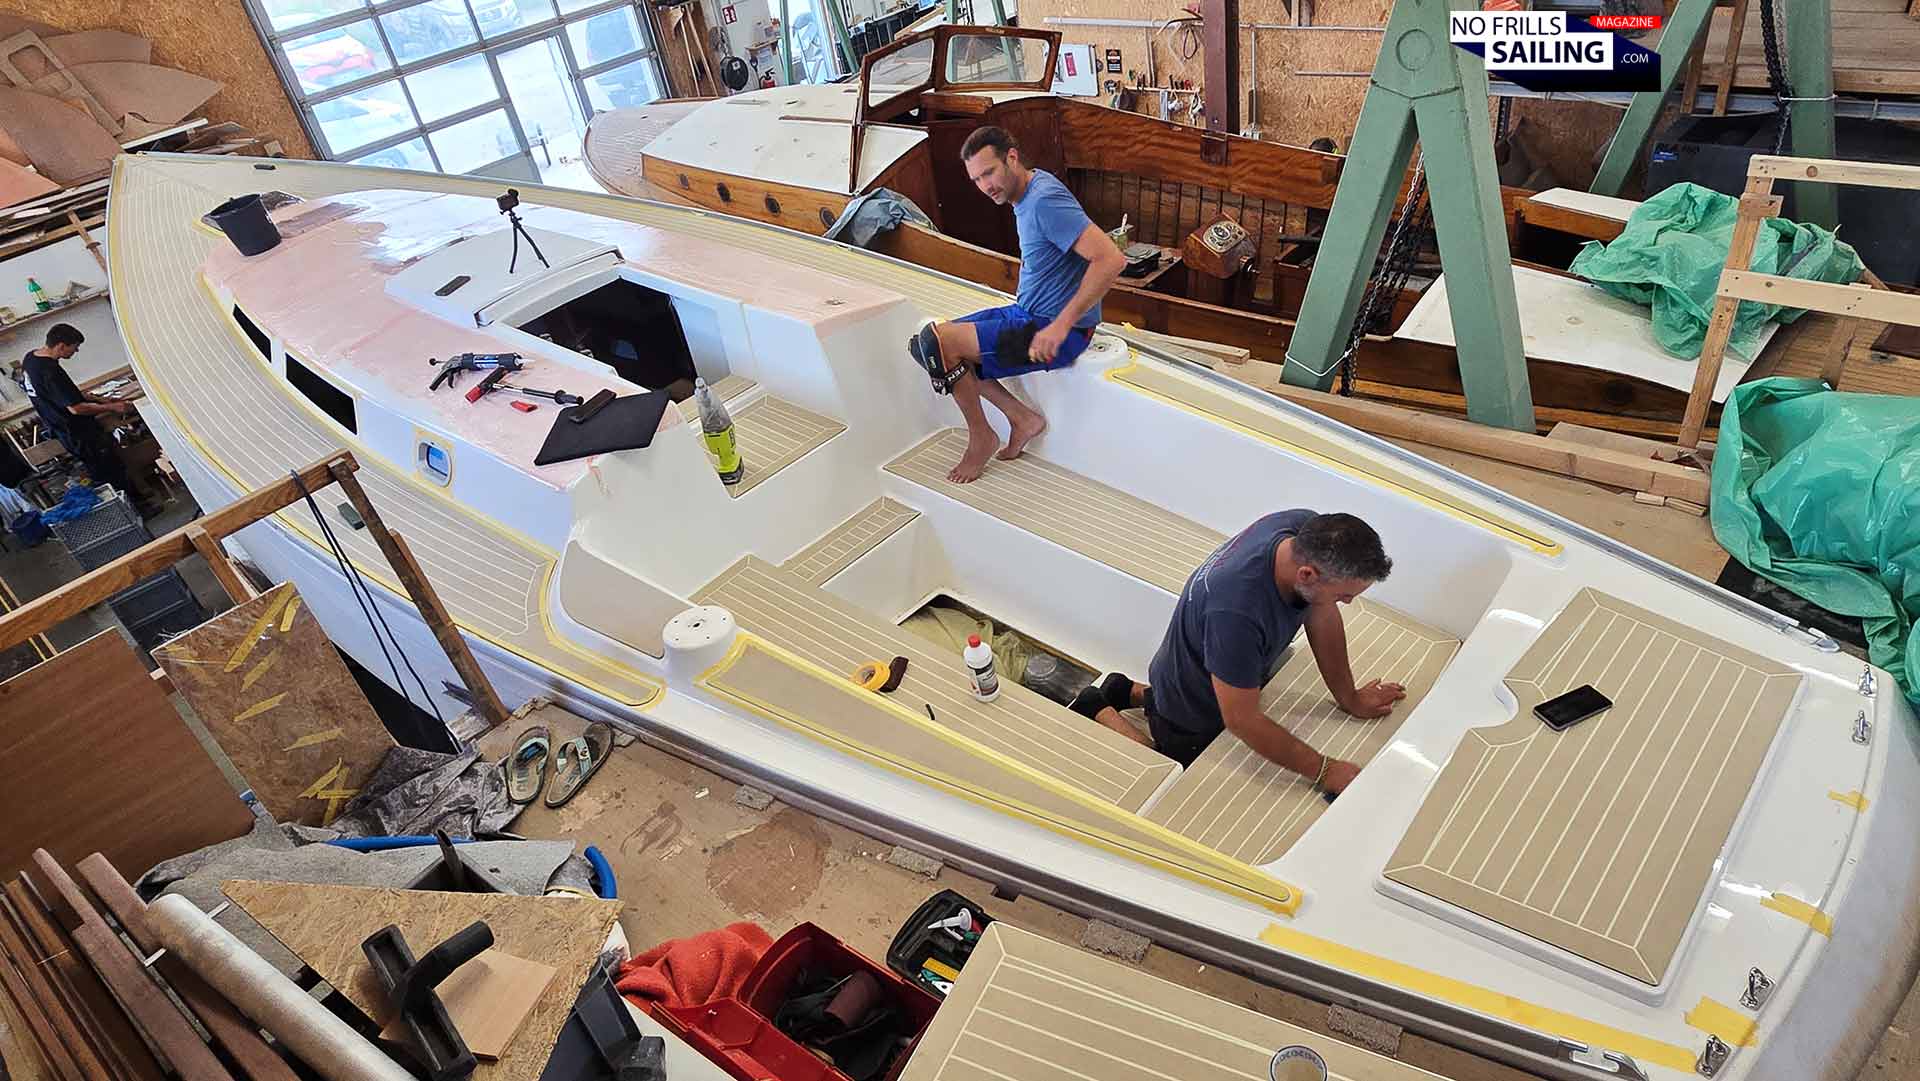
Now that looks quite amazing, doesn´t it? But the work wasn´t over at all: “Now the most annoying part starts!”, Szolti announced: The closure seam, the big, all-encompassing caulking that would seal off the outlines of any panel. That´s for my boat at least a hundred meters of meticulously measured white caulking. Of course, in order to being able to do so, a lot of masking tape would be needed. A lot!
Applying lots – lots! – of masking tape
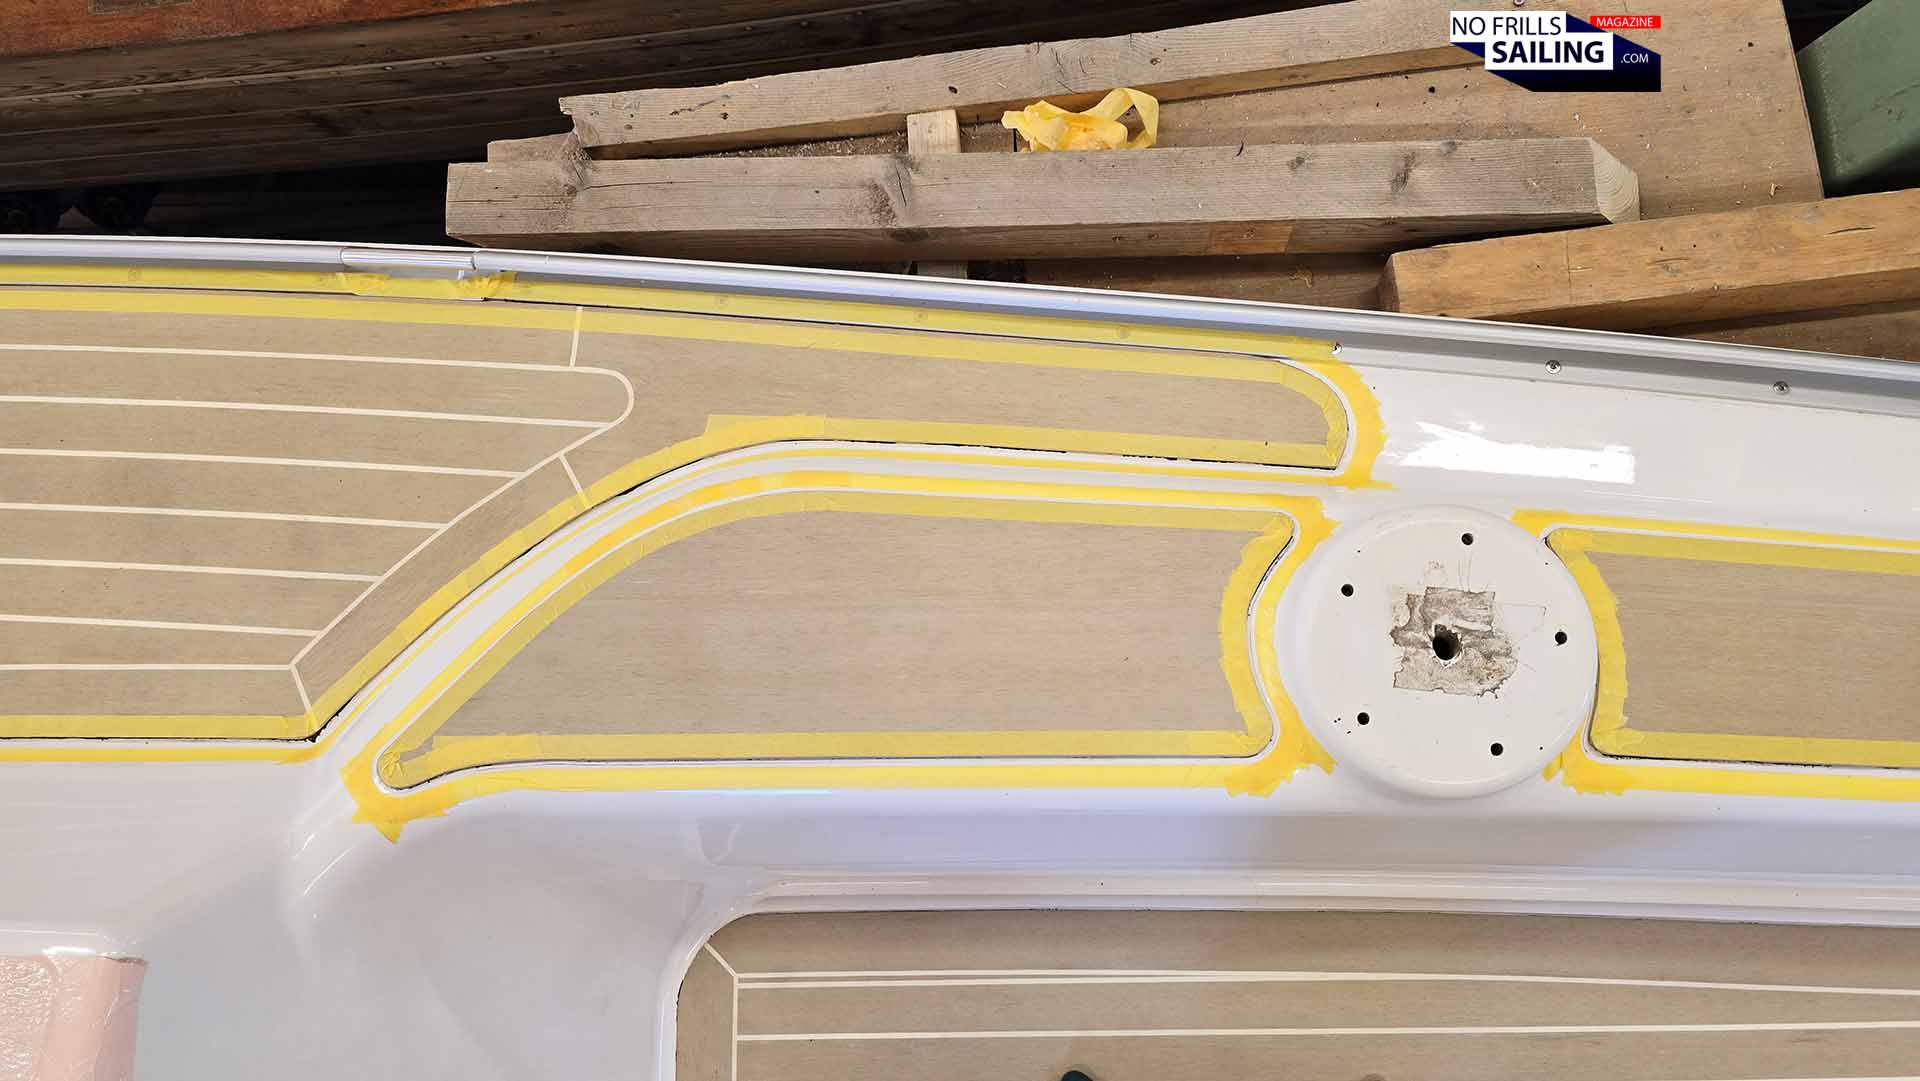
I haven´t counted, but the guys brought no less than six rolls of masking tape. Ralph started with the easy parts, which this time turned out to be the long side decks and the bow area. Masking the master-seam means that there are two lines of tape necessary, one to the seam´s left and one to the right. By applying the tape, Ralph would have to accurately size the width of the seam as it of course must have a consistent thickness throughout the whole length of the boat.
Every little corner must be respected
He was also due to correctly put the tape all along the many bent areas. Especially the smaller panels in the cockpit and on the coamings turned out to be tricky, as the radii of the curved edges were very small. For some panels Ralph needed to rip off dozens of little tape parts just to make sure the curvature was done right and that later none of the precious PVC-deck surface would be stained with caulking adhesive.
Cutting and fine trimming the seams
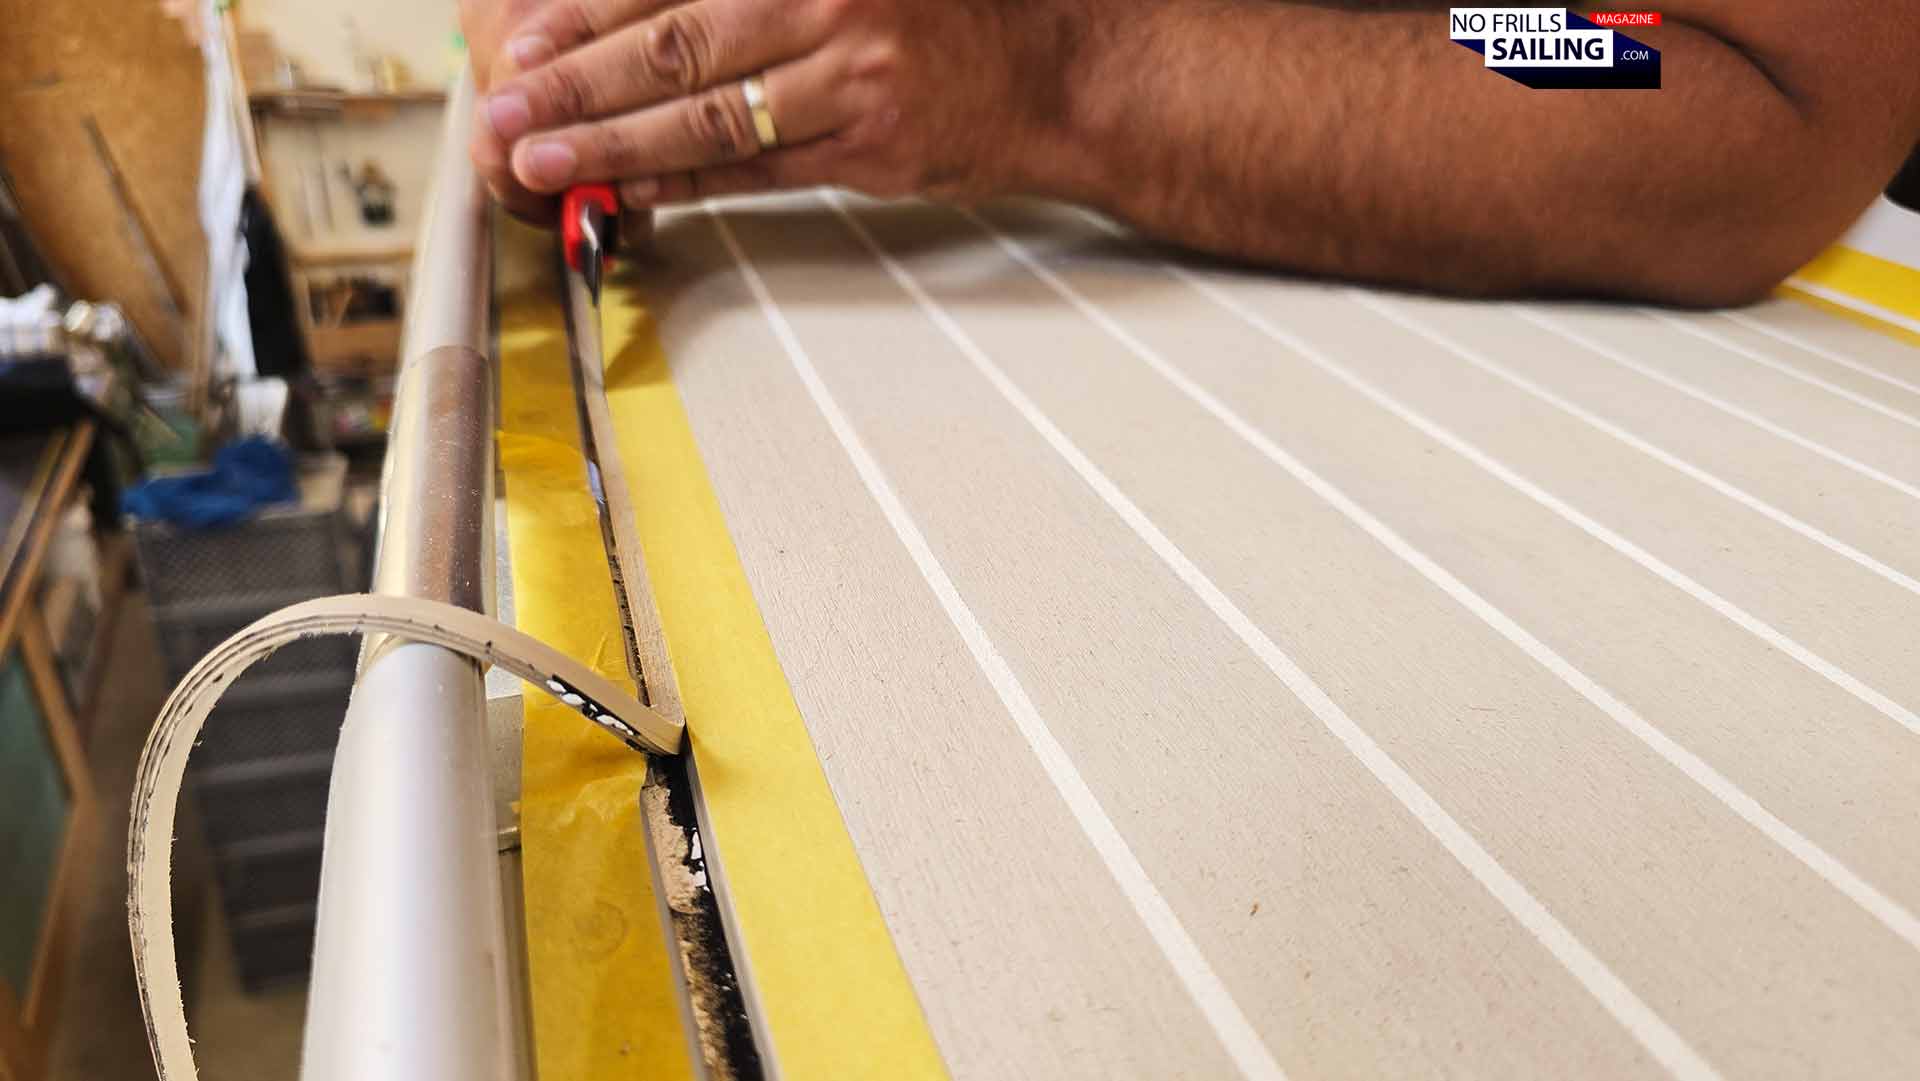
After all of the edges were shining with a double yellow masking tape outline, it was Szolti´s take again. Kneeling down as well, his task was now to finally cut to size the panel´s edges. You might be wondering now why there would be any inaccuracies given the fact that we had been manufacturing 1:1 gauge patterns in the first place (read the article showing this deciding first step in PVC deck application here). Well, as it is with any handcrafted product: Little inaccuracies are inevitable, deviances and defaults are normal.
For a perfect caulking
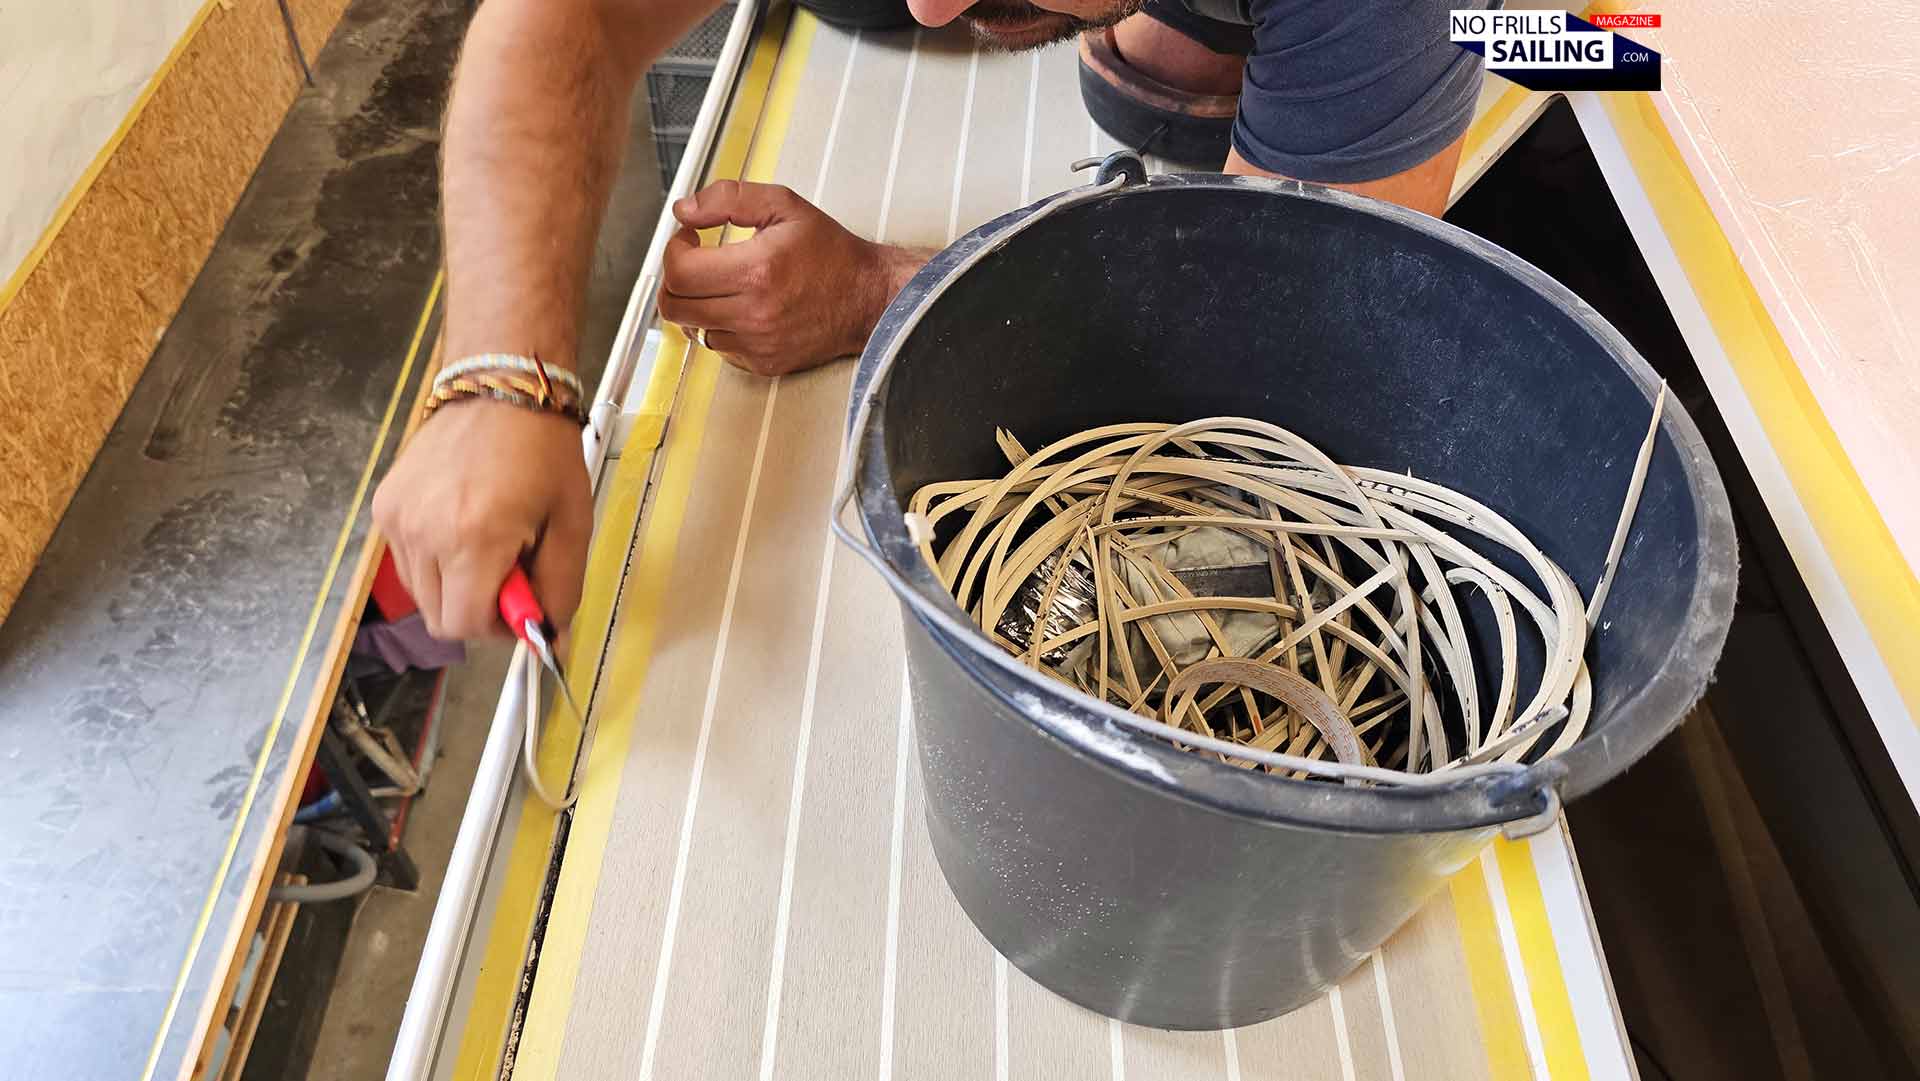
So Szolti, again by applying well-dosed force, cut away some material. As for the outside “master seam” all along the side decks, he widened the area so that enough caulking could be applied between the metal toe rail and the side of the PVC-panel. On other occasions he shaved off jussssst a little bit to straighten out a line or achieve a perfect curve here and there. This process of masking and trim-cutting the seam-openings took at least two hours for the whole boat.
Pressing the white caulking
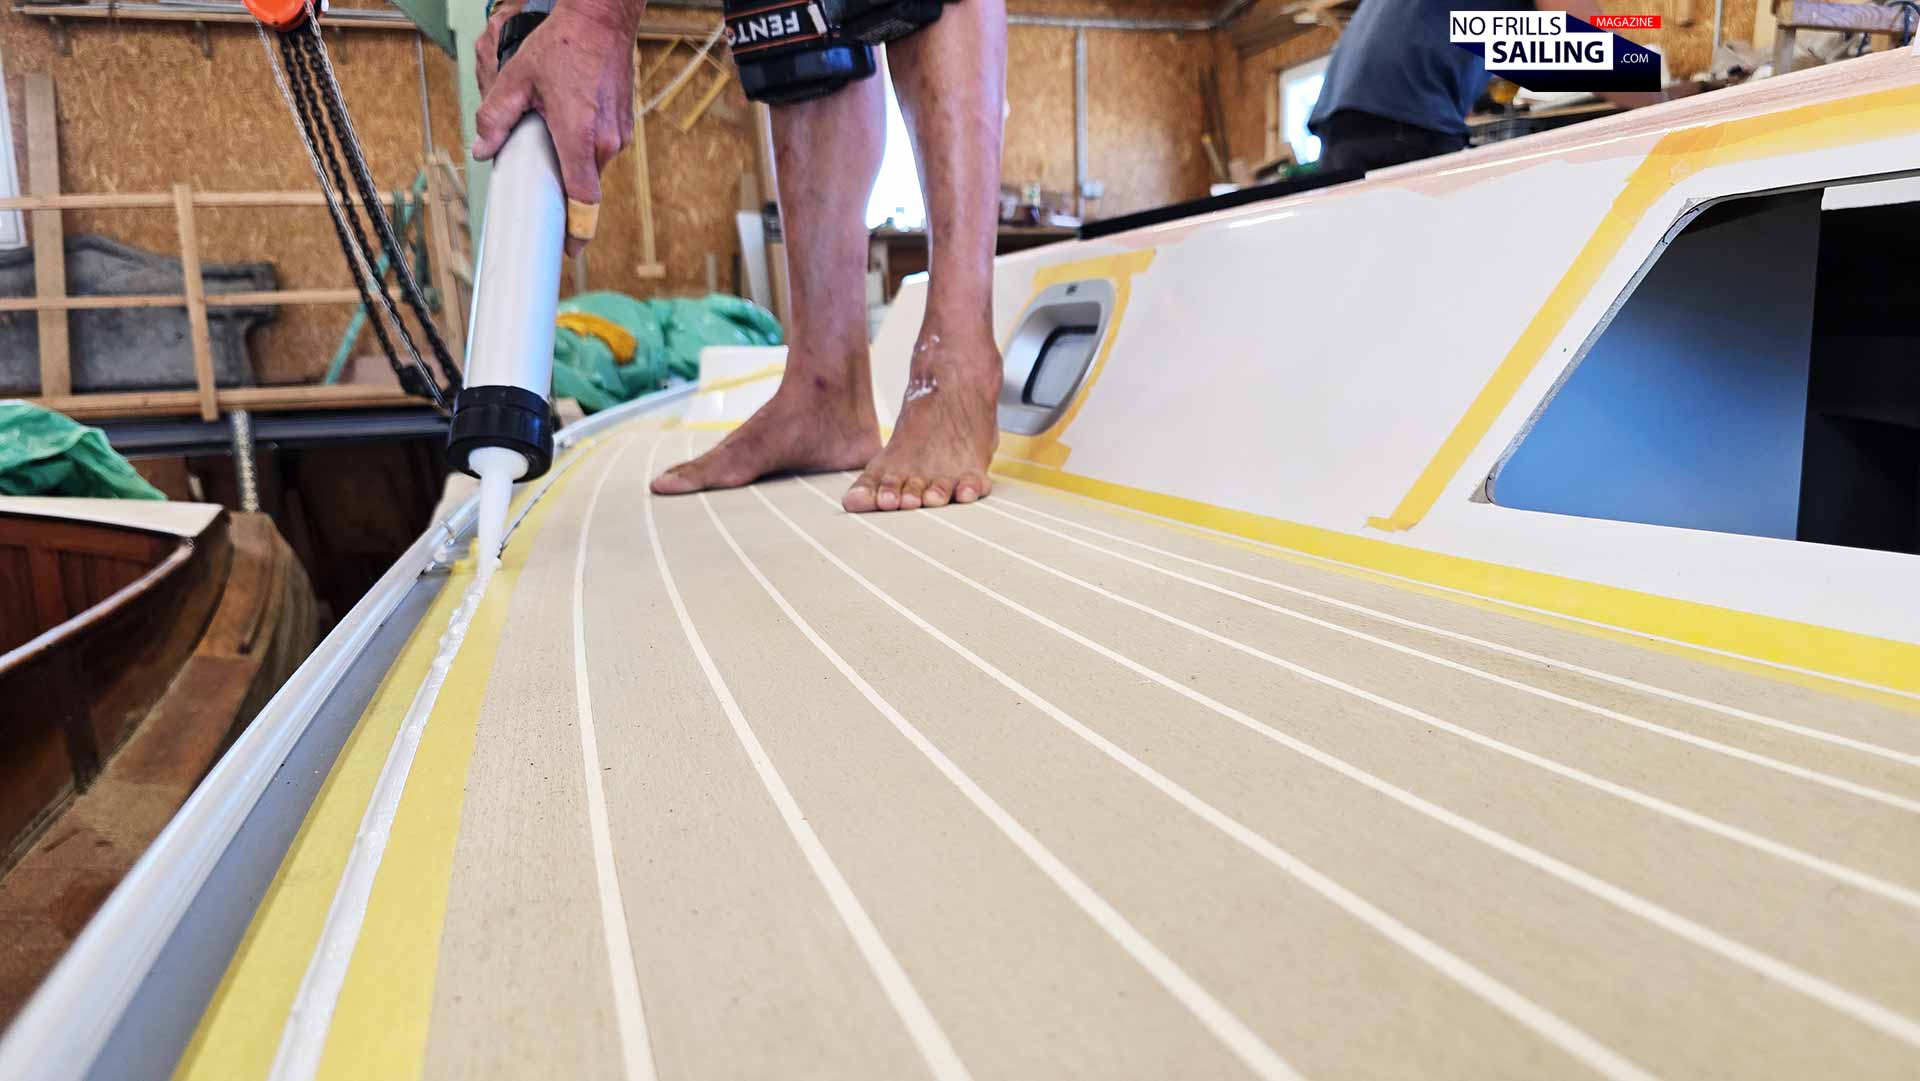
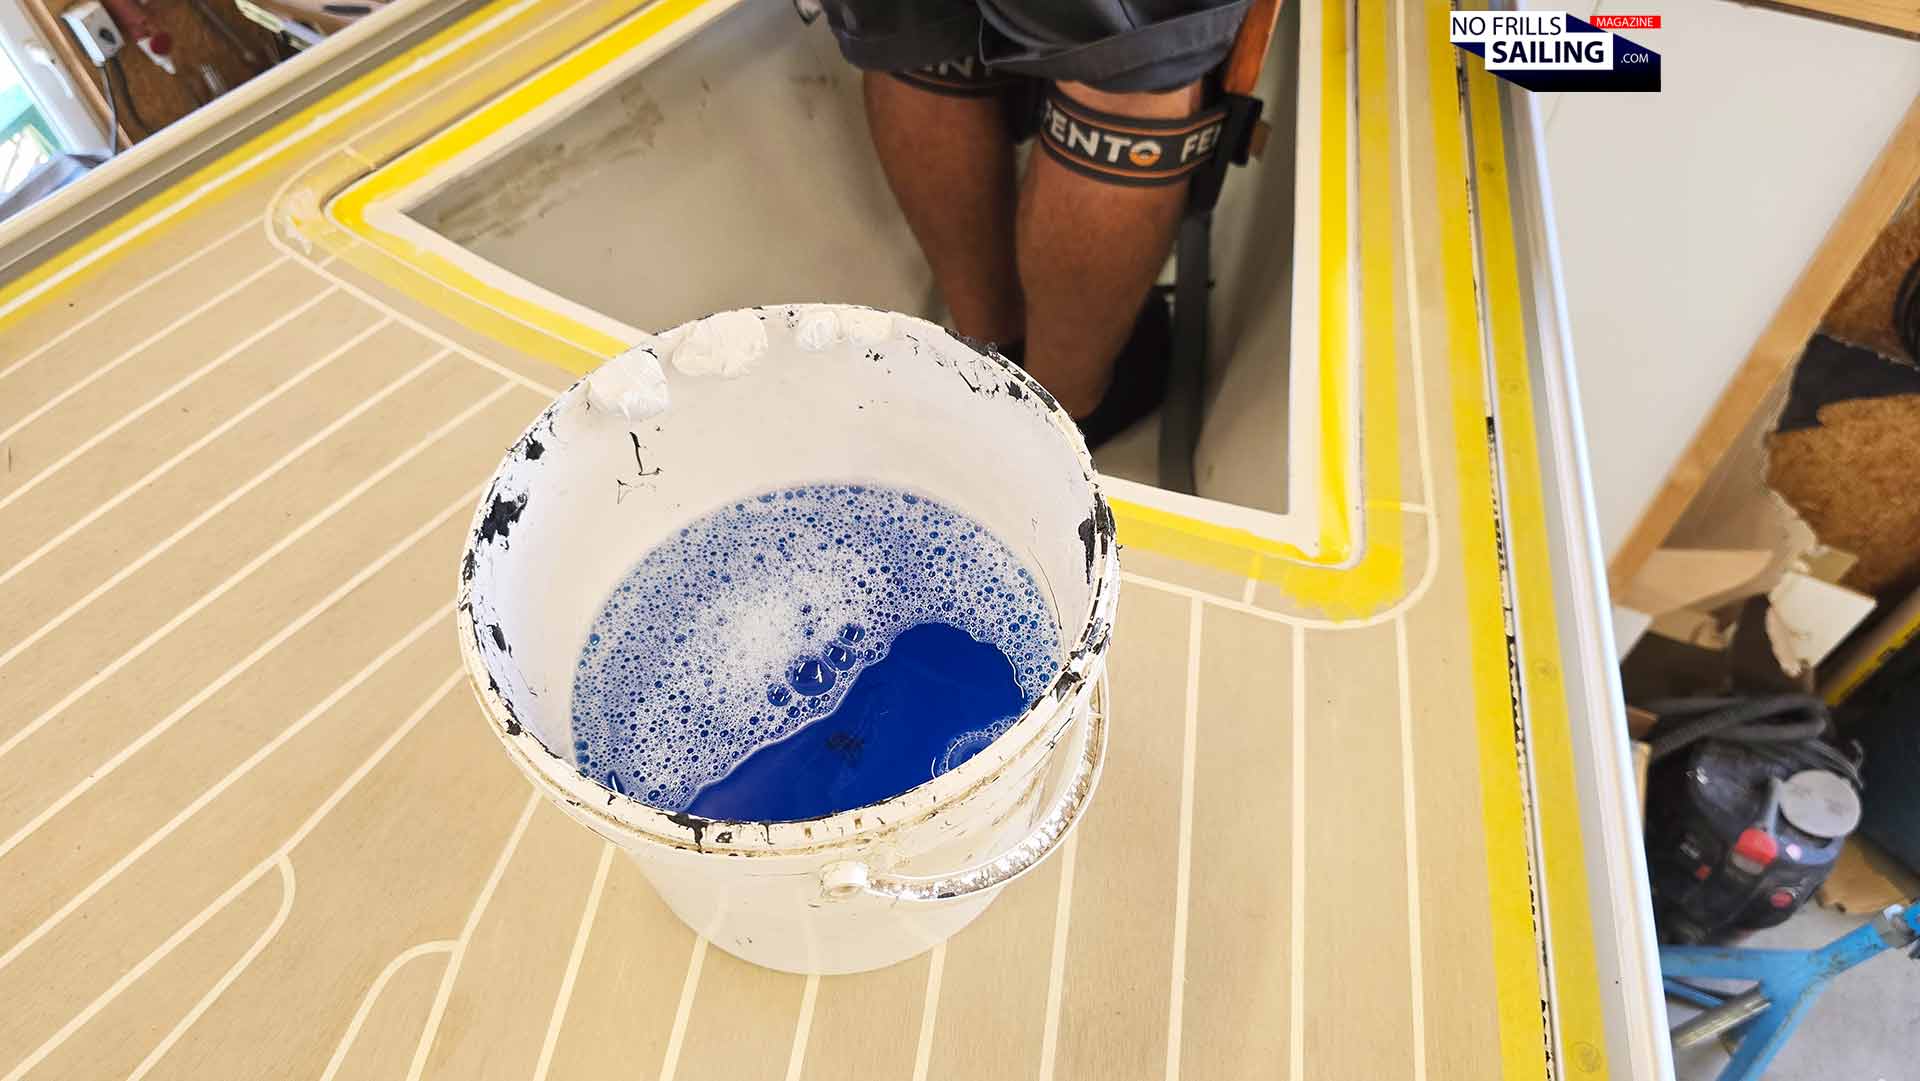
But finally it was time to take out the caulking gun again. As my PVC panels have a white caulking it goes without saying that the “master-seam” would be white as well. In this, Ralph inserted the corresponding cartridge and started to apply pressure. Slowly but surely the white soft material was pressed into the seams. At the same time, Szolti had prepared a little bucket filled with water: He added a lot of ordinary dish liquid into it, not a little splash, but an excessive amount. Suddenly, the shipyard smelled like “oceanic breeze”. Why though? Well, he was responsible to smoothen out the fresh seams:
It smells so fresh …
First with a clean rake we would scrape off excessive caulking agent and put it to the detergent basket. Then, by moistening his finger, he would form with care and skill a nice, concave seam. The soapy detergent-water-mix would help that the adhesive would not stick to his finger but remain inside the seam. It was also the reason to form seamless joints all along the seams. This process again took a long time. Working their way again from stern and inside (cockpit) to the bow lasted more than two hours. But as this was the last and final touch, utmost care was taken to make sure the outcome would be marvelous.
Advertisement
The finished PVC deck: Visual booster for any sailboat!
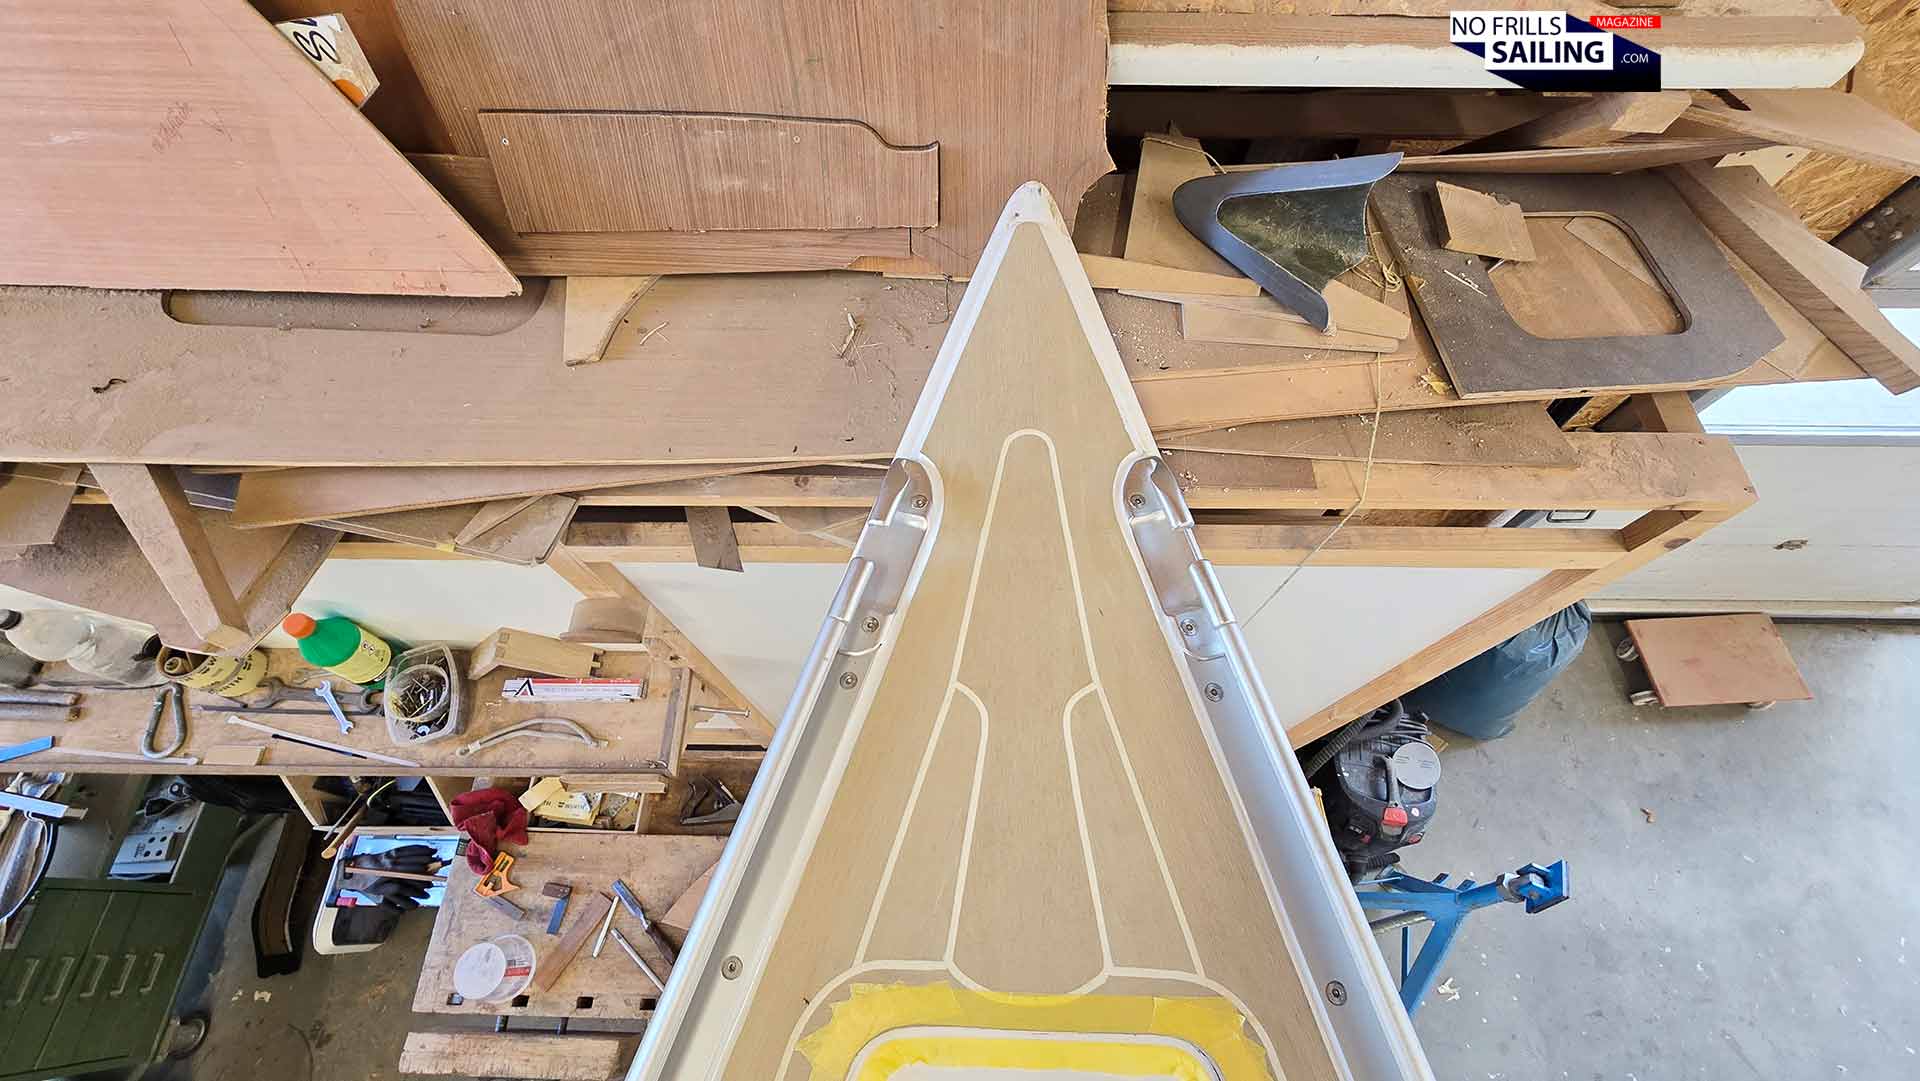
And it indeed is! I will show the perfect finish in another article, when the new railing, the custom made stainless steel pulpit and pushpit are fitted as well as the great mooring cleats, revealing the true beauty of the new deck in all its grace. So I ask for a bit more patience as the steel-parts are still in the making. But the picture of the bow area alone shows the beauty and insane effect the installation of a PVC deck to a bare, barren, white, boring gelcoat deck can have: It is breathtakingly beautiful indeed, don´t you agree?
It´s just perfect!
Comparing the “before” and “after”-pictures underline the insane change any boat will undergo when fitted with a synthetic deck. Deck and hull become distinguishable, even in most modern yacht designs a nice “classy” deck look can update the impact massively. It is pure eye-candy, a massive visual update for the boat! My aim of uplifting the aura of my yacht, of paying tribute to the original Omega 42 boats built back in Norlin´s time just worked out nicely. Now we have a true yacht-look! Classy, but by choosing the relatively light “Sandstone” color with a white caulking it also comes with a clearly modern touch. I am 100 percent satisfied and happy with Rosch Yachts´ work – thanks so much, Szolti and Ralph! You´ve upgrade ALPHA to whole new level!
The before …
Price wise it´s not a bargain, of course. Two craftsmen working two days fitting the deck, another three days for initial production plus material cost amounts to a pretty hefty budget. In the case of my boat´s almost 13 square meters of area, that´s some 15.000 Euros exVAT for the deck. Of course, by toning down efforts for embrasures and the kingplank especially, you can reduce the complexity of the work and get down working hours. But nevertheless, a new deck for a yacht – no matter if synthetic or real wood – is never a cheap undertaking. On the other hand, quality has its price. And don´t forget the value you add to your boat: A nice decking is always a plus.
… and the after-effect is astonishing!
So here we are. The Omega 42 has a nice deck now. One of the last big items on my to-do list can be crossed off. Stay tuned for the coming weeks as more and more sub-projects will eventually brought to a close: On the exterior of the yacht as well as in her interior. The new floor boards are due for finishing and delivery, which will make the installation of the entryway ladder a next deciding detail for the boat. That said, we´re off – driving home after another two exciting and informative days in the shed.
If you want, check out these related articles as well: