Chapters in this post
I know it was Christmas Eve but I could spare a handful of hours to pay my tribute to my yacht this evening so I drove down to the yard where SY OLIVIA has her dry berth since two years. As I am right now impatiently awaiting another shipment of Teak batten to continue (and hopefully finish) my work in the front cabin (see my progress starting here to here). I turned to the details in the saloon: The was still much work ahead.
I left work here having mounted all of the newly plywood-made roofing panels (see the whole process here, here, here and here) and what was left to do now was to mount slim Teak batten over the seams where two panels are meeting. Therefore I first was cutting the original Teak batten with a width of 5 centimetres into half – which made me some very sharp looking slim (but fragile!) decorative strips.
Preparing the Teak strips for mounting

The challenge was manifold – and here I must admit that in the end the outcome cannot live up to the interior fitting quality of professional craftsmanship by people who learned to do what they did. I am just experimenting here and virtually training myself with learning by doing. Although I really give my best, of course, in the end there are numerous odds and ends like impure ridges, widening seams and bits and pieces which will set my work apart from a clean an neatly done pro job. Nevertheless, Let´s go!
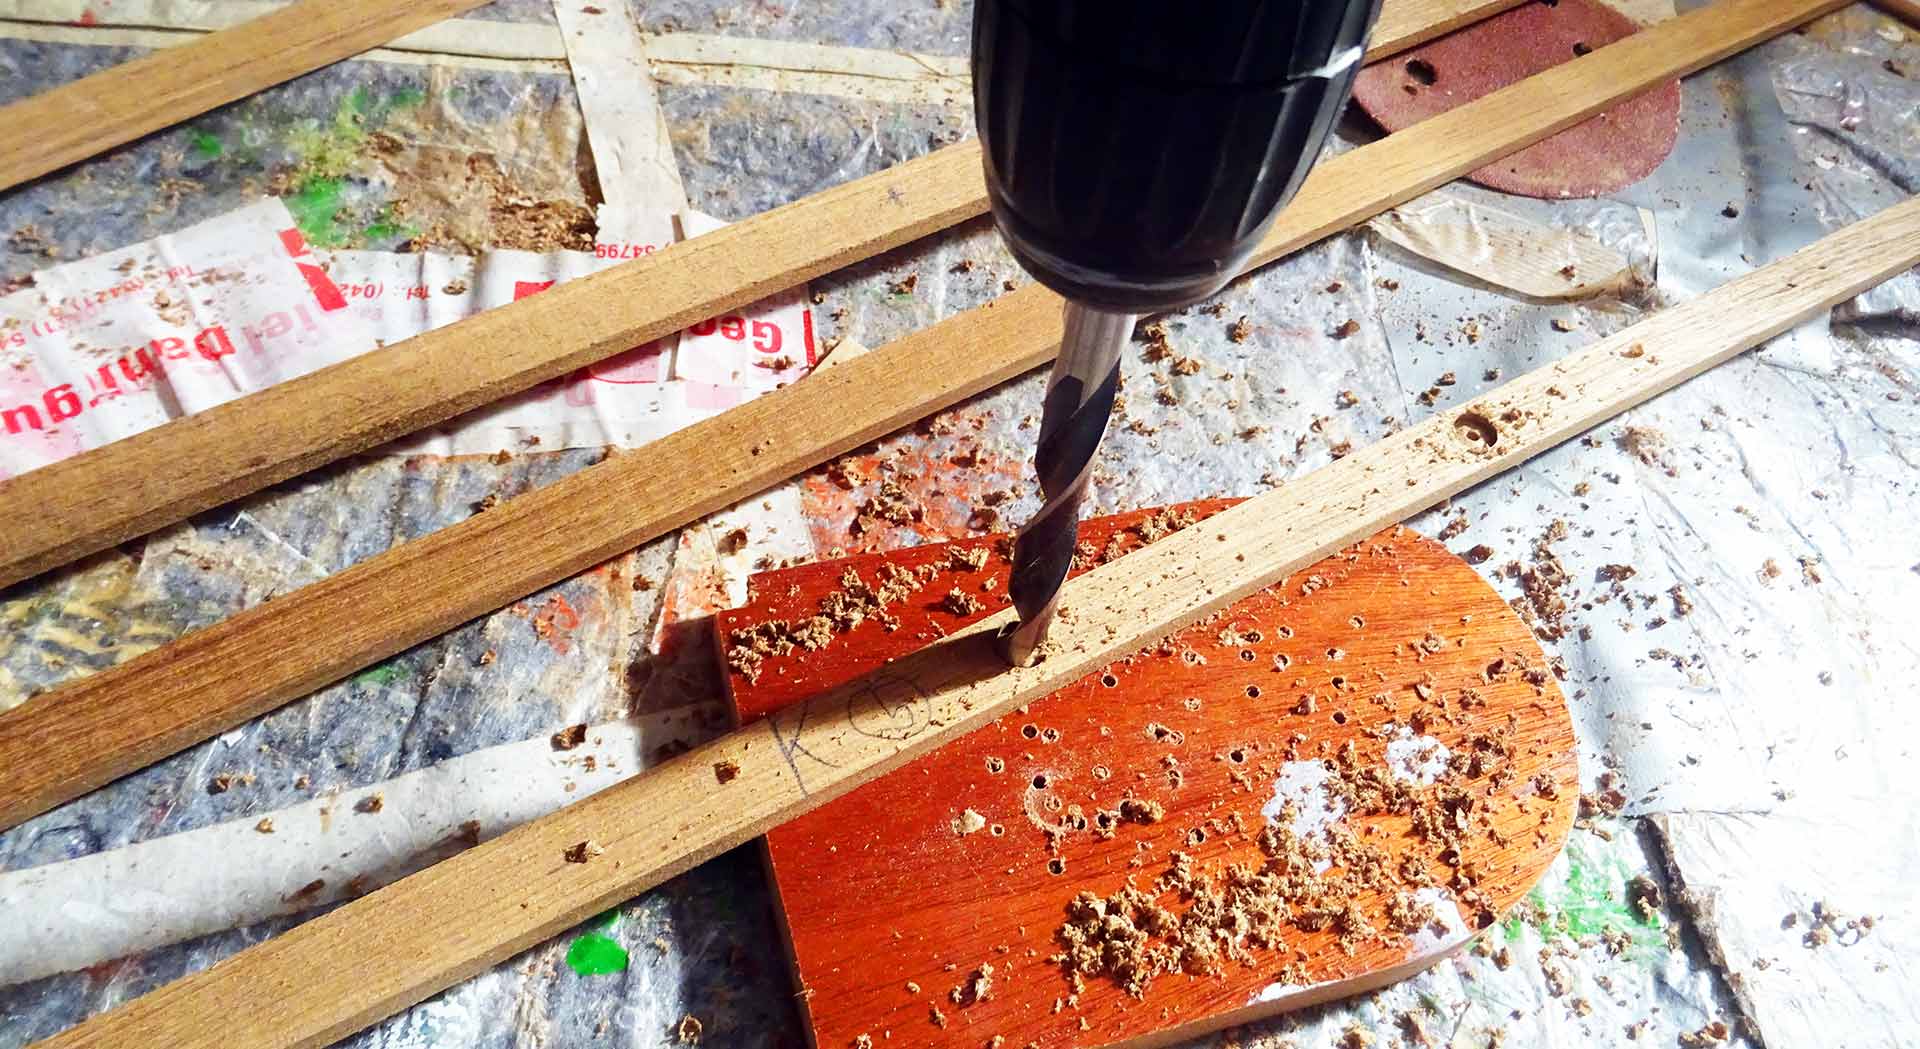
At first I mounted the biggest drill bit and made some cut outs to the backsides of the Teak batten. Before that I was marking where the screw heads and washers met them with a pencil. The screw heads are sticking out some two millimetres from the roofing panels so that the cut outs must provide space to have them covered once mounted. The tricky thing was not to drill too deep into the 5 millimetre thin batten – which I accomplished fairly good. Next up was mounting.
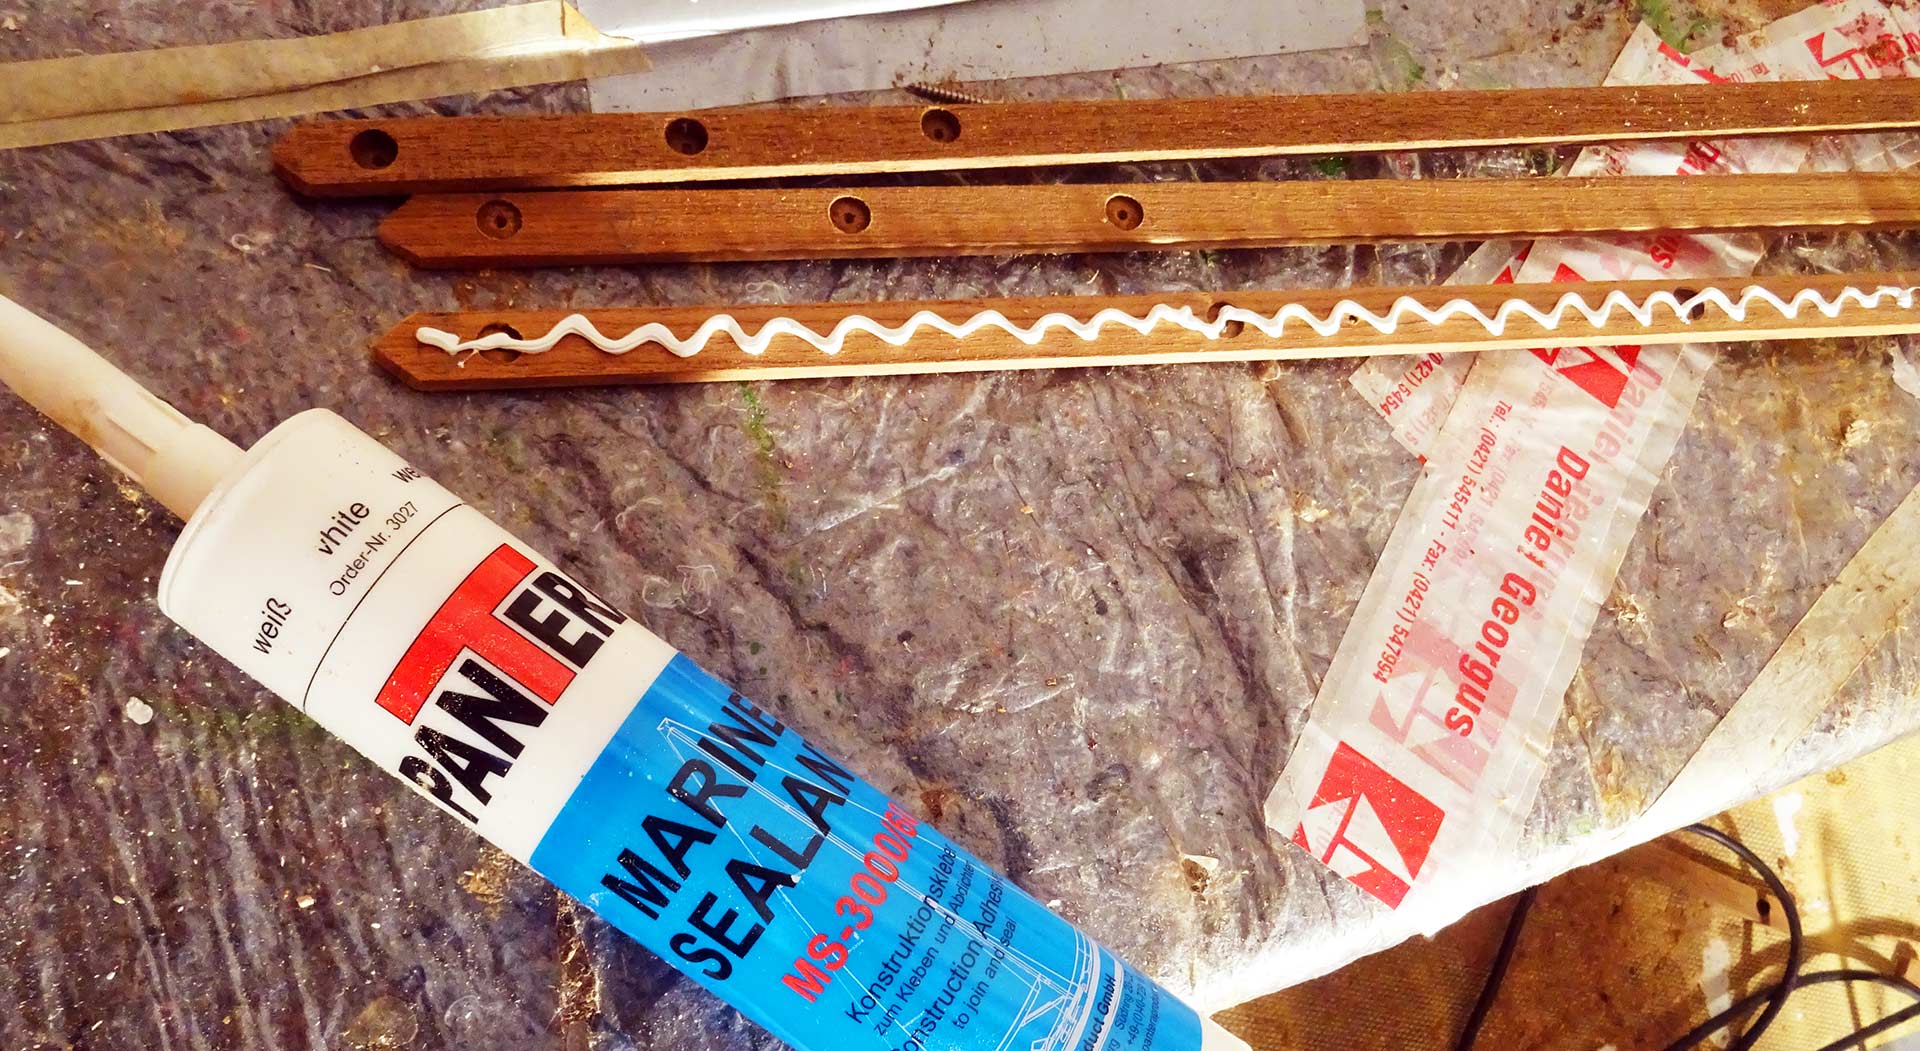
I utilize two ways of mounting here: Firstly, I pre-drill bore holes for nice brazen screws. Some three to five screws – depending on the length of the batten – will do. Secondly I utilize Pantera´s Marine Sealant. This has two reasons: The first is that I want to be sure that nothing will flapper and rattle later when the boat is rocking the seas (all in all there will be some 30 strips mounted in the saloon alone) and second I am going to have the seams between panel and Teak strip filled with white Pantera as well before giving the panels their last white paint layer.

Work is done
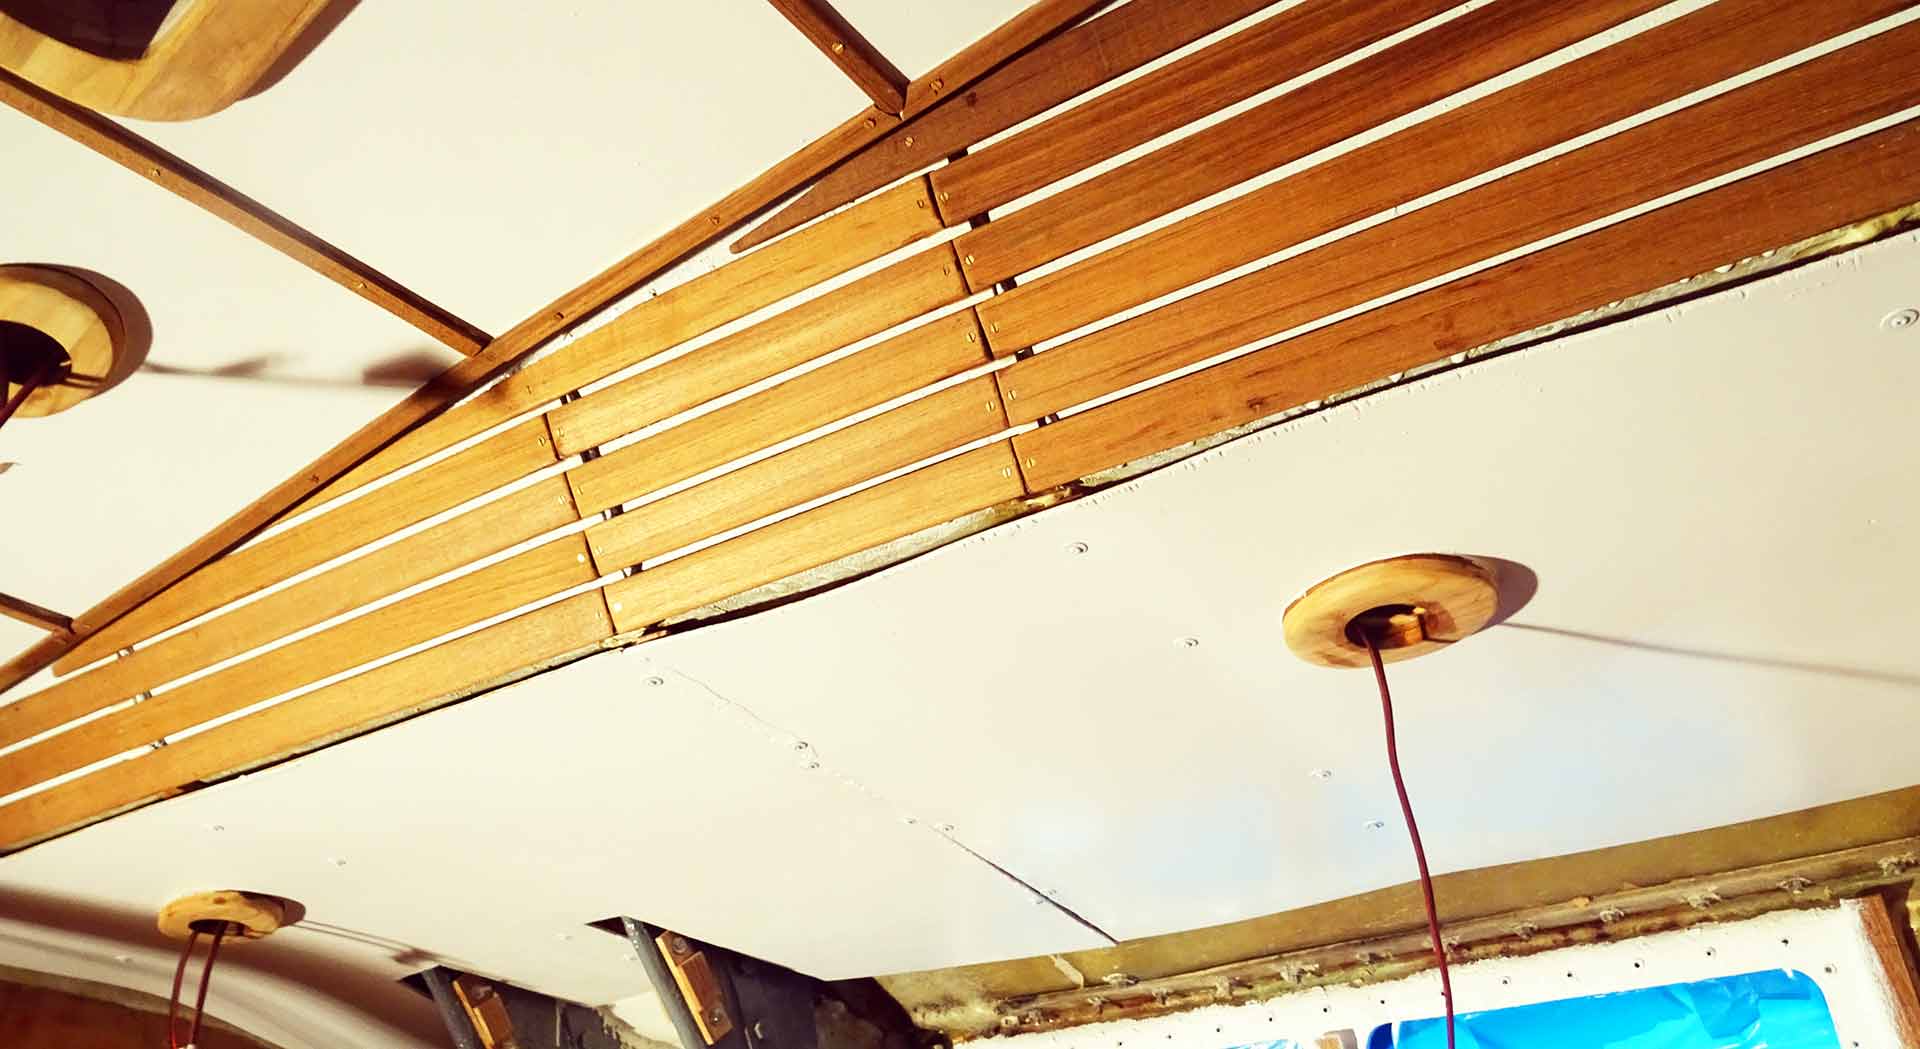
Well, that´s the outcome of some three hours of work: I was able to mount port side and starboard saloon´s Teak strips as well as the ones in the galley (read some articles about galley refurbishing work here ) and above the new chart table (newly built chart table here and here). It´s done. Crooked and awry, but done. I am a bit down because I wasn´t able to mount the batten with exact distances to each other and exactly transverse to the longitudinal axis of the yacht. I should have also thought of it when I made the roofing panels themselves as their seams define the positions of the very Teak batten in the first place. Anyway – if you don´t look too close, it´s quite nicely done.

Next time around – and that will be the final and last of the “rough work” steps – I have to come up with a solution for the edges where the saloon´s roof over the central corridor meets the panels: There we have gaping open seams of up to 2 centimetres, wavelike mounted panels meeting – and they´re not meeting at 90 degrees. That will be a tricky thing. And I have no idea yet how to cope with it. Nevertheless, it was a nice afternoon at the boat – Merry Christmas everyone.
Other articles of this sailing yacht refit series:
Roofing Panels – from the start, efforts 1, 2 and 3 and the last step
The fore cabin refit – from ideas to concept to status quo
Bilge refit – rust removal and refurbishing a dirty old bilge