It has been quite a while since my last post about the progress on the Omega 42 sailboat. Since the guys in the shipyard are sending regularly pictures, I´ve gathered quite a nice collection by now. So I thought, I publish an article not solely focused on the outcomes of certain activities, but also on the “why” these things have been done the way they are and “how” it has been done by the craftsmen in at Waren shipyard. In two weeks I will be there personally again – that´s a little teaser now for you – because at last the custom cast full lead keel for the Omega 42 will be delivered that day. Looking forward to that one! But back to the boat …
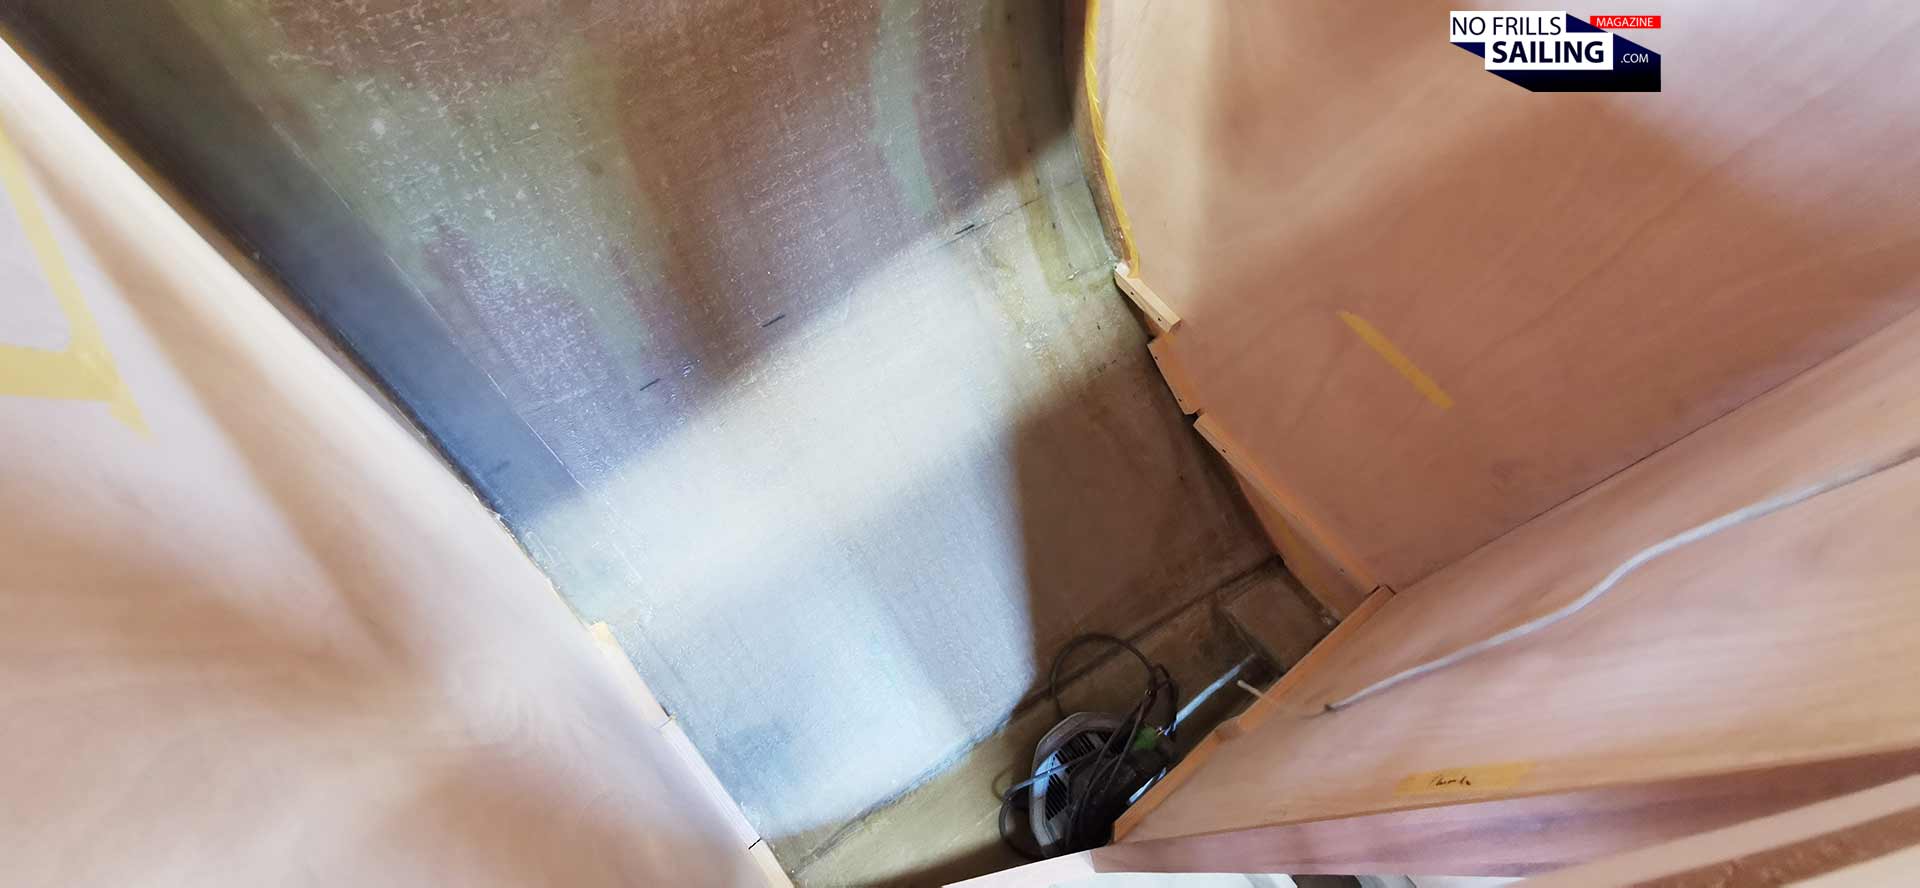
Right now the guys are buzzing around inside the yacht, mostly the carpenters and joiners, making the cabinets, shelves and other wooden joinery. In this, they are predominantly doing the, let´s say, rough work – taking measurements, making gauge models, fine tune them and manufacturing the very parts. Painting and lacquering will be done in a final step when all is finished. So don´t get bothered by the rough looks and strange color-applications. These are just first layers – that´s why it´s called “work in progress”, right? By the way: If you don´t want to miss any new article, just subscribe to my monthly newsletter. So, shall we start our tour?
Custom detailing the head of my new boat
As you know, the Omega 42 is a full semi-custom yacht. Every new owner opting to buy one of these will be able to decide on his own, how the boat shall be looking like. Colors, material choices, fittings – you name it. You are completely free, of course within the boundaries of the structural settings of the yacht, to design and choose how your yacht should be looking like and what you want to have. For me, it was most important what I don´t want to have: Because, since I was a series production boat dealer for the past 8 years, I have quite some insight into what can/will break down eventually and what now.
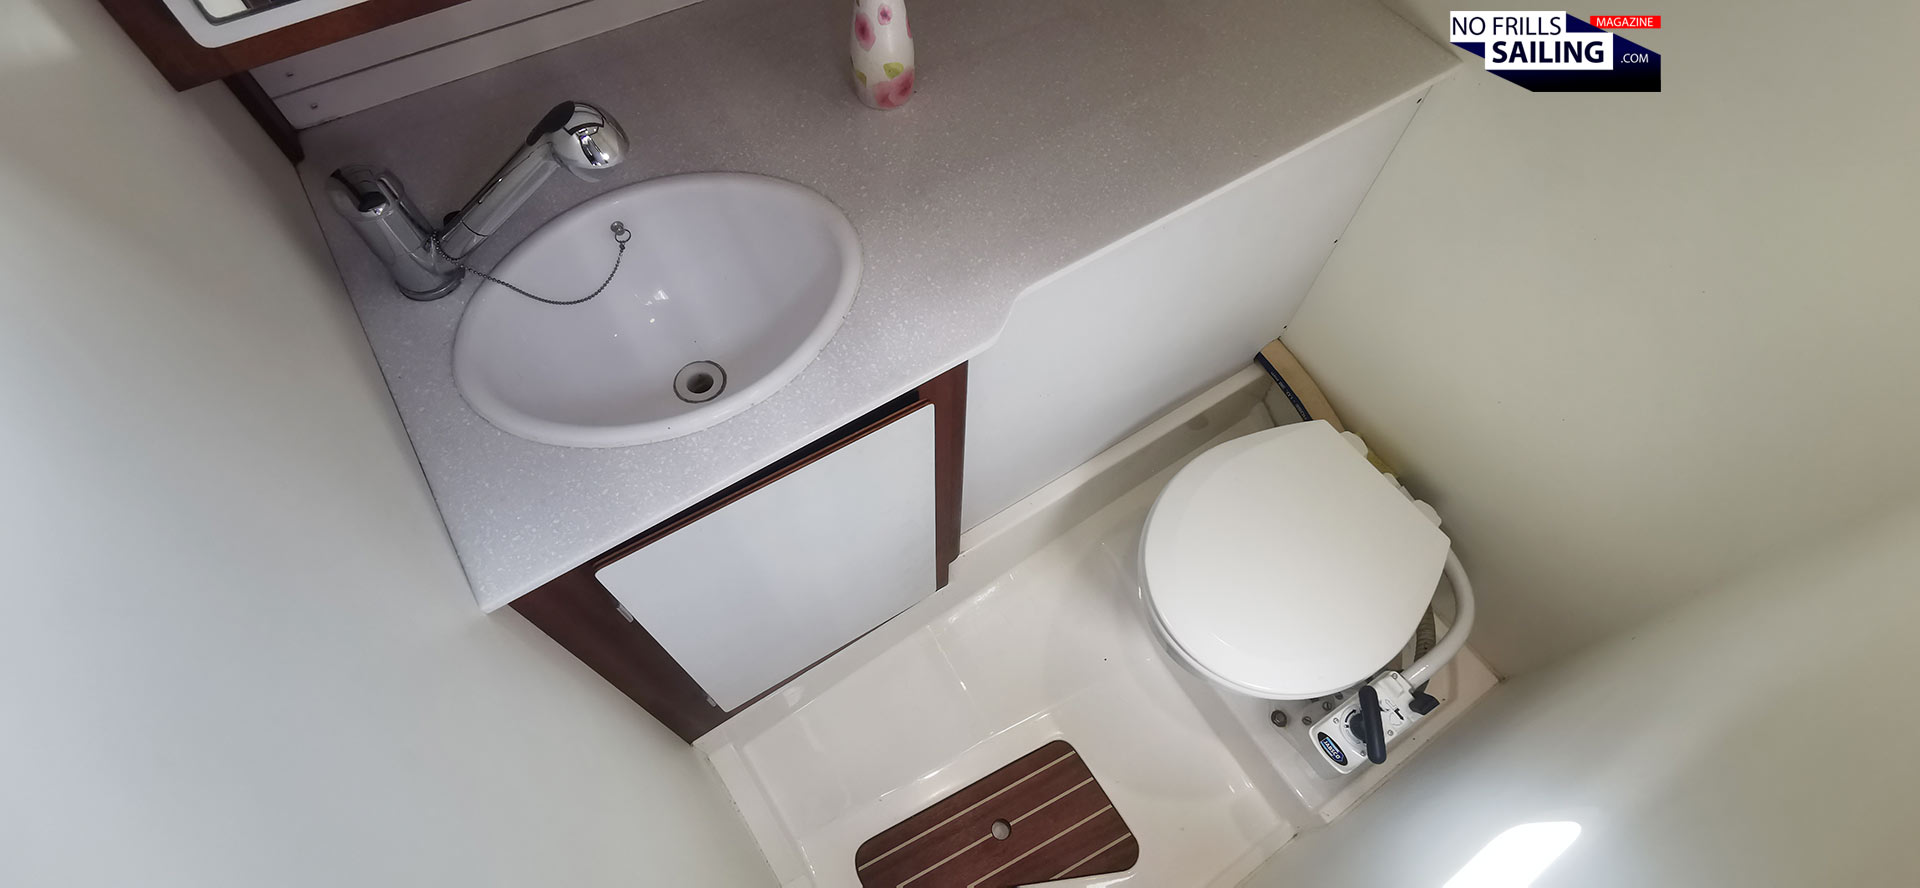
Let´s start in the head. This might be the place with most changes. In the picture above you can see the bathroom of the Omega 42 #401 – hull 1 built here in Germany – of the WINDFAENGER, a yacht my dear readers know quite well now. Stefan, the owner, went for a very classic design and fitting. I´ve already mentioned in the last article that I do not fancy Corian as the principle worktop material for my boat. Instead, I chose a thick, commercial-grade Bamboo worktop. Secondly, his choice for the sink design and the faucet are also not really my taste. But let´s start at the beginning here …
The Omega 42 “set” which had been bought from Sweden consists of all moulds needed to make the GRP-parts for the boat. That´s of course the big parts, like hull and deck, but also the moulds for the smaller parts. One of which is the bathroom floor. Back in the day, the empty head as seen in the picture above appeared to be quite roomy – this will change, of course, when everything is installed. One of the first major changes for #402 ALPHA, which is my boat, was the toilet.
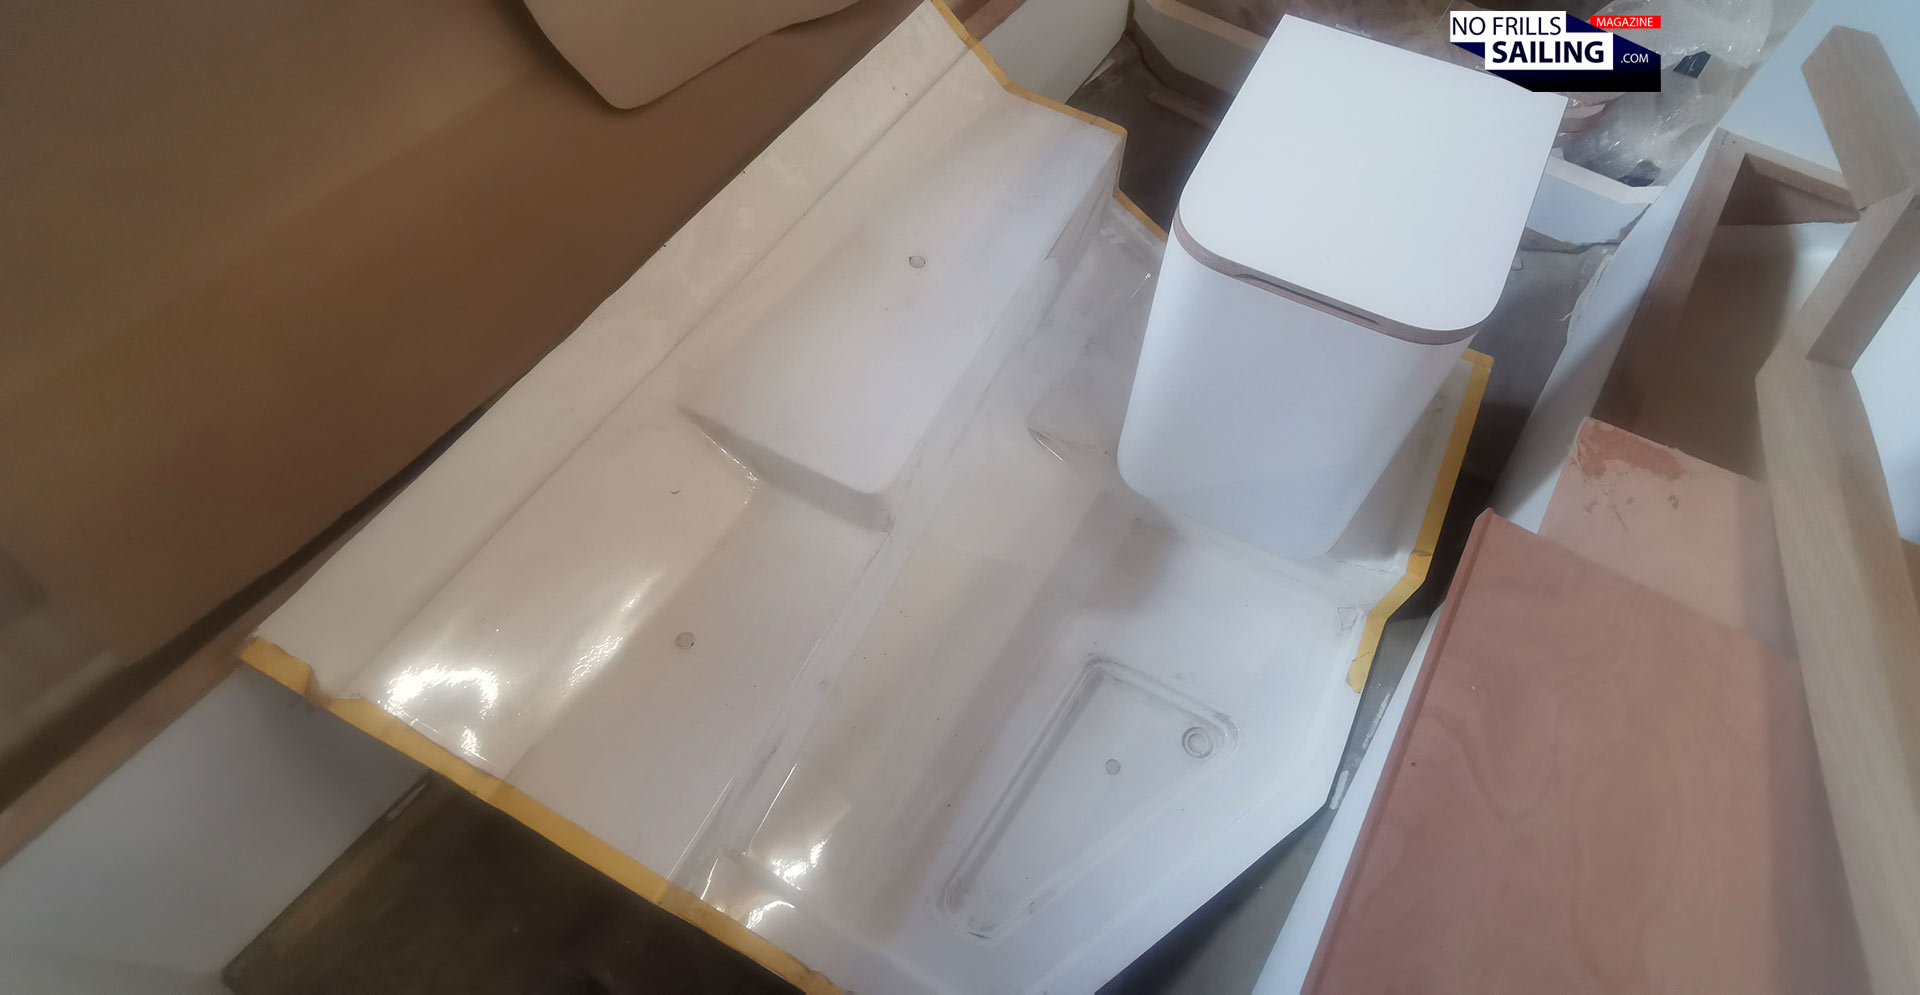
Here we are checking size and fitting options for the new no-mix toilet I bought for my yacht. You see, I don´t want to have a pumping WC in my boat, because this decision alone will save so much work, money and – afterwards – a lot of maintenance and breakdown issues. Since there isn´t a pumping WC anymore, I also don´t need valves (meaning: No holes in the hull, no piping (that can and will eventually leak and stink, no black water tank and hence no hassle repairing, cleaning, emptying of the whole system. Instead, I went for the very simple – and simply working – solid separation toilet. Easy-peasy. By the way: Of course the head of ALPHA will receive a nice massive Teak grating of the kind I sold to my former clients back in the day. That´s just a must have for me.
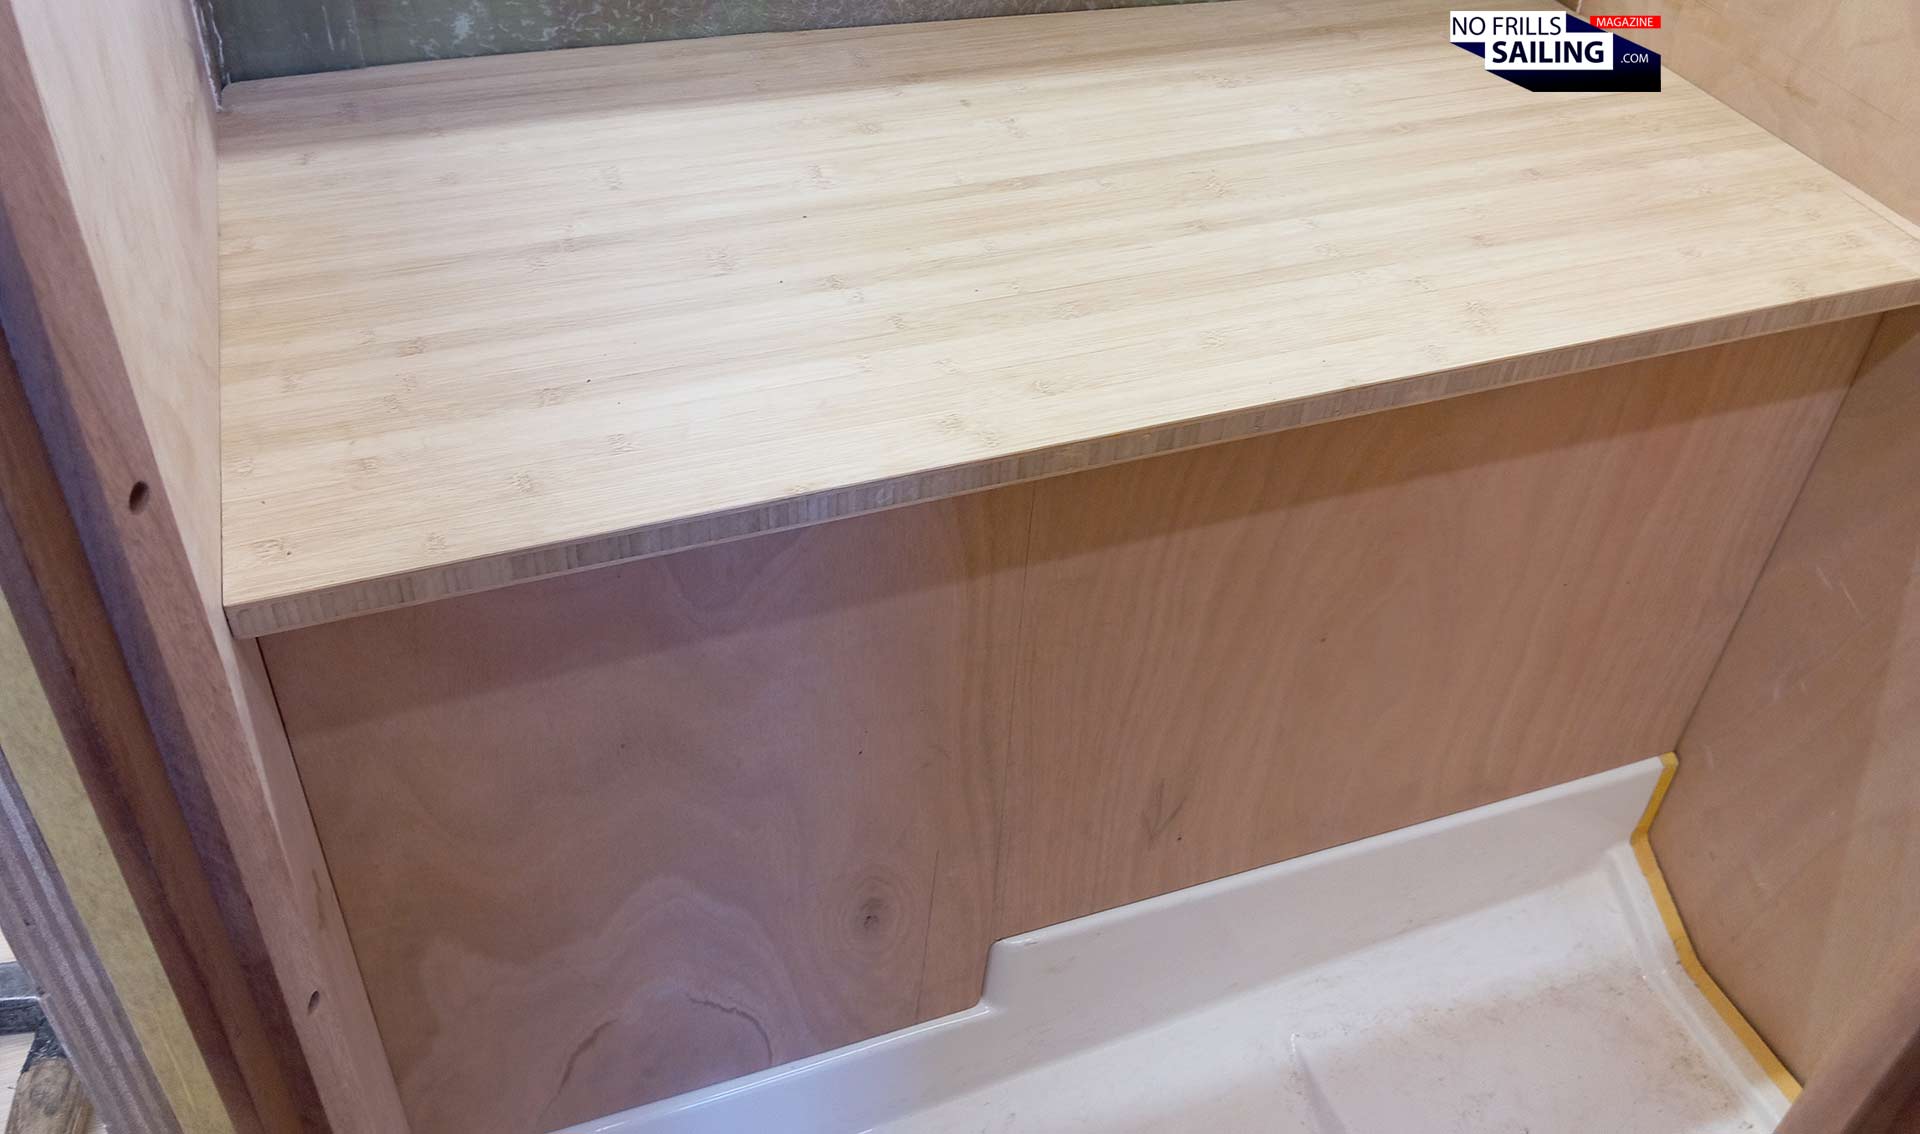
Status quo right now: The basic bathroom cabinet has been made. That said, there´s the nicely done massive Bamboo worktop and a lot of stowage underneath. On the left hand side there will be one big opening door, giving access to the pumping faucet´s piping, fresh water valves and the whole installation. For the right hand side – now empty because there´s no black water tank anymore to fit – I will choose how many access doors or storage shelves I want to have. See, that´s the nice thing: The guys are making the principle parts, I can decide how it will be looking like in detail.
Receiving the (only) door of my yacht
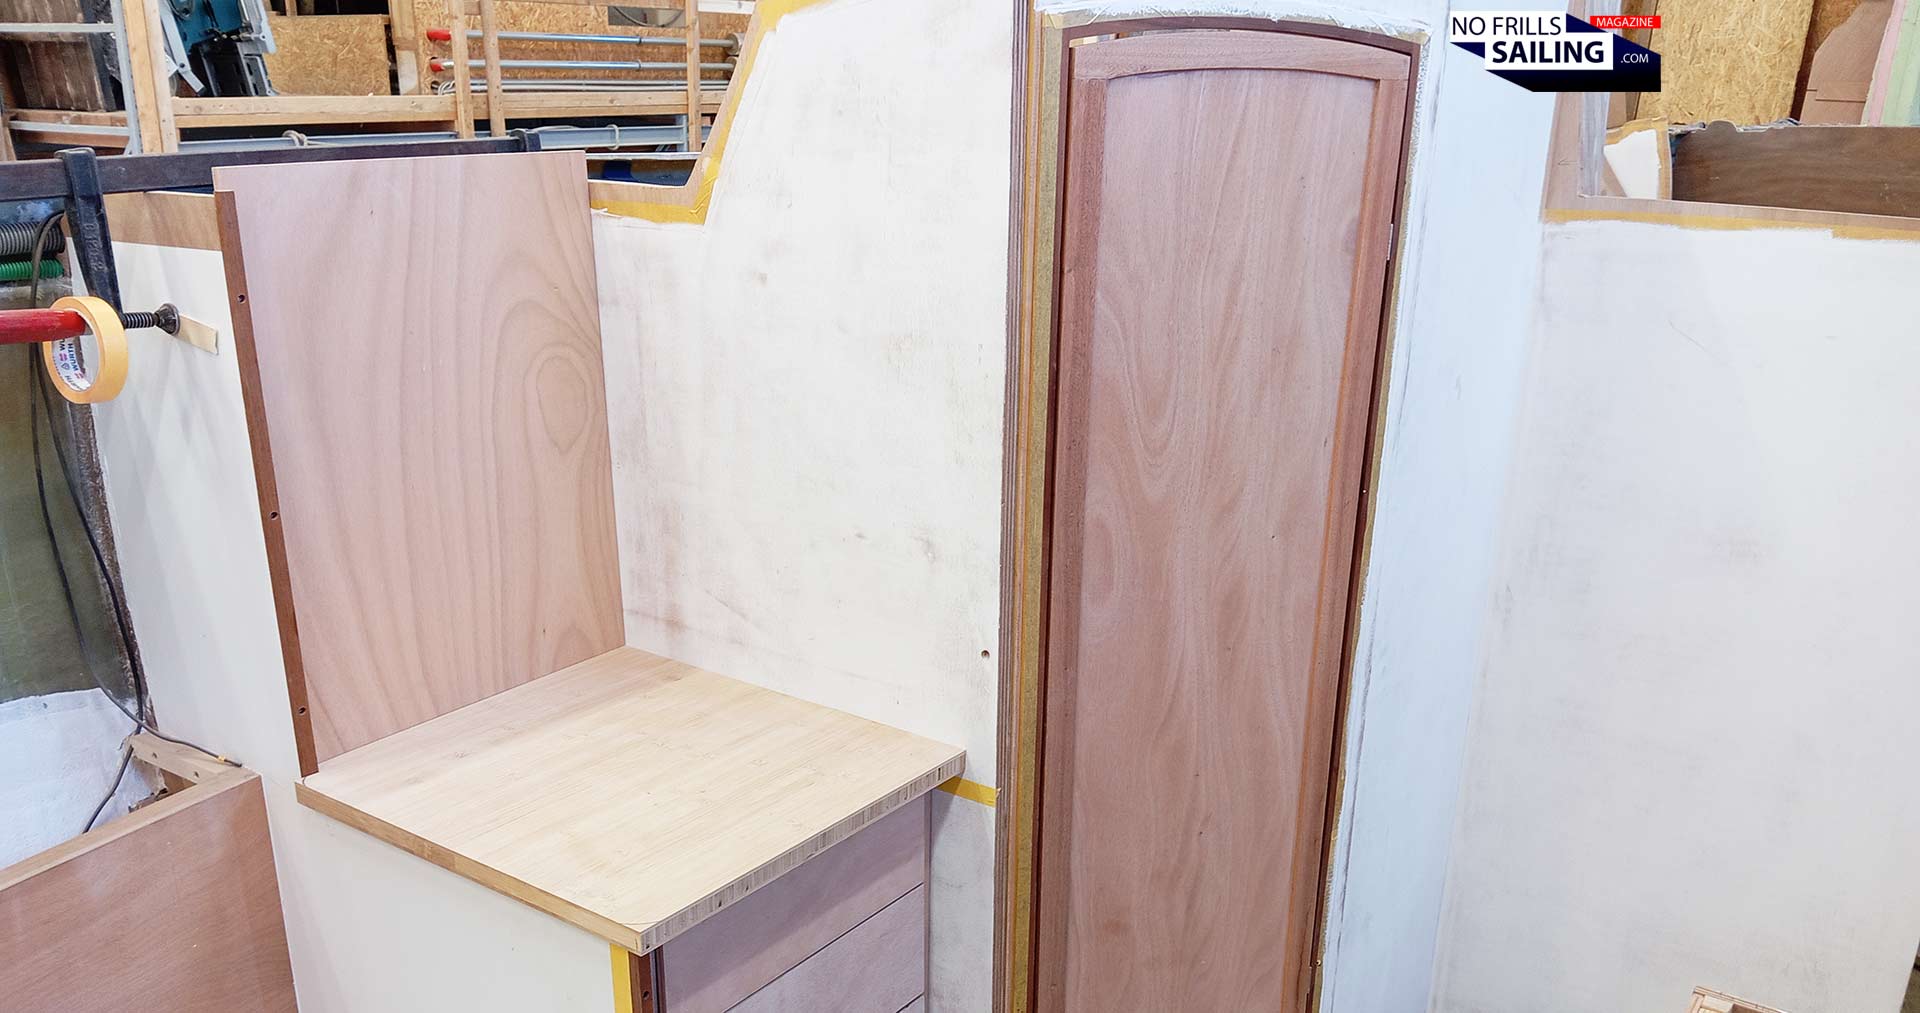
A big step for the boat´s interior was the door for the bathroom. This is the one and only door for ALPHA. Other than in Stefan´s boat, I decided to not have any cabin doors at all. That´s because my yacht will be a family boat and mostly sailed single-handed or in double mode. That´s my wife and my kids basically. No need for doors. This decision alone saved a lot of money upfront, at least 15 kilograms of weight and – most importantly – “opened up” the boat´s interior visually, because now you can enjoy a breathtaking, unrestricted view from the aft cabin all the way to the front berths
But of course, we need privacy for the bathroom. That´s a learning from previous cruises, especially aboard more performance oriented boats – just being able to close a proper door does propel wellbeing and a general good feeling whilst doing your private stuff. That´s, by the way, one of the big no-nos of the then-new Dehler 30 OD: There are folding doors, but you could still peak inside (or outside), which is not very private. I quite liked the folding doors aboard GEKKO, my last boat, and so a full proper door for the Omega´s bathroom was a must. Next decision here: Which door hardware to chosse?
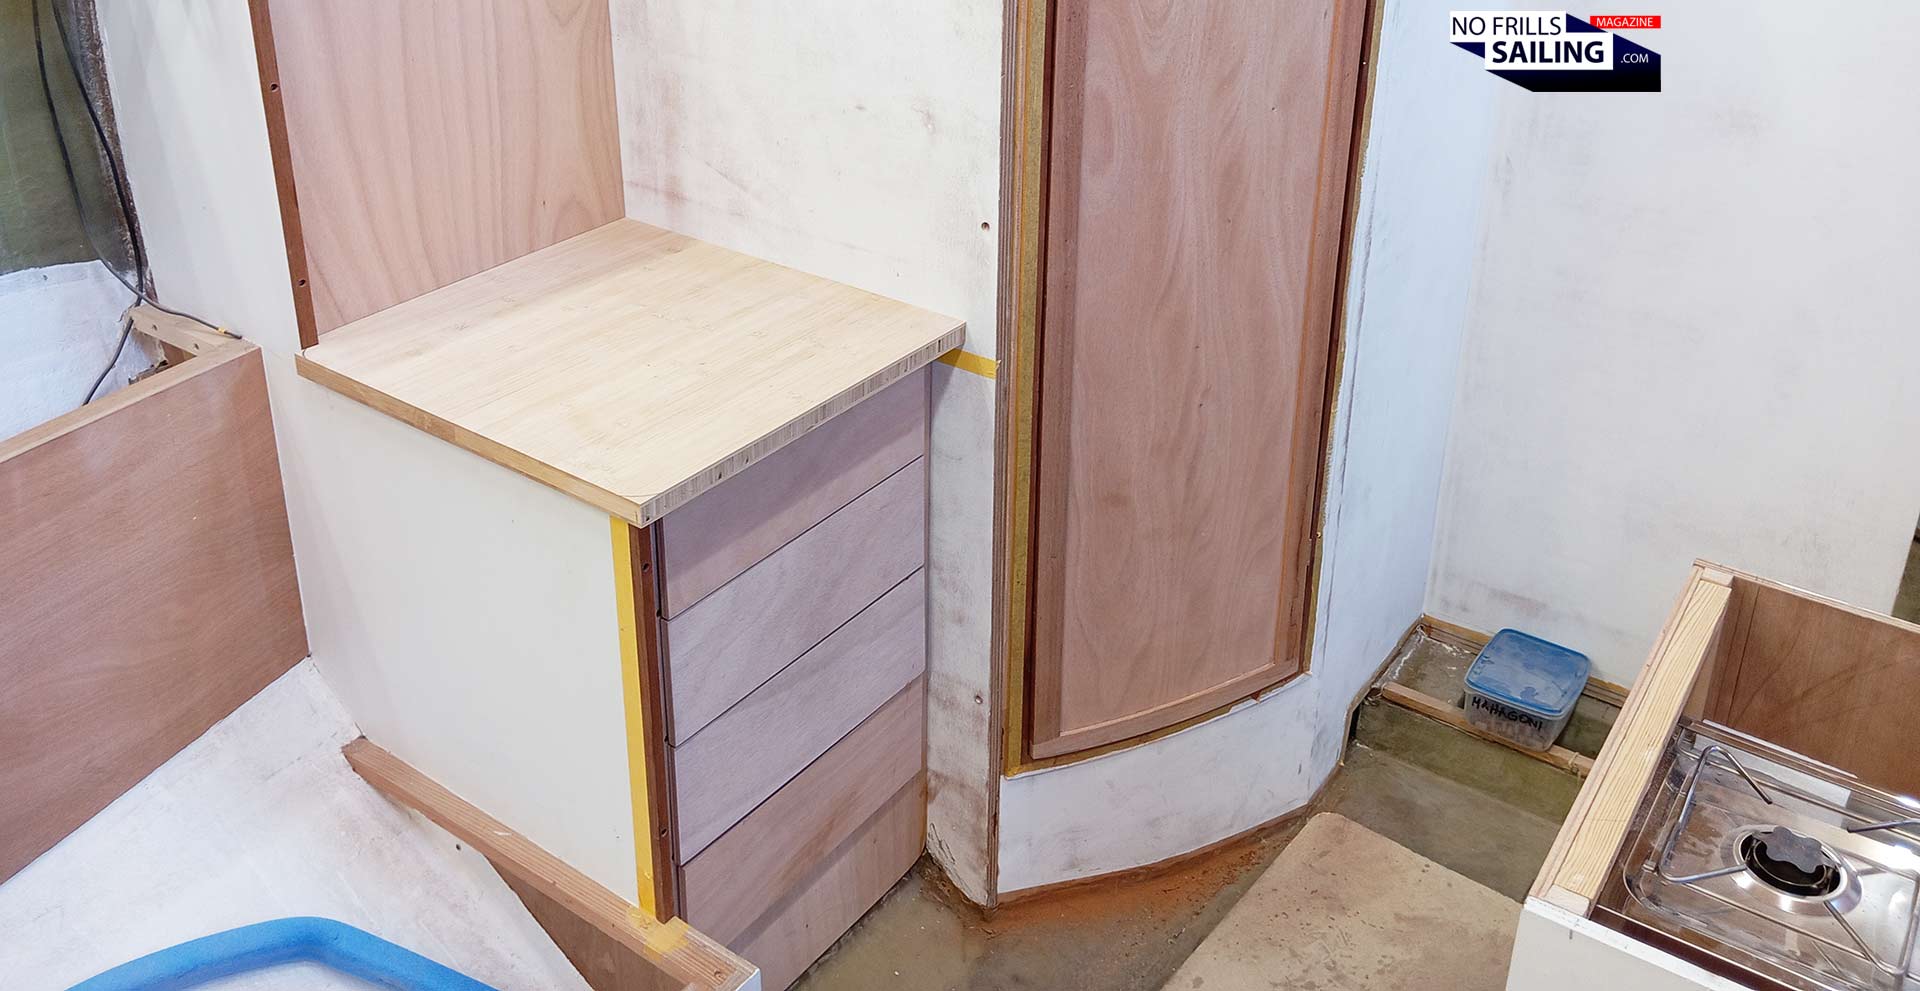
Speaking of finished parts, left of the newly fitted bathroom door you can see the finished nav station. There´s a small “chart table”, though I´ll never do any chartwork there, Underneath some skipper´s stowage with four large sliding push trays. Perfect to take on all the stuff you need when sailing: Official papers, Binoculars, Searchlight, guest flags and such. Above the worktop, at the wall, the wooden facing for the main switch panel is also already fitted. Here I also want to fix the charging station for my Orca tablet navigation device and some displays for battery level and such.
The customized galley of my Omega 42
The second area in which most customizing decisions are to be made as an owner is the ship´s galley. As you may know, I love cooking on boats, be it the opulent “we have arrived”-meal, a nice snack underway or the quick – but so, so, so necessary – hot midnight shift´s meal. A ship´s galley is so individual as the skipper and his crew. For my boat, I changed the galley´s appearance and setup completely in comparison to the rather classy design to be found on the first Omega 42.

First of all, not unlike my decision for the simplest possible solution, I got rid of the liquefied gas stove. That said, this decision alone will spare the maintenance and bi-annual certification of the gas-installation. No more gas bottles, no more risk of leaks, no piping. Instead, I opted for an almost forgotten, but still valid, technology: Liquid spirits burner. This once widespread used kind of creating a flame to heat up stuff in your kitchen has now become a niche. But it´s still there – and it works!
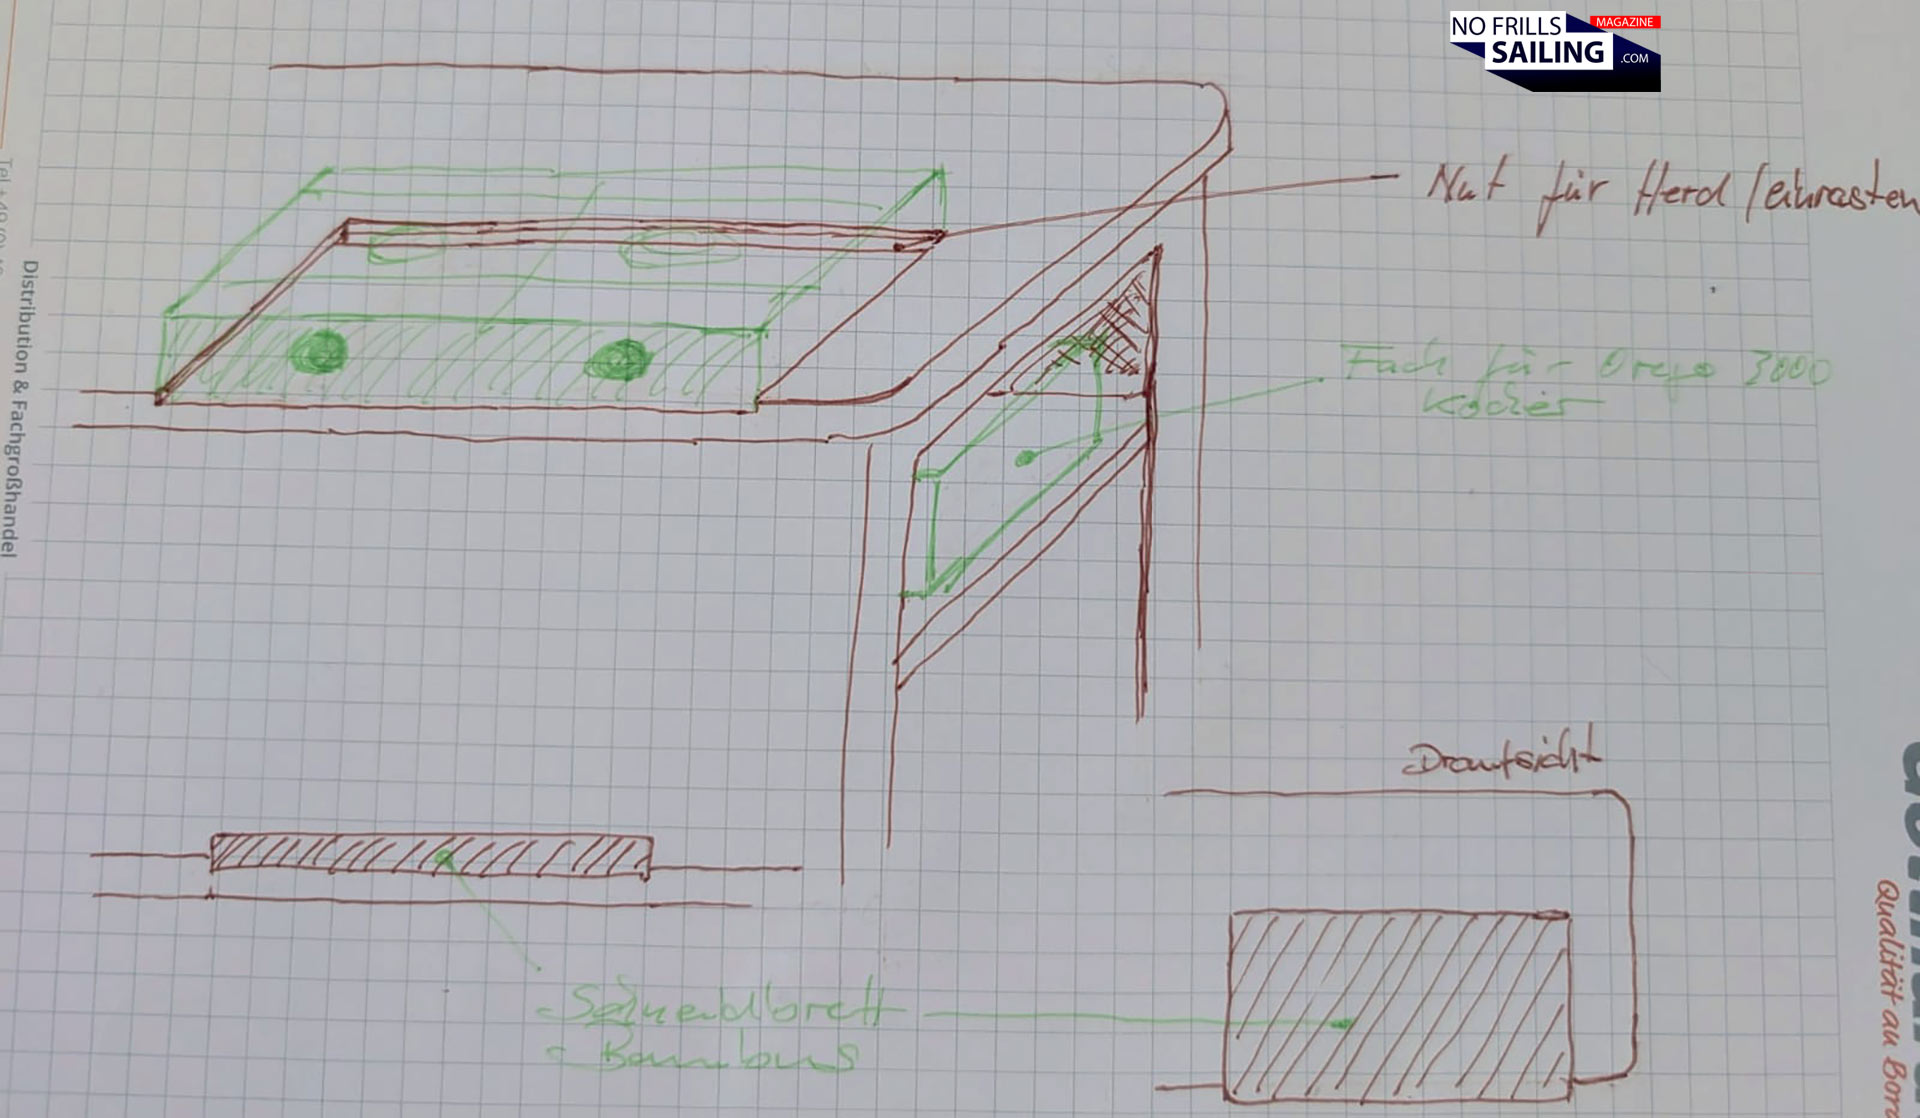
I found a manufacturer who still offers the legendary Origo 3000 liquid alcohol burner. After acquiring it, I tested it at home. The test was done with a stop watch: How long does it take to bring 1 liter of water to a boiling state? I compared the elapsed time with my electric Ceran stove at home. To make a long story short: The 2 kilowatts of burning power are not much slower than the home-grade stove. But my decision for this type of stove did entail some other changes too …
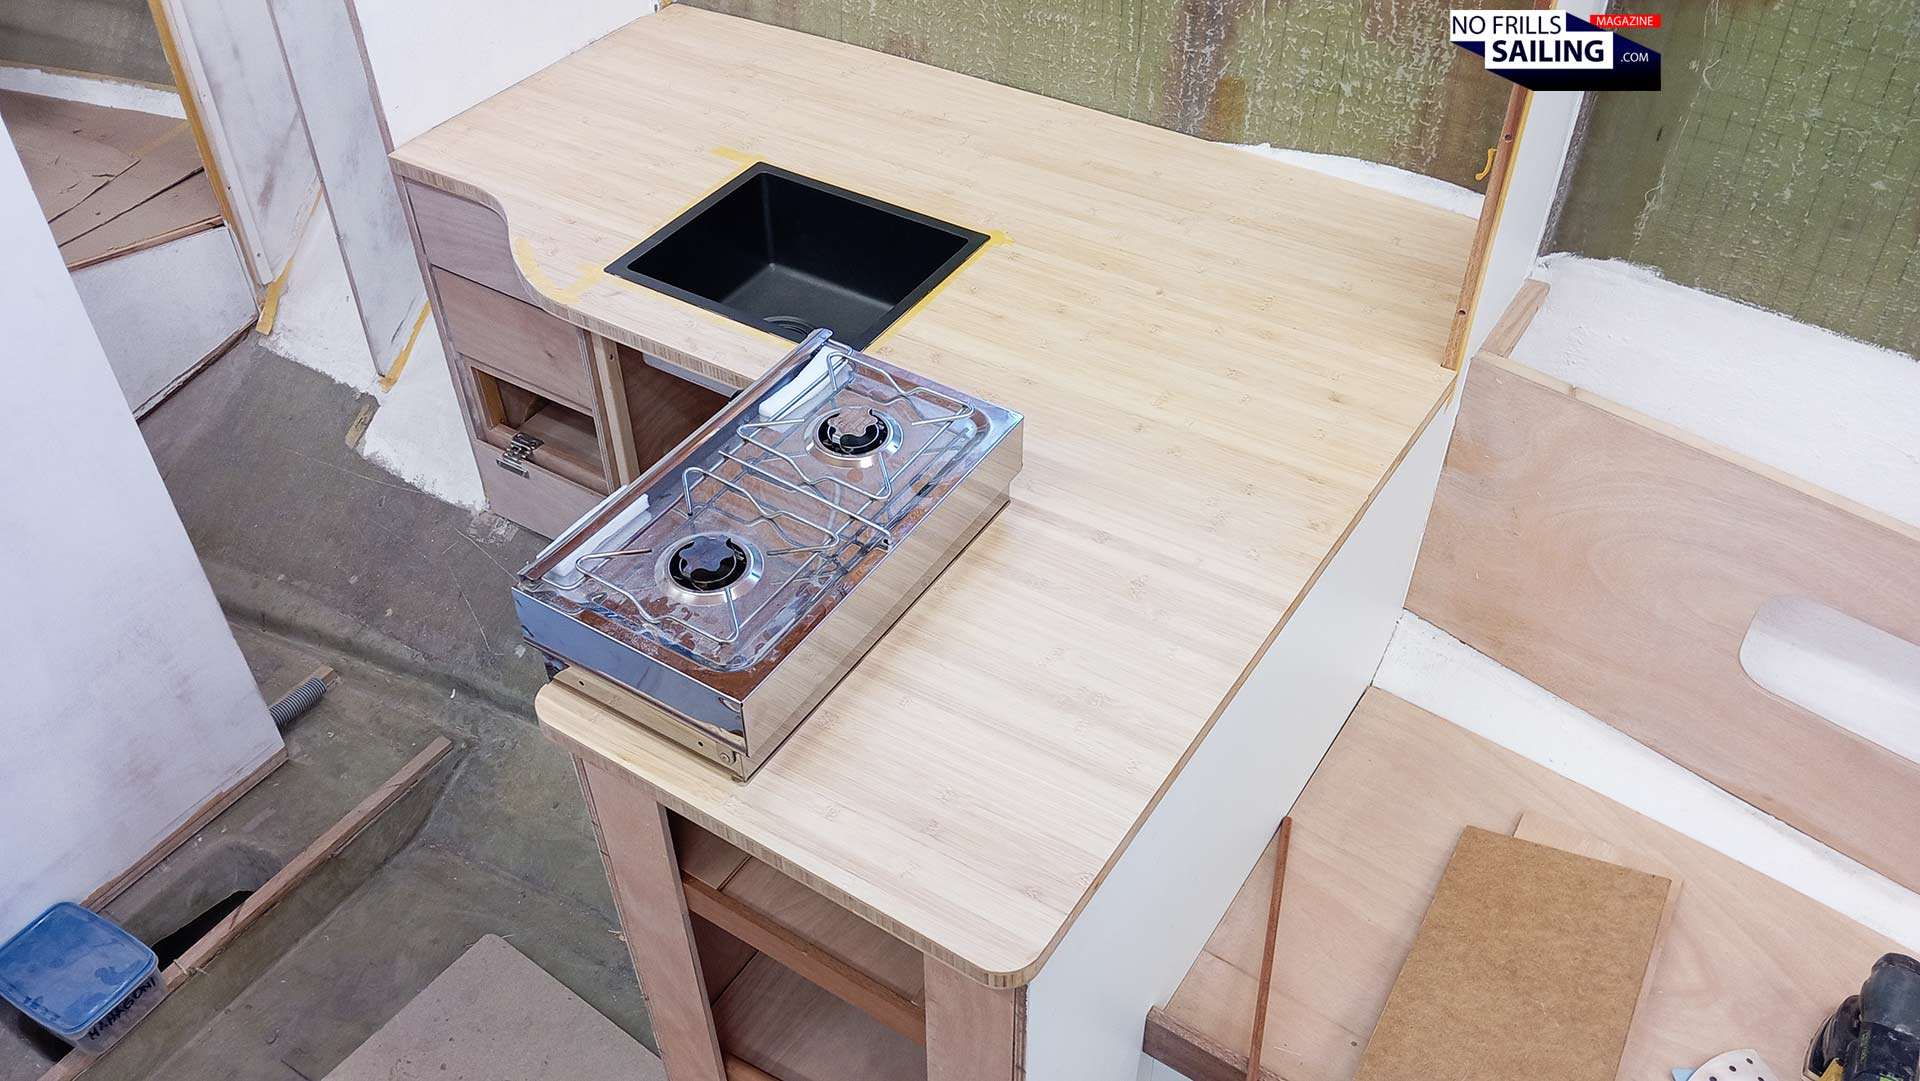
First of all, because of fire prevention and CE-rules, we had to switch locations for the stove and the main sink. That said, the sink will now be situated at the wall-facing side of my L-galley with the stove to the forward facing part. My stove does not come with an oven. Simply because of the fact that I never ever used an oven when sailing. It´s a waste of material, money and weight. That said, the stove would have needed quite an ugly suspension for fitting a gimbal. Also, I don´t think that fitting a gimbal along the longitudinal axis will do the trick – so I skip it.
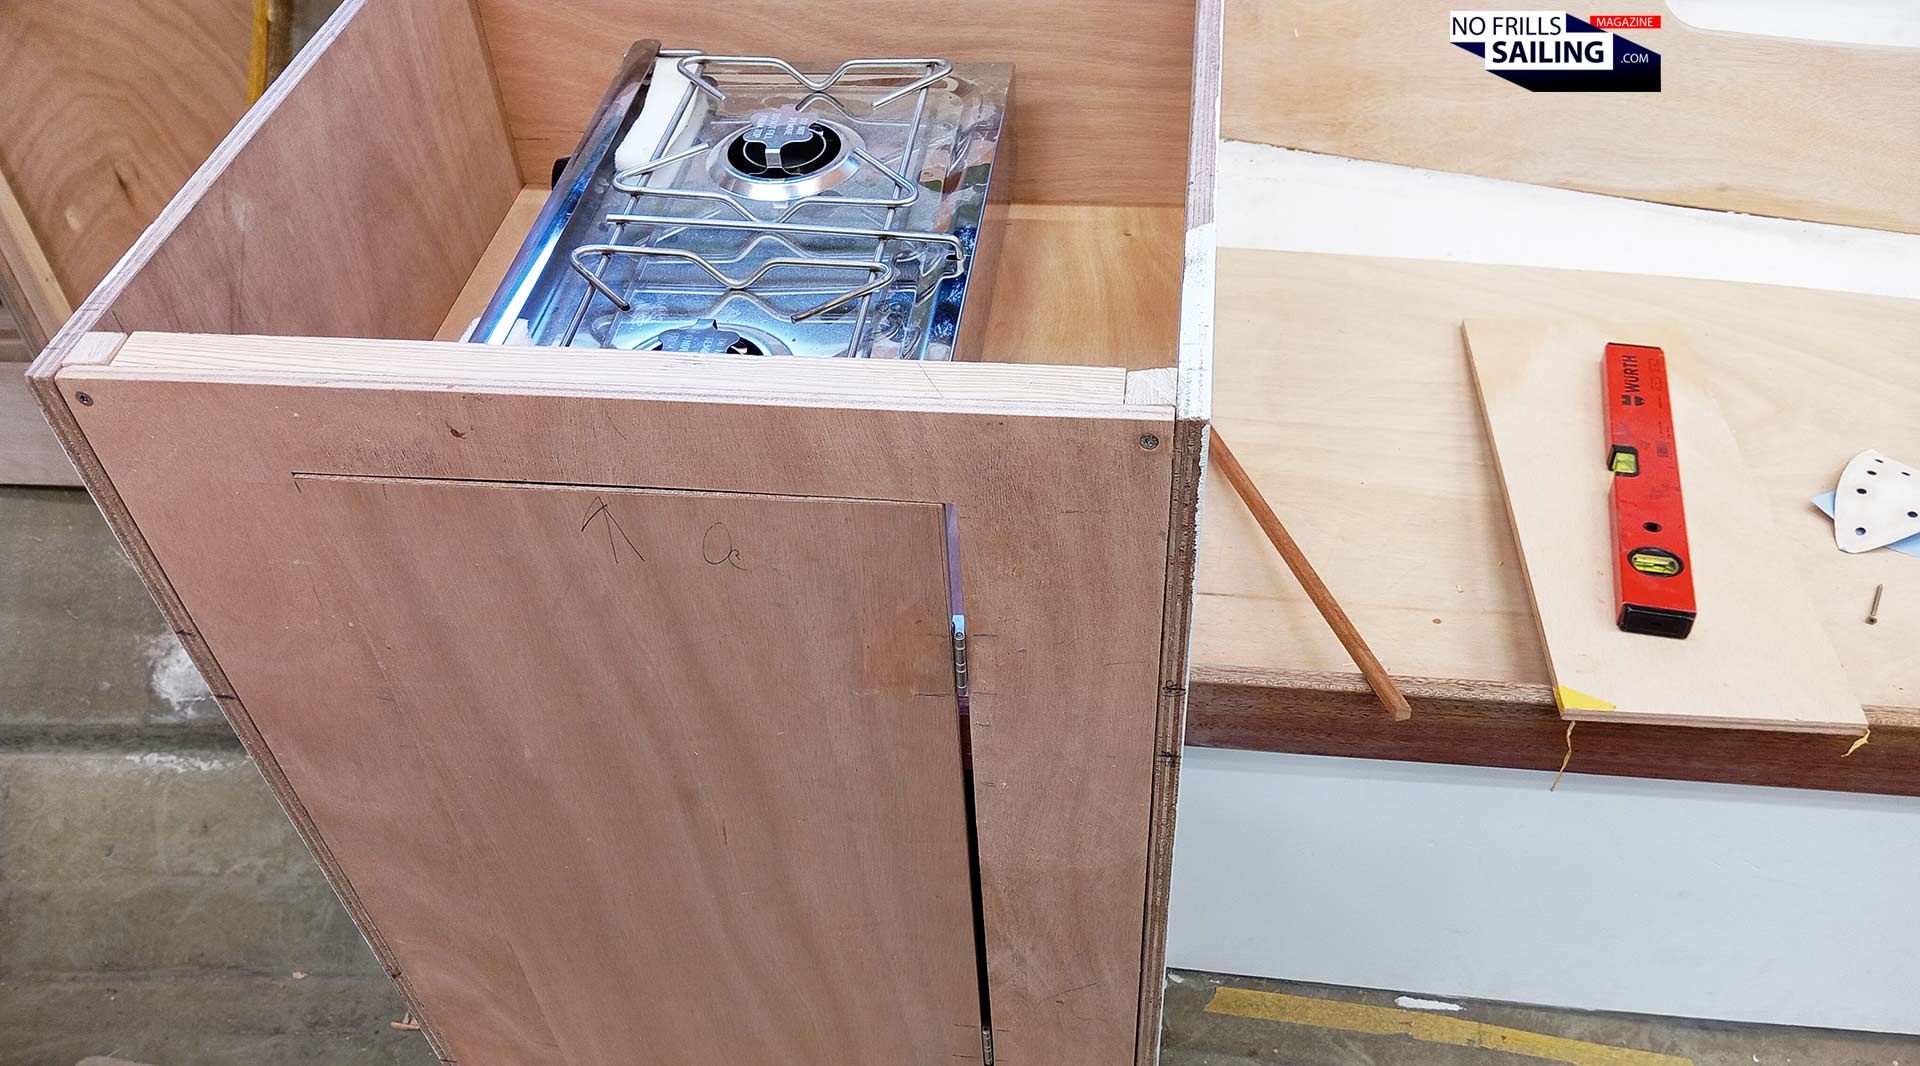
Instead, the stove will be built in like they do aboard catamarans, no gimbal at all. This also means, that cooking underway will be limited to a gimbaled one-flame burner. I will probably install a Jetboil, which in my eyes is the best single flame fast-cooking device on the market. Eating underway aboard ALPHA? One pot meals and drinks. Opulent cooking will be done when in harbor our at anchor, which is anyway how I usually utilize the galley.
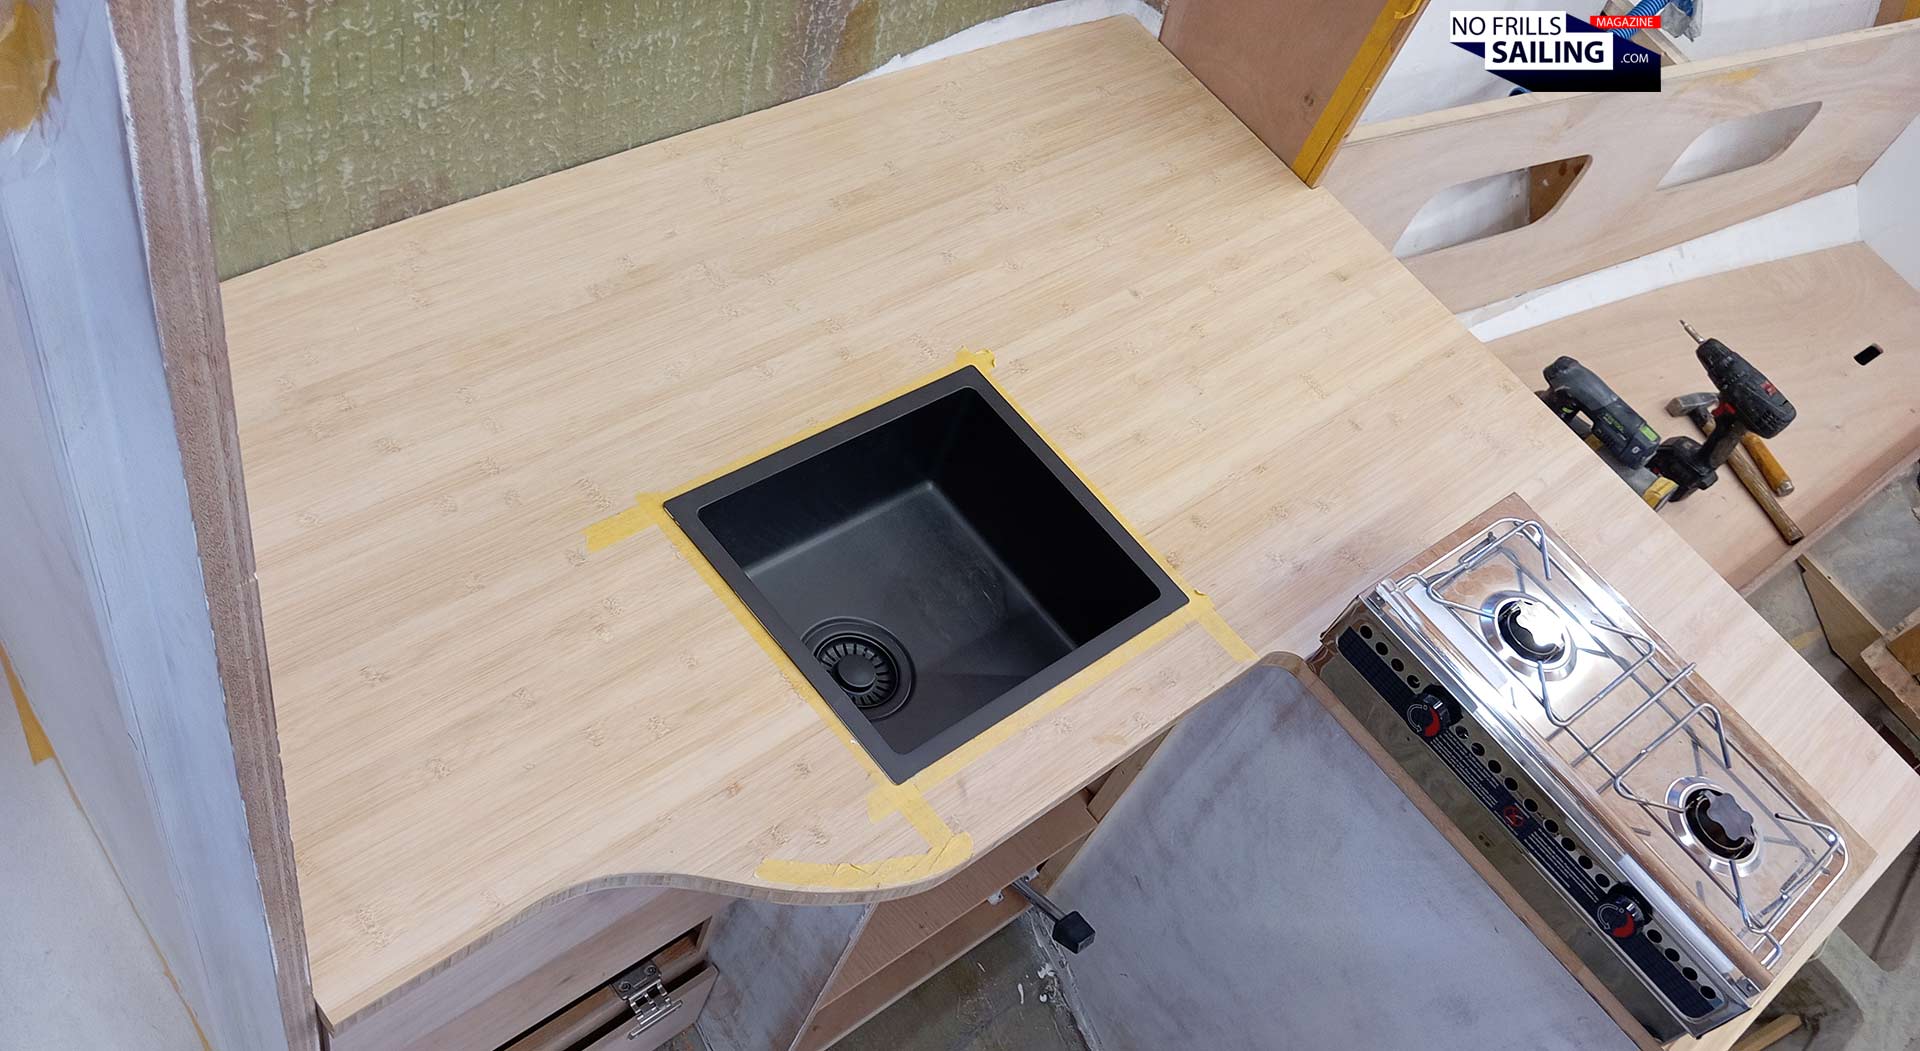
The guys have also fitted already the sink. I went for a large, black anodized sink with a modern style. It fits the overall more “modern” look of my boat´s interior. The task now is to identify and buy a fitting faucet. I already found one or two which I really like in terms of their design, but these are chrome-plated – I need black anodized. We will see. I am pretty sure we´ll find one. By the way, a sink one size smaller of this manufacturer will be fitted to the bathroom soon. Same vibes throughout the whole yacht …
Wood or glassfiber?
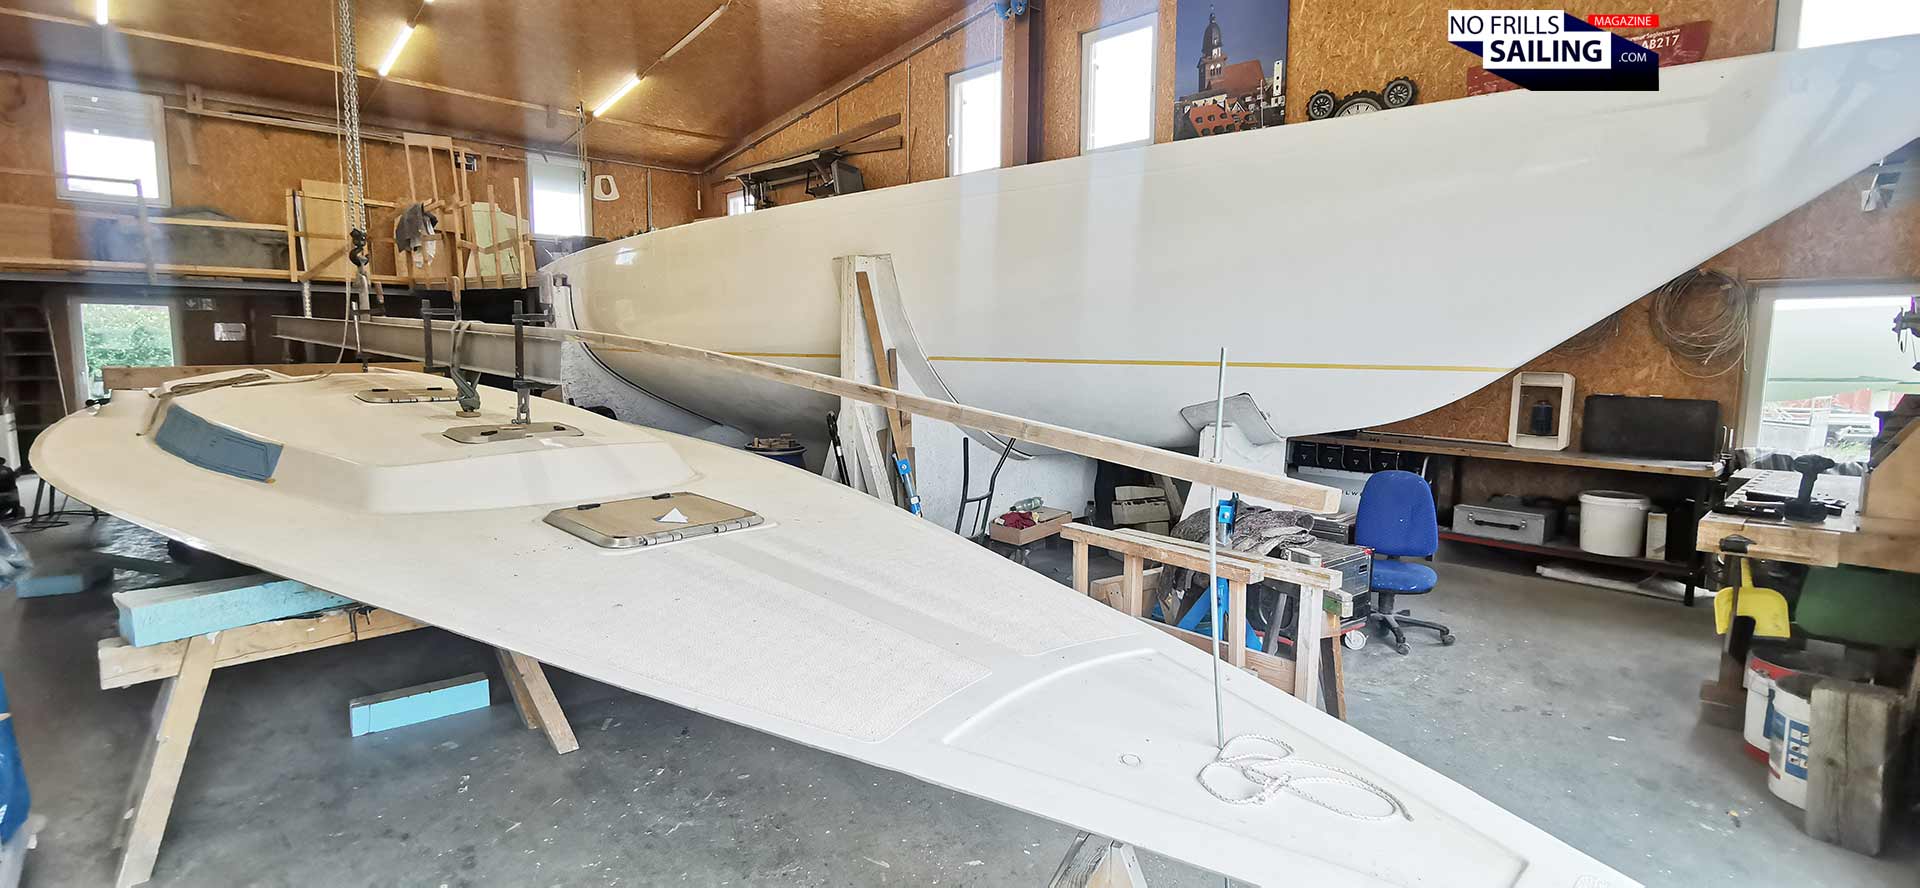
Let´s switch from down below to another interesting detail, which is to be seen on deck. As I mentioned earlier, the boat does come with some custom made GRP-parts, like the deck/floor structure for the bathroom. One of these small parts is the companionway sliding hatch. It is something special: Usually, the hatches – made of tempered glass or cheaper Acrylic – are simple straight boards, sliding on GRP. For the Omega, the hatch isn´t made of glass or Acrylic, it´s made of glassfiber – but it is bent. That way, water can move to the sides. As the cover also is fitted outside of the slides, no water whatsoever can enter the boat´s interior. Above it, another glassfiber-part is fitted, the housing, or “garage”. Here, the guys sent me pictures for the display housing.
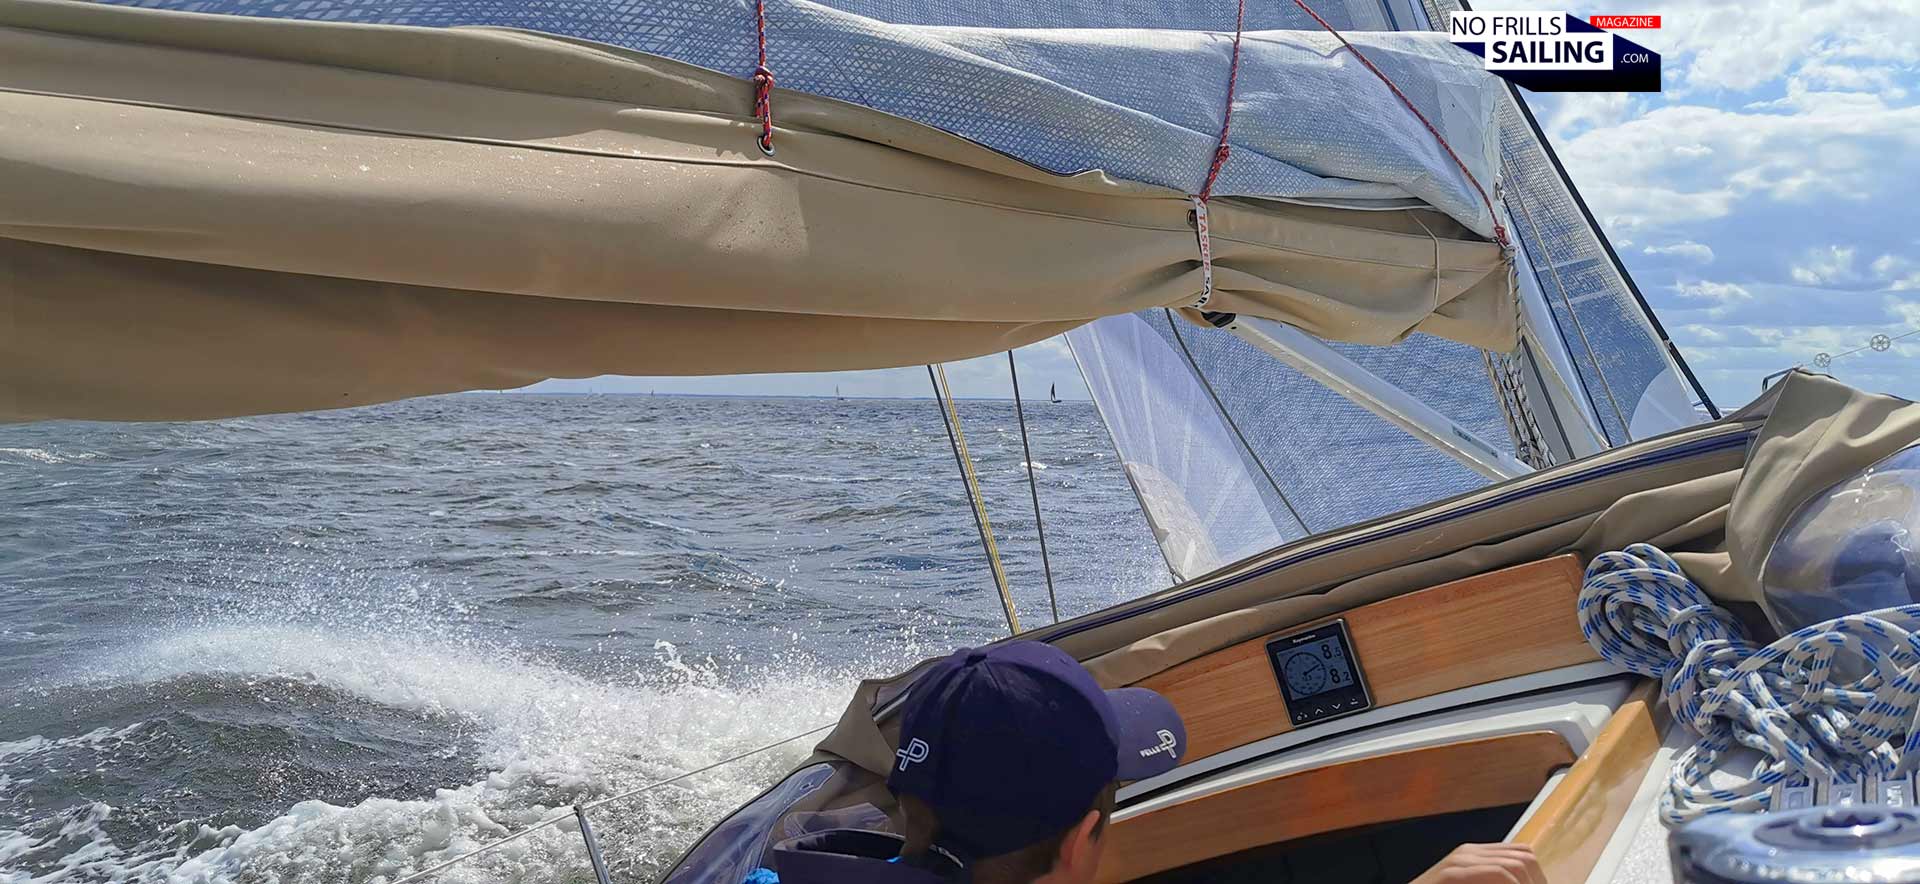
As you can see in the first picture of this chapter, taken back in the day when we raced the Omega 42, on the first boat this display-cover is made out of wood. It´s a nice detail and really looks fantastic. The downside to it is that it is prone to water damage and must be maintained very cautiously. I´ve discovered some wear and tear already on Stefan´s boat. So I asked the shipyard if they could make the housing – as it is constantly sprayed with salt water all the time – in plastic instead. Of course they can!
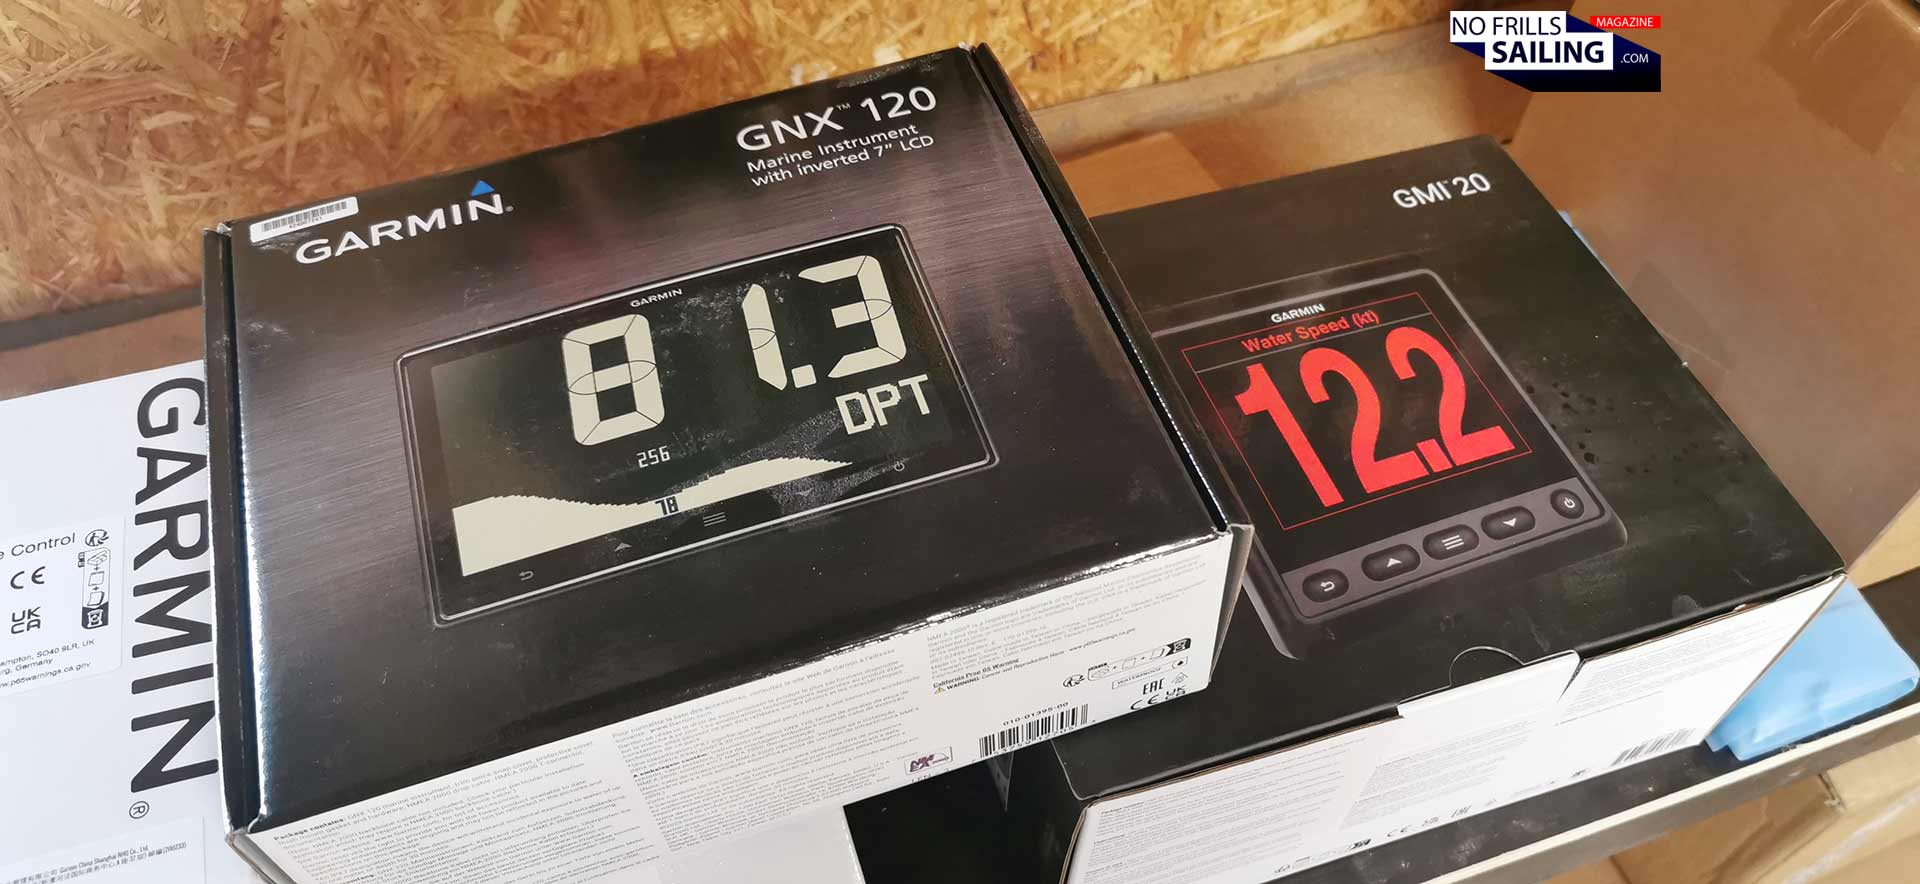
This housing will later take on two Garmin displays. The multifunctional GNX 120 display that is slightly bigger than the usual square displays, and the main display for the Garmin autopilot. You already know that electronic equipment for a sailboat takes a lot of budget. From the start of this project on I tried to limit my boat´s electronic setup to the most necessary parts, keeping it as simple as possible. Nevertheless, it´s quite a number of displays and devices. So I want to keep them as protected as possible.
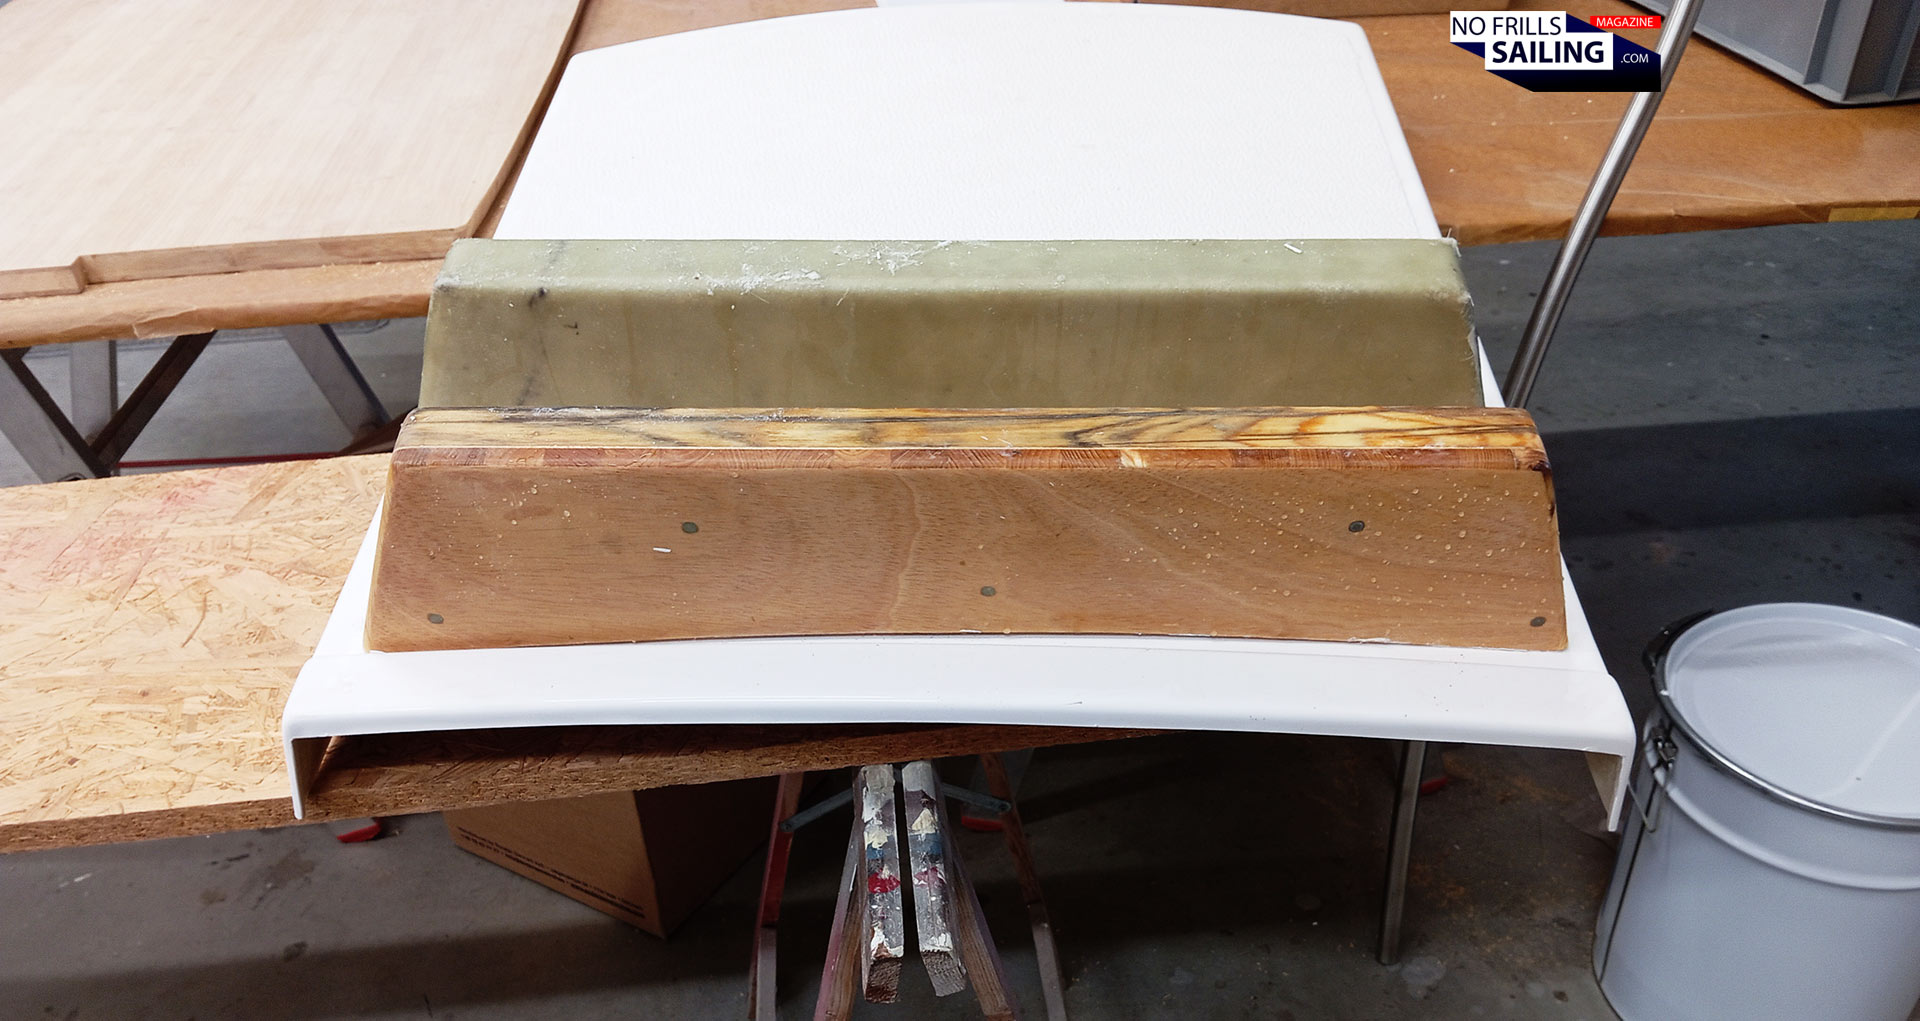
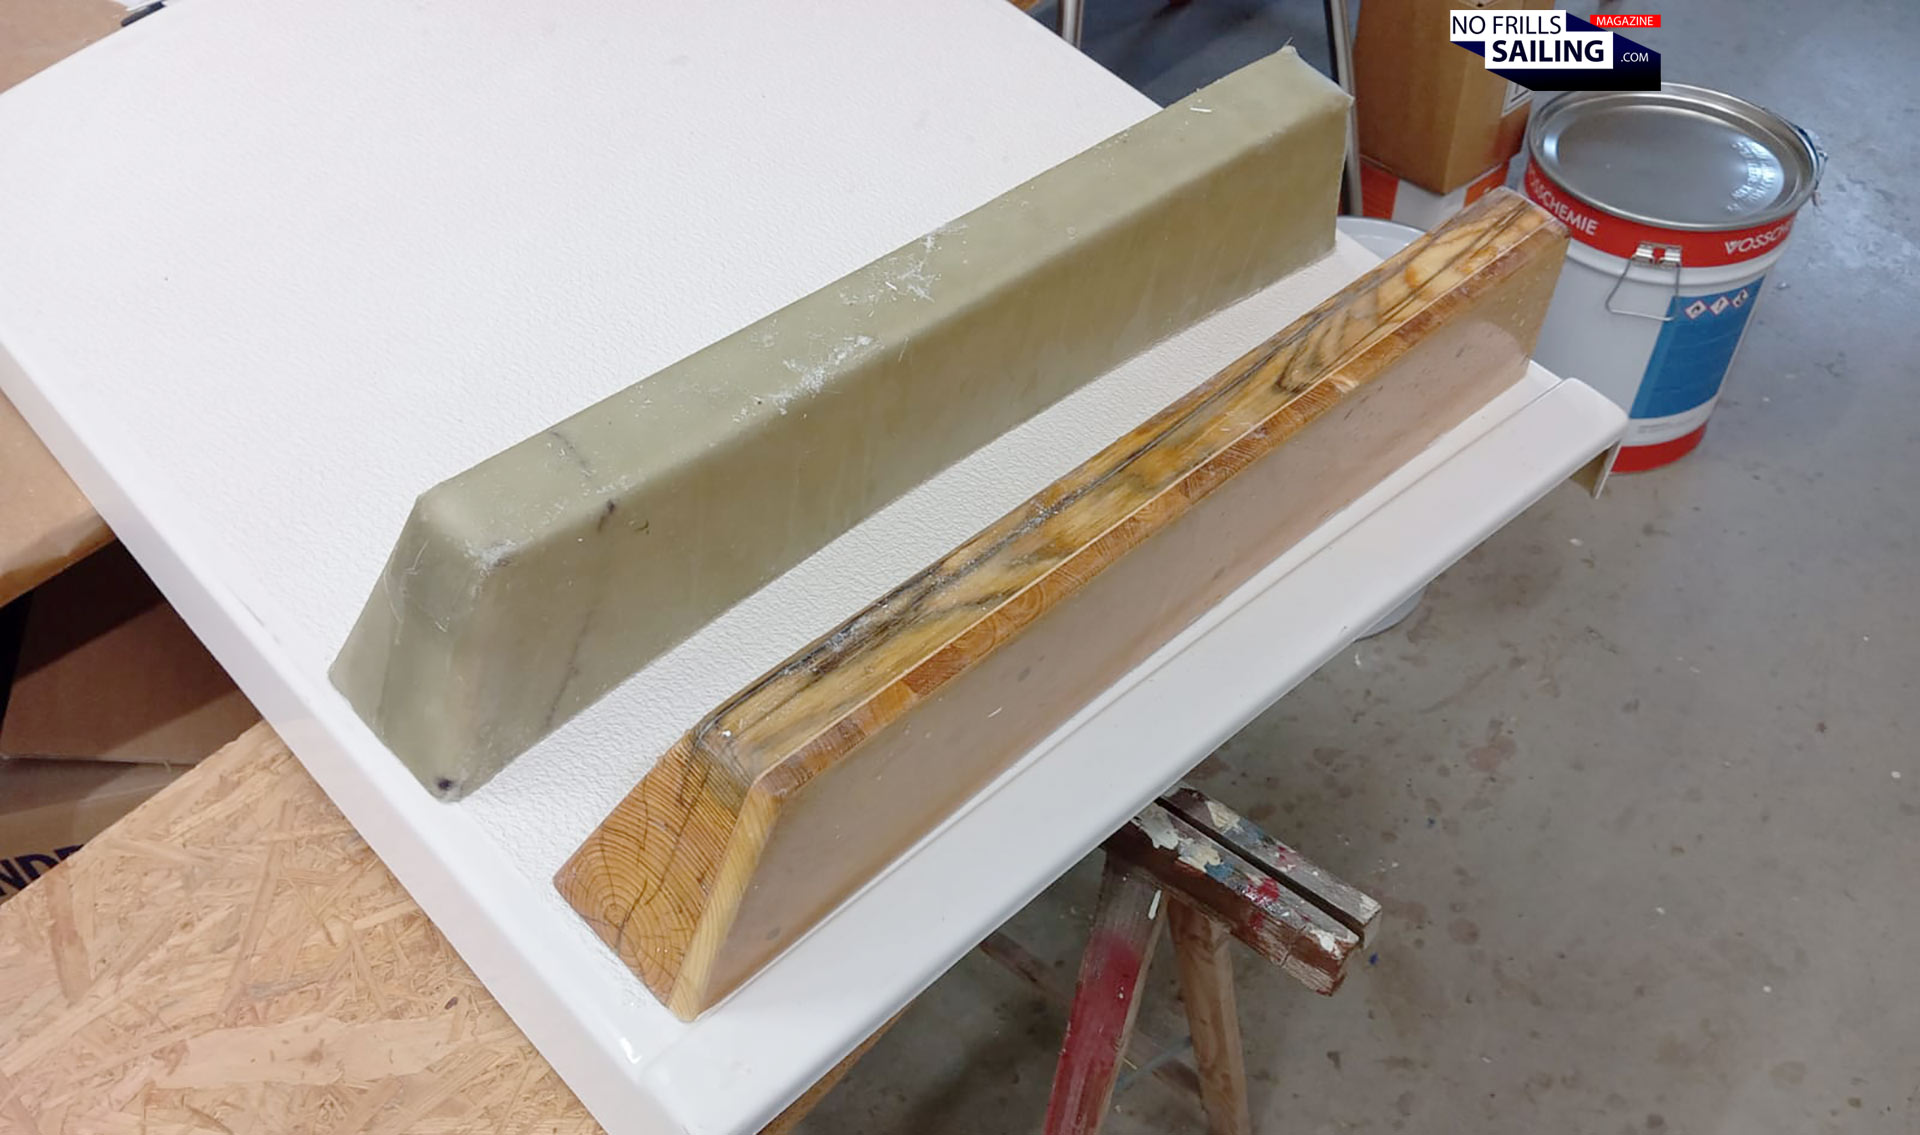
That is why I refrained from having the display panel in wood. It might look much better – and it does! – but having it made from glassfiber will make sure it is absolutely waterproof, will remain watertight in constant spray and even when the boat should take in a big wave in a storm. In this, the massive wooden gauge model you can see in front of the raw GRP-housing had been utilized as male mould for the product.
With this part also the installation of electric wires has started. I am currently working on a shopping-list for all parts and products needed to fit both the 230 Volts shore power circuit and the 12 Volts domestic/engine circuits. This incorporates everything from main switches to fuse, from cables of variable diameters to batteries and of course the main switch panel. This will be one of the next in-depth articles: Exciting times ahead!

So much fast progress – still a way to go
Speaking of exciting times: Finally, in the coming days the keel for ALPHA will be devilered. Even if this part is one of the very last to be fitted before the boat is leaving the shed and put into the water next spring, it´s a huge project drawing to an end. I am still a bit sad of the fact that I haven´t been allowed to witness its casting, but anyway, there is something very special about the keel. By the way, the process of smoothing and covering it in multiple layers of glassfiber to seal off the poisonous lead will also be very interesting to write about.
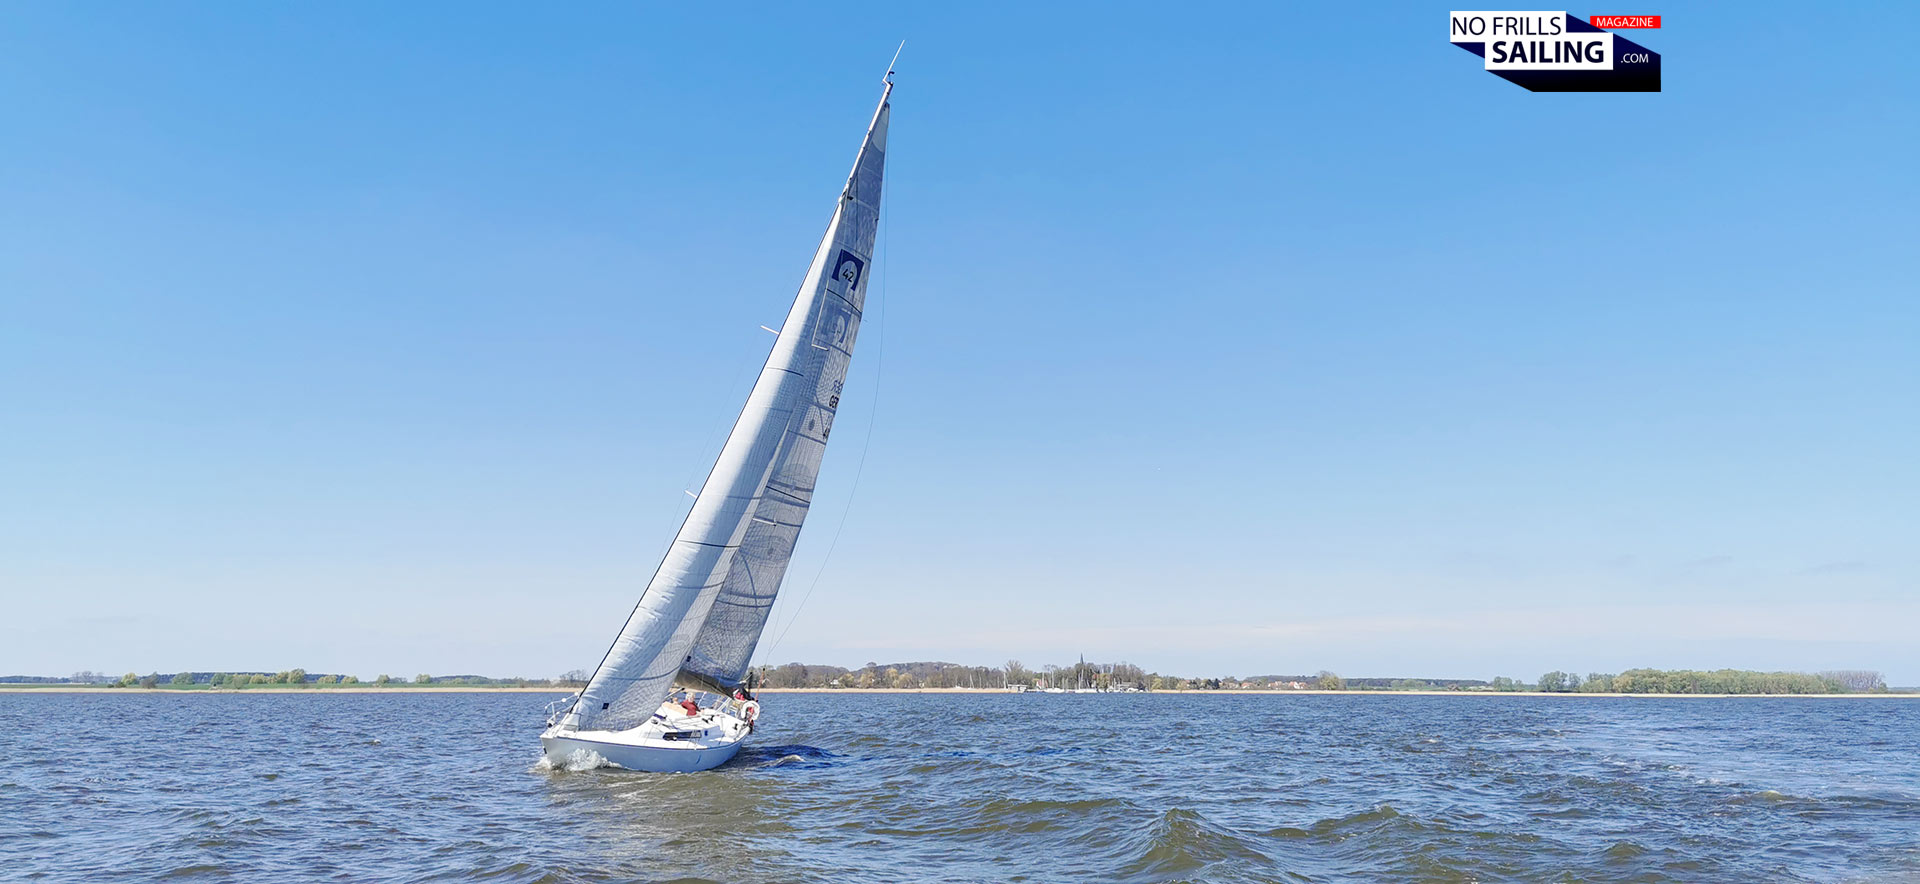
So, it will take quite a bit of time until I can post a picture like the last one of myself finally sailing my own Omega 42, but along the way you can be looking forward to a number of detailed work-in-progress articles, that´s for sure.
You might also be interested in these related articles:
Boat joinery in big scale: At the Bavaria shipyard
Stunning quality and craftsmanship at Linjett Yachts
All building progress articles of my Omega 42