I hope you all had a great Christmas season and New Year´s Eve and some wonderful time off your jobs spending with your families and beloved ones. Welcome to 2018! I was actually able to pull off some spare time during the holidays to work at the King´s Cruiser again: Lights were on still until late night and I´ve really made some nice progress.
Having received another shipment of Teak batten I could return from the more small-parts stuff as done lately in the saloon with mounting some decorative Teak elements to the new roofing (read it here) and go on working in the fore cabin again. And indeed, I was able to finally finish the rough works concerning the Teak ceiling in this cabin. What a joy!
About some Challenges & Problems in Yacht Refit

As I have laid out in various other articles how I actually make the Teak ceiling (read it here) I do not need to tell you what the course of action in this case was. Instead, I´d like to point to some challenges and also problems I encountered in working at the ceiling. And some of them even came up after finishing the works. I assume this would be also an interesting read for you and I hope to offer a perspective for you guys currently in refurbishing-action as well.
All in all, to begin with this statement, I am very much satisfied with what I´ve done so far in the fore cabin. It was a very complex project (you may remember that I am neither a skilled craftsman nor a trained boat builder) from the start, when I was taking off all the old stuff, made some initial plans (read it here) and finally began to think about how I must structure my work in which steps in order to get the Teak onto the ship´s walls. That´s some 80 net working hours in this cabin alone for now (and it is not even finished) and concerning the starting point I am overall satisfied. But … but there are some things I quite dislike. And here we go …
Joints and Gaps
You can see in the picture that there are – again – kind of bigger gaps where batten and panels are joining. It was simply impossible for me to take exact measurements (no matter how elaborately the gauges and models had been). I tried my best to fit all parts neatly but in the end it almost always ended in shockingly big seams and gaps.
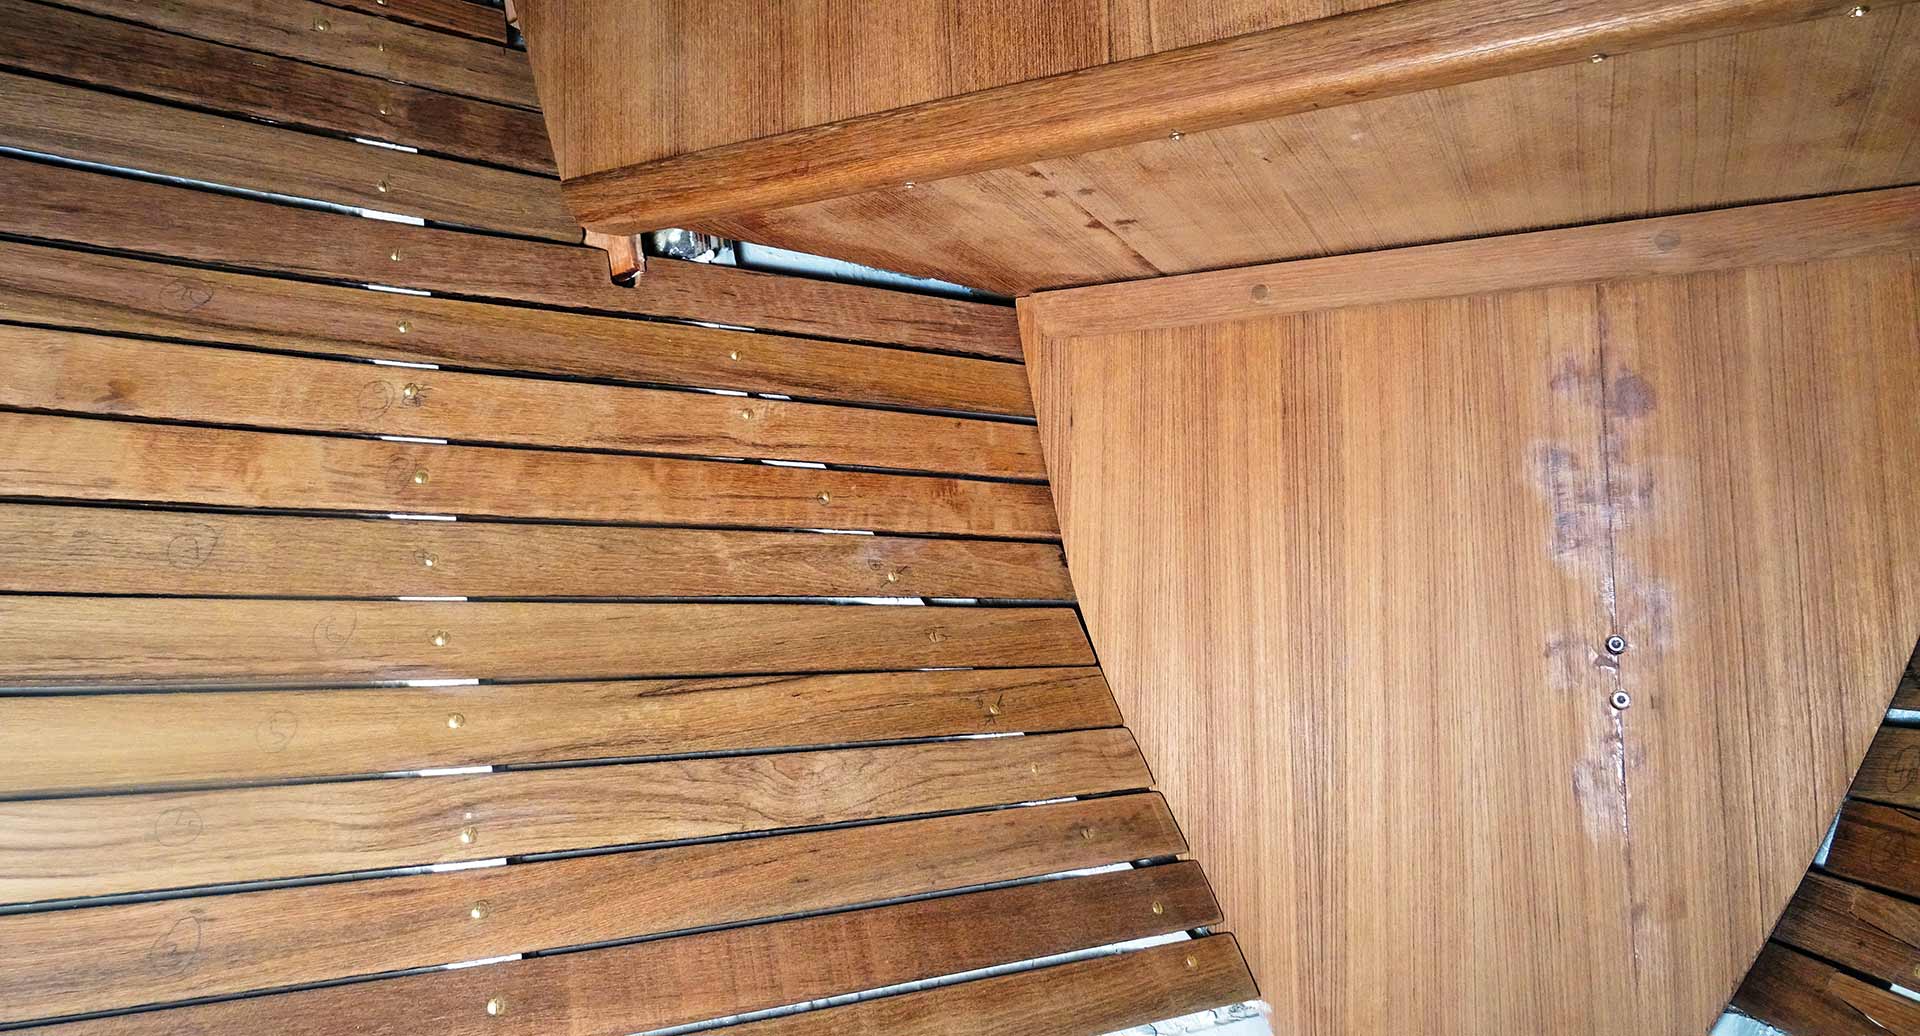
Now, these gaps and holes will have to be closed by another set of wooden parts I will have to mount there. This means another set of gauge models, even more Teak and Teak-veneered plywood to buy and even more screws and Pantera to use. Which, of course, is another round of possible measurement inaccuracies and possibly not very good fitting parts. A nightmare, of course!
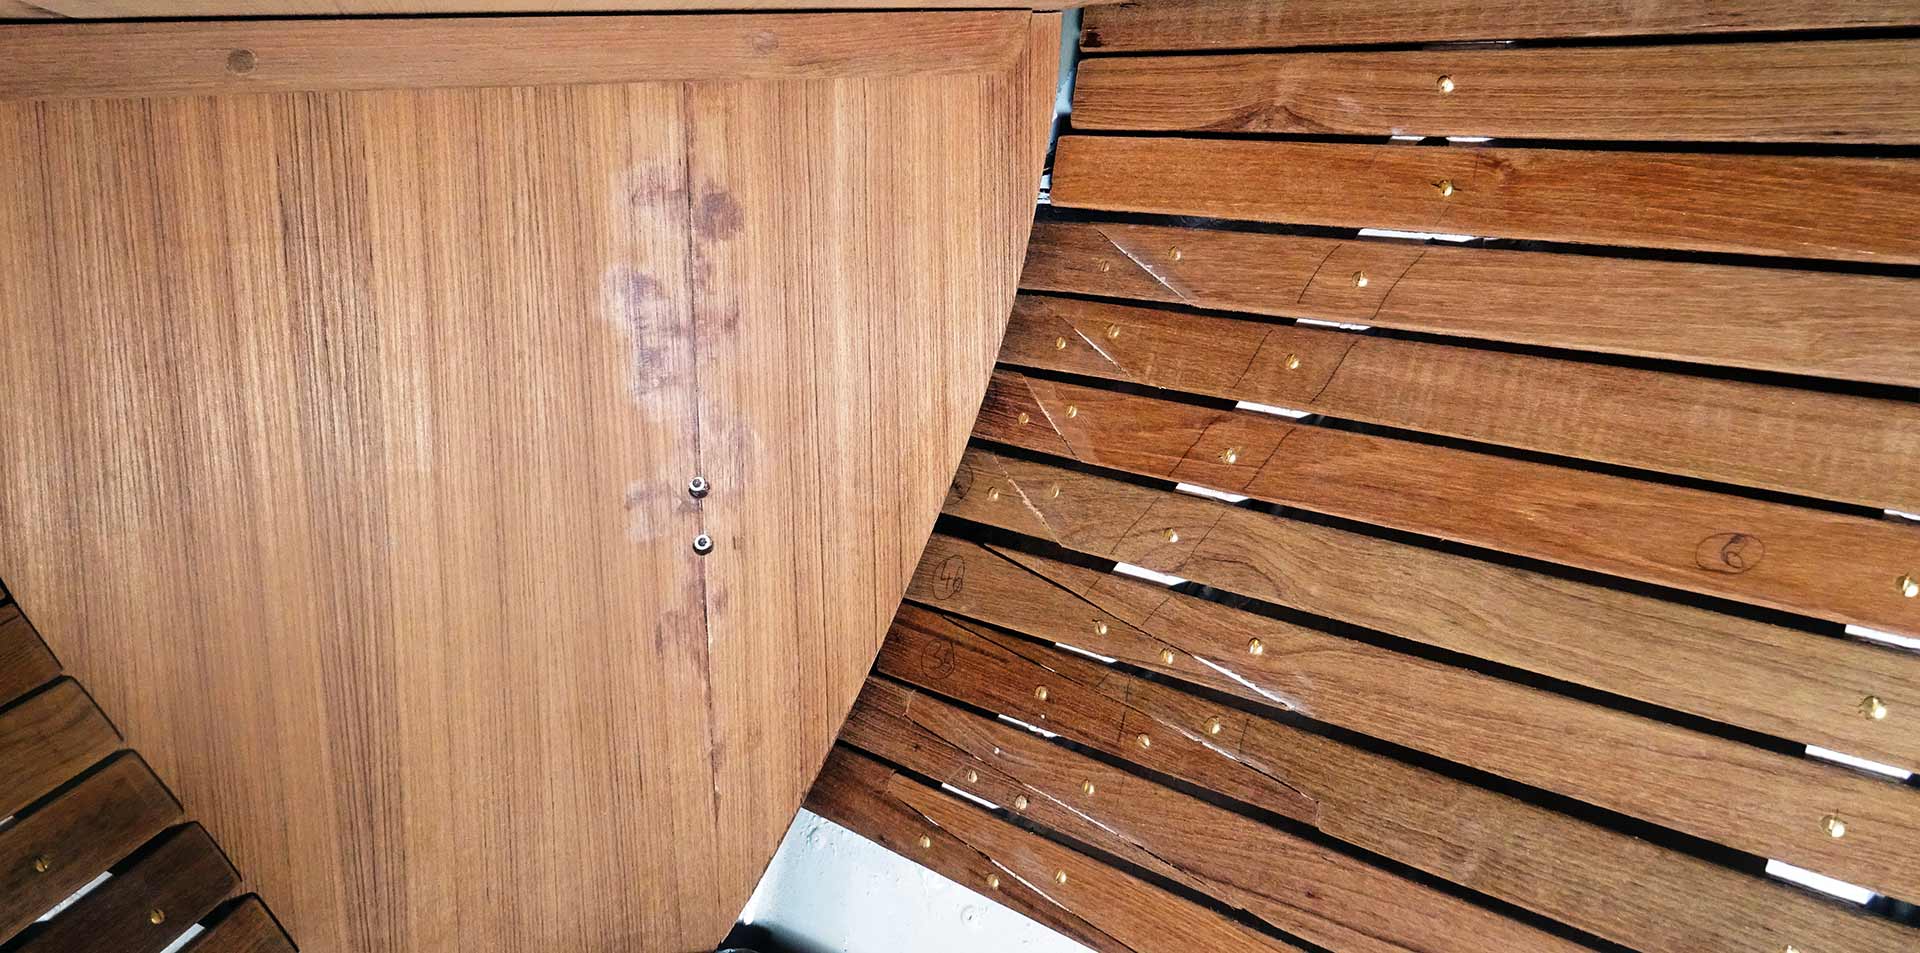
It also happened that I would find the endings of some batten to join the anchor chain locker panel directly hitting the panel, others would join behind the panel. Well, if the facings will be done nicely, nobody would ever notice, but that´s all some details which are disturbing because in no way other than pre-fabricating ALL of the parts and finally fitting I would have had the chance to prevent this from happening. It can take the wind out of your sails sometimes …
Cancelling Plans
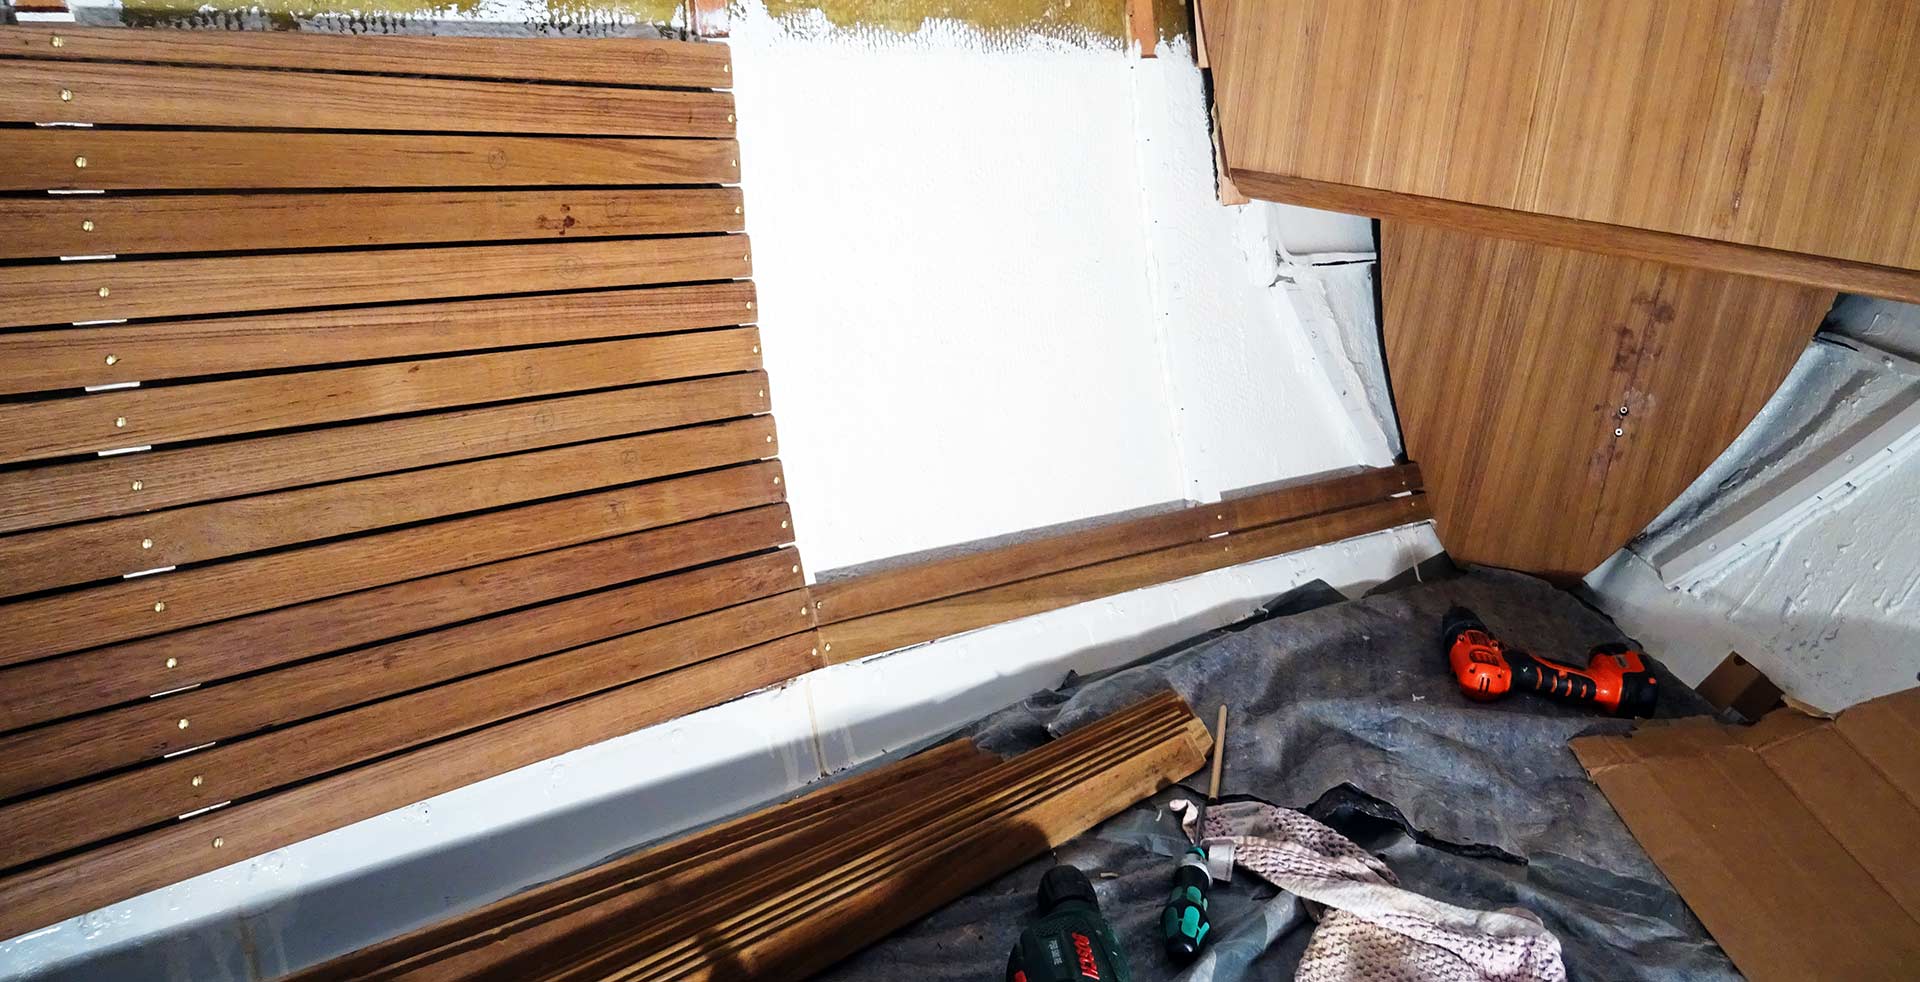
You remember one of my posts about making some nice thin plywood parts, paint them with Teak stain and have them mounted to cover the adjoining areas where the wooden bulkheads are laminated to the hull? (read it here if not) Well, as it turns out, that was a nice idea, but a crappy outcome: The stains I was utilizing (and I´ve tested some) never could resemble the color of Teak. On the other hand, making the facings out of Teak-veneered plywood would have been a major cost driver. So I cancelled this plan.
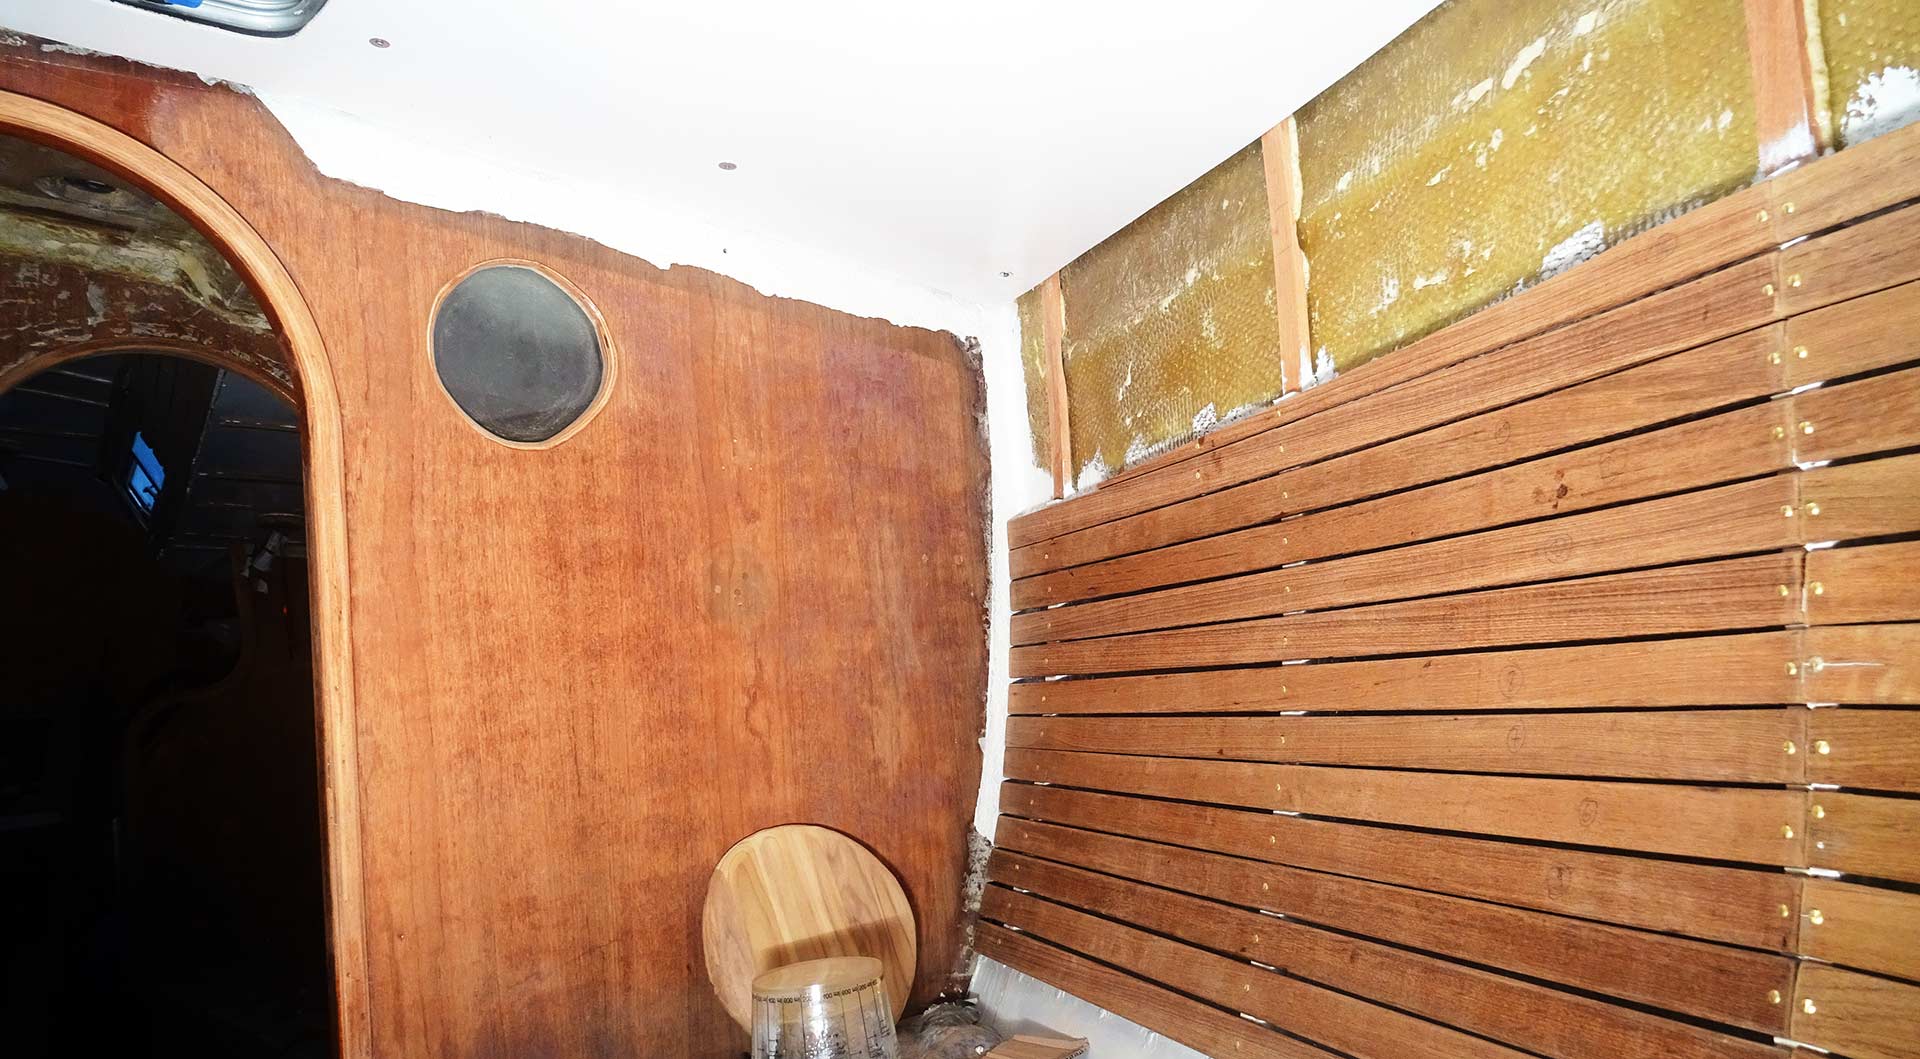
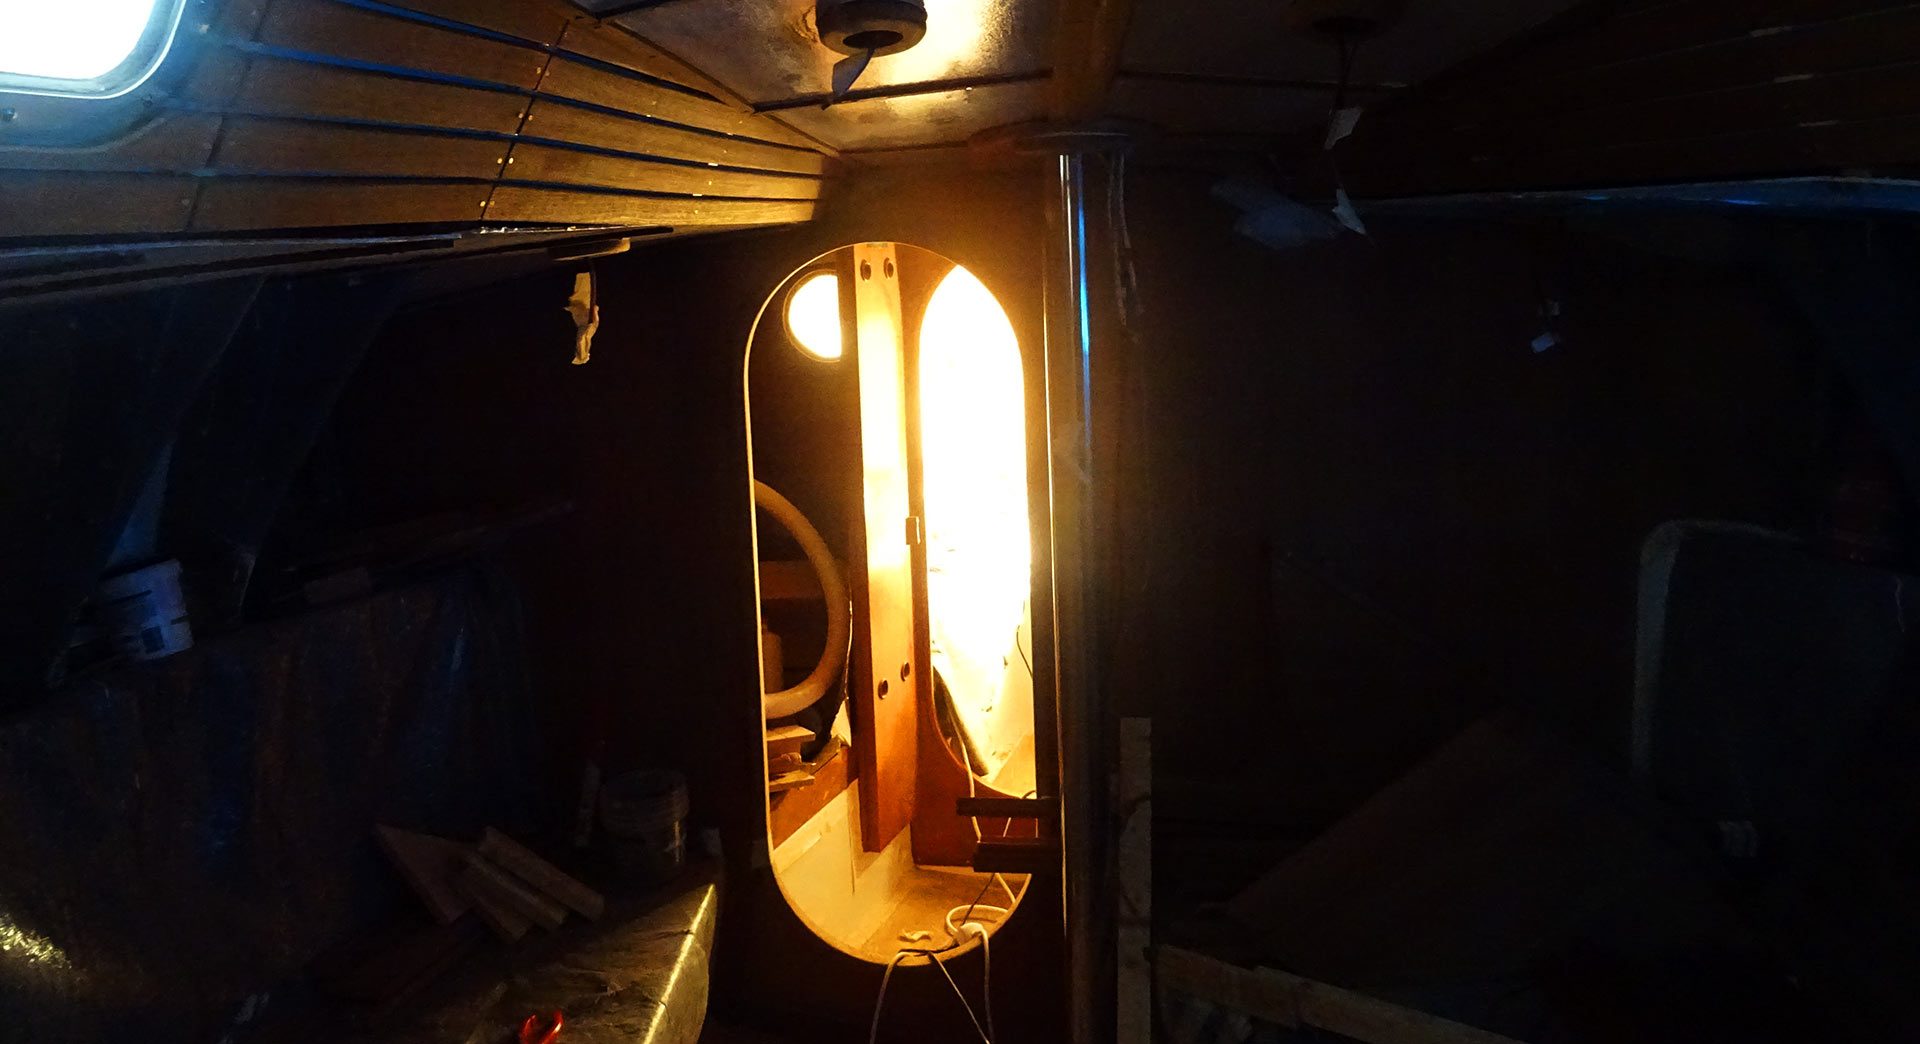
Now I have another idea. I painted the bare GRP shiny white like all of the rest interior GRP surfaces. Sadly, the masking tape couldn´t prevent some paint to leak through and now there are some ugly spouts I will have to sand away (and the Teak veneer is already so, so, so thin!!!) and then I guess I will just mount one of those thin Teak batten exactly where GRP and wood meet so that there will be at least a minimum of “nice” stuff around this area. Ah, and have you noticed this nice little “exactly” round bulleye in the bulkhead? It guess it was supposed to let shine light into the foul weather gear locker – I will have to close this too.
Challenge of the Day: Hatch framing
You have read my glorious article on making a hatch framing of massive Teak for the saloon? No? It is about time – find it here. Nevertheless, I was so stunned by the beauty of this hatch framing that I decided to make another one for the front cabin too. But a more elaborate one, incorporating a plinth for the cabin LED-light. Well, here´s the problem: Turns out that the seams between the two roofing panels are HUGE. Also, as I couldn´t possibly know where exactly the panels would end up mounted to the roof, I couldn´t make an exact cut out for the hat itself.
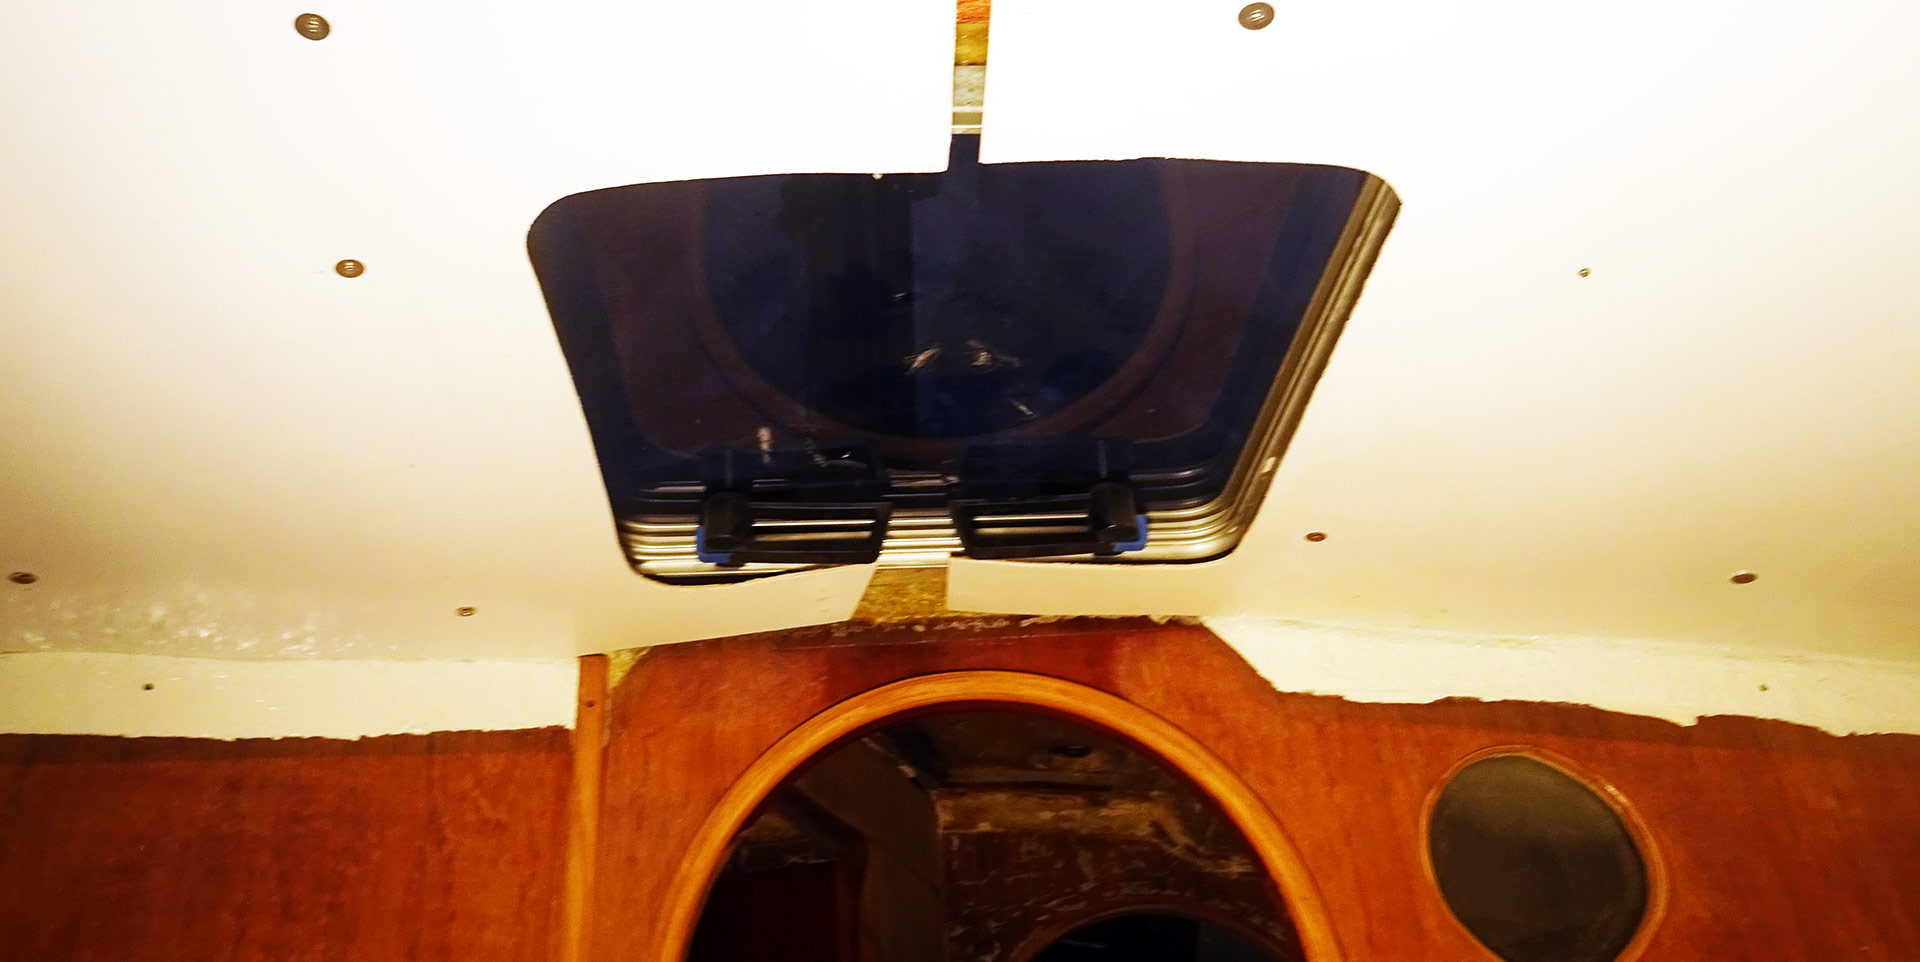
But now that the panels are mounted I have to make this cut out – but I haven´t figured out yet what kind of tool I could use. Padsaw is obviously out of question, sanding it down with a grinder seems a bit too brutal, the Dremel tool on the other hand appears to be too weak. Oh Jeez, what a mess too. Have you noticed that in the back end of the starboard panel a large part of the plywood is missing? I as well. Now. Another thing to be covered by another facing …

Nevertheless …
This list of never ending problems, new items to do, challenges and decisions will make clear that refurbishing a sailing yacht is everything but a straight process. You cannot plan it ahead (as long as you aren´t a skilled craftsman) because there will certainly appear two new things when you finish one. It is a never ending chain of improvising, of adapting, of learning. And I can tell you, you need to have a good portion of confidence to not give up and keep in mind that there eventually will be the day when this all will be done and you will be finished. Either way. Refit is a Black Hole. Period.

On the other hand, looking back on what I have achieved during this brief period of X-Mas to New Year´s Eve makes me also proud. And the outcome isn´t as bad as I have painted it here, I know. Most future guests aboard SY OLIVIA won´t even notice where I´ve made some mistakes, where the glitches are and where I simply tried to badly cover up my crappy craftsmanship. By the way, notice to myself: Never to allow a skilled boat builder aboard my ship …
Have a great 2018.
Read more about my yacht refit efforts here:
Refurbishing an old, filthy wet bilge Parts 1, 2 and final Part 3