Boats of 50 feet and more size, especially those ones sailed by a smaller crew, should be fitted with a stern thruster. In this I am pretty straightforward and also suggesting my clients to go for an option like this because I have the opinion that every part or option that makes operating your boat easier – thus safer – is a good thing. Better skip the cockpit BBQ station in favor of a stern thruster. This might, at a first glance, not sound like “no frills”, but it will become “no frills sailing” because it makes maneuvering, berthing and negotiating narrow marinas so much easier.
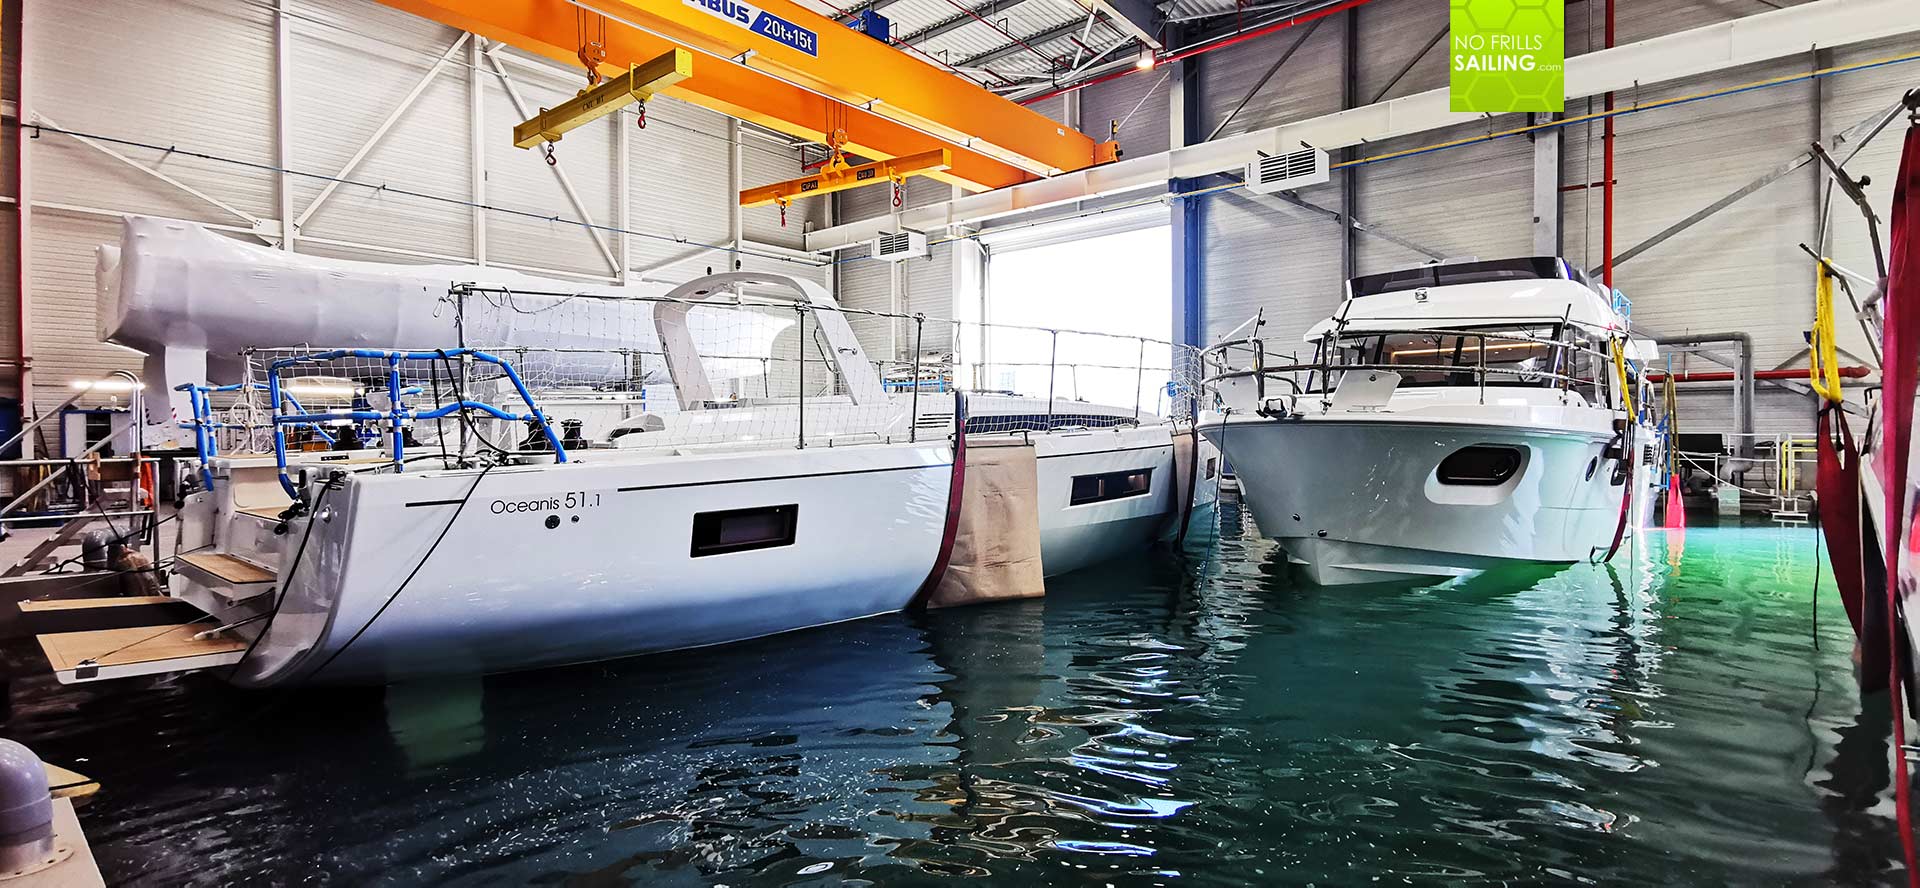
Some six months ago I was taking our Oceanis 51.1 client to the yard at the Atlantic Ocean. By the way, what a relief to be able to travel again, cross borders effortless, meet our friends in France again and finally see the yard! This reminded me so strongly of a time that I was happy I thought was long gone, a time when travelling was forbidden and people had to stay inside their country. Well, no politics on board. So, we went to France and had exactly this discussion: “Stern thruster or not?” Our client opted in favor, which I applauded. Since Beneteau does not offer a stern thruster option for the Oceanis 51.1, we had to look for another solution.
So, after delivery to Germany we have the yacht now in commission. A certified supplier was quickly found and these guys agreed to take on the job of retrofitting a stern thruster to this yacht. A process I found highly interesting and wanted to share with you guys on this occasion. So here is how a stern thruster for a cruiser is mounted. We opted for a version that will retract into the hull so that the boat´s hydrodynamics won´t be meddled with. Of course there are solutions of hull-mounted thruster systems but we found these were too weak in terms of thrust produced and we did not like to carry a bulb under the hull.
Cutting a hole in a brand new ship

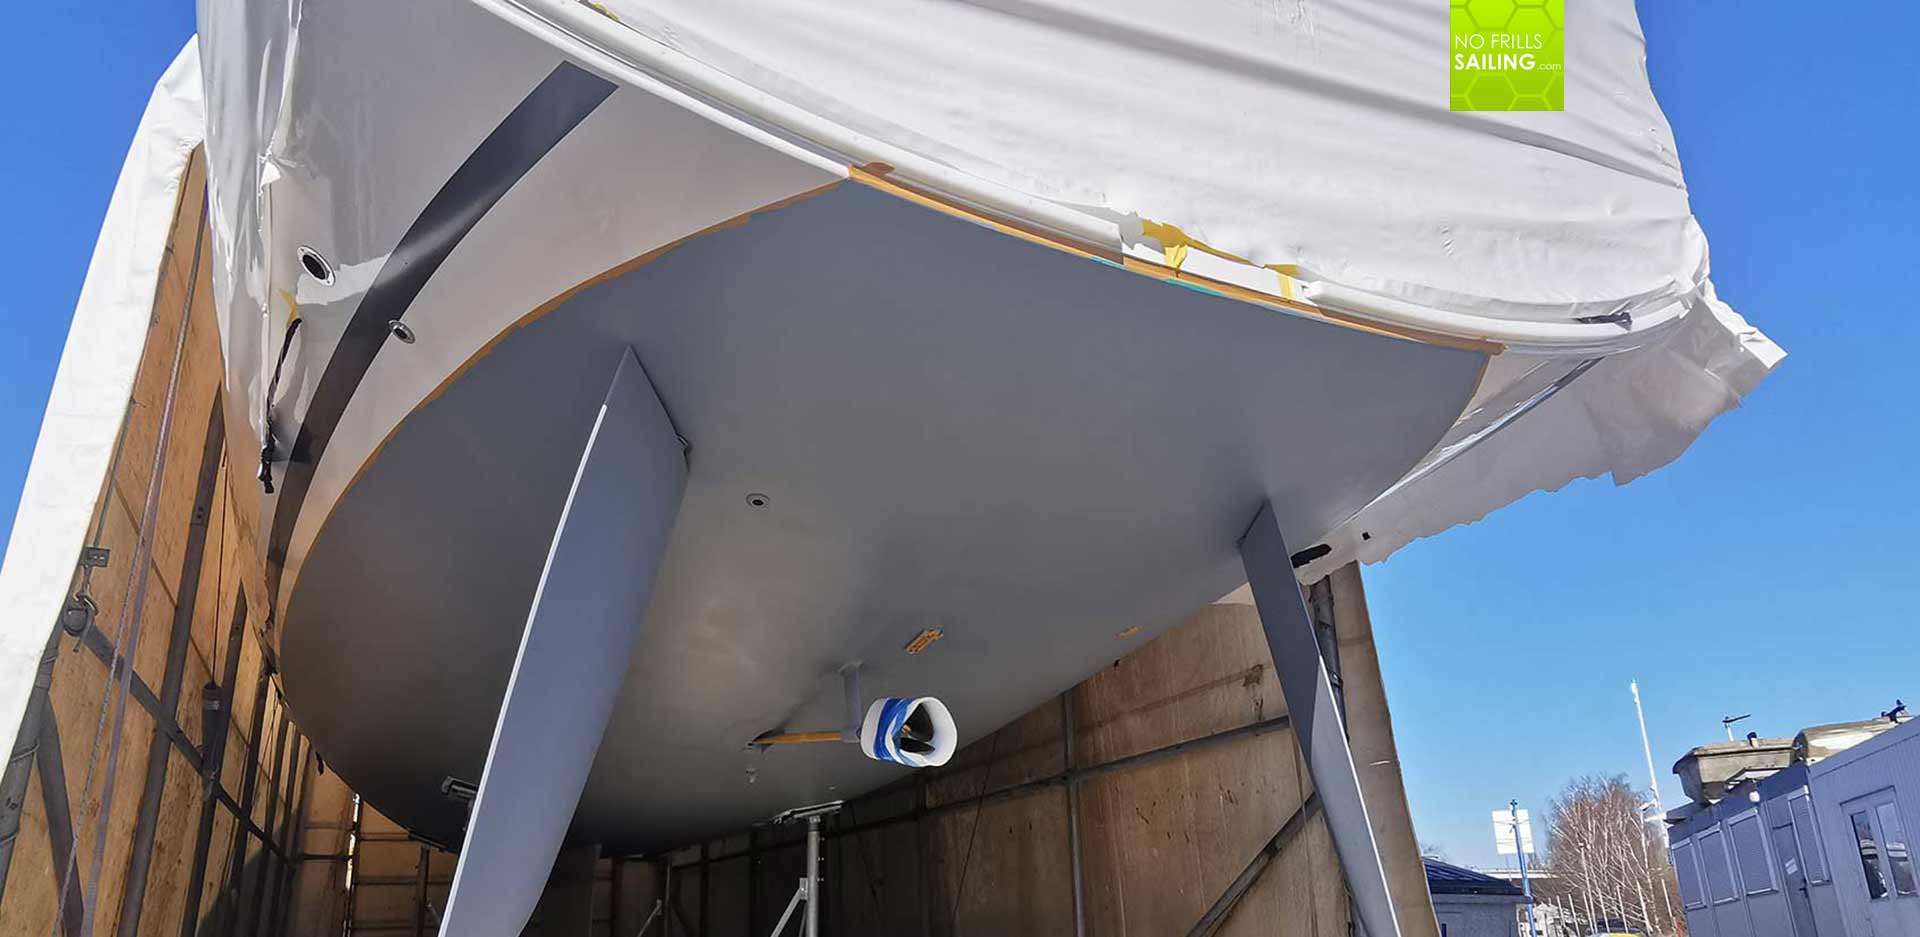
When the antifouling for this yacht had been finished – utilizing the great spring weather with unusual high temperatures and a relatively low humidity – the craftsmen arrived. Checking the boat´s inside, they marked the spot and began cutting a huge hole into the hull. This is always heartbreaking (and I do not have any pictures from this operation) since deliberately punctuating a hull of a ship always feels odd.
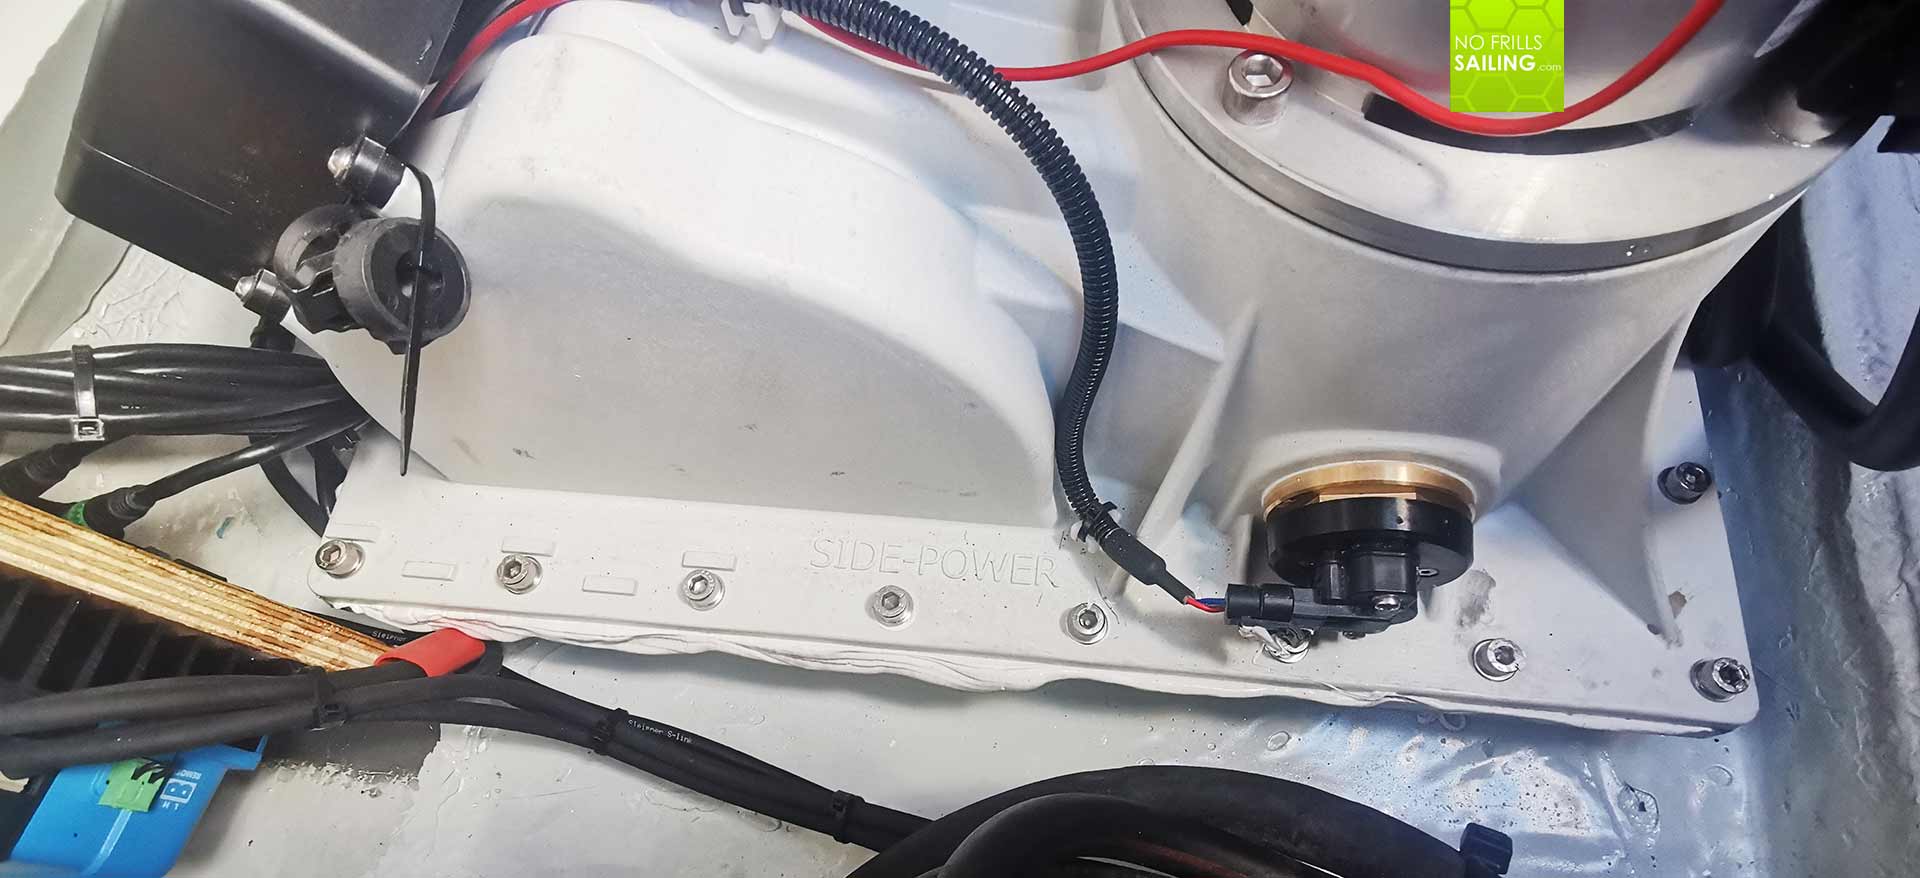
That rectangular hole then got sealed and a base mount got fitted onto which the housing of the stern thruster was mounted. This whole operation lasted just a working day and as strange as it may sound, it was a routine operation, a relatively small invasive action. The thruster-unit itself is a housing with the screw attached, shaft driven from inside the boat.
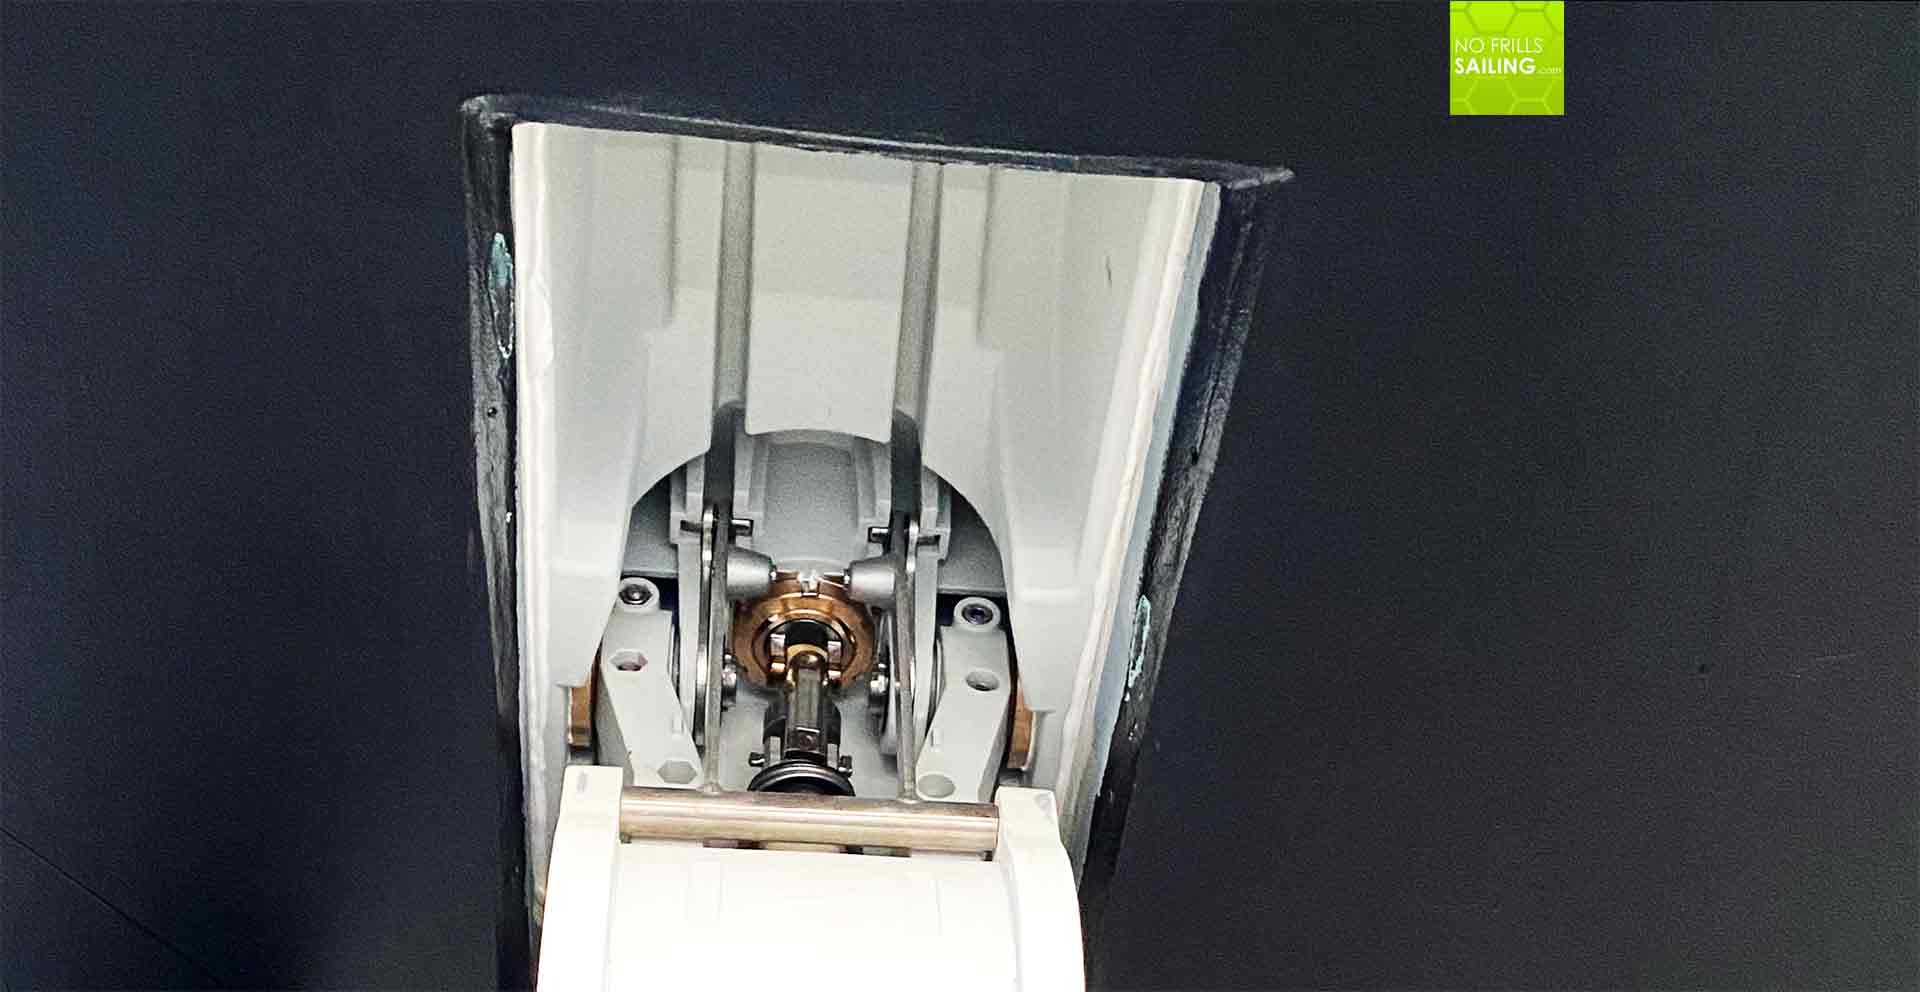
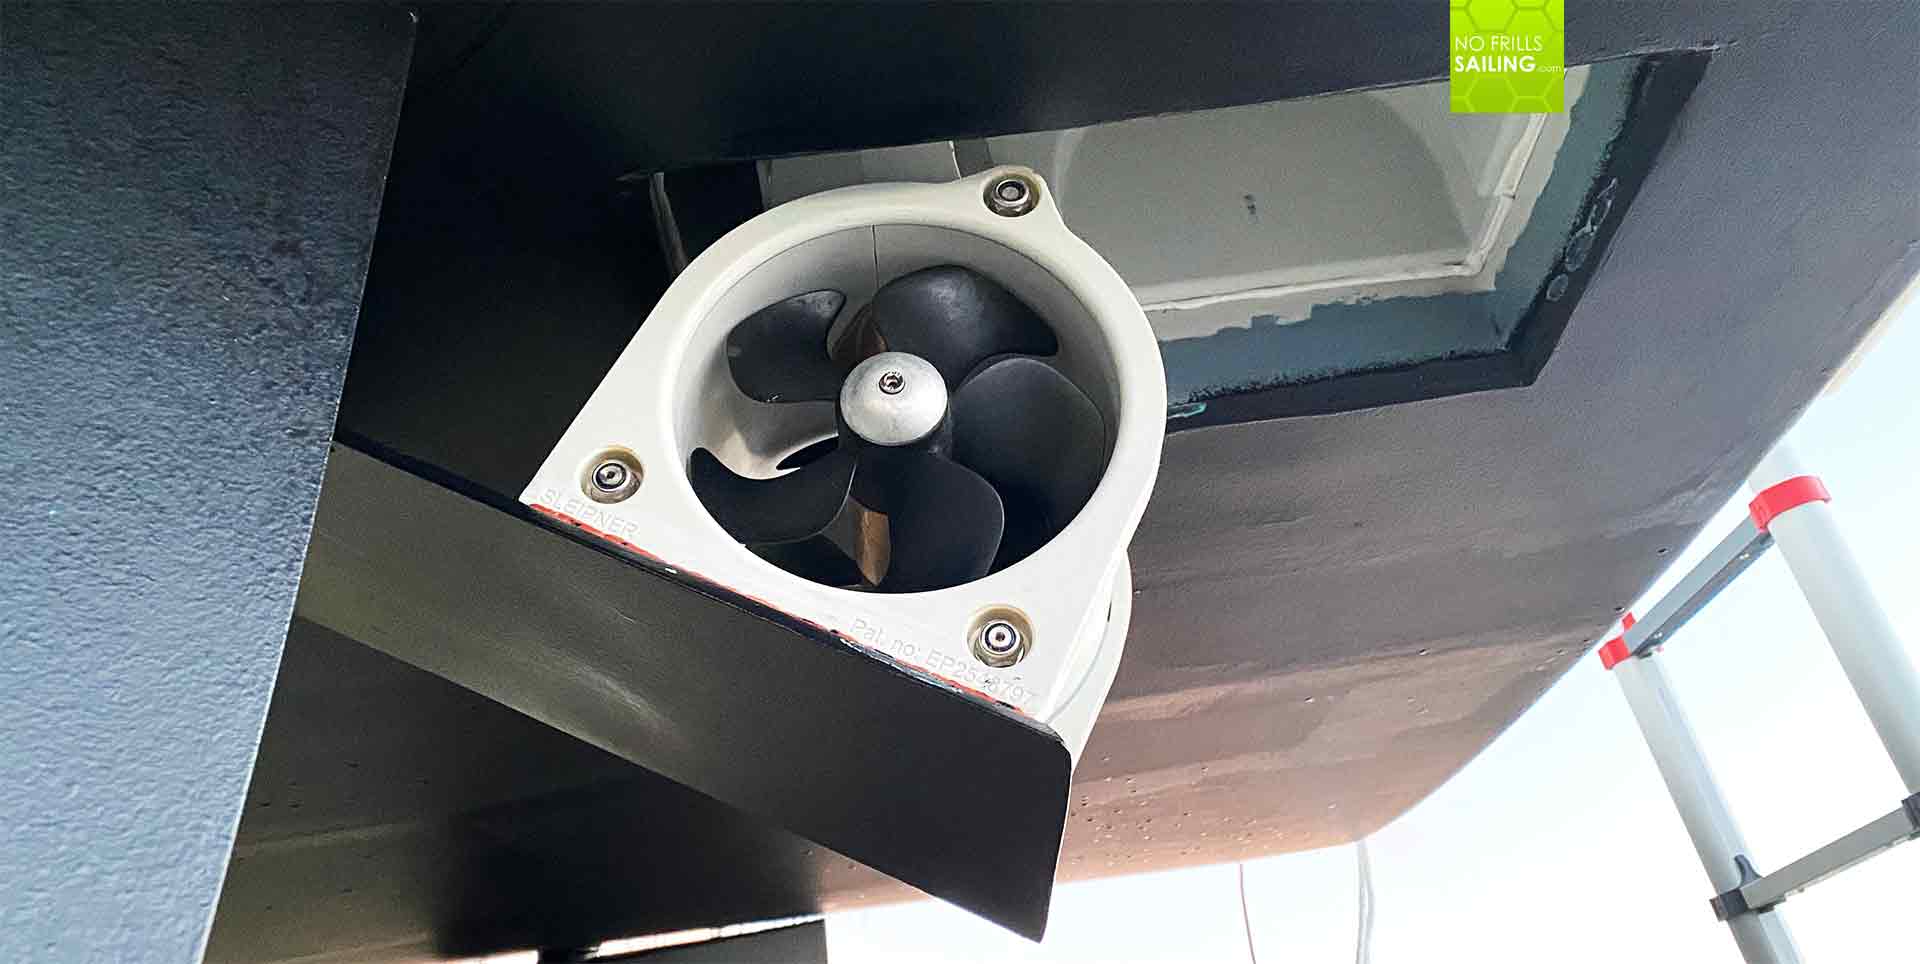
The whole system consists basically of the screw and the mechanism for driving in and out the propulsion unit. When inside the boat, the hull is faired and smooth, you barely see the closing plate of the stern thruster. Moving it into operational mode, the system takes about 2 seconds to lower the drive-unit in place, the system is now ready for action. As simple as that. But it is by far not that simple, as I could see when climbing into the lazarette of the yacht.
XXXXBILD 04 drinnen
Seen from the inside, first of all, the fears of having a big hole in the hull are baseless: The housing of the thruster is mounted on a base plate that got sealed, or glued, and screwed every 5 or 6 centimeters to the hull. If done properly, like on our boat here, there won´t be entering a single drop. By the way, these retractable thruster systems can also be fitted in the bow as bow thrusters, I think Hallberg Rassy does these in their boats in standard. I know not a single case of leaking thruster systems.
Is it really that simple? Well, after I am experiencing on my own boat right now that “simple” is a word that has different definitions (as mounting a “simple” solar power array turns out to be much more complicated than initially thought it would) I am a bit reluctant to use this word. It may be, for a pro. So I zoom out a bit, sitting in the cramped lazarette, and check what a stern thruster is also about … and find much, much more stuff than expected.
The stern thruster configuration
At first: Our Oceanis is loaded with options. As this boat is configurated by the owners to operate independently for longer times, it has been fitted with a generator, for example, that takes on about half of the space available in the lazarette. Here we also have the rudder bearings and mechanics of the rudder mechanism as well as the autopilot. Also, other auxiliary machinery and parts are located here. Quite cramped. And now our partners had to squeeze in the stern thruster too. Let´s see what this is all about.
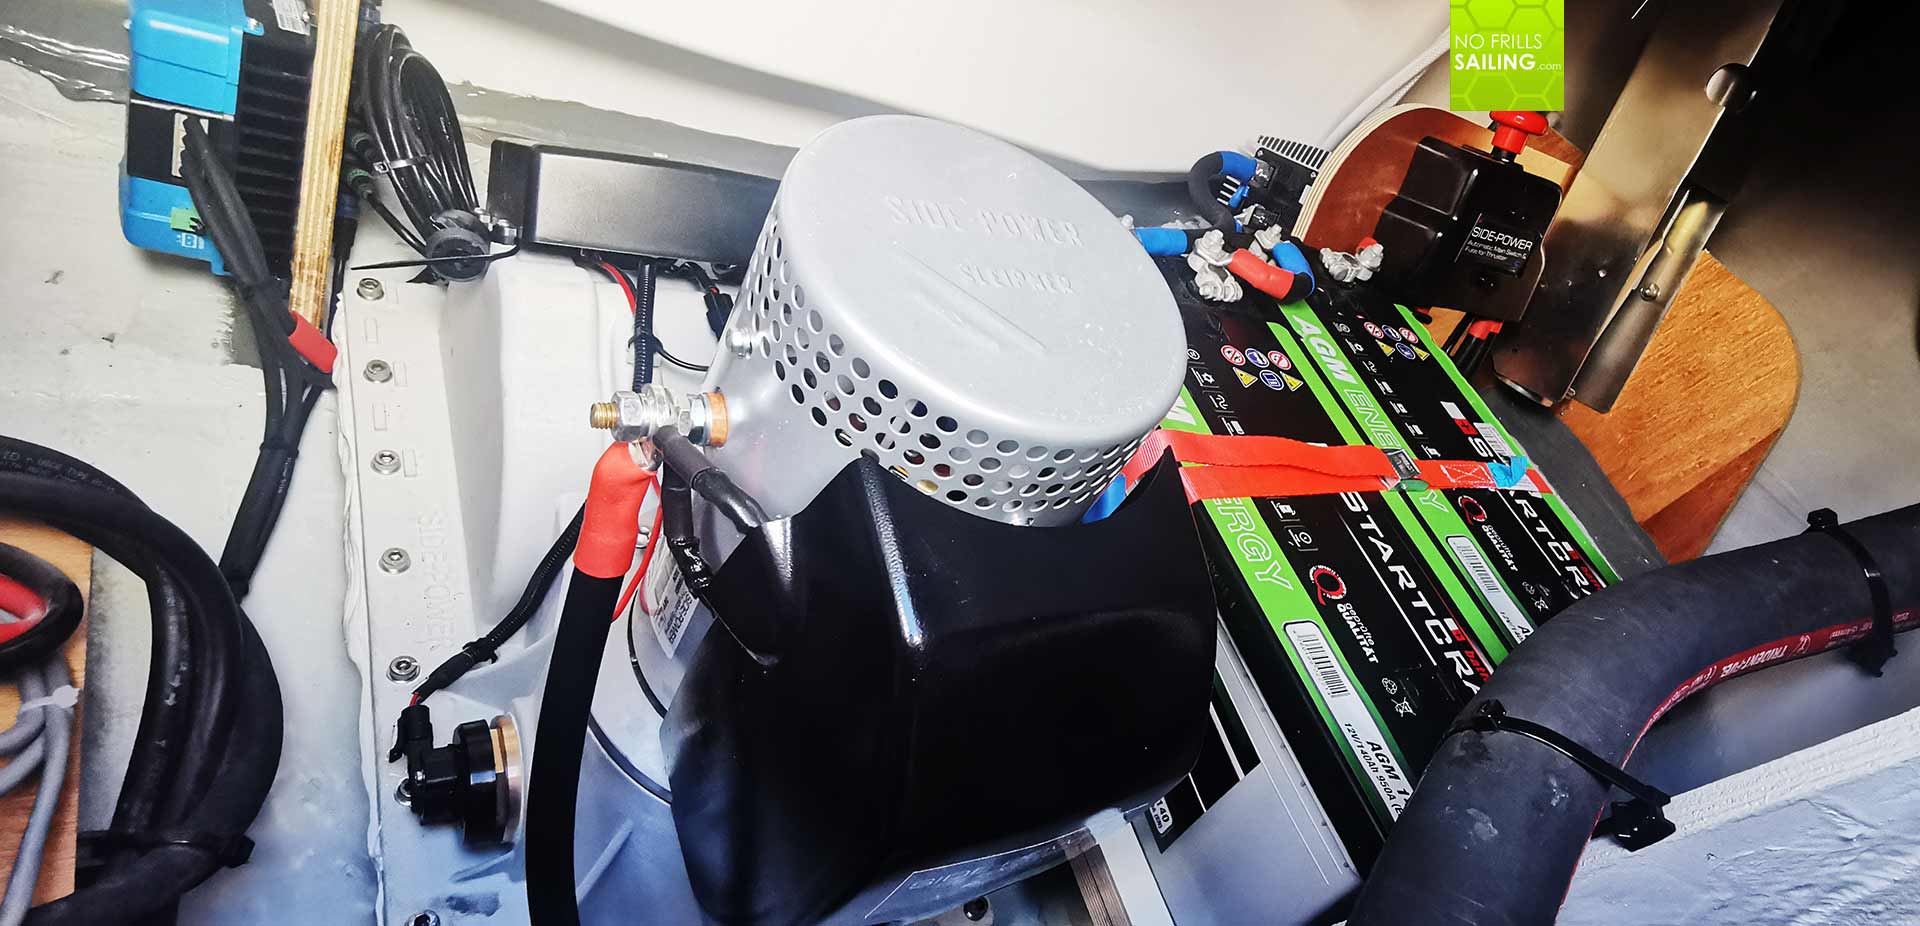
As you can easily tell on the upper picture, next to the thruster-unit itself there are two big AGM batteries. Of course! The thruster needs electric energy and a load full of power! An Oceanis 51.1 displaced 14 tons, fully loaded maybe 15 tons. That´s a lot of inertia to overcome, so the thruster needs to produce a lot of thrust – that needs power. Two big sets of batteries. These guys need to be loaded, so, again, we need a connection to shore power (and thus an AC/DC-converter) and a charging device, together with a connection to the Diesel engine for loading whilst under motor.
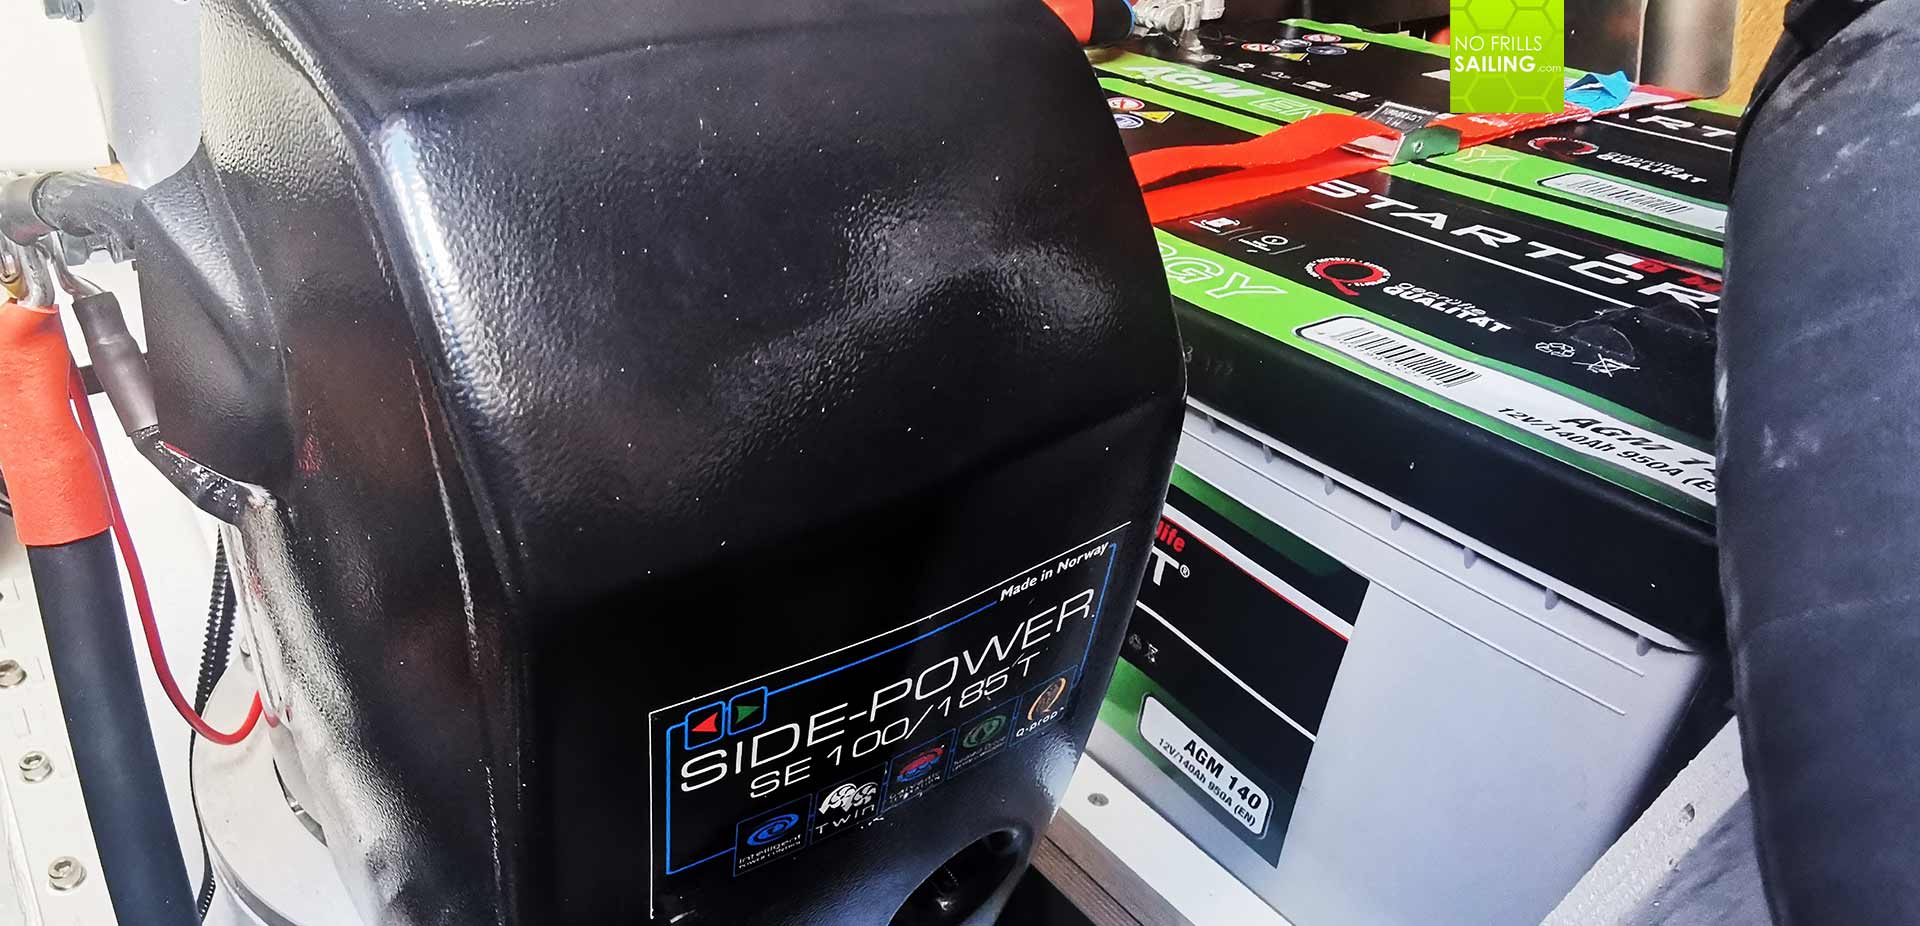
This whole installation needs to be safeguarded by fuses, needs to be grounded of course and we need some kind of indication instruments, data impulses sent from the thruster to the system to show data. That´s a lot to care for and to install. I´d say the whole system takes on an area of easily 1 x 1 meter inside the boat´s stern. Nevertheless, our partner have made a darn good job on this particular boat as I find the installations executed in a clean and professional manner.

After having checked everything down below from inside the boat, I squeeze myself out on deck again. Wiping off the fine GRP dust from the lazarette I close the large entry hatch and proceed behind the starboard steering wheel (which has not been mounted yet) to take a look at the controlling unit, which is also quite an update to the standard version ex-works and is worth a closer look.
Stern thruster control panels
I know it´s a discussion amongst yacht owners I´d say since a Diesel engine had been mounted on a boat for the first time: Where to put the controls? With Beneteau, it´s easy: In standard the control lever is at deck level, mostly starboard side. You can either sit on the coamings, leisurely steering with your left hand, grabbing down between your legs and pull the engine lever whilst sitting. Or, like I prefer to do, standing up right behind the wheel for a better sight and controlling the lever with your foot. It takes a bit of practice, but it works fine. In standard, the bow thruster control unit – at least with a Beneteau – is mounted on the very coaming. The yard assumes that most skippers would sit here, so it is well in reach.
For skippers like me, it´s a bit odd since we have to bow down to push the buttons or kneel on the coaming. I never quite liked this set-up but, like with everything, you can get used to it. Now, on this particular Oceanis, we as well received the boat fitted ex yard with a bow thruster hence the control panel on the coaming. With a stern thruster fitted, Side Power offers a much bigger control panel which jointly operates bow and stern thrusters – and that´s the one our client went for, of course.
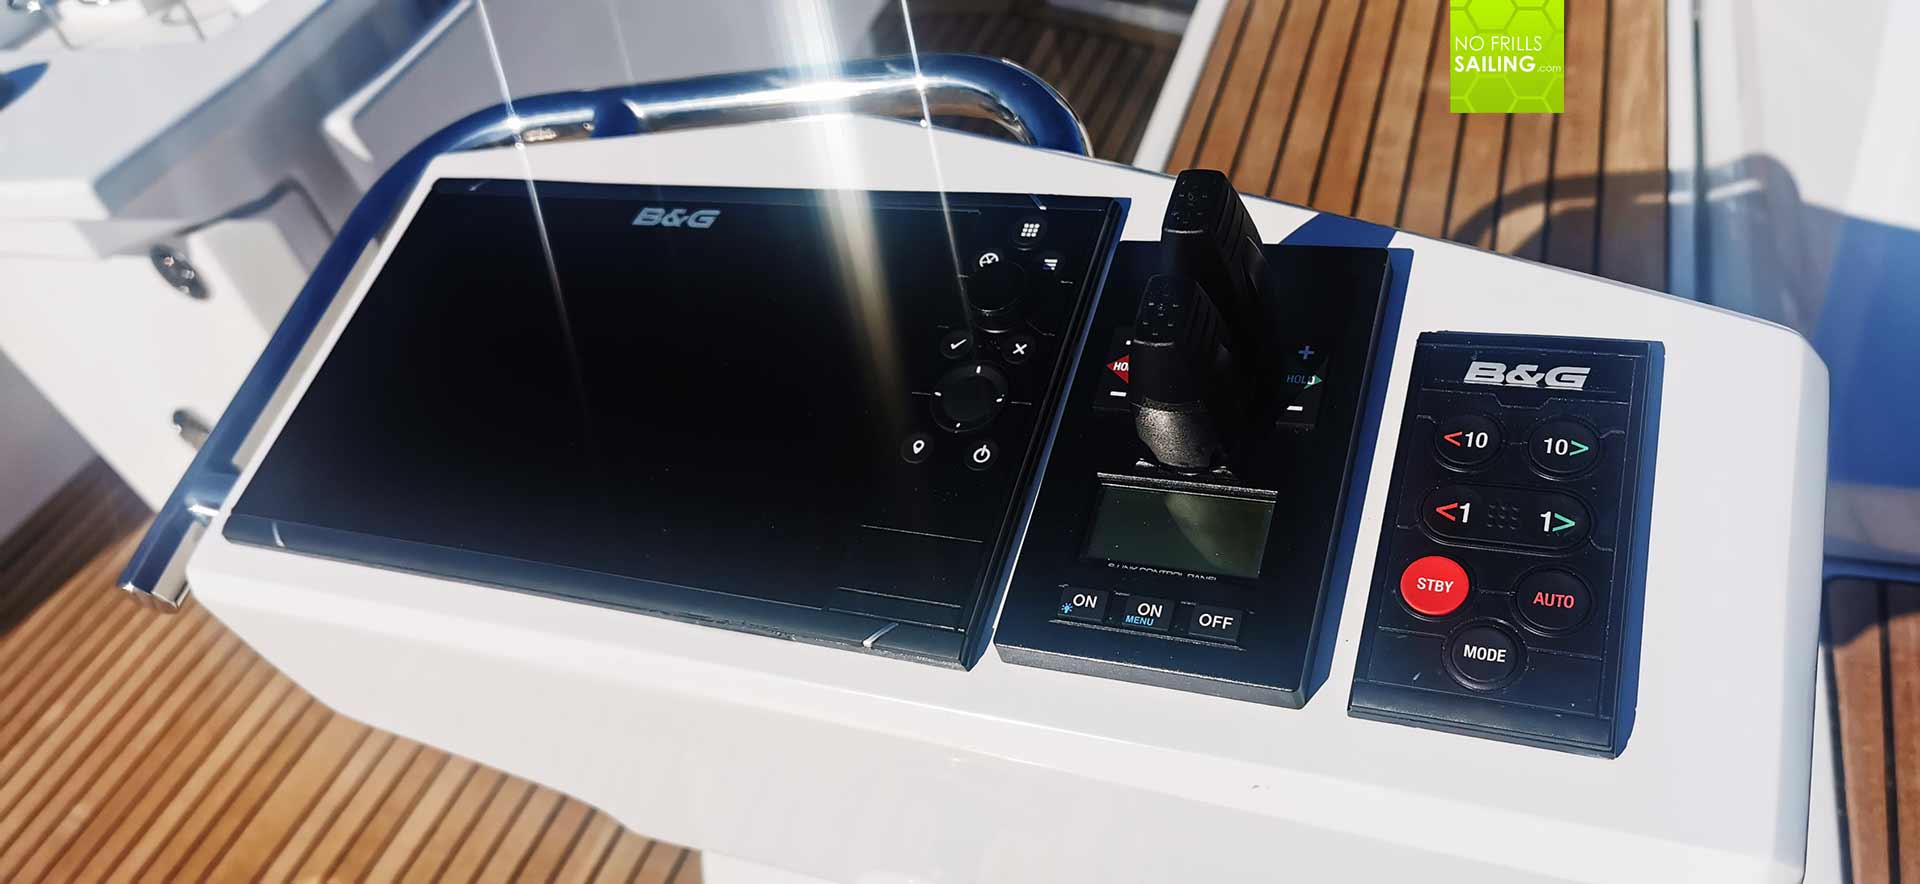
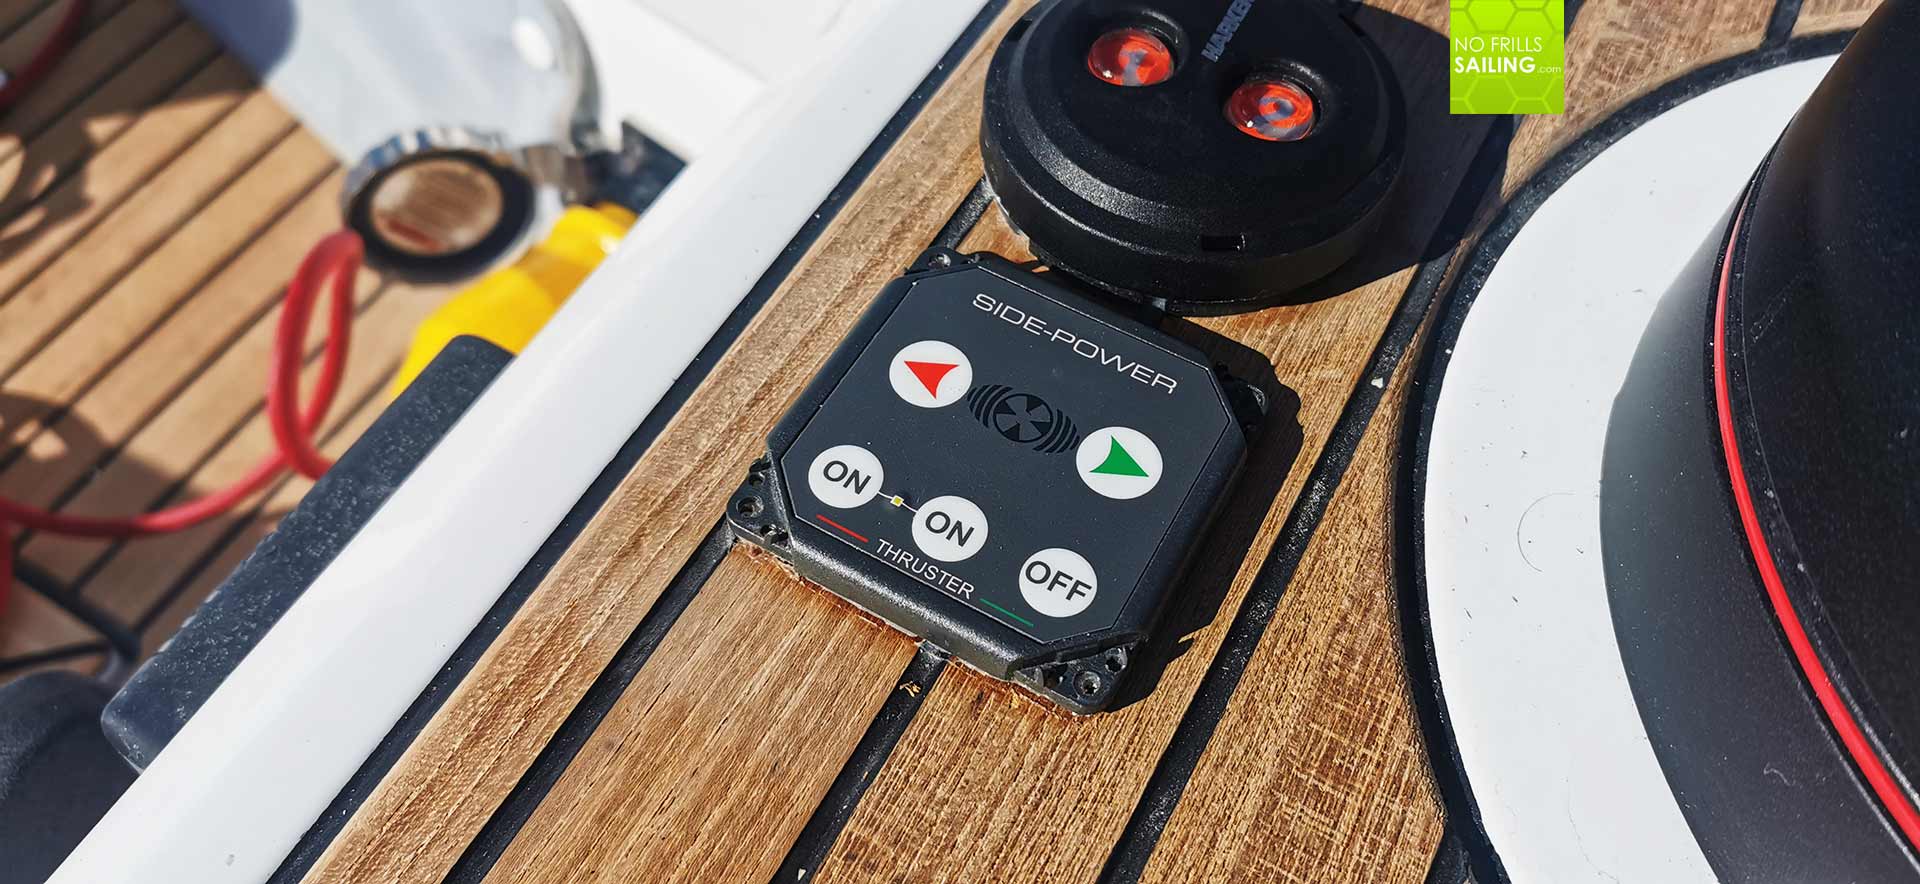
The new control panel is from Side-Power too. It – lucky for us! – fits exactly on the starboard side console between chart plotter and auto pilot controls. The panel features the switch for activating both bow and stern thrusters, taking the stern unit those said 2 seconds to come out and start up. It also has the left-right levers for controlling the thrusters which is now becoming super easy for the skipper. Just standing up right here behind the wheel the owner can now oversee the whole boat, push the controls and have the boat maneuver accordingly.
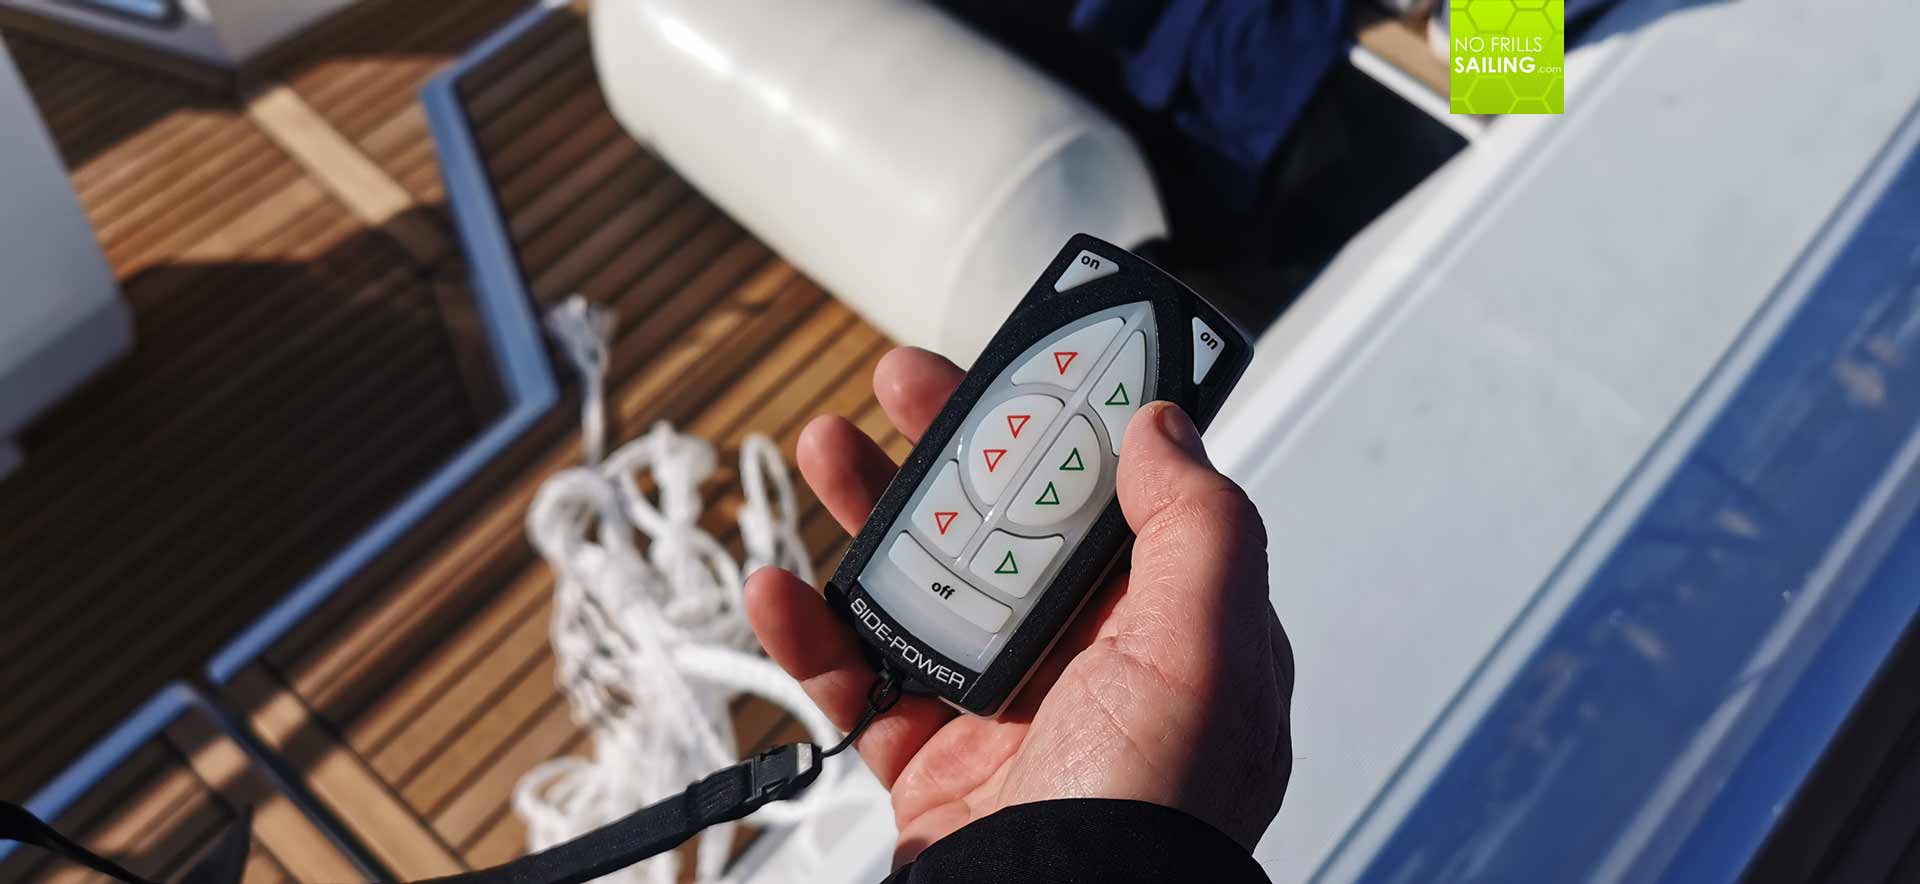
Best thing: The levers not just activate or de-activate the thrusters, like it would have been the case with the standard controls. The more the levers are pushed, the more thrust is produced. That means that not only both bow and stern thrusters can be controlled from here but also the level of thrust they produce. This is absolutely awesome! The owner shows me the remote control which also enables him to berth the boat freeing him from the steering wheel position, another cool aspect.
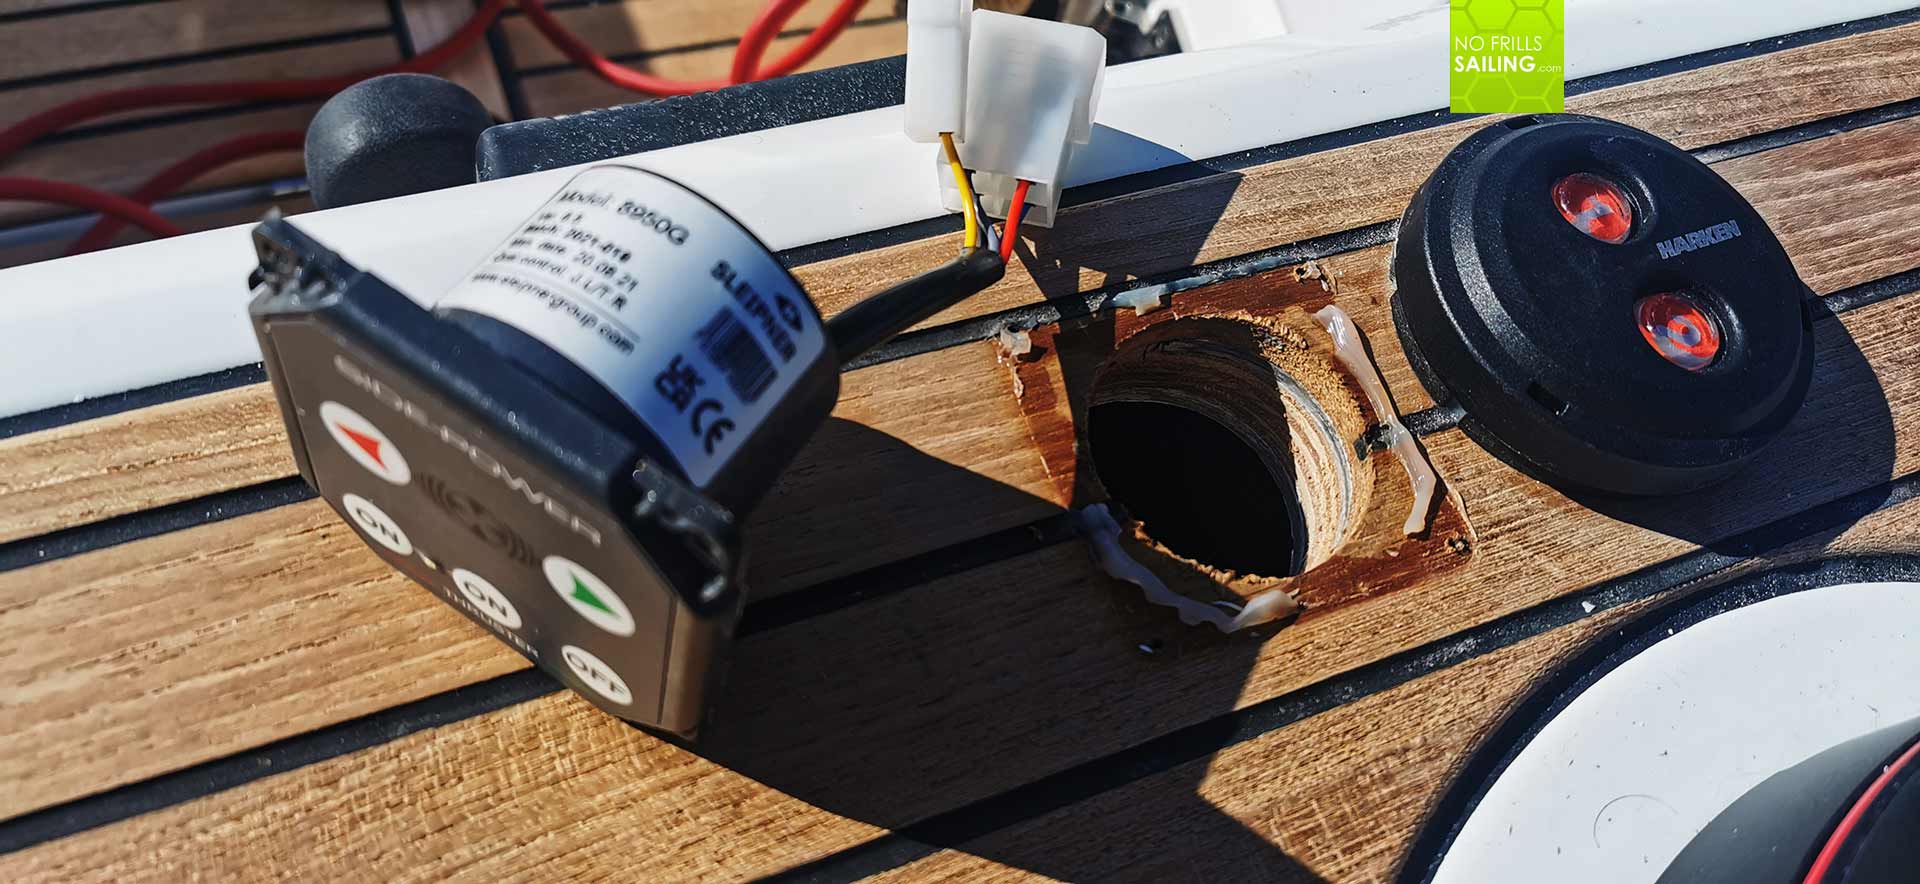
Only thing that makes our heads wrap around solving this little problem is the hole we now have to plug right there on the coaming. This is the old now useless control unit for the bow thruster. Unfortunately, the hole is drilled through all of the boat, not just the Teak battens but also the whole GRP deck. Underneath some other cables from installations are visible, so this needs to be closed watertight. We check if we change the whole Teak-panel of this are or if it is possible to take out the two Teak-batten and replace them. A simple GRP-plug glued in with Epoxy underneath will also do it.

Ready for mast-stepping
Now, I found this operation very interesting: For boats bigger than 40 feet I always suggest fitting a bow thruster at least to increase safety and also bolster the skipper´s confidence to land his boat without mishaps even in windy situations or in narrow marinas. Boats bigger than 50 feet – this is my learning now – will be safer to operate if fitted with a stern thruster too. Now that I have seen which level of both craftsmanship and competence in electrics and electronics is necessary to fit it, I salute to our partners for this awesome job!
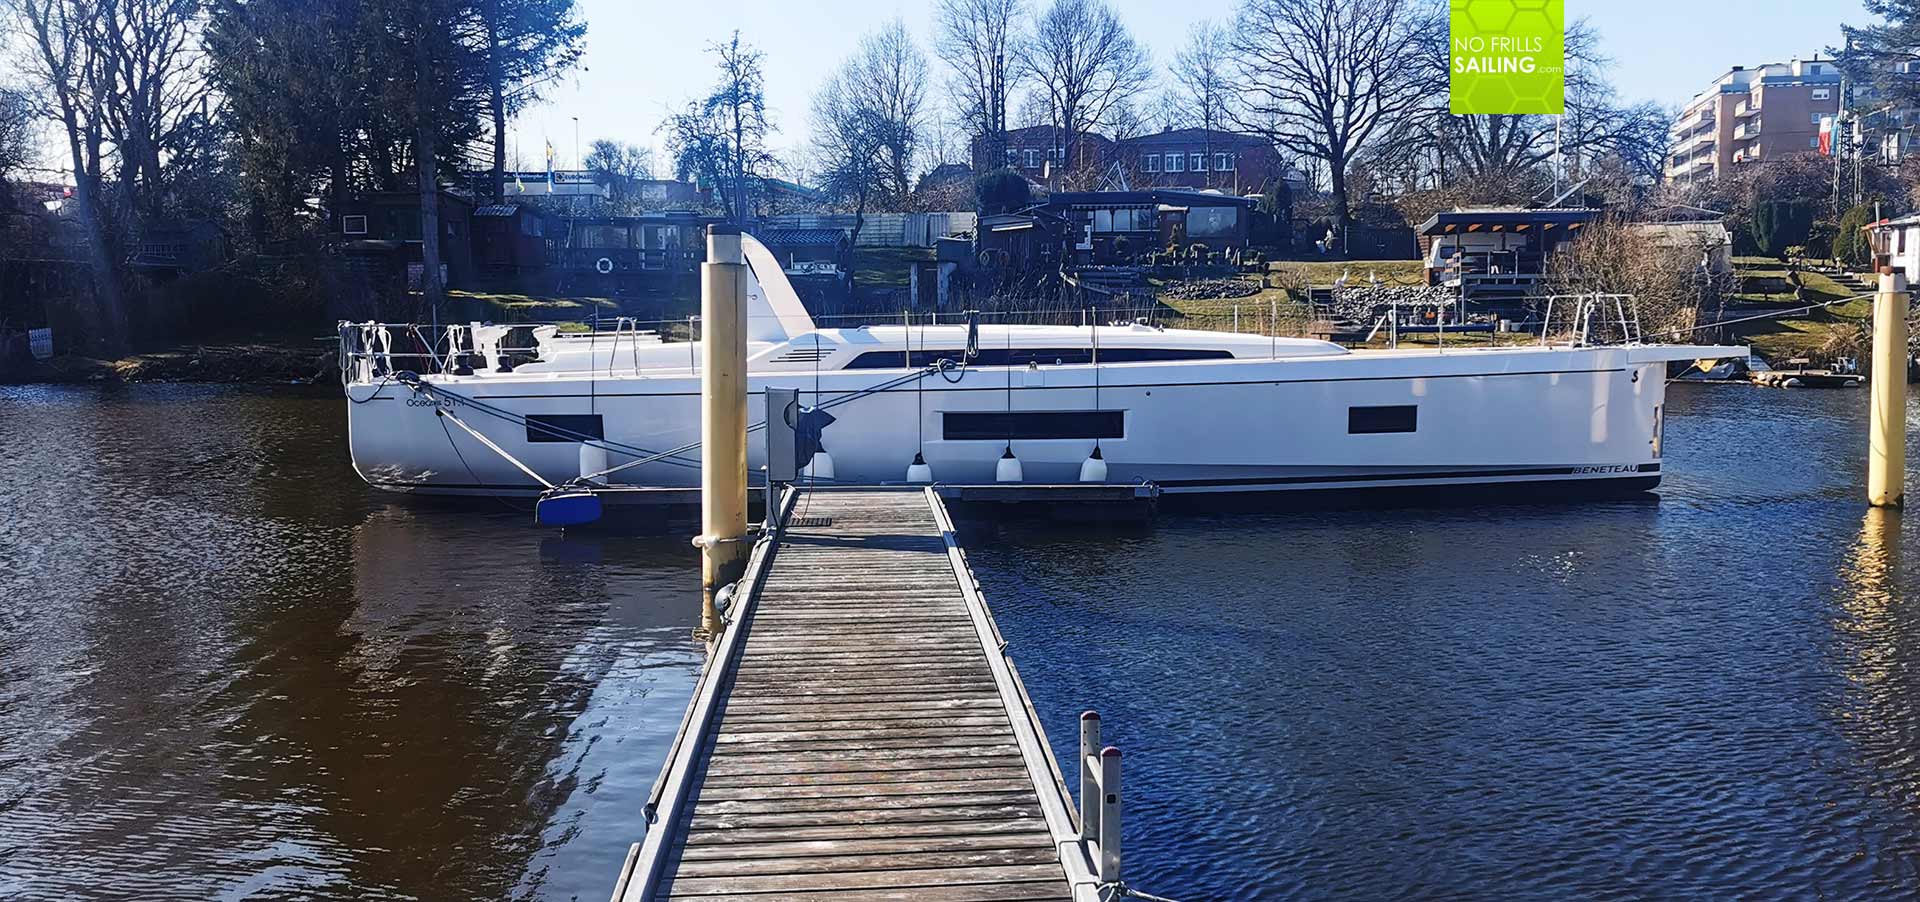
I really look forward to handover of this particular yacht of which I will post at least one or two more articles: During the coming weeks the mast will be stepped and all will be finished and polished, Quantum Sails is going to deliver a set of cruising-laminate sails and I am absolutely excited to check the increase of sailing performance on a boat like this comparing standard sails with the new garments. The only downside about working with boats like this: Returning to my own 27 feet is always a little shock, but just for a few moments …
You may also find interesting to read these articles:
Bow thruster: Hole in the bow?
In the yard: How´s a boat made?