Chapters in this post
Okay, okay, it is not the biggest of repairs nor is it a tremendously heroic tale. But, for a start, it´s a more than perfect occasion to mark the first step of the wintertime “upgrading season” of my boat to make GEKKO ready to tackle the transatlantic voyage. The headline of this article may also a bit confusing because “gloves off” is definitely not what I did – in particular, gloves have been the first tools I actually had taken on. On the list this time: Toilet repairs.
Now you might think: Why does this guy have to change his toilet anyway? It must be brand new? You are right: The boat barely sailed more than 500 miles in her first season and although the toilet has been used by me and my family quite extensively, that must be nothing for such a crucial part of a boat´s equipment list at all. And you are right. Nevertheless, the toilet had a damaged part and the yard instantly agreed to replace it. So here we are.
Let´s go: Toilet repair!

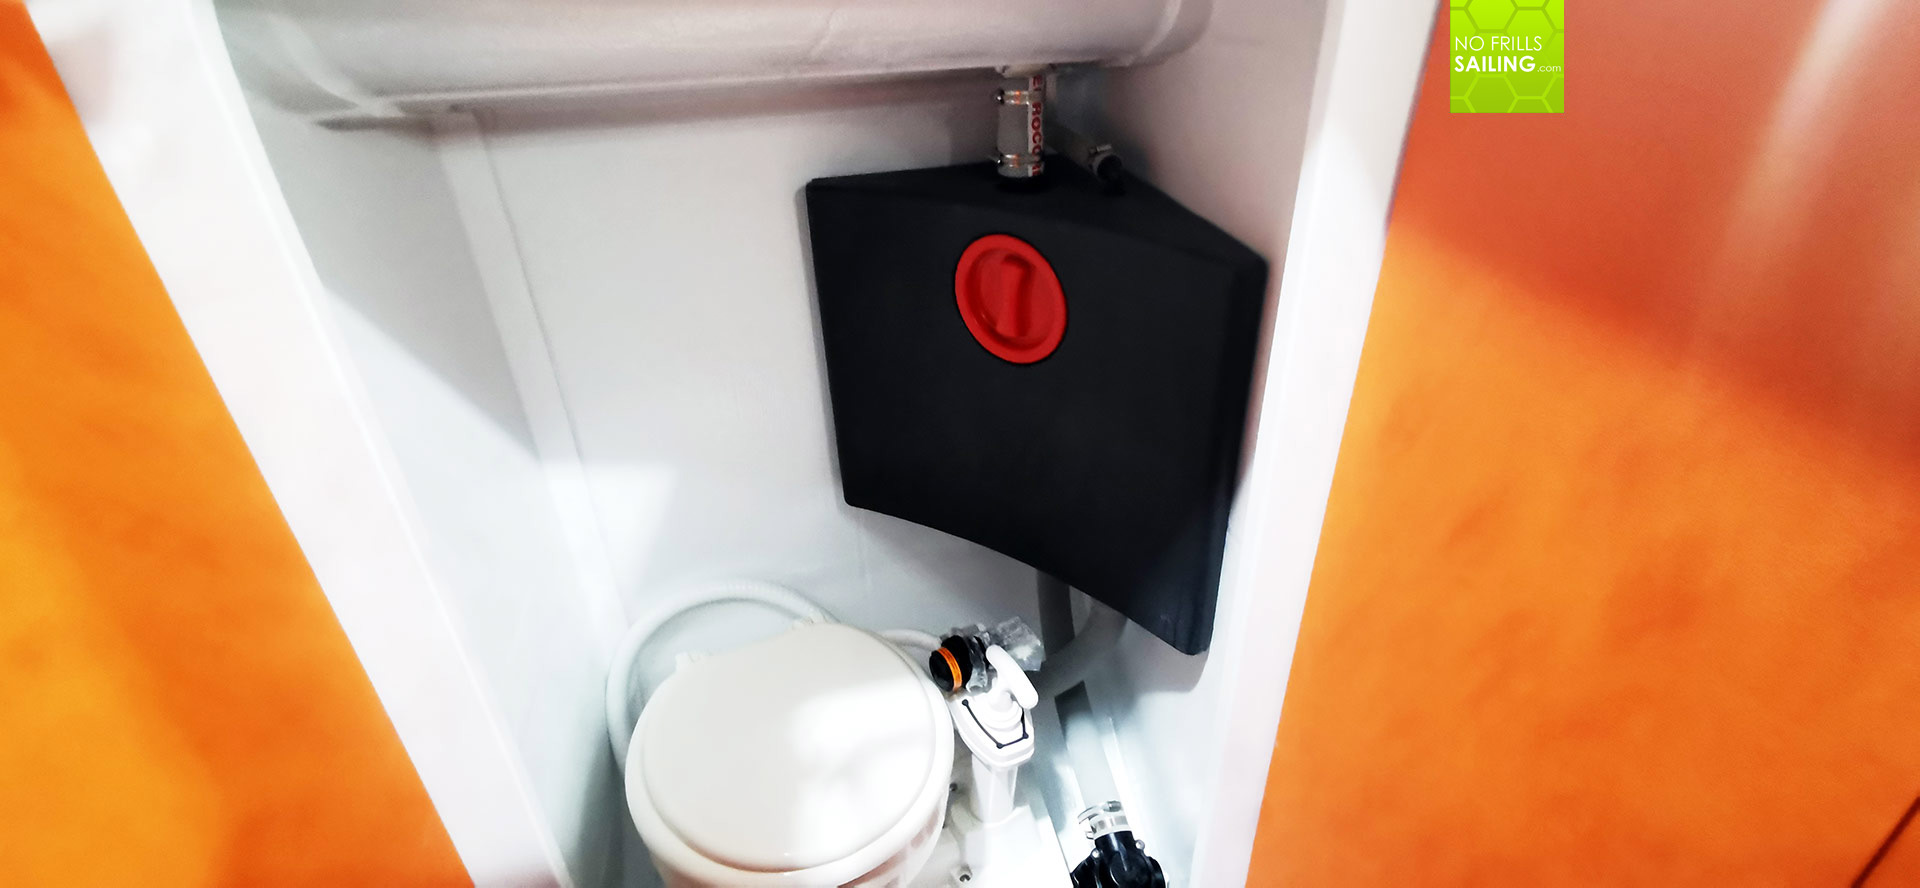
The First 27 SE is a performance-oriented small sailboat and in this the emphasis during her construction was on saving weight. Although the RM69 pumping WC clocks in at 12 kilograms, this is something of the same weight compared to the most standard Jabsco pumping WC which is also around the same. Nevertheless, reading into it, the RM69´s Sealock-system will close off all of the in- and outlets of the toilet which is a unique feature of this brand.
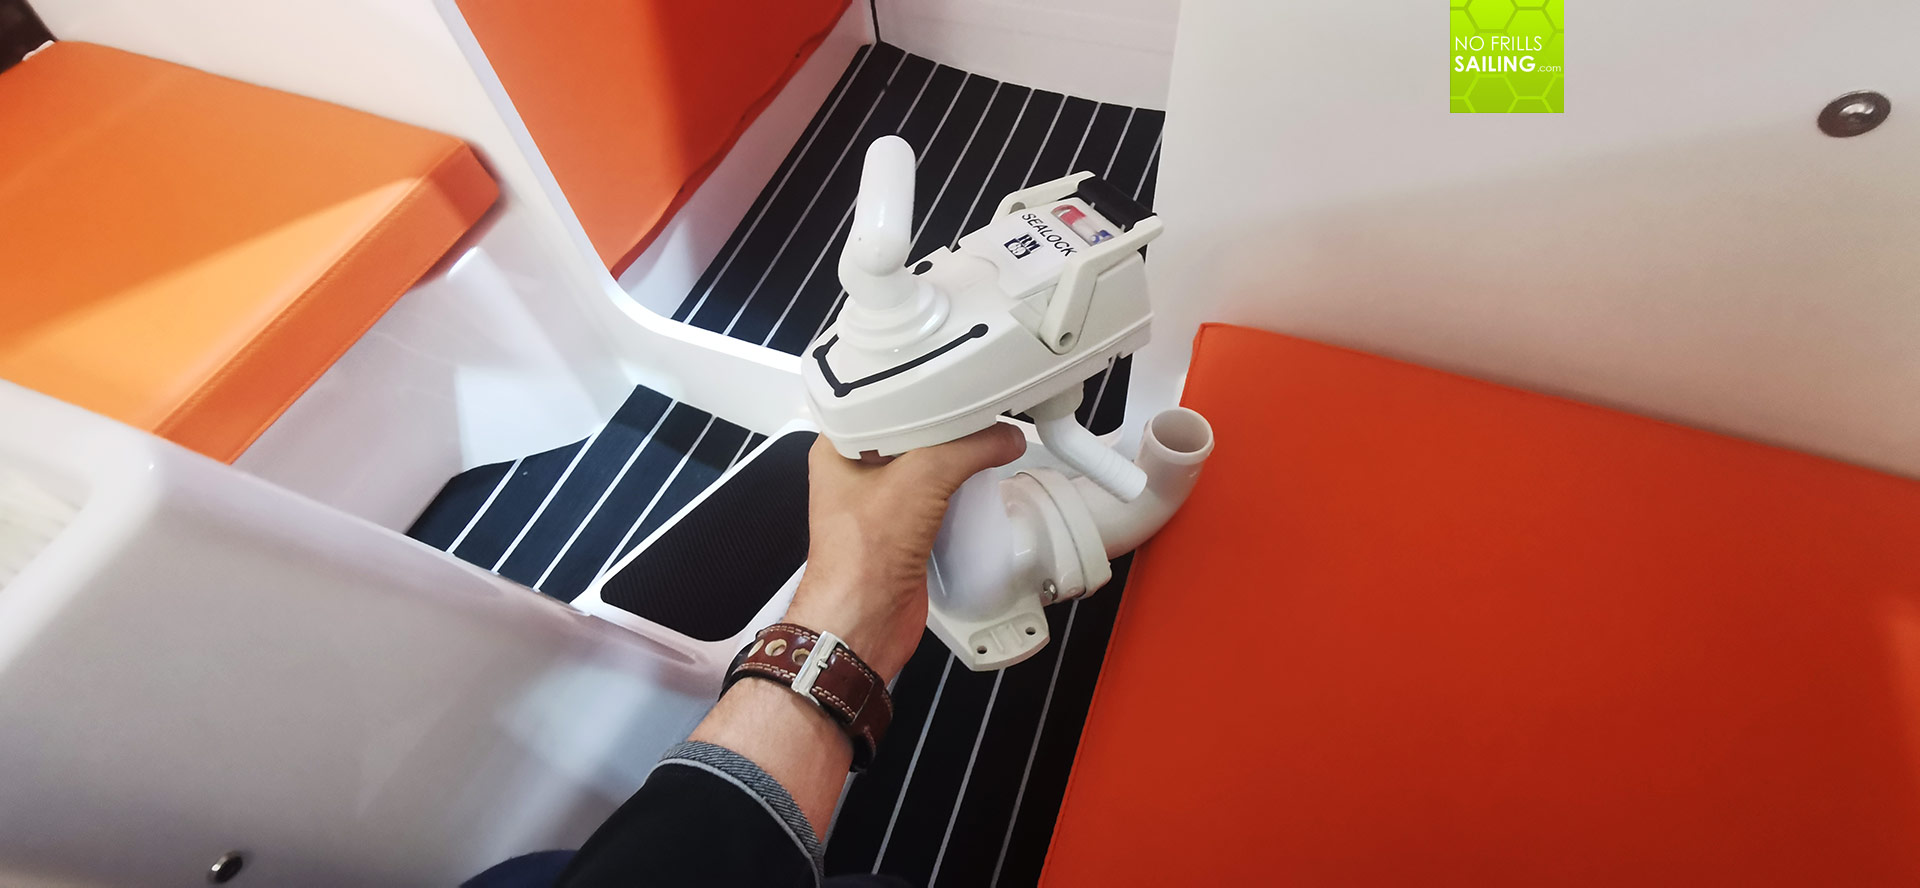
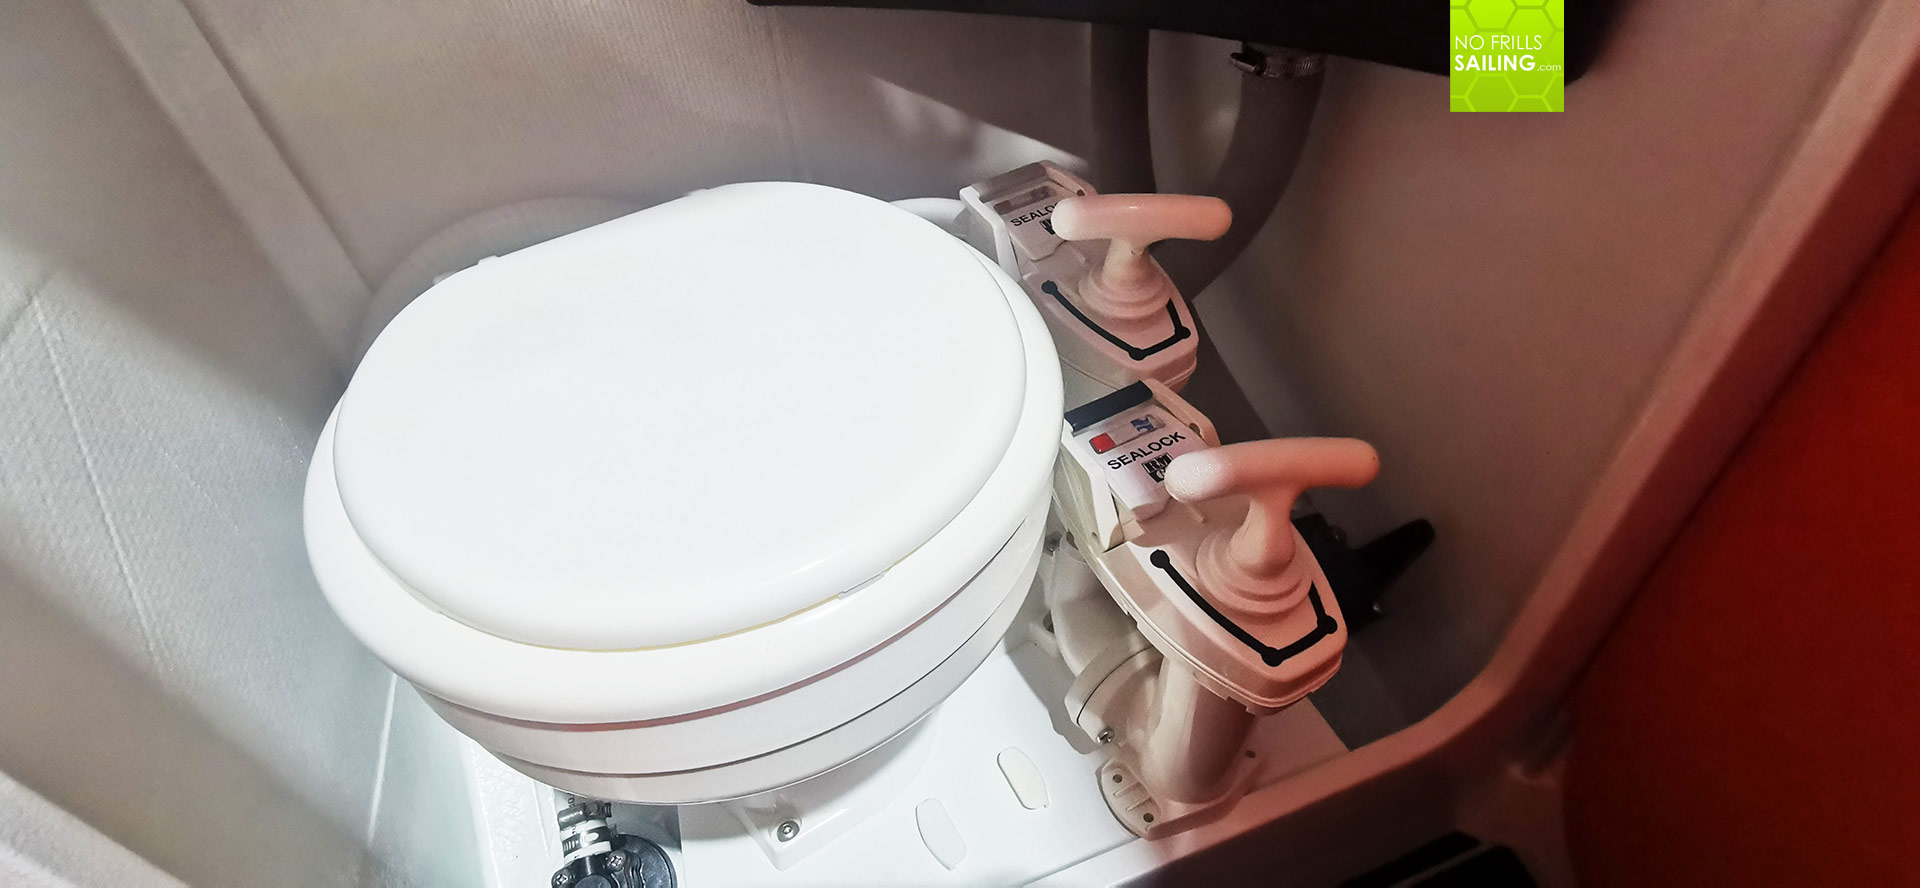
On my very toilet the small pivot of exactly this lever which is opening or closing inlets/outlets was somehow broken from the first day I used the toilet. I supposed it was damaged right when the toilet had been installed in the yard. I was happy that Seascape instantly agreed to send a spare part pumping unit and so it arrived. Easy-peasy repairing action, I thought.
On my old boat OLIVIA I had to remove the used toilet (after four and a half decades of constant use!) and so I would hardly call myself a newbee to the boat plumbing business. Preparing the gloves as I expected to handle residue feces and other delicate matter, I also took out the big pack absorbent paper towel and some tools, of course. The rest should have been simple dis- and re-assembly action.
Have the right tools
As it turned out, RM69 had its tricky bits as well. First of all, have the right tools, rule number 1. I do have a pretty nice tool set by Swiss toll brand Kraftwerk – read my full test here – and it really contains all tools you can possibly need on a boat for maintenance and repairs, but not this time: As the RM69 toilet is built to fit the smallest thinkable heads, even my smallest screw driver turned out to be too big.
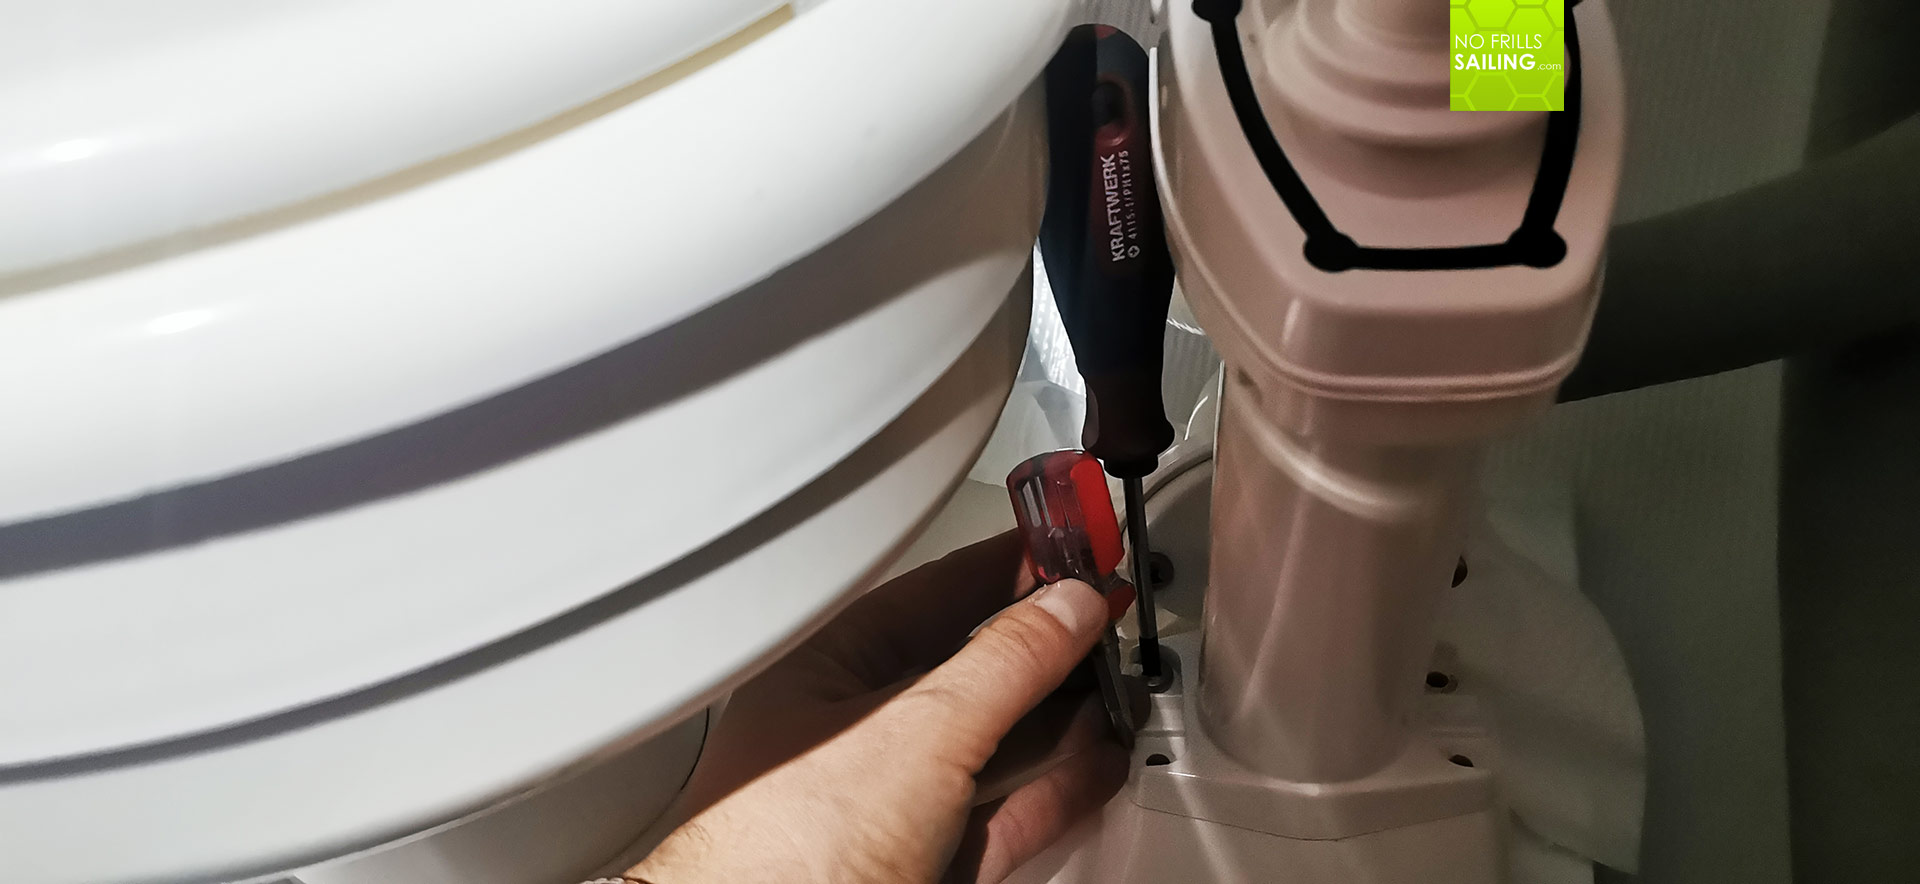
So I ran around in our company´s yard in search for a tiny-mini-version of a screw driver and luckily I found one. With that bit I was able to unscrew the four base fittings at last, freeing the mechanical parts of the pumping unit. Although I had emptied the whole system – of course! – and filled in just a bit of chemically enhanced desalinated water to the siphons, I can say: Oh boy, what a smell!
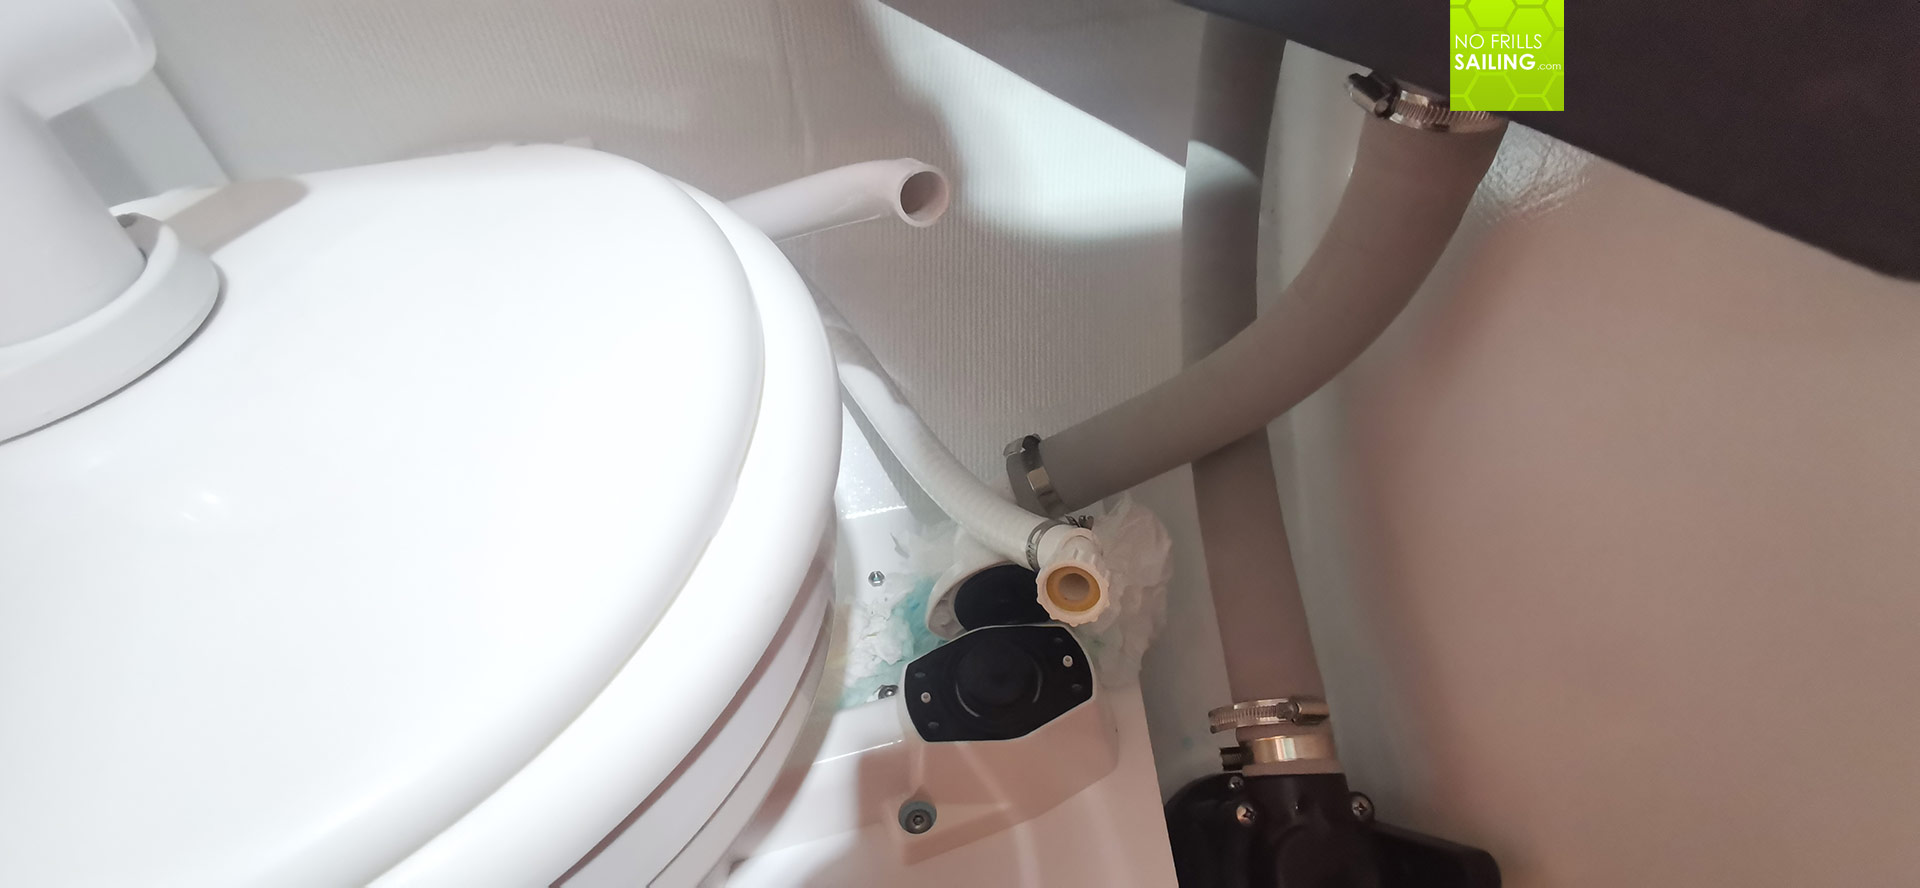
Very, very unpleasant as you may imagine by yourself, but very different from what I had expected in the first place. Not the feared shitty smell I was always thinking of, but a very annoying stench of degrading biomass with a sour-salty taste to it. It was very strong and quickly filled the air – I should have brought a fan as well. But, it did not help to complain, let´s get this thing out and replaced. What astonished me was that all feces-handling pipes had been tightly fixed and sealed to the WC by hose clips – but not the flushing water inlet pipes which are just clip-on, so clamps whatsoever.

A felicitous start
The whole changing took no longer than 15 minutes and after I had replaced the pumping unit, re-assembled all screws and checked for leak tightness, I removed the spilled “leftovers” in the head´s bilge and cleaned the whole place with warm water and detergent. Once the cycle was closed again the stench quickly dissolved. I suppose it was mainly the big hose laying wide open to the black water tank that stank that much. Anyway, problem solved!
As I said, not the most exciting nor the most complicated of all repairing actions you might imagine, but for me personally a very good and symbolic start of the upgrading-season that has now officially begun. Next up is finally the fitting of EVA-foam to the cockpit of the boat before I will turn to the more delicate jobs, mainly assembly of the battery- and solar-related new parts. Stay tuned and remember: Gloves on when gloves come off!
Also interesting to read:
Taking a dump on a Seascape 27/First 27 SE
All refit-articles