Chapters in this post
Now that most of the “big” items on my refurbishing list have been crossed off after some two and a half years of constant yacht refit there are just two, let´s say three, bigger projects left: First was the pilot´s berth which I am tackling right now and come a long way since. It´s not that much work left and I am in good hope to being able to finish that item soon (read it here). Second is the galley, which I keep as last project. Right now I am working on the head.
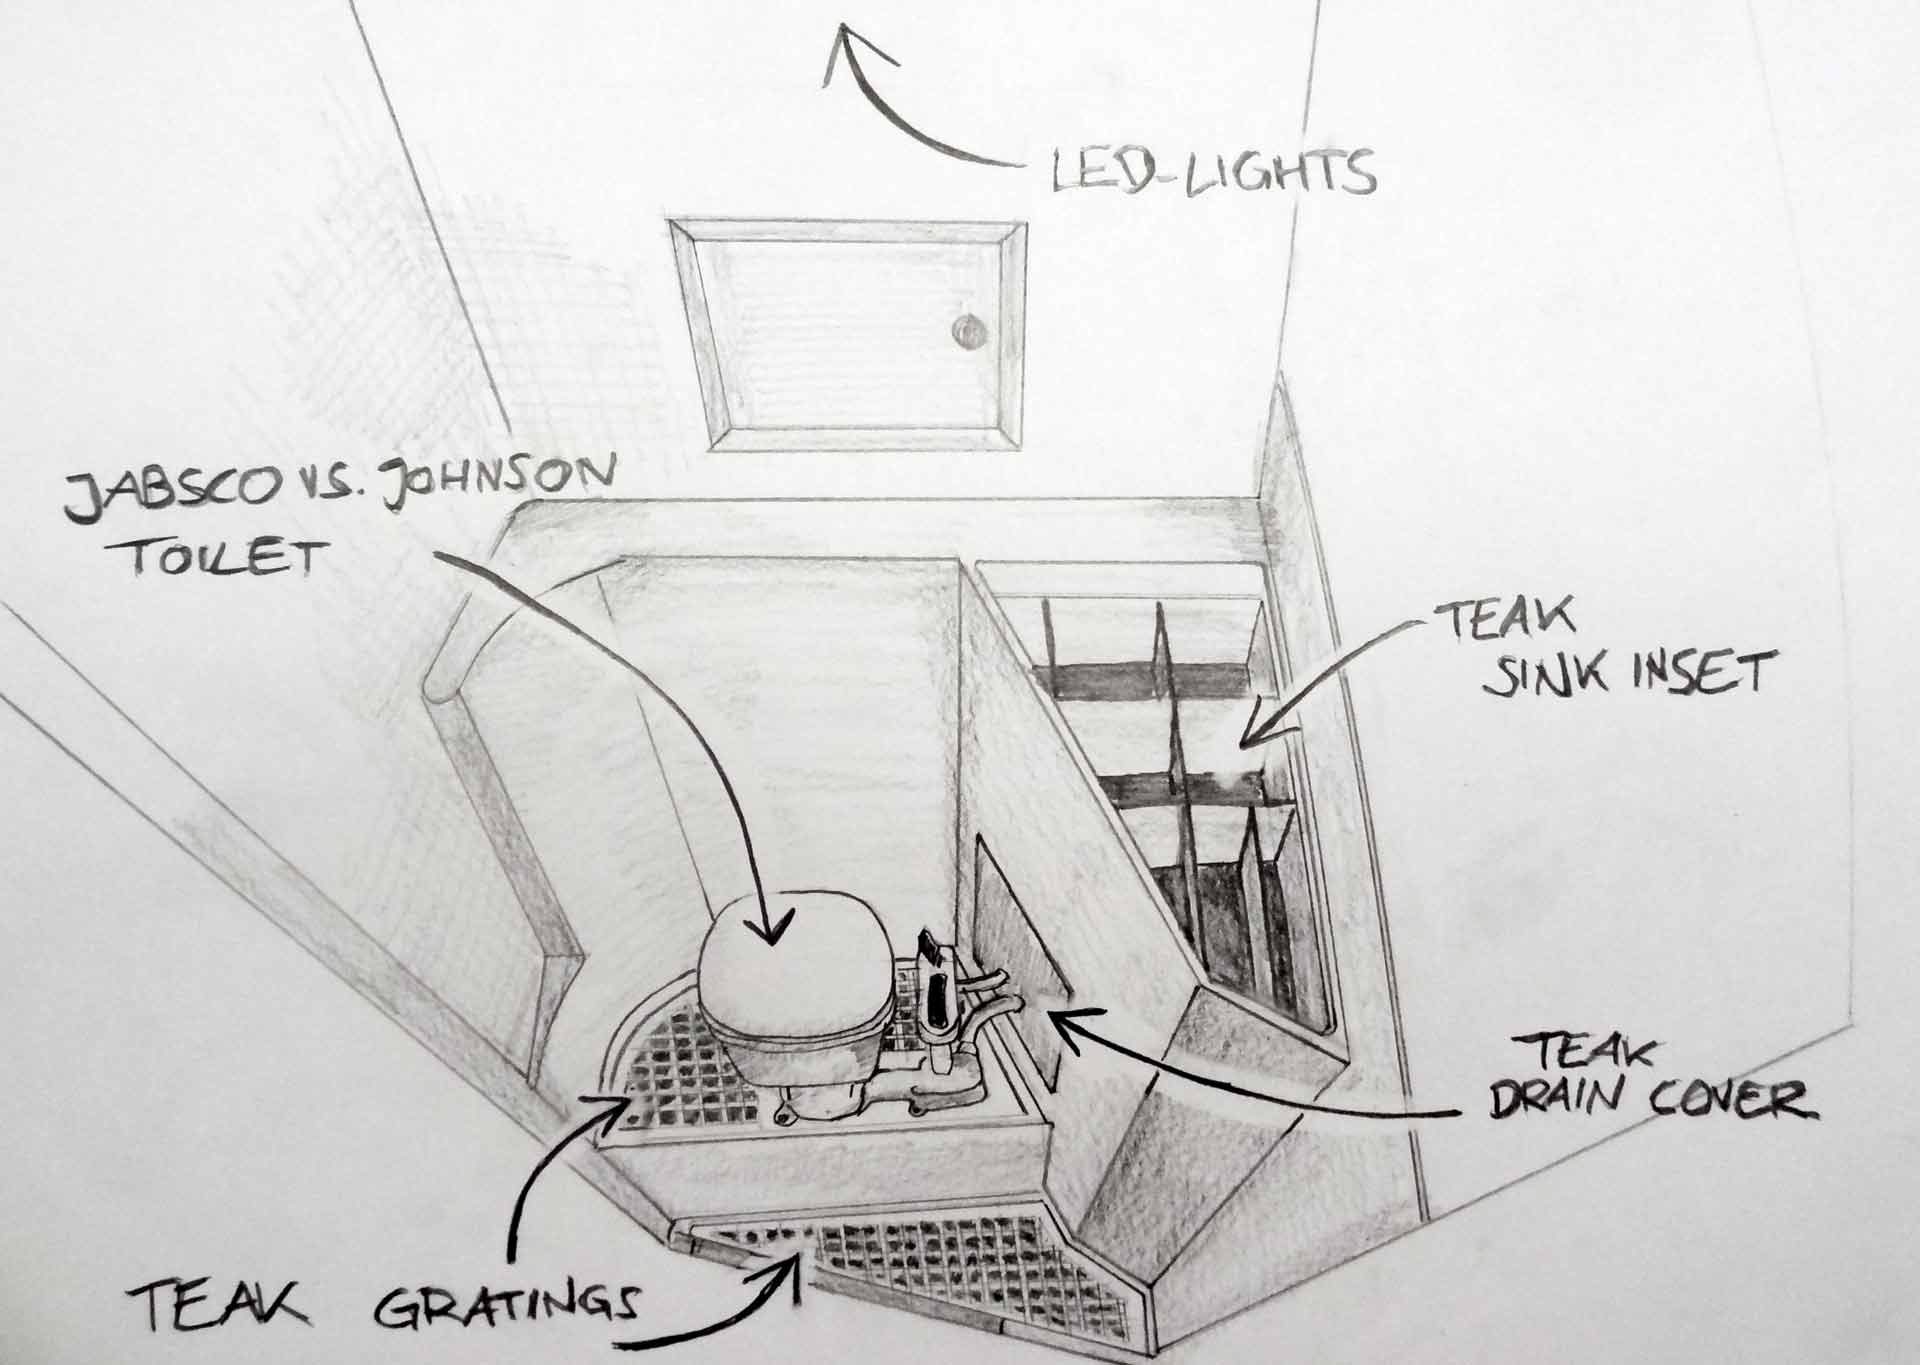
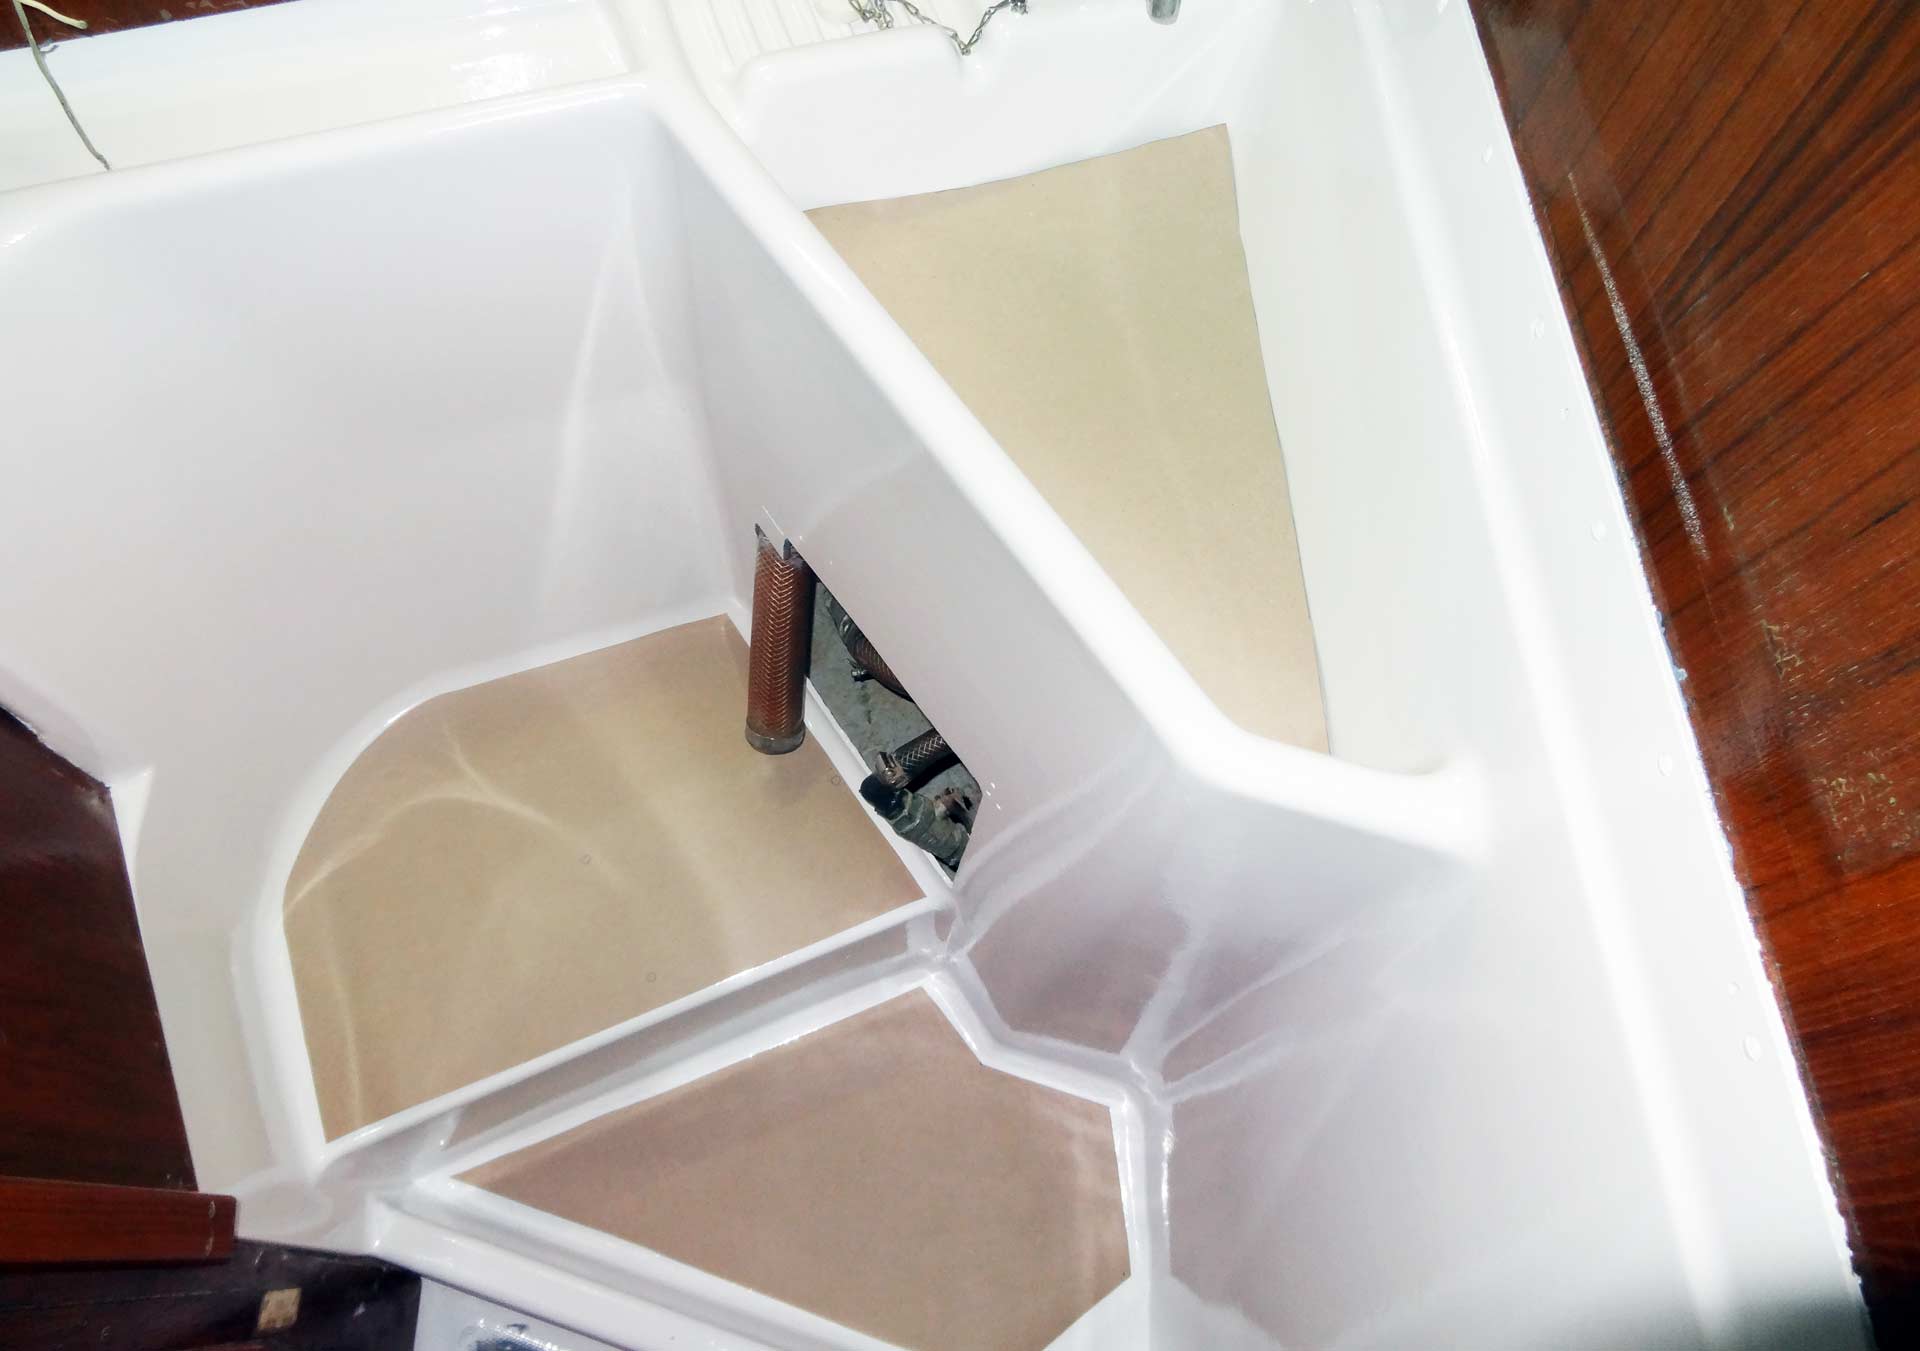
Well, the King´s Cruiser 33 is equipped with a proper head of course. “Proper” means in the context of the Seventies, where having a head on one´s sailboat meant to have a small sink to wasch one´s face and a toilet for the rest. By today´s standards both the level of equipment and the measurements of my 33 footer-head would compare to a Beneteau First 27, but anyway, let´s keep it true and rebuild this chamber to full glory. My plans are ambitious and so I started some days ago working efforts in this smallest of my boat´s rooms.
What to do? Well, the standard treatment, I would say: Taking off of all the old faux leather stuff from the ceiling was a no-brainer, I also treated te roofing with two layers of Epoxy. Just in case. Let´s start with the roofing panels, and of the making of the latter I am a pro now for sure.
An old hat: New roofing panels

Considering the narrow cramped working position here and the rather complex shape of the roof´s area I was astonished of how easy it was in the end to fabricate the 3 main panels. As usual, I was taking the measurements of the areas needed to cover and made a gauge model from cheaper, very thin plywood. After adjusting some of them I was able to cleanly cut out the very panel from thicker, higher quality plywood. Having it fitted – perfect!
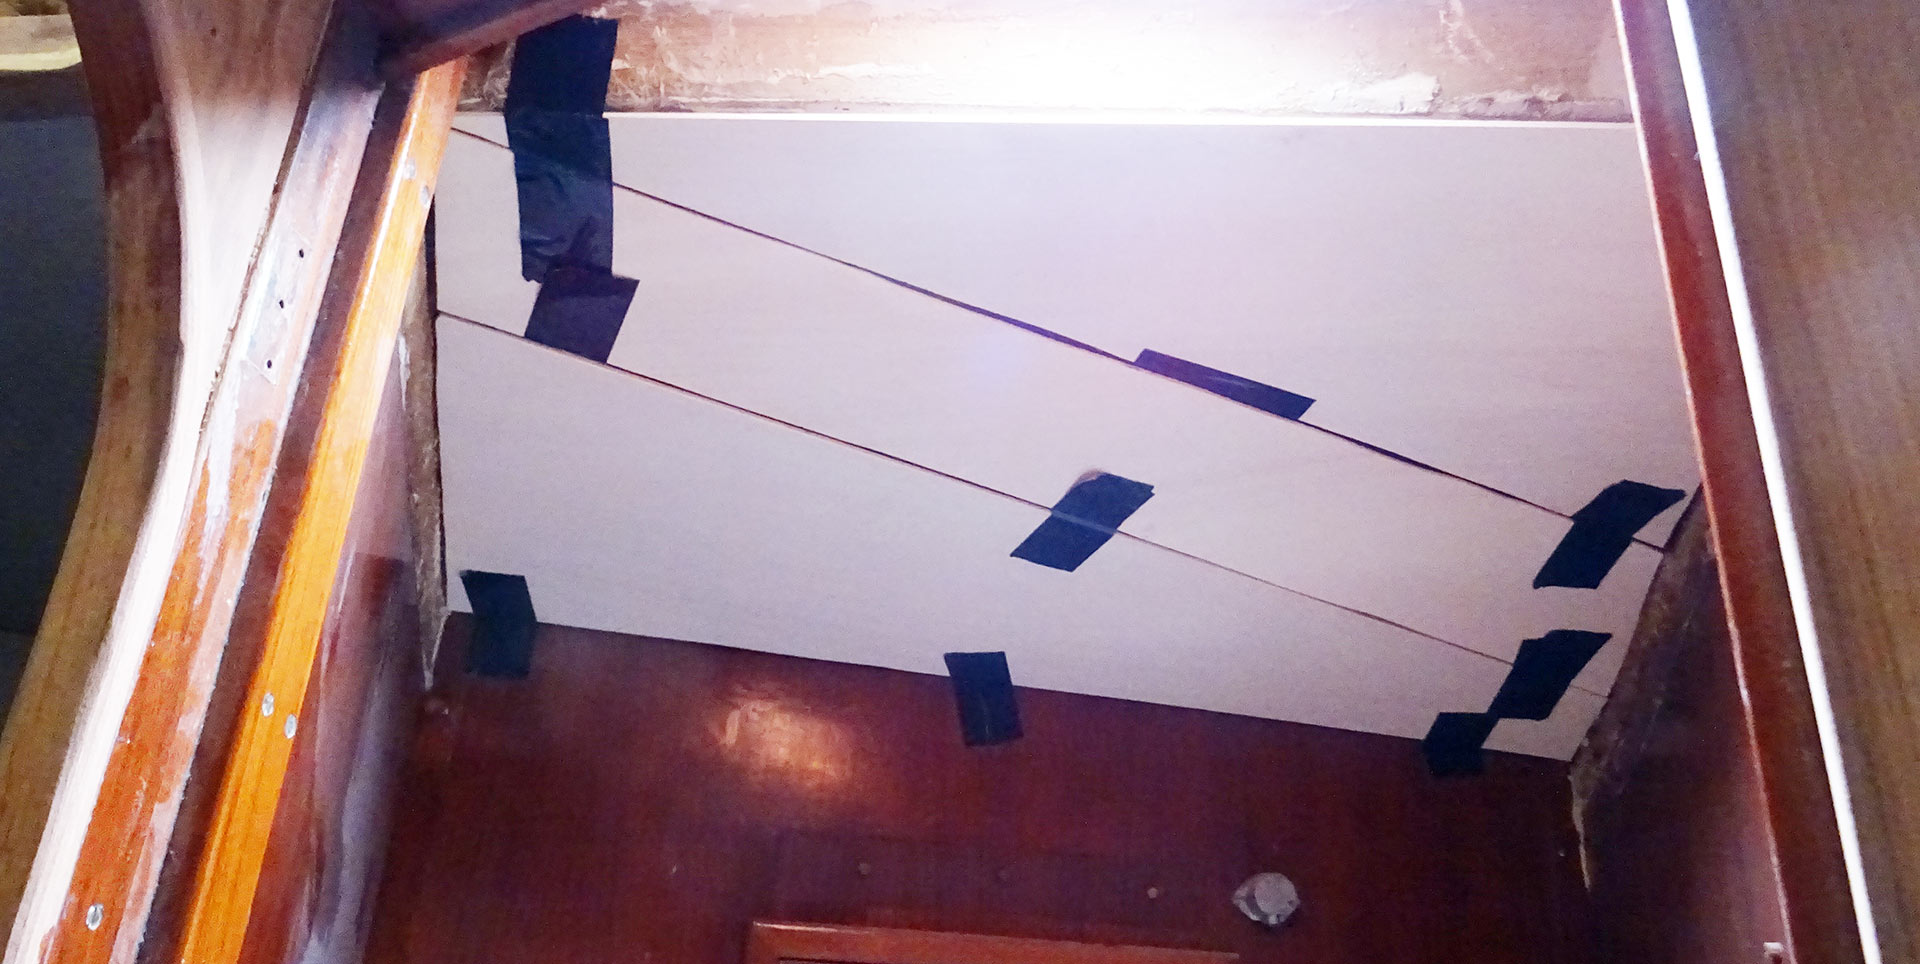
There is a small skylight in my head in the roof, of which the plexi glass window has been refurbished some months ago (read it here) as a dress rehearsal for the bigger hull windows which I´ve finished later. So I needed to cut out that window from the plywood as well as a round opening for a ventilation vent. That turned out to be kind of tricky since the panel was covering the openings and I didn´t had the chance to transfer exact shape and position of the two cutouts.
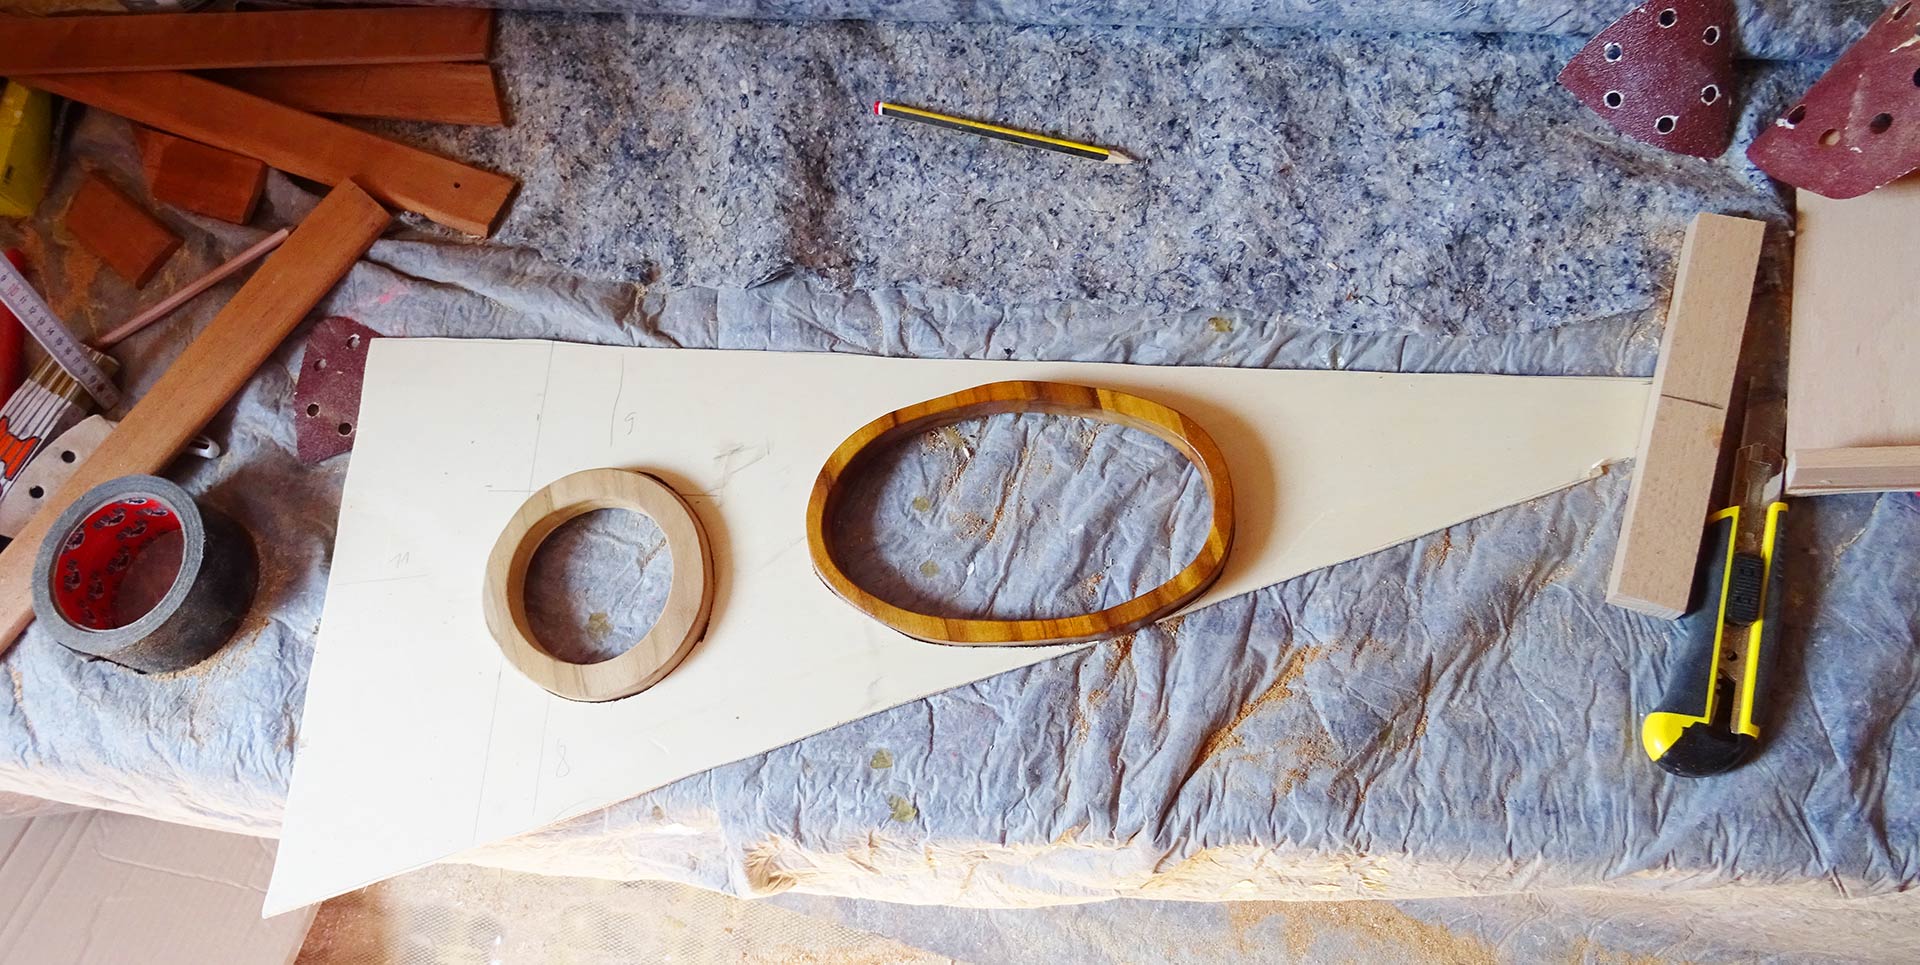
Eventually I made it by slowly nearing the cutout-shape to the end-shape which took some time but in the end both openings fit nicely and rather exact. For the porthole I had a nice decorative Teak-frame already fabricated, a second, smaller one for the ventilation opening was done quickly. I hade to make it thicker in order not to break it whilst manufacturing but I would say having a thin-big and a small-thick one is a nice contrast to the observer´s eyes. This whole action brought literally to light another question, but that´s for later.

Waterproofing the panel´s backsides and especially the vulnerable open flanks with two thick layers of epoxy was a matter of course and later I painted the plywood, as usual, with three nice layers of white. I must say, by the way, that the “discovery” of this old combination of Teak and White is one of the nicest Aha-effects of my refit action so far. I think this combination is so beautiful and classy, I can´t wait to seeing my boat fitted ready …
Old story refit ….
Well, and then the old refit-story kicked in and again the God of Refurbishment held a surprise for me. Last summer (or was it the summer before?) when I was sanding down all of the glossy-painted wooden surfaces of the boat in seemingly endless hours in front of the screaming swing-sander I either forgot or lost the enthusiasm to have the bulkheads sanded in the heads. Okay. Let´s do it!
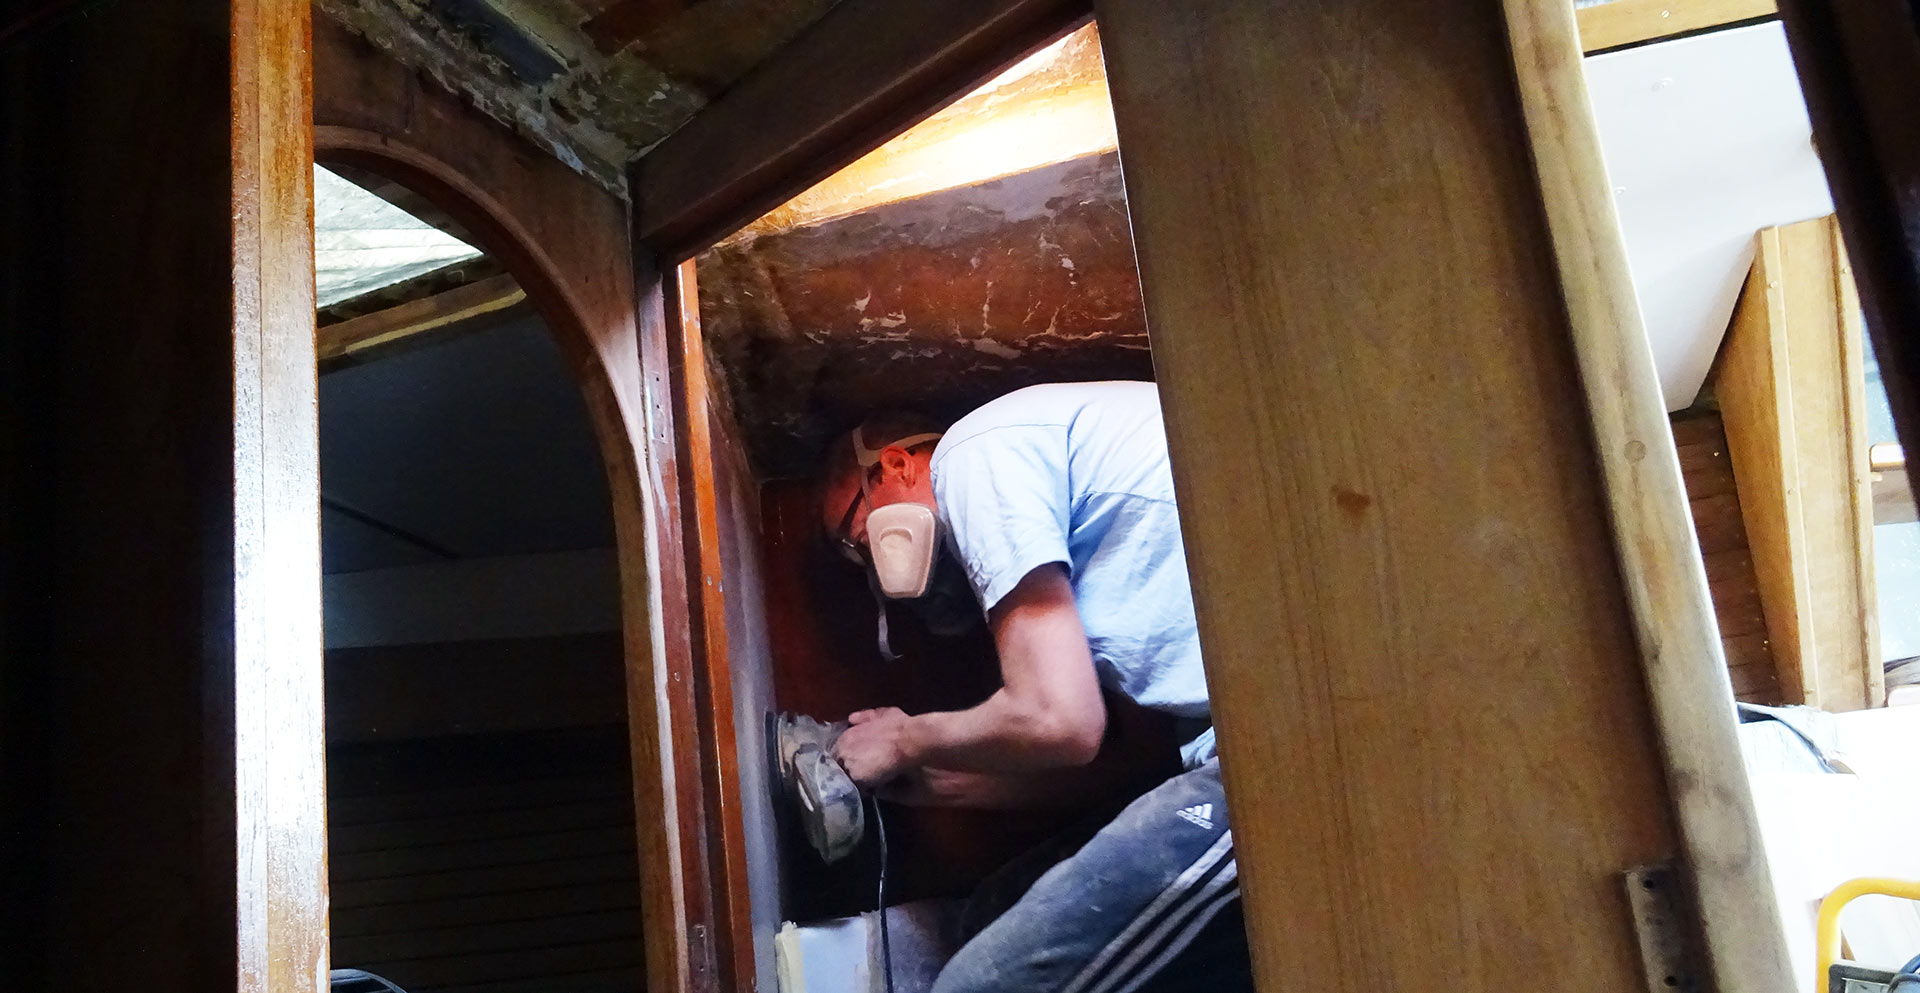
Working inside the small head was a pain in the ass for sure! Not just was the small room filled with dust immediately (and no ventilation whatsoever!) to a degree that I couldn´t see my hand before my face (I again thanked 3M for making this perfect dust mask!), in addition the small room was amplifying the noise generated by the machine. Awful! Anyways, I managed to sand both bulkheads quite nicely and so a third, the one covering the ship´s hull remained unsanded. I discovered that it was fitted by just four screws. I unscrewed what I should have left in place … and now the God of Refurbishment struck hard again.
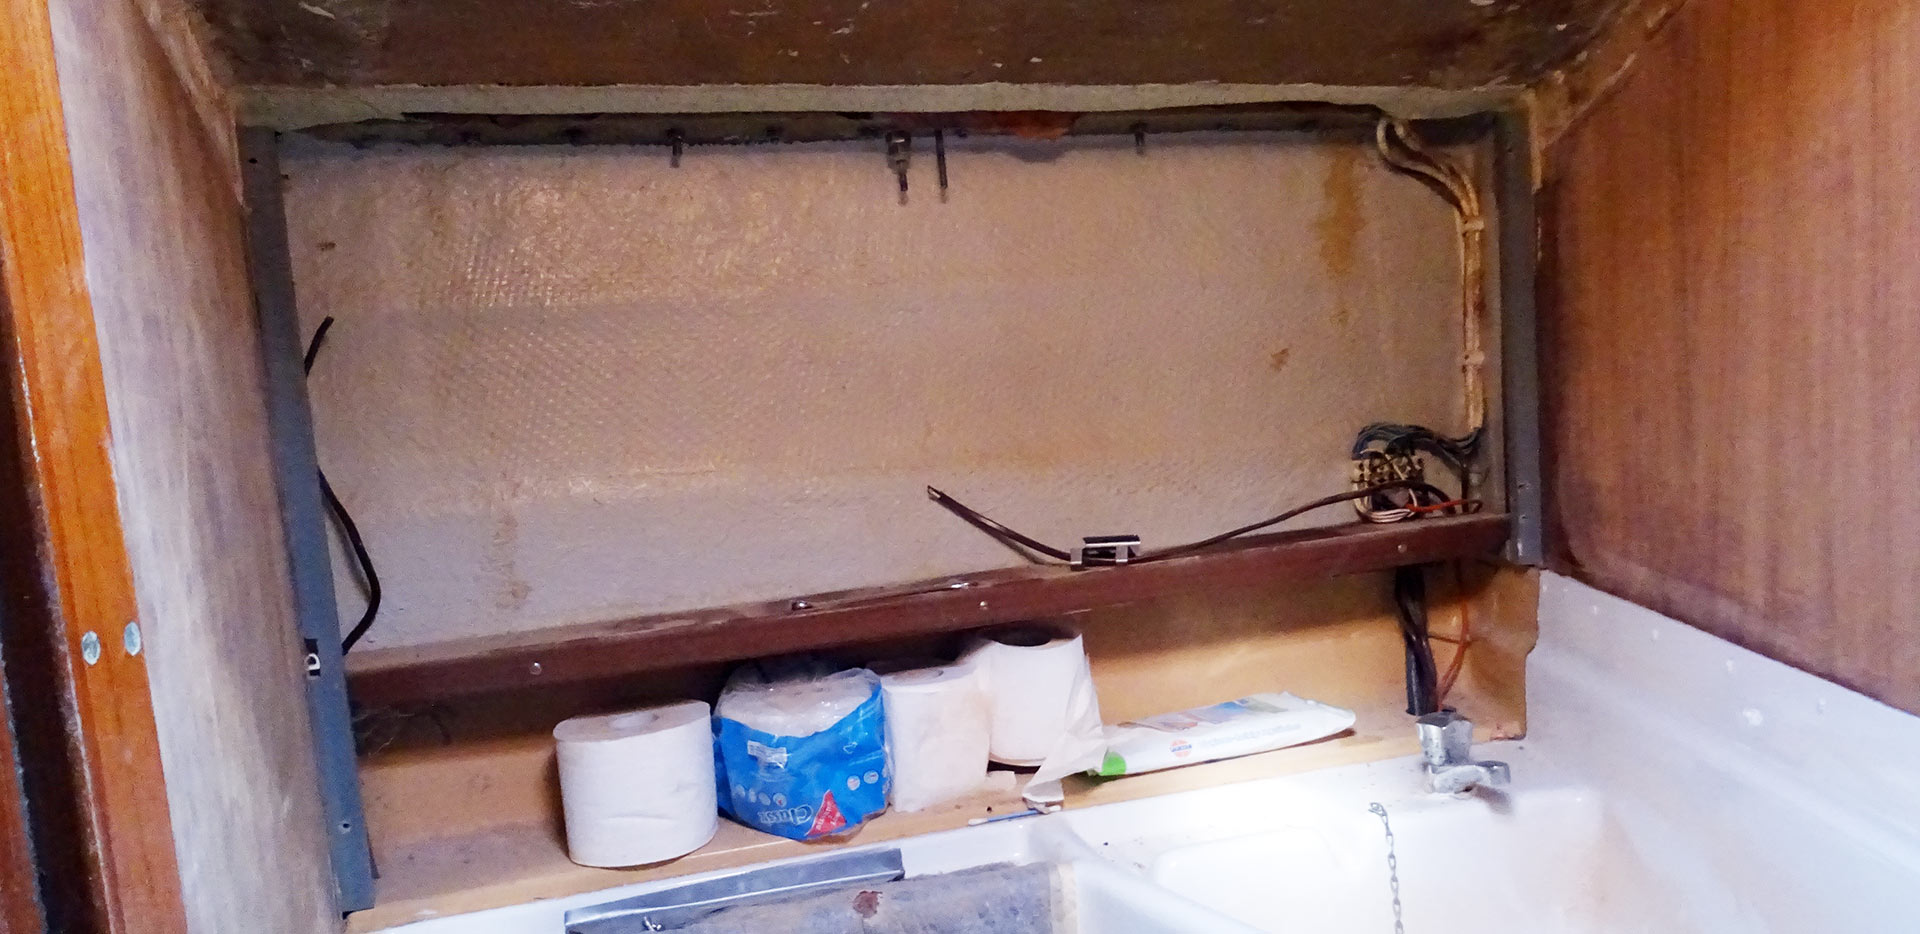
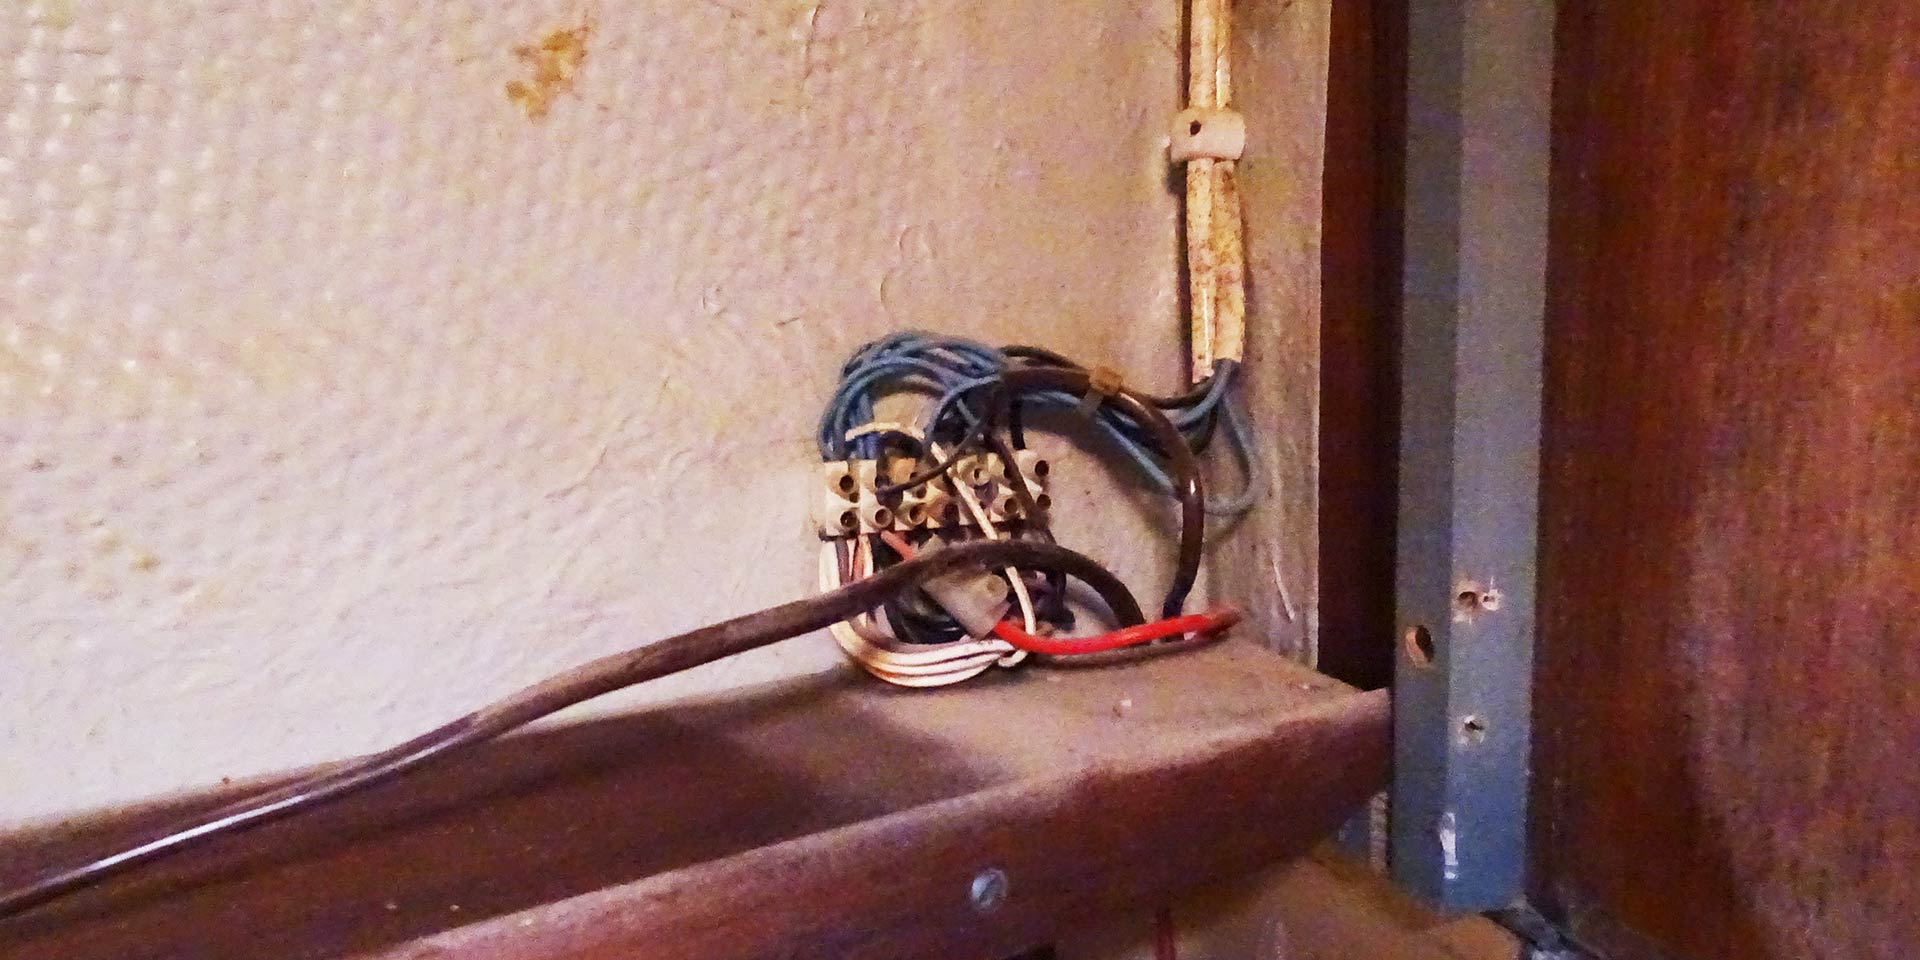
Behind the Bulkhead, which by the way is much, much easier to sand because I can take the whole thing out and work on it in a roomier place not in the cramped head, bare GRP was exposed and … some sparks flew. As you may know, one part of the whole motivation to restore my boat was the renewal of the whole electric circuit including the substitution of the lighting to modern LED lights. So, cutting wires which would otherwise be taken out was the fastest was to get rid of the old stuff. But, well, power is still on the wires and so I provoked a short circuit and startled when sparks flew around my nose.

Another – much more bothering – thing was that I again discovered a not so nice inheritance from one of the pre-owners of the boat: I discovered that a cleat that should supposed to be fitted nicely with two screws to the boat´s hull has only been tightened by just one. I checked it above and discovered that the cleat was inevitably doomed to fail when some load was to be put on it – who does such things?
Who is mounting a cleat with just one side fitted, the other not? Apart from that – the unfitted part was prone to leakage anyway. So, well, that´s just a quick fix without any problems, but again showed me the horror of buying a used boat. You just can´t see those things until removing all of the panels!

Let there be light …
So for now I was very happy with the ongoing work: Next step, after fitting the cleat and getting the last surface sanded and re-attached, would be the mounting of the roofing panels. That´s a no-brainer because I do not need to construct a substruction first. I am right now a bit hesitant and wondering what I shall do with the lighting in here: I have a another Teak plinth left and could have fitted a proper light in here, but maybe I find another solution (maybe a battery-powered LED). I´m still not sure. But sure I am that the head is nearing completion: After fitting of the roofing it´s just the toilet. Looking forward here!
Like sailing yacht refit? Here´s more:
Porthole windows refit, parts 1, 2 and 3
Chain locker refit parts 1 and 2
Perfect yacht´s galley: Part 1, starting point