As this year draws to a close, sailing vessel OLIVIA and myself are completing the third year of her refitting efforts and like every year it´s time for a retrospect. I do not wish to throw around a lot of numbers (like in the years before) but to have a look at the broader view. And this view is a happy one: The better part of the refit process is done I would say – with the fitting of these last panels the rough work shall be considered finished.
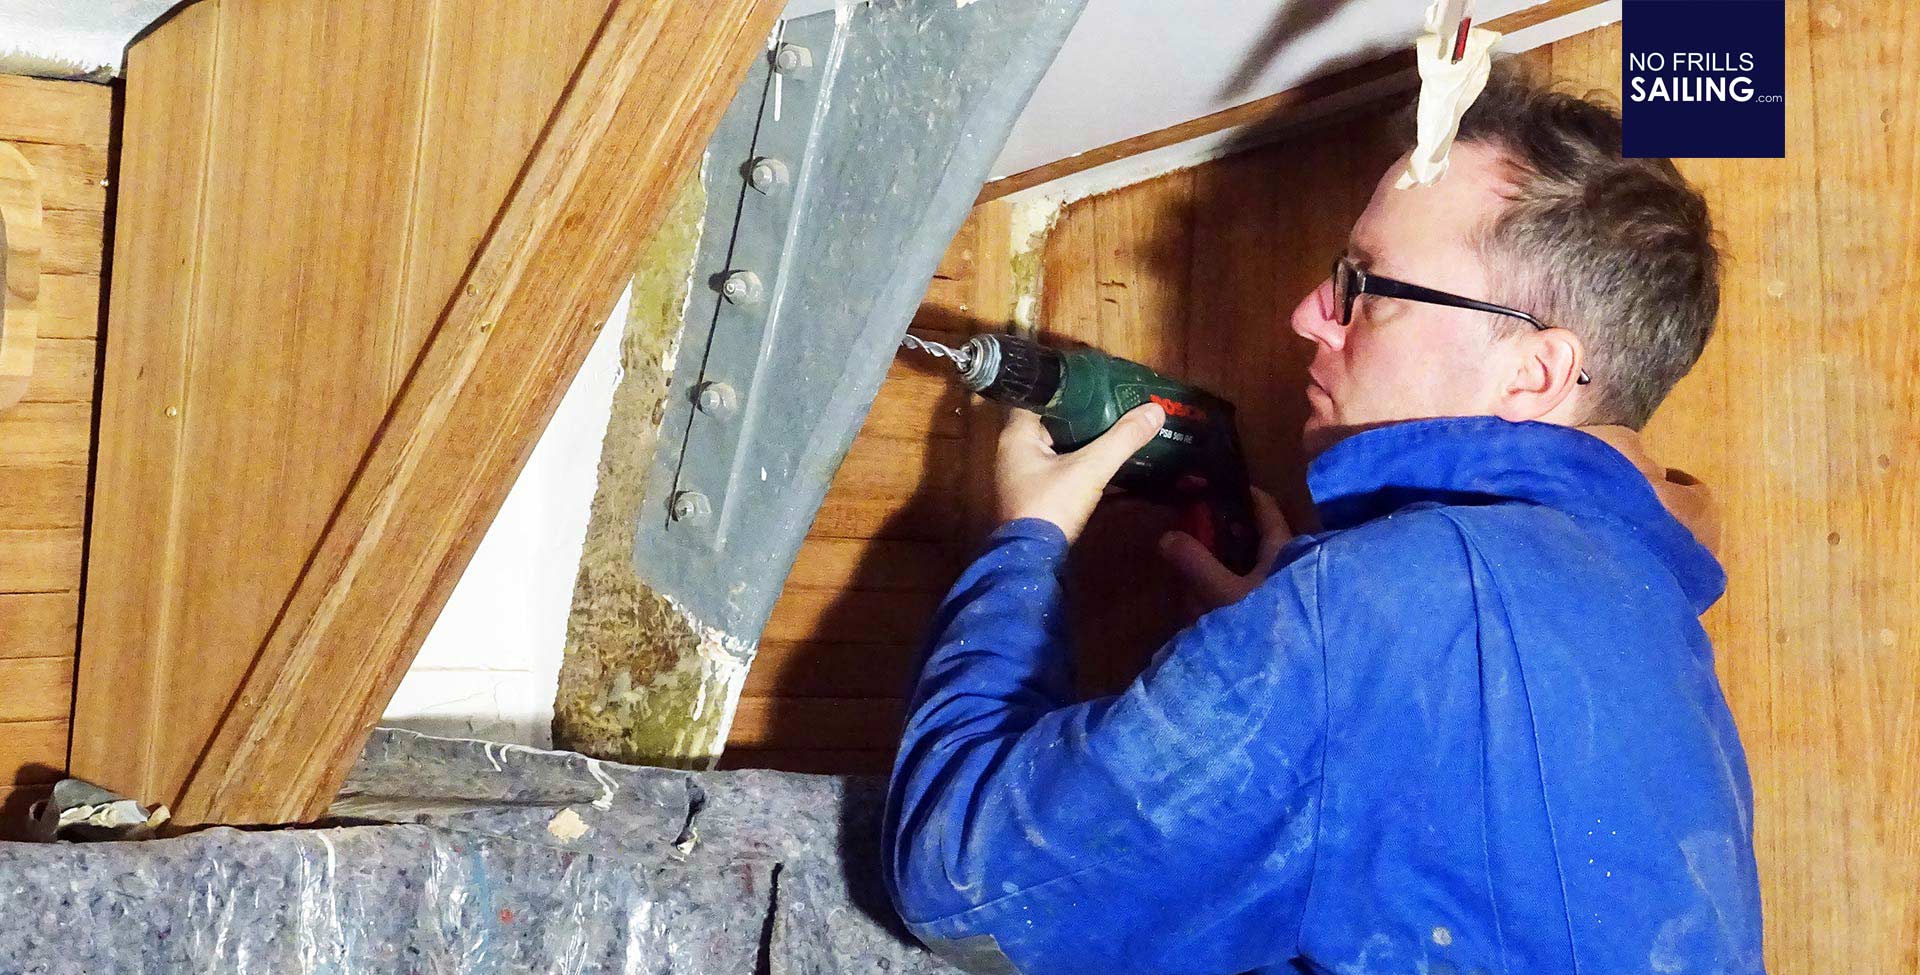
Well, of course, that doesn´t mean that the whole refit is finished, but the woodworks and the big stuff can be considered done: It all started in late autumn and now with just five days of this old year 2019 to go I began finishing works on the last big panel. I would say that´s a reason to celebrate and to look back with a smile: Although 2019 was a pretty busy year for me in terms of professional work with thus the least time spent on the boat of all four years I have her, I can see a light a the end of the tunnel.
Chain plate receivers covered

Things begin to fall into place. Like in the salon for example where refurbishing works are best visible: I took off all of the old faux leather cover, disassembled and got disposed off of the big roofing panels. It took me months to make and assemble the new roofing and even the massive Teak made ceiling side panels – although among the first to me made – waited patiently for weeks to be attached.
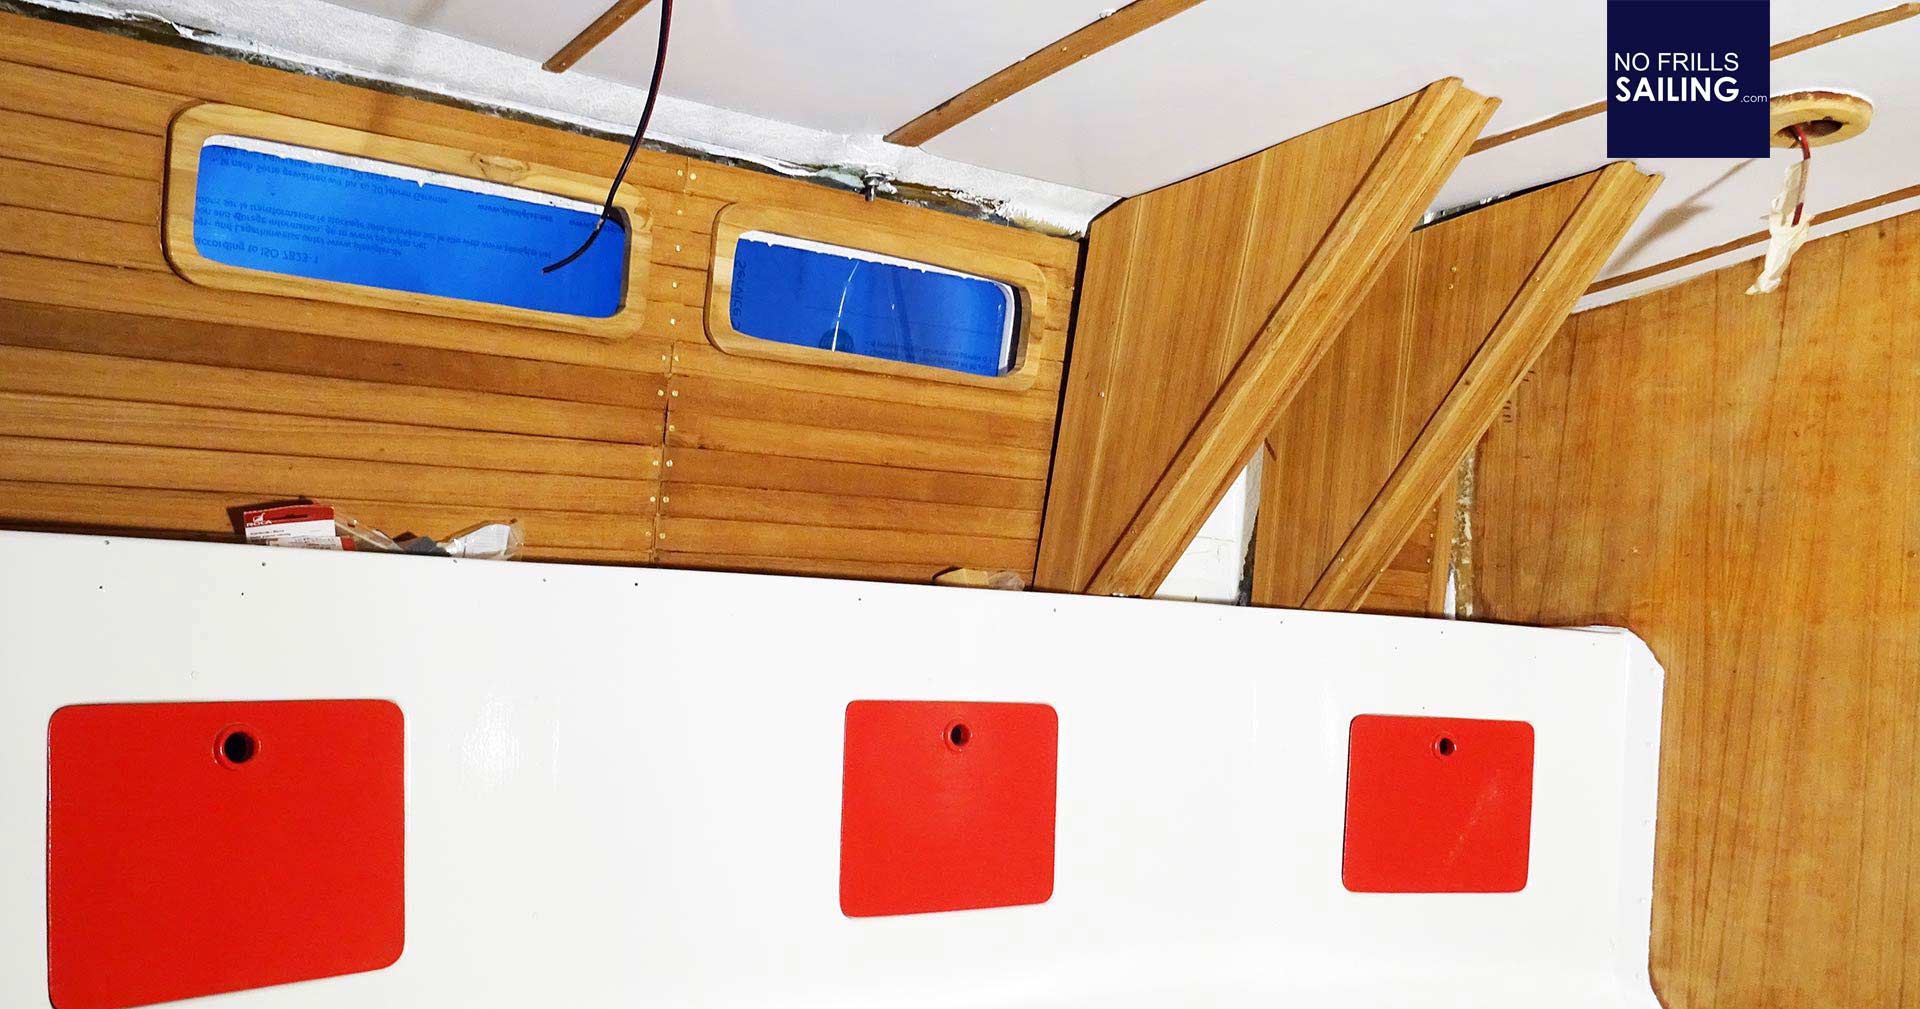
Now, with fitting of the nicely done Teak-made casings for the chain plate take-ups the salon´s upper half looks awesome. I´ve even came to make some shelves in between to use the space for additional stowage. Now, after sanding down and painting the salon´s GRP surface in shiny new white and with fitting of these last panels I am facing a last big thing to be done here: The floorboards which I took off as one of the first jobs ever to be completed are the last big job here. Otherwise, the boat´s salon is – except for some small, let´s call it “more cosmetical” – jobs.
Last panels at the navigation station
I did put a great deal of effort in re-designing of the nav-station of my King´s Cruiser 33 as well. After realizing that the old original chart table was completely worn out and practically unsavable I came up with my version of a nice, classy chart table which I built and fitted two years ago. I also made a nice wooden casing to house the brand new VHF and the main switch panel.
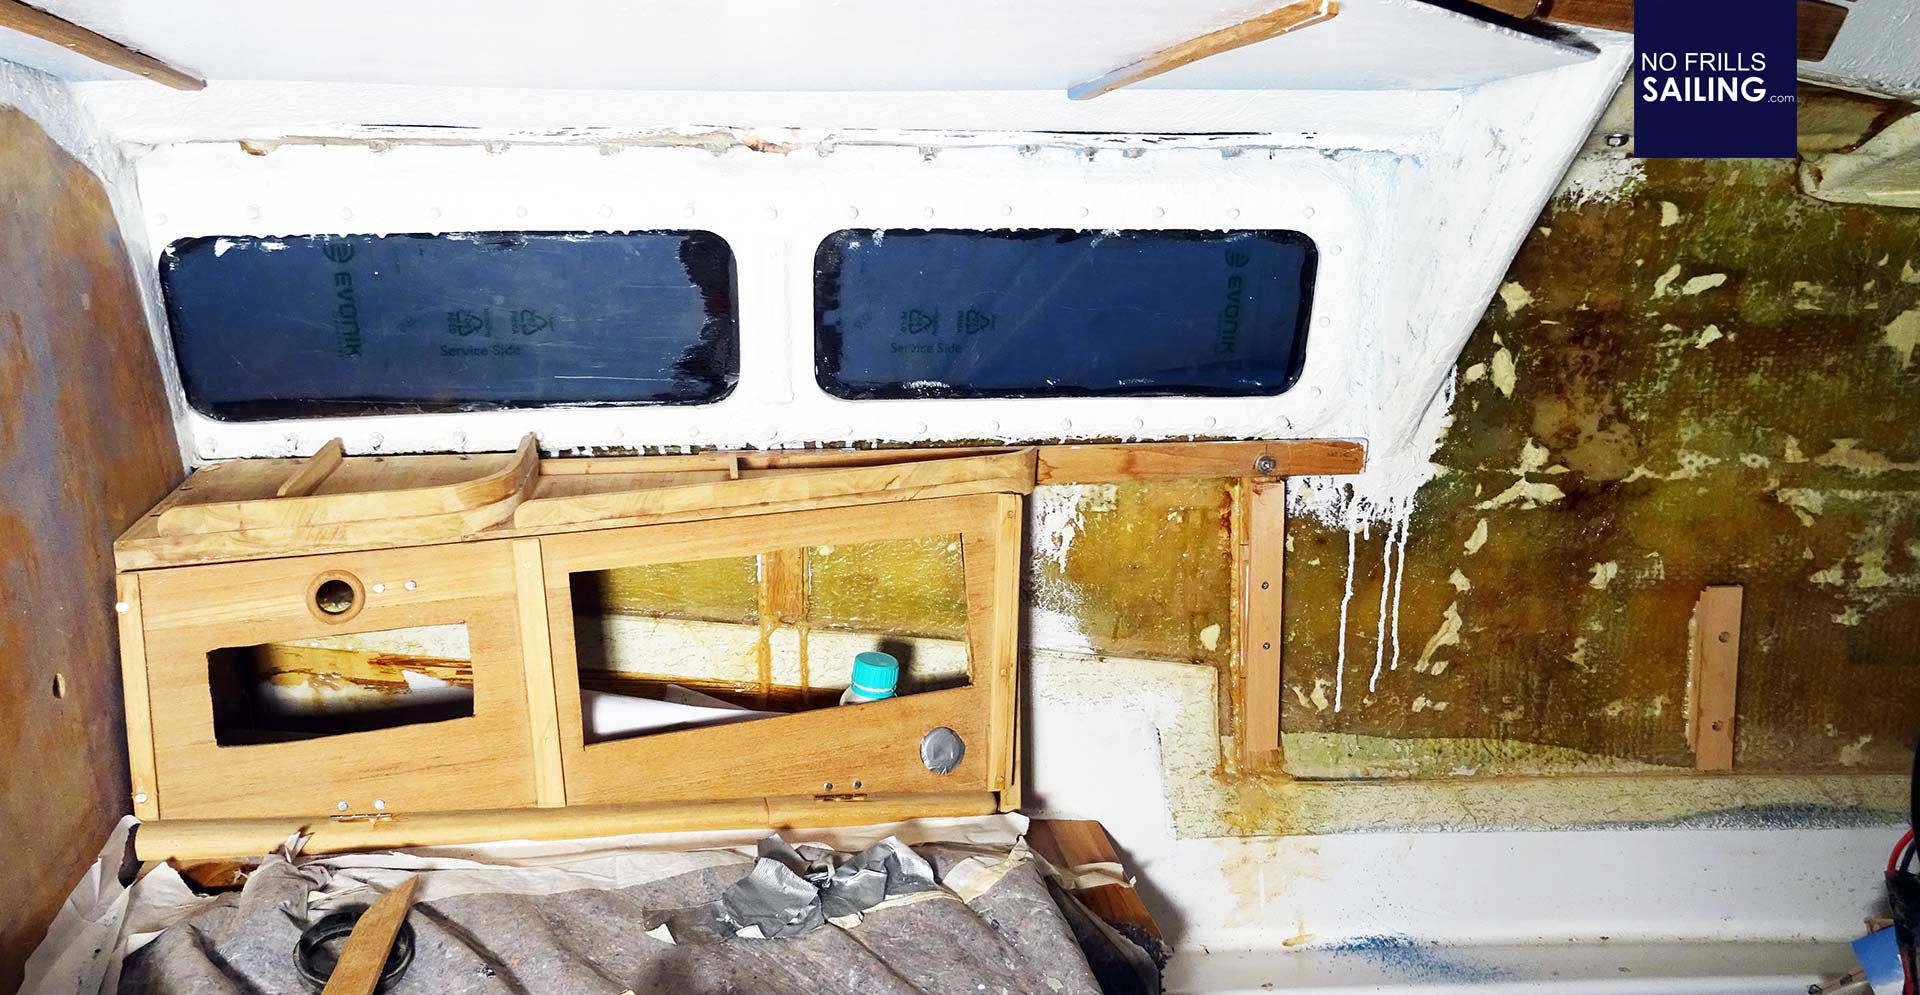
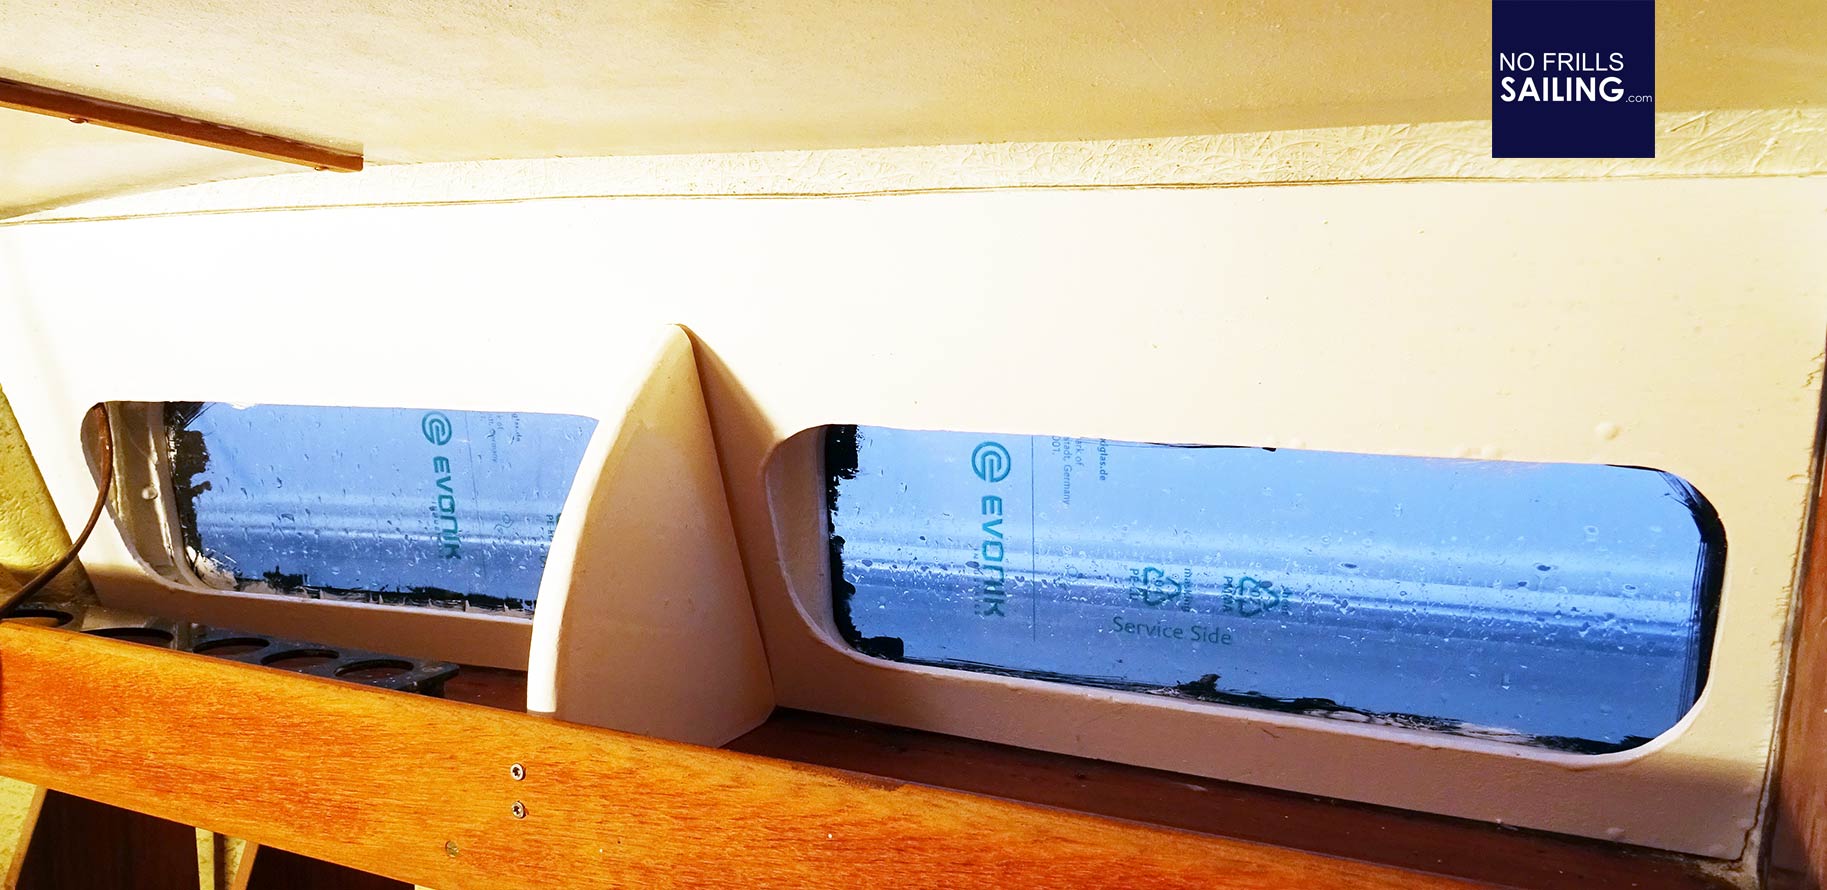
Now, the side walls had been a mess in the nav station as well. After taking off the faux leather covers the bare GRP surface laid bare. For the upper half – not after completely re-building the large acrylic porthole windows which are a signature of the Pelle Petterson designed King´s Cruiser 33 – I went for a straight white painted surface. That meant making some panels again.
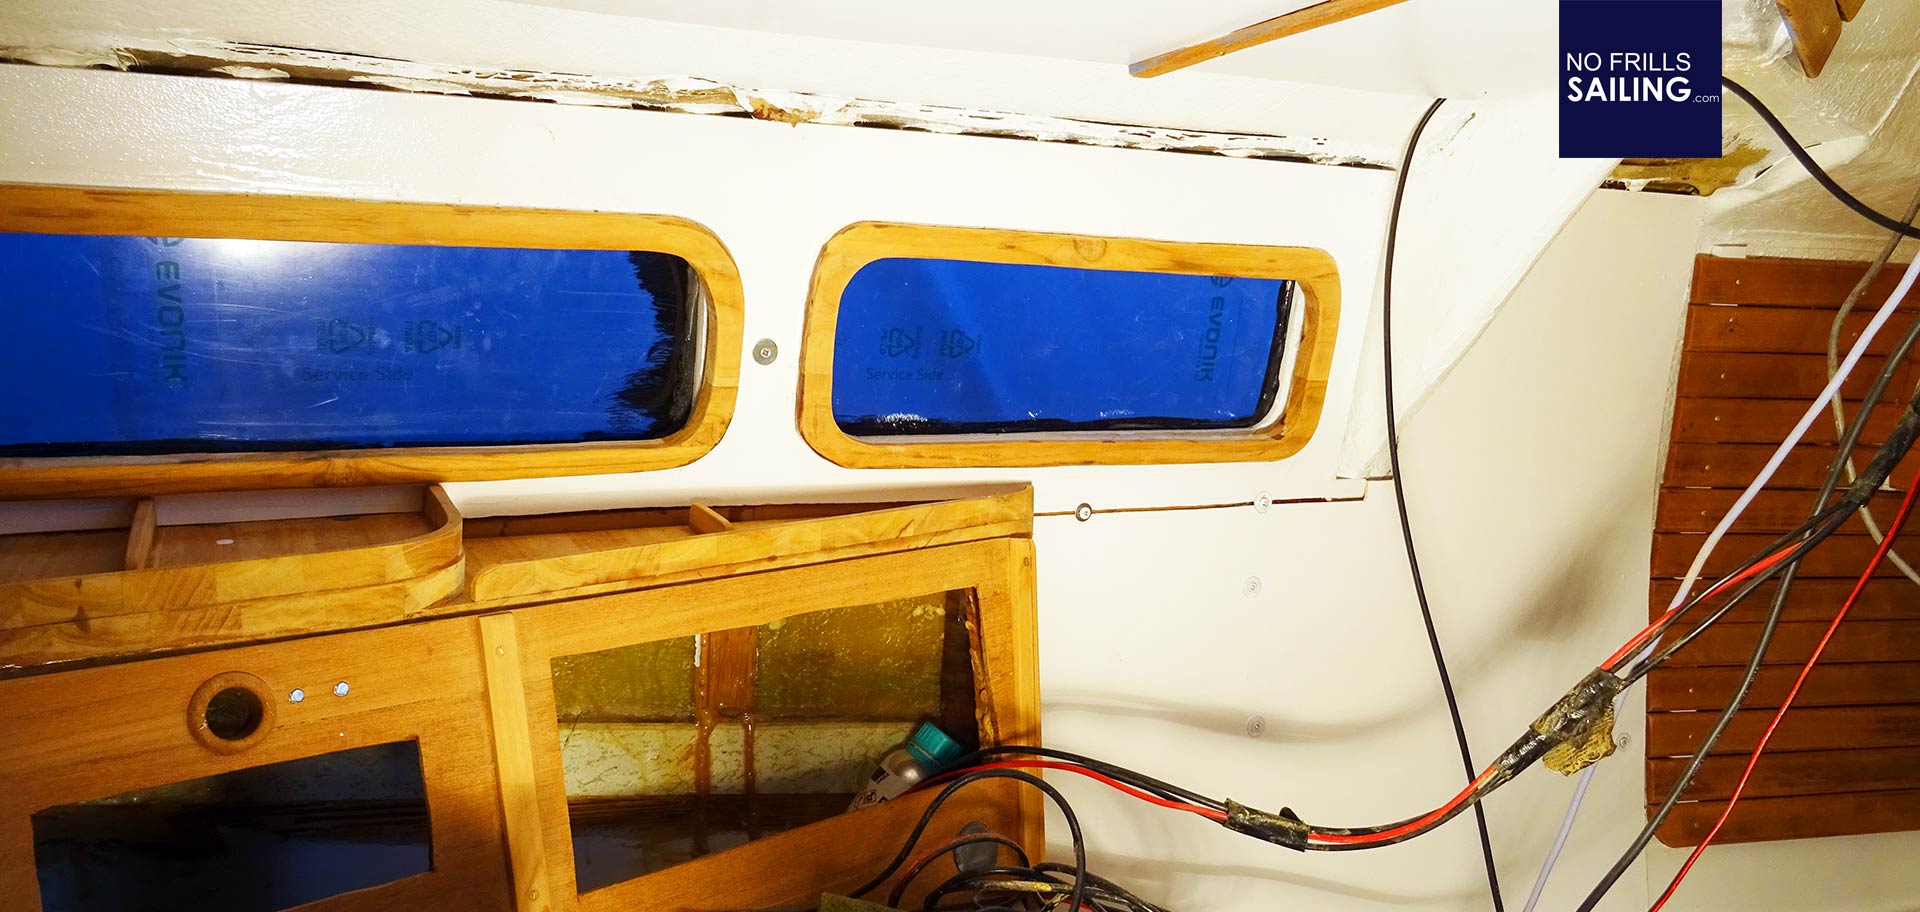
Now, I am a pro when it comes to making panels after these years: Plywood needs to be cut in size after taking precise measurements, then made waterproof from the backside and the cutting edges by means of Epoxy resin and finally painted in at least three layers of 1K paint white. Then a substruction (mostly made of Oak offcut) is attached to the hull, sometimes by glue, sometimes by screws and sometimes by both. No matter which technique, when fitted, these panels look great. Just like they do in the new nav-station area. Can´t wait to sit down here and plan a route …
Finishing the pilot berth
After completing works in the bow compartment and finally finishing the bathroom as well, the pilot berth was the last crew area not ready for final works. I was thinking a lot if I´d really need this berth or not. I even played around with an idea to seal this off with a newly made bulkhead to use the space behind for stowage, but now I am happy having kept the pilot berth.
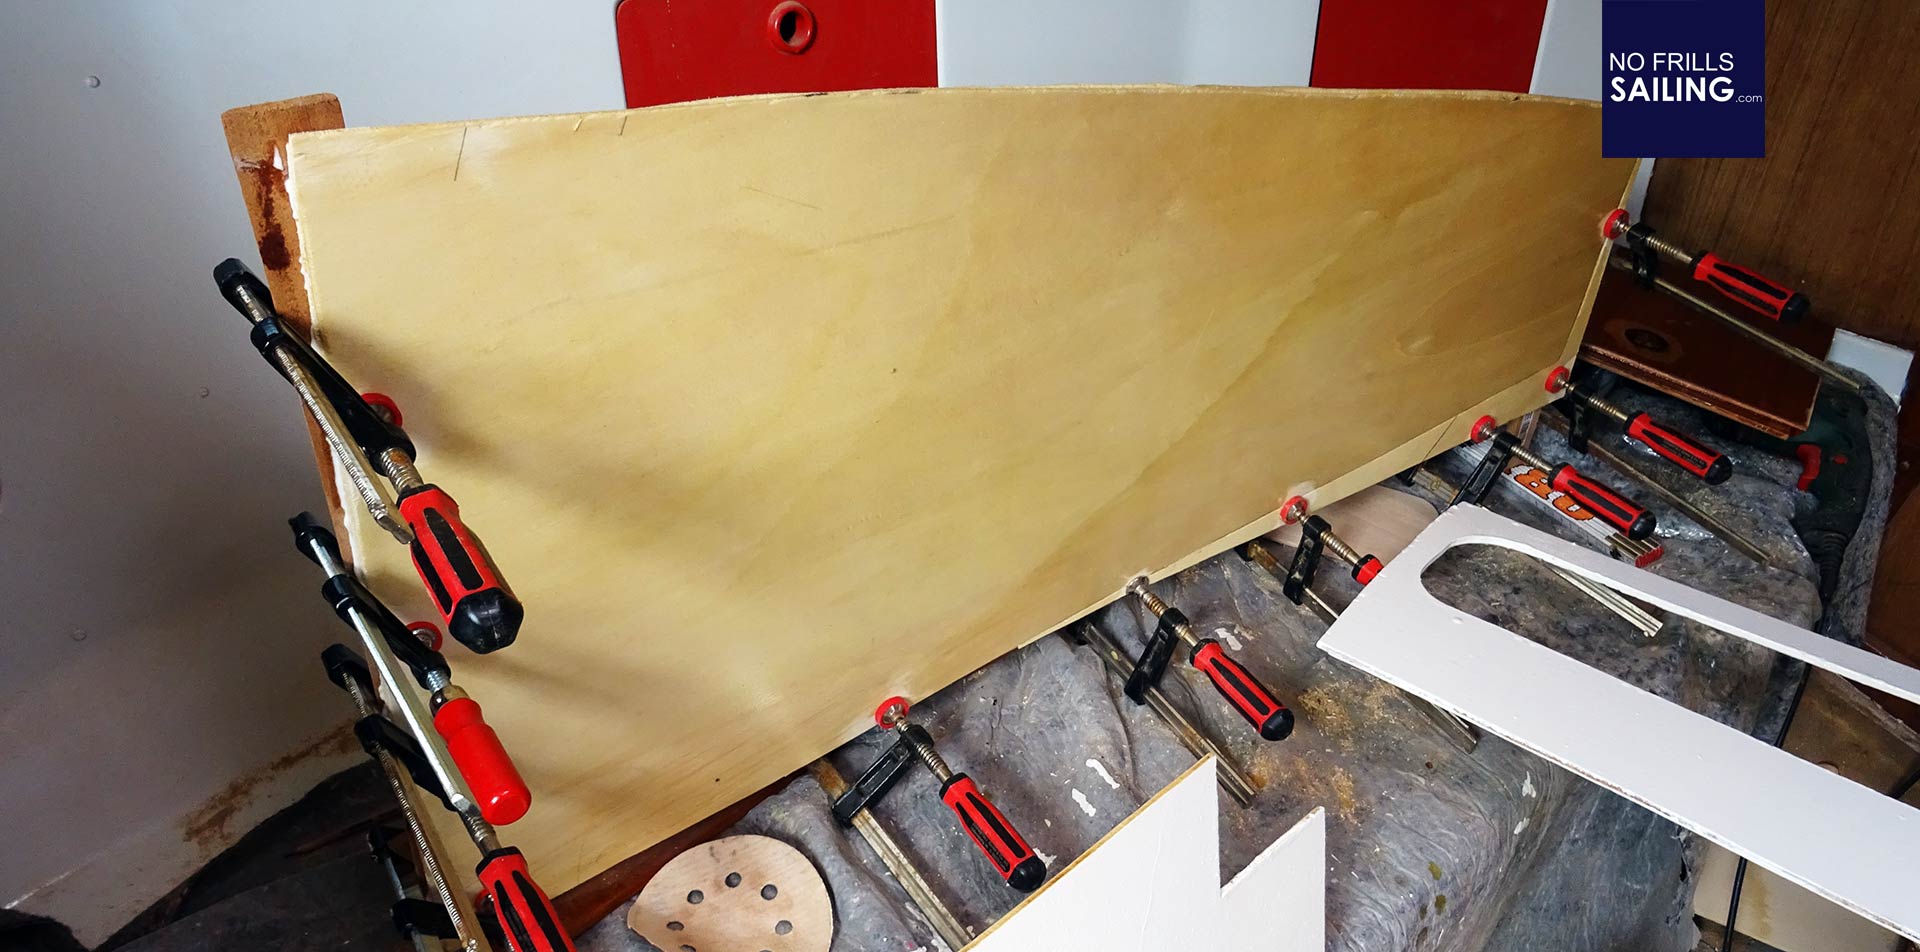
After completely renewing the massive Teak batten ceiling at the side walls and also incorporating a scratch-built cupboard it´s this last panel for the ceiling that´s left to be made in order to finish works here as well. So I cut out this last piece of plywood, waterproofed it and got ready for fitting. But not without thinking of beauty.
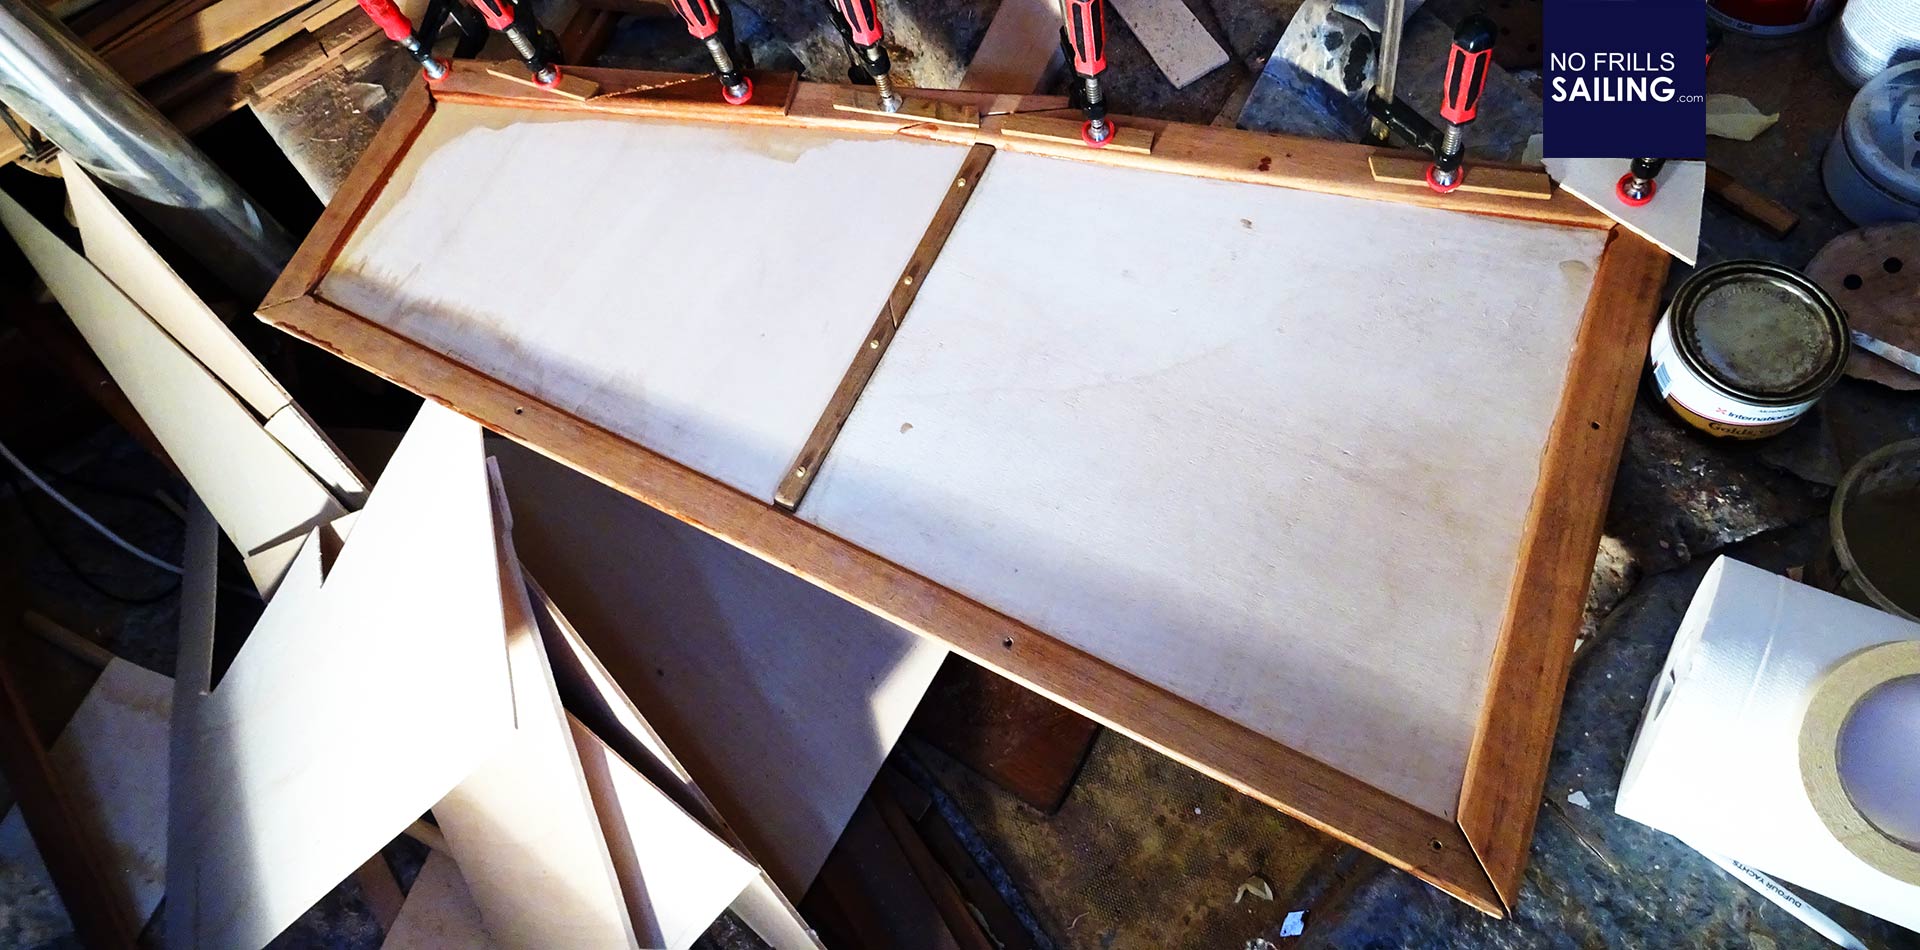
See, I could have been faster for sure if I had skipped all those tiny nice little gimmicks like decorative Teak strips and brazen screws. I love the classy wooden look the boat now bears which sets my King´s Cruiser apart from all the others out there. There is no cheap faux leather in my boat anymore for sure, but nice Teak inlays and marqueterie. I love it. Now, this last panel needs to be painted white and then with some last six or so screws it will be bolted to the boat and thus complete a whole new look and feel of the aft berth.
Ready for the galley refit
Concluding this walk through the boat we arrive at the port side aft section where the galley is located. In my home flat a brand new Dometic stove awaits his fitting and a fridge does as well. I also have a new sink and tap for fresh water and a nice large massive Teak worktop ready to be fitted here. The new galley will be a short job and she will certainly look great! But first I had to fit the very last side panel of the boat, which also was a pain in the ass to take measures for. Now it´s bolted and in place and I love it!
So here we are with the boat entering her fifth year in my possession. As I said, a better part of the refit has been completed with hundreds of jobs crossed off of my list. There will be a new list to be made in the coming days before 2020 arrives because I want the next year to become her last year on dry land with OLIVIA readied, set up and rigged for sailing again latest in season 2021 – so, brace for her hopefully final year on dry land with a final spurt in the refurbishing efforts. Happy new year to you all, sailors, dear readers – let´s have a great 2021!
You may also like to read these articles:
Black hole refit?
Buying a used boat – useful books
Refitting the King´s Cruiser 33 – a complete job description


